
Table of Contents
- Introduction
- Common Reasons for Mismatch Between Sales Tax Liability and Pay Sales Tax
- Step 1: Review the Sales Tax Liability Report
- 1.1: Generate the Sales Tax Liability Report
- 1.2: Check for Missing or Incorrect Transactions
- Step 2: Review the Pay Sales Tax Window
- 2.1: Open the Pay Sales Tax Window
- 2.2: Compare the Amounts
- Step 3: Investigate and Resolve Mismatches
- 3.1: Check for Sales Tax Adjustments
- 3.2: Verify Tax Codes on Transactions
- 3.3: Check for Manual Journal Entries
- 3.4: Verify Accounting Method (Cash vs. Accrual)
- Step 4: Adjust and Pay Sales Tax
- 4.1: Make Sales Tax Adjustments (if Necessary)
- 4.2: Pay Sales Tax
- Step 5: Reconcile and Review
- 5.1: Reconcile Sales Tax Payable Account
- 5.2: Regularly Review Sales Tax
- Conclusion
Introduction
A mismatch between the Sales Tax Liability Report and the Pay Sales Tax window in QuickBooks can be frustrating and confusing. The Sales Tax Liability Report shows how much sales tax your business has collected and owes to tax agencies, while the Pay Sales Tax window is where you make the actual tax payment. Discrepancies between these two can lead to inaccuracies in your books and potential issues with tax filings. This guide will help you identify and resolve mismatches between the Sales Tax Liability Report and the Pay Sales Tax function in QuickBooks.
Common Reasons for Mismatch Between Sales Tax Liability and Pay Sales Tax
- Unrecorded or Misentered Transactions: Sales or purchases that include tax may not have been recorded correctly or are missing altogether.
- Wrong Sales Tax Codes: Incorrect sales tax codes applied to transactions can lead to discrepancies.
- Unapplied Sales Tax Adjustments: If adjustments are made to sales tax but not properly applied, this can cause mismatches.
- Journal Entries: Manual journal entries that bypass the sales tax system can create inconsistencies.
- Cash vs. Accrual Accounting: Different accounting methods (cash vs. accrual) used in reporting and payment functions may cause mismatches.
Step 1: Review the Sales Tax Liability Report
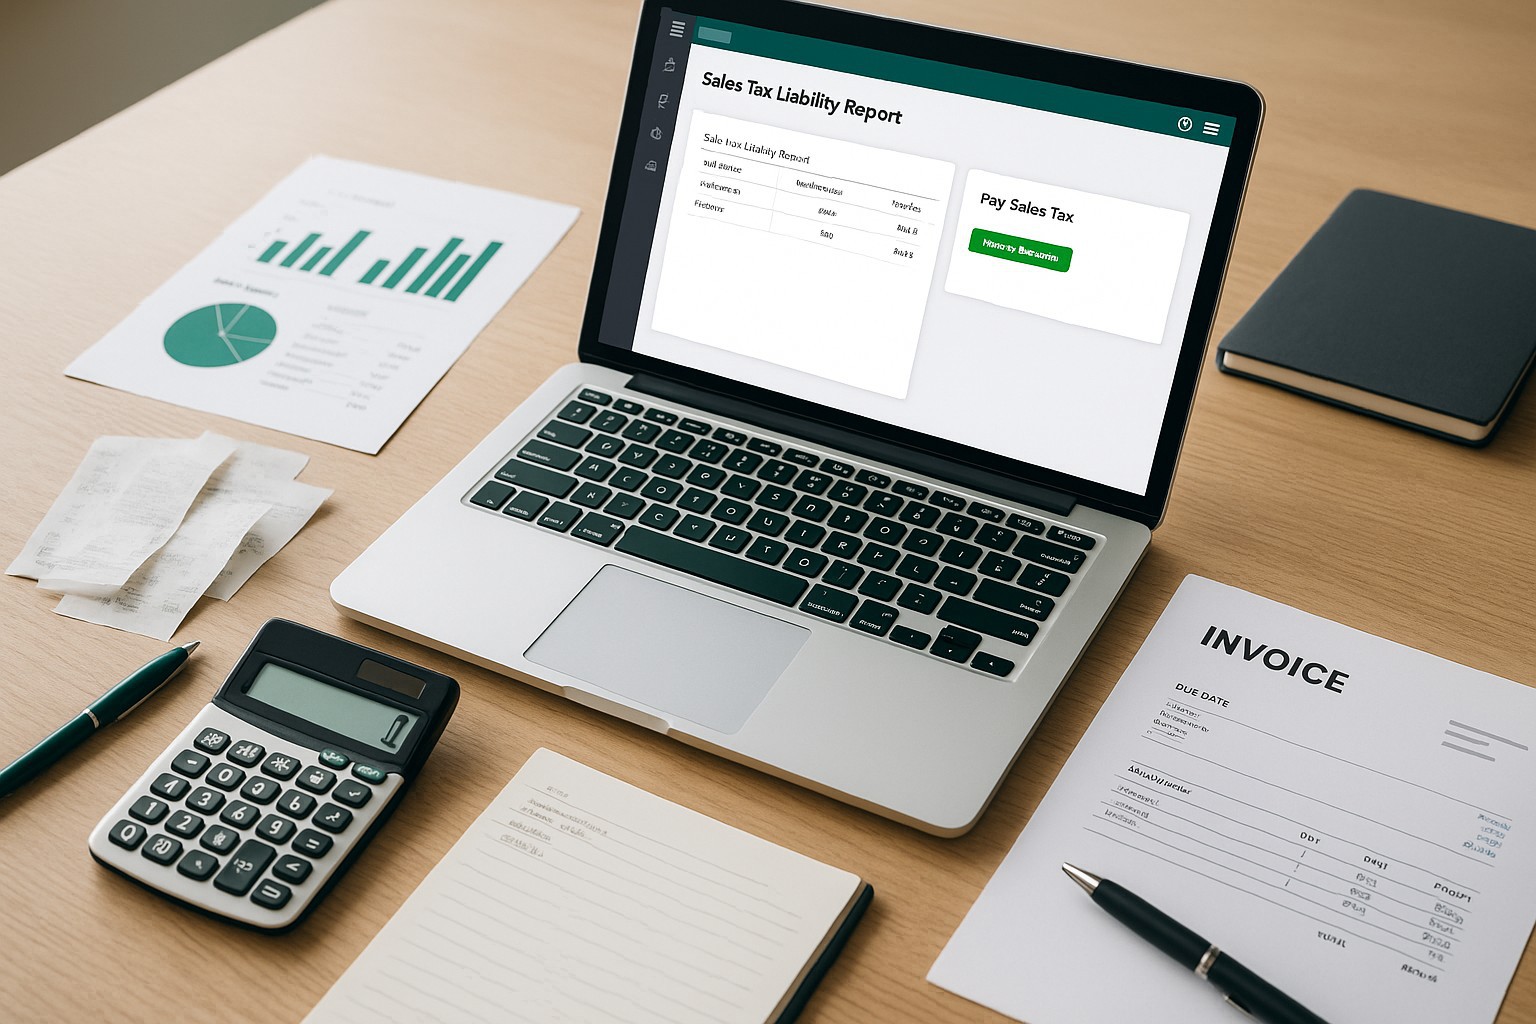
1.1: Generate the Sales Tax Liability Report
Reports section.Sales Tax Liability Report and click to open it.1.2: Check for Missing or Incorrect Transactions
Step 2: Review the Pay Sales Tax Window
2.1: Open the Pay Sales Tax Window
Vendors from the top menu.Sales Tax > Pay Sales Tax from the drop-down menu.2.2: Compare the Amounts
Step 3: Investigate and Resolve Mismatches
3.1: Check for Sales Tax Adjustments
3.2: Verify Tax Codes on Transactions
3.3: Check for Manual Journal Entries
3.4: Verify Accounting Method (Cash vs. Accrual)
Accrual while the Pay Sales Tax window is showing amounts on a Cash basis (or vice versa), this can cause mismatches.Step 4: Adjust and Pay Sales Tax
4.1: Make Sales Tax Adjustments (if Necessary)
Adjust in the bottom-left corner.Sales Tax Adjustment form to enter the correct amount, along with the reason for the adjustment (e.g., rounding differences, corrections).4.2: Pay Sales Tax
Step 5: Reconcile and Review
5.1: Reconcile Sales Tax Payable Account
Sales Tax Liability Report and Balance Sheet, to verify that the sales tax amounts are accurate after reconciliation.5.2: Regularly Review Sales Tax
Conclusion
Mismatches between the Sales Tax Liability Report and the Pay Sales Tax window can be frustrating, but by following the steps outlined in this guide, you can quickly identify and resolve these discrepancies. Accurate tracking and payment of sales tax are essential for compliance and maintaining clean financial records. Regular reviews of your sales tax accounts will help you stay on top of your obligations and avoid future discrepancies.
Tired of QuickBooks Headaches?
Debits connects directly to QuickBooks Online and helps you clean up uncategorized transactions, collect receipts from clients via magic link, and categorize in bulk. Your clients respond in seconds, not days.
Starting at $2 per client, per month.