
Table of Contents
- Introduction
- Why Checking Vendor Balances is Important
- Step 1: Navigate to the Vendor Center
- Step 2: View Vendor Balances
- 2.1: Check the Vendor List
- 2.2: Run the Vendor Balance Summary Report
- 2.3: Run the Vendor Balance Detail Report
- Step 3: Review and Manage Vendor Balances
- 3.1: Apply Credits
- 3.2: Make Payments
- 3.3: Reconcile Vendor Accounts
- Best Practices for Managing Vendor Balances
- Conclusion
Introduction
Maintaining a clear and accurate view of your vendor balances is crucial for effective business management. QuickBooks makes it easy to track how much you owe to each vendor, helping you manage cash flow, ensure timely payments, and avoid late fees. This guide will walk you through the steps to check vendor balances in QuickBooks, allowing you to stay on top of your accounts payable and maintain good relationships with your suppliers.
Why Checking Vendor Balances is Important
Understanding your vendor balances is essential for several reasons:
- Cash Flow Management: By knowing how much you owe and when payments are due, you can better manage your business’s cash flow.
- Avoid Late Payments: Regularly checking your vendor balances helps you avoid late payments, which can lead to late fees and strained supplier relationships.
- Accurate Financial Reporting: Keeping track of your vendor balances ensures that your financial reports reflect the true state of your liabilities.
Step 1: Navigate to the Vendor Center
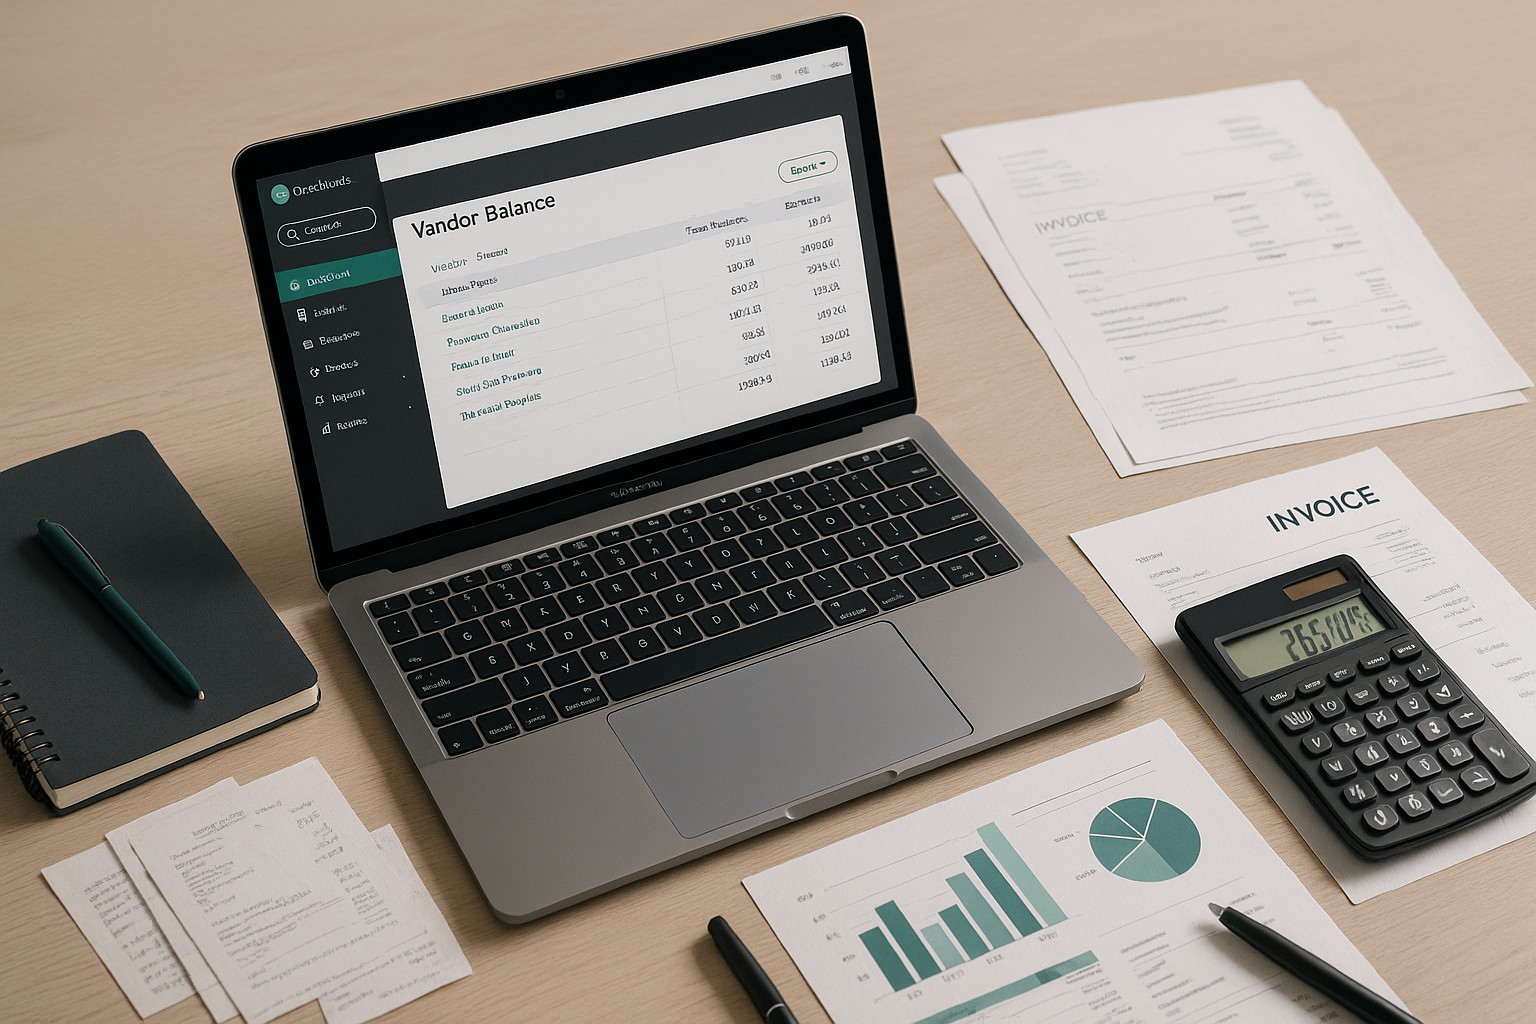
Expenses.Vendors. This will open the Vendor Center where you can manage all your vendor-related transactions.Step 2: View Vendor Balances
2.1: Check the Vendor List
Open Balance column. This shows the total amount owed to each vendor.2.2: Run the Vendor Balance Summary Report
Reports.Vendor Balance Summary in the search bar and select it from the dropdown list.Run report to generate the Vendor Balance Summary. This report provides a snapshot of your outstanding balances for all vendors.2.3: Run the Vendor Balance Detail Report
Vendor Balance Detail.Run report.Step 3: Review and Manage Vendor Balances
3.1: Apply Credits
+ New > Pay Bills. Select the vendor, and QuickBooks will automatically apply available credits to reduce the balance due.3.2: Make Payments
+ New > Pay Bills. Select the bills you want to pay and choose the payment method and account.Save and close to record the payment. This will update the vendor’s balance in QuickBooks.3.3: Reconcile Vendor Accounts
Best Practices for Managing Vendor Balances
Conclusion
Checking vendor balances in QuickBooks is a straightforward process that can significantly enhance your ability to manage accounts payable. By regularly reviewing your vendor balances and making timely payments, you can maintain healthy relationships with your suppliers and keep your business’s cash flow under control. Utilizing QuickBooks’ robust reporting features will help ensure your financial records are accurate and up-to-date, providing you with the insights needed to make informed financial decisions.
Tired of QuickBooks Headaches?
Debits connects directly to QuickBooks Online and helps you clean up uncategorized transactions, collect receipts from clients via magic link, and categorize in bulk. Your clients respond in seconds, not days.
Starting at $2 per client, per month.