
Table of Contents
- Introduction
- Why Custom Messages Matter
- Step 1: Access the Messages Setup
- Step 2: Set Up Default Messages
- 2.1: Customize Invoice Messages
- 2.2: Customize Estimate Messages
- 2.3: Customize Other Sales Forms
- Step 3: Use Custom Messages for Specific Customers
- 3.1: Customize Messages for Individual Customers
- 3.2: Apply Custom Messages When Creating Transactions
- Best Practices for Customizing Messages
- Conclusion
Introduction
Customizing your communications in QuickBooks Online is crucial for maintaining a professional relationship with your clients. By setting up personalized messages for invoices, estimates, and other customer-facing documents, you can ensure that your brand’s voice is consistently conveyed. This guide will walk you through how to set up and customize messages in QuickBooks Online, enabling you to create a more personalized experience for your customers.
Why Custom Messages Matter
- Professionalism: Personalized messages can help reinforce your brand identity and present your business as professional and attentive.
- Clarity: Clear and concise messages help ensure that your customers understand the details of their invoices, estimates, or receipts.
- Customer Relationships: A personalized message can make your customers feel valued, helping to build stronger business relationships.
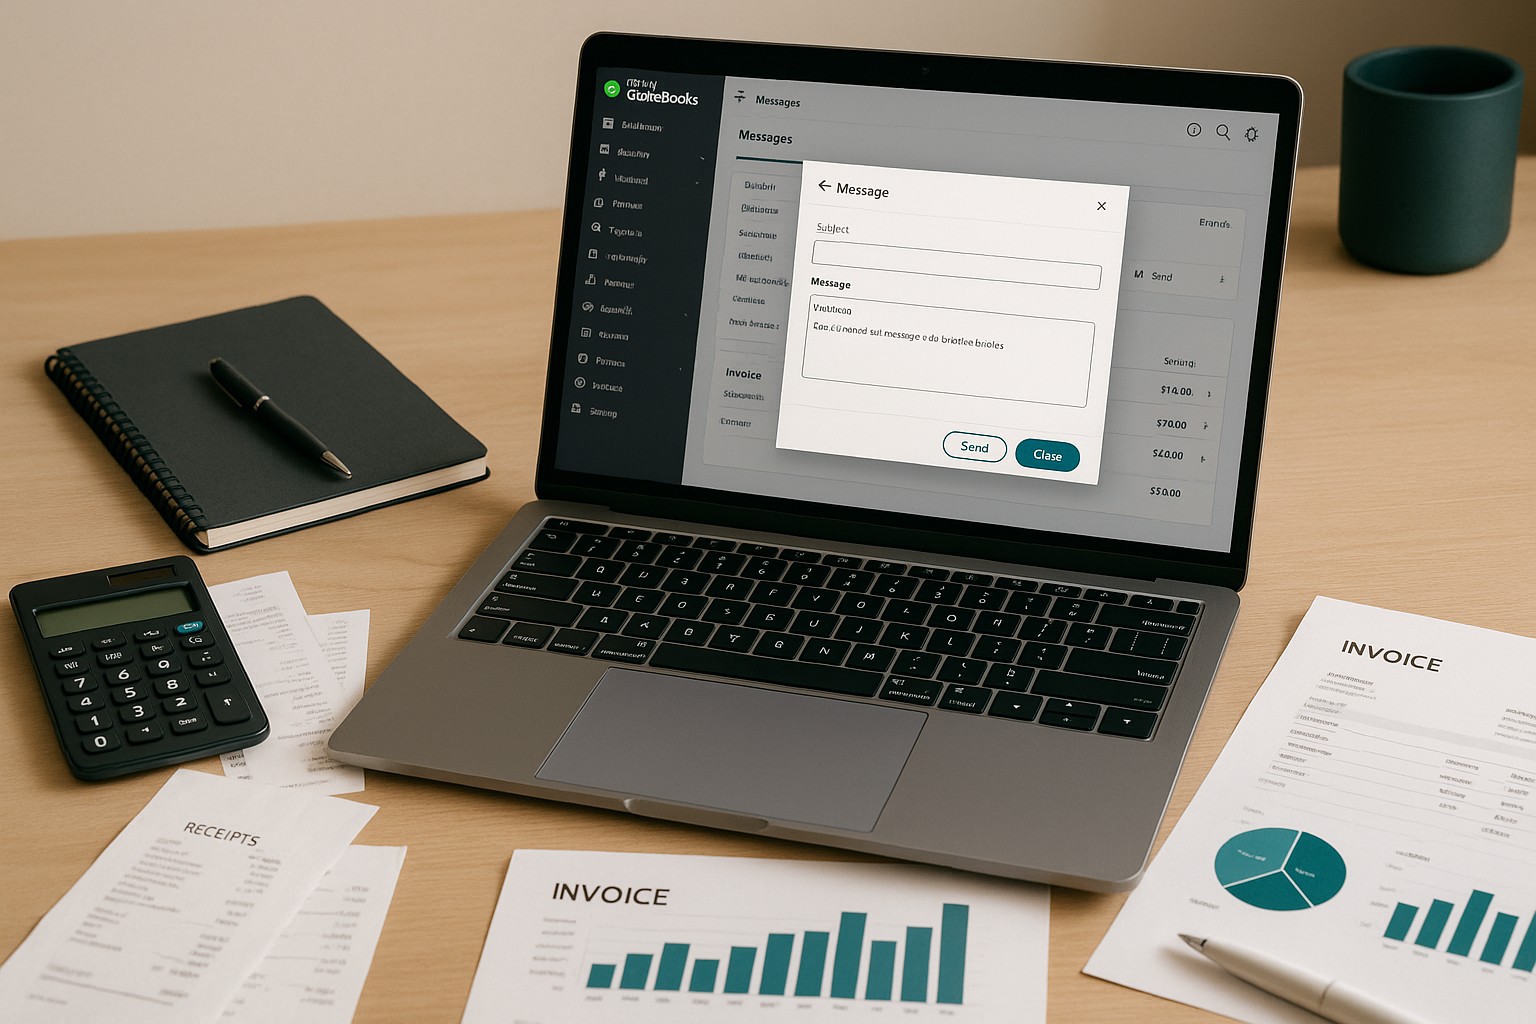
Step 1: Access the Messages Setup
Gear icon in the upper-right corner of the dashboard, then select Account and Settings under the “Your Company” section.Sales tab. This section allows you to customize various sales-related settings, including messages.Step 2: Set Up Default Messages
2.1: Customize Invoice Messages
Sales tab, scroll down until you find the Messages section.- Click
Editin the Messages section. - Under
Sales form, selectInvoice. - In the
Email messagebox, enter the default message you’d like to send with every invoice. For example: “Thank you for your business! Please review the attached invoice and contact us if you have any questions.”
- Add Salutation and Closing: Include a personalized salutation (e.g., “Dear [Customer Name],”) and closing (e.g., “Best regards, [Your Company Name]”) to make the message more personable.
- Save Changes: After customizing the message, click
Saveto apply the changes.
2.2: Customize Estimate Messages
Estimate from the Sales form drop-down menu.Save to ensure it’s used for all future estimates.2.3: Customize Other Sales Forms
Messages section.Step 3: Use Custom Messages for Specific Customers
3.1: Customize Messages for Individual Customers
Sales > Customers to view your list of customers.Edit in the upper-right corner of the customer’s profile.- In the
Custom fieldsorNotessection, enter a specific message that you want to send only to this customer. - You can also override the default message by specifying a custom message directly when creating an invoice or estimate for this customer.
- Save the Changes: Click
Saveto apply the customized message to this customer’s transactions.
3.2: Apply Custom Messages When Creating Transactions
Best Practices for Customizing Messages
Conclusion
Setting up customized messages in QuickBooks Online allows you to maintain a consistent and professional communication style with your customers. By tailoring messages for invoices, estimates, and other sales forms, you can enhance customer interactions and reinforce your brand identity. Follow the steps outlined in this guide to create and manage your messages effectively, ensuring clear and personalized communication with your clients.
Tired of QuickBooks Headaches?
Debits connects directly to QuickBooks Online and helps you clean up uncategorized transactions, collect receipts from clients via magic link, and categorize in bulk. Your clients respond in seconds, not days.
Starting at $2 per client, per month.