
 #
#
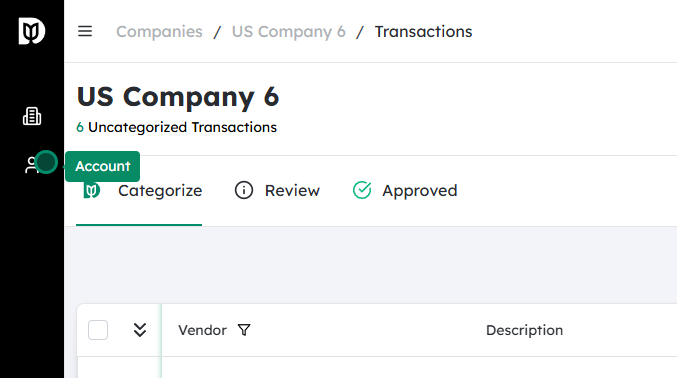
Go to your Account settings #
- Log in to your account on the website or app.
- Look for your profile menu (often your name, email, or an avatar in the top-right corner) and click it.
- From the dropdown or side menu, select “Account” or “Account Settings”.
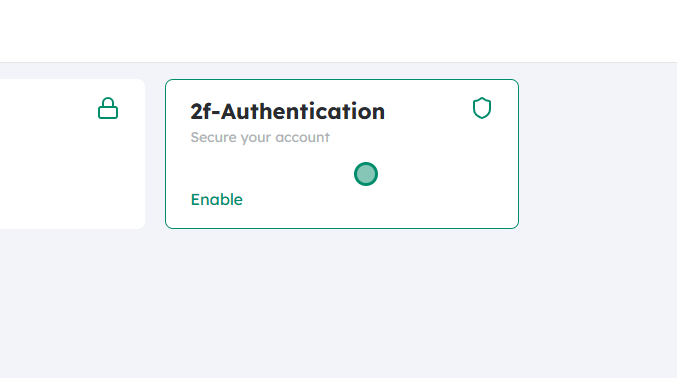
Open the 2-Factor Authentication (2FA) section #
- Inside your Account settings, locate the security area. This may be labeled “Security,” “Login & Security,” “Privacy & Security,” or similar.
- Click on “2F-Authentication” to open the configuration page.
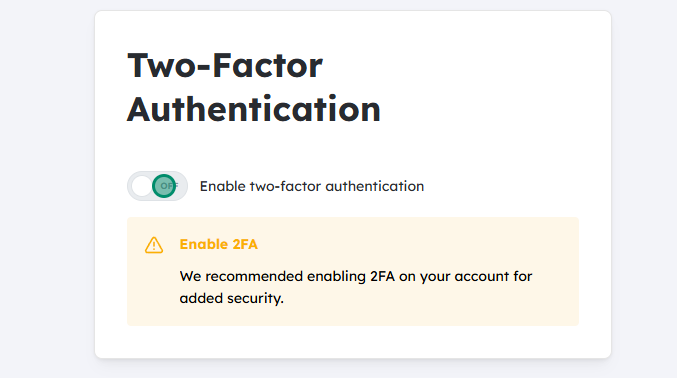
Turn 2FA On #
- On the 2FA page, you should see an option or toggle switch to enable it.
- Click or slide the toggle to turn it On.
- The system may prompt you to re-enter your password for security before proceeding.
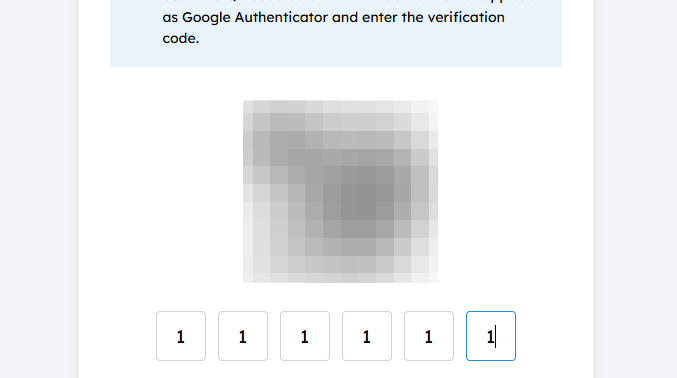
Scan the QR code with an Authenticator app #
- A QR code will be displayed on the screen. This QR code contains the secret key that links your account to your authenticator app.
- Open your preferred authenticator application on your phone (e.g., Google Authenticator, Microsoft Authenticator, Authy, etc.).
- In the app, choose “Add account”, “Set up account”, or tap the “+” icon, then select “Scan QR code” (wording may vary by app).
- Use your phone’s camera to scan the QR code shown on your account’s 2FA setup page.
- After scanning, the account will appear in your authenticator app with a 6-digit (sometimes longer) time-based code that changes every 30 seconds.
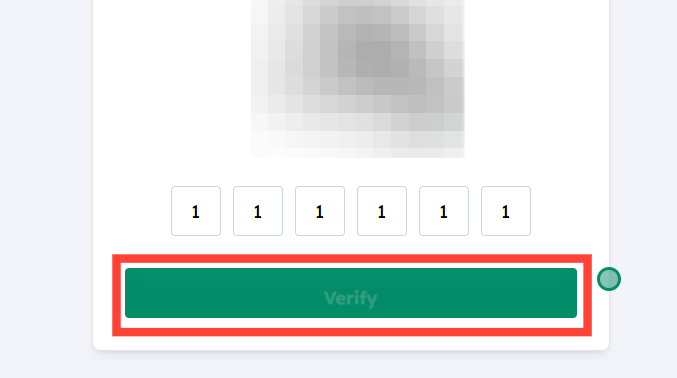
Enter the verification code and confirm #
- Look at the new entry for your account in the authenticator app.
- Note the current 2FA code displayed (usually a 6-digit number).
- Return to the website’s 2FA setup page and enter this code into the “Verification code,” “One-time code,” or similar input field.
- Click “Verify,” “Confirm,” or “Submit”.
- If the code is correct, you should see a confirmation that 2FA is now enabled on your account.
Once these steps are complete, you’ll be required to enter a code from your authenticator app (or a backup code) when logging in, in addition to your password.


