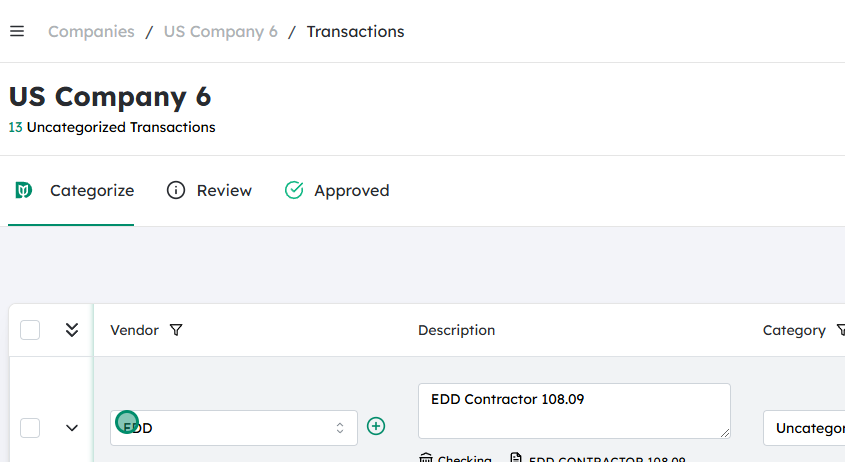
Navigate to the desired Company #
From your main dashboard or home screen, locate the list or menu of companies you have access to.
Click on the Company you want to work with so that you’re viewing that company’s data (transactions, settings, etc.).
Confirm you’re in the correct company by checking the company name at the top of the page or in the header.
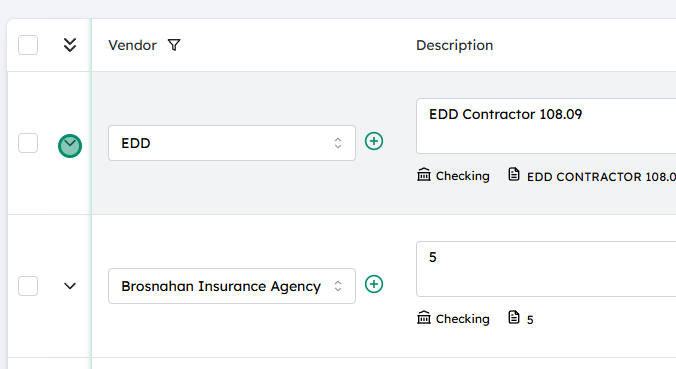
Expand the desired transaction #
Go to the area where the transaction is listed (for example, a transactions list, invoices list, or a similar page).
Find the specific transaction you want to edit or view (e.g., an invoice, bill, expense, or journal entry).
Click on the transaction row or on an expand icon (such as a down arrow, “Details,” or “View”) to open and display its details.
Click on the plus icon next to the Class field #
In the transaction details view, locate the Class field. This is typically one of the line‑item fields or a classification field on the transaction form.
To the right of the Class field, you should see a plus (+) icon or an “Add new” option.
Click on this plus icon to open the dialog or form for creating a new class.
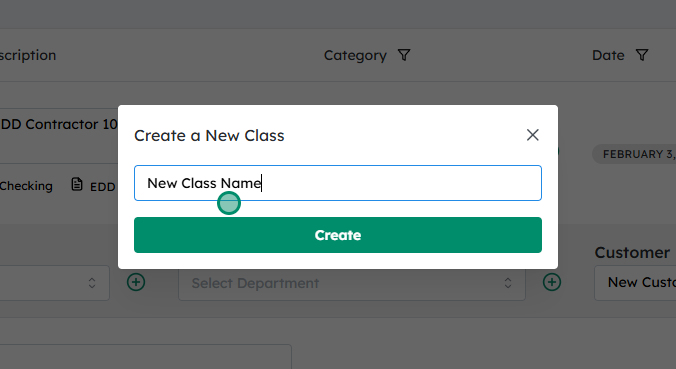
Add in the new class name and click on Create #
In the pop‑up window or side panel that appears, type the name of the new class you want to create.
Optionally, fill in any additional details or settings for the class if the system provides these (e.g., description, parent class, or status).
Review the class name to ensure it’s spelled correctly and follows your naming conventions.
Click Create , Save , or Add (depending on the label in your system).
The newly created class will now appear in the Class dropdown, and you can select it for this transaction and future ones.
Updated on December 2, 2025