
 #
#
Go to the Company Section #
Log in to your Debits.com account. From the main navigation (usually on the left or top menu), click on Company.
- This area is where all companies (clients) you manage are listed.
- If you don’t see it, ensure you have the right user role/permissions.
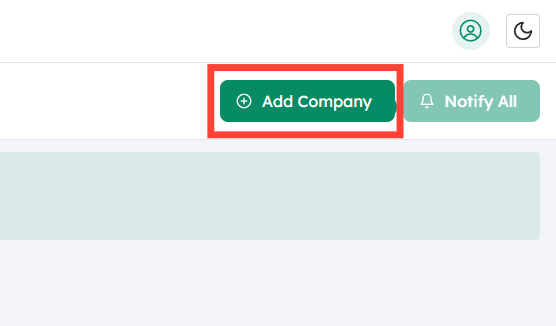
Click on Add Company #
On the Company page, look for a button or link labeled Add Company and click it.
- This starts the process of creating a new company profile in Debits.com.
- You’ll typically be asked for basic company information later (name, contact details, etc.), but the first priority here is connecting to QuickBooks.
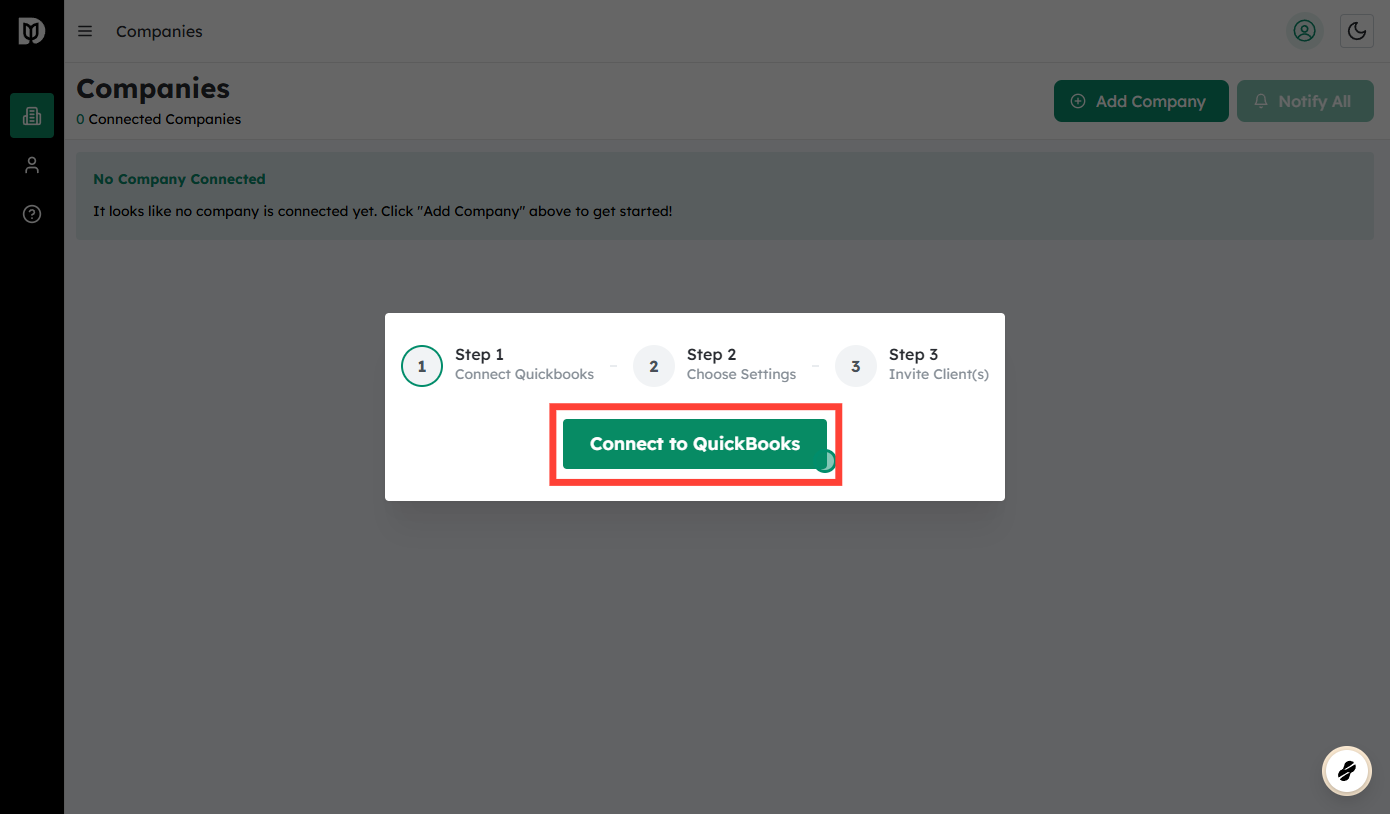
Click on Connect to QuickBooks #
On the Add Company screen, find and click the Connect to QuickBooks button.
- This will open an authorization window or redirect you to Intuit’s secure login page.
- This connection allows Debits.com to sync financial data from QuickBooks Online.
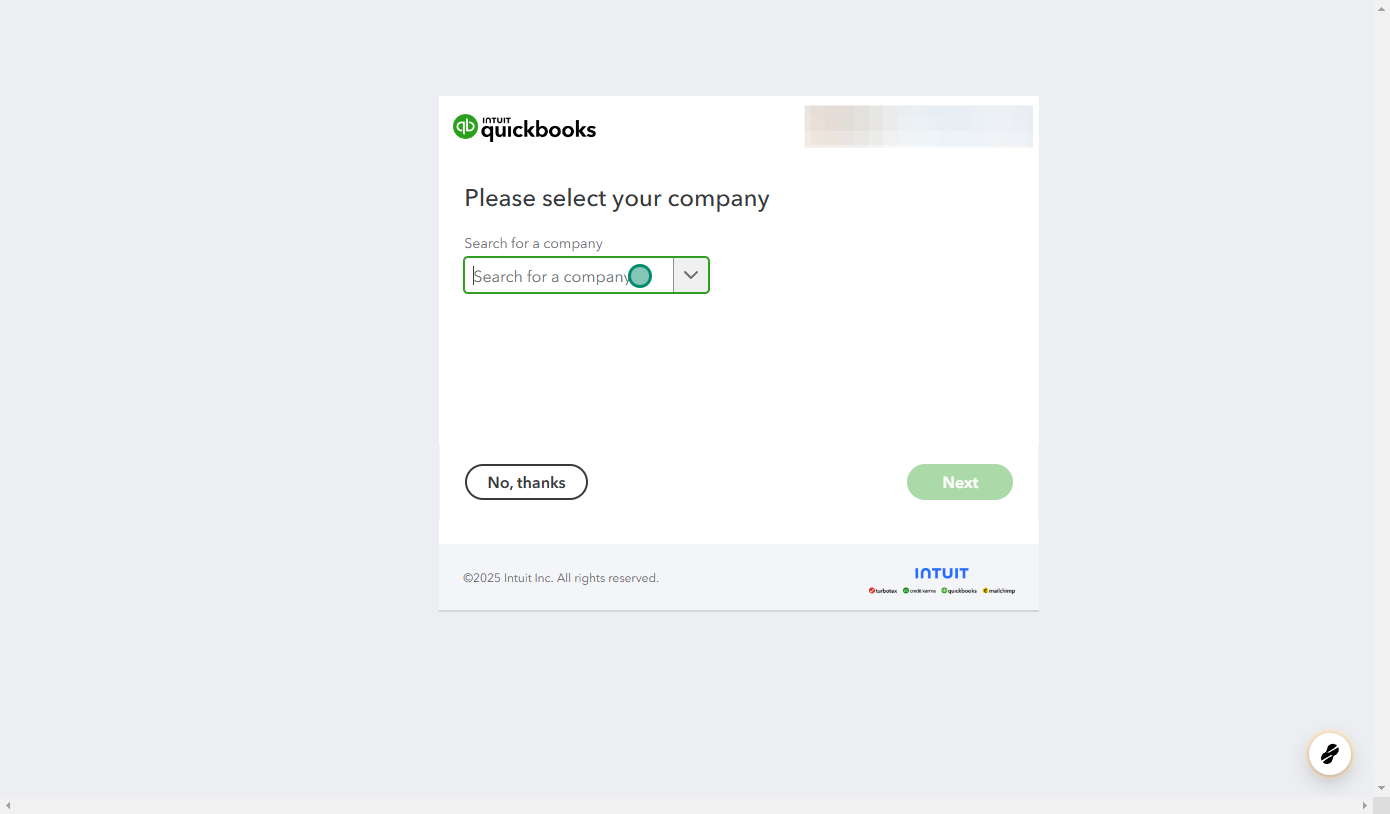
Search for a Company Connected to QuickBooks Online #
Sign in to your QuickBooks Online account if prompted. Once logged in:
- You’ll see a list of QuickBooks companies you have access to.
- If you manage multiple companies, use the search bar or dropdown to find the specific company you’re adding to Debits.com.
- Select the correct QuickBooks company so that Debits.com pulls the right data.
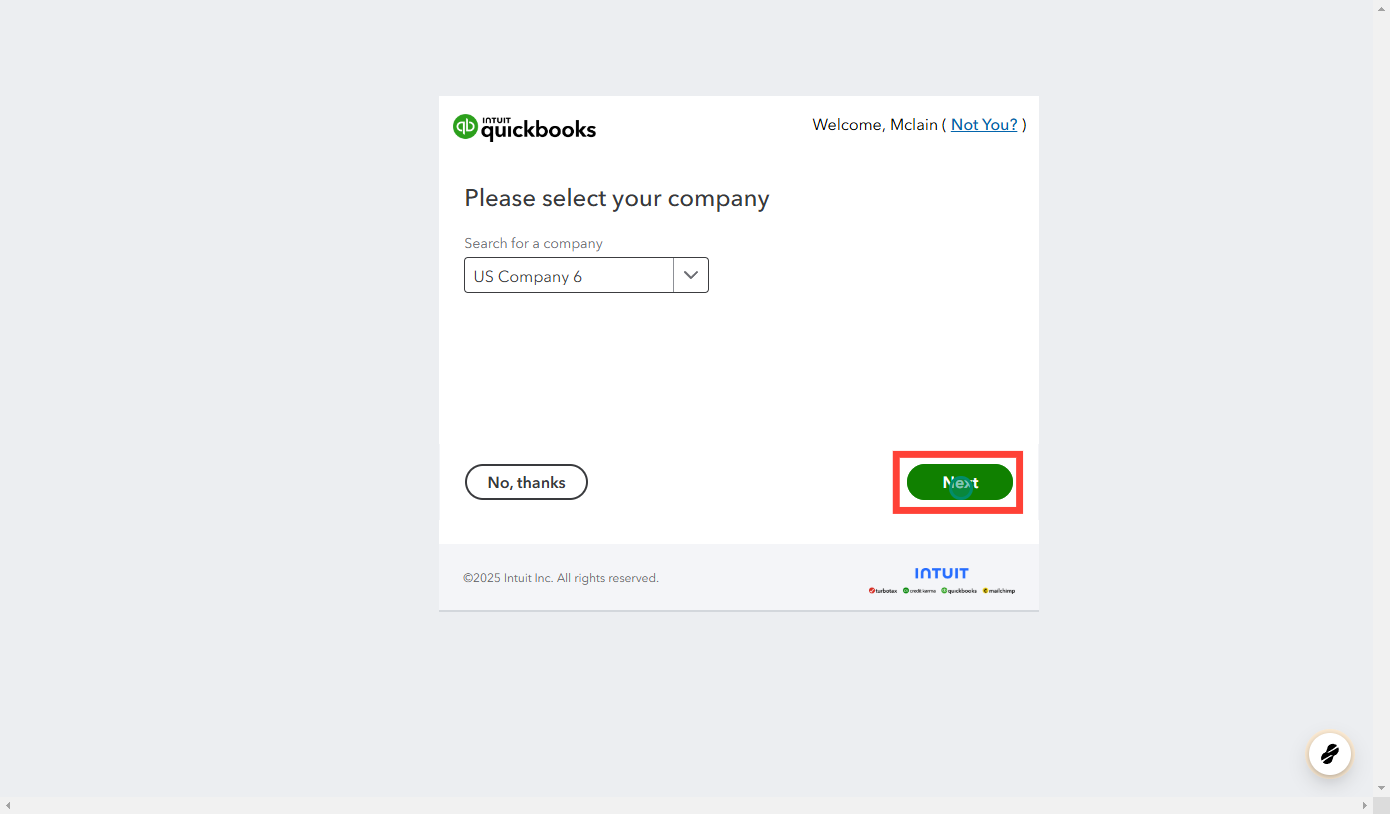
Click on Next #
After selecting the QuickBooks company, click Next.
- This confirms your choice and moves you to the permissions and connection confirmation steps.
- Review the summary of what Debits.com will be allowed to access (e.g., chart of accounts, transactions, customers, vendors).
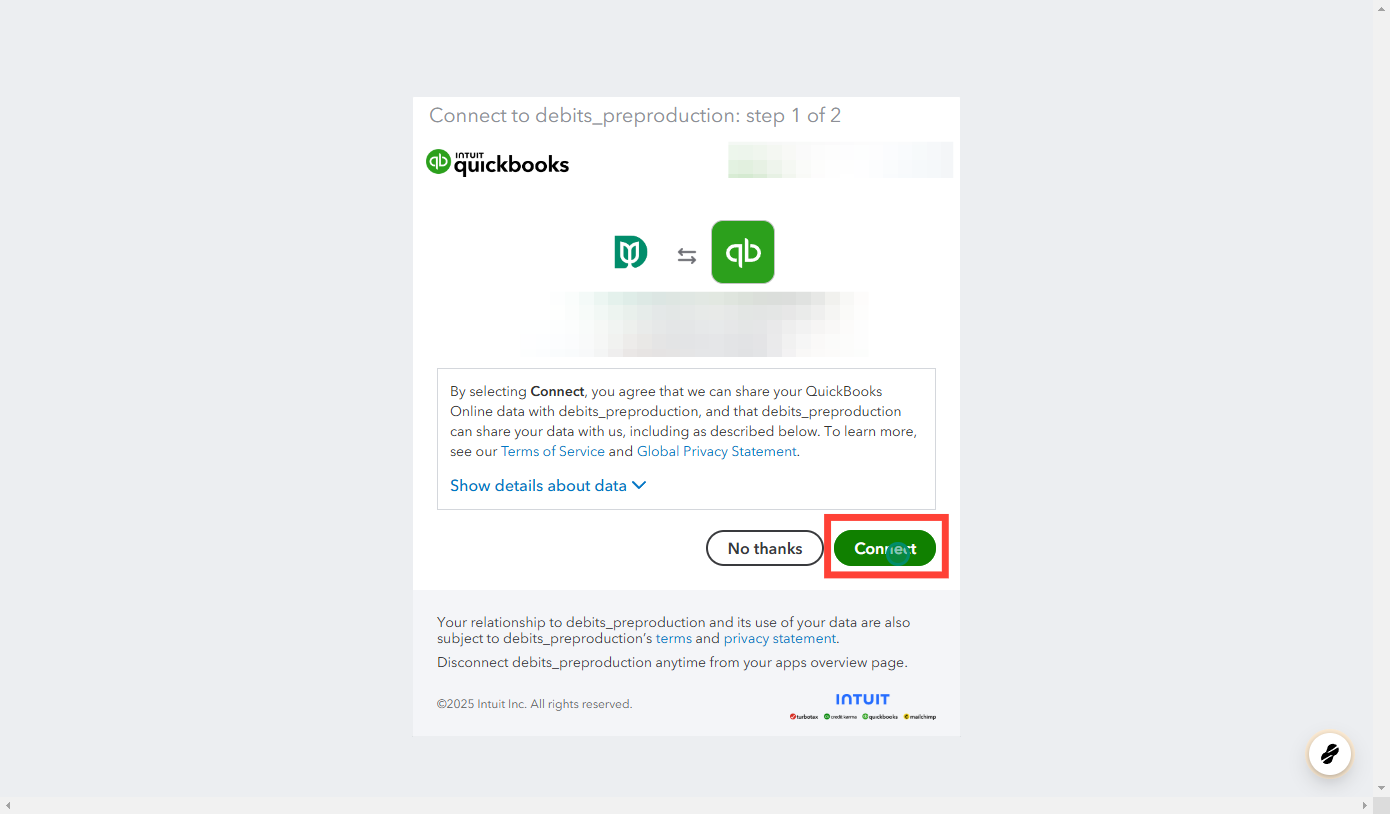
Click on Connect #
You’ll be shown an authorization request from QuickBooks/Intuit asking you to grant Debits.com access.
- Click Connect (or Authorize) to allow the integration.
- If you don’t have sufficient rights in QuickBooks (e.g., not an admin), you may need someone with admin access to complete this step.
Once connected, Debits.com can start syncing data from that QuickBooks Online company.

Select the Date and Accounts to Sync #
a. Choose the Sync Start Date
You will be asked to select the date from which Debits.com should start pulling in data.
- Pick a start date that makes sense for your workflow:
- For historical analysis: choose an earlier date (e.g., start of the fiscal year).
- For current use only: choose a more recent date (e.g., start of the current month).
- Remember that choosing a very old date may increase the time of the initial sync.
b. Select the Accounts to Sync
You may also be prompted to choose which accounts from QuickBooks you want synced (e.g., specific bank accounts, credit cards, income/expense accounts).
- Include only the accounts you need for reporting and analysis in Debits.com.
- Excluding unnecessary accounts can simplify your views and speed up syncing.
Confirm your selections to continue.
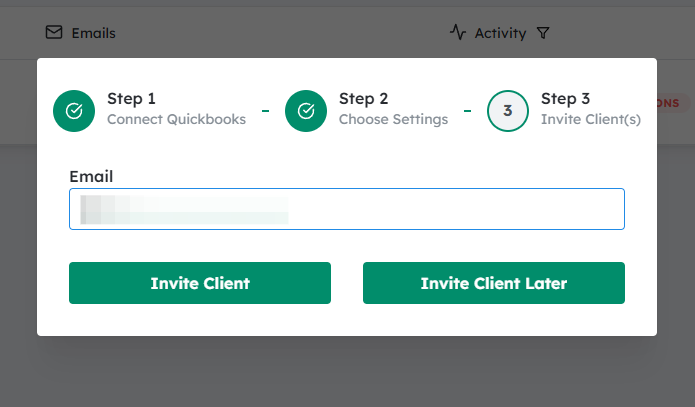
Enter the Client Email #
Next, you’ll enter the email address of the client associated with this company.
- Use the primary contact email for the client or their accounting contact.
- This email will be used to:
- Send them an invitation to access their company in Debits.com.
- Notify them of any relevant updates or actions needed (depending on your setup).
Check for typos—an incorrect email means they won’t receive the invite.
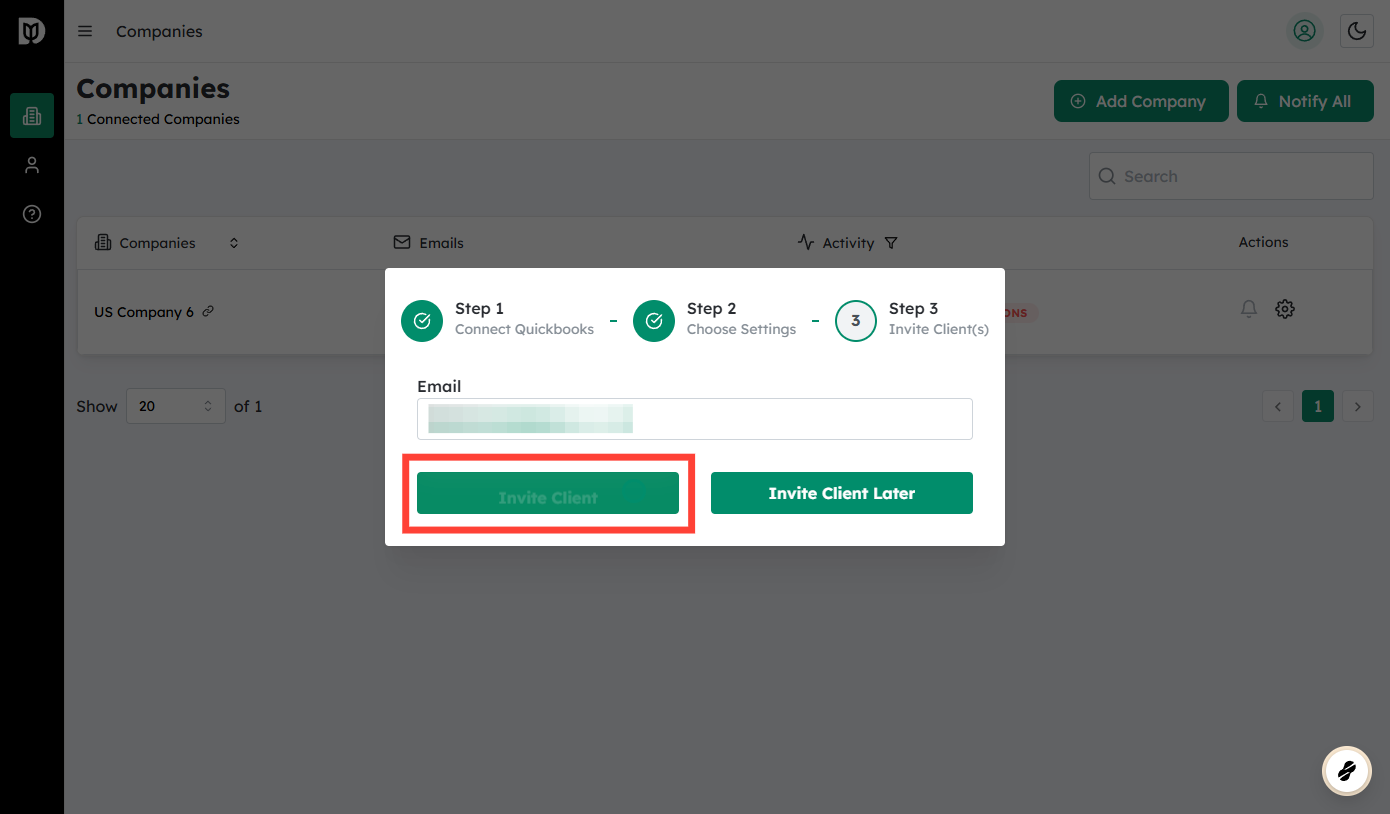
Click on Invite Client #
Once the email is entered:
- Click Invite Client to send an invitation.
- The client will receive an email with instructions to:
- Create a Debits.com account (if they don’t have one already), or
- Log in and access their company (if they already have an account).
After sending the invite, the company will appear in your Debits.com company list, and data from QuickBooks will begin syncing based on the date and accounts you selected.


