Year-Round 1099 Readiness: Monthly Bookkeeping Steps That Make January Easy
If you’re scrambling every January to pull together 1099s, the problem usually isn’t the forms—it’s the year that came before them.
1099s are simply a summary of data you should already have: who you paid, how much you paid them, and how they should be reported. When that information is collected and organized throughout the year, January becomes a quick review instead of a stressful fire drill.
This guide walks through a practical year-round 1099 workflow, including a monthly 1099 checklist, vendor setup tips, and how to bake 1099 readiness into your regular bookkeeping.
Why 1099 Season Hurts (And Why It Doesn’t Have To)
Most 1099 chaos comes from the same few issues:
- Missing W-9s from vendors
- Confusion over who actually needs a 1099
- Payments coded inconsistently in the books
- Trying to clean up 12 months of data in 2 weeks
The IRS requires payers to issue various 1099 forms (especially 1099-NEC for non-employee compensation and 1099-MISC for certain other types of income) when they pay certain vendors $600 or more in a year. If you haven’t collected the right details or tracked those payments cleanly, you’re left digging through emails and spreadsheets right when you should be closing the books.
Good news: 1099 readiness bookkeeping is mostly about routine. With a simple monthly rhythm, you can keep your vendor records and payments 1099-ready all year long.
Build a Year-Round 1099 Workflow
Year-round success starts with designing a process—who does what, when, and with which tools.
Step 1: Assign Ownership of 1099 Tasks
First, decide who is responsible for 1099 readiness:
- Primary owner: Usually the bookkeeper, accountant, or AP clerk.
- Backup or reviewer: Controller, CFO, or business owner.
- Approvers: Whoever must sign off on vendor onboarding policies.
Document responsibilities, for example:
- Who collects W-9s?
- Who codes vendors and expenses for 1099?
- Who runs monthly and quarterly checks?
- Who reviews and finalizes 1099s in January?
When roles are clear, your year-round 1099 workflow can actually be followed rather than assumed.
Step 2: Set Up Your Vendor Master for 1099 Success
Your “vendor master” (vendor list) in your accounting or AP system is the heart of 1099 readiness.
For each vendor, make sure your record has:
- Legal name (as shown on W-9)
- Tax ID number (TIN/SSN/EIN)
- Entity type (individual, sole prop, LLC, corporation, etc.)
- Address (mailing address for forms)
- Whether they are 1099-eligible
- Which 1099 form and box applies, if relevant (e.g., 1099-NEC, 1099-MISC Box 1 for rent, Box 10 for attorneys, etc.)
This is where vendor coding for 1099 comes in. At onboarding, you decide:
- Does this vendor ever need a 1099?
- If yes, what type and box?
- Are there any exceptions (e.g., they’re paid only by credit card, so you generally won’t issue a 1099 for those amounts)?
Many accounting systems let you mark vendors as “1099 vendor” and choose which accounts or boxes to associate. Use these fields deliberately; they save huge amounts of cleanup later.
Step 3: Make W-9 Collection a Non-Negotiable Step
The rule of thumb: No W-9, no payment.
Build W-9 collection monthly into your normal accounts payable routine:
- Add a required W-9 step in your vendor onboarding checklist.
- Use an online form or secure portal where vendors can upload completed W-9s.
- Store W-9s in a consistent digital folder structure (e.g.,
Vendors/[Vendor Name]/W-9).
For existing vendors without W-9s:
- Run a report of vendors receiving non-employee payments.
- Flag those missing W-9s.
- Send a standard email request and follow up once a week until received.
If you don’t collect W-9s upfront, January turns into a desperate chase. When W-9s are consistently requested and attached to vendor records all year, you already have what you need.
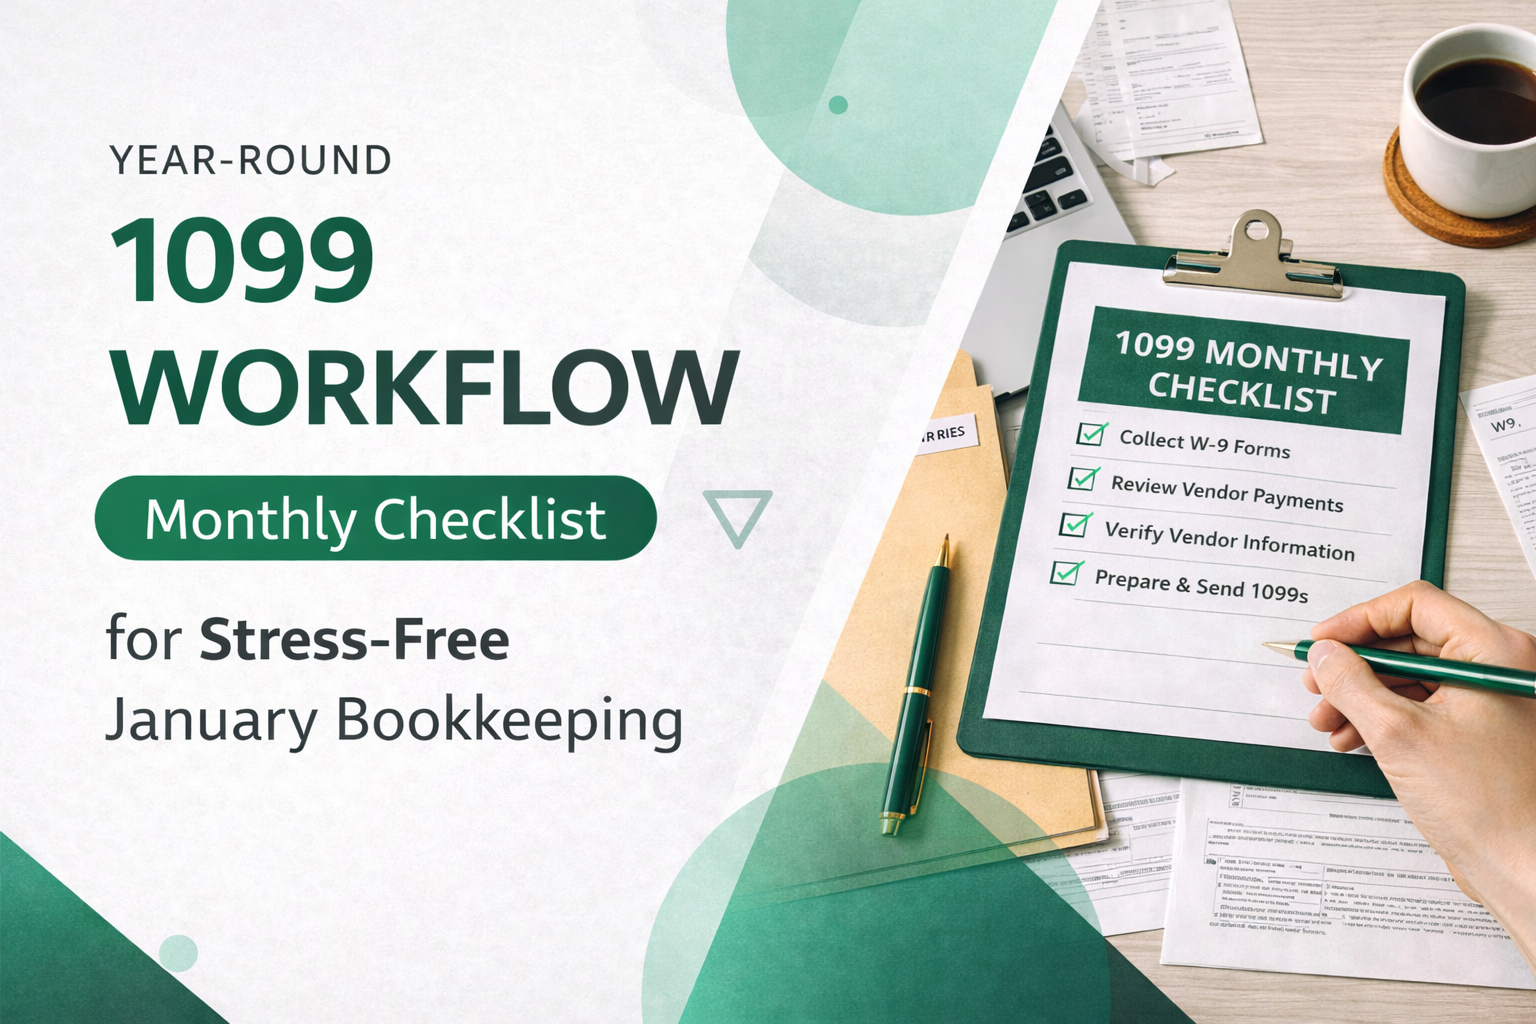
Your Monthly 1099 Checklist
Monthly routines are where 1099 readiness bookkeeping really takes hold. A simple monthly 1099 checklist baked into your close process can eliminate most January surprises.
Here’s a practical checklist you can run every month (or at least quarterly):
1. Onboard New Vendors Correctly
Each time you add a vendor during the month:
- Request and receive a W-9 before the first payment.
- Enter the exact legal name and Tax ID from the W-9.
- Mark the vendor as 1099-eligible or not, based on their entity type and payment type.
- Note any special coding (e.g., “legal fees – 1099-MISC box 10”).
Example:
You hire a freelance designer who is a sole proprietor. You:
- Collect their W-9.
- Mark them as 1099-NEC eligible.
- Ensure design invoices are posted to your “Contractors” expense account, mapped to 1099-NEC.
2. Review Vendor Coding for 1099
At month-end:
- Run a vendor list report showing:
- Vendor name
- Entity type (if captured)
- 1099 status (yes/no)
- Review for inconsistencies (e.g., individual contractors not marked as 1099 vendors).
Adjust vendor coding for 1099 as needed:
- Correct vendors wrongly marked as corporations when they’re actually sole props.
- Mark law firms and landlords correctly even if organized as corporations (since certain legal and rent payments are still reportable).
3. Reconcile 1099-Eligible Expense Accounts
Identify the main accounts that hold 1099-eligible transactions, such as:
- Contract labor / professional services
- Legal fees
- Rent
- Commissions
- Non-employee bonuses or prizes
Each month:
- Review transactions in these accounts.
- Confirm the vendor field is populated and accurate for each transaction.
- Ensure payment method is clear (check, ACH, credit card, etc.).
Why payment method matters: Payments via credit card or certain third-party platforms (e.g., PayPal, Stripe) are usually reported by the processor on Form 1099-K, not by you. You still need clear records, but those payments often should not be included in your 1099 totals.
4. Tag Exceptions and Special Cases
Not all reportable payments fit neatly into “contractor” buckets. Use notes or custom fields to track edge cases, such as:
- Attorney fees: Often reportable regardless of entity type; many go on 1099-MISC Box 10.
- Medical and healthcare payments: Usually 1099-MISC Box 6.
- Rents: 1099-MISC Box 1.
- Royalties: 1099-MISC Box 2 (with a $10 threshold, not $600).
Each month, scan for transactions in these categories and make sure:
- The vendor is set to the correct 1099 form and box.
- The expense account is properly mapped for 1099 reporting.
5. Identify Vendors Approaching Thresholds
At least quarterly (or monthly if your volume is high):
- Run a report of year-to-date payments to 1099-eligible vendors.
- Sort by total amount paid.
- Flag those near the $600 threshold (or $10 for royalties).
This lets you:
- Confirm W-9s are on file before they cross the threshold.
- Double-check that the vendor coding and account mapping are correct early, rather than realizing later that half their payments went to the wrong account.
6. Clean Up Missing Data and Duplicates
Data cleanup is easier one month at a time than in a 12-month batch.
Monthly, look for:
- Vendors with missing addresses.
- Duplicate vendors with slight name variations (e.g., “ABC Consulting” vs. “ABC Consulting LLC”).
- Transactions posted to generic vendors like “Misc Vendor” or “Cash.”
Merge or correct records and reassign transactions while the trail is fresh.
Quarterly and Pre-Year-End 1099 Checks
Monthly work handles the details; quarterly and pre-year-end checks make sure the big picture is right.
Quarterly Review: Mini 1099 Audit
Once a quarter:
- Run a preliminary 1099 report from your accounting software.
- Check for:
- Vendors showing $0 when you know you’ve paid them (likely mis-coding).
- Vendors with large totals that might include non-reportable payments (e.g., credit card payments mis-tagged).
- Spot-test several vendors:
- Compare report totals to their GL activity.
- Ensure mapping to 1099 boxes looks reasonable.
This “mini audit” prevents silent errors from building all year.
November/December: Dress Rehearsal for January
Before the year ends, do a 1099 “pre-close”:
- Run a full draft 1099 report.
- Confirm:
- W-9 on file for every payee that will likely receive a 1099.
- Names and TINs match W-9s.
- Addresses are complete and current.
- Chase down any missing W-9s before the holidays hit.
By the last payroll or AP run of the year, you should be confident that:
- Every 1099 vendor is correctly flagged.
- All 1099-eligible payments are in the proper accounts.
- All data fields needed for forms are populated.
When January arrives, the “work” is mostly review and submission.
Practical Tips for Vendor Coding for 1099
Getting vendor coding for 1099 right is where many businesses stumble. Some key pointers:
Know Who Typically Gets a 1099
Common 1099-NEC recipients:
- Independent contractors and freelancers
- Consultants and coaches
- Guest speakers and trainers
- Commission-only sales reps
- Directors or non-employee board members
Common 1099-MISC categories:
- Landlords (rent)
- Attorneys (fees, settlements)
- Medical and healthcare providers (certain payments)
- Royalty recipients
Understand Who Usually Does Not
Generally excluded from 1099-NEC/MISC (but confirm with your tax advisor):
- C corporations and S corporations (except certain attorneys and medical providers)
- Vendors paid exclusively by credit card/PayPal, if those payments will be covered by a 1099-K from the processor
- Employees, who belong on W-2, not on 1099
This is why accurate W-9s and entity type coding are so important.
Use Accounts and Classes Wisely
To make 1099 reporting smoother:
- Use distinct expense accounts for 1099-heavy categories (e.g., “Contract Labor,” “Legal Fees,” “Rent – Office”).
- Avoid dumping all vendor payments into generic accounts like “Professional Services” without sub-accounts or classes.
- Map these accounts in your accounting software to the appropriate 1099 boxes where possible.
Good account structure supports both solid financial reporting and clean 1099s.
Simple Tools and Templates to Support 1099 Readiness
You don’t need complex software to stay ready; even small systems can support a strong year-round 1099 workflow.
Consider:
- Standardized vendor onboarding form:
Include sections for:- Legal name, DBA
- Address, email, phone
- Entity type
- W-9 upload link
- Bank info if you pay by ACH (stored securely)
- Monthly 1099 checklist template:
Keep a one-page checklist in your close process with:- New vendor W-9s collected and filed
- Vendor 1099 status review completed
- 1099-eligible accounts reviewed and reconciled
- Potential threshold-crossing vendors identified
- Vendor master spreadsheet (if not fully in software):
Track:- Vendor ID
- Name
- 1099 yes/no
- Form and box
- W-9 received (Y/N)
- Notes (e.g., “Paid only via credit card”)
Update this monthly based on your accounting system exports.
Conclusion: Make January a Review, Not a Rescue Mission
1099 season doesn’t have to be a scramble. When 1099 readiness bookkeeping is integrated into your regular monthly routine, the information you need is already organized and accurate.
By:
- Collecting W-9s as a default rule,
- Coding vendors correctly from day one,
- Running a consistent monthly 1099 checklist, and
- Performing quick quarterly and pre-year-end reviews,
you transform 1099s from a dreaded annual project into a simple administrative task.
The forms themselves are just the final step. The real work—and the real savings in time and stress—comes from the habits you build all year long.
Simplify This With Debits
Debits helps accounting firms handle exactly what this article covers. No spreadsheets, no chasing clients, no guesswork.
- 1099 Preparation — Included with bookkeeping
- Uncategorized Transactions — $2/client/month