
Accountants and clients can invite coworkers to access a client’s Debits account. These coworkers can be given different levels of access and can be restricted to only see specific payment accounts.
There are two main types of client coworker roles:
- Client Admin – Has access to all accounts synced.
- Client Staff – Has limited access to transactions specific to the accounts you select.
You can control which payment accounts each user can see so they only work with the expenses relevant to them.
Step-by-Step: Adding a Client User #

Log in to Debits and go to Companies
- Sign in to your Debits account.
- From the main navigation, click on Companies.
- Select the client company where you want to add a new user (if prompted).
Open the Client Users section
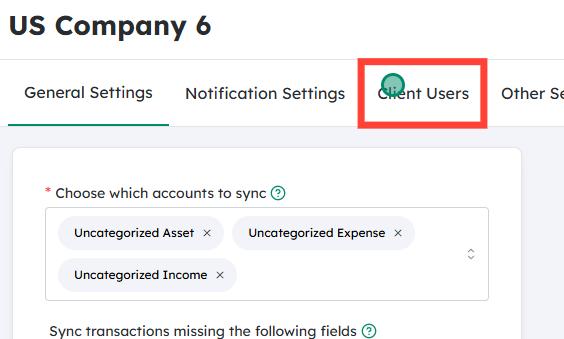
- Within the selected Company, click on Client Users.
- This page shows all existing users who have access to this client’s Debits account.
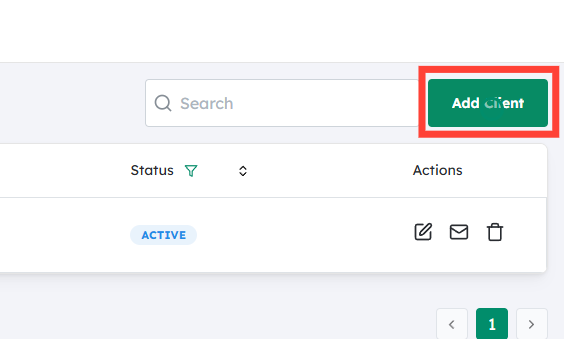
Click on “Add Client”
- On the Client Users page, click the Add Client button.
- This opens a form where you can add a new user and configure their access.
Enter user details and set their role and account visibility
In the Add Client form:
- Email: Enter the coworker’s email address.
This is where their invitation will be sent. - Role: Select the appropriate role:
- Client Admin – For users who need broad access to manage accounts, settings, and users.
- Client Staff – For users who should have limited access, usually focused on viewing or submitting expenses.
- Accounts to Show: Select which payment accounts this user can access.
- You can choose one or multiple payment accounts.
- Any payment accounts not selected will be hidden from this user.
This is how you restrict what client staff (or admins) can see. For example:
- User A can be assigned only to Payment Account 1.
- User B can be assigned only to Payment Account 2.
As a result, each user sees and manages only the expenses and transactions from the accounts you’ve assigned to them.
 #
#
Assigning Specific Accounts per User (via Settings) #
You can also adjust account access later, from Settings:
- Navigate to Settings for the client.
- Go to the User or Access settings section (depending on your interface).
- Select the user you want to update.
- Choose which payment accounts they should be able to view and manage.
- Save your changes.
This allows ongoing fine-tuning. For example:
- A team member changing departments can be moved from one payment account to another.
- Seasonal or project-based staff can be restricted to just the accounts relevant to their project.
 #
#
Submit the Invitation #
- After filling in the user’s details, role, and account access, click Submit.
- The system will create a pending user and send them an email invitation.
 #
#
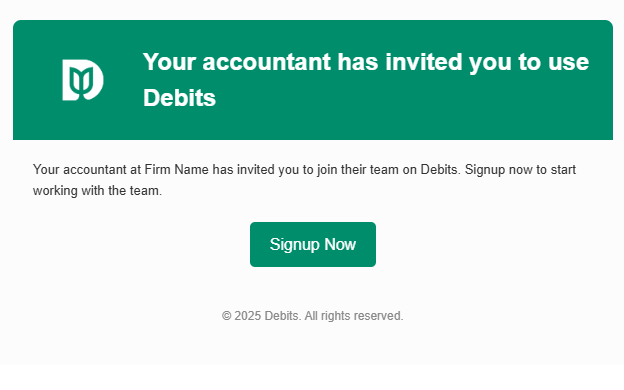
What the Client User Sees (Example Email) #
The invited user will receive an email that typically includes:
- A welcome message indicating they’ve been granted access to Debits on behalf of your client.
- A link to set up their account, create a password, and log in.
- Any relevant information about what they’ll be able to do once logged in (depending on their role and assigned accounts).
Once the user clicks the link and completes setup, they’ll be able to log in and see only the payment accounts and data you’ve assigned to them.


