Within the company’s accounting or setup section, go to the Categories or Chart of Accounts page.
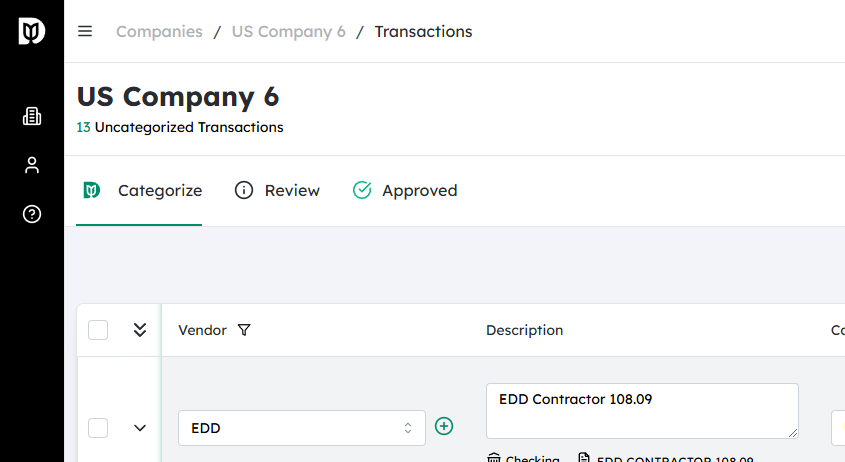
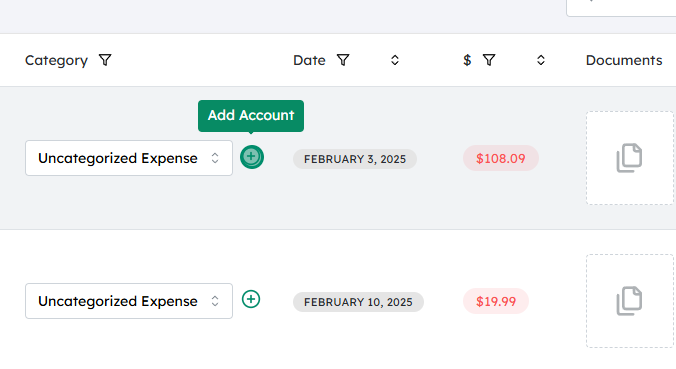
Look for a “+” (plus) button or “Add Category” button next to the Category heading or within the list of existing categories.
Click this plus button to start creating a new account entry under the selected category.
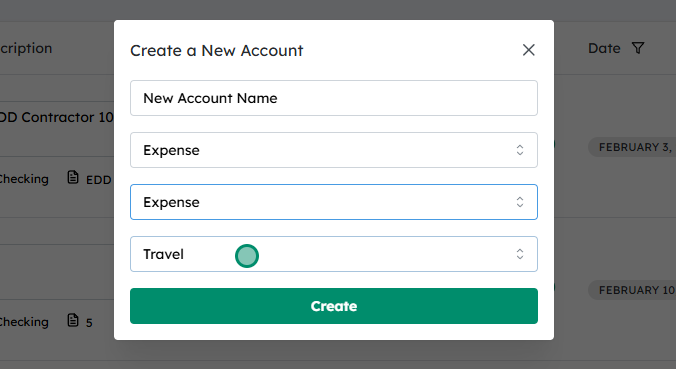
Enter the desired Account Name, Type, Account, and Sub‑Account #
In the “Add Account” or “New Category” form that appears, fill in the following fields:
Account Name: A clear, descriptive name (e.g., “Office Supplies,” “Consulting Revenue”).
Type: Choose the correct account type from the dropdown (e.g., Asset, Liability, Equity, Income, Expense), based on how this account should behave in reports.
Account: Enter the main account code or number if your system uses a numbering scheme (e.g., 5000 for Expenses, 4000 for Revenue).
Sub‑Account (if applicable):
If this account should sit under a parent account (e.g., “Office Supplies” under “Administrative Expenses”), choose or enter the parent account.
This helps organize reporting and roll‑up totals correctly.
Review all details for accuracy (especially Type and Account code), then click Save / Create to add the new account to the company’s categories.