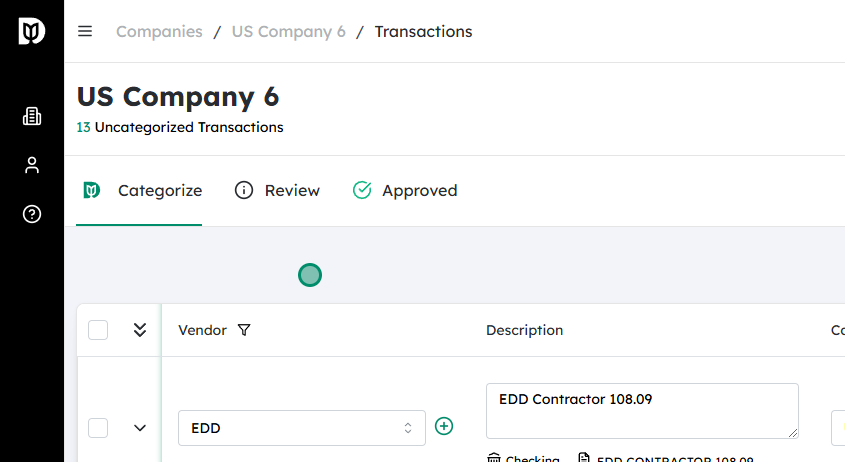
Navigate to the desired Company #
- From the main menu, go to the section where your companies are listed (for example, “Companies” or “Organization”).
- Locate and select the company you want to work with. This will open the company’s details or its list of related transactions.
Expand the row under the desired transaction #
- In the selected company, find the transaction list (such as invoices, orders, or sales records).
- Identify the specific transaction you want to edit or add a customer to.
- Click the arrow, caret, or “expand” icon on that row to show additional details for the transaction.

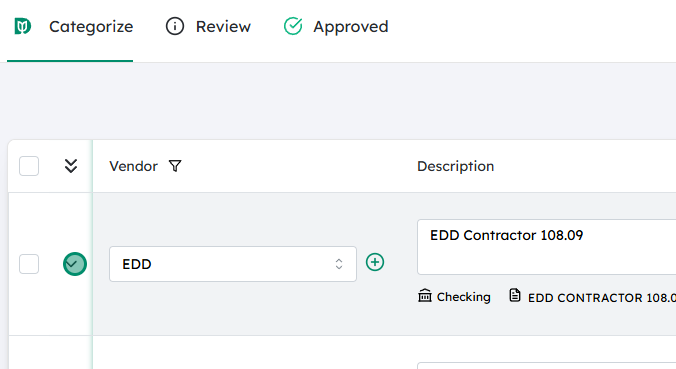
Click on the plus (+) icon next to the Customer field #
- In the expanded transaction details, locate the Customer field.
- Next to this field, you should see a + (plus) icon indicating that you can add a new customer.
- Click this plus icon to open the “Create New Customer” window or form.

Enter the new Customer name and click on Create #
- In the “New Customer” form, type the customer’s name in the required field.
- Fill in any additional required information if prompted (such as email, phone number, or address, depending on your system).
- When finished, click Create (or Save) to add the new customer.
- The newly created customer will then be automatically selected and linked to the current transaction.
Updated on December 2, 2025


