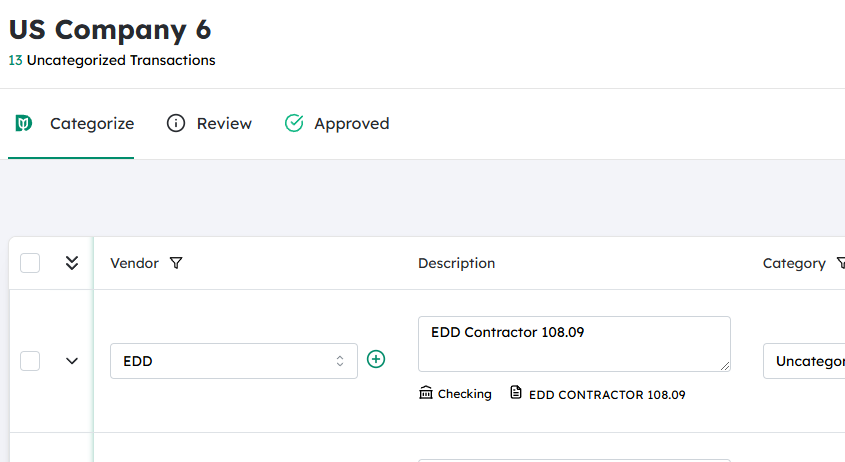
Navigate to the desired Company #
- From the main dashboard or home screen, open the Companies (or equivalent) menu.
- Browse or search for the specific company whose transaction you want to work with.
- Click on the company name to open its details and access its list of transactions.

Click on the Attachment icon on the desired transaction #
- In the company’s transaction list (e.g., invoices, bills, journal entries), locate the specific transaction you want to review or update.
- Look for the Attachment icon (often shown as a paperclip or similar symbol) associated with that transaction.
- Click the Attachment icon to open the attachments panel or window, where you can see or add files related to that transaction.
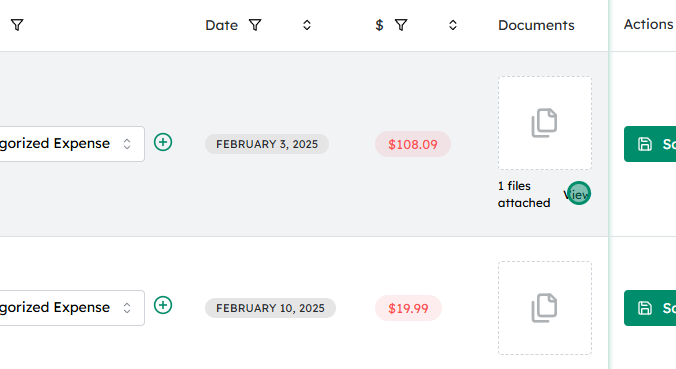
To view existing attachments, click on “View” next to the “files attached” notice #
- In the attachments panel, you’ll see a note such as “X files attached” indicating how many documents are already linked to this transaction.
- Click the View link/button next to this notice.
- A list of all attached files will appear. From there you can:
- Open an attachment by clicking its file name or preview icon.
- Download it to your device (if available).
- Perform any other allowed actions such as removing or replacing attachments, depending on your access permissions.
Updated on December 2, 2025

 #
#


