
 #
#
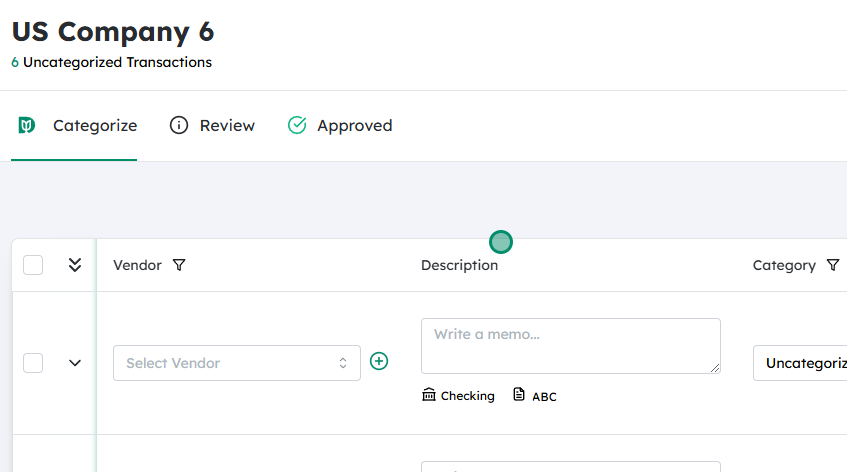
Navigate to the Company Transactions page #
- From the main menu, go to Company (or the equivalent section in your system).
- Select Transactions to open the Company Transactions screen, where you can view and manage all existing accounts and their activity.
Click on the “+” (plus) icon to add a new account #
- Locate the + icon, usually found at the top right or near the account list.
- Click this icon to open the New Account (or similar) creation form.
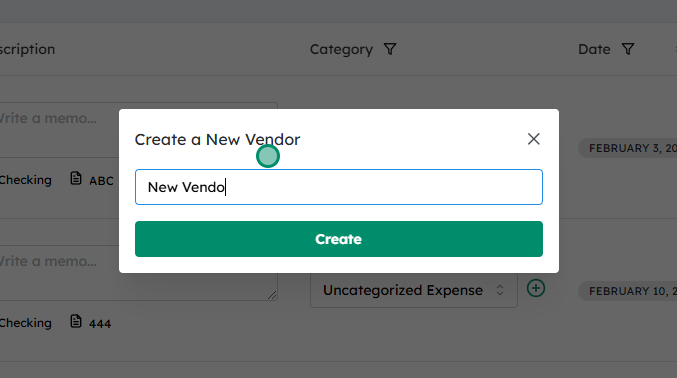
Enter the details for the new account #
- In the Account Name field, type the name you want to assign to the new account.
Create and save the new account #
- Once all required information is entered, click Create (or Save) to finalize the setup.
- The new account should now appear in your Company Transactions list and be available for future entries or adjustments.
Note: #
You will only have the ability to add new accounts if your accountant has enabled this feature for you.


