Navigate to the desired Company #
From the main dashboard or company list, locate the company you want to work with.
Click on the company name to open its detailed record or profile page.
Ensure you are on the correct company record before adding a vendor (check the company name and any key identifiers).
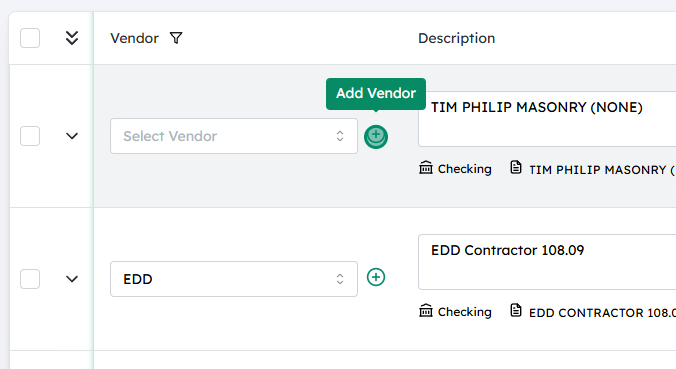
Click on the plus (+) button next to the Vendor field #
On the company page, find the Vendor field or section.
Next to this field, you should see a + (plus) icon or an “Add” button.
Click this plus button to start creating a new vendor associated with this company.
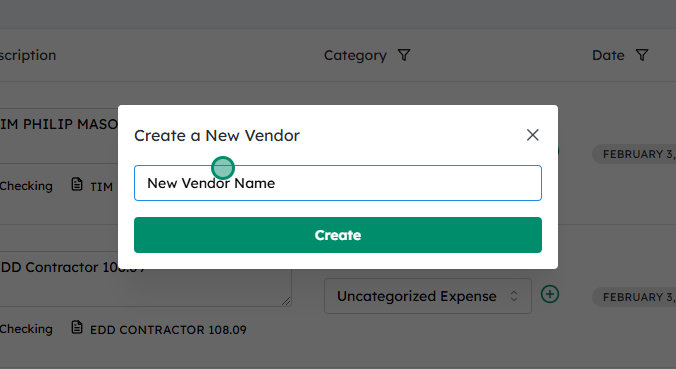
Type in the new vendor name #
A pop-up window or inline form will appear for adding a vendor.
In the Vendor Name field, enter the full name of the new vendor exactly as it should appear in your records.
If available, you may also fill in any additional fields (e.g., contact information, address, payment terms), but the name is typically required.
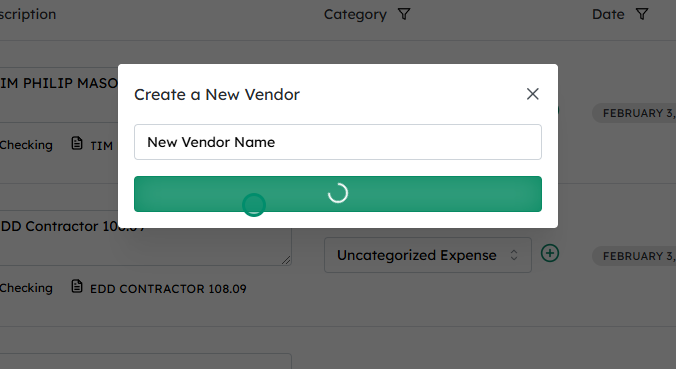
Click on Create #
After entering the vendor name (and any other required fields), review the information for accuracy.
Click the Create (or Save ) button to finish adding the vendor.
The new vendor will now be saved and should appear in the Vendor field for this company, and be available for selection in future transactions or records.
Updated on December 2, 2025

 #
#