From the main dashboard or home screen, locate your list of companies or clients (often found under a menu like “Companies,” “Clients,” “Customers,” or “Organization List”).
Scroll through or use the search bar to find the specific company you want to work with.
Click the company’s name to open its profile or detail page. This ensures that any actions you take next apply to this particular company.
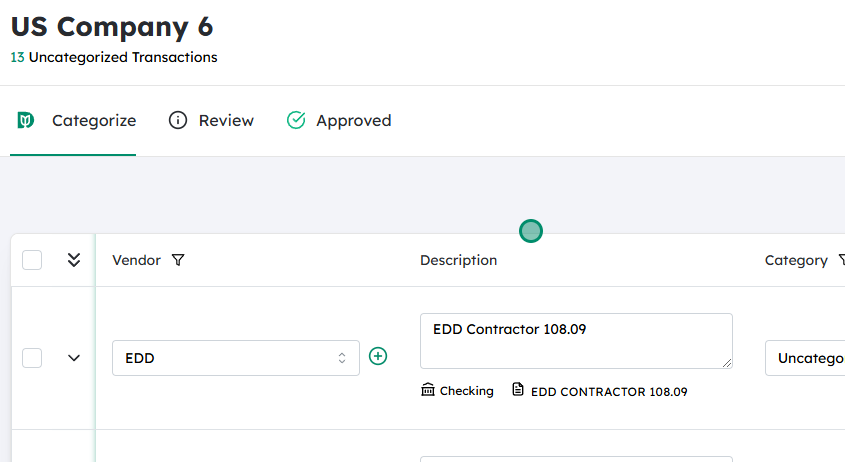
Within the selected company’s profile, go to the area where its transactions are listed (for example, Invoices, Sales, Expenses, Jobs, or Project Transactions, depending on your system).
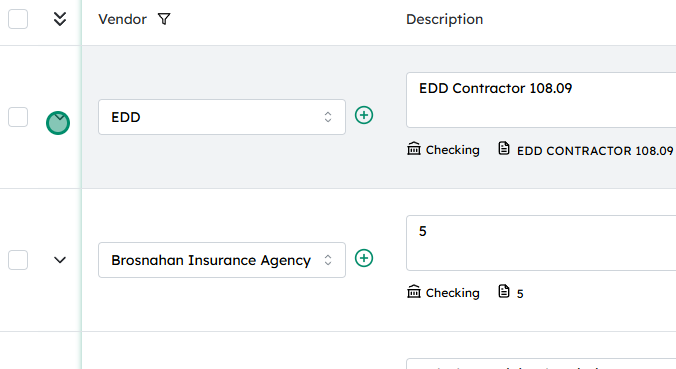
Locate the specific transaction you want to mark as billable. You can usually filter, sort, or search by date, reference number, or status.
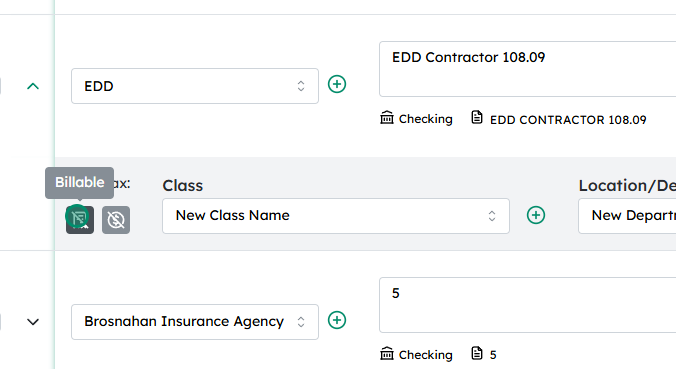
Once you find it, click on the transaction row or on an “Expand,” “Details,” or “View” icon. This will open or expand the full transaction details so you can see and modify its settings.