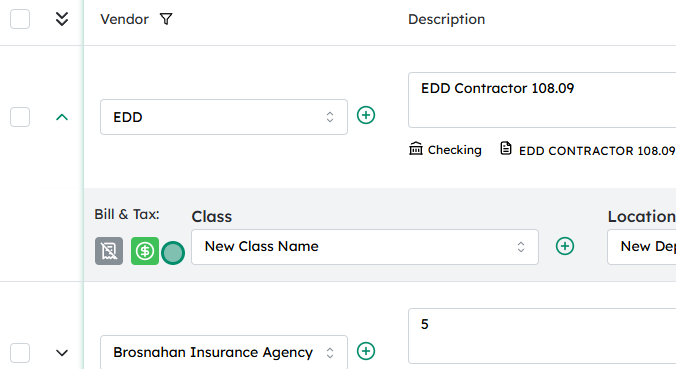
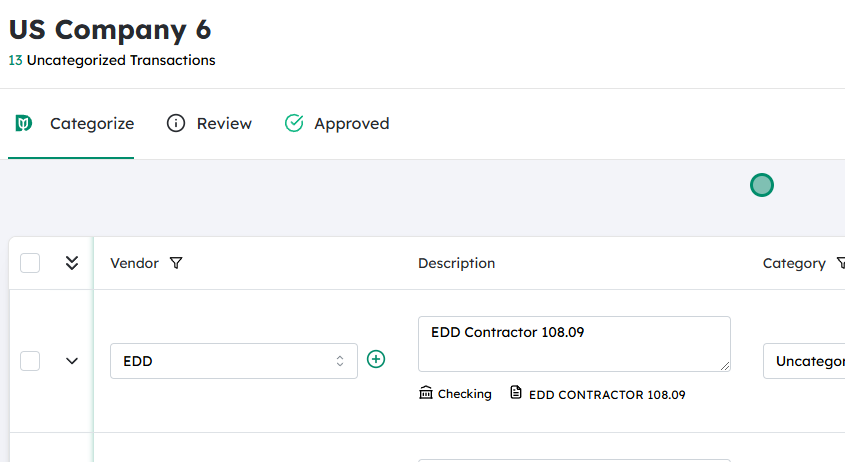
In the transaction detail view, locate the Tax icon. This is usually near the totals section or alongside the transaction header/summary.
Click the Tax icon to enable tax calculation for that transaction. Depending on your system, this may open a small settings area, or it may simply activate tax for all eligible lines.
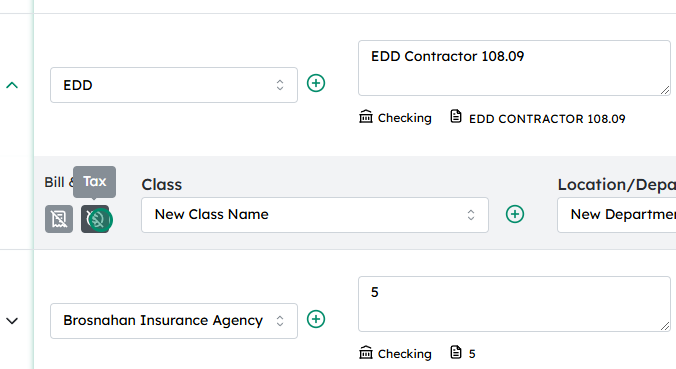
After you click, the Tax icon should visually change (for example, change color, become highlighted, or show a checkmark) to indicate that tax is now active for this transaction.
Verify that tax amounts are now appearing in the totals or on applicable line items. If necessary, review the tax details (rate, jurisdiction, and amount) to ensure they are correct before saving the transaction.

 #
#