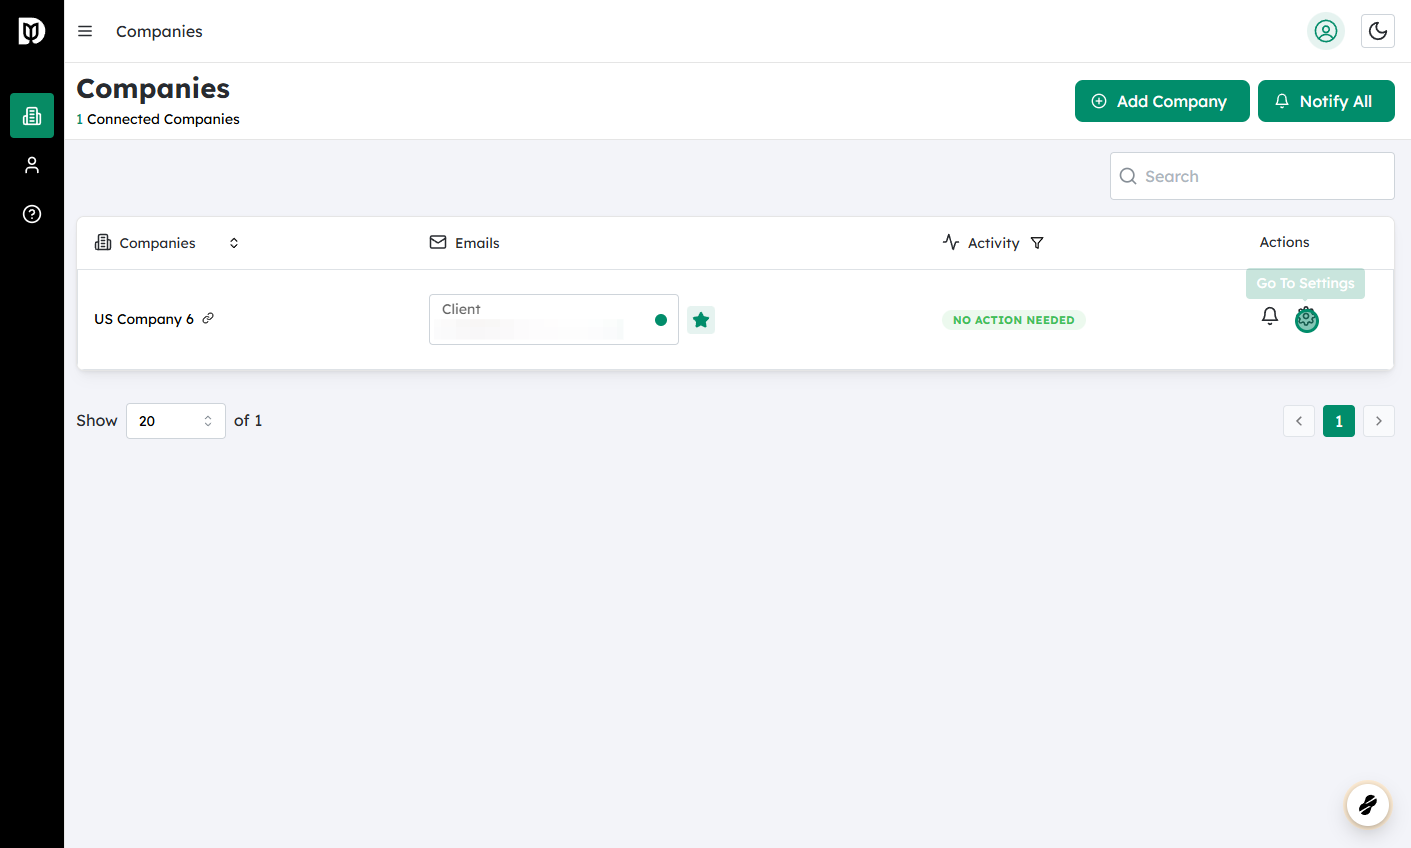
In the Companies list, find the company whose category list you want to change.
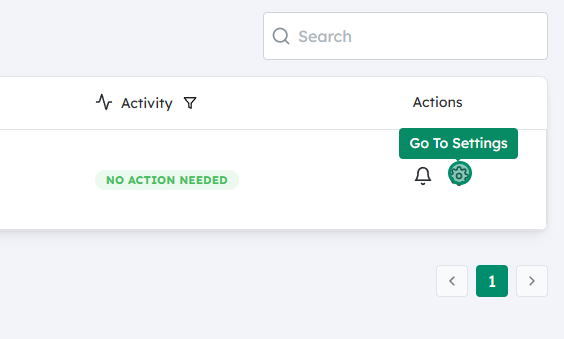
On that company’s row or card, look for the Settings icon (typically a gear or three dots).
Click the Settings icon to open the configuration options for that company.
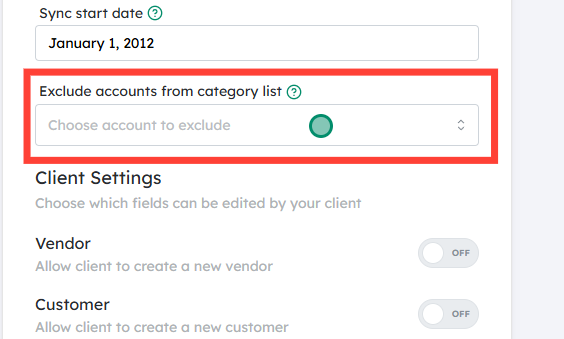
Access the “Exclude accounts from category list” option #
Within the company’s settings menu, look for an option labeled “Exclude accounts from category list”.
Click this option to open the exclusion settings. This screen controls which categories will no longer appear or be available for selection for this company.
You should now see a list of categories (or accounts) that can be excluded.
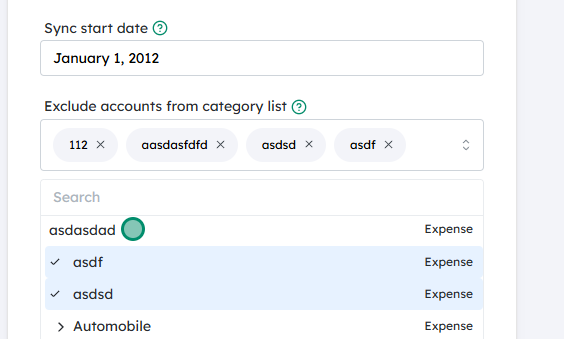
Browse or search through the list and tick/mark the checkboxes next to each category you want to exclude.
Excluded categories will not appear in the company’s category dropdowns or category selection lists going forward (depending on how Debits implements this setting).
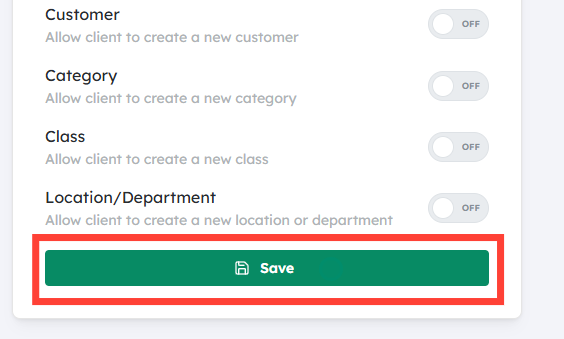
After selecting all the categories you want to exclude, scroll to the bottom (if needed) and click “Save”.
Wait for confirmation (e.g., a success message, banner, or updated screen) indicating that your changes have been applied.
Your selected categories are now excluded for that company’s category list. You can revisit the same settings later if you need to add or remove exclusions.