

Navigate to the Tax Organizers section #
- From your main dashboard or home screen, look for a menu item labeled “Tax Organizers”
- Click Tax Organizers to open the list of available organizers for your clients.
Open the Actions Menu for the relevant organizer #
- In the Tax Organizers list, locate the specific organizer you want to work with (for example, by client name, tax year, or organizer status).
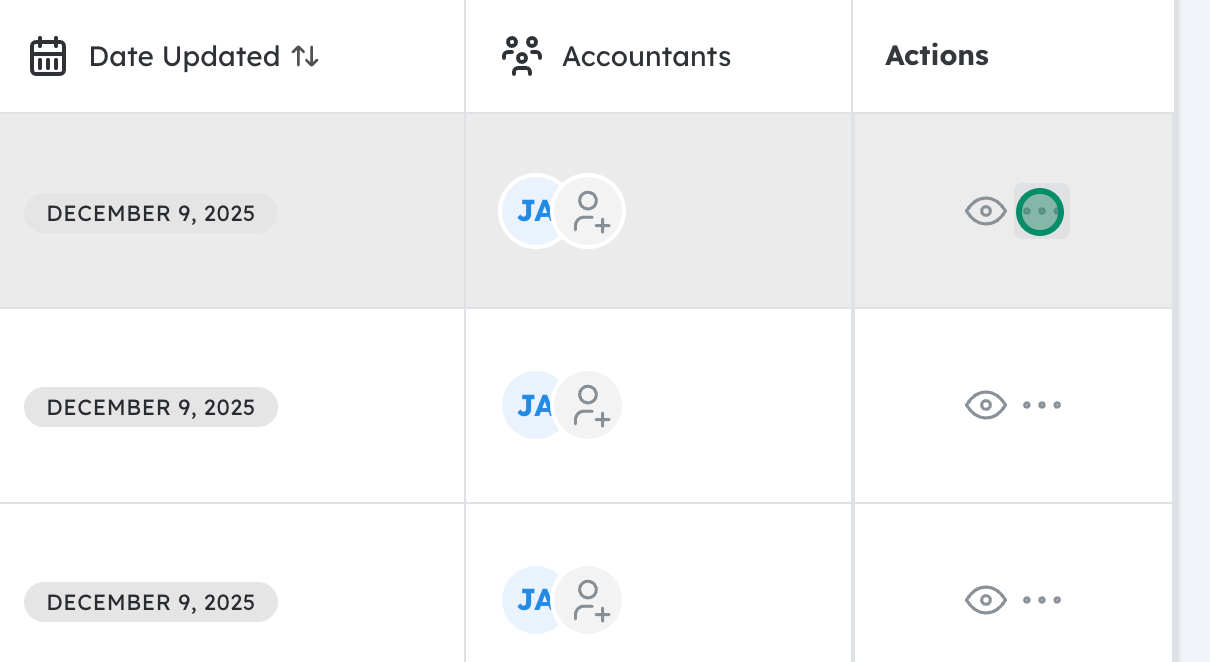
- On that row, find the Actions Menu—this is often represented by three dots (⋮), a gear icon, or a button labeled “Actions”.
- Click the Actions Menu to reveal additional options for that organizer.

Select “Organizer tasks” #
- From the dropdown or pop-up menu that appears, look for the option labeled “Organizer tasks”.
- Click Organizer tasks to open the task-specific view, where you can:
- Review existing tasks related to that organizer
- Assign or reassign tasks to team members
- Update task statuses
- Add additional tasks to the list
Following these steps will bring you directly to the task management area for the selected tax organizer, allowing you to track and manage all work items tied to that organizer.


