
Stressed about what happens after a tax return is prepared—but before it’s safely archived? That gap is exactly where errors, missed signatures, and compliance issues creep in. A simple, standardized tax return delivery checklist template can close that gap and give your team a clear path from draft to archive.
Below is a free, structured approach you can adapt immediately to tighten your delivery, approval, and archival process.
Why You Need a Tax Return Delivery Checklist
Even well-run firms often struggle with the “last mile” of the tax process:
- Returns sent without proper sign-off
- Missing e-file authorizations
- Inconsistent communication with clients
- Files archived before final approval
- Difficulty proving compliance during a review or audit
A documented tax return closeout checklist solves these issues by:
- Creating a repeatable, firm-wide standard
- Reducing rework and bottlenecks
- Protecting the firm from risk and disputes
- Improving the client experience with clear steps and expectations
Use the framework below as your tax return delivery checklist template and customize it to your practice management system, e-sign platform, and filing workflows.
Phase 1: Client Acceptance & Engagement
Before you deliver any return, confirm you should be working with the client in the first place. A brief client acceptance checklist helps your firm stay compliant and protect its reputation.
Client Acceptance & Setup
- Confirm client identity and perform necessary KYC / AML checks
- Review for conflicts of interest and independence issues
- Verify scope of work (personal, business, multi-state, international, etc.)
- Send and obtain signed engagement letter
- Confirm fee structure, payment terms, and communication channels
- Collect prior-year returns and necessary client documents
Once this foundation is complete, you can safely proceed through preparation and review, confident that the engagement is on solid ground.
Phase 2: Pre-Delivery Quality Review
This step ensures the return is technically accurate, internally consistent, and in line with your firm’s standards before the client ever sees it.
Technical & Compliance Review
- Verify all data entry against source documents
- Check key reconciliations (e.g., books to return, W-2/1099 totals, depreciation)
- Confirm correct filing status, entity classification, and elections
- Review credits, deductions, and carryforwards for eligibility and support
- Validate e-file eligibility and confirm required attachments (PDFs, statements, elections)
Internal Review & Sign-Off
- Prepare internal review notes and clear all reviewer comments
- Confirm senior/preparing CPA has approved the final version
- Lock or version-control the return in your system to prevent untracked edits
At this point, the return should be ready to present to the client confidently.
Phase 3: Delivery, Client Approval & Post-Filing Tasks
Now you move into the client-facing stage. This is where clear communication—and a solid post filing checklist—is essential.
Client Delivery & Explanation
- Generate a clean, client-facing copy of the return (and a separate working copy if needed)
- Prepare a brief summary letter: key changes from prior year, refund/balance due, deadlines
- Send secure access instructions (portal link, password, or encryption details)
- Offer a review meeting (virtual or in-person) for complex returns
Client Approval & Authorizations
- Obtain signed e-file authorization forms (e.g., Form 8879 in the U.S.)
- Confirm the client has reviewed and approved the final return version
- Document approval in your practice management or CRM system
- Verify payment arrangements for your fee and any tax due
Filing & Confirmation (Post-Filing Checklist)
Once approved, your post filing checklist should cover:
- Transmit e-filed returns and verify acceptance from tax authorities
- For paper filings, confirm mailing method, tracking, and deadlines
- Store proof of filing (e-file acknowledgments, tracking receipts)
- Send the client confirmation of filing and any payment vouchers
- Provide next steps: estimated tax schedules, planning notes, or reminders
This phase closes the loop with the client and ensures you can demonstrate exactly what was filed and when.
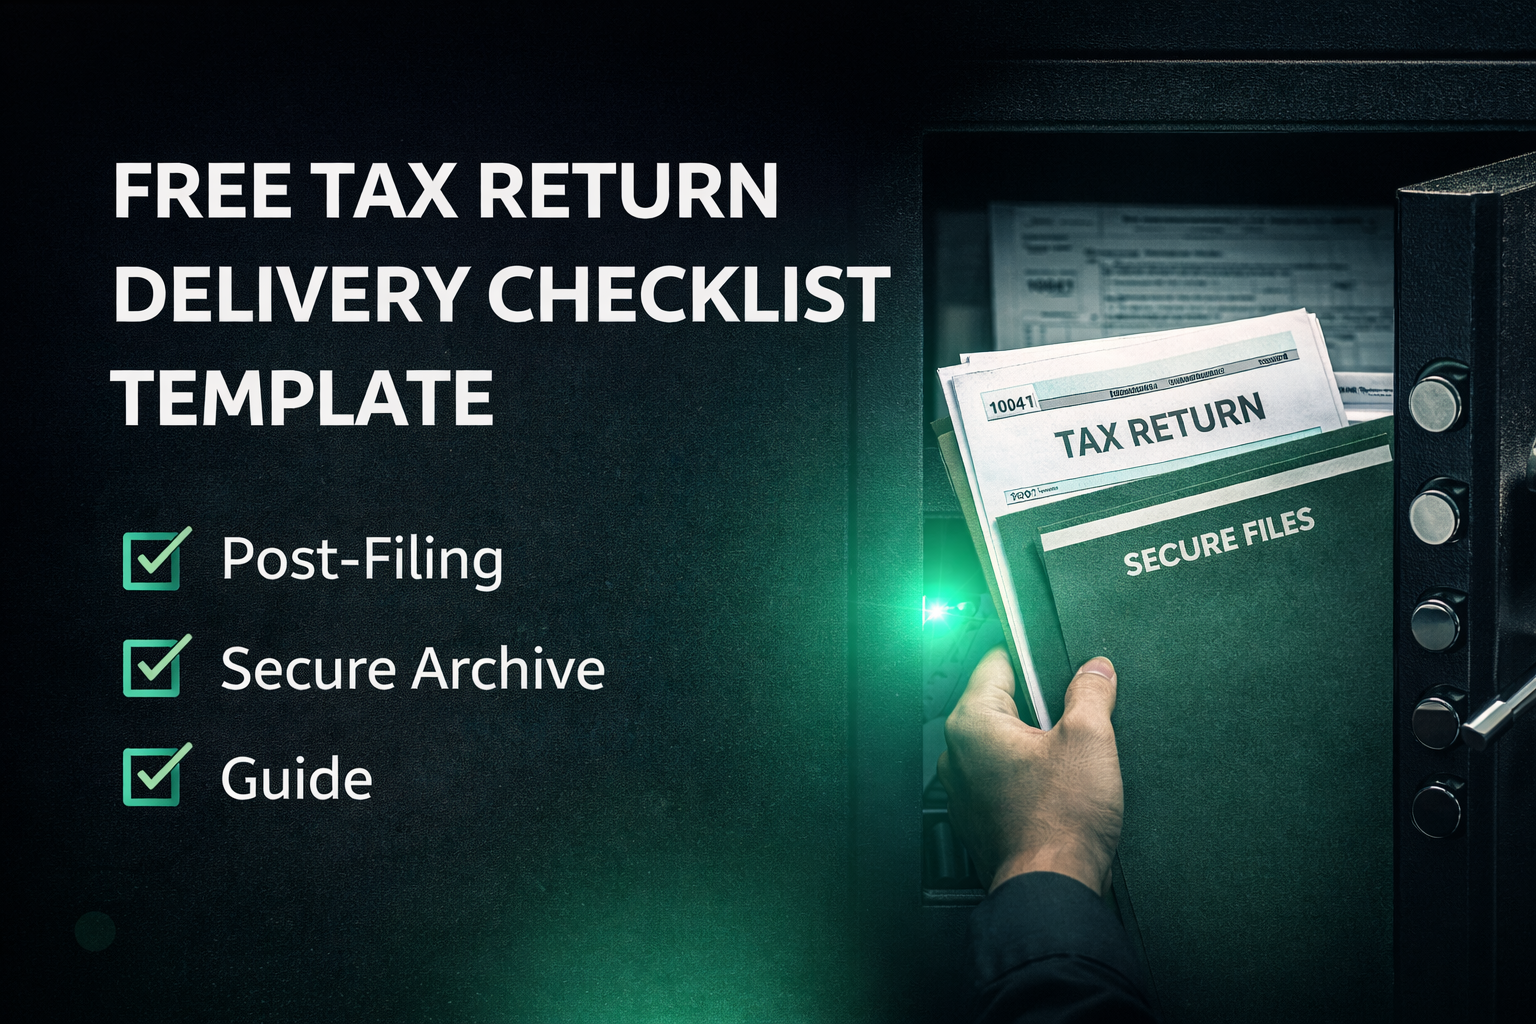
Phase 4: Closeout & Secure Archiving
After filing, your tax return closeout checklist and secure archive checklist prevent unfinished tasks and data exposure.
Engagement Closeout
- Confirm all related returns (federal, state, local) have been filed or scheduled
- Ensure all invoices are issued and payment status is clear
- Tag the engagement as “complete” in your system
Secure Archive Checklist
For your secure archive checklist, focus on what to keep, how to protect it, and for how long:
- Save final signed copies of the tax return and e-file authorizations
- Store key workpapers, calculations, and supporting documents
- Apply appropriate retention policies based on firm rules and regulations
- Ensure files are stored in an encrypted, access-controlled environment
- Restrict access to the archived file to appropriate team roles
- Document archival date and retention end date
Done correctly, this step protects client data, simplifies future-year prep, and supports you in the event of an inquiry or audit.
Turn This Framework into Your Firm’s Standard
Use this article as a tax return delivery checklist template to build your own:
- Add firm-specific tools and systems (portals, e-sign, tax software)
- Tailor steps for different return types (individual, corporate, partnership, trusts)
- Create separate quick-reference versions for staff, reviewers, and partners
Once you standardize your client acceptance checklist, delivery process, post filing checklist, and secure archive checklist, you’ll:
- Reduce risk and errors
- Improve client confidence
- Free up time at year-end and during extensions
Document the process once, train your team, and your path from “prepared” to “archived” will run on rails every season.