
Table of Contents
- Introduction
- Why Backup to a Flash Drive?
- Step 1: Prepare Your Flash Drive
- 1.1: Select a Suitable Flash Drive
- 1.2: Connect the Flash Drive
- Step 2: Create a Backup in QuickBooks
- 2.1: Open QuickBooks and Access the Backup Feature
- 2.2: Configure the Backup Settings
- 2.3: Create the Backup
- Step 3: Verify the Backup on the Flash Drive
- 3.1: Check the Backup File
- 3.2: Test the Backup (Optional)
- Step 4: Safely Eject the Flash Drive
- 4.1: Eject the Flash Drive Properly
- 4.2: Store the Flash Drive Securely
- Best Practices for Backing Up QuickBooks Data
- Conclusion
Introduction
Backing up your QuickBooks data is an essential practice to safeguard your financial information from unexpected data loss due to system crashes, hardware failures, or other unforeseen issues. One of the most reliable methods to ensure your QuickBooks data is secure is by creating a backup on a flash drive. This guide will walk you through the steps to backup QuickBooks to a flash drive, ensuring that your business’s financial records are safe and easily recoverable.
Why Backup to a Flash Drive?
- Portability: Flash drives are compact and portable, making it easy to store and transport your QuickBooks data.
- Security: Storing your backup on a flash drive provides an extra layer of security, as it can be kept offline and away from potential cyber threats.
- Accessibility: A flash drive allows you to easily transfer your QuickBooks data to another computer if needed, facilitating data recovery or system migration.
Step 1: Prepare Your Flash Drive
1.1: Select a Suitable Flash Drive
NTFS (for Windows) or FAT32. This can be done by right-clicking the drive in File Explorer (Windows) or Disk Utility (Mac) and selecting the format option.1.2: Connect the Flash Drive
File Explorer (Windows) or Finder (Mac) as a connected device.Step 2: Create a Backup in QuickBooks
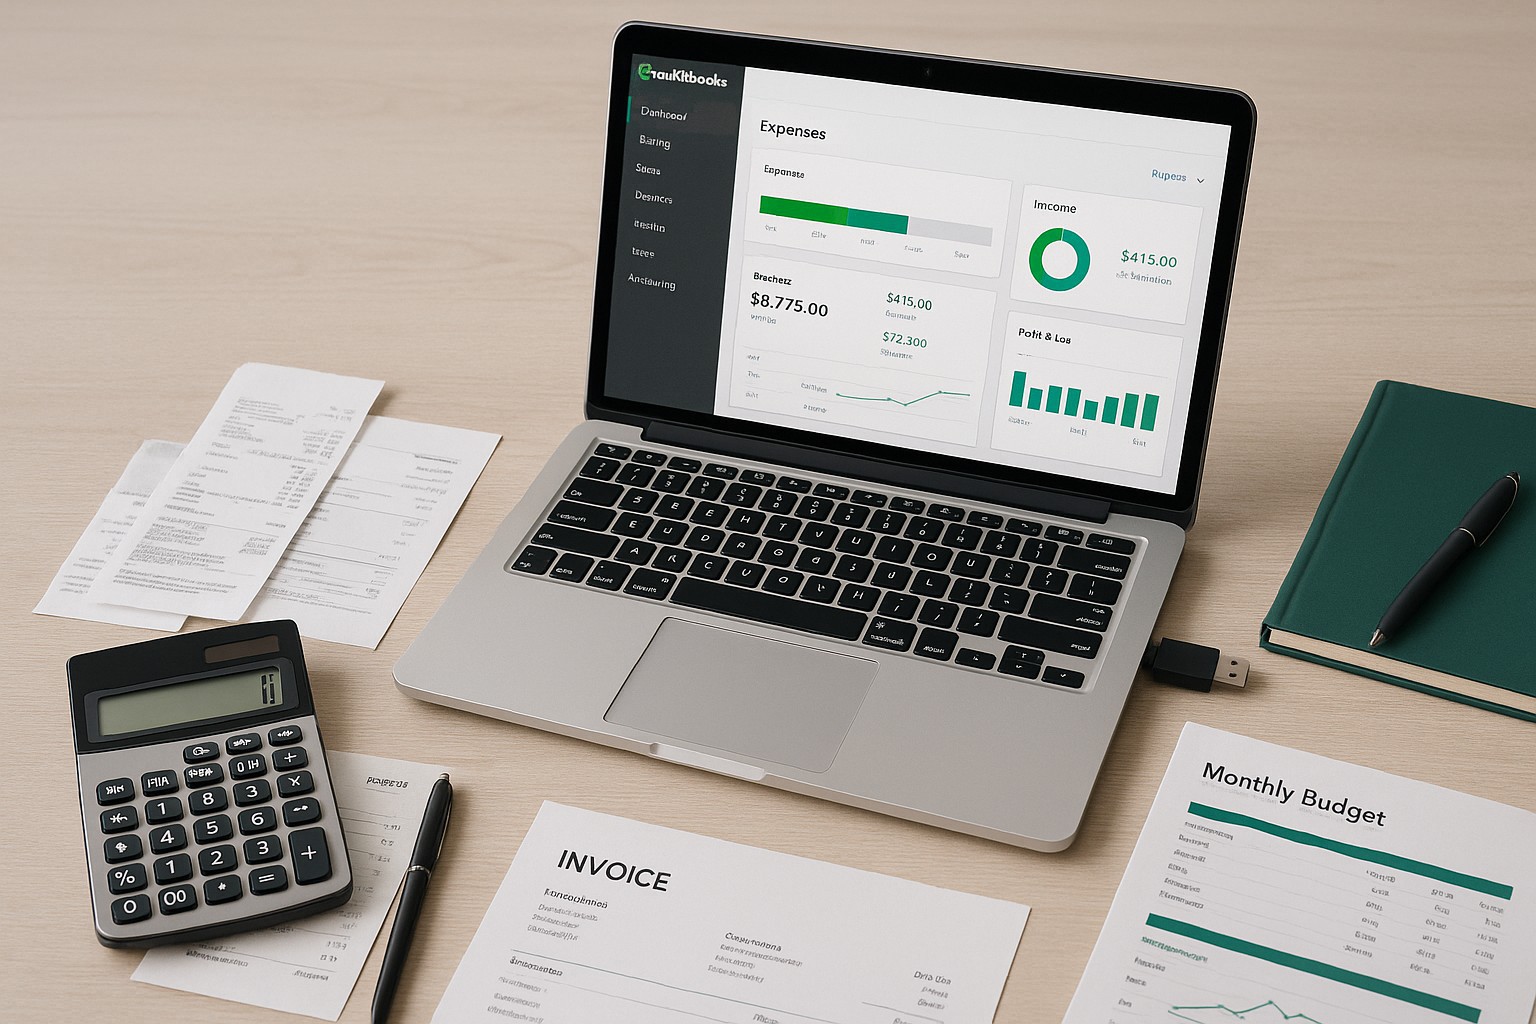
2.1: Open QuickBooks and Access the Backup Feature
File in the upper-left corner of the QuickBooks window. From the drop-down menu, select Back Up Company and then click on Create Local Backup.2.2: Configure the Backup Settings
Create Backup window, select Local Backup and then click Next.Browse to choose the location where you want to save the backup file. Navigate to your flash drive, select it, and click OK.2.3: Create the Backup
Save it now and then Next to begin the backup process.Step 3: Verify the Backup on the Flash Drive
3.1: Check the Backup File
File Explorer (Windows) or Finder (Mac) and open the flash drive..QBB extension. The file name should include the date and time if you chose that option.3.2: Test the Backup (Optional)
File > Open or Restore Company, select Restore a backup copy, and follow the prompts to load the backup.Step 4: Safely Eject the Flash Drive
4.1: Eject the Flash Drive Properly
- Click the
Safely Remove Hardware and Eject Mediaicon in the system tray. - Select your flash drive from the list and wait for the confirmation that it’s safe to remove.
- Right-click on the flash drive icon on your desktop and select
Eject. - Alternatively, drag the flash drive icon to the Trash.
4.2: Store the Flash Drive Securely
- Keep it Safe: Store your flash drive in a secure location, such as a locked drawer or safe, to prevent unauthorized access or loss.
- Avoid Environmental Damage: Protect the flash drive from extreme temperatures, moisture, and physical damage.
Best Practices for Backing Up QuickBooks Data
Conclusion
Backing up your QuickBooks data to a flash drive is a simple yet effective way to protect your financial information from data loss. By following the steps outlined in this guide, you can ensure that your QuickBooks data is securely stored and easily recoverable in the event of an emergency. Regular backups, combined with safe storage practices, will give you peace of mind knowing that your business’s financial records are protected.