
Table of Contents
- Introduction
- Step 1: Access the Customers Section
- Step 2: Add a New Customer
- 2.1: Manually Add a Customer
- 2.2: Import Customers from a CSV File
- Step 3: Organize Customers with Sub-customers (Optional)
- Step 4: Manage Customer Information
- 4.1: Edit Customer Details
- 4.2: Merge Duplicate Customers
- Step 5: Create Transactions for Customers
- 5.1: Create an Invoice
- 5.2: Record a Payment
- Step 6: Monitor Customer Balances and Reports
- 6.1: Run the A/R Aging Summary Report
- 6.2: Run the Customer Balance Detail Report
- Best Practices for Managing Customers in QuickBooks Online
- Conclusion
Introduction
Setting up customers in QuickBooks Online is essential for managing sales transactions, invoices, and payments. Whether you’re a new business or transitioning from another system, having your customers accurately recorded in QuickBooks helps streamline your billing process, track sales, and manage your cash flow efficiently. This guide will walk you through the steps to properly set up customers in QuickBooks Online, ensuring that your business stays organized and your financial records remain accurate.
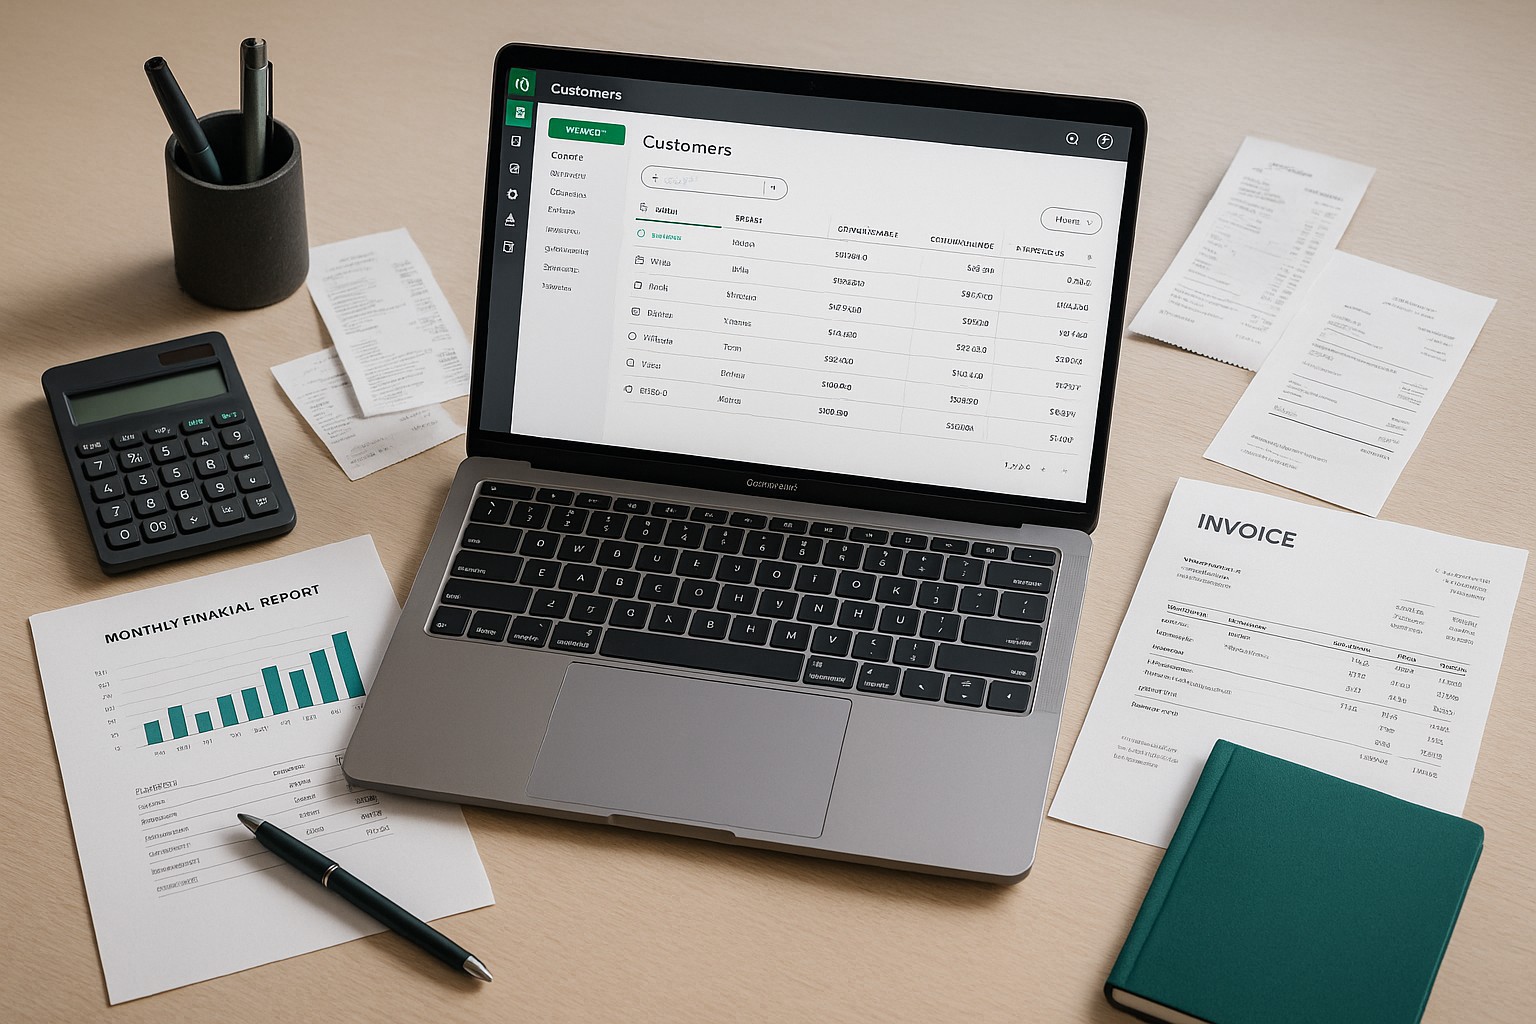
Step 1: Access the Customers Section
- Log in to QuickBooks Online: Start by logging into your QuickBooks Online account.
- Navigate to the Sales Section: In the left-hand navigation menu, click on
Sales. - Go to Customers: Under the Sales menu, click on
Customers. This will take you to the Customer Center, where you can view, add, and manage your customers.
Step 2: Add a New Customer
2.1: Manually Add a Customer
New customer button in the upper-right corner.- Customer Name: Enter the customer’s name or the business name.
- Email: Input the customer’s email address to send invoices or receipts digitally.
- Phone Number: Add the customer’s phone number for easy contact.
- Billing Address: Include the customer’s billing address to ensure that invoices are correctly formatted.
- Terms: Select payment terms, such as Net 30, Net 60, or custom terms, which define when the invoice payment is due.
- Opening Balance: If the customer has an outstanding balance when you’re setting them up in QuickBooks, enter this under
Opening balanceand include the date of the balance.
- Additional Details: If you need to track other customer details, such as tax-exempt status or preferred delivery method (email or mail), you can add this information in the appropriate fields.
- Save the Customer: After entering all required information, click
Saveto add the customer to your records.
2.2: Import Customers from a CSV File
If you have a list of customers in a CSV file, QuickBooks allows you to bulk upload customer information to save time.
- Go to Import Data: Click on the
Gearicon in the top-right corner and selectImport Data. - Choose Customers: From the list of options, select
Customersto start the import process. - Upload CSV File: Browse and select your CSV file containing the customer details.
- Map the Fields: QuickBooks will prompt you to map the columns from your CSV file to the corresponding QuickBooks fields (e.g., Customer Name, Email, Phone, etc.). Ensure each field is correctly mapped.
- Review and Complete the Import: After mapping, QuickBooks will show you a preview of the data. Review the data to ensure it’s accurate, then click
Importto add your customers in bulk.
Step 3: Organize Customers with Sub-customers (Optional)
If your business deals with larger clients that have multiple departments or branches, QuickBooks Online allows you to set up sub-customers. This helps you track transactions for each division separately while still reporting on the overall parent customer.
- Create a New Sub-customer: In the Customer Center, click
New customer. - Enter Sub-customer Details: Fill in the relevant details for the sub-customer, including name, email, and phone number.
- Link to Parent Customer:
- Check the box labeled
Is sub-customer. - Select the parent customer from the drop-down list.
- Track Payments Separately: Choose whether to bill the sub-customer individually or roll up the transactions to the parent customer.
- Save the Sub-customer: Once all information is entered, click
Saveto finalize the sub-customer setup.
Step 4: Manage Customer Information
Once your customers are set up, you can easily manage and edit their information as your business relationship evolves.
4.1: Edit Customer Details
- Select the Customer: In the Customer Center, click on the customer’s name to open their profile.
- Edit Information: Click the
Editbutton in the upper-right corner to modify customer details, such as contact information, payment terms, or billing preferences. - Save Changes: After making changes, click
Saveto update the customer’s profile.
4.2: Merge Duplicate Customers
If you discover duplicate customer records in QuickBooks Online, you can merge them to maintain a clean customer list.
- Identify Duplicate Customers: Locate the duplicate customer profiles in the Customer Center.
- Rename One Customer: Open the profile of one of the duplicate customers and rename it to match the exact name of the customer you want to keep.
- Confirm the Merge: When you rename the customer, QuickBooks will prompt you with a message asking if you want to merge the two profiles. Confirm the action, and QuickBooks will combine all transactions under the single customer.
Step 5: Create Transactions for Customers
5.1: Create an Invoice
+ New and select Invoice under the “Customers” section.Save and send to email the invoice directly to the customer.5.2: Record a Payment
+ New and select Receive Payment.Save and close to finalize the transaction.Step 6: Monitor Customer Balances and Reports
QuickBooks Online offers several built-in reports to help you track your customers’ balances, overdue payments, and overall sales performance.
6.1: Run the A/R Aging Summary Report
- Go to Reports: Navigate to the
Reportssection in QuickBooks Online. - Search for A/R Aging Summary: This report shows a summary of all outstanding customer balances and the length of time the balances have been overdue.
- Review Overdue Invoices: Use this report to follow up on overdue invoices and improve your cash flow by collecting payments more promptly.
6.2: Run the Customer Balance Detail Report
Best Practices for Managing Customers in QuickBooks Online
Conclusion
Setting up and managing customers in QuickBooks Online is essential for smooth invoicing, payment tracking, and financial reporting. By following the steps outlined in this guide, you can efficiently add new customers, organize customer profiles, and manage their transactions. Regularly reviewing customer balances and reports will help you maintain healthy customer relationships and ensure timely payments, improving your business’s cash flow and financial management.