
Table of Contents
- Introduction
- Why Export a List of Items in QuickBooks?
- Types of Items You Can Export
- Step 1: Export a List of Items in QuickBooks Desktop
- 1.1: Open QuickBooks Desktop
- 1.2: Navigate to the Item List
- 1.3: Export the Item List
- 1.4: Verify Exported Data
- Step 2: Export a List of Items in QuickBooks Online
- 2.1: Log into QuickBooks Online
- 2.2: Access the Products and Services List
- 2.3: Export the Products and Services List
- 2.4: Review and Verify the Data
- Step 3: Customize the Item List Before Exporting
- 3.1: Customize Item List in QuickBooks Desktop
- 3.2: Customize Item List in QuickBooks Online
- Step 4: Import the Exported Item List (Optional)
- 4.1: Prepare the File for Import
- 4.2: Import the Item List into QuickBooks
- Step 5: Troubleshooting Common Issues
- 5.1: Missing Data in the Export
- 5.2: Incorrect Data Formatting
- 5.3: Duplicate Items
- Conclusion
Introduction
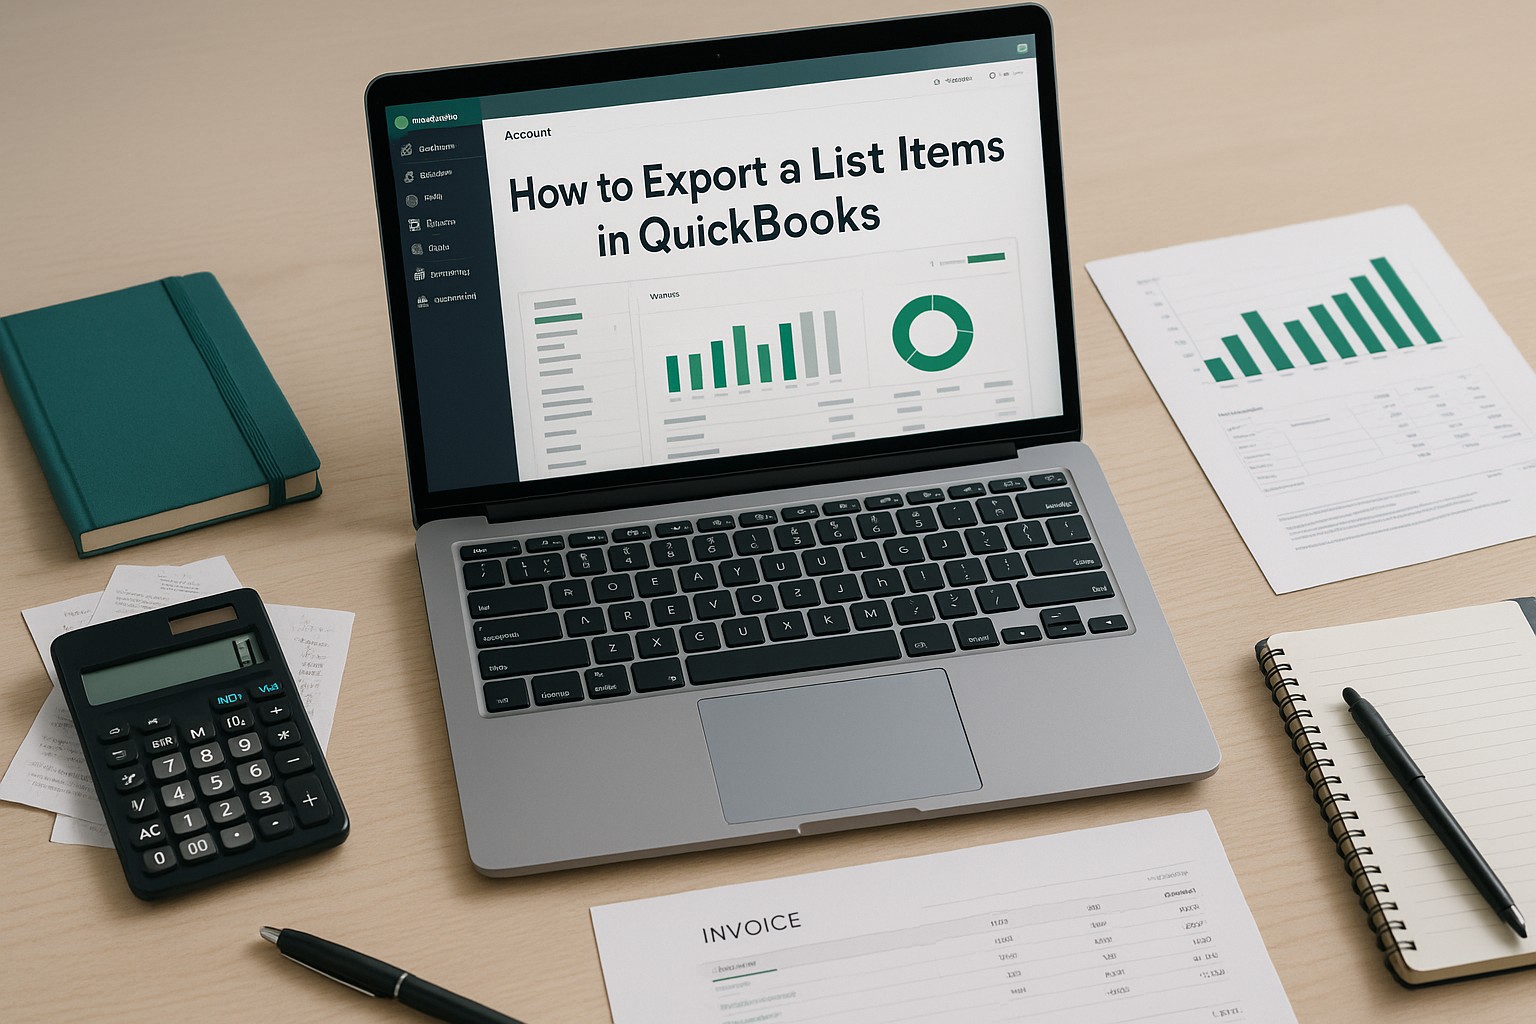
QuickBooks offers comprehensive tools to manage your business inventory, track products and services, and generate financial reports. One useful feature is the ability to export a list of items, such as inventory products or services, from QuickBooks. Exporting this data allows you to share it with others, import it into another system, or simply keep an external backup for analysis and record-keeping purposes. In this guide, we will walk you through the steps to export a list of items from QuickBooks Desktop and QuickBooks Online.
Why Export a List of Items in QuickBooks?
- Data Analysis: Exporting your items list allows you to analyze product and service data outside of QuickBooks, such as in Excel, to gain better insights into inventory levels, sales trends, and pricing strategies.
- Backup Records: Having an external copy of your product and service data provides an extra layer of protection in case of data loss or corruption.
- System Migration: Exporting data makes it easier to migrate product and service details to other systems or accounting software.
- Sharing with Vendors or Partners: Exported item lists can be shared with vendors, partners, or accountants for auditing, updates, or review.
Types of Items You Can Export
- Inventory Items: Products that you track as part of your stock or inventory.
- Non-Inventory Items: Items you purchase but don’t track as part of inventory, such as office supplies.
- Service Items: Services you provide, which may include labor, consulting, or other non-tangible items.
- Other Charges: Miscellaneous fees or charges not tied directly to products or services.
Step 1: Export a List of Items in QuickBooks Desktop
1.1: Open QuickBooks Desktop
- Launch QuickBooks Desktop: Ensure that you are logged into the correct company file where the item list is maintained.
1.2: Navigate to the Item List
Lists.Item List. This will display all the items you currently have in QuickBooks, including inventory, non-inventory, service items, and other charges.1.3: Export the Item List
Excel button. This option allows you to export the item list to an Excel file.- Select
Create New Worksheetto export the list into a new Excel file. - If you prefer to add the data to an existing worksheet, you can select
Update an Existing Worksheetand browse for the file you want to update.
- Select Export Options: Once you’ve made your selection, click
Export. QuickBooks will generate the Excel file with your item list. - Save the File: In Excel, review the exported data and save the file to your desired location for future use.
1.4: Verify Exported Data
Step 2: Export a List of Items in QuickBooks Online
2.1: Log into QuickBooks Online
2.2: Access the Products and Services List
Sales.Sales submenu, click on Products and Services. This will display all the items currently listed in your QuickBooks Online account, including inventory, non-inventory, and service items.2.3: Export the Products and Services List
- At the top-right corner of the
Products and Servicespage, click theExport to Excelbutton. This will prompt QuickBooks to generate an Excel file of your items list.
- Save the File: Choose a location on your computer to save the exported Excel file and click
Save.
2.4: Review and Verify the Data
Step 3: Customize the Item List Before Exporting
If you want to customize the data you export, such as by removing certain fields or filtering specific items, you can do this before exporting.
3.1: Customize Item List in QuickBooks Desktop
- In the Item List, right-click anywhere on the list and choose
Customize Columns.
- Use the
AddandRemovebuttons to choose which columns you want to display in your export. You can add fields likeCost,Sales Price,Quantity on Hand, andDescriptionor remove fields that you don’t need.
- Click OK: Once you’ve customized the columns, click
OK. The changes will be reflected in your list and the exported file.
3.2: Customize Item List in QuickBooks Online
Products and Services page to display only the items you want to export.Name, SKU, Sales Price, Quantity). Adjust these settings before exporting the file.Step 4: Import the Exported Item List (Optional)
If you need to import the exported item list back into QuickBooks or another system, you can follow QuickBooks’ import functionality. This step is particularly useful if you’re migrating data between systems or need to update large amounts of item data.
4.1: Prepare the File for Import
- Format the File: Ensure that the exported file has the necessary columns and fields required by QuickBooks for importing. For example, QuickBooks requires columns like
Item Name,Type,Price, andQuantityto be formatted correctly. - Save as CSV: For importing into QuickBooks, the file often needs to be saved in CSV format (Comma-Separated Values). Go to
File > Save Asin Excel and selectCSVfrom the list of file formats.
4.2: Import the Item List into QuickBooks
Settings gear icon in the upper right-hand corner.Tools, select Import Data, then click Products and Services.Step 5: Troubleshooting Common Issues
5.1: Missing Data in the Export
- Issue: Some fields or items are missing in the exported file.
- Solution: Ensure that all relevant columns are displayed in the Item List before exporting. Use the
Customize Columnsoption to add missing fields.
5.2: Incorrect Data Formatting
5.3: Duplicate Items
Conclusion
Exporting a list of items from QuickBooks, whether from QuickBooks Desktop or QuickBooks Online, is an efficient way to manage your inventory and product data. It allows for external analysis, backup, and system migration. By following the steps in this guide, you can easily export item lists, customize the export, and even re-import data if necessary. Always remember to review and verify your exported data to ensure it’s accurate and useful for your business needs.