
Table of Contents
Introduction
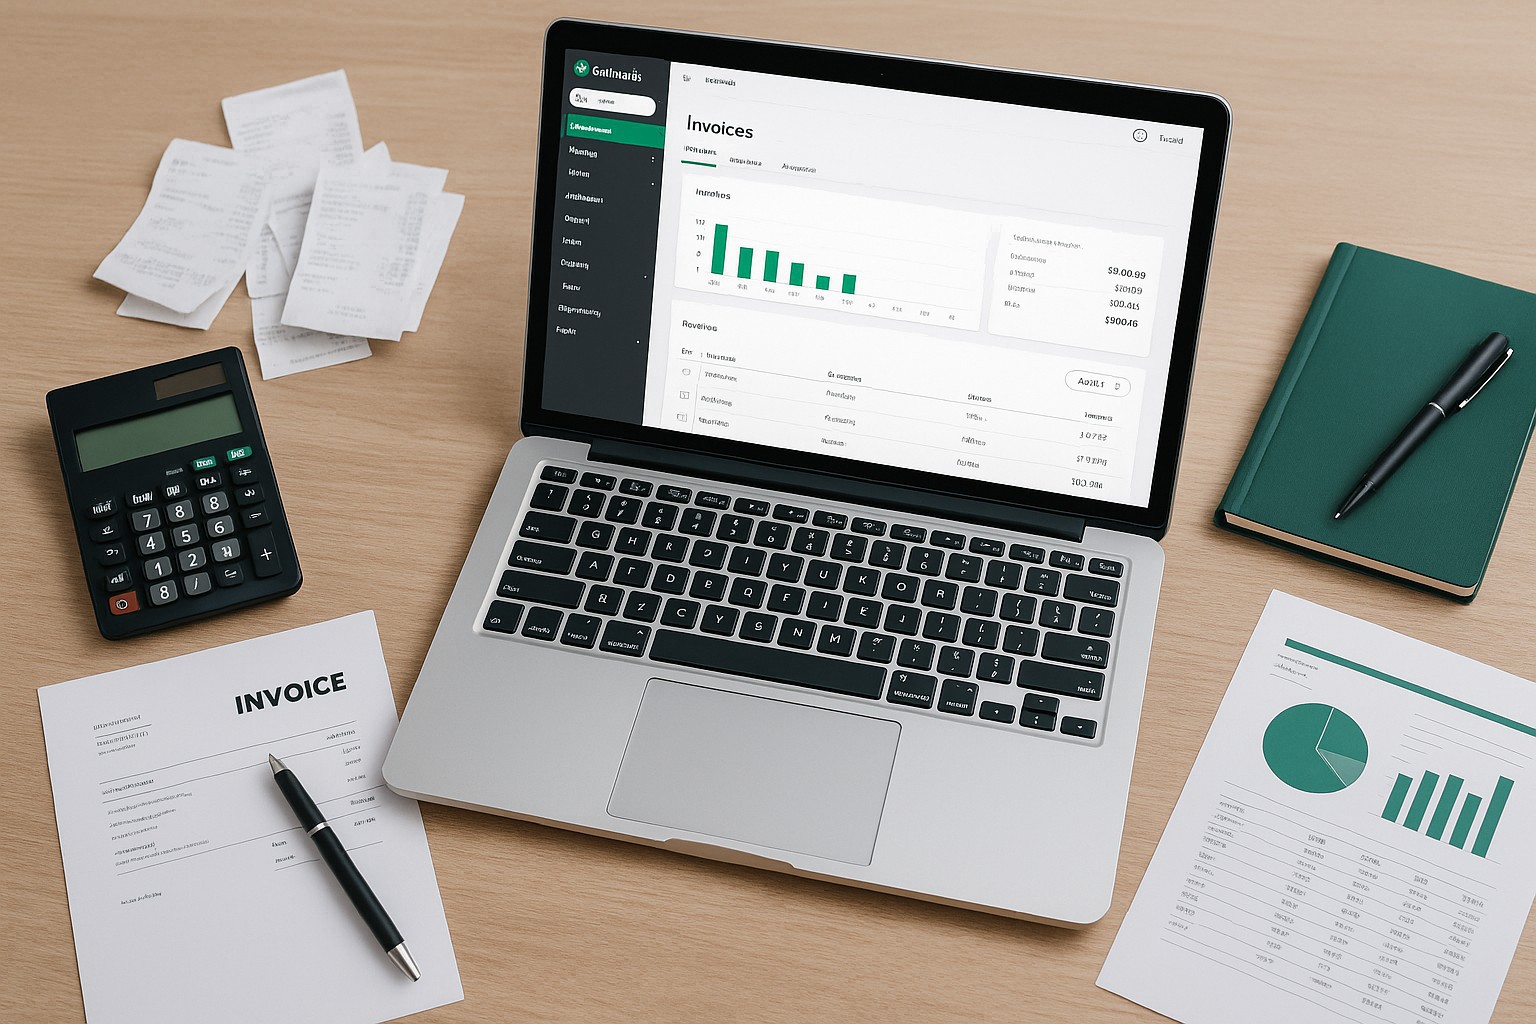
Importing invoices into QuickBooks Online from an Excel spreadsheet can streamline your accounting processes and enhance data accuracy. This guide explains how to efficiently transfer invoice data from Excel to QuickBooks Online, ensuring seamless integration and management of your financial records.
Preparing Your Excel Spreadsheet for Import
Proper preparation of your Excel file is crucial for a successful import. Here’s how to prepare your spreadsheet:
Steps for Preparing Excel Data
- Format Your Spreadsheet: Organize your invoice data in Excel with columns for essential details such as Invoice Number, Date, Customer Name, Item Description, Quantity, Rate, and Amount.
- Ensure Data Accuracy: Double-check the data for any errors or inconsistencies. Ensure that all customer and product names exactly match those in QuickBooks Online to avoid import errors.
Importing Invoices into QuickBooks Online
QuickBooks Online provides a straightforward method for importing invoices using its built-in import tool.
Step-by-Step Import Process
- Log Into QuickBooks Online: Open your QuickBooks Online account.
- Navigate to the Import Data Tool:
- Go to the ‘Gear’ icon on the Toolbar.
- Under the ‘Tools’ section, select ‘Import Data’.
- From the list of data types available for import, select ‘Invoices’.
- Click on ‘Browse’ to locate and select your prepared Excel file.
- Upload the file to QuickBooks Online.
- Match Excel columns to the corresponding invoice fields in QuickBooks Online. This ensures that the information from your spreadsheet populates the correct fields in the QuickBooks invoice format.
- Common mappings include aligning your Excel ‘Invoice Number’ column to the ‘Invoice Number’ field in QuickBooks, and so on.
- Once you have mapped all necessary fields, review the data to make sure everything is correctly aligned.
- Click on ‘Import’ to begin transferring the data into QuickBooks Online.
Post-Import Checklist
After importing your invoices, perform these checks to ensure everything is processed correctly:
- Navigate to the ‘Sales’ or ‘Invoices’ menu to check the imported invoices.
- Ensure that all entries appear as expected and the details match those in your Excel file.
- If there are any discrepancies or errors, you may need to edit individual invoices directly in QuickBooks Online or adjust and re-import the data if necessary.
Best Practices for Importing Invoices
Conclusion
Importing invoices from an Excel sheet into QuickBooks Online can significantly improve your business’s invoicing efficiency and accuracy. By following these detailed steps and adhering to best practices, you can ensure a smooth data integration process that enhances your overall financial management.