In this guide
Table of Contents
- Introduction
- Why Manage Item Receipts?
- Steps to Delete an Item Receipt in QuickBooks
- Step 1: Log In to QuickBooks
- Step 2: Access the Item Receipts
- Step 3: Delete the Item Receipt
- Steps to Create an Item Receipt in QuickBooks
- Step 1: Log In to QuickBooks
- Step 2: Access the Create Menu
- Step 3: Create an Item Receipt
- Best Practices for Managing Item Receipts
- Conclusion
Introduction
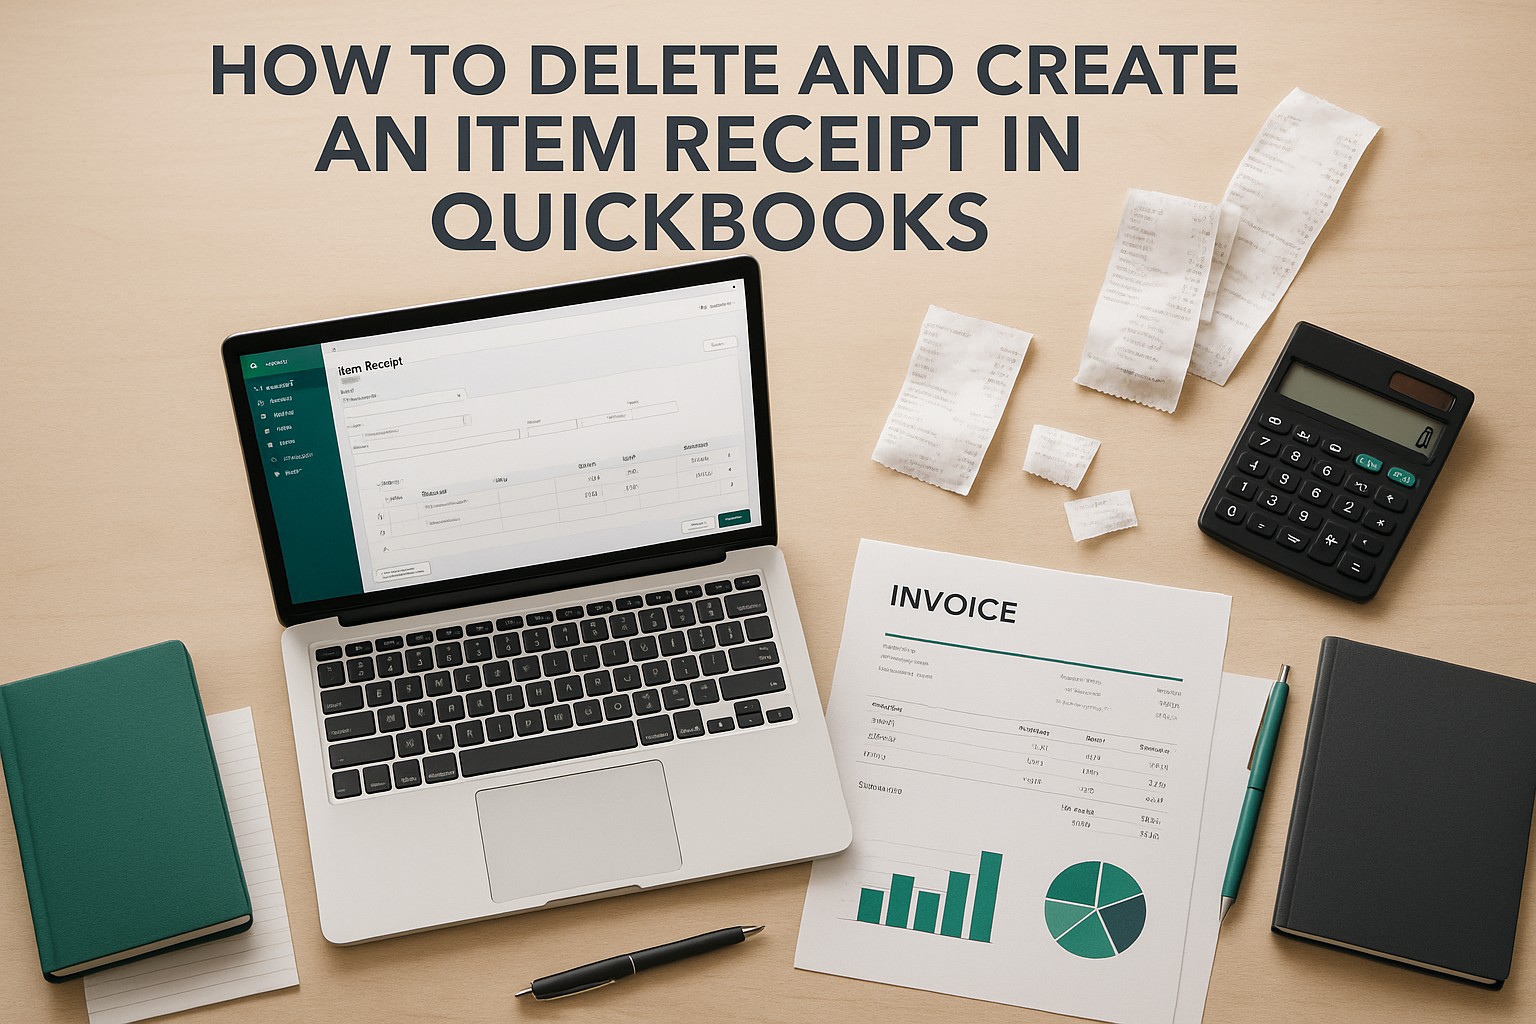
Managing item receipts in QuickBooks is crucial for keeping your inventory and financial records accurate. Whether you need to delete an incorrect item receipt or create a new one, this guide will walk you through the necessary steps to efficiently manage item receipts in QuickBooks.
Why Manage Item Receipts?
- Accuracy: Ensures your inventory records are accurate.
- Error Correction: Corrects mistakes in item receipts to maintain accurate records.
- Inventory Management: Helps keep track of items received from vendors.
Steps to Delete an Item Receipt in QuickBooks
Follow these steps to delete an item receipt in QuickBooks:
Step 1: Log In to QuickBooks
- Open QuickBooks: Navigate to the QuickBooks website and log in with your credentials.
Step 2: Access the Item Receipts
Step 3: Delete the Item Receipt
Steps to Create an Item Receipt in QuickBooks
Follow these steps to create an item receipt in QuickBooks:
Step 1: Log In to QuickBooks
- Open QuickBooks: Navigate to the QuickBooks website and log in with your credentials.
Step 2: Access the Create Menu
Step 3: Create an Item Receipt
- Date: Enter the receipt date.
- Reference Number: Add a reference number if applicable.
- Item Details: Enter the details of the items received, including quantity and cost.
- Save the Item Receipt: Click ‘Save and close’ to save the item receipt.
Best Practices for Managing Item Receipts
- Regular Reviews: Periodically review item receipts to ensure accuracy.
- Detailed Records: Maintain detailed records of all item receipts for audit and reconciliation purposes.
- Consult with an Accountant: If unsure about managing item receipts, consult with your accountant to ensure proper handling.
Conclusion
Deleting and creating item receipts in QuickBooks is essential for accurate inventory management and financial record-keeping. By following the steps outlined in this guide, you can efficiently manage item receipts, ensuring your records are precise and up-to-date.
Tired of QuickBooks Headaches?
Debits connects directly to QuickBooks Online and helps you clean up uncategorized transactions, collect receipts from clients via magic link, and categorize in bulk. Your clients respond in seconds, not days.
Starting at $5 per company, per month.
Simplify This With Debits
Debits surfaces every unclear transaction in QuickBooks Online so you can bulk-categorize and clean up the books fast — no spreadsheets.
- Uncategorized Transactions — clients answer, you bulk-approve, QuickBooks syncs back
- W-9 & 1099 — no-login vendor links and filing-ready 1099-NECs