
Who this is for: Accountants who need to create estimated tax payment vouchers for their clients.
What you’ll learn: How to add federal, state, and local payment vouchers with quarterly amounts and due dates.
Before you begin #
- You must have a tax return open on the detail page.
- Know the estimated tax amounts for each quarter and jurisdiction.
Step-by-step instructions #
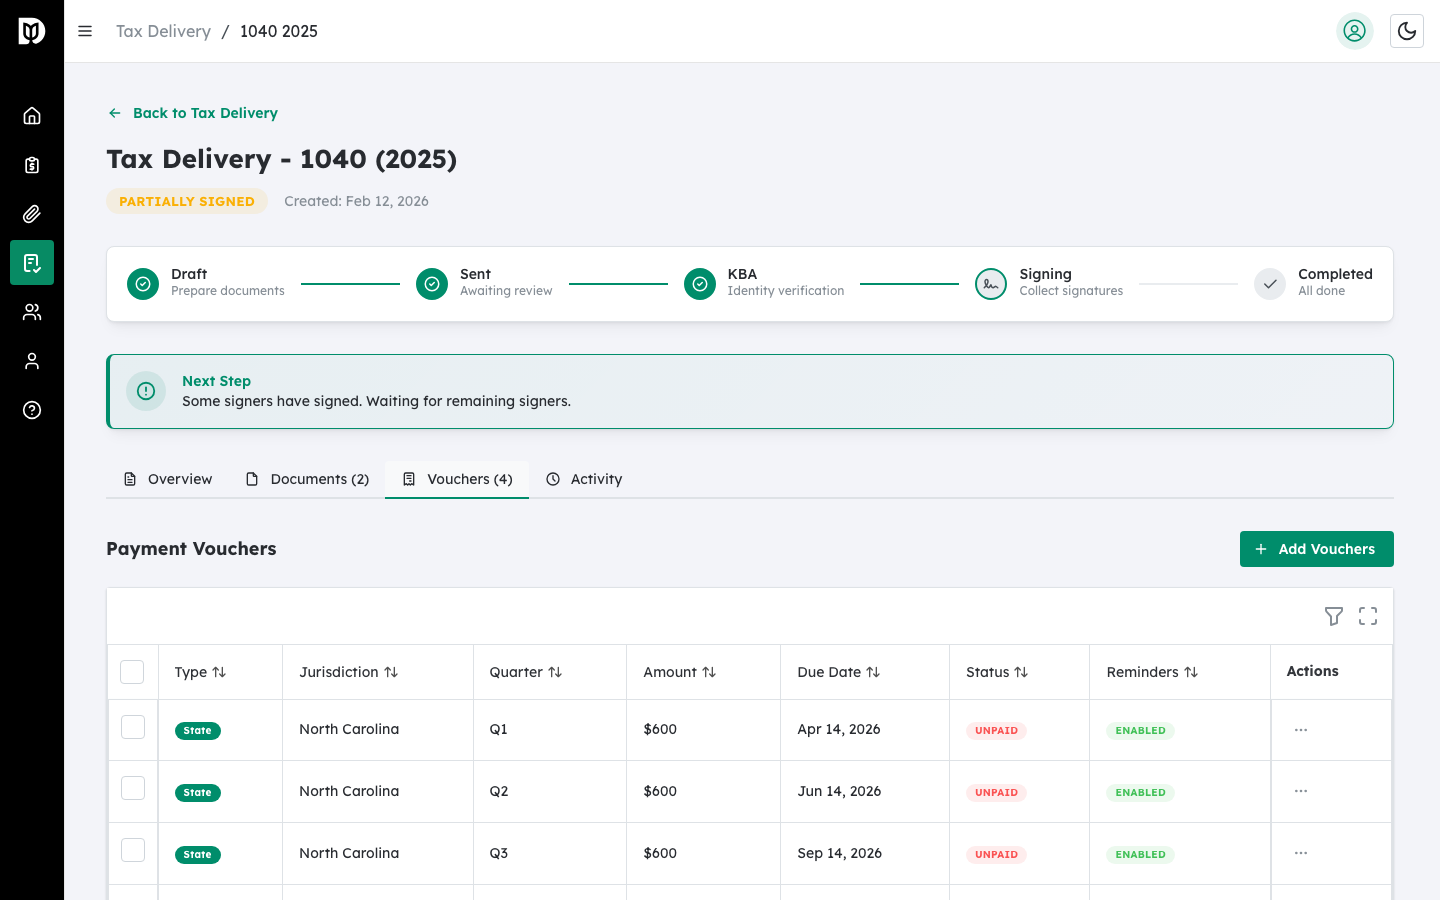
Step 1: Open the Vouchers tab #
On the tax return detail page, click the Vouchers tab.
Step 2: Click Add Payment Vouchers #
Click the Add Payment Vouchers button. A modal opens with three collapsible sections for Federal, State, and Local vouchers.
Step 3: Enable the jurisdictions you need #
Check the box next to each jurisdiction you want to configure:
- Federal — Enabled by default.
- State — Select the state from the dropdown after enabling.
- Local (City/Municipality) — Select the locality from the dropdown after enabling. Options include New York City, Yonkers, RITA, CCA, Columbus, and more.
Step 4: Set the quarterly amounts #
For each enabled jurisdiction:
- Check Same amount for all quarters to enter one amount that applies to Q1 through Q4.
- Or uncheck it to enter a different amount for each quarter.
- Use the checkboxes in the quarter table to select or deselect specific quarters.
- Adjust due dates if needed using the date picker in each row.
Step 5: Add the vouchers #
The footer shows how many vouchers will be added. Click the Add Vouchers button to create them all at once.
What happens next #
The vouchers appear in the Vouchers tab table. You can edit, track payments, send reminders, or remove them at any time.
Troubleshooting #
- “Please select a state” warning: You enabled the State section but did not select a state from the dropdown.
- “All selected vouchers must have an amount greater than $0”: Enter a valid dollar amount for every selected quarter.


