
You can attach supporting documents (such as invoices, receipts, contracts, or statements) directly to a transaction in Debits.com. This helps keep all relevant information in one place for easier review, auditing, and record-keeping.

Navigate to Company Transactions #
- Log in to your Debits.com account.
- From the main dashboard or navigation menu, locate and click on Company Transactions.
- This section typically lists all transactions associated with your company (e.g., payments, receipts, journal entries).
- Find the specific transaction you want to attach a file to.
- You may use filters or search (by date, amount, vendor, reference number, etc.) to quickly locate the transaction.
 #
#
Click on the Upload Icon #
- In the transaction row or in the transaction details panel, look for the Upload or Attachment icon.
- This might look like a paperclip, upward arrow, or a labeled “Upload” button, depending on your interface.
- Click this icon to open the file upload window or dialog box.
 #
#
Attach the Desired File #
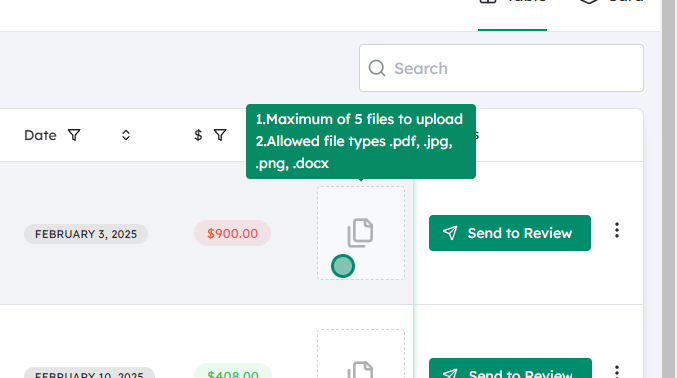
- In the upload dialog, choose how you want to attach the file:
- Browse: Click the “Browse” or “Choose File” button to open your computer’s file explorer.
- Drag and drop (if supported): Drag the file from your desktop or folder and drop it into the upload area.
- Select the file you want to attach (for example: a PDF invoice, JPG/PNG receipt, or Excel statement).
- Confirm the upload (e.g., by clicking Open, Attach, or Upload).
- Wait for the upload to complete.
- Larger files may take longer.
- If there are any restrictions (file size limits, allowed file types), an error message will usually appear if the file does not meet the requirements.
 #
#
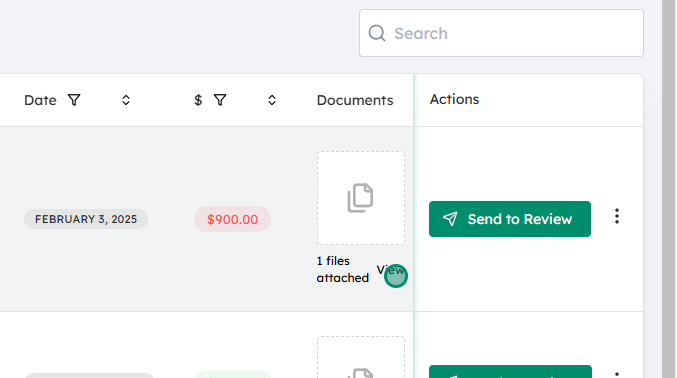
Confirm the Attachment and View the Link #
- Once the file upload is successful, Debits.com will show a confirmation within the transaction view.
- A clickable link or attachment icon will appear, usually labeled with the file name or a generic “View Attachment.”
- Click this link to:
- Open the file in a new tab or window, or
- Download it to your device (depending on your browser and system settings).
You can now reference this attachment anytime you view that transaction, and other users with appropriate permissions will also be able to see and open the file.
Note: #
- Multiple attachments: Repeat the steps to add more than one document to the same transaction.
- Replacing or removing attachments: Some setups allow you to delete or replace existing attachments from the same Upload/Attachment area.
- Best practices: Use clear file names (e.g.,
VendorName_Invoice_2025-01-30.pdf) and attach documents as soon as the transaction is created to keep records complete and organized.


