
Who this is for: Accountants who need to add, remove, or manage the people signing a tax return.
What you’ll learn: How to add signers from your contacts or manually, assign roles, and track signature status.
Before you begin #
- You must have a tax return open on the detail page.
- The tax return should be in Draft status to add or remove signers.
Step-by-step instructions #
Step 1: Open the Add Signer modal #
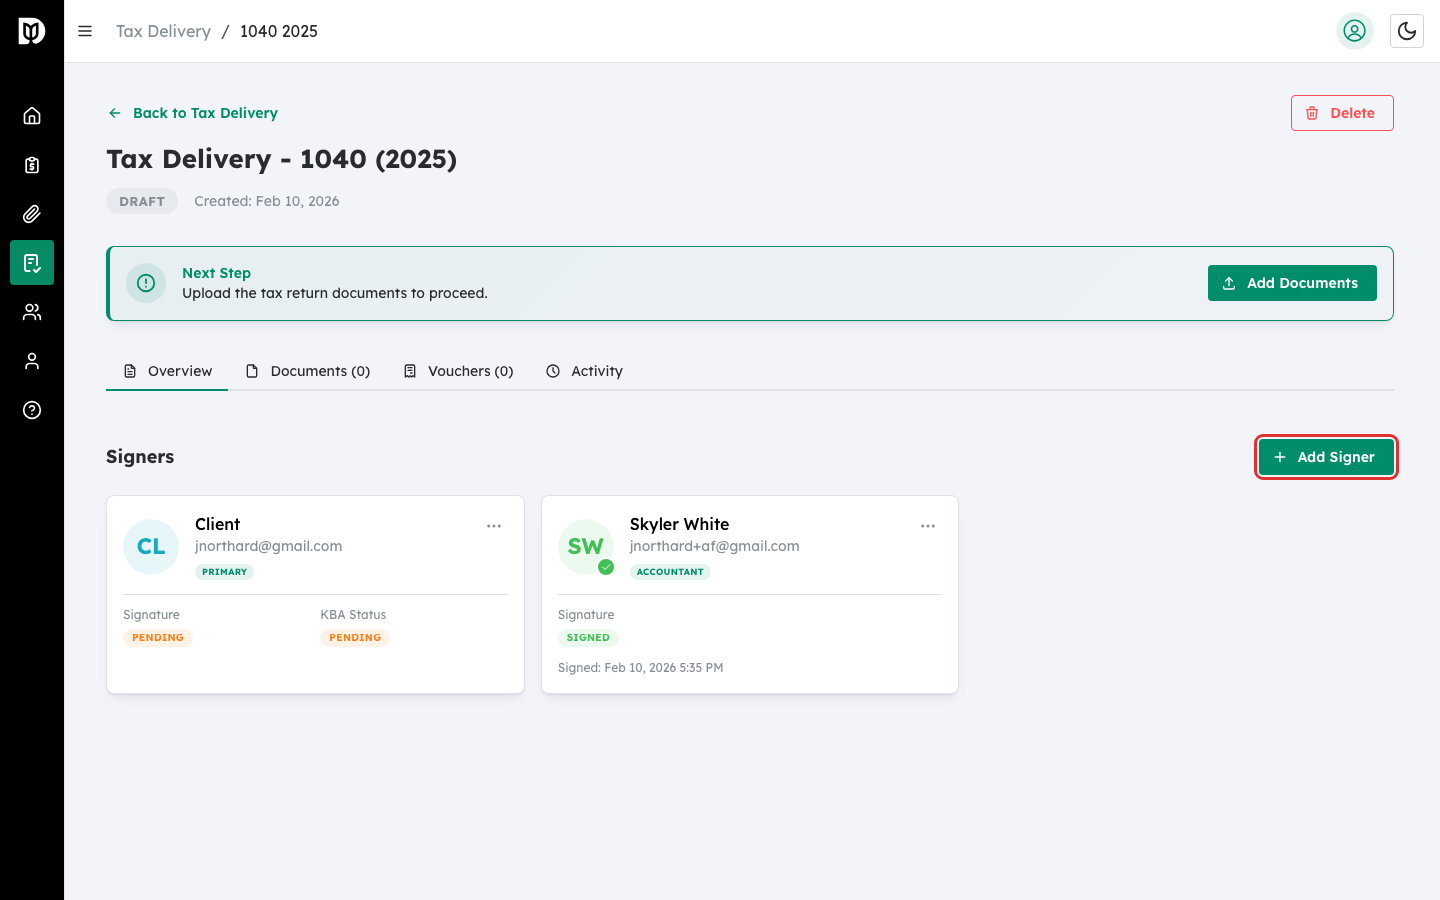
On the tax return detail page (Overview tab), click the Add Signer button.
Step 2: Search for a contact or enter details manually #
In the modal, type a name in the search field to find an existing client. If the person is not in your contacts, click Add Client Manually and fill in their name and email.
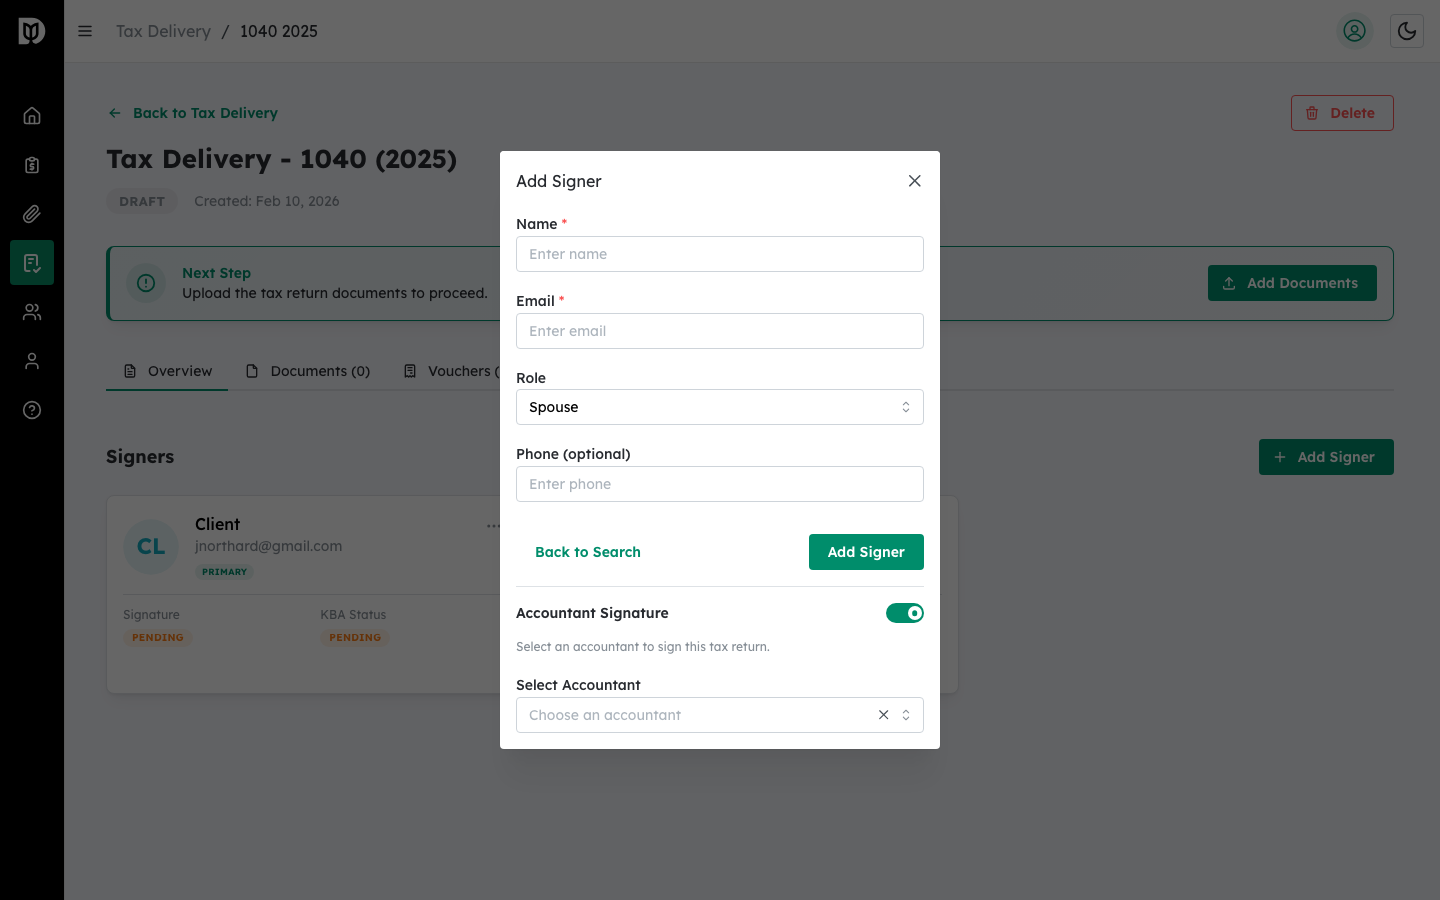
Step 3: Assign a signer role #
Select a role for the signer:
- Primary Taxpayer — The main filer. Only one allowed per return.
- Spouse — For joint returns. Only one allowed per return.
- Authorized Representative — Authorized to sign on behalf of the taxpayer.
- Accountant — The preparing accountant.
Step 4: Track signer status #
After sending the tax return, each signer card shows:
- Signature Status — Pending, Signed, or Declined.
- KBA Status — Not Started, Pending, Passed, Failed, Bypassed, or Locked.
- Signed Date — When the signer completed their signature.
Step 5: Send a reminder #
For signers who have not yet signed, click the three-dot menu on the signer card and select Send Reminder to resend the signing invitation.
Step 6: Remove a signer #
While the tax return is in Draft status, click the three-dot menu and select Remove Signer. This option is not available after the return has been sent.
What happens next #
After adding all signers, you need to upload documents and configure signature fields before you can send the return for signature.
Troubleshooting #
- Cannot remove a signer: Signers can only be removed when the tax return is in Draft status.
- Role is grayed out: Only one Primary Taxpayer and one Spouse are allowed per return.


