Navigate to the Company Transactions page #
- From the main menu, go to Company (or Accounting, depending on your system’s terminology).
- Select Transactions to open the full list of company transactions.
- You should now see a screen displaying all recent or relevant transactions (invoices, bills, payments, etc.).

Filter or specify the details for review #
- Use the available filters at the top or side of the page to narrow down the list. Common filters include:
- Customer – choose a specific customer whose transactions you want to review.
- Vendor – select a vendor if you’re reviewing supplier invoices or payments.
- Location – filter by store, branch, or region if your company operates in multiple locations.
- Date range – set a from/to date to limit the transactions to a specific period.
- Other details – apply any additional filters your system provides (e.g., transaction type, status, amount range, department, project).
- Once you’ve selected the appropriate filters, confirm or apply them so the transaction list updates accordingly.
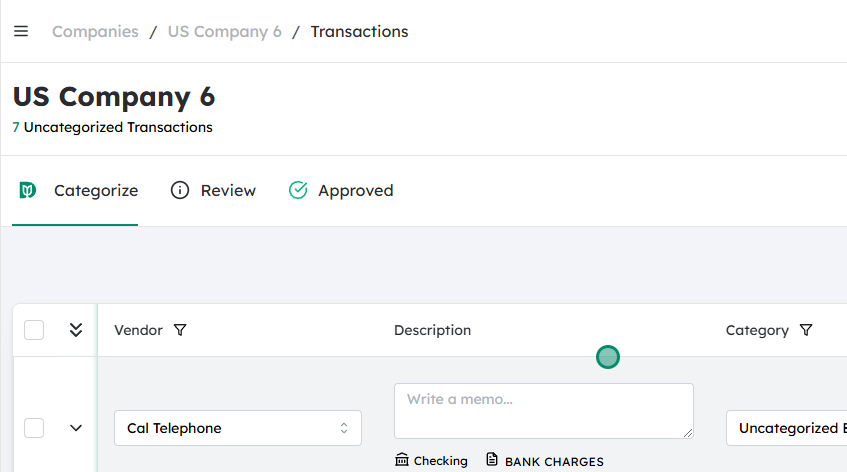
Select the transactions to send for review #
- In the filtered list, mark or check the box next to each transaction you want to include in the review.
- If available, you can also use Select All to include every transaction displayed by your current filters.
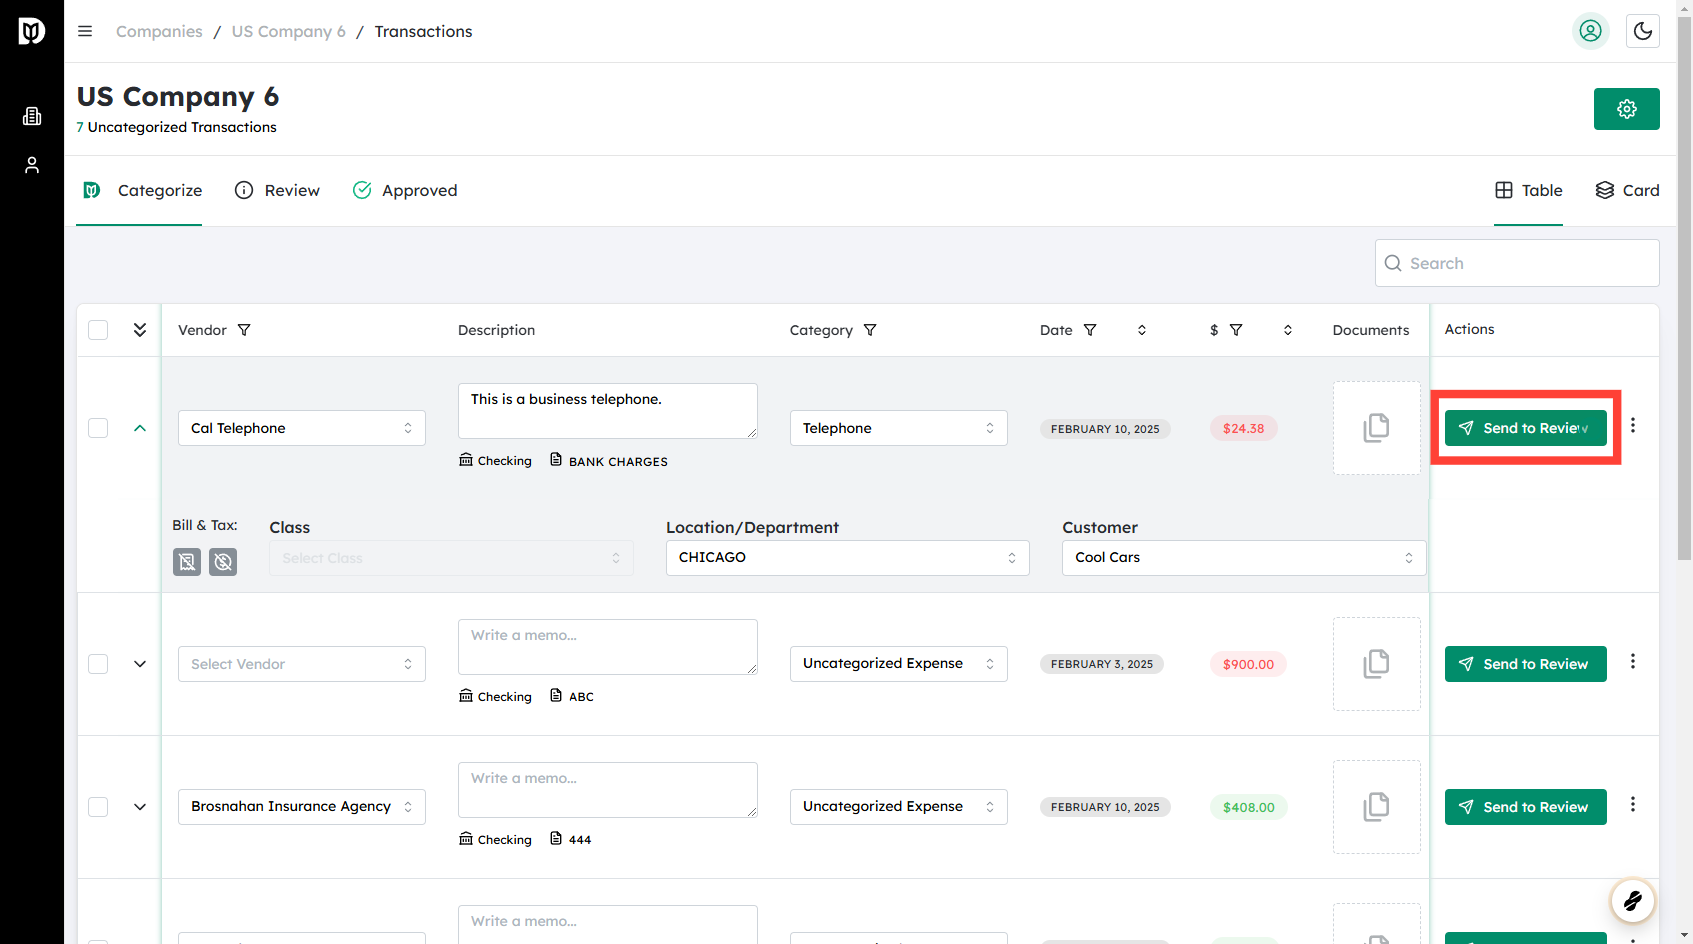
Click “Send to Review” #
- Locate the Send to Review button (usually at the top or bottom of the transaction list).
- Click Send to Review to submit the selected transactions into your review workflow.
- Depending on your system, you may be prompted to:
- Confirm the selection.
- Add a note or comment for the reviewer.
- Choose the reviewer or approval group.
- Complete any required fields and finalize the action.
Verify submission #
- Check the transaction status or the Review/Approvals section to confirm the items have been successfully sent.
- Ensure they appear with a status such as Pending Review or Awaiting Approval, according to your system’s conventions.
Updated on December 2, 2025


