
Who this is for: Accountants and staff who need to document client interactions and important information.
What you’ll learn: How to create, edit, pin, and organize notes on contact records.
Before you begin #
- You must have access to the contact you want to add notes to
- Notes are visible to all staff members who have access to the contact
Step-by-step instructions #
Step 1: Open the Contact Profile #
Navigate to Contacts and click on the contact name to open their profile page.

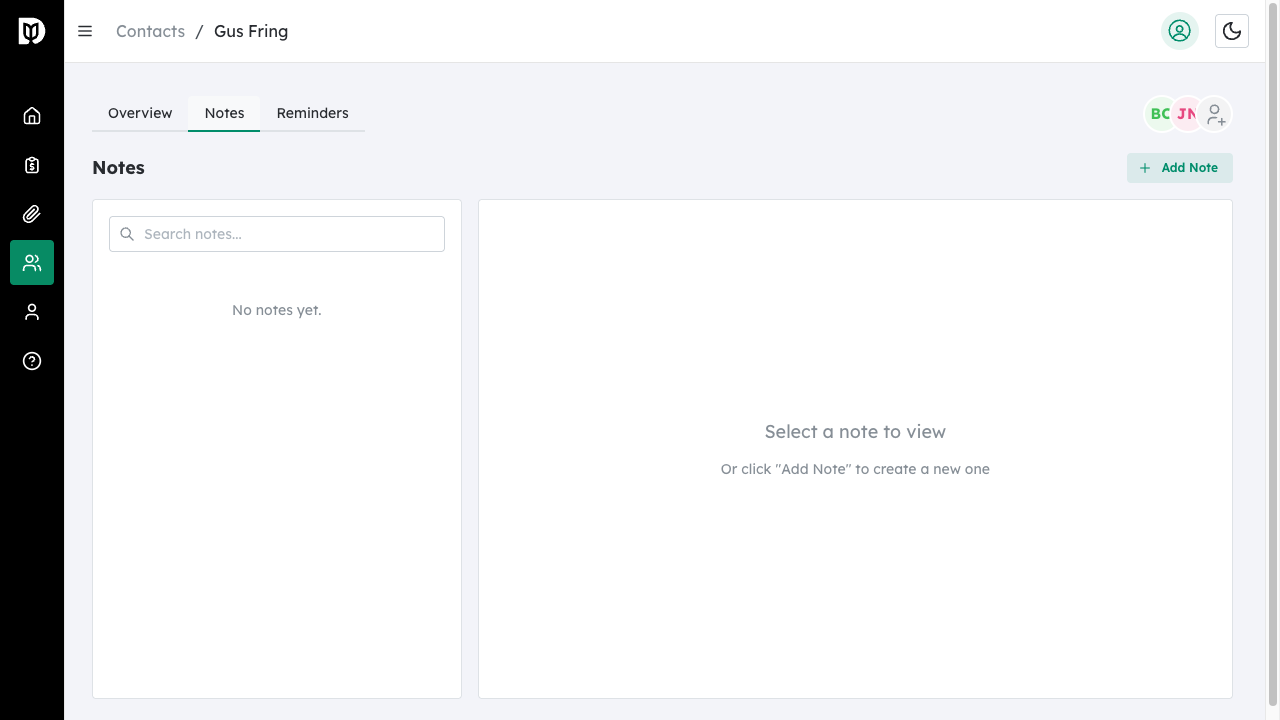
Step 2: Go to the Notes Tab #
Click the Notes tab at the top of the contact profile to view all notes for this contact.

Step 3: Add a New Note #
Click the Add Note button in the top right corner to open the note editor.

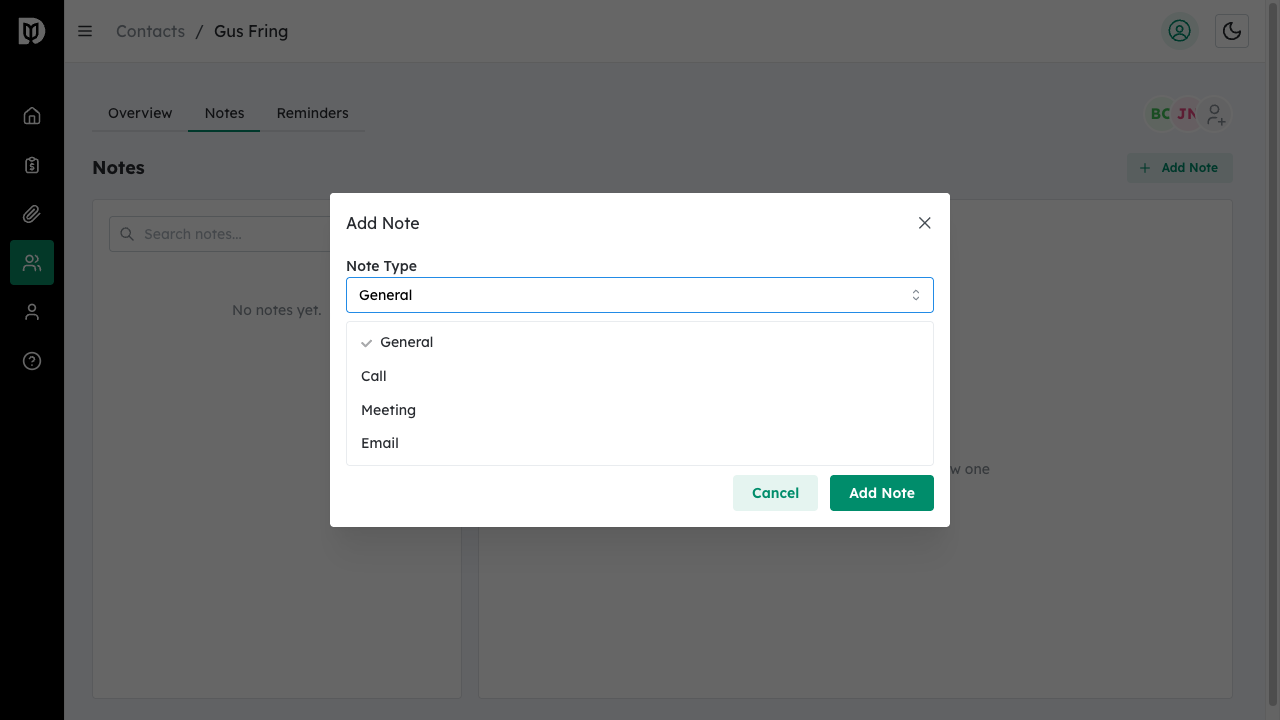
Step 4: Select Note Type #
Choose a note type from the dropdown to categorize your note:
- General – For general information and updates
- Call – For phone call summaries
- Meeting – For meeting notes and action items
- Email – For email correspondence summaries
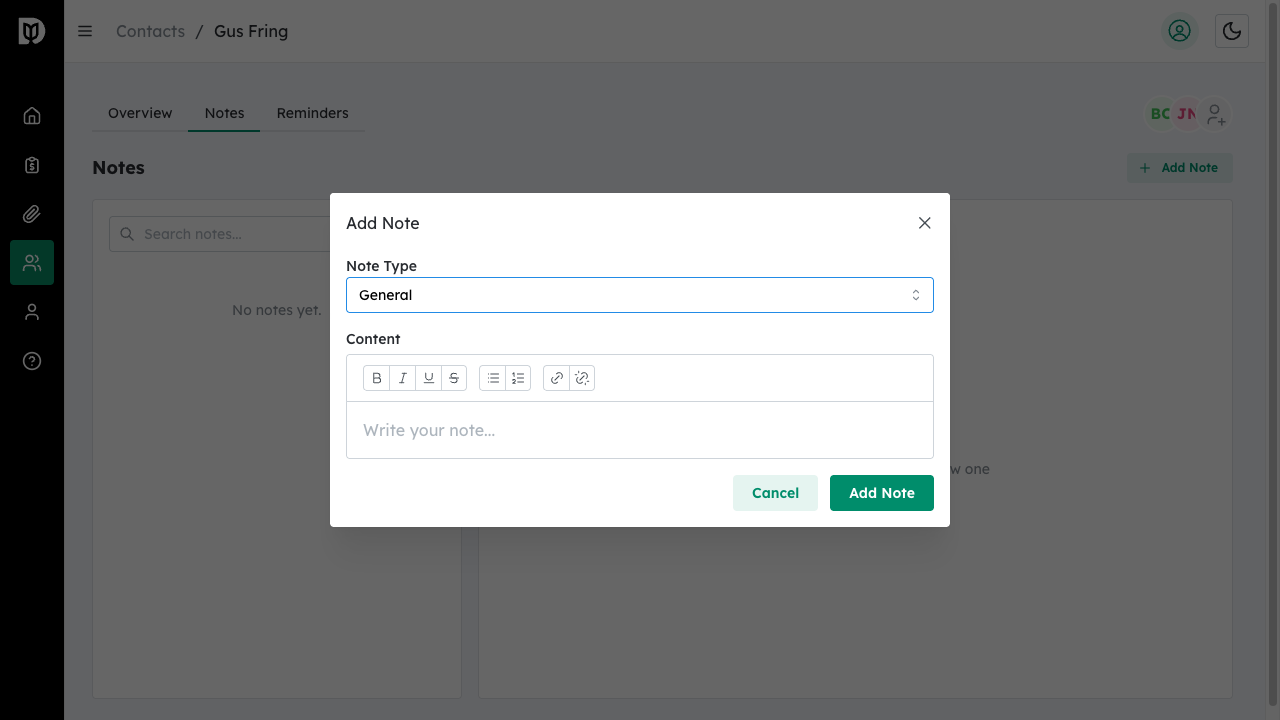
Step 5: Write Your Note #
Use the rich text editor to write your note. You can format text with:
- Bold, italic, underline, and strikethrough
- Bulleted and numbered lists
- Links to external resources
Click Add Note to save.
Pinning Important Notes #
Pin notes that need to stay visible at the top of the list:
Step 1: Select the Note #
Click on a note in the notes list to view its full content in the right panel.
Step 2: Click the Pin Icon #
Click the Pin icon (pushpin) in the note’s action toolbar. Pinned notes will display a yellow pin indicator and appear at the top of the notes list.
![]()
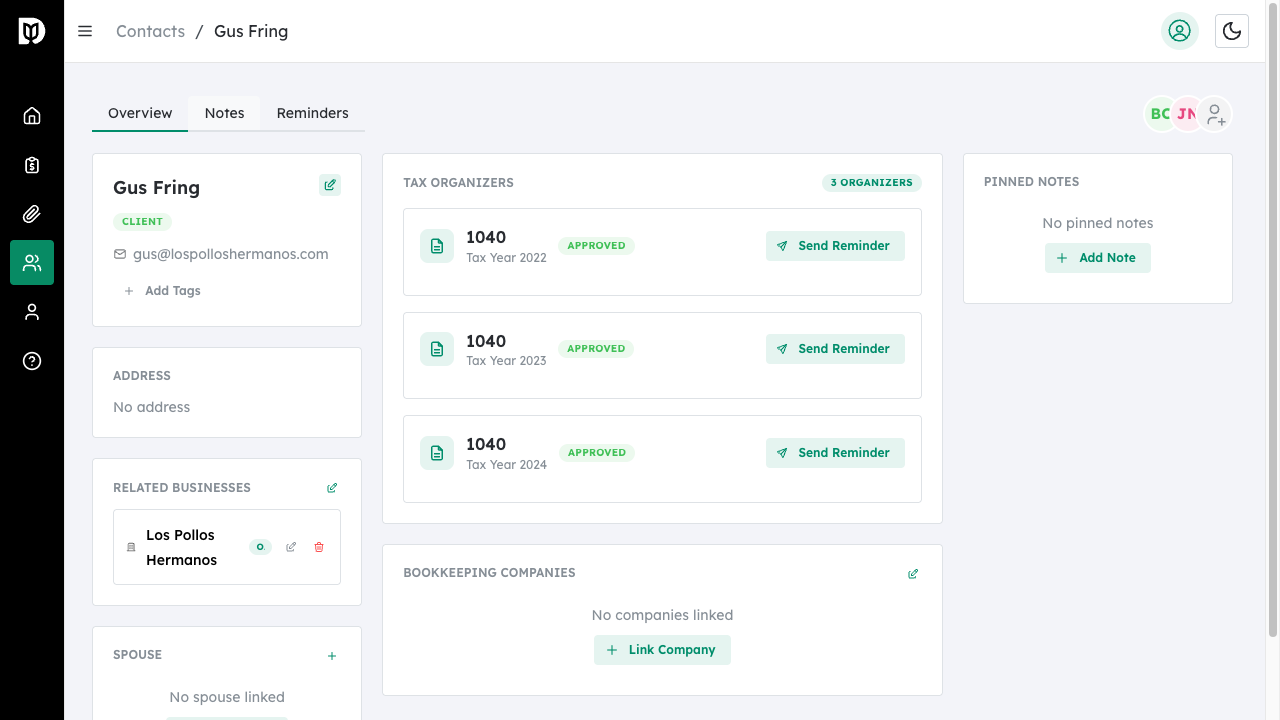
Step 3: View Pinned Notes #
Pinned notes also appear in the Pinned Notes section on the contact’s Overview tab for quick access.
Editing and Deleting Notes #
To edit a note:
- Select the note from the list
- Click the Edit icon (pencil) in the toolbar
- Make your changes and click Update Note
To delete a note:
- Select the note from the list
- Click the Delete icon (trash) in the toolbar
- The note will be permanently removed
Searching Notes #
Use the search box at the top of the notes list to find specific notes. The search looks through note content, type, and author name.
What happens next #
Notes are saved automatically and visible to all team members with access to this contact. Pinned notes remain at the top until unpinned.
Troubleshooting #
- Note not saving: Ensure you have entered content in the note editor. Empty notes cannot be saved.
- Cannot see notes: Verify you have access to this contact. Contact your administrator if you believe you should have access.
- Pin icon not working: The page may need to refresh. Try clicking the note again and then the pin icon.


