Who this is for: Accountants and firm admins who add and manage client contacts.
What you’ll learn: How to create individual and business contacts with the three-step wizard, and how to edit or delete a contact afterwards.
Before you begin
- You must be signed in with access to the Contacts area.
- To assign staff on Step 3, invite them first under Account → Staff.
Step-by-step instructions
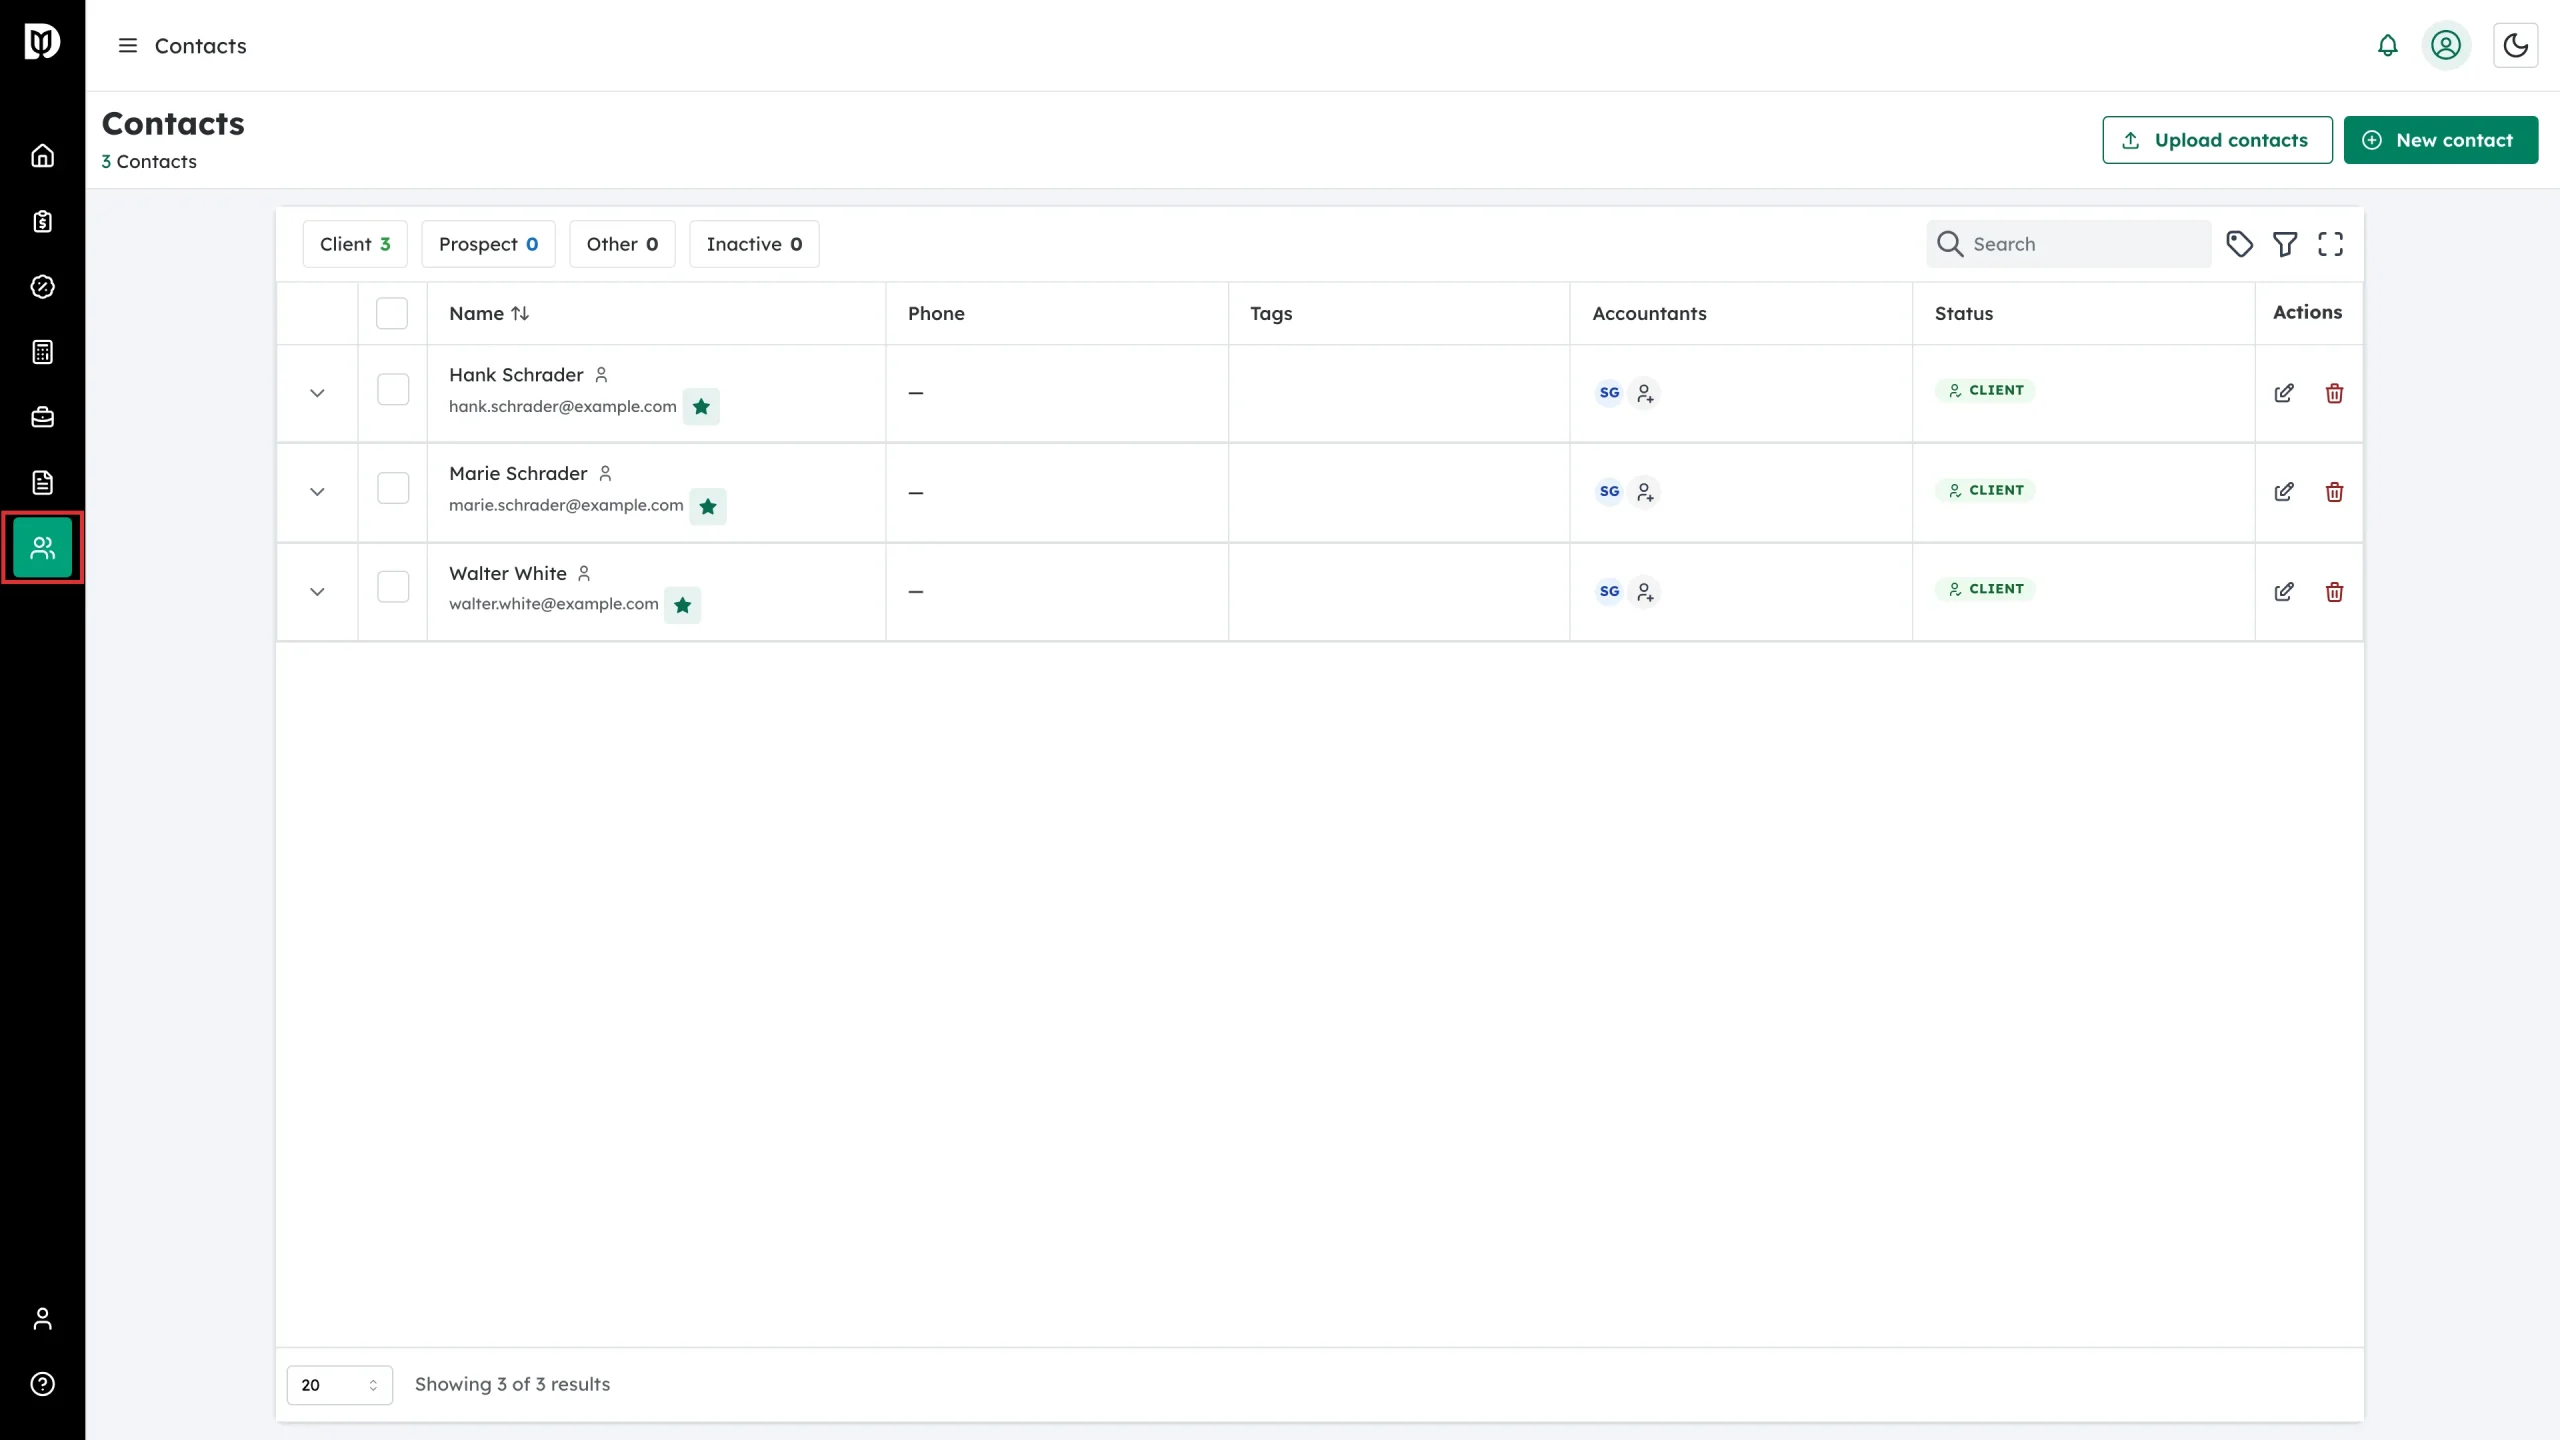
Step 1: Open Contacts
Click Contacts in the sidebar.
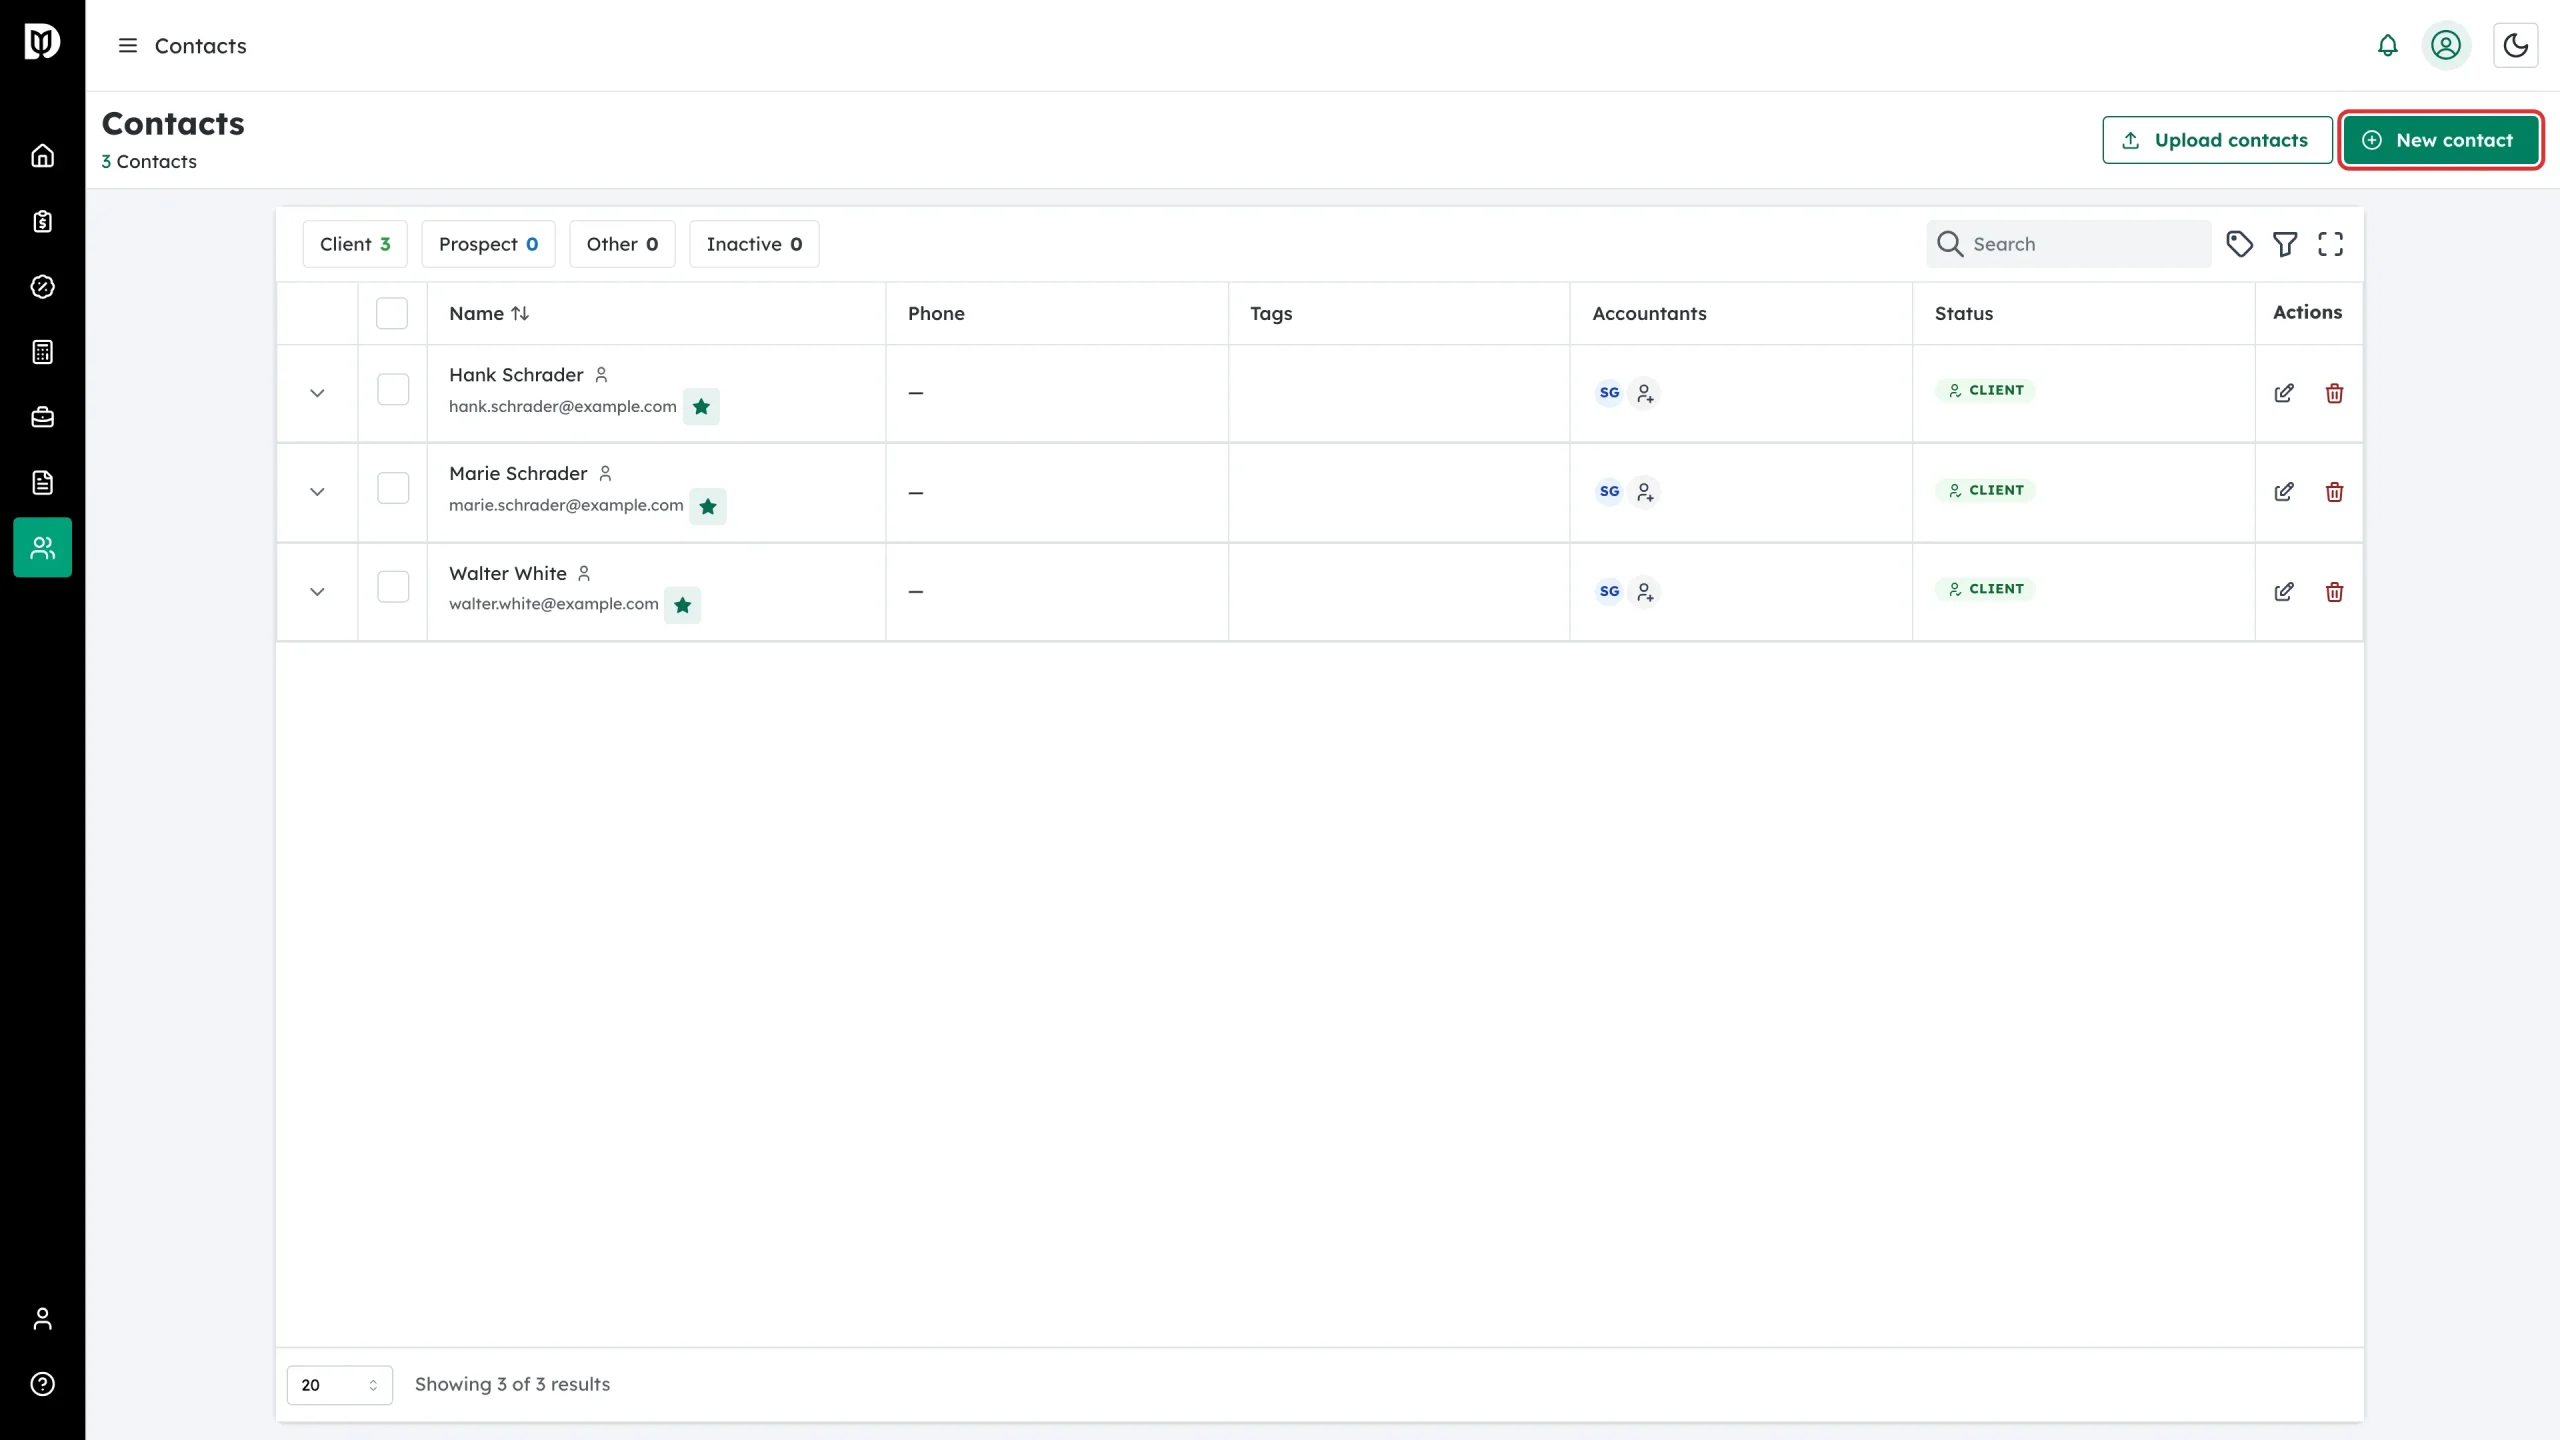
Step 2: Click New contact
Click New contact in the top-right corner. (Next to it, Upload contacts lets you import many contacts from a spreadsheet at once.)
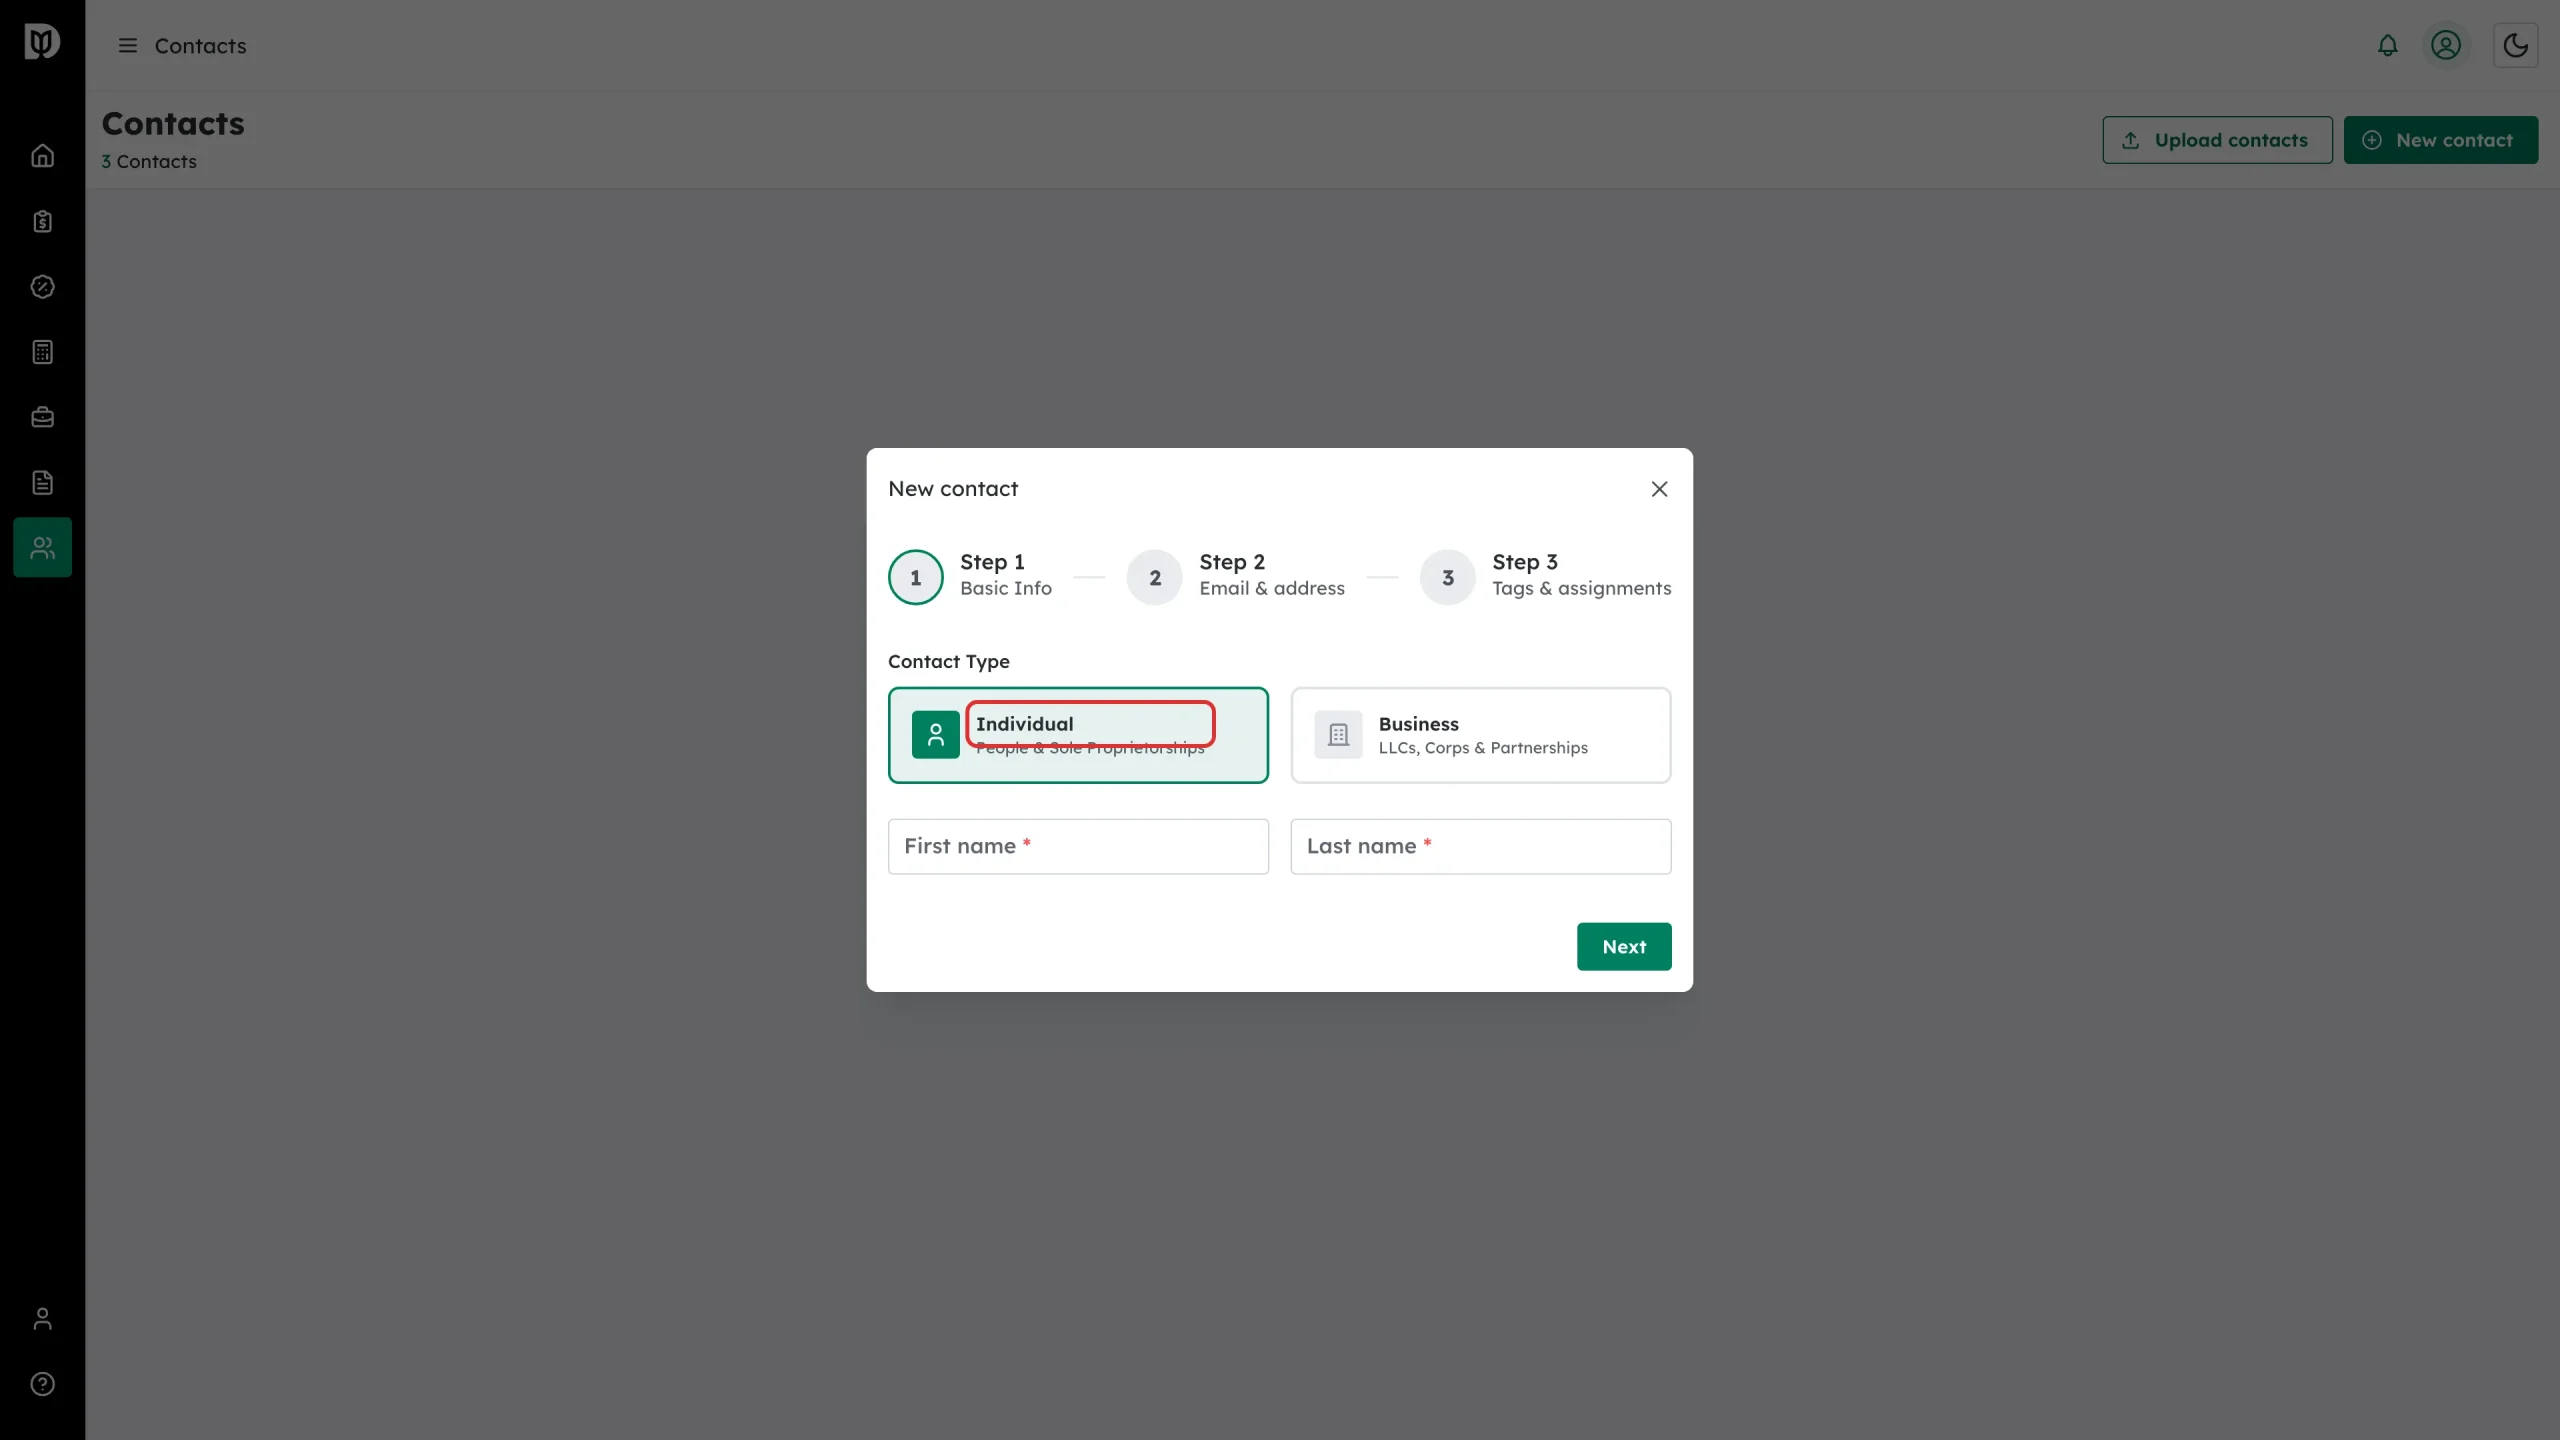
Step 3: Choose the contact type
The wizard opens on Step 1: Basic Info. Pick a card:
- Individual — people and sole proprietorships
- Business — LLCs, corporations, and partnerships
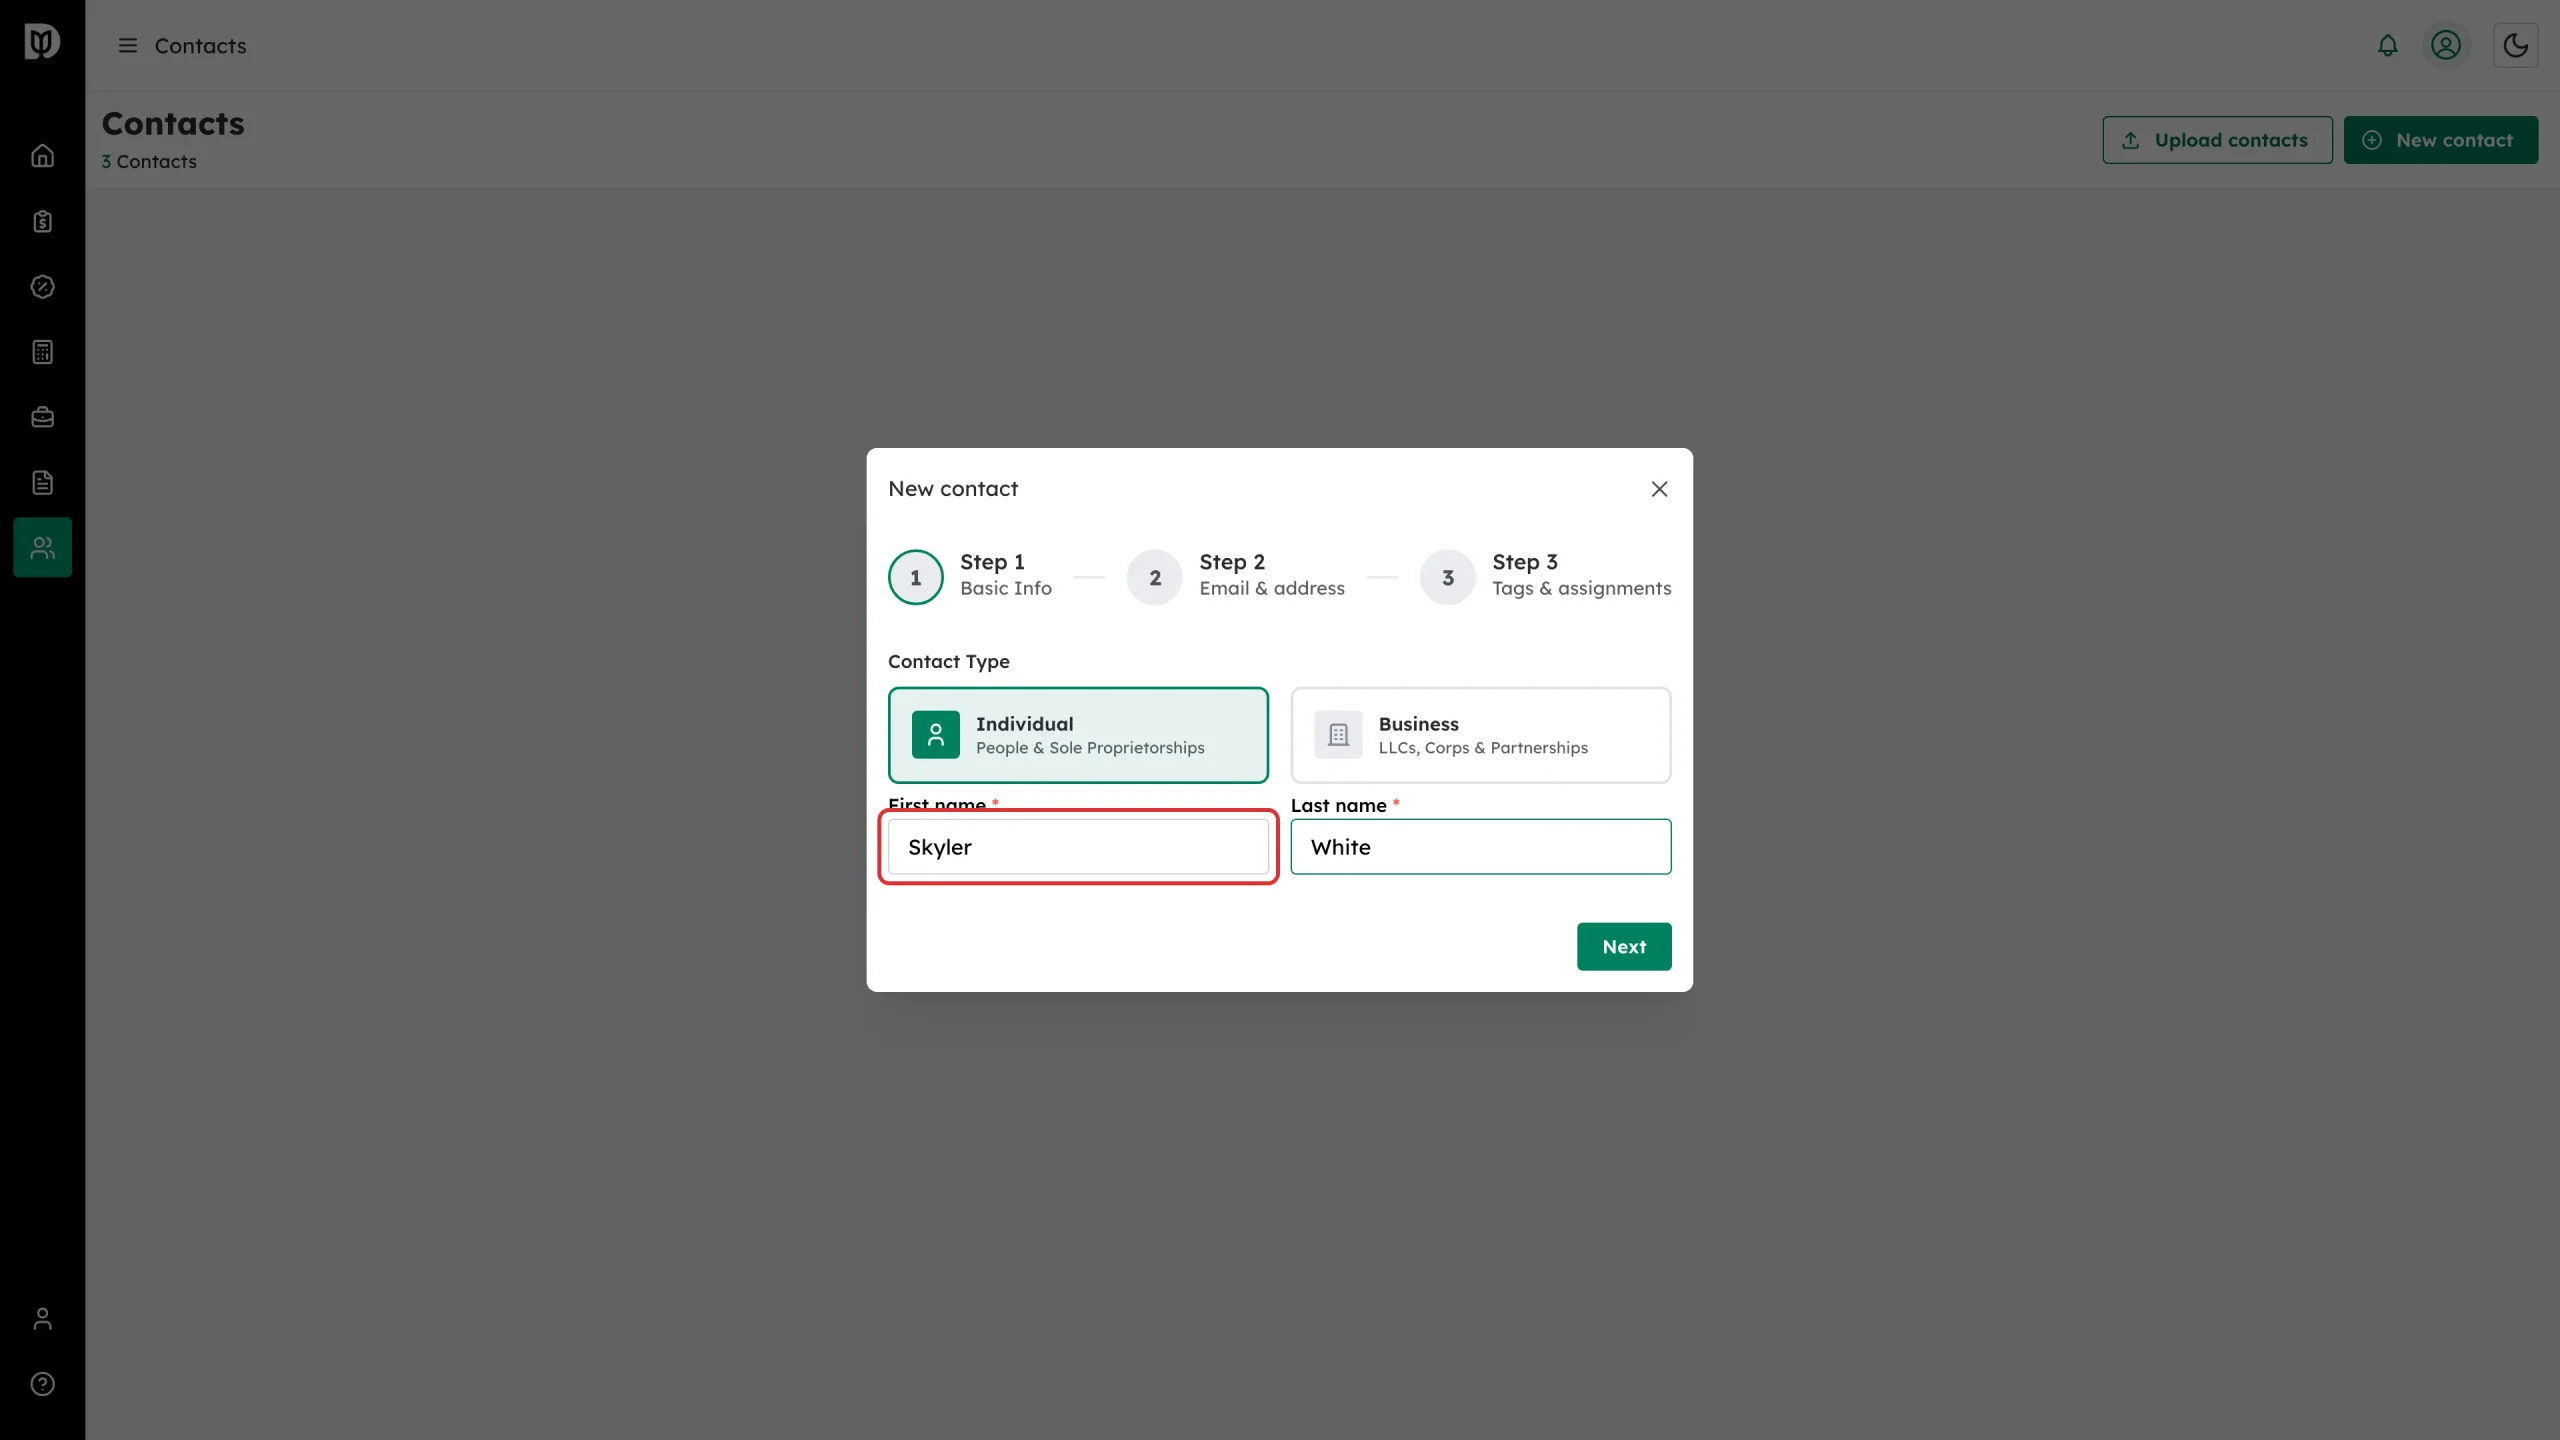
Step 4: Enter the basic information
For an individual, enter the first and last name (both required), then click Next.
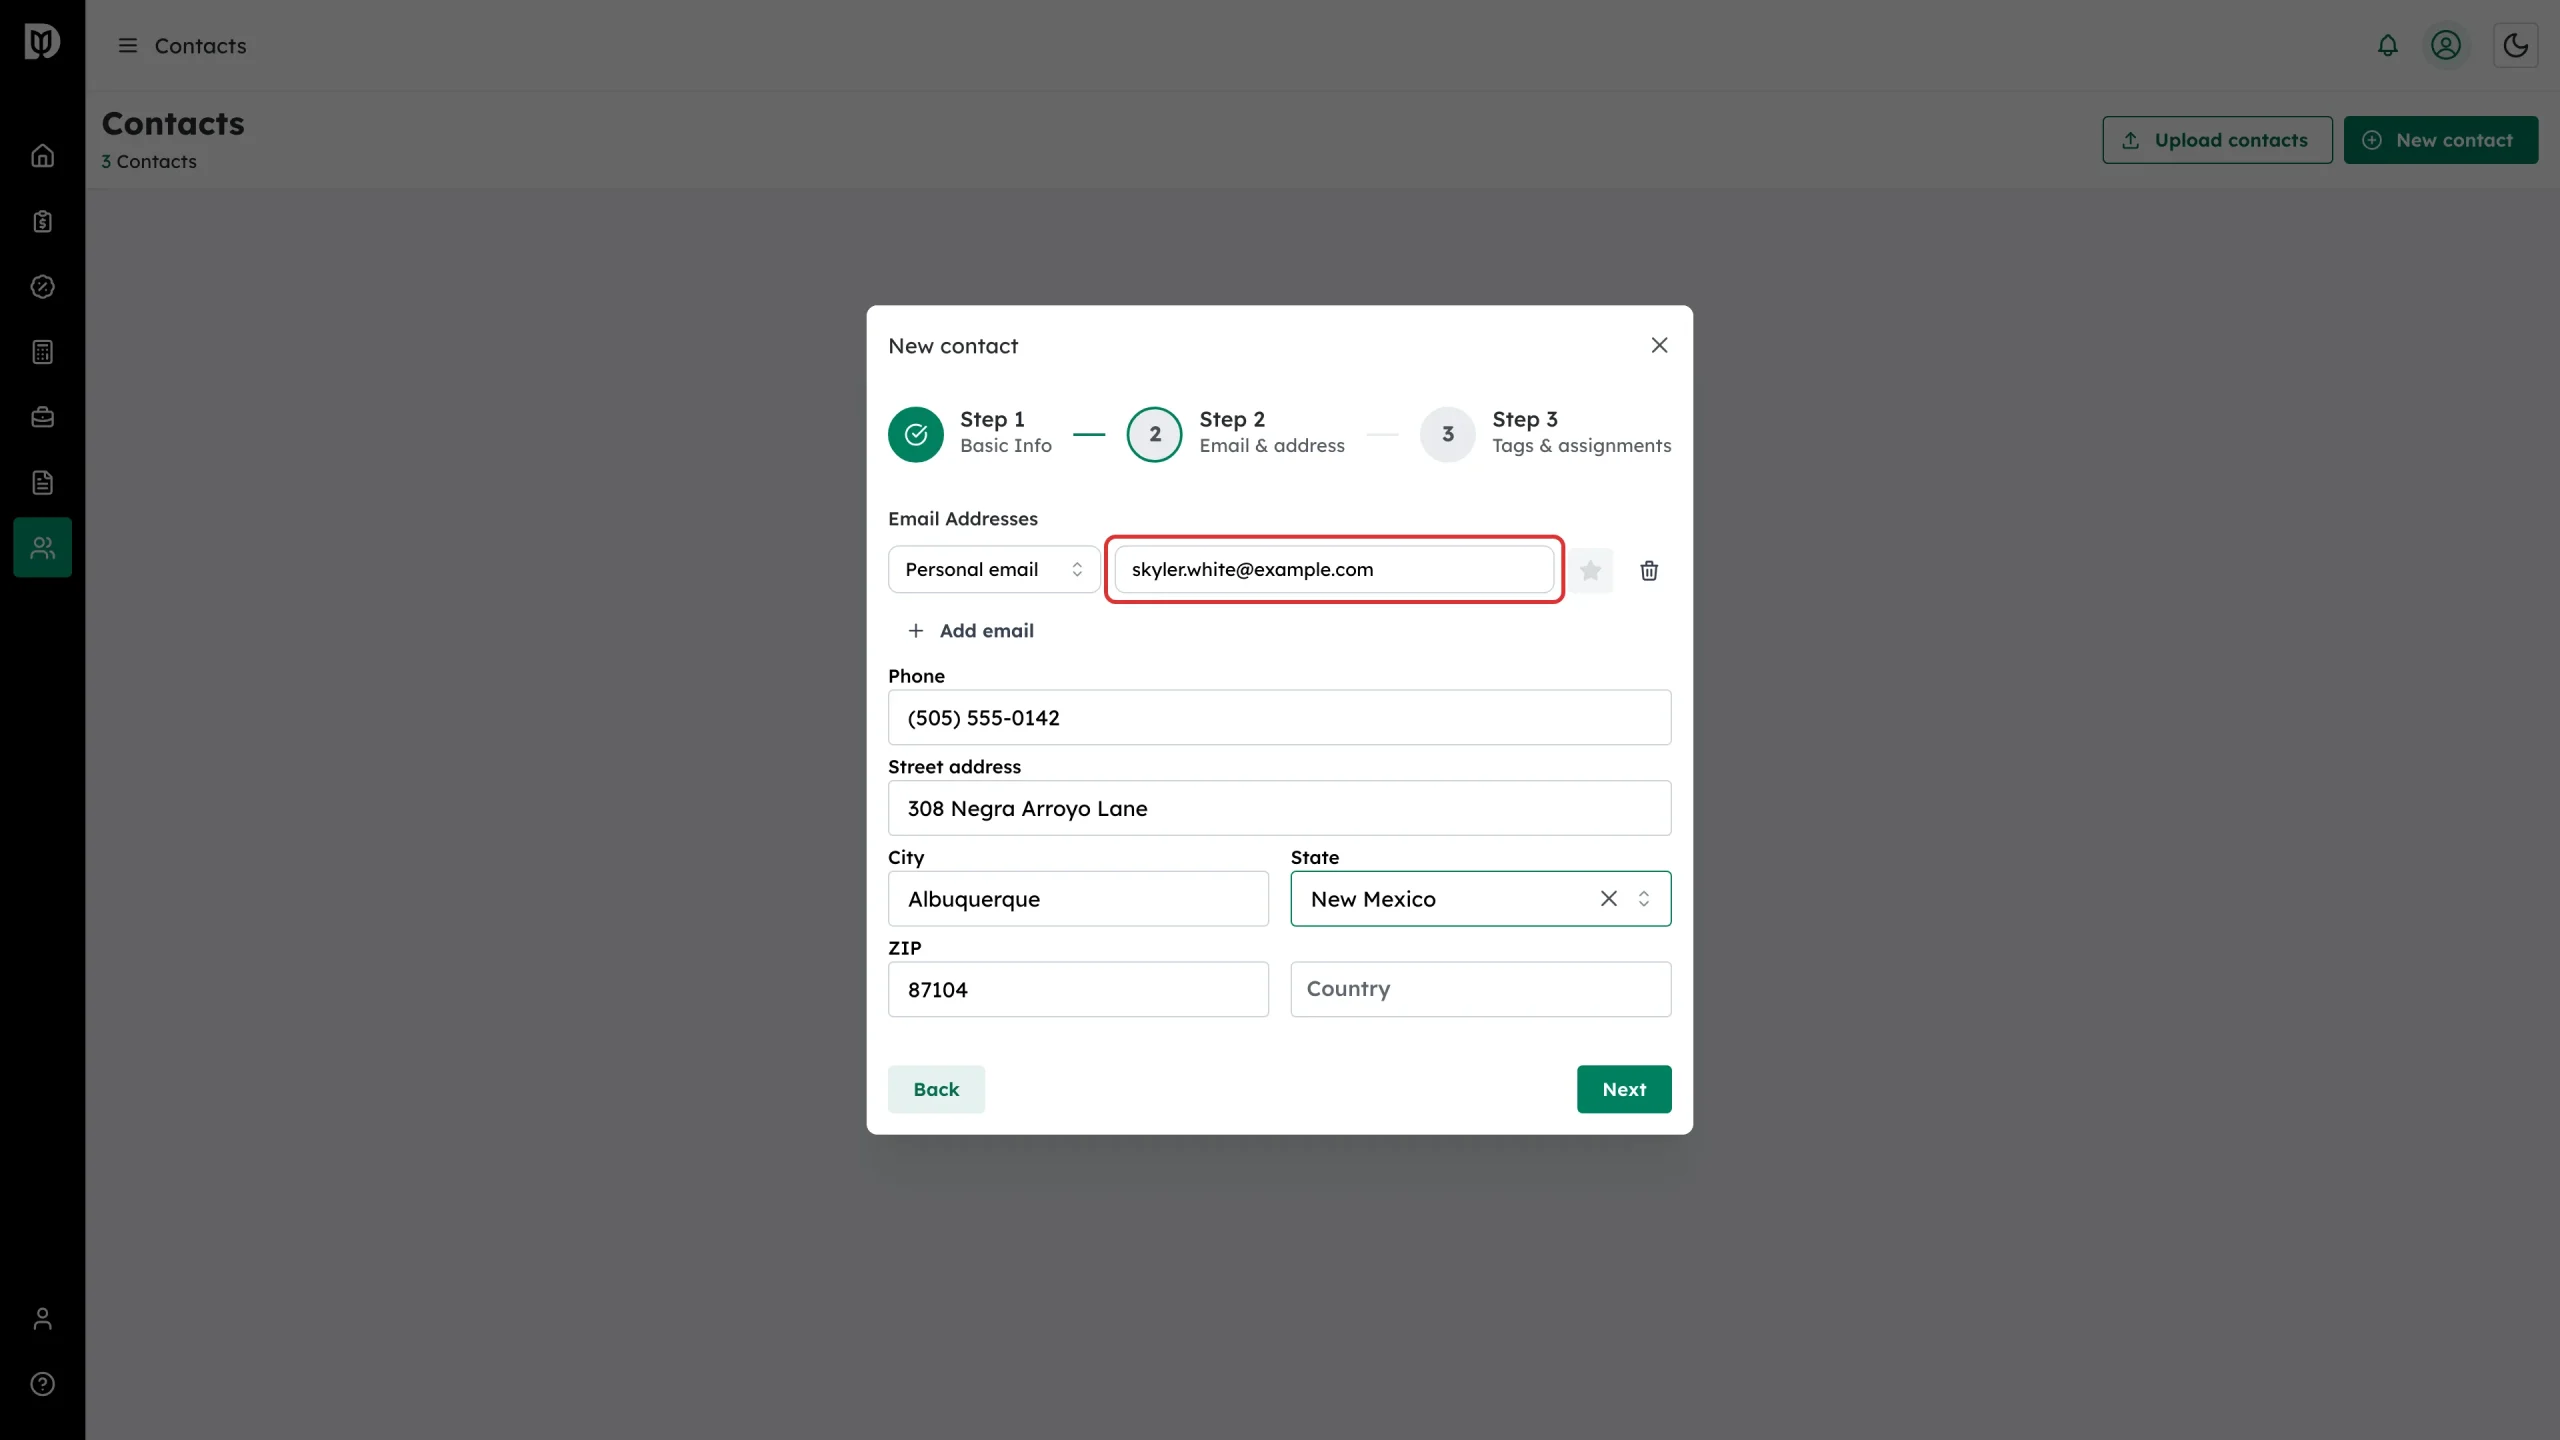
Step 5: Add email and address details
On Step 2: Email & address:
- Click Add email, choose the type (Personal, Work, or Other), and type the address. You can add up to 10 emails and star one as the primary.
- Fill in phone, street address, city, state, ZIP, and country as needed.
Click Next.
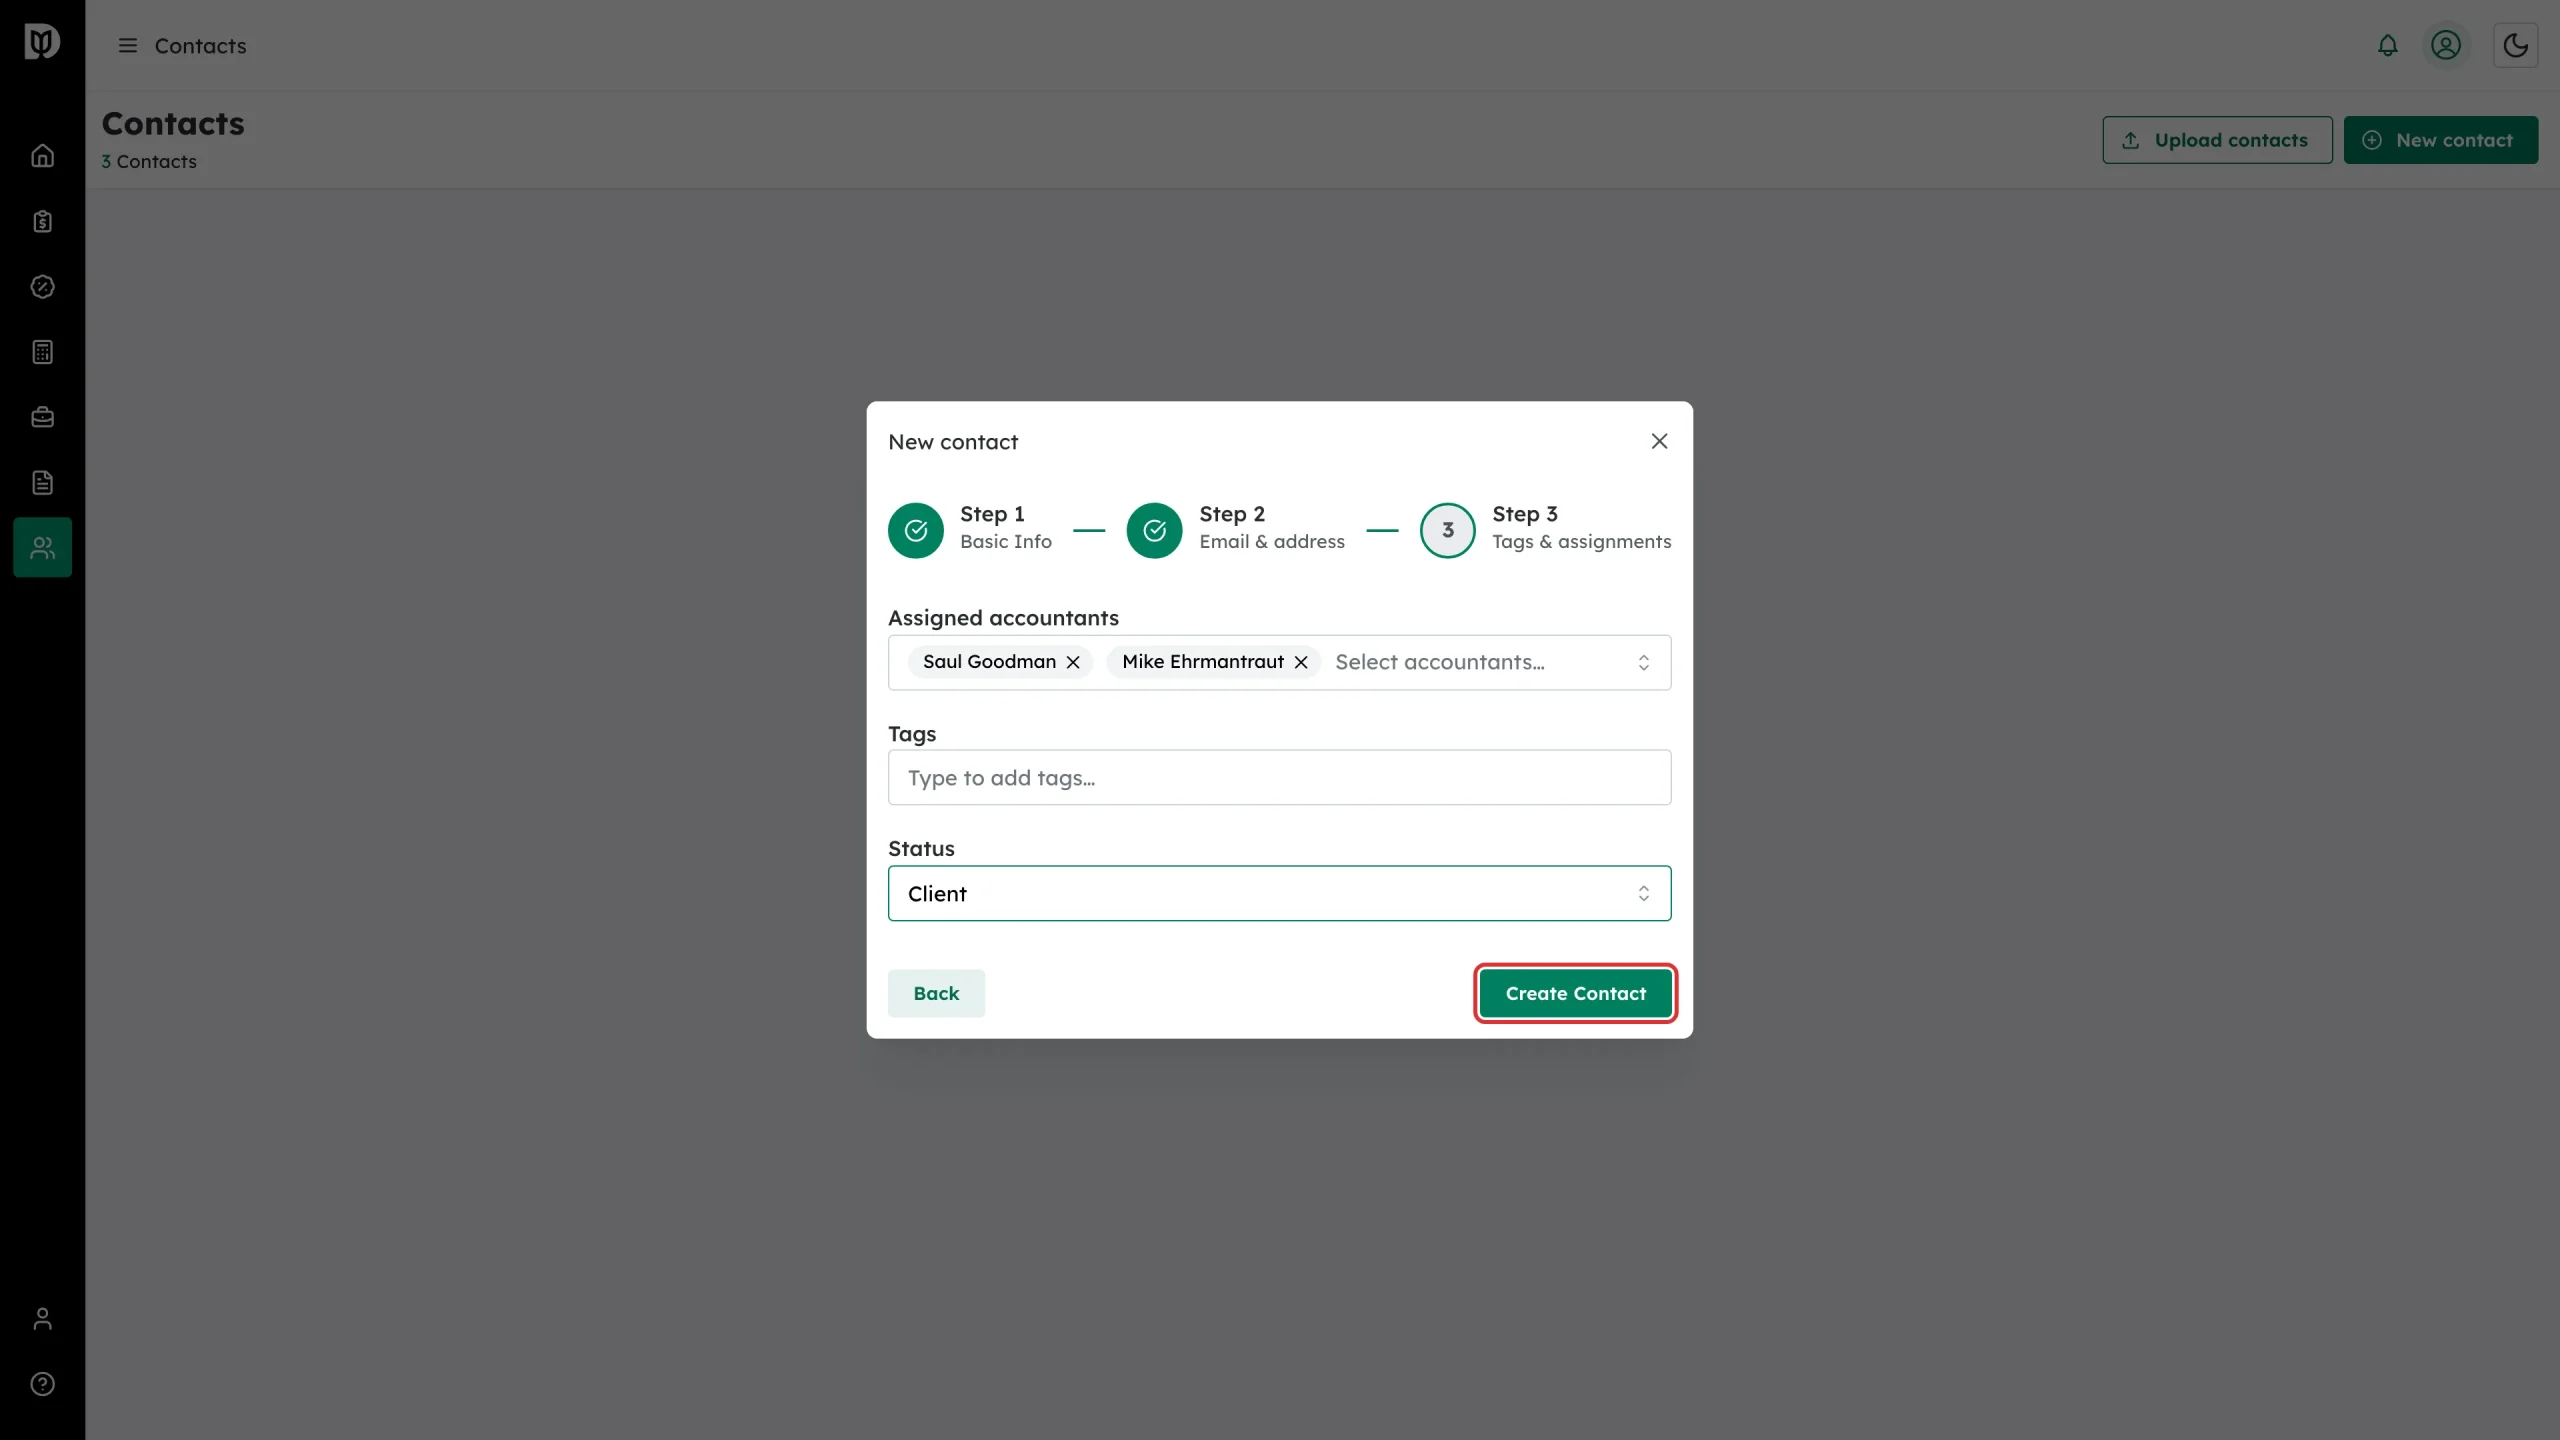
Step 6: Set assignments, tags, and status — then create
On Step 3: Tags & assignments:
- Assigned accountants — pick the staff who should work with this contact.
- Tags — type to add tags for grouping and filtering.
- Status — Client, Prospect, Other, or Inactive.
Click Create Contact.
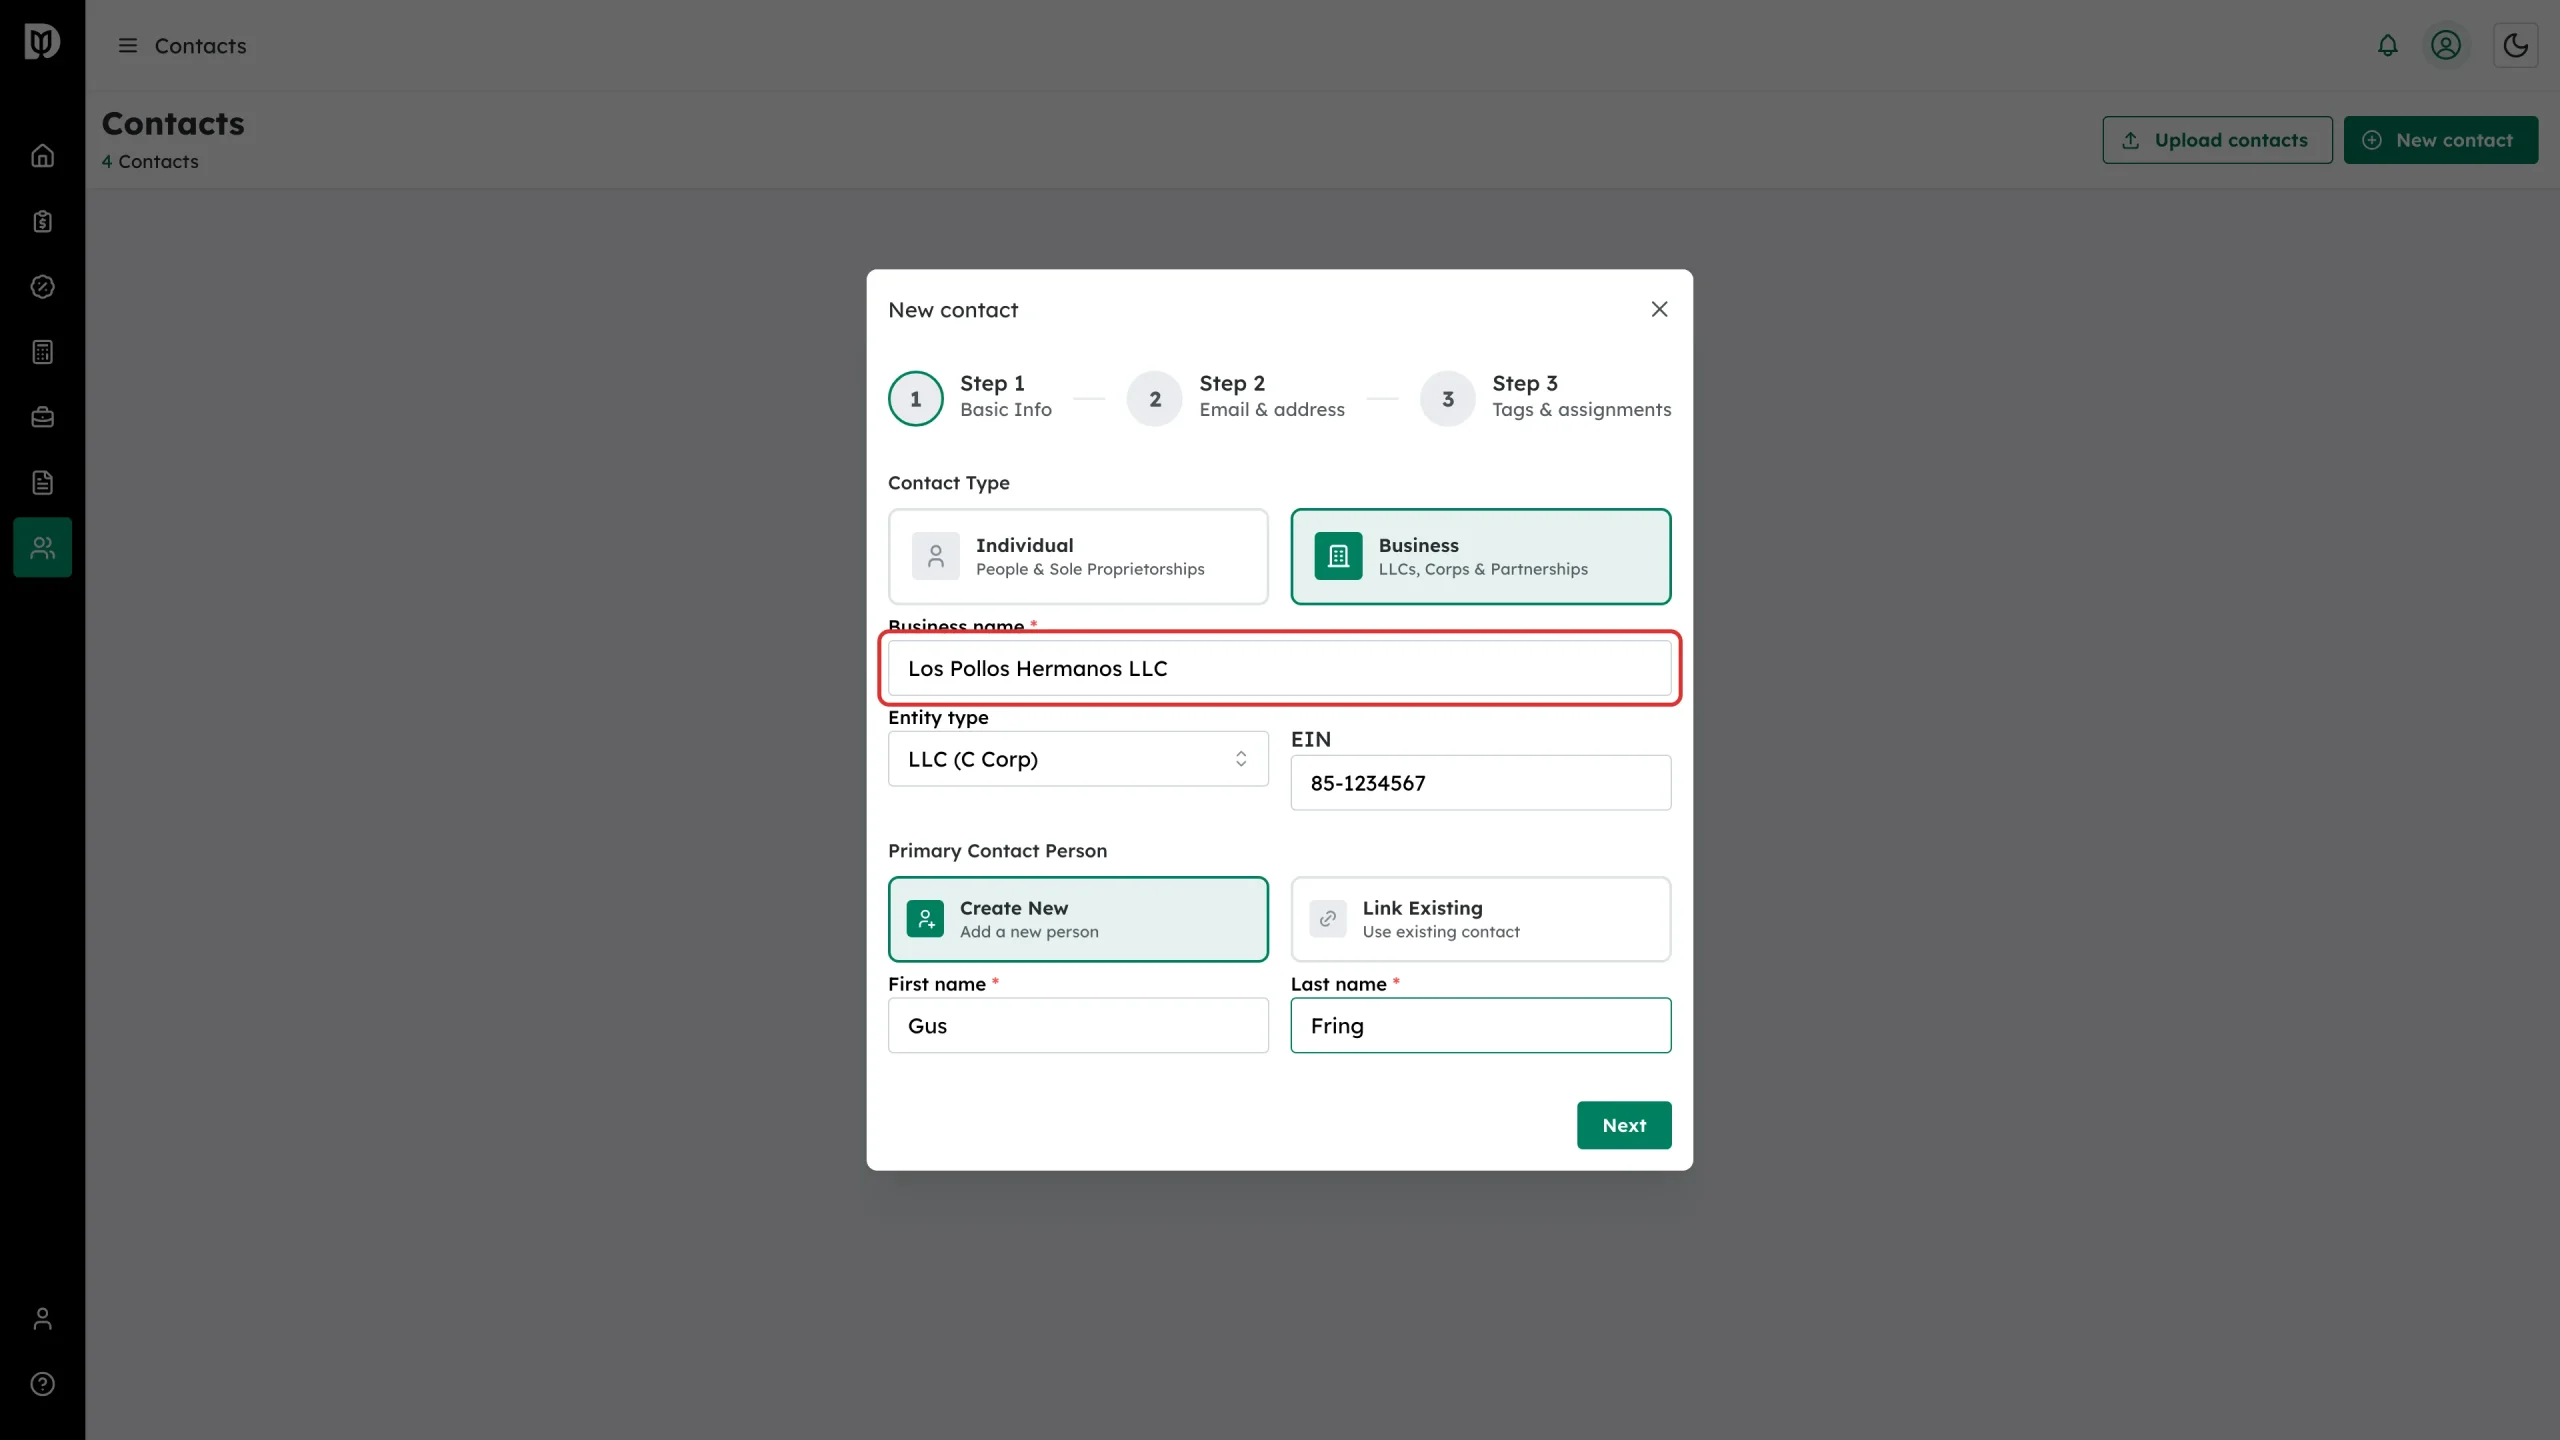
Creating a business contact
Pick the Business card on Step 1 and fill in:
- Business name (required)
- Entity type and EIN
- Primary Contact Person — Create New (enter a first and last name) or Link Existing to connect an individual contact you already have
Steps 2 and 3 work the same as for individuals.
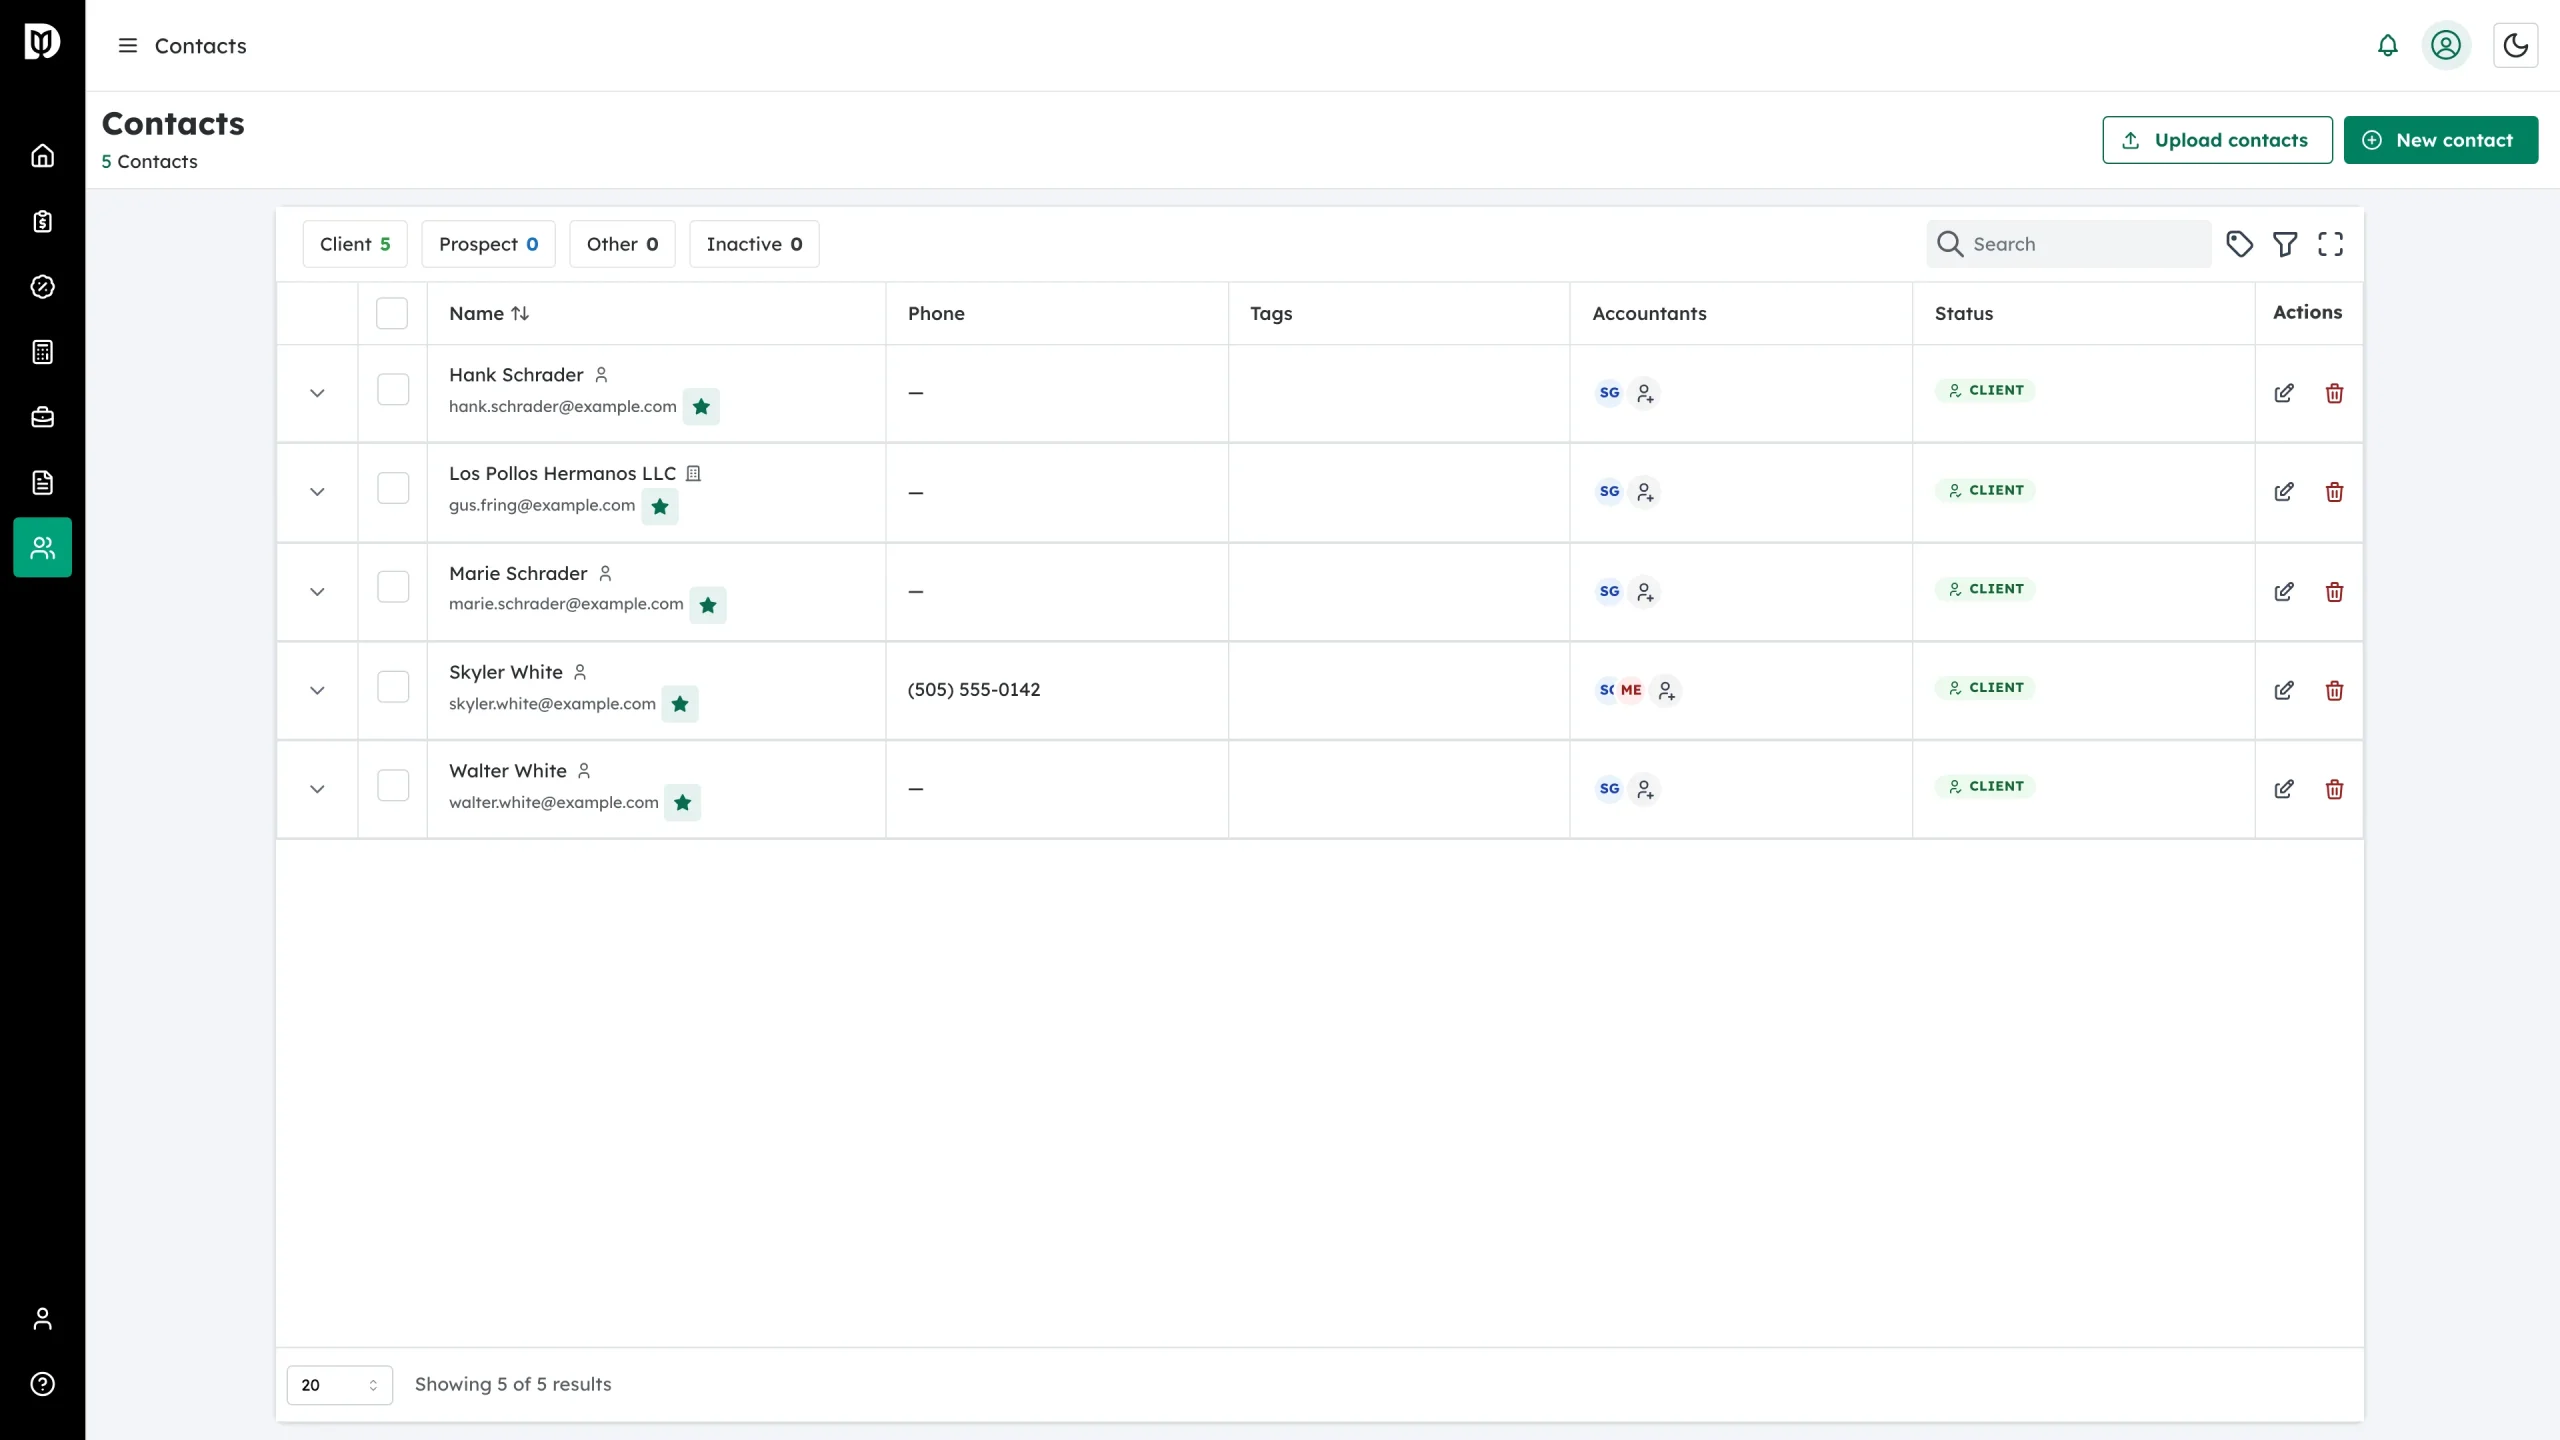
What happens next
Your new contact appears in the list. The status chips at the top (Client, Prospect, Other, Inactive) filter the list, and the Accountants column shows who is assigned.
Editing an existing contact
- Click the pencil (Edit) icon on the contact’s row — or open the contact and click the pencil on their profile card.
- The profile opens with an inline Edit Contact form: name, phone, status, address, and email addresses.
- Make your changes and click Save changes.
Deleting a contact
Click the trash icon on the contact’s row (or Delete contact inside the edit form) and confirm. Deleting removes the contact’s record — use the Inactive status instead if you just want to park a former client.
Troubleshooting
- Contact won’t save: First and last name (individuals) or business name (businesses) are required.
- Can’t find a contact: Use the search box, and check the status chips — the list may be filtered to one status.
- Duplicate email: Each contact’s email must be unique in your firm. Search for the existing contact instead of creating a second record.