

Who this is for: Bookkeepers and accounting staff preparing a client’s month-end close.
What you’ll learn: How to complete, add, reorder, and remove checklist tasks so every step of the close is tracked.
Before you begin #
- Open the client’s Month End tab and select the period you are working on.
- Make sure the period is In Progress so tasks can be edited.
Step-by-step instructions #
Step 1: Review the checklist #
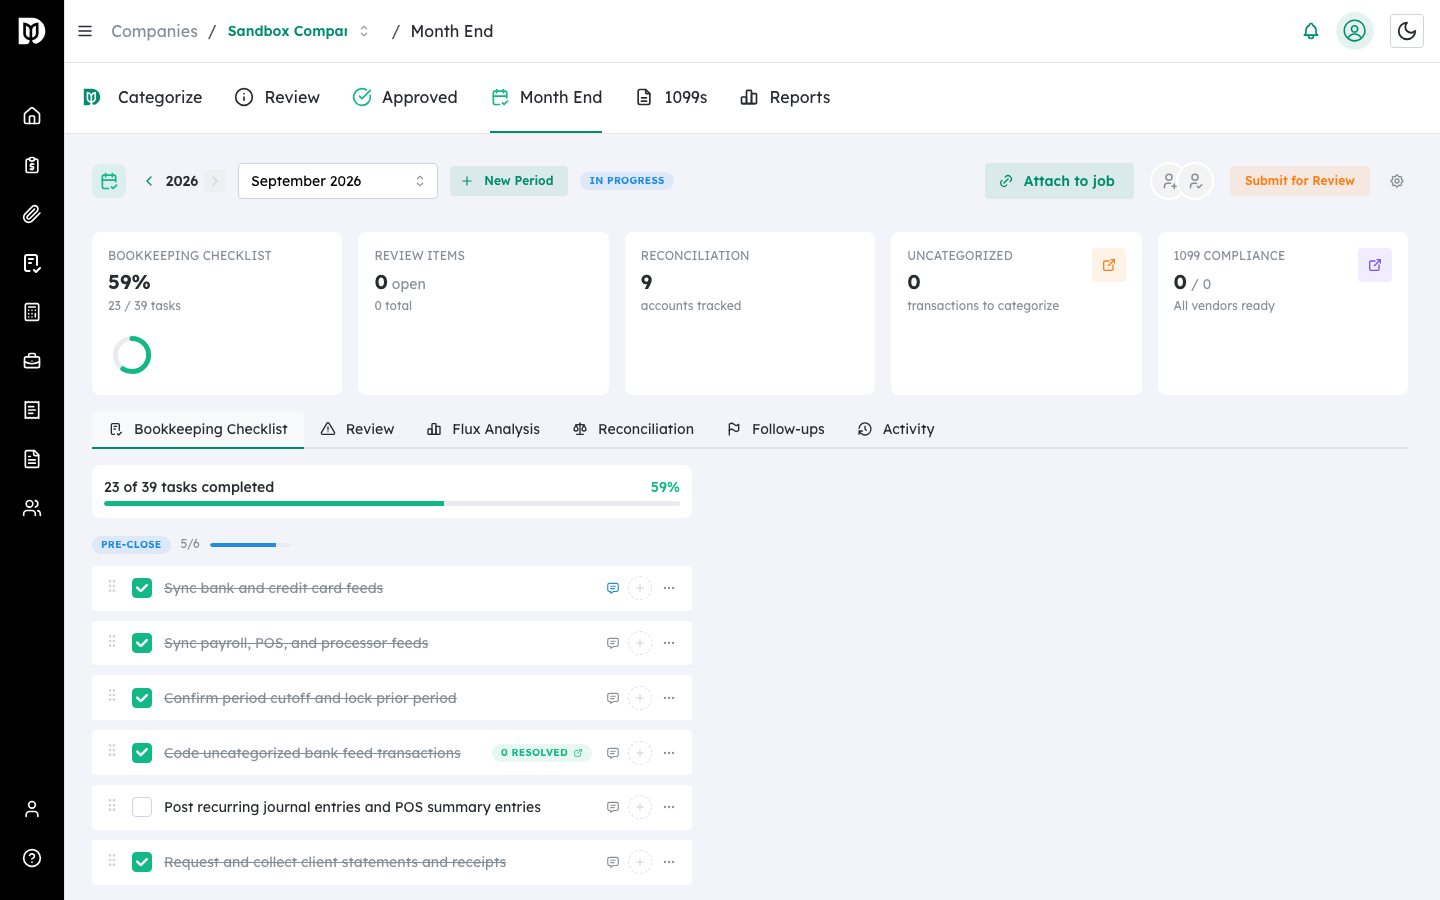
On the Bookkeeping Checklist tab, tasks are grouped into stages such as Pre-Close, Journal Entries, Reconciliation, Transaction Review, Payee Review, and Self-Review. A progress bar at the top shows how many tasks are complete.
Step 2: Complete a task #
Select the checkbox next to a task to mark it complete. Completed tasks are struck through and the stage and overall progress update automatically.
Step 3: Add a task #
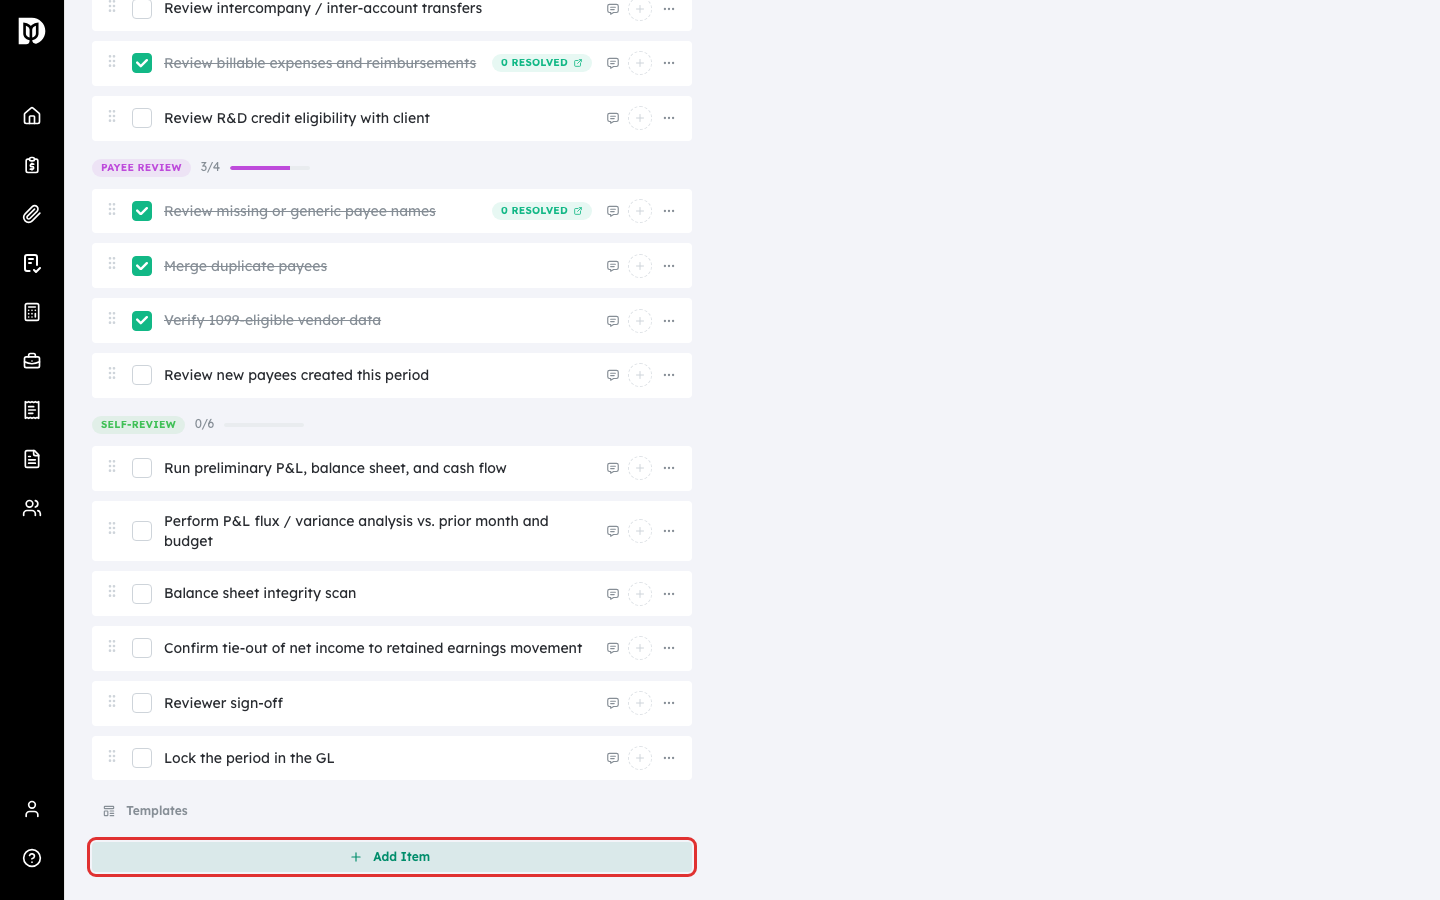
Select Add Item at the bottom of the list.
Step 4: Enter task details #
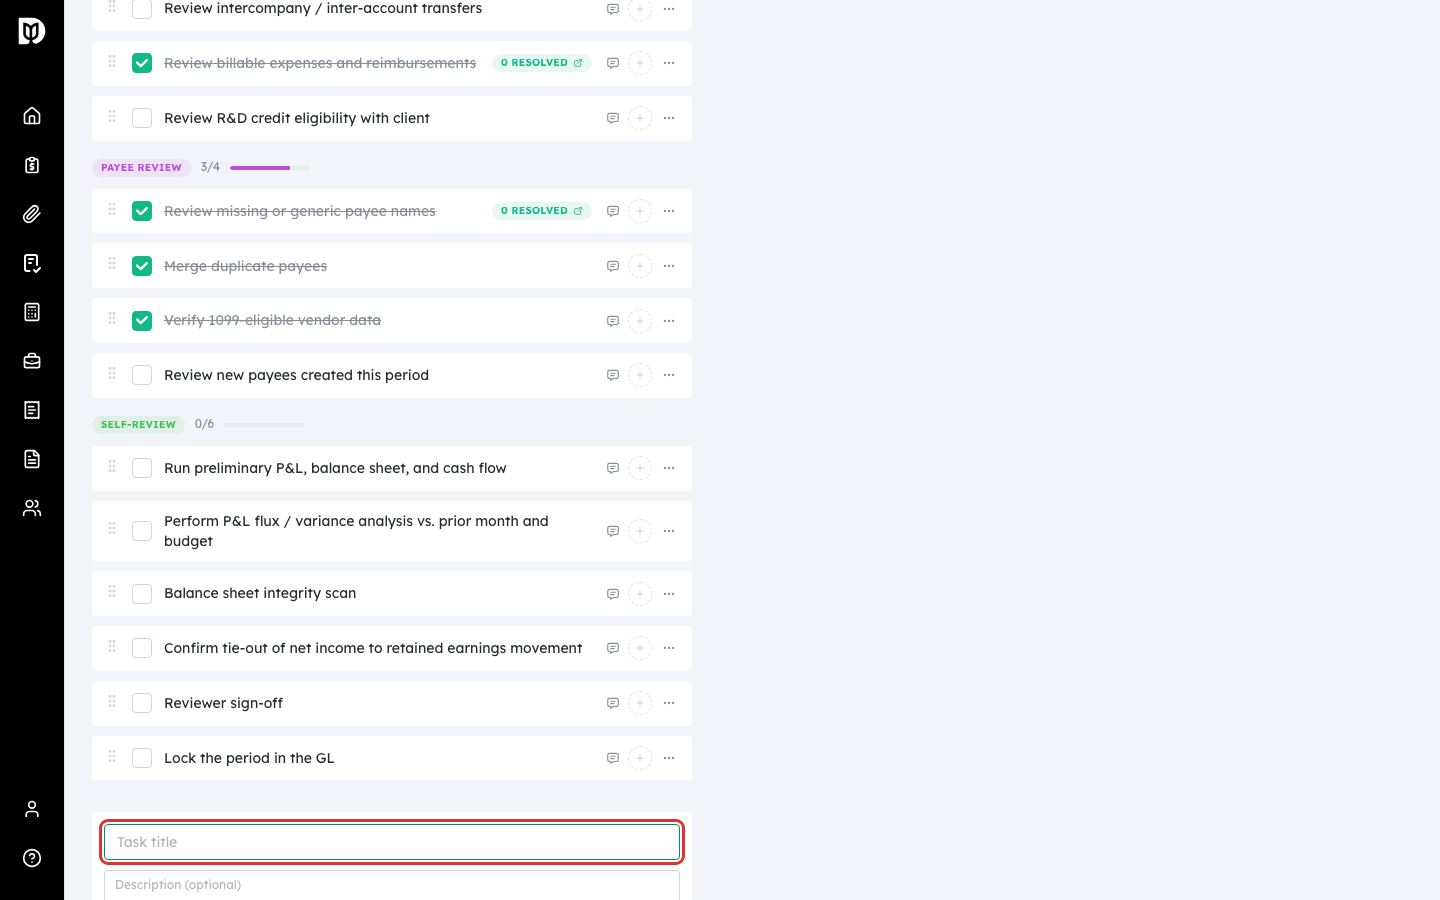
Type a Task title, add an optional description, then choose a category, assignee, and due date. Select Add to save. If you removed a task earlier, it appears as a chip under Re-add a removed task for one-click re-adding.
What happens next #
You can drag tasks by the handle to reorder them, and use a task’s menu to add notes, comments, or delete it. Deleting a task is safe: it is banked on the company so you can re-add it later from the add-item form. Standard (system) tasks can be deleted and re-added too, so nothing is ever lost.
Troubleshooting #
- Problem: A task will not check off. Confirm the period is not Closed. Reopen it first if you need to make changes.
- Problem: You deleted a task by mistake. Open Add Item and select the task chip under “Re-add a removed task” to restore it.


