
Who this is for: Accountants who need to create a new tax return delivery for a client.
What you’ll learn: How to create a tax return, select the return type and tax year, and add signers.
Before you begin #
- You must be signed in to your Debits account with an active subscription.
- Have the client’s name and email address ready.
Step-by-step instructions #
Step 1: Click the Add Tax Return button #
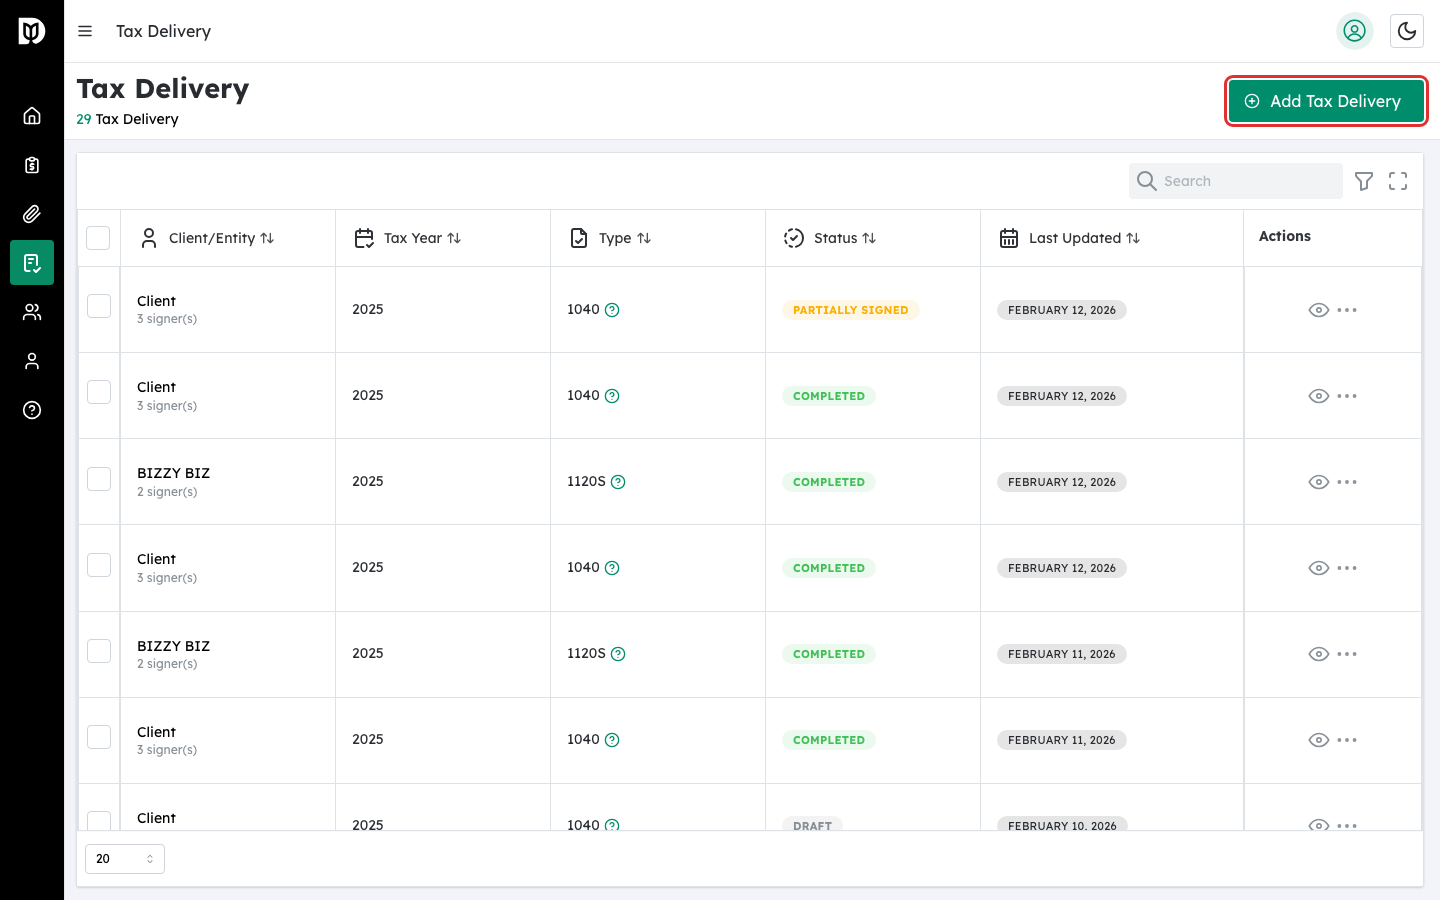
From the Tax Returns page, click the Add Tax Return button in the top-right area of the table.
Step 2: Select the tax year #
In the modal that appears, choose the Tax Year from the dropdown. Options range from 2020 to 2025.
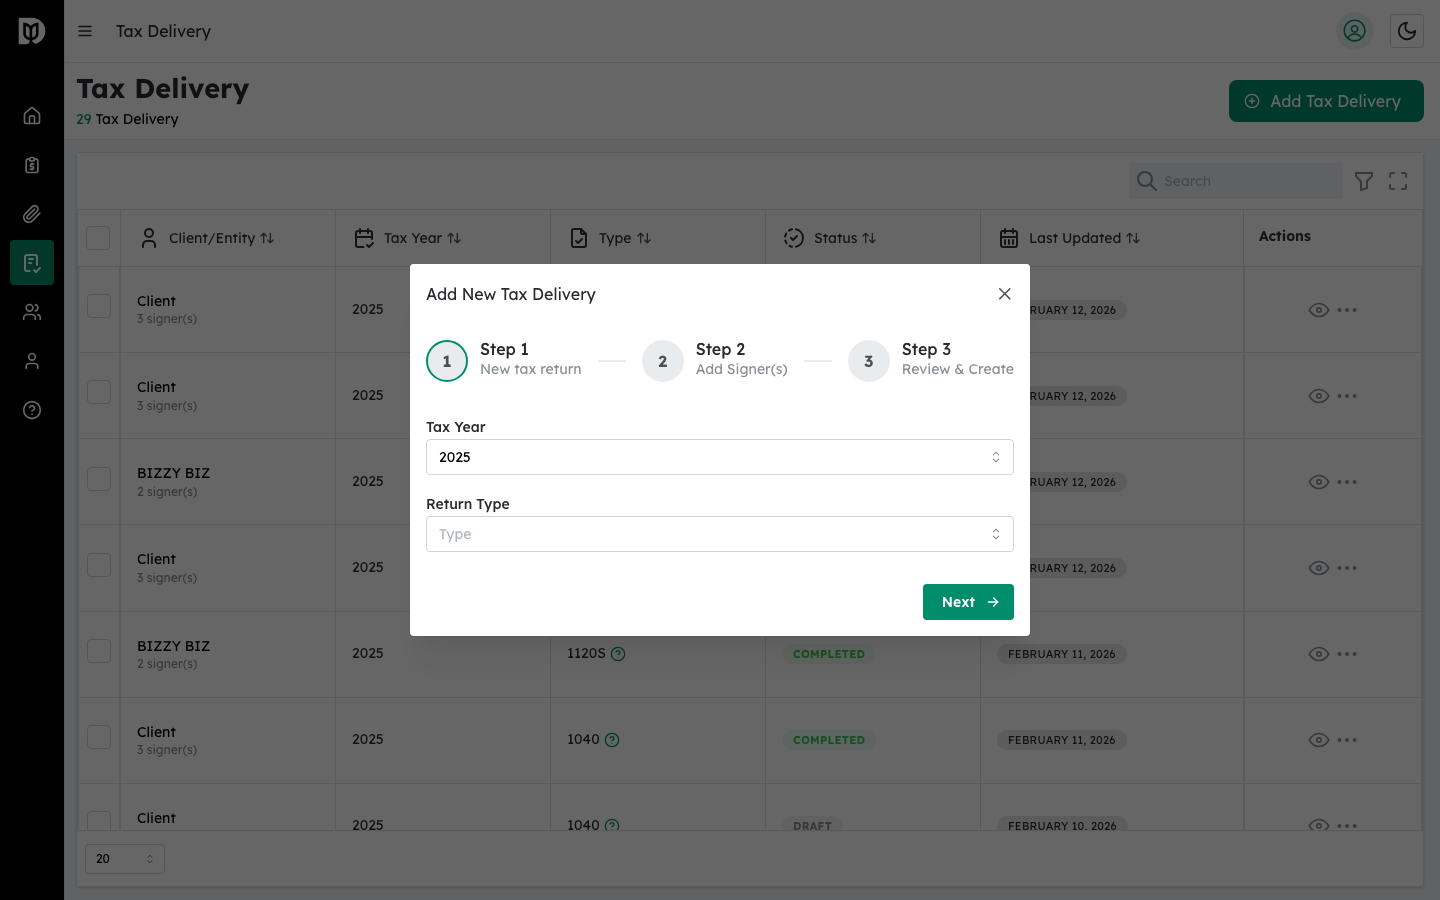
Step 3: Select the return type #
Choose the return type from the dropdown:
- 1040 — Individual Income Tax Return
- 1065 — Partnership Return of Income
- 1120S — S Corporation Income Tax Return
Click Next to continue.
Step 4: Add signers #
On the second step, add the people who need to sign the tax return. You can:
- Search contacts — Type a name in the search field to find existing clients.
- Add manually — Click Add Client Manually and enter the signer’s name and email.
Assign each signer a role:
- Primary Taxpayer — The main filer (one per return).
- Spouse — For joint returns (one per return).
- Authorized Representative — A person authorized to sign on behalf of the taxpayer.
Step 5: Optionally add an accountant co-signer #
Toggle the Include Accountant switch to add yourself as a co-signer. The accountant signature is pre-signed during creation.
Step 6: Create the tax return #
Click Create to finalize. You will be taken to the new tax return’s detail page.
What happens next #
After creating the tax return, you need to upload documents, configure signature fields, and then send the return for signature.
Troubleshooting #
- “Role Already Assigned” warning: Each return can only have one Primary Taxpayer and one Spouse. Choose a different role.
- “This email has already been added” error: Each signer must have a unique email address.


