Who this is for: Accountants who need to attach the tax return documents a client will review and sign.
What you’ll learn: How to upload PDFs, check the document type Debits detects, and reorder the documents your client sees.
Before you begin
- Open the tax delivery you want to add documents to.
- Save each document as a PDF, up to 50MB per file. Other formats are not accepted.
Step-by-step instructions
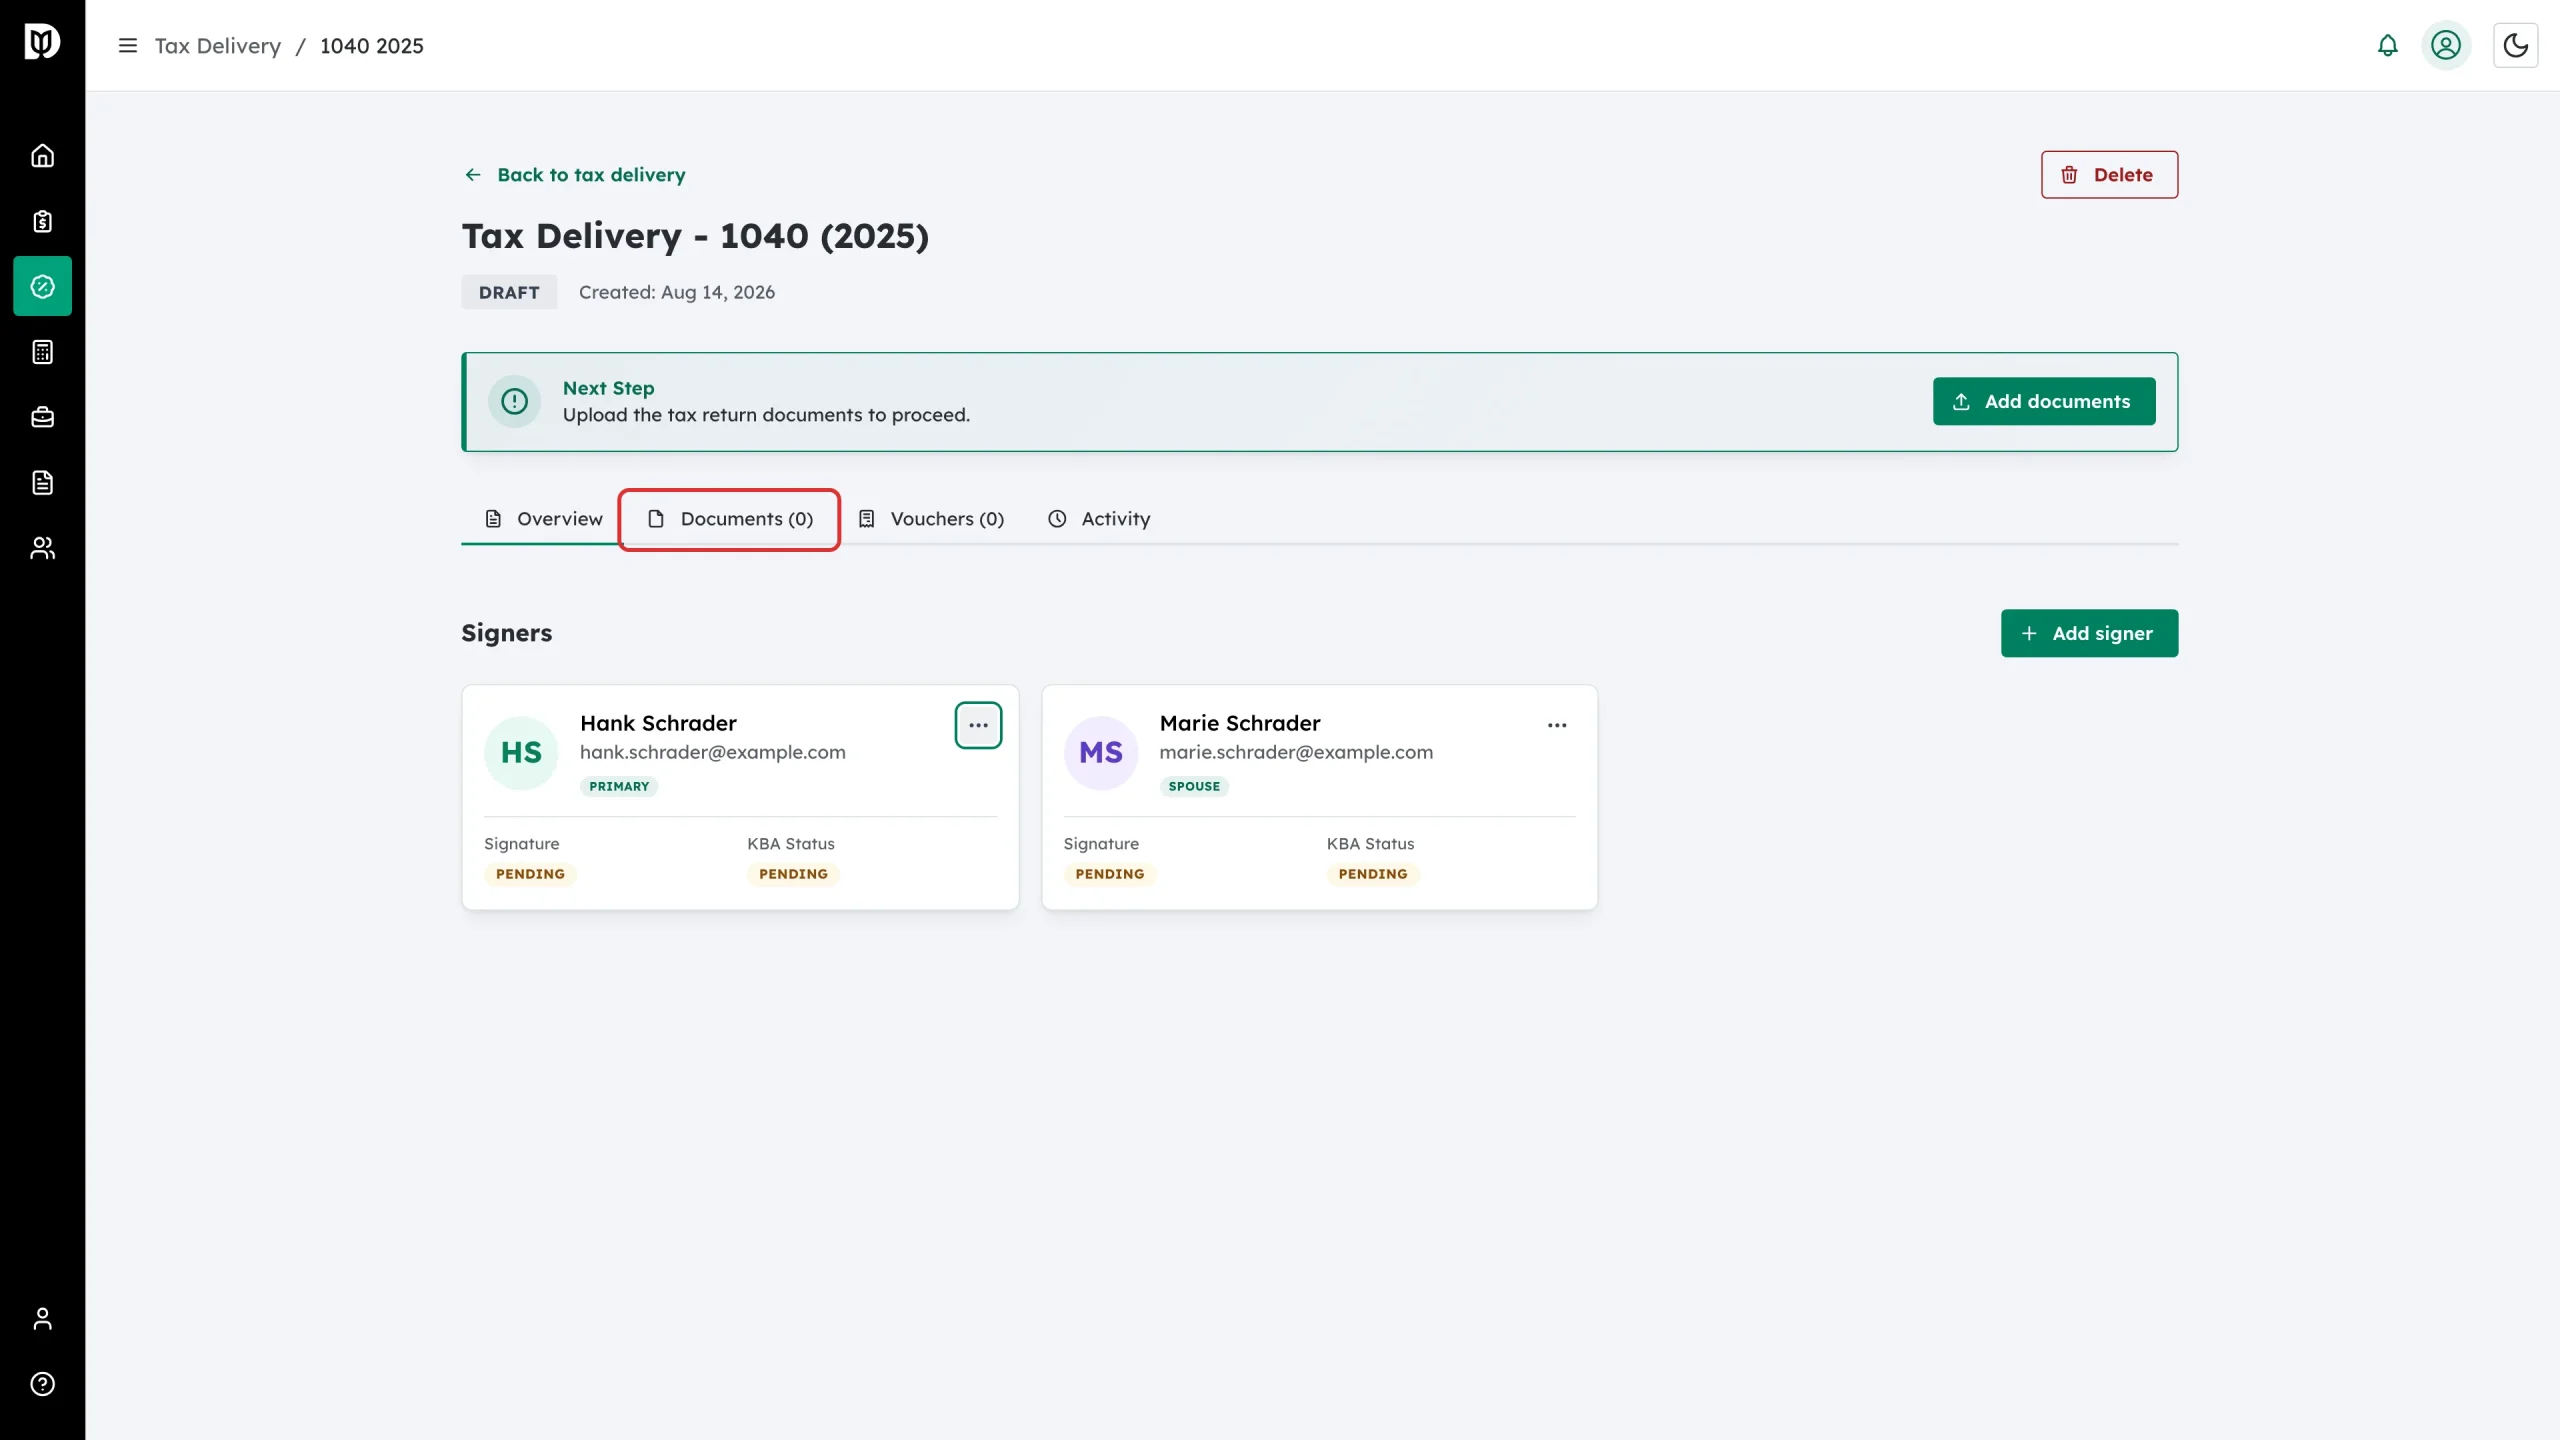
Step 1: Open the Documents tab
On the tax delivery detail page, click Documents.
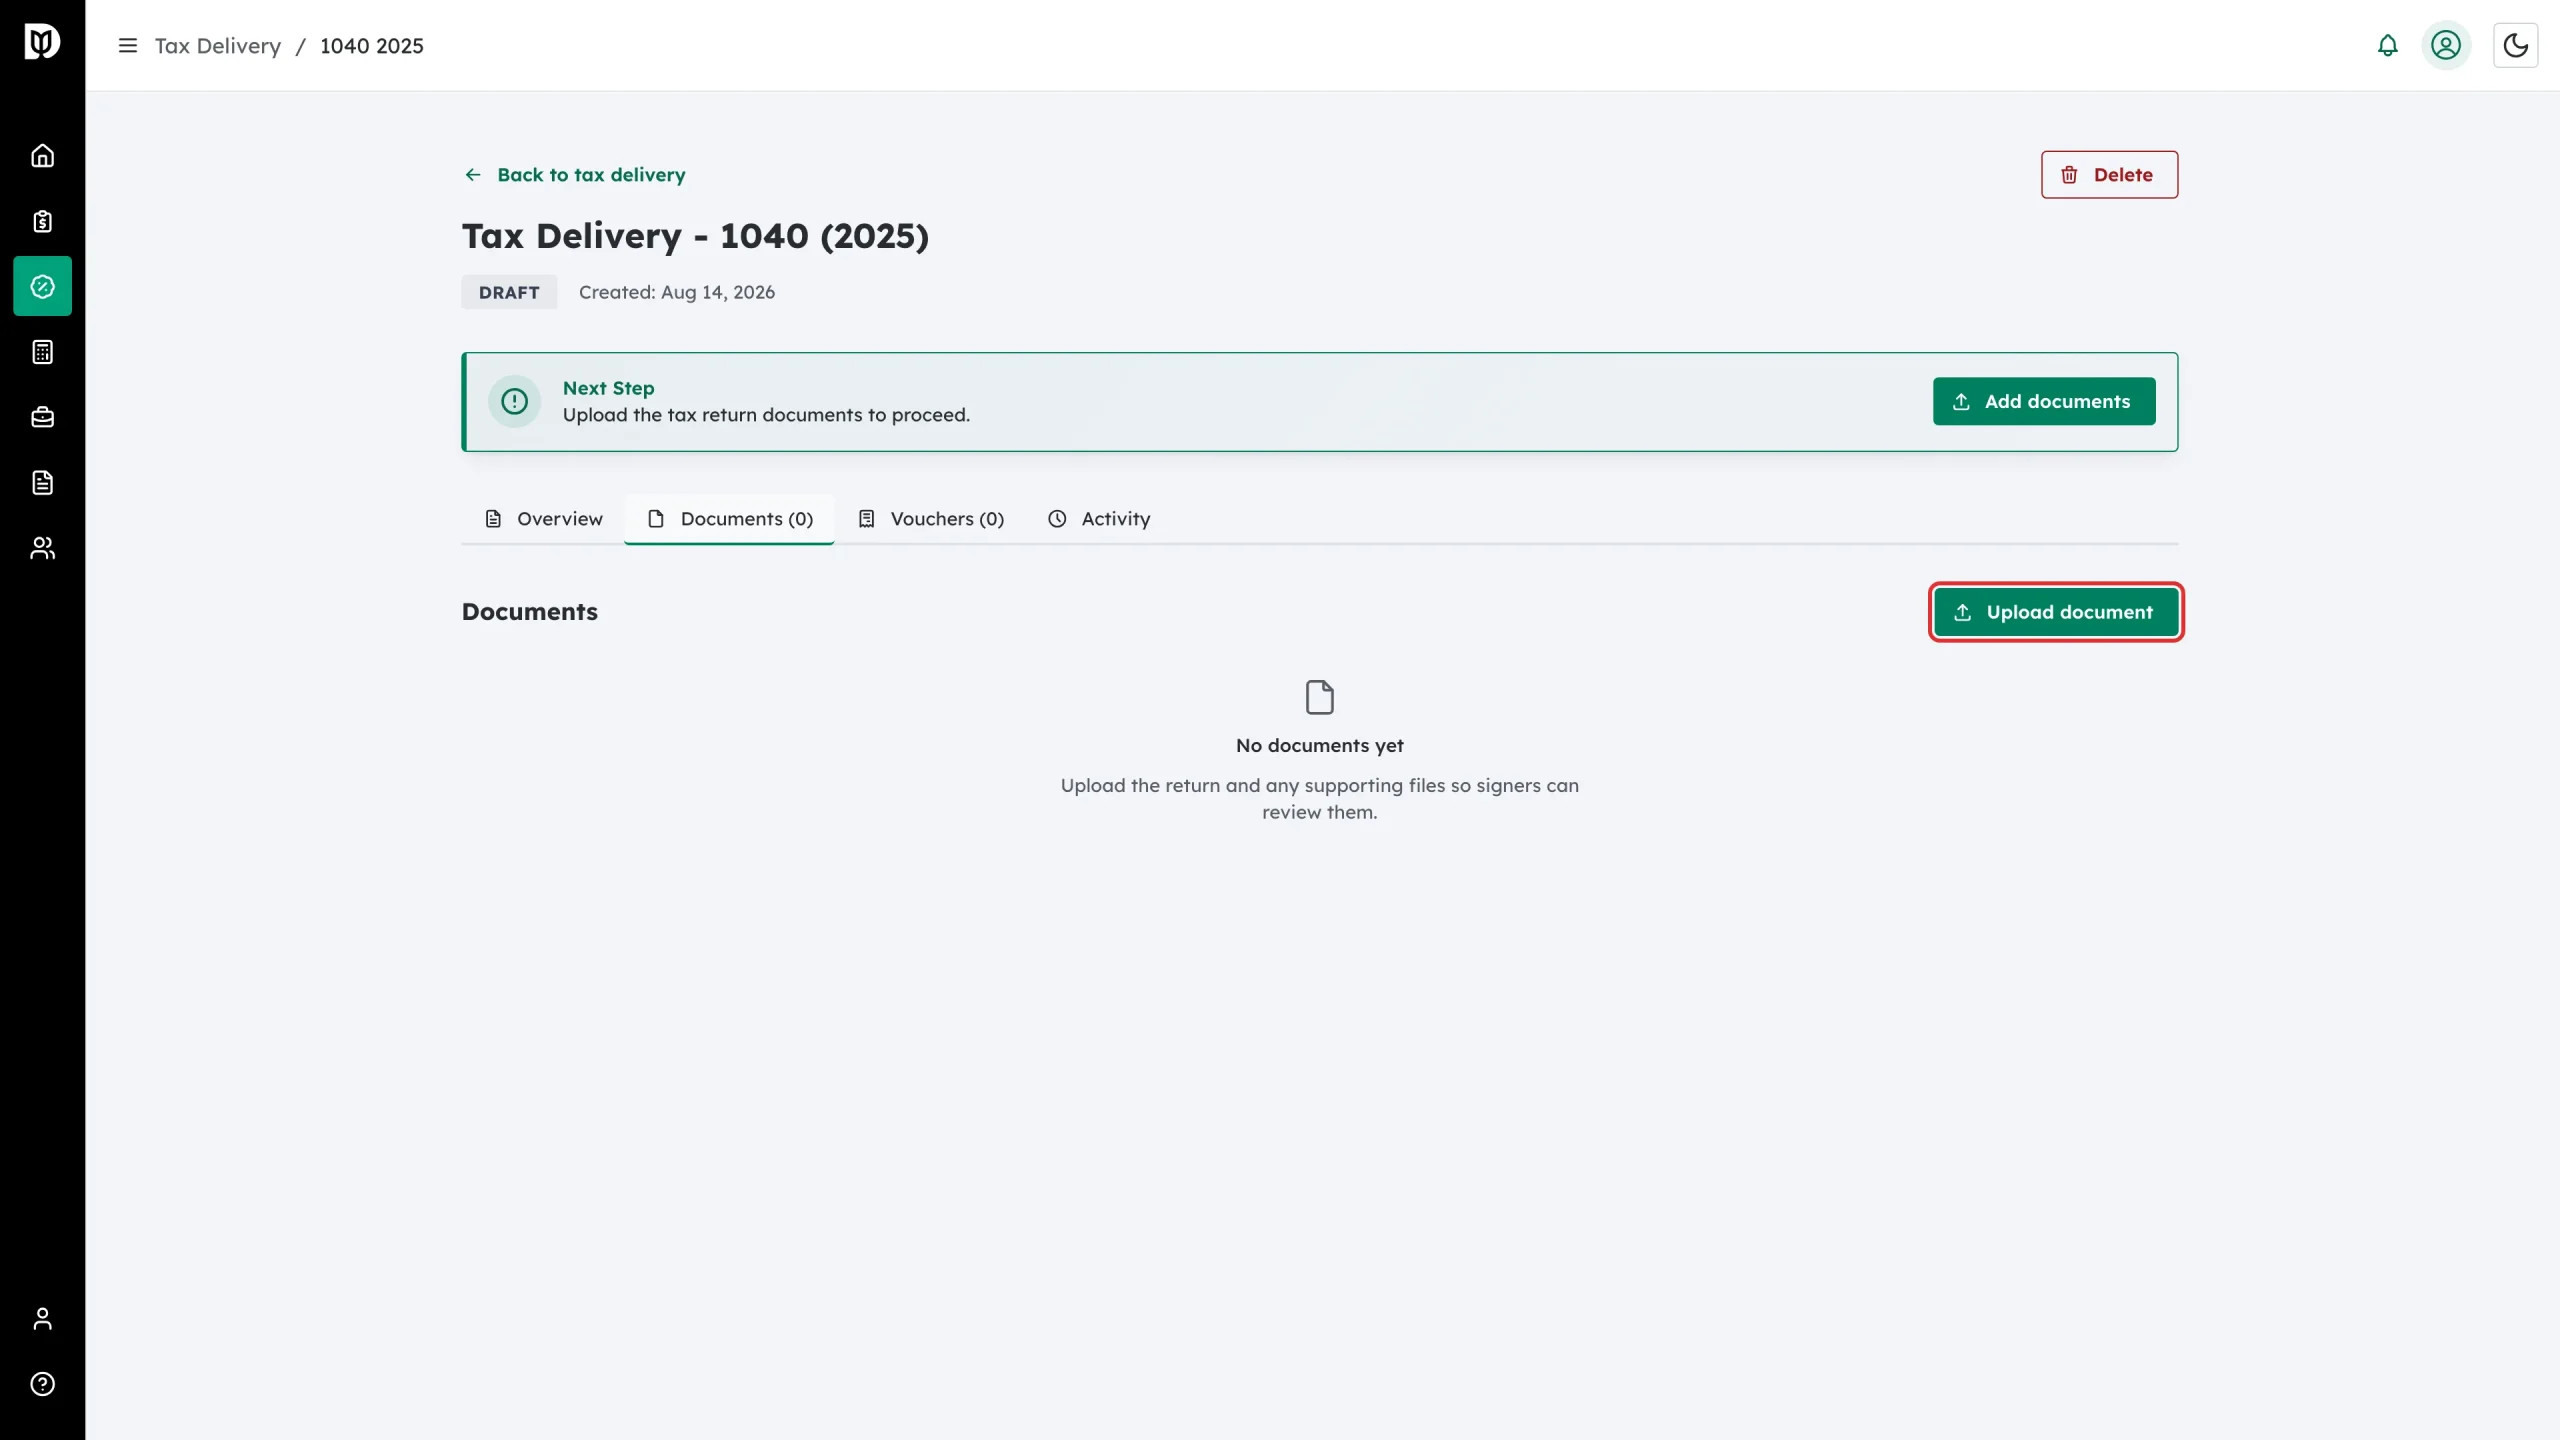
Step 2: Click Upload document
Click Upload document on the right of the Documents heading. You can also use the Add documents button in the Next Step card.
If the file is already in Debits, click Add from file manager instead. On a joint or business return, choose whose files to browse under Files from, tick the files, and decide whether each is Visible to the client. This adds a copy to the delivery; the original stays where it is.
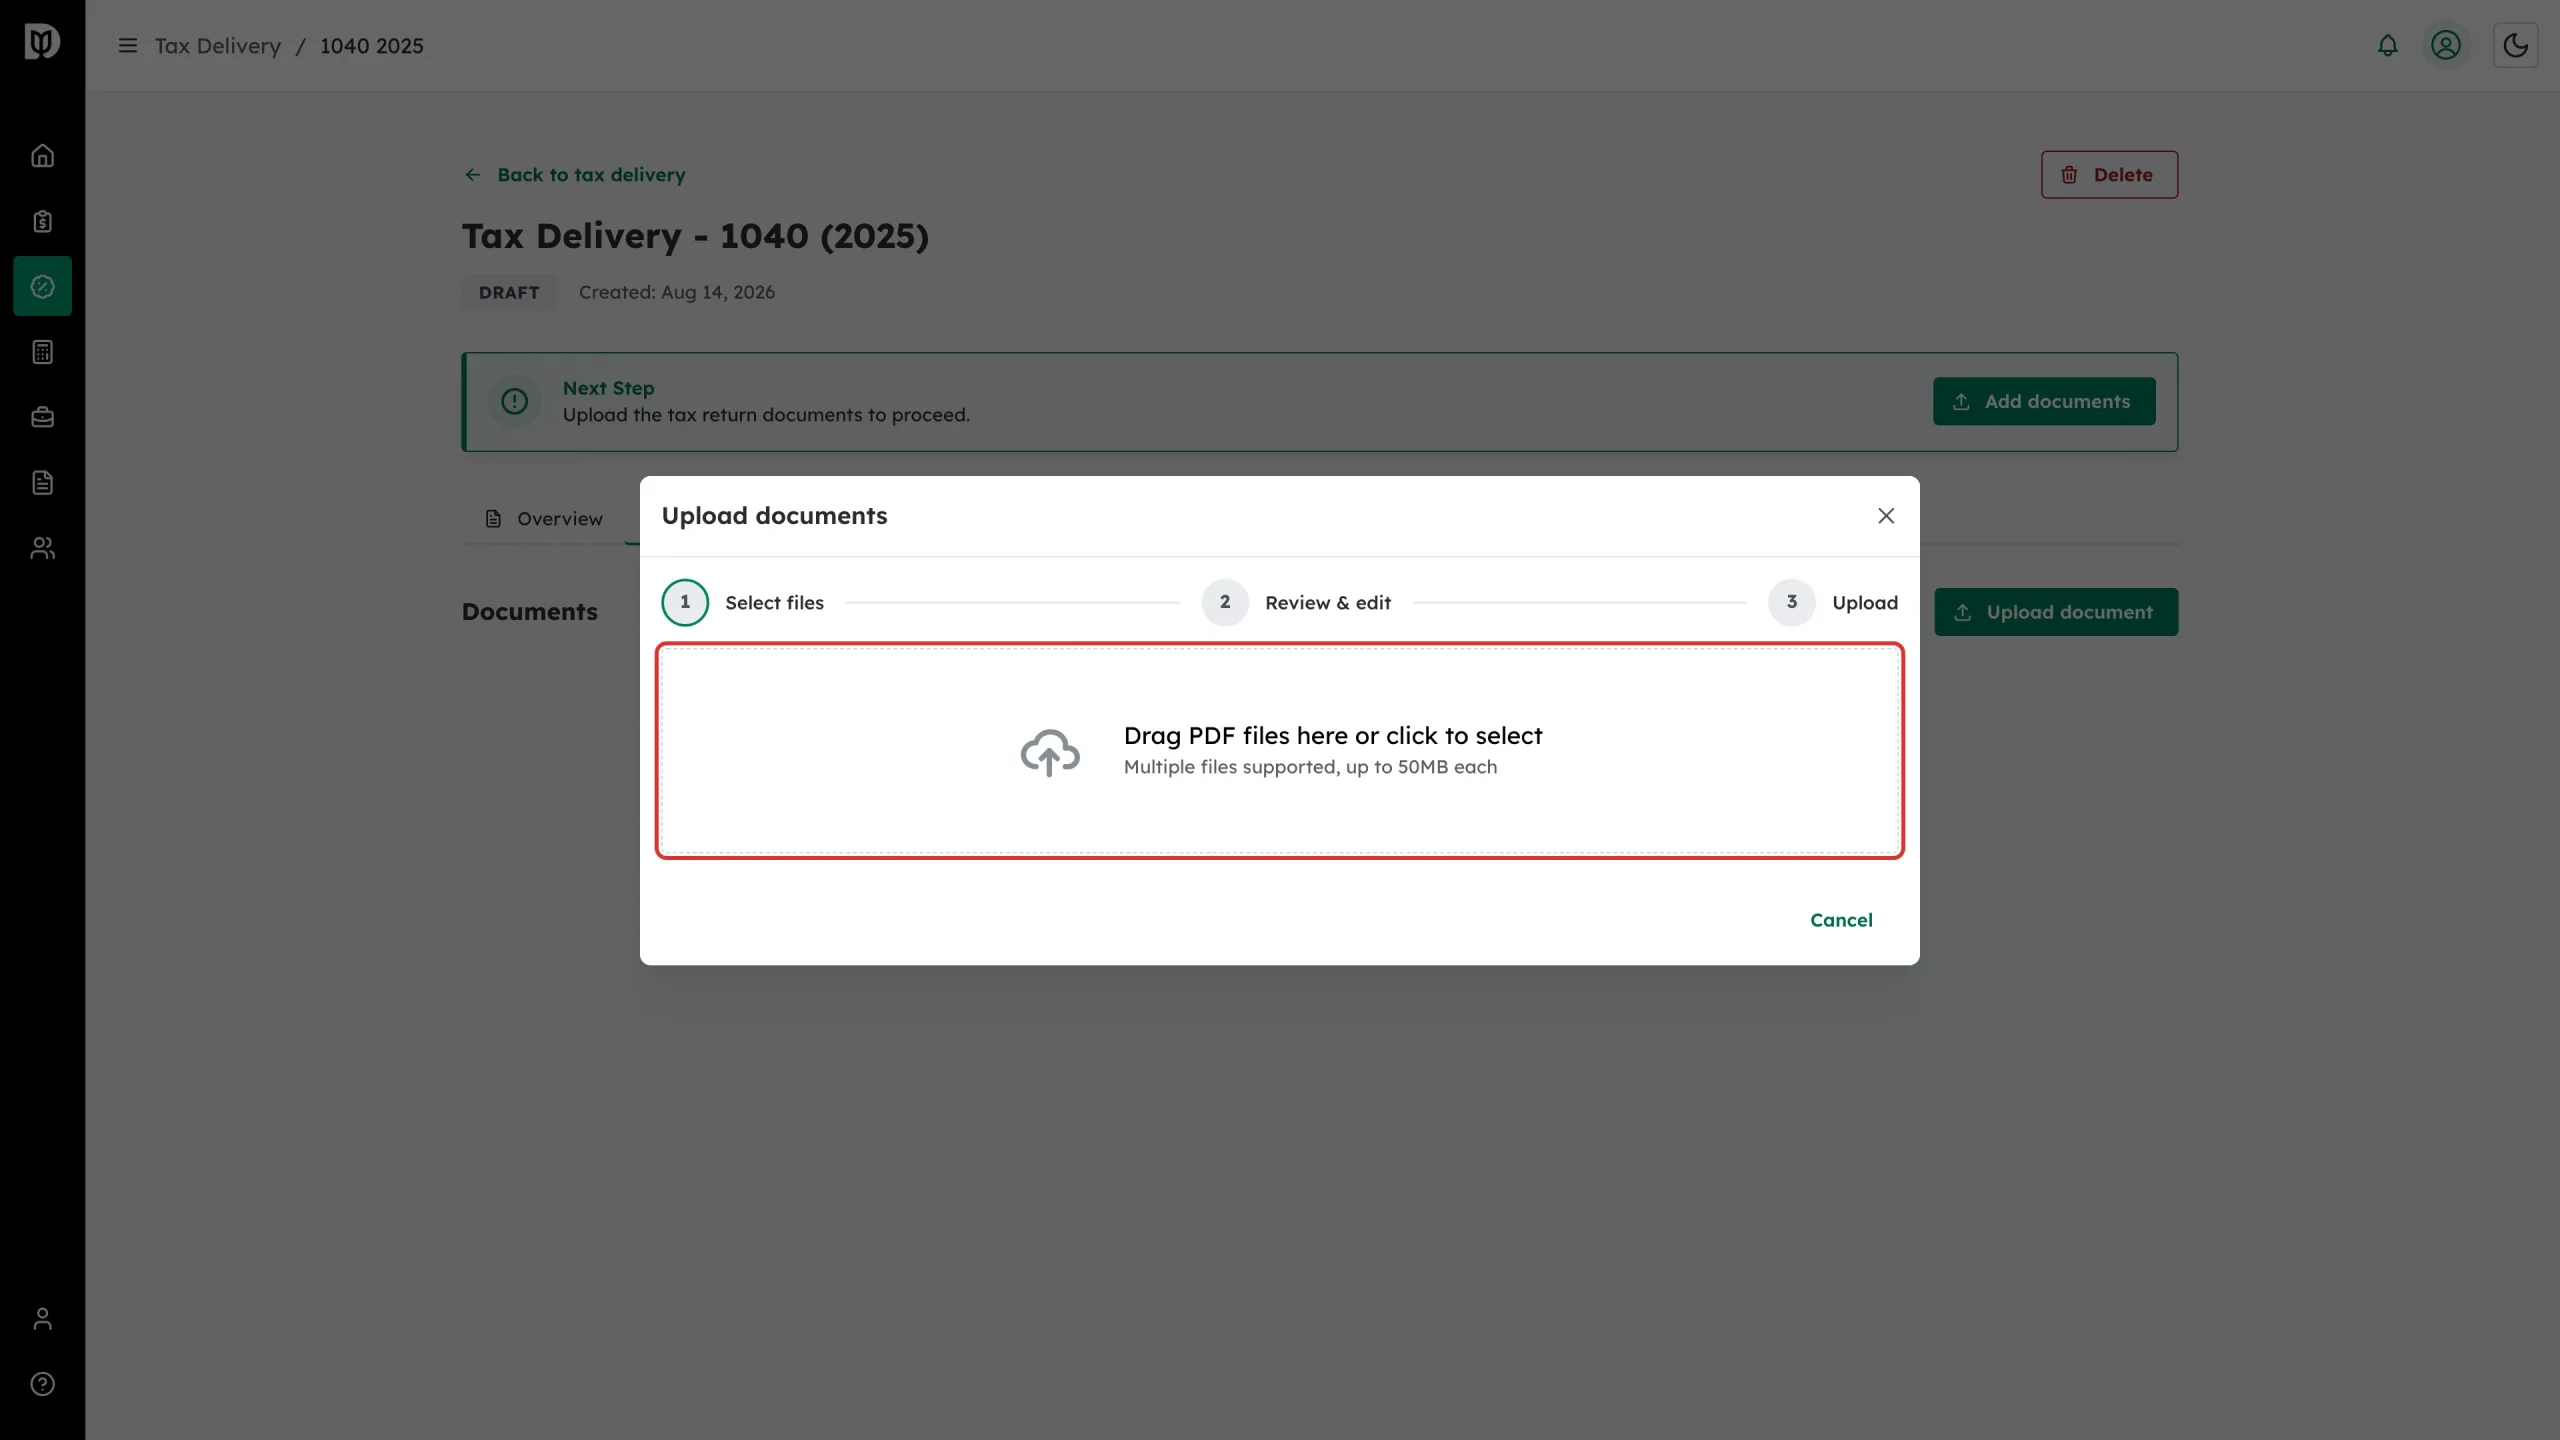
Step 3: Choose your files
On Step 1 – Select files, drag your PDFs onto the drop zone or click it to browse. You can select more than one file at a time.
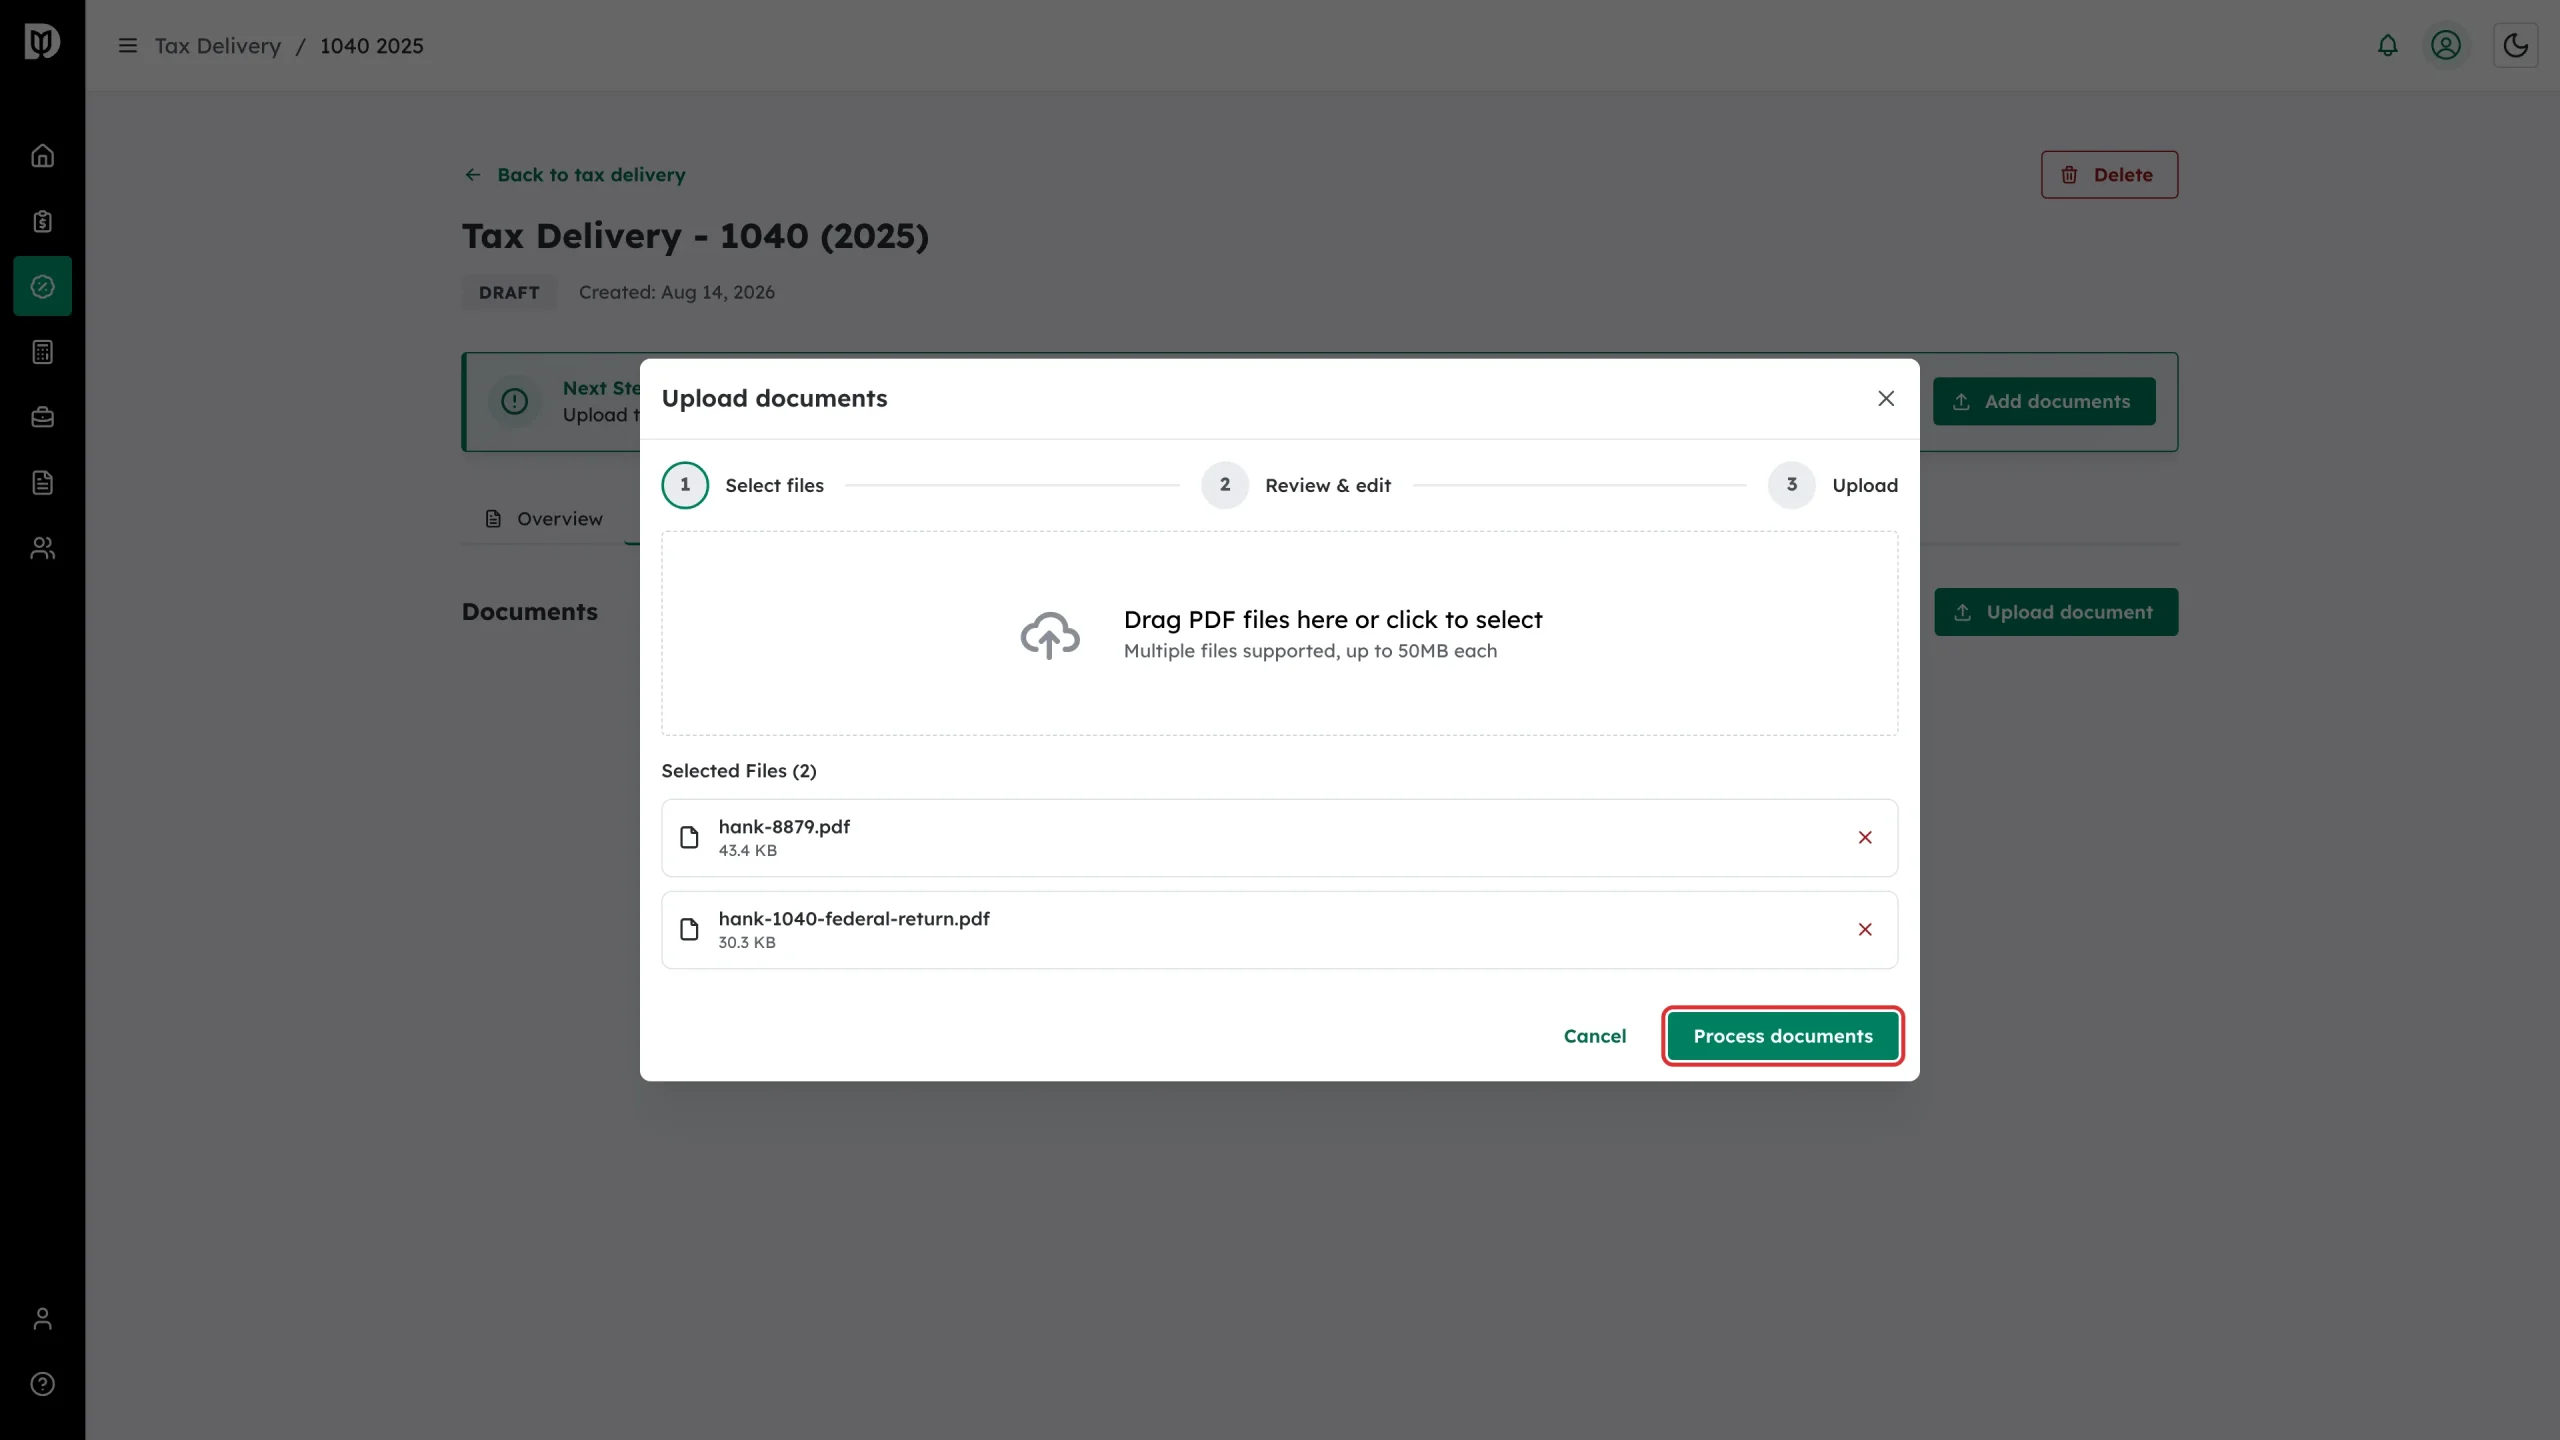
Step 4: Start processing
Your files are listed with their size. Remove anything you did not mean to add, then click Process documents.
Step 5: Check the detected names and types
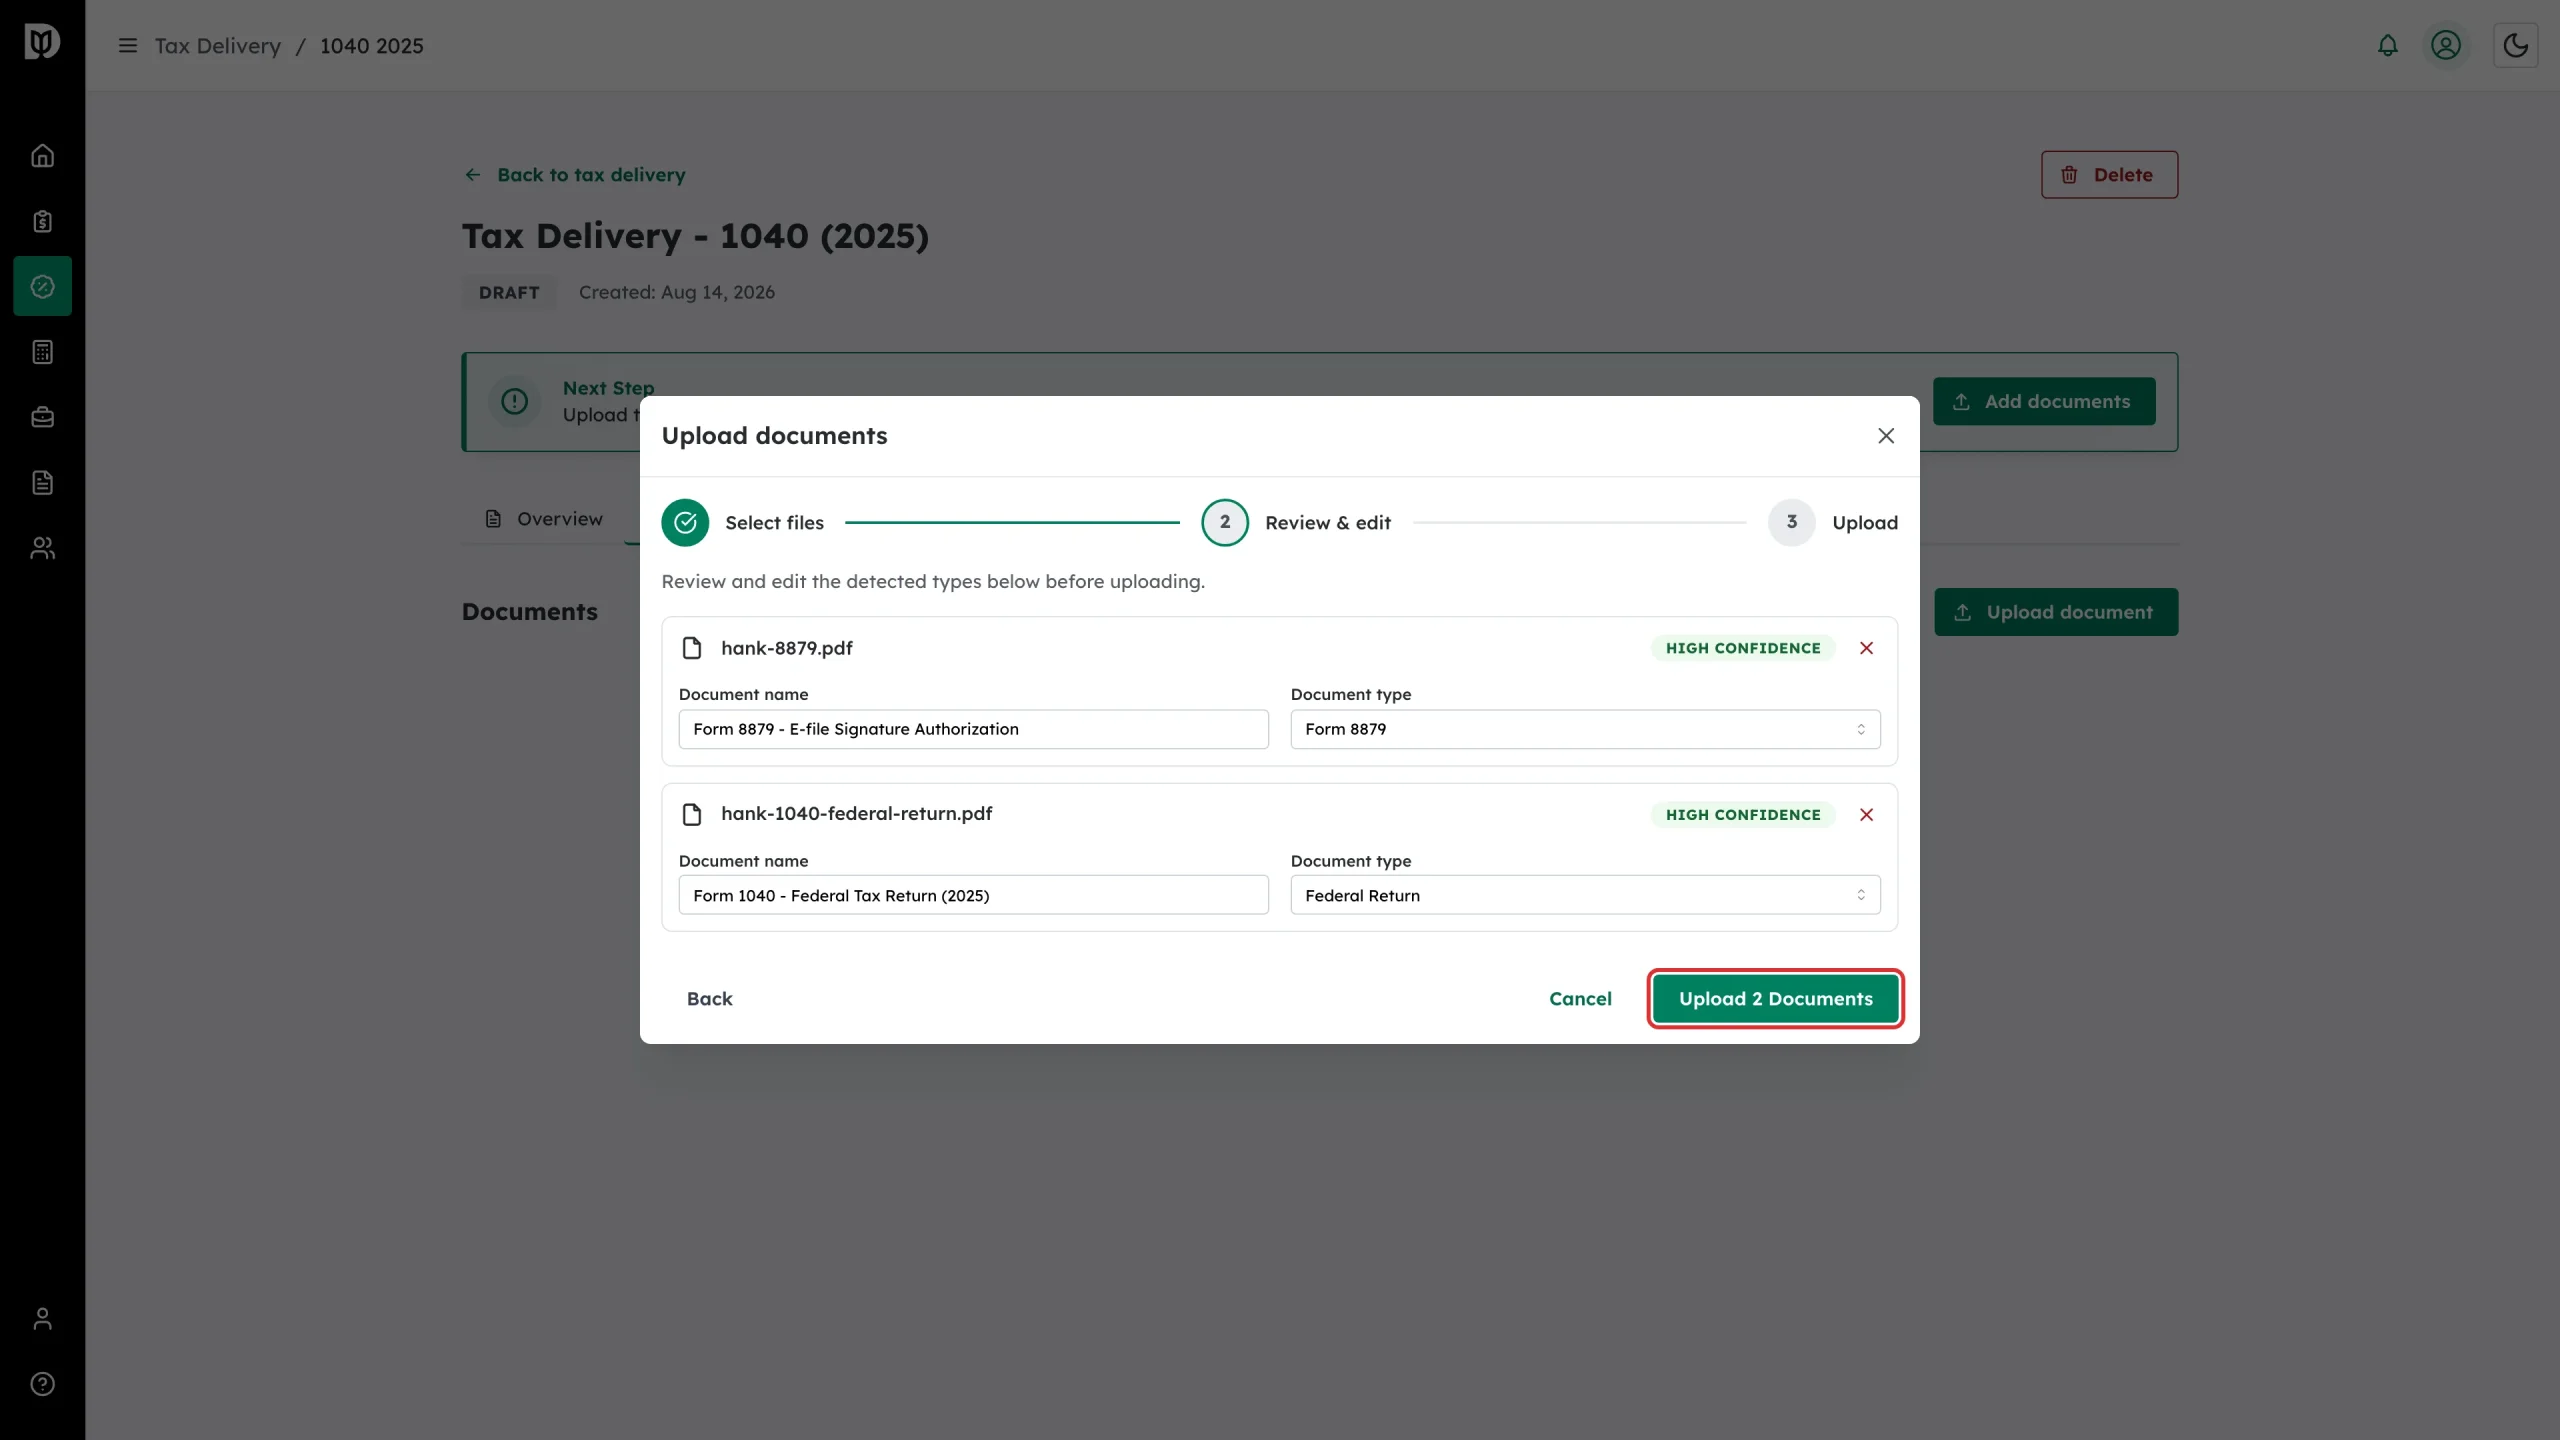
On Step 2 – Review & edit, Debits fills in a Document name and Document type for each file and shows how confident it is. Correct anything that looks wrong, then click Upload.
Document types are Form 8879, Federal Return, State Return, Federal & State Return, Schedule K-1, Payment Voucher, Engagement Letter and Other.
What happens next
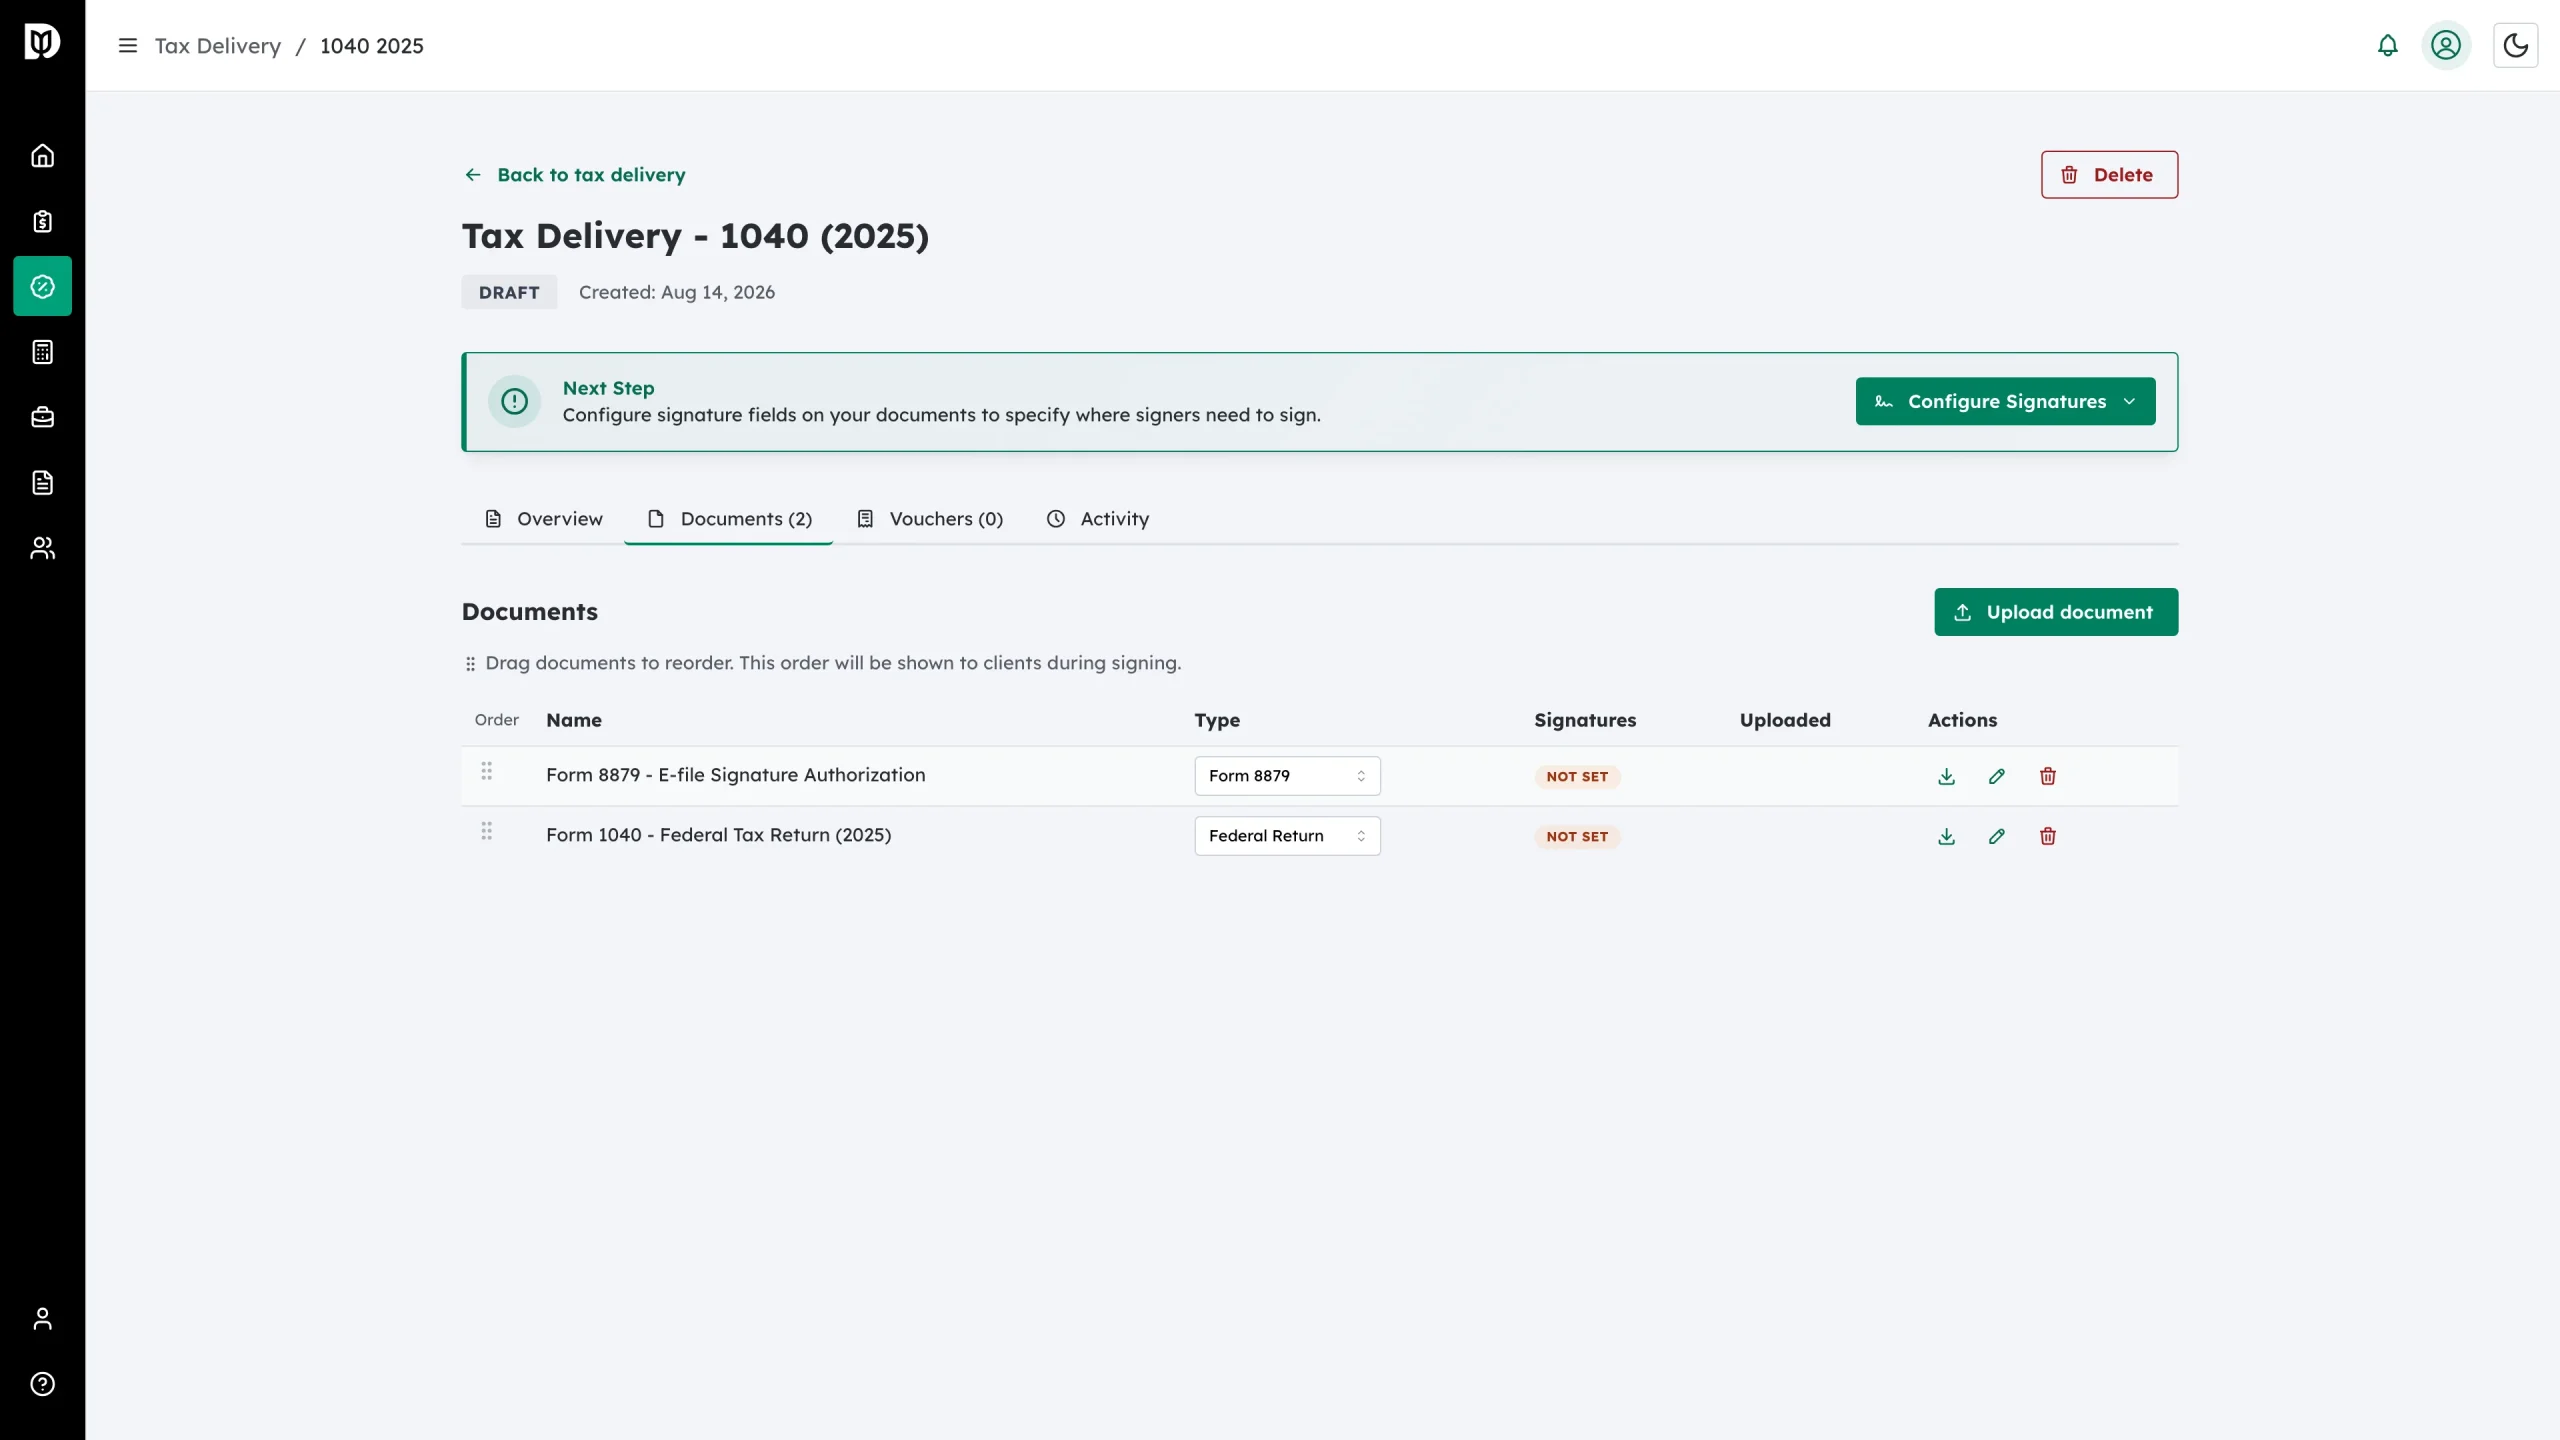
Your documents appear in the table with a Not set badge in the Signatures column. Drag the handles in the Order column to change the sequence – that is the order clients see while signing.
The Actions column gives you three icons: download, the pencil to configure signatures, and the bin to delete the document.
Next, place the signature fields on each PDF that needs signing.
Delivery documents, including the signed copies, are also filed into the client’s tax-year folder in the file manager as internal files.
Troubleshooting
- A file is rejected: Only PDFs are accepted, and each file must be under 50MB. Convert or split the file and try again.
- The detected type is wrong: Change it on the Review & edit step, or use the Type dropdown in the documents table afterwards.
- No pencil icon on a row: Signature fields can only be placed while the return is a draft.