Who this is for: Accountants who need to add, chase or remove the people signing a tax return.
What you’ll learn: How to add signers, give them the right role, track their progress, and send reminders.
Before you begin
- Open the tax delivery you want to work on.
- Signers can only be added or removed while the return is still a Draft.
Step-by-step instructions
Step 1: Click Add signer
On the Overview tab, click Add signer above the signer cards.
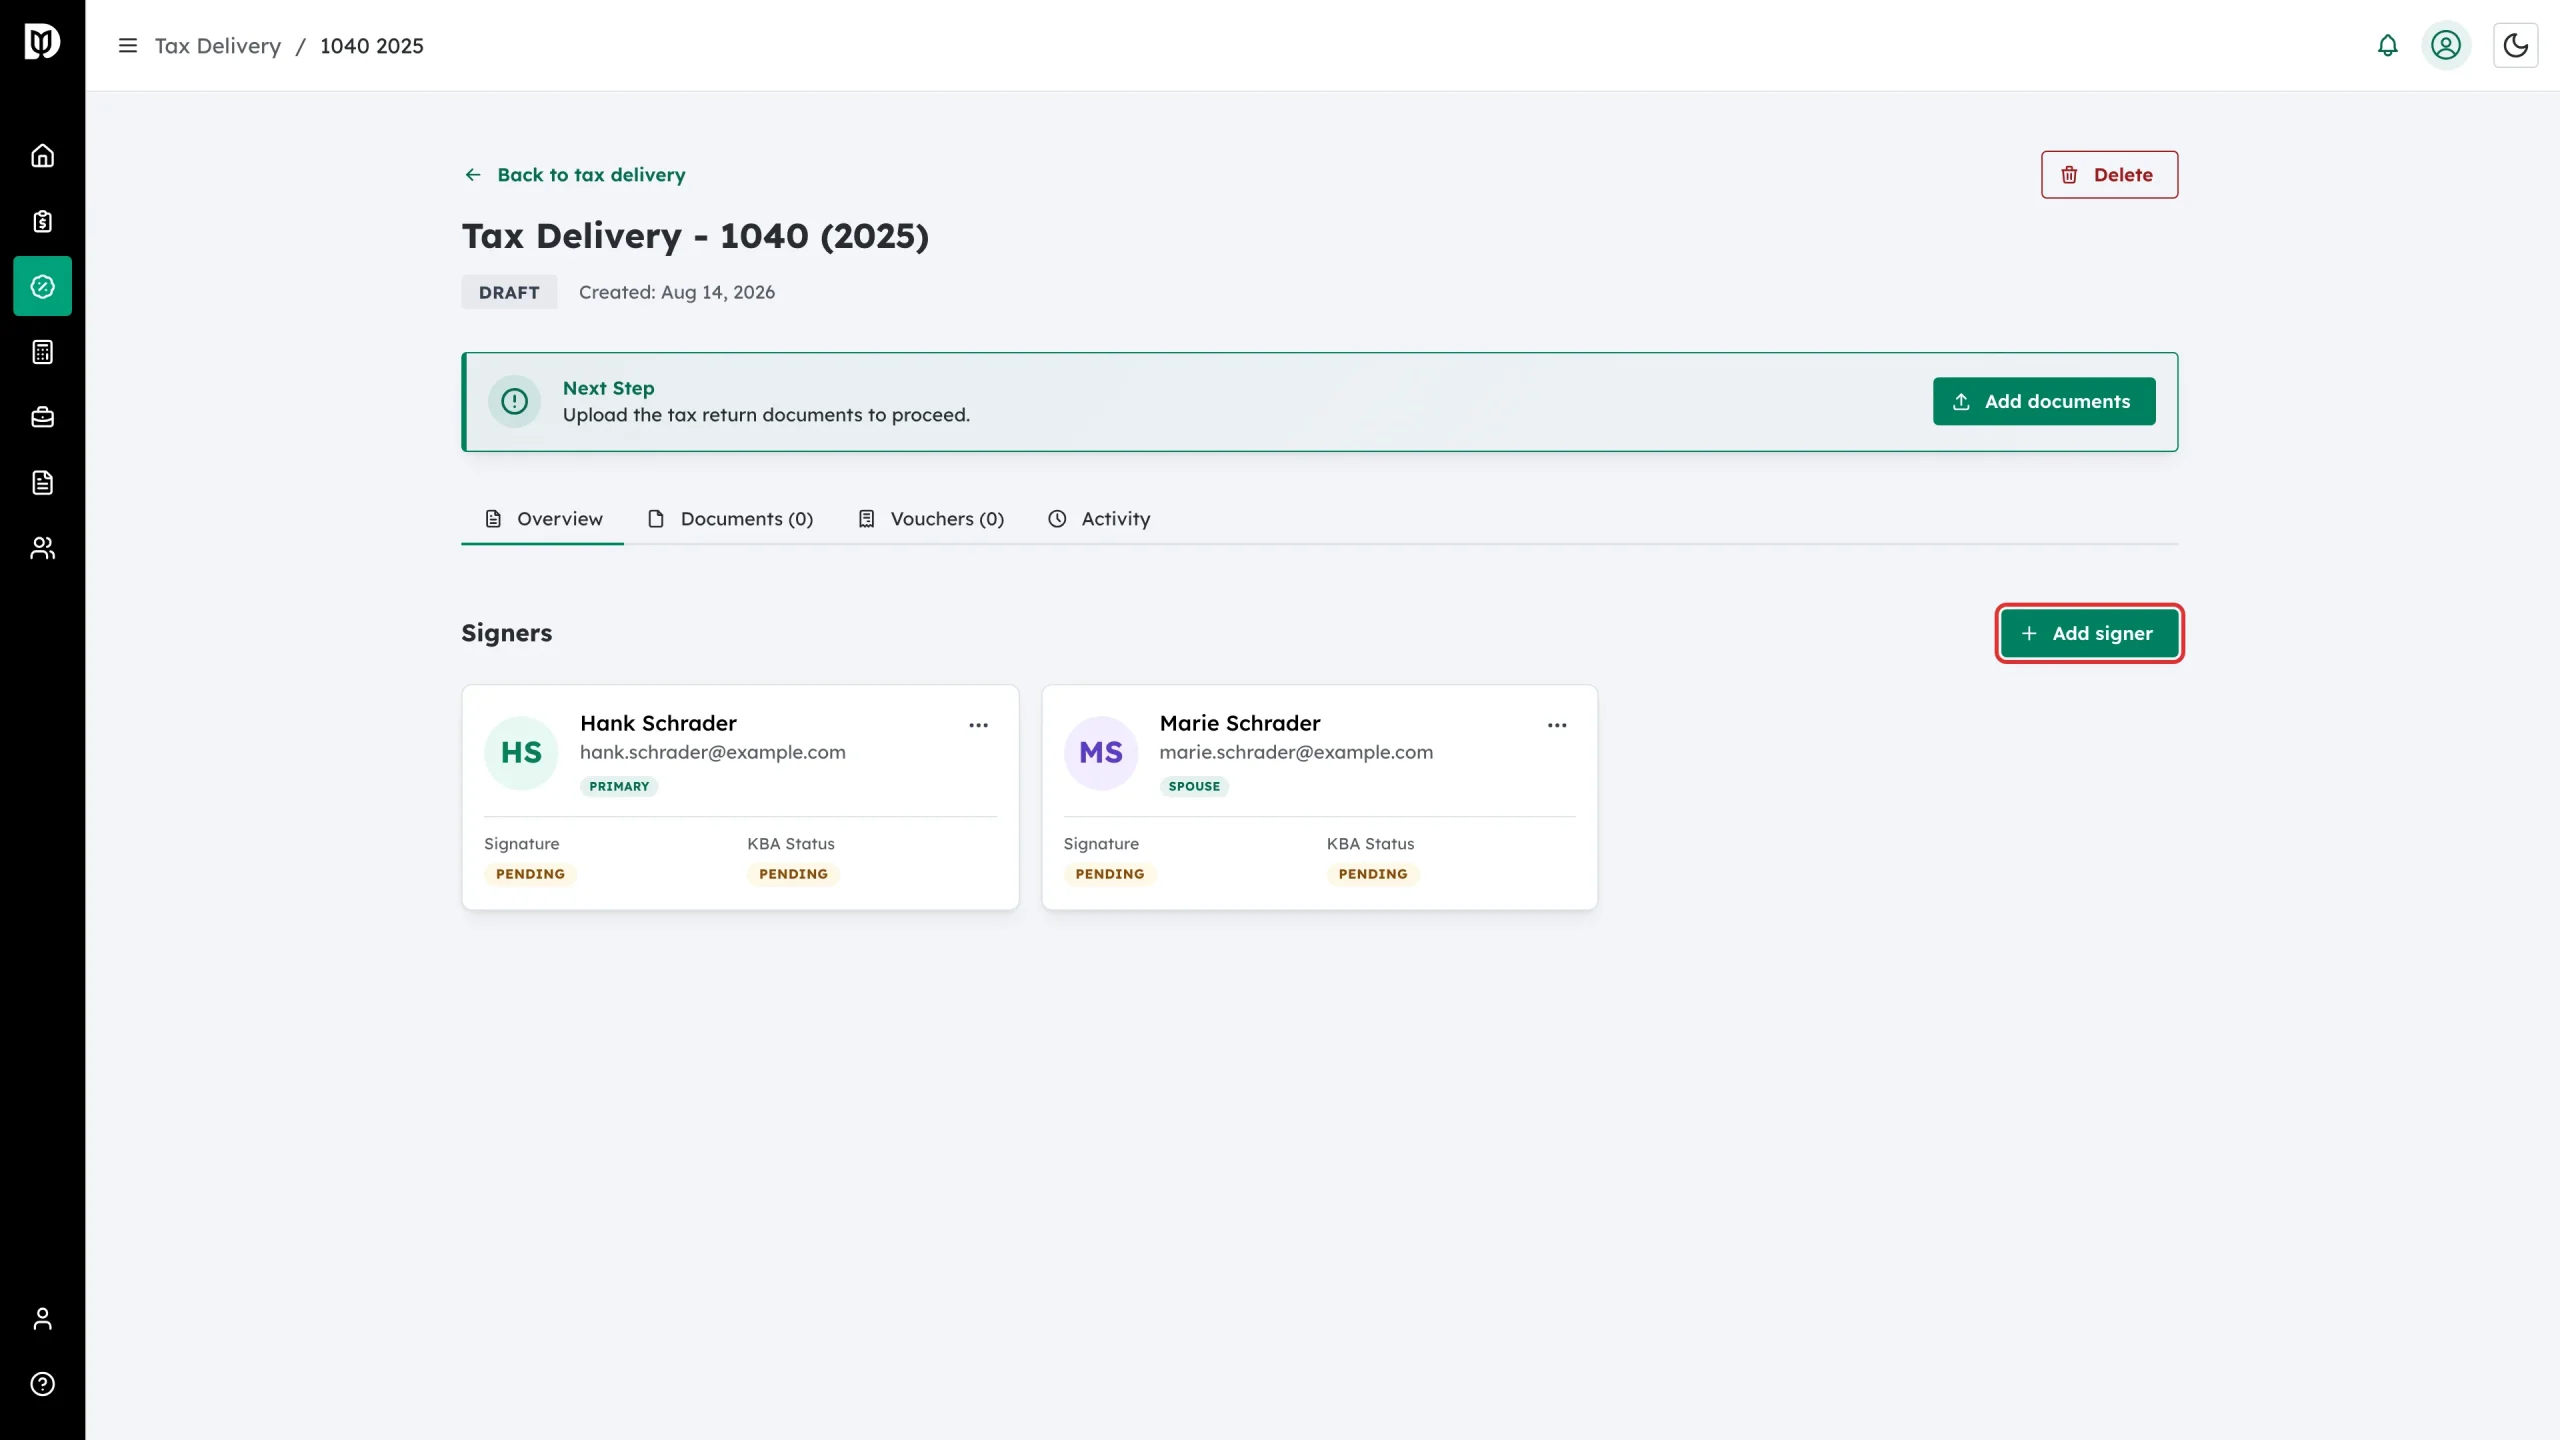
Step 2: Find the person and set their role
In the Add signer window:
- Start typing in Name to search your contacts.
- Pick a Role.
- Add a Phone number if you want one on file – this is optional.
- If the person is not a contact yet, click + Add client manually and type their name and email.
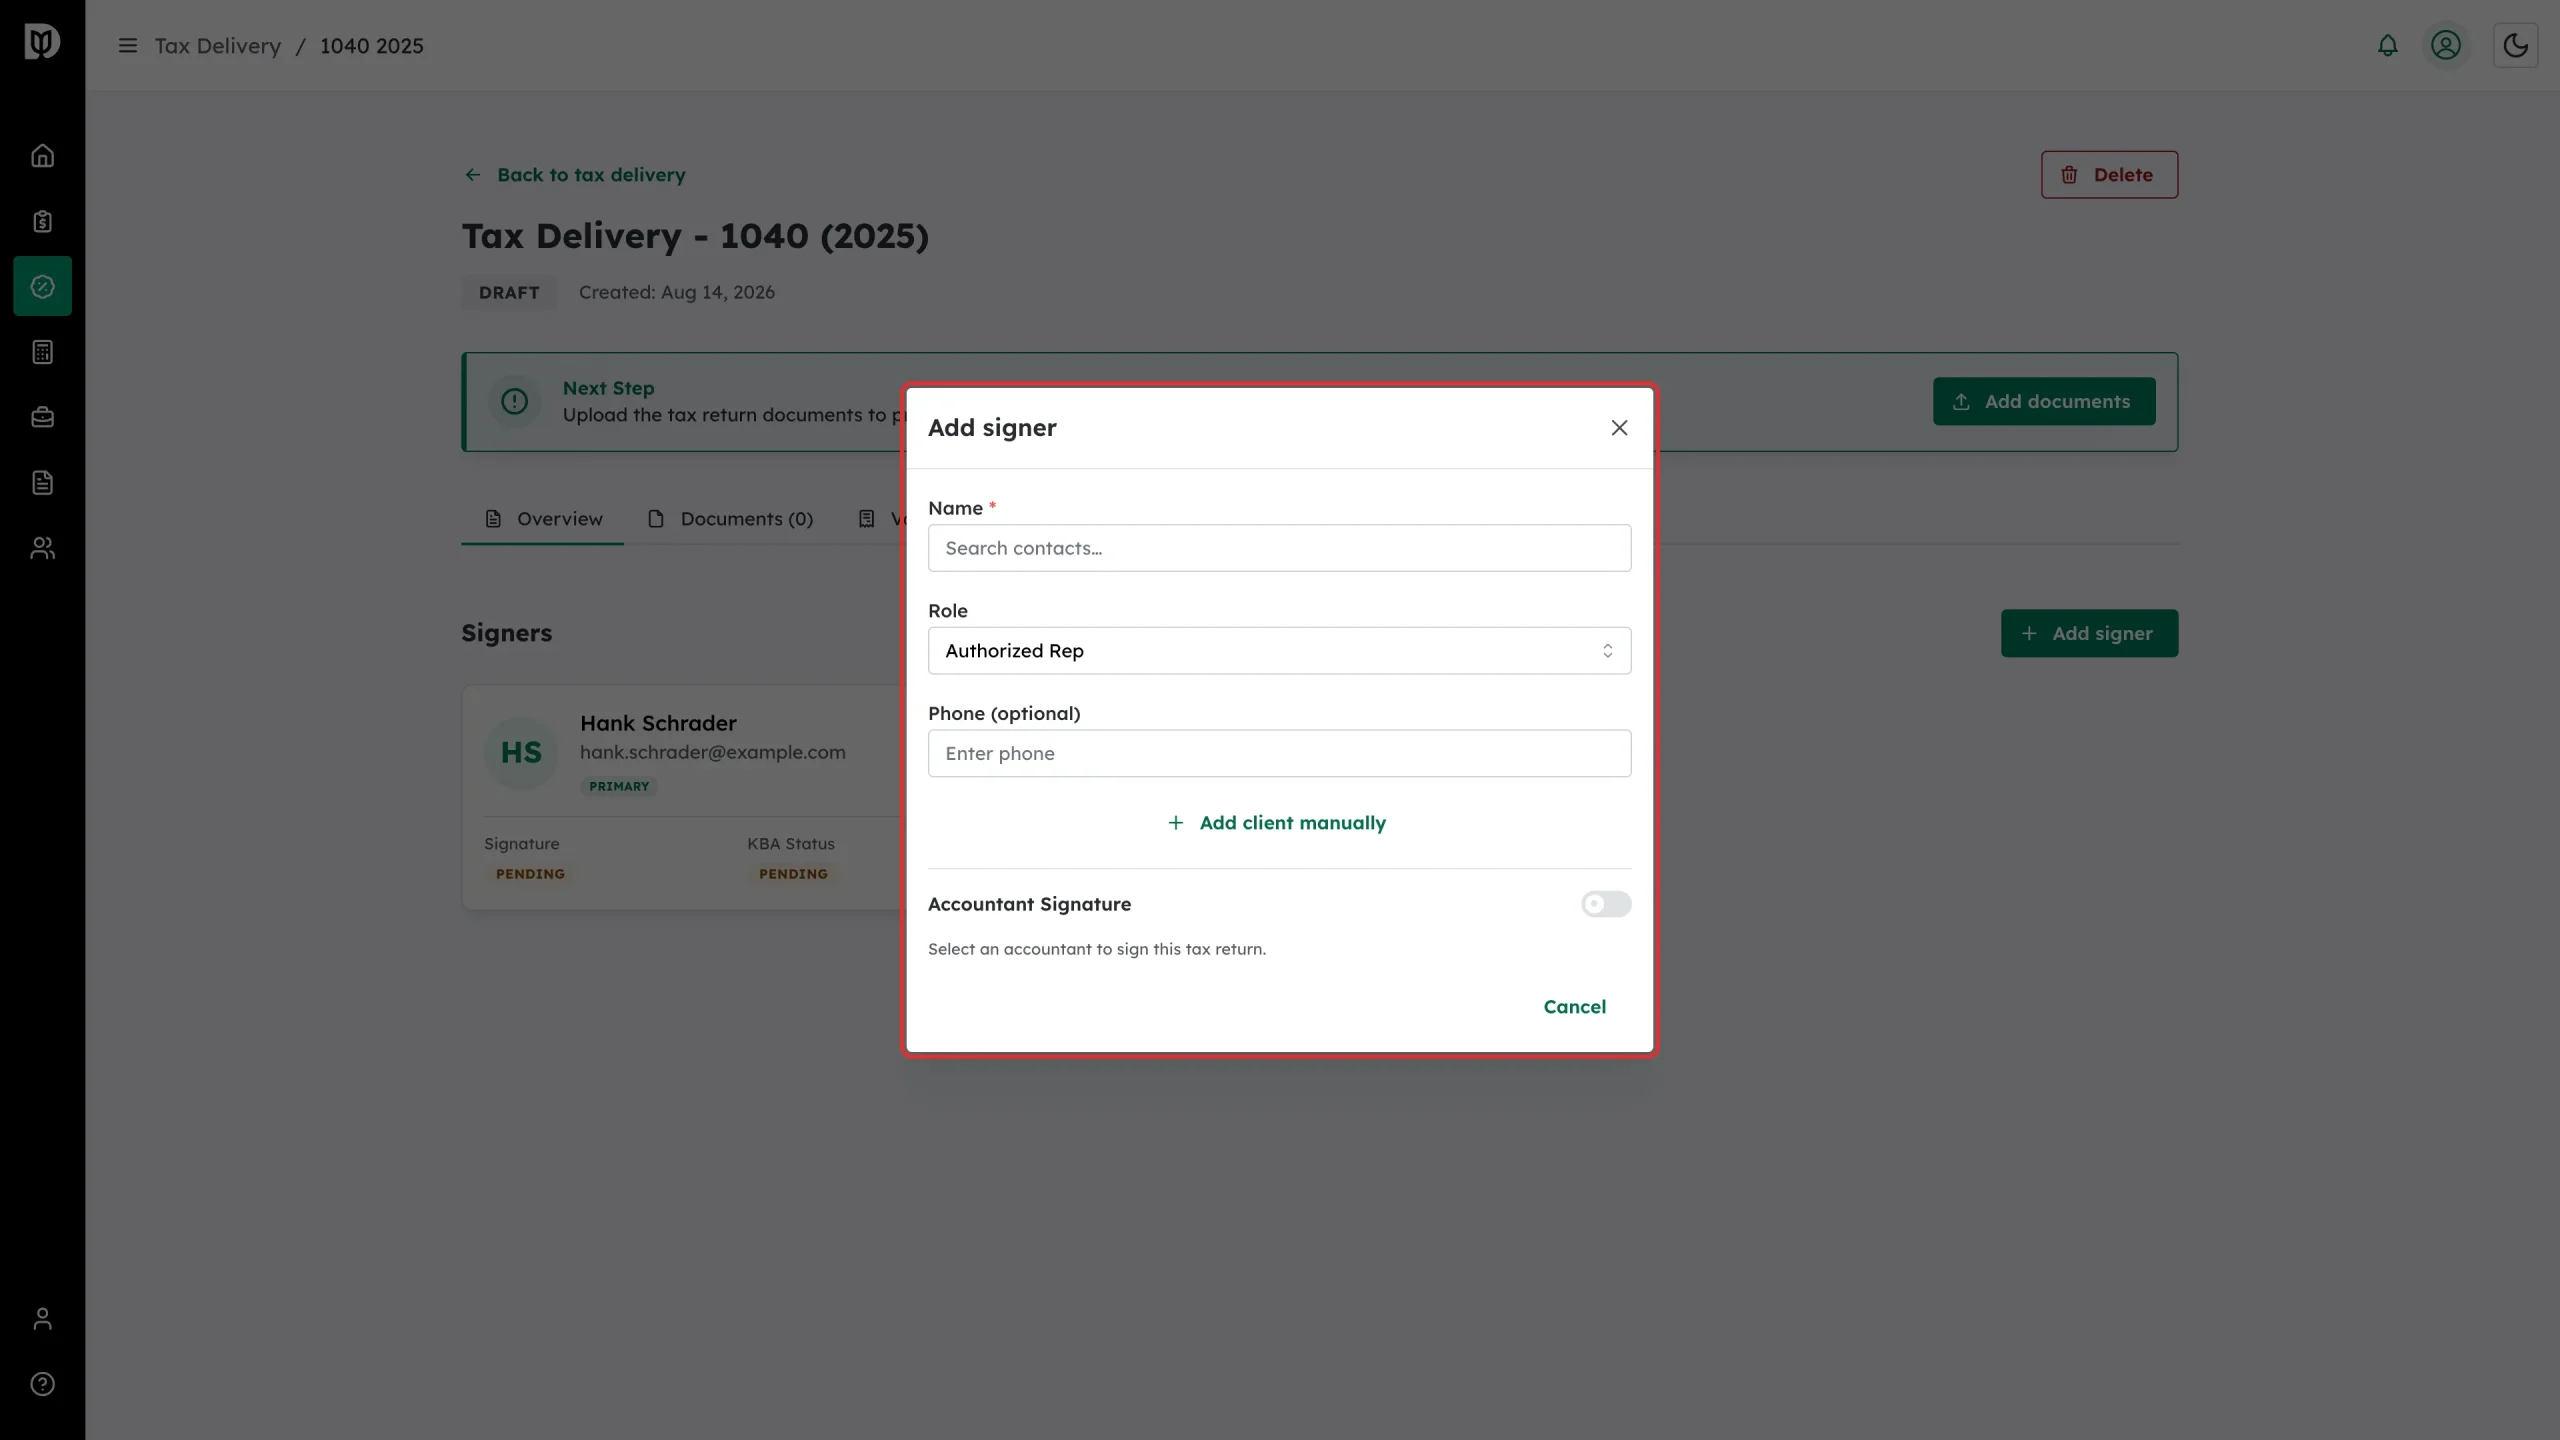
The roles available depend on the return type:
- 1040: Primary Taxpayer, Spouse, Authorized Rep, Accountant
- 1065 and 1120S: Officer, Partner, Authorized Rep, Accountant
- 1120: Officer, Authorized Rep, Accountant
Turn on Accountant Signature in the same window if someone from your firm also needs to sign.
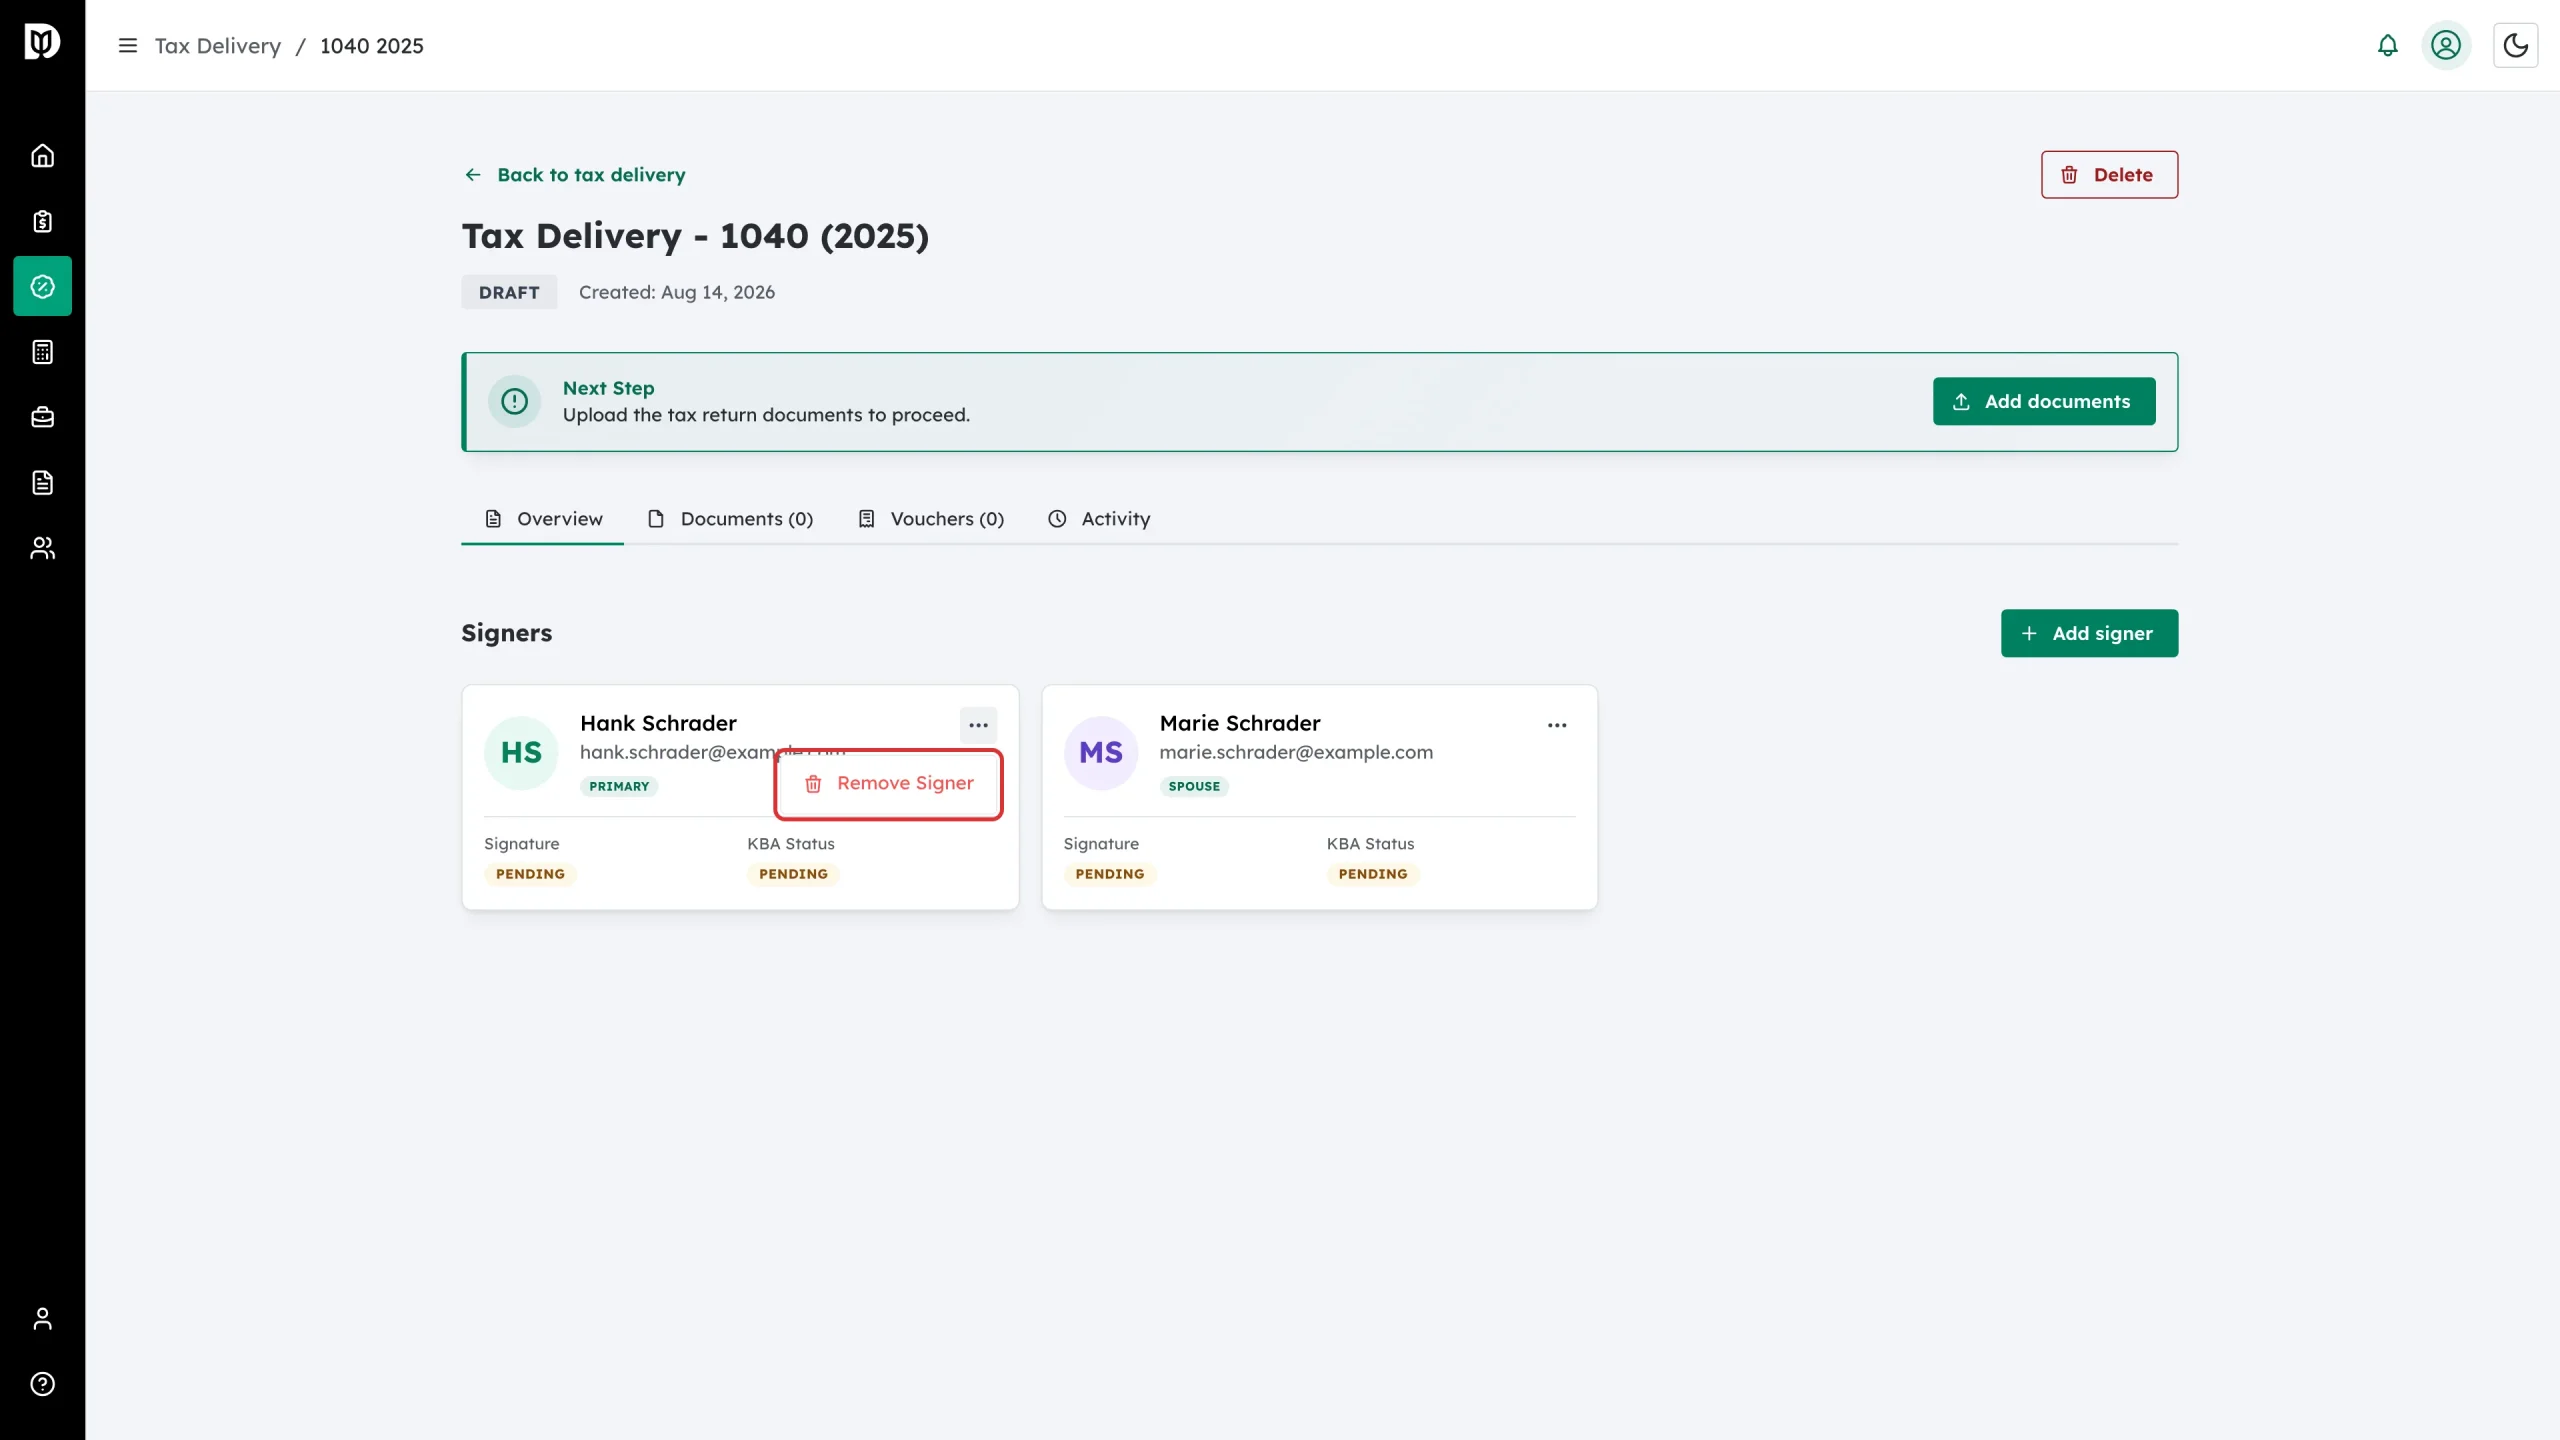
Step 3: Remove a signer you added by mistake
While the return is a draft, click the three dots on a signer card and choose Remove Signer.
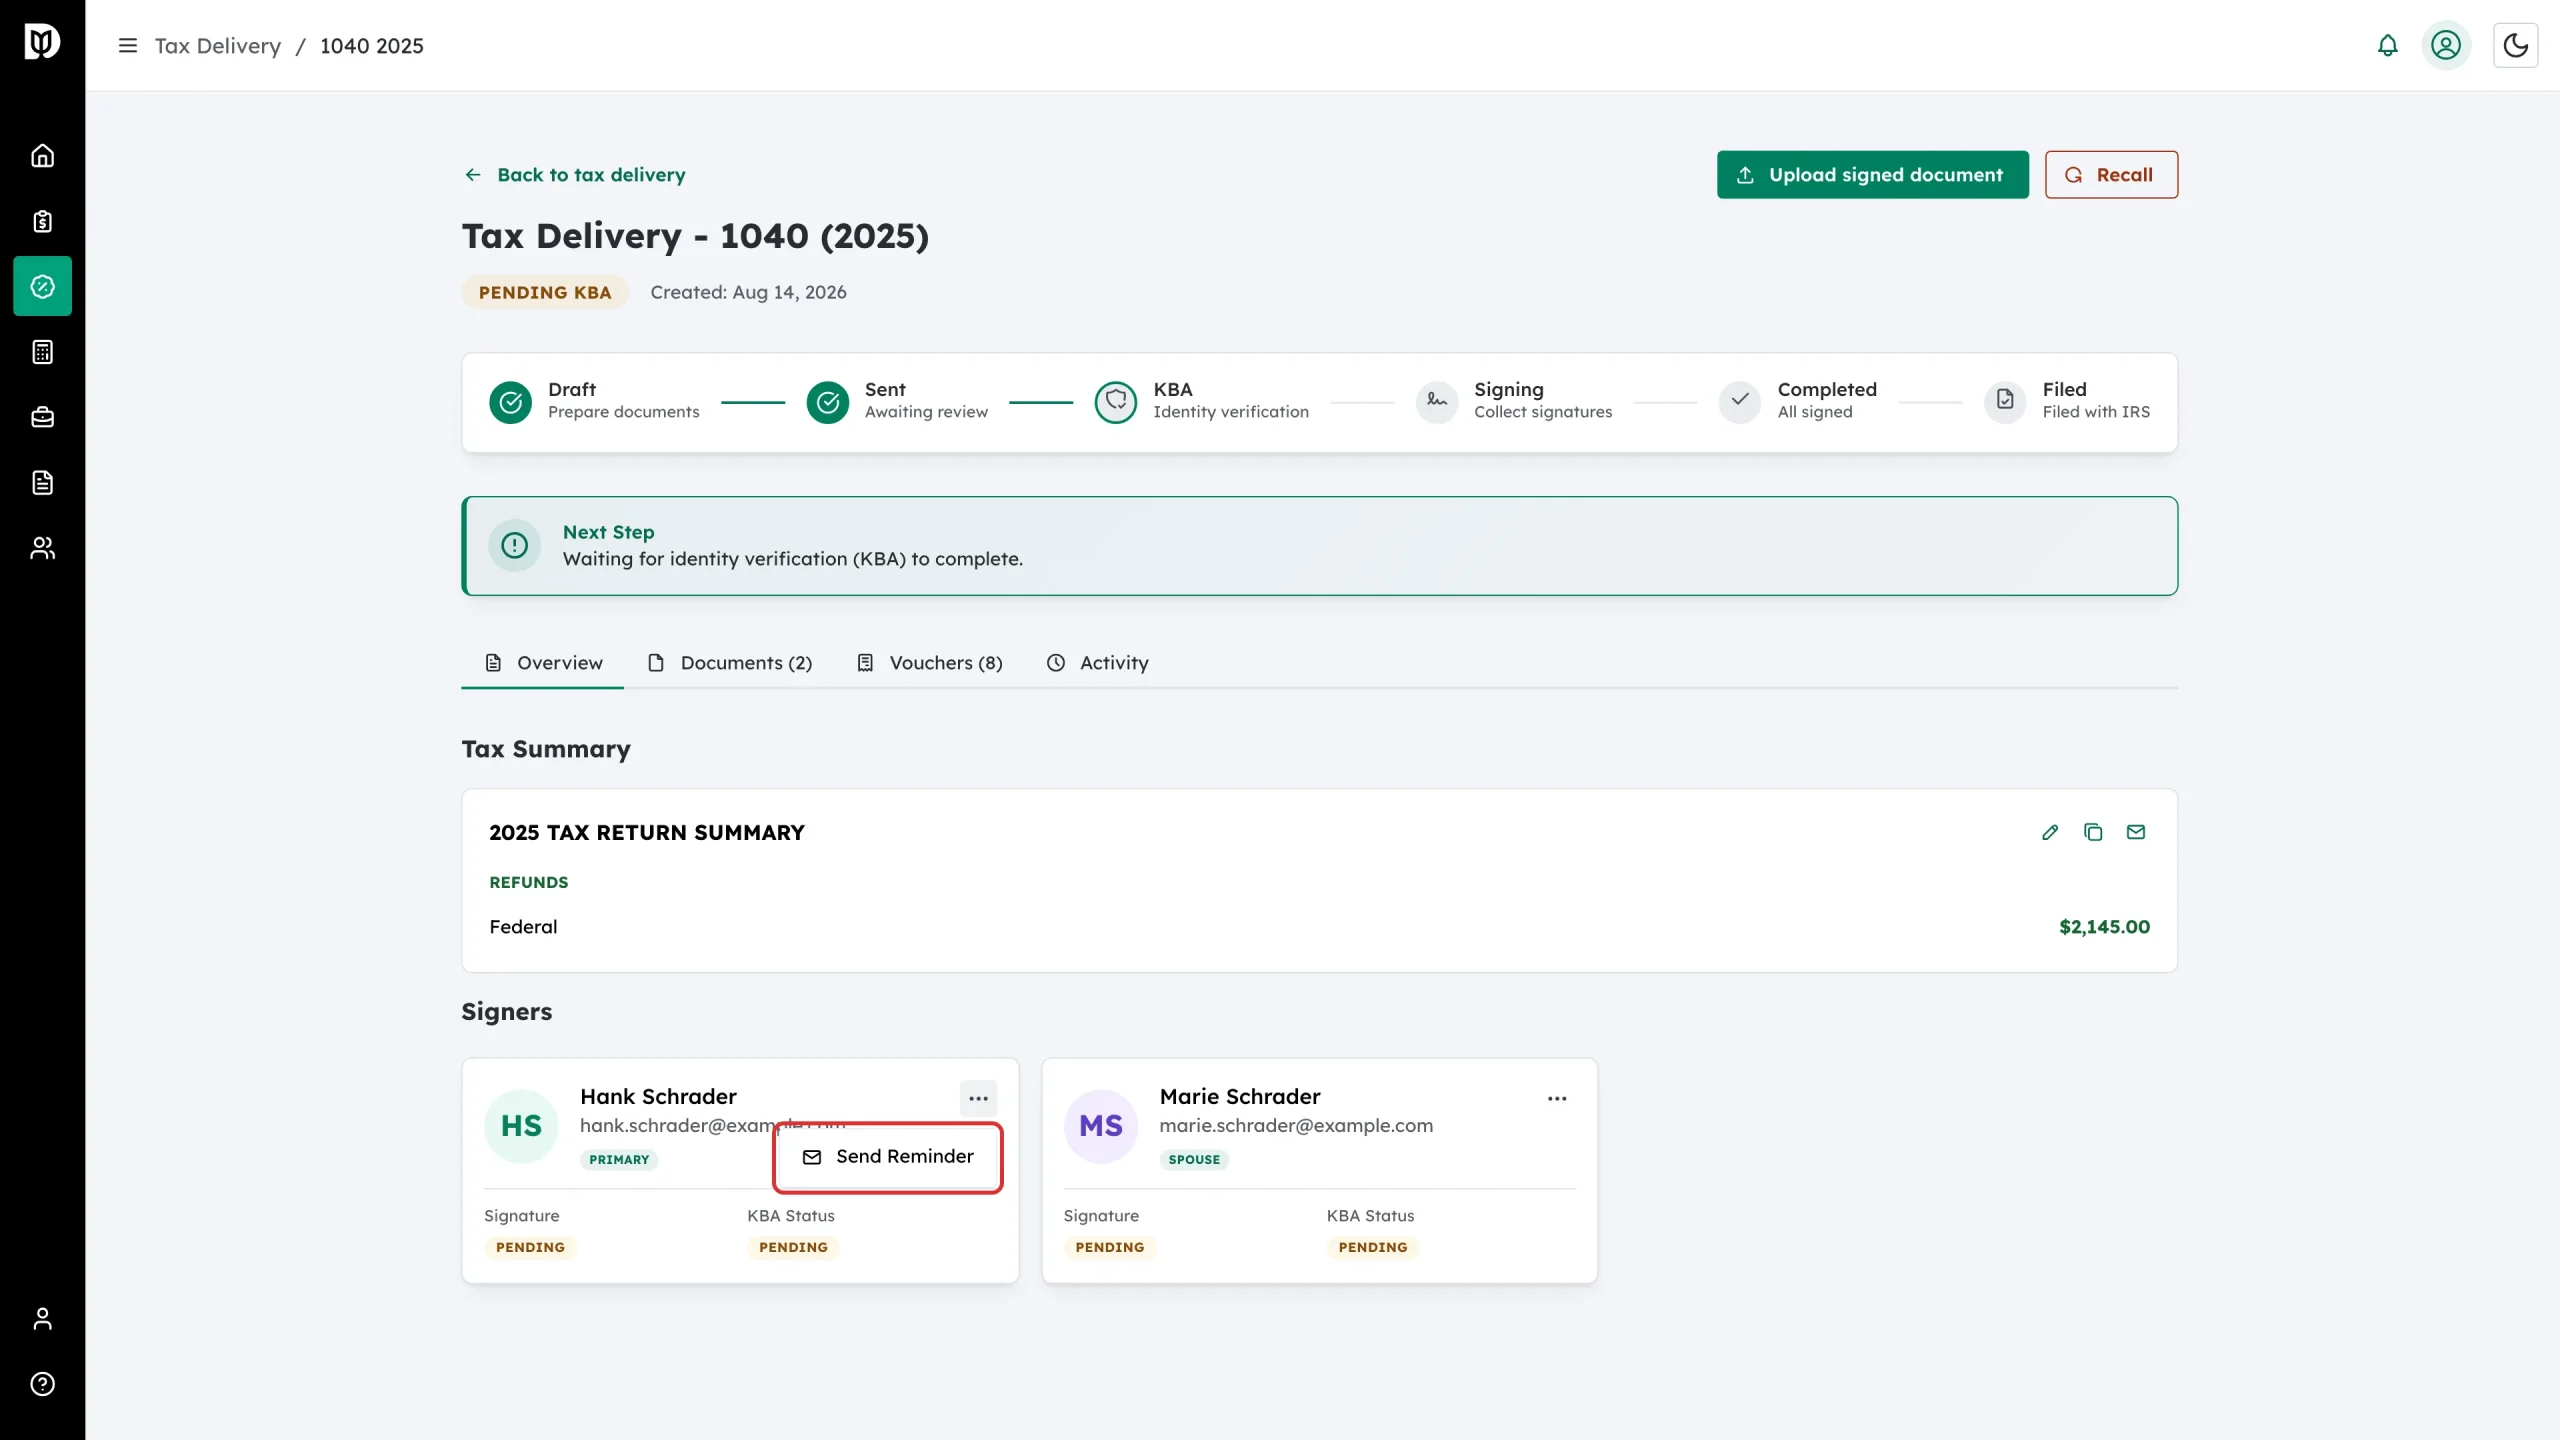
Step 4: Chase a signer after the return is sent
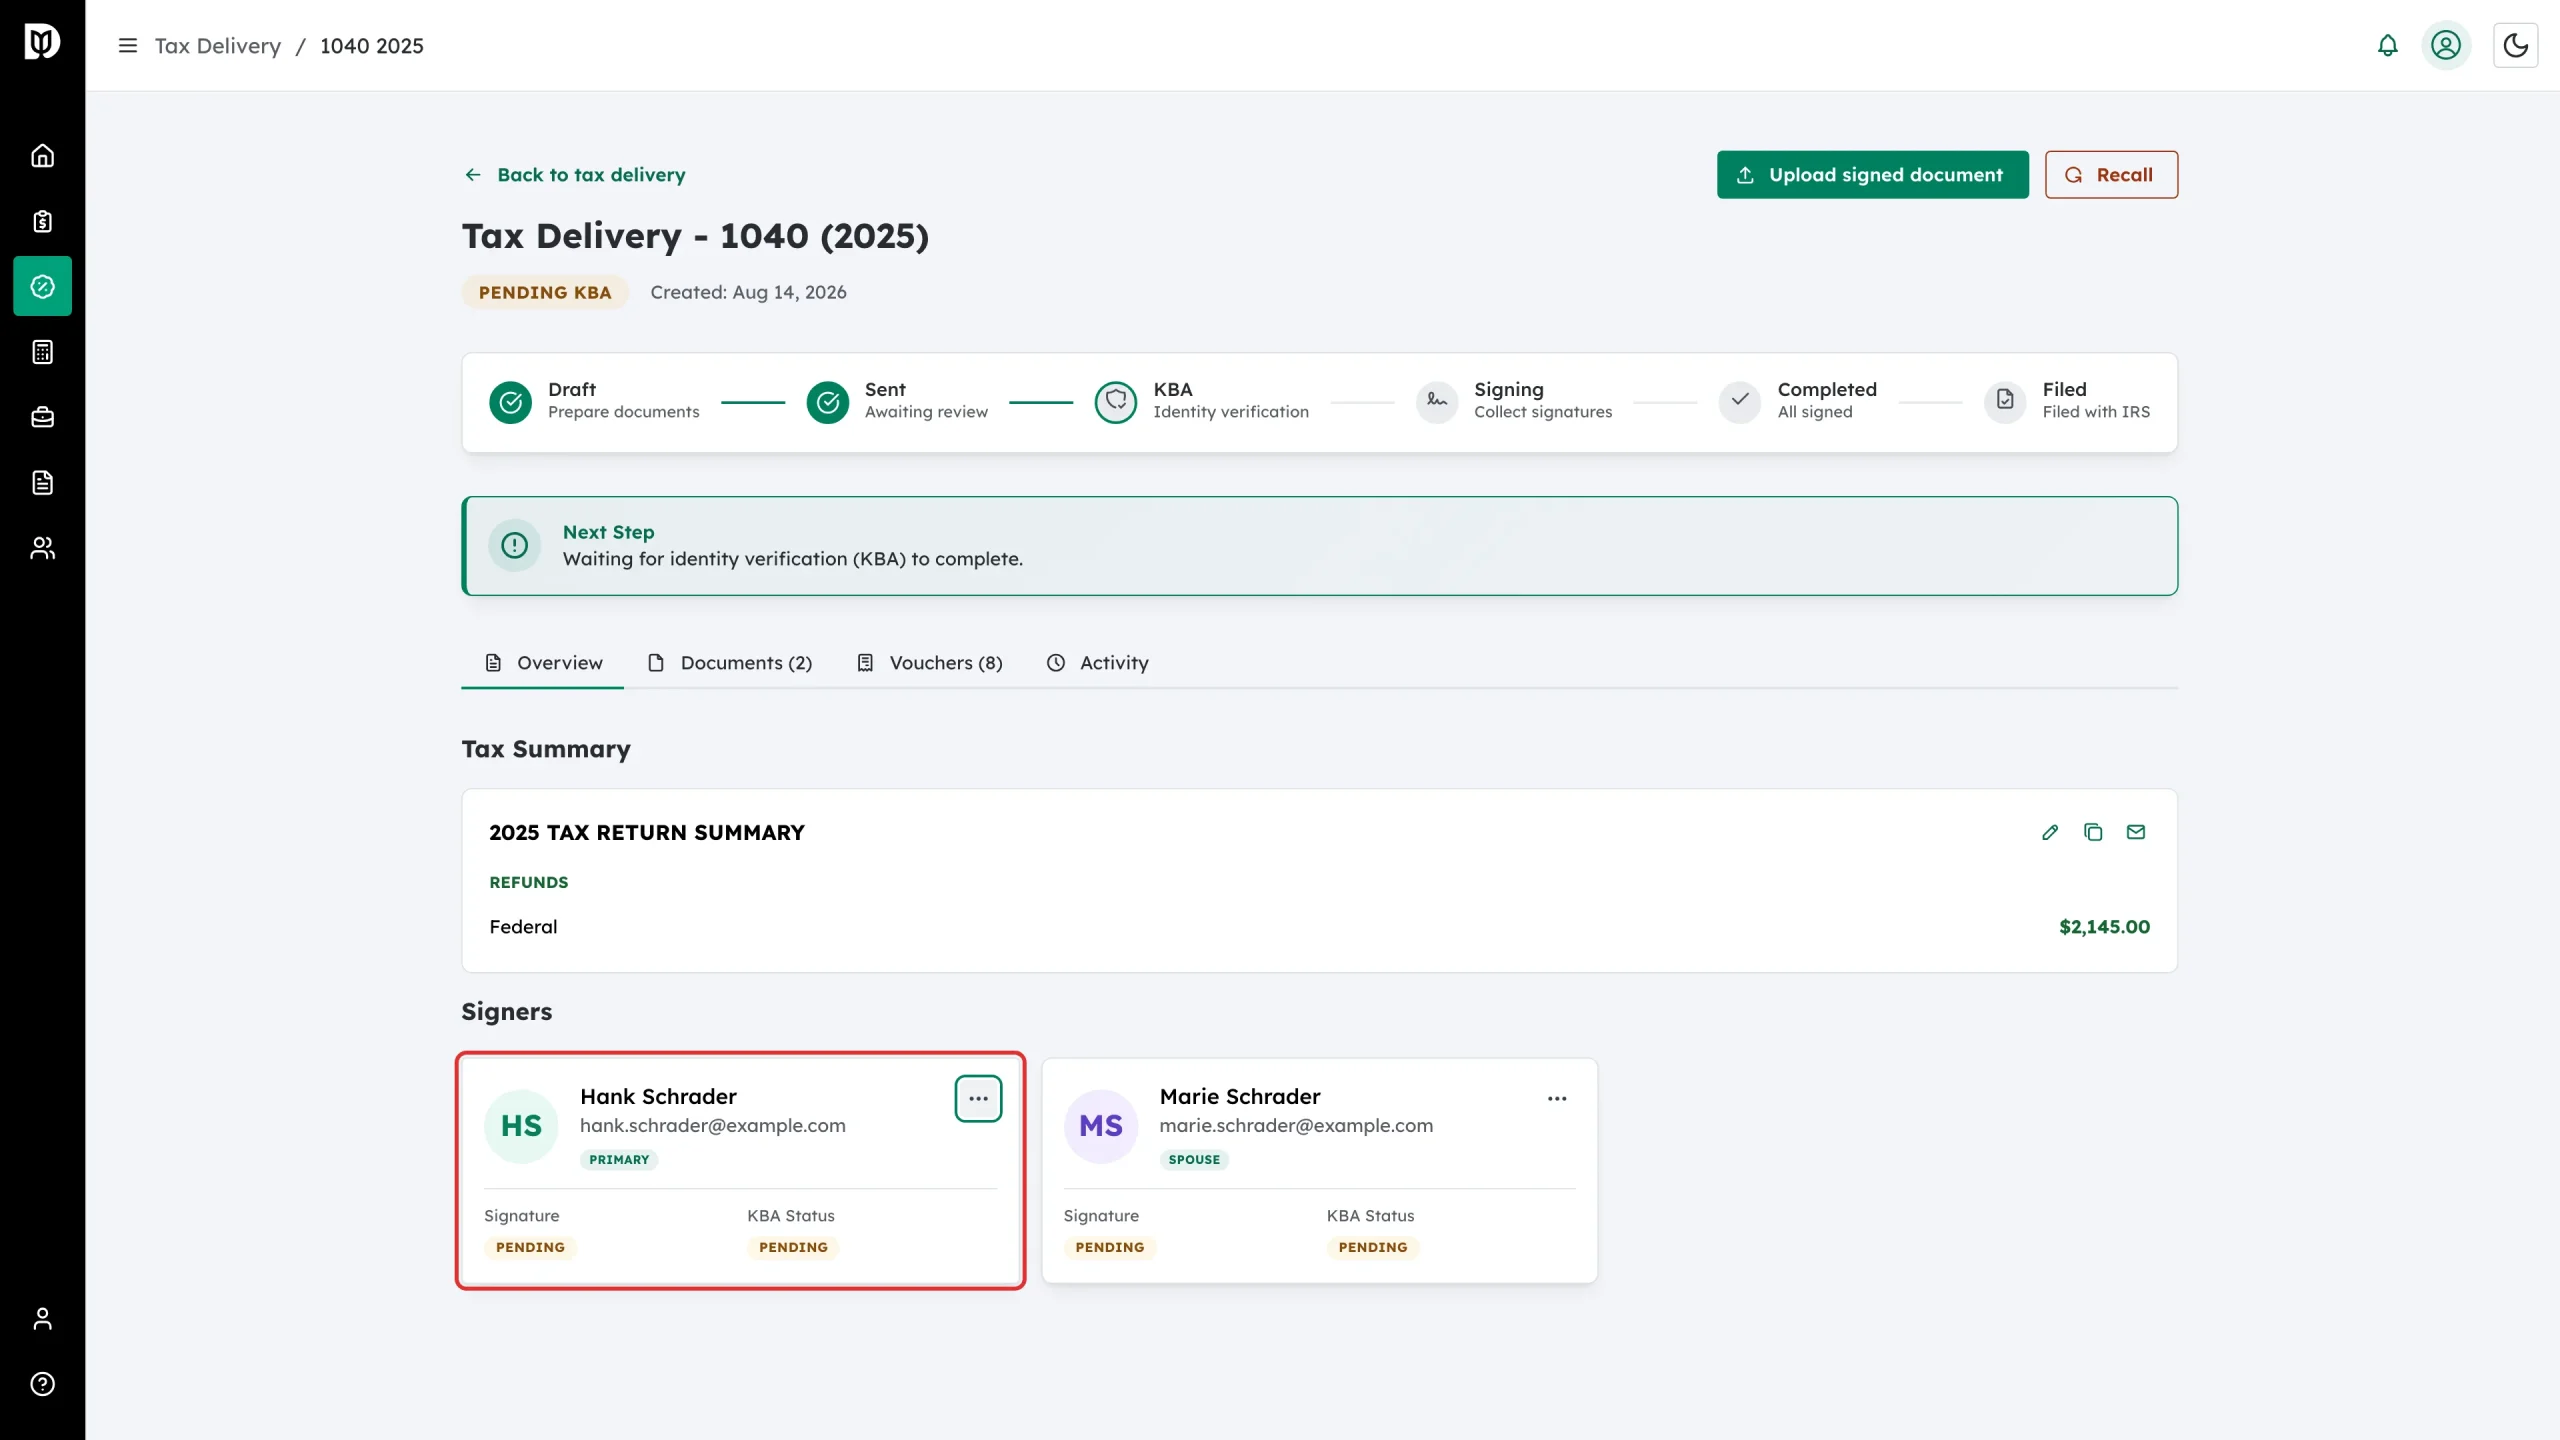
Once the return has gone out, the card menu changes. Click the three dots and choose Send Reminder to email the signing link again.
Step 5: Track each signer’s progress
Every card shows the person’s role plus two badges:
- Signature – whether they have signed yet
- KBA Status – how their identity check is going, when identity verification is switched on
Step 6: Send a signed copy again
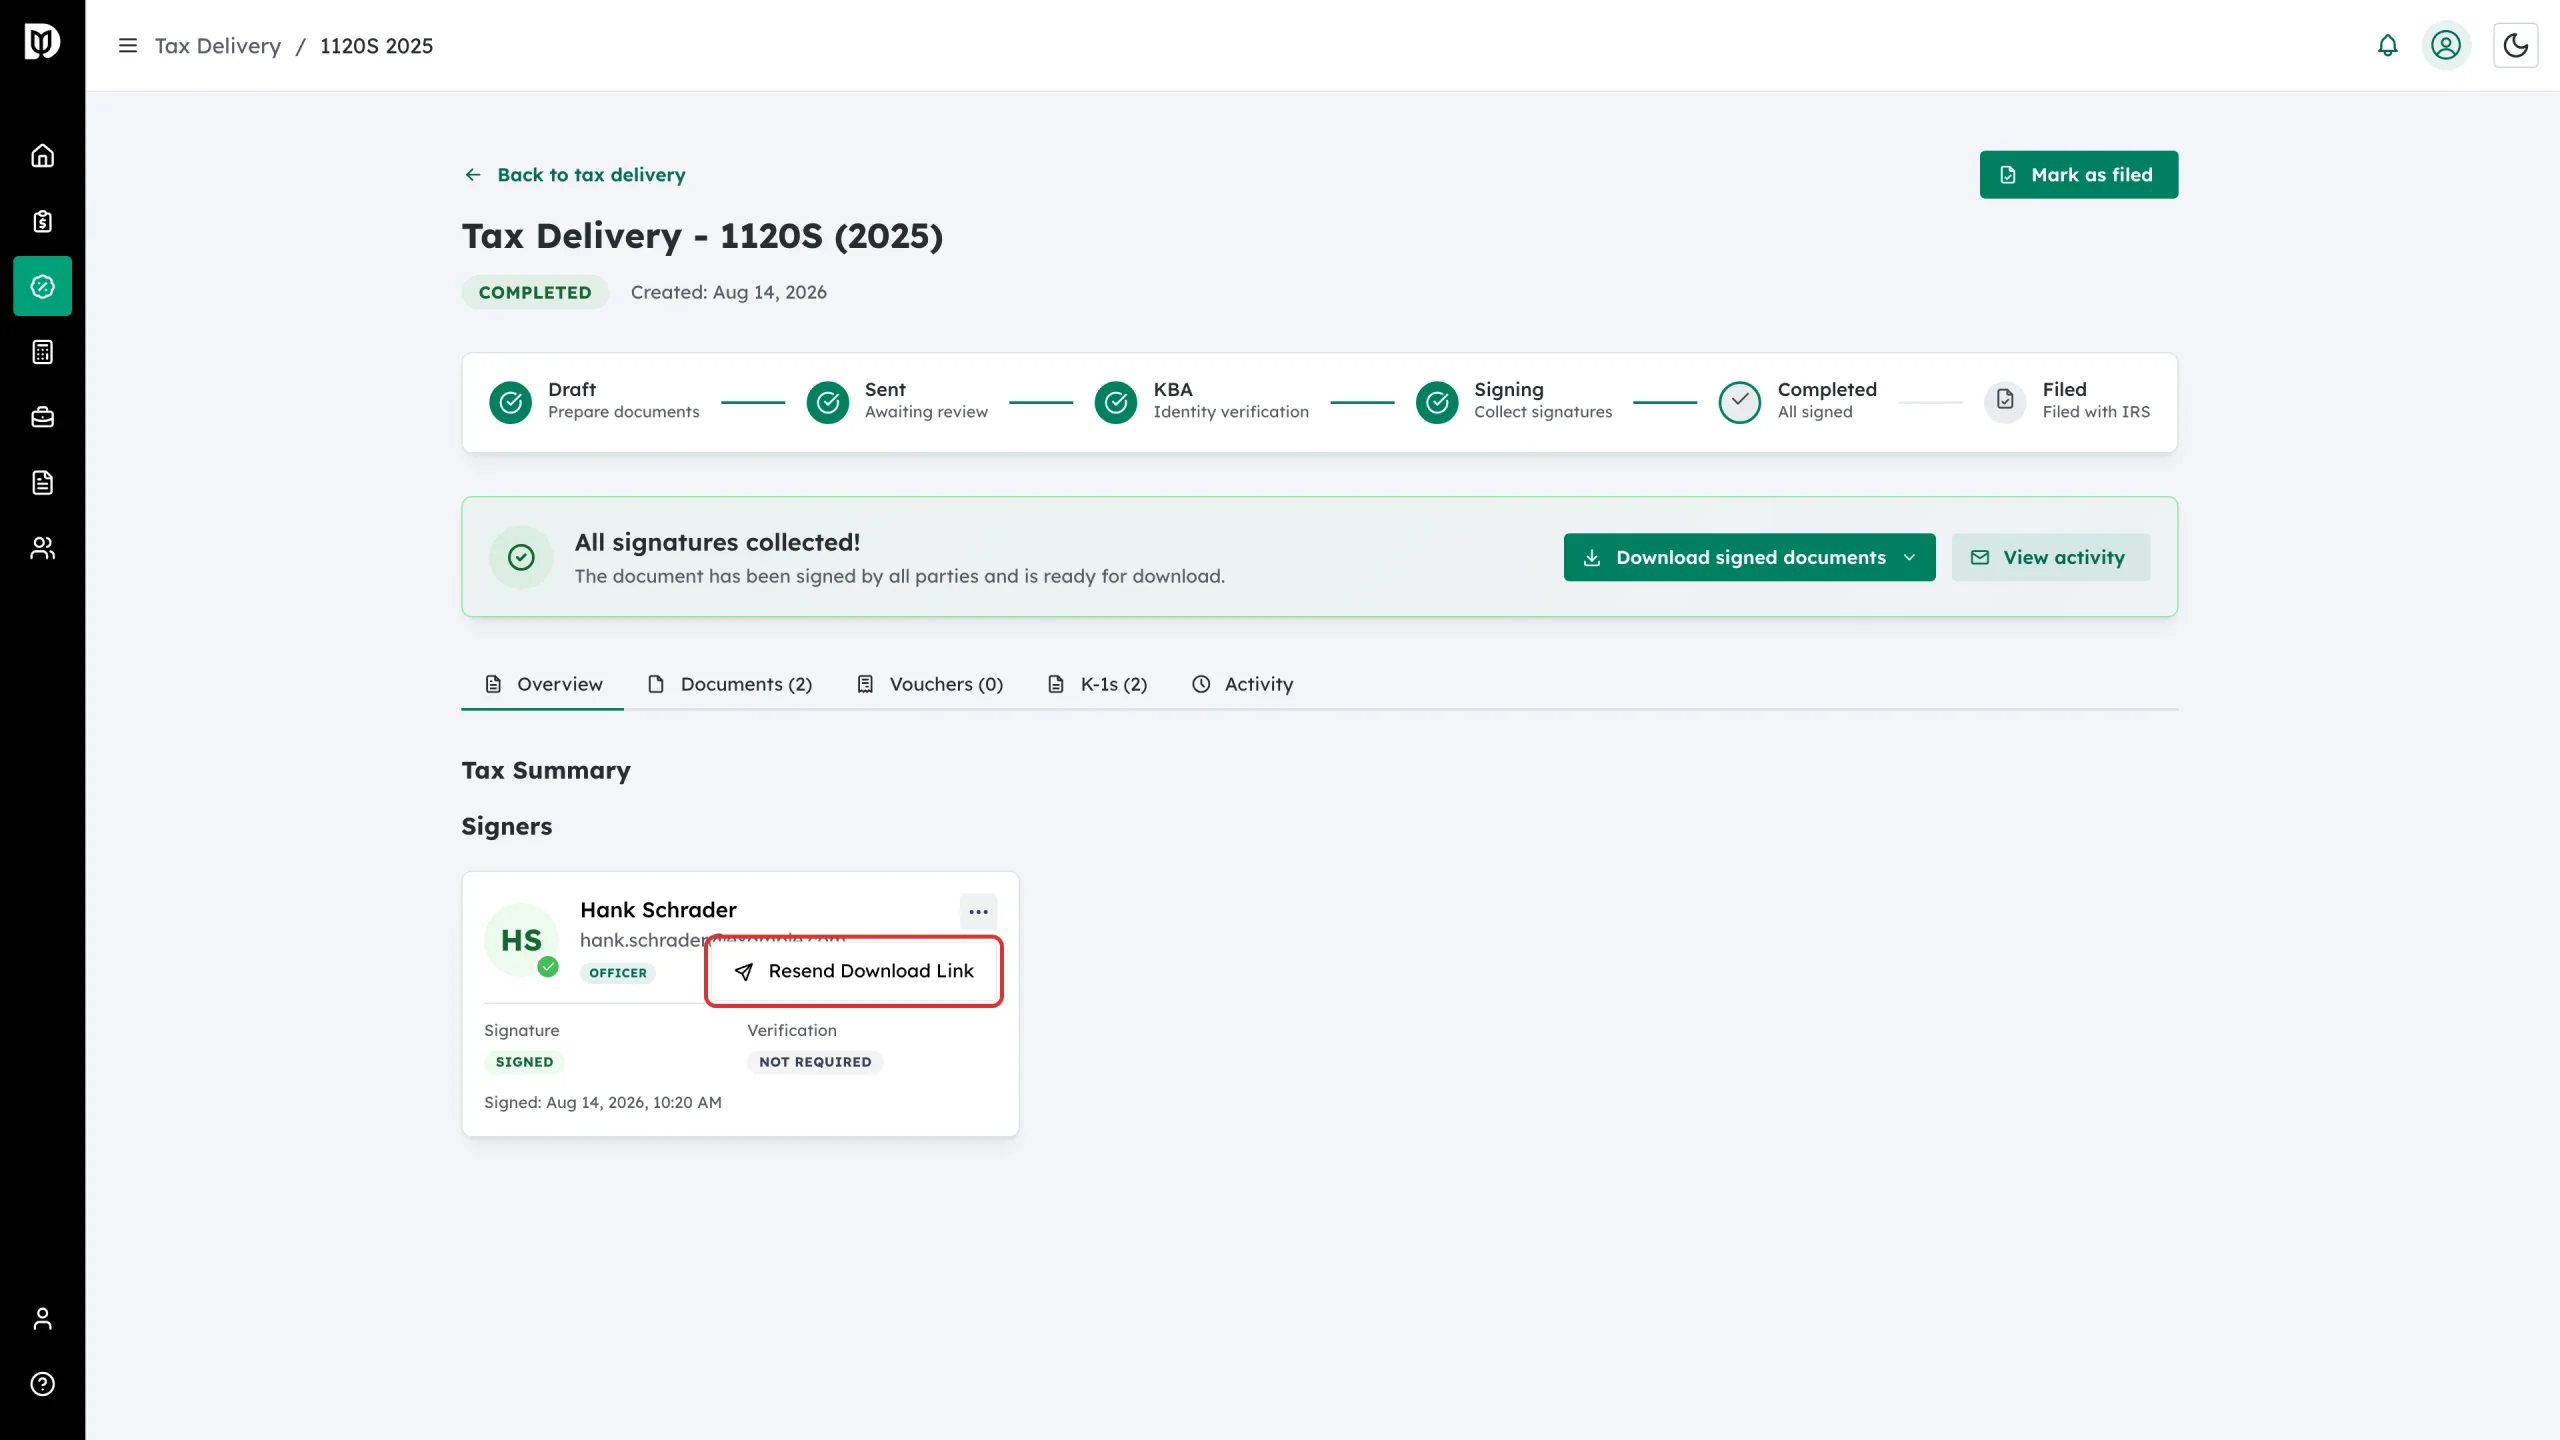
After everyone has signed, the card menu offers Resend Download Link. Use it if a client says they cannot find their copy.
What happens next
Once all your signers are in place, upload the documents and place the signature fields, then send the return for signature.
Troubleshooting
- Remove Signer is not in the menu: Signers can only be removed while the return is a draft. Use Recall on the detail page if you need to change a return you have already sent.
- A role is greyed out: Only one Primary Taxpayer, one Spouse and one Officer are allowed per return.
- The email address is rejected: Each signer on a return needs a different email address.