Use an email reminder when a client hasn’t started or finished their tax organizer. Reminders are sent by email only, straight from the organizer row.
Before you begin
- The organizer must have been sent. On rows created with Invite later the menu item reads Invite Client instead, and sends the first invitation.
- Reminders go to the client email shown under their name on the row.
Step-by-step instructions
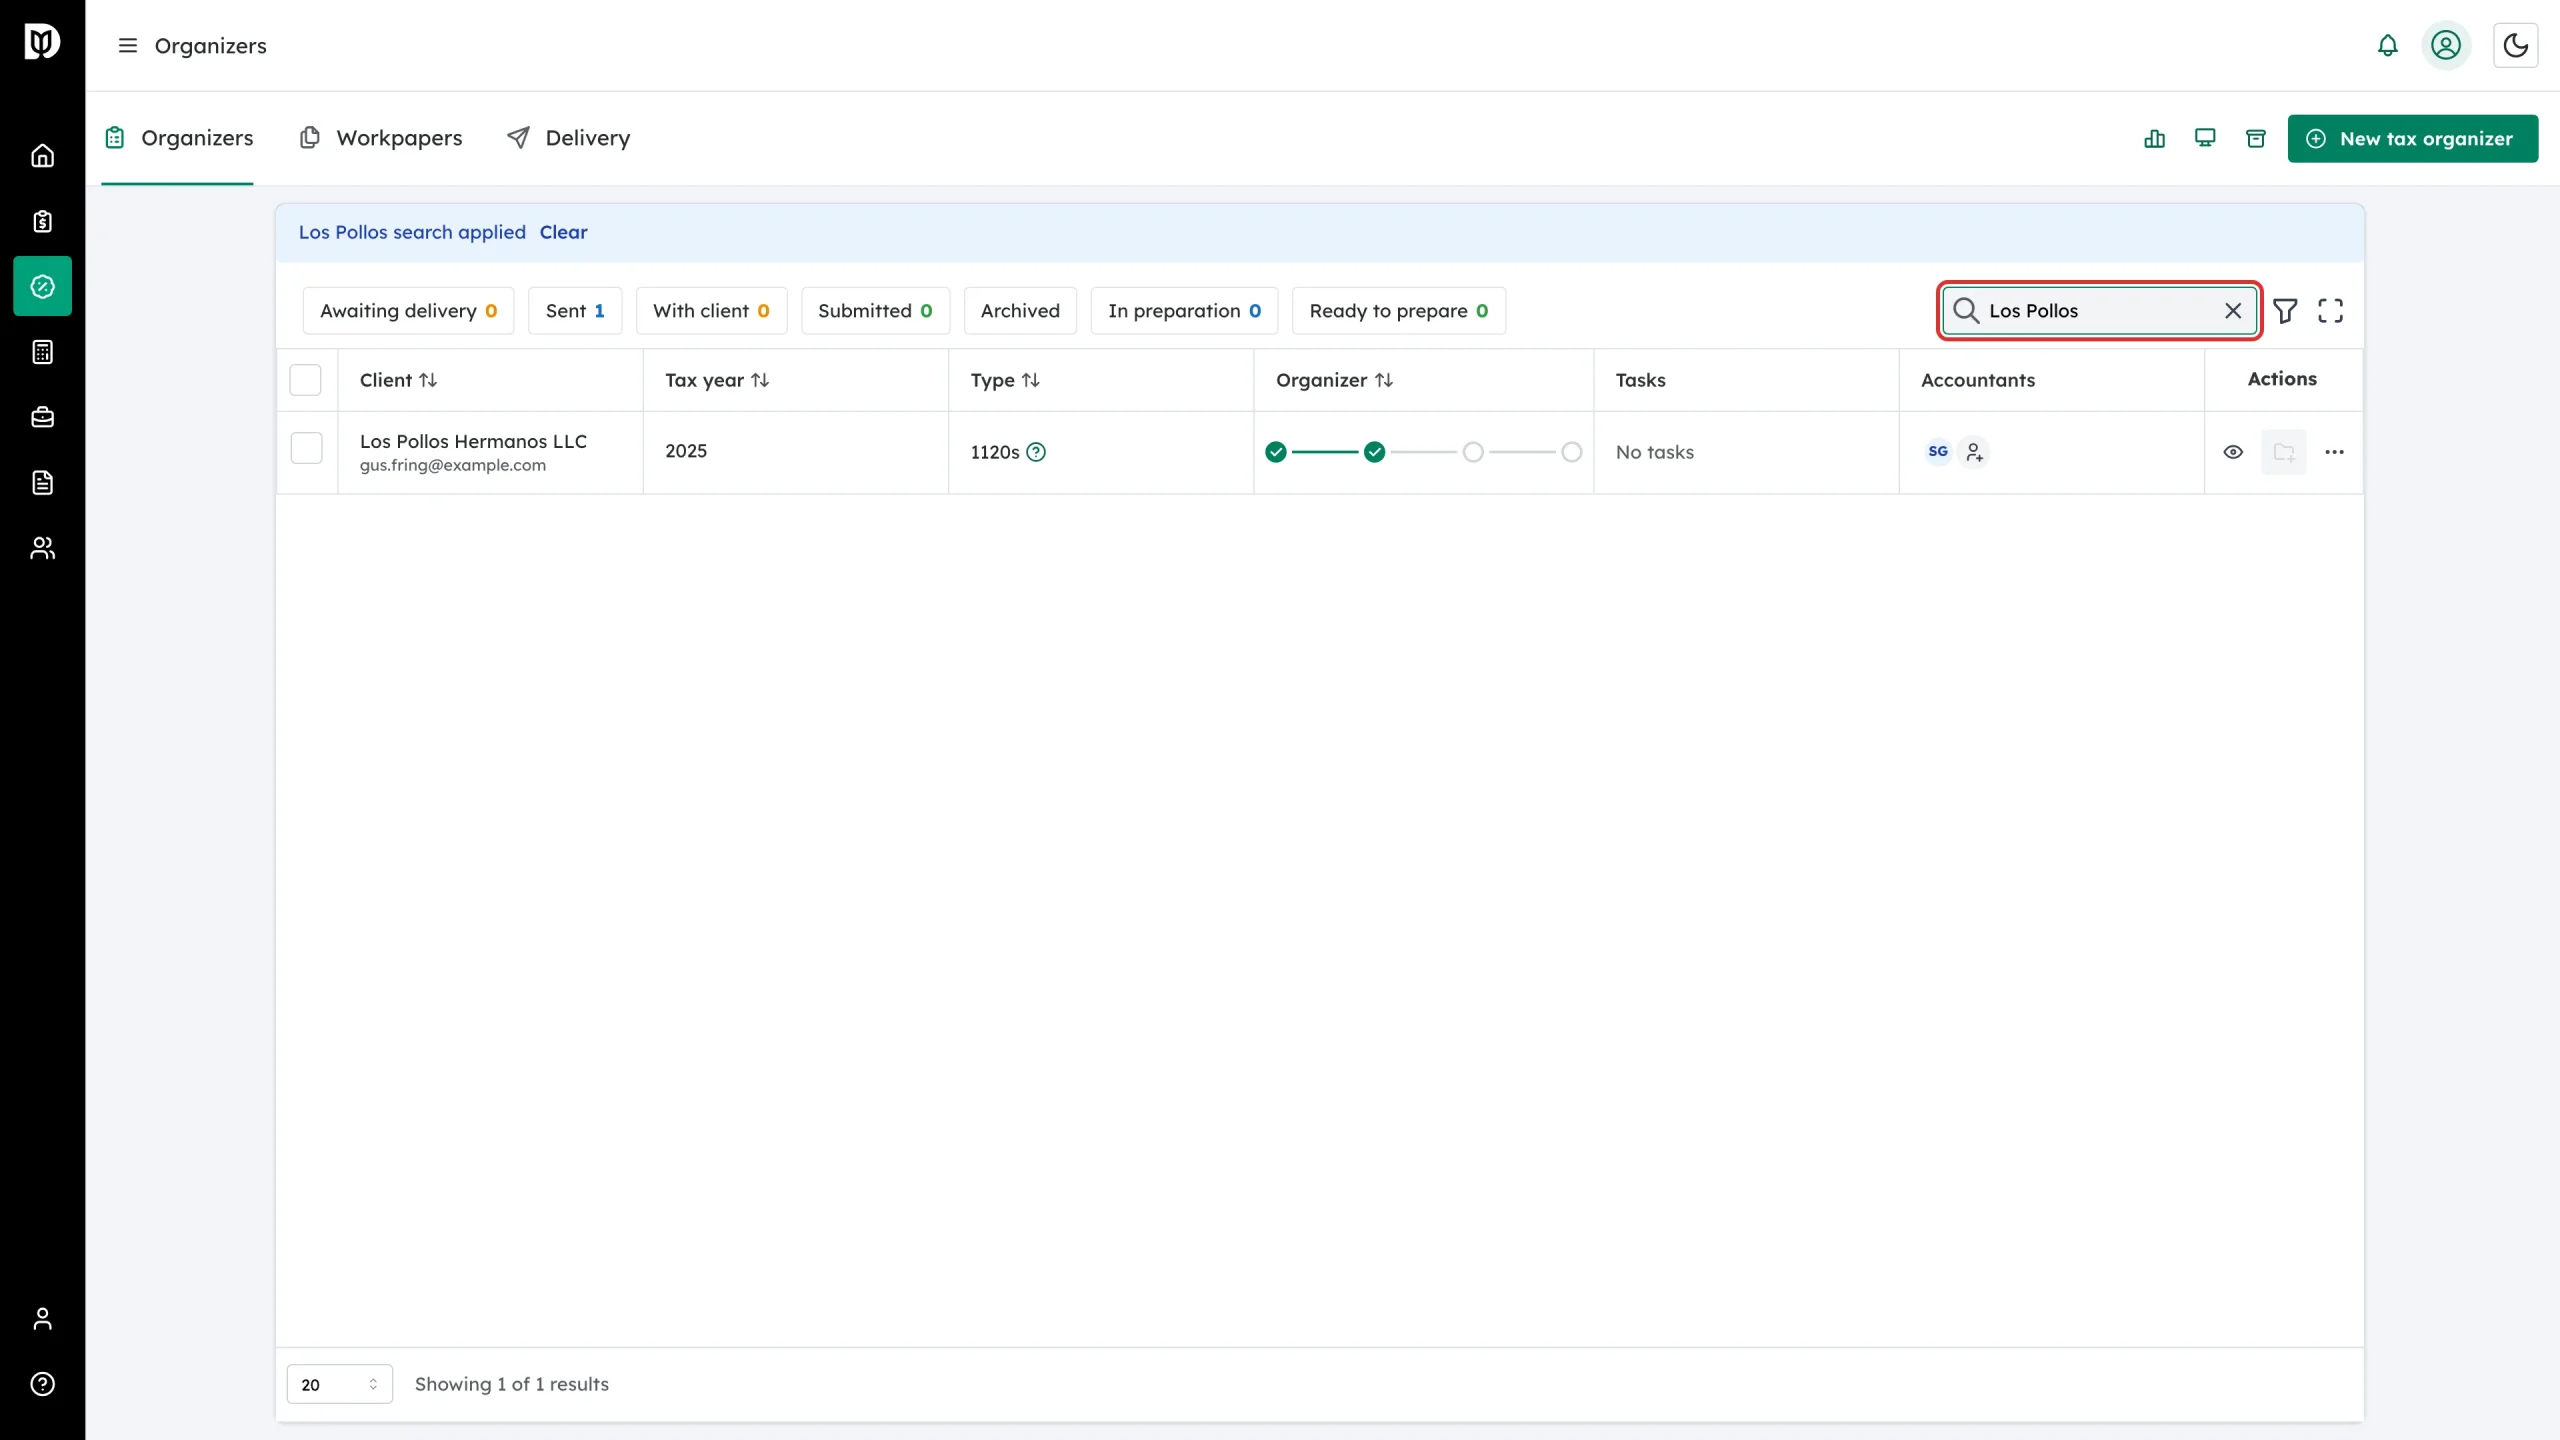
Step 1: Find the client
In the left sidebar, click Tax to open the Organizers tab. Use the search box (name or email) or the status chips — Sent and With client are the ones that usually need a nudge — to find the organizer.
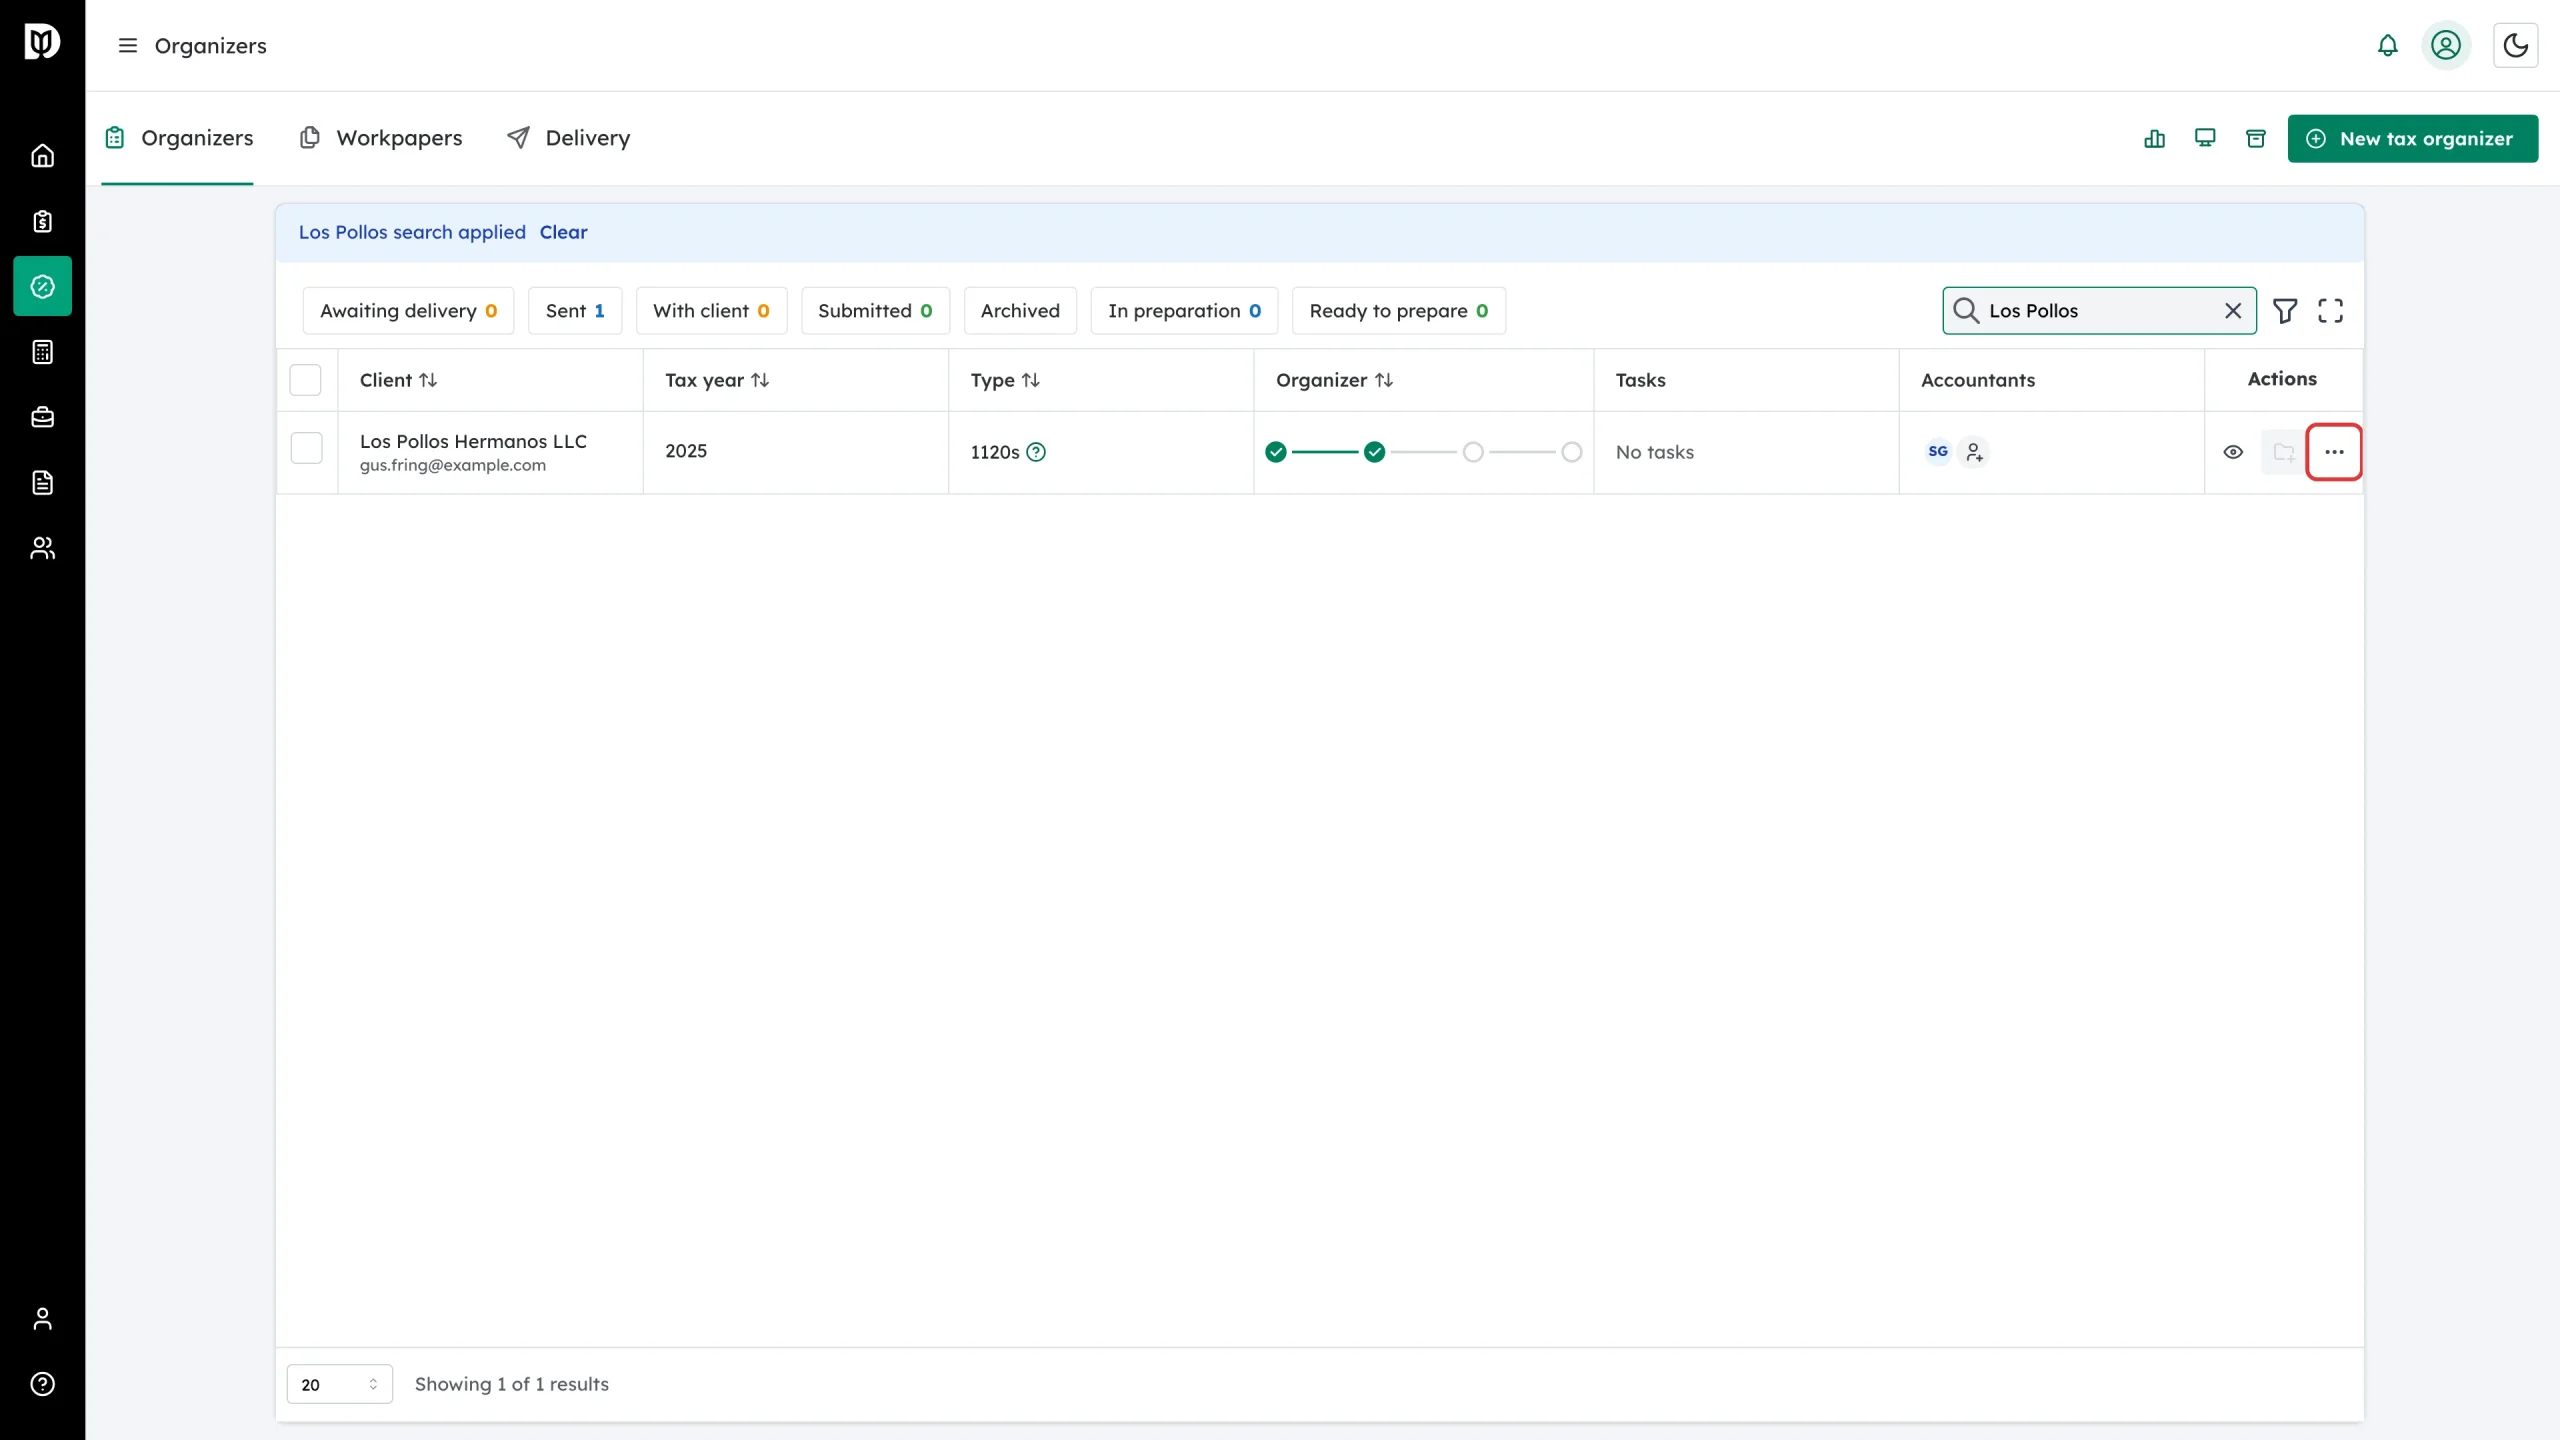
Step 2: Open the row’s actions menu
Check you have the right client, tax year, and progress step, then click the three-dot More actions icon at the end of the row.
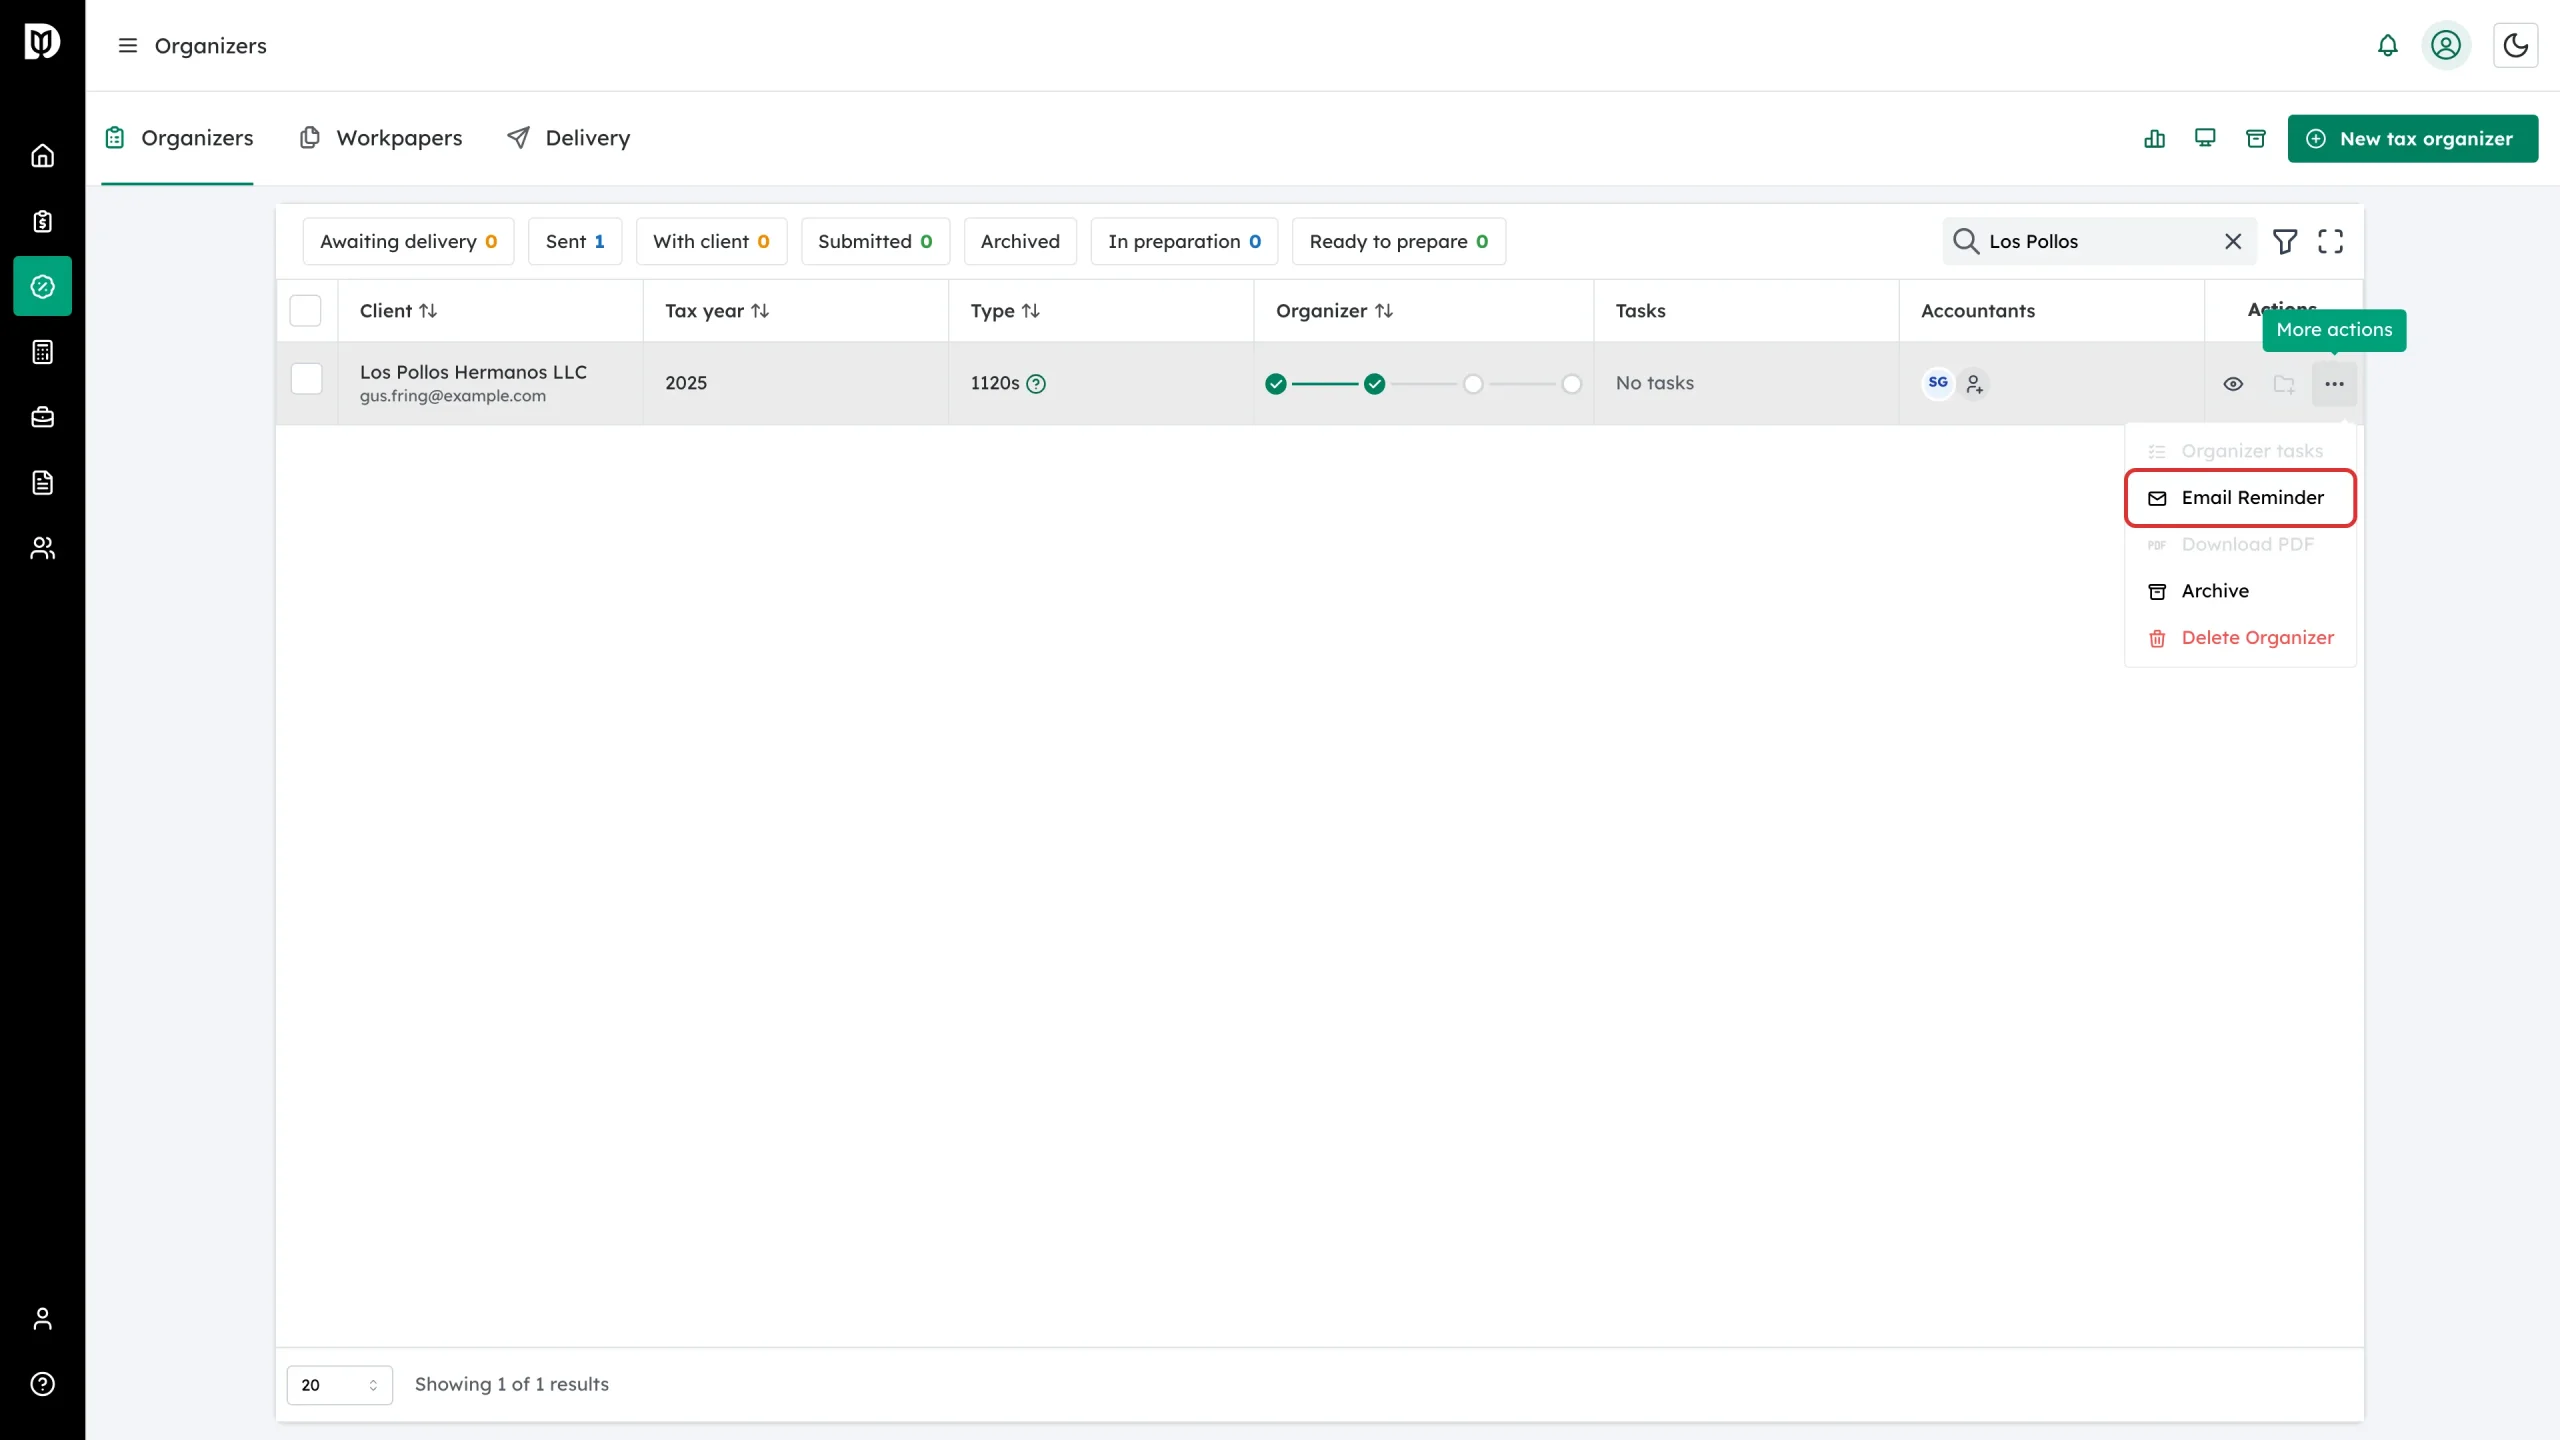
Step 3: Click Email Reminder
In the menu, click Email Reminder. The reminder goes out immediately — there is no extra confirmation step.
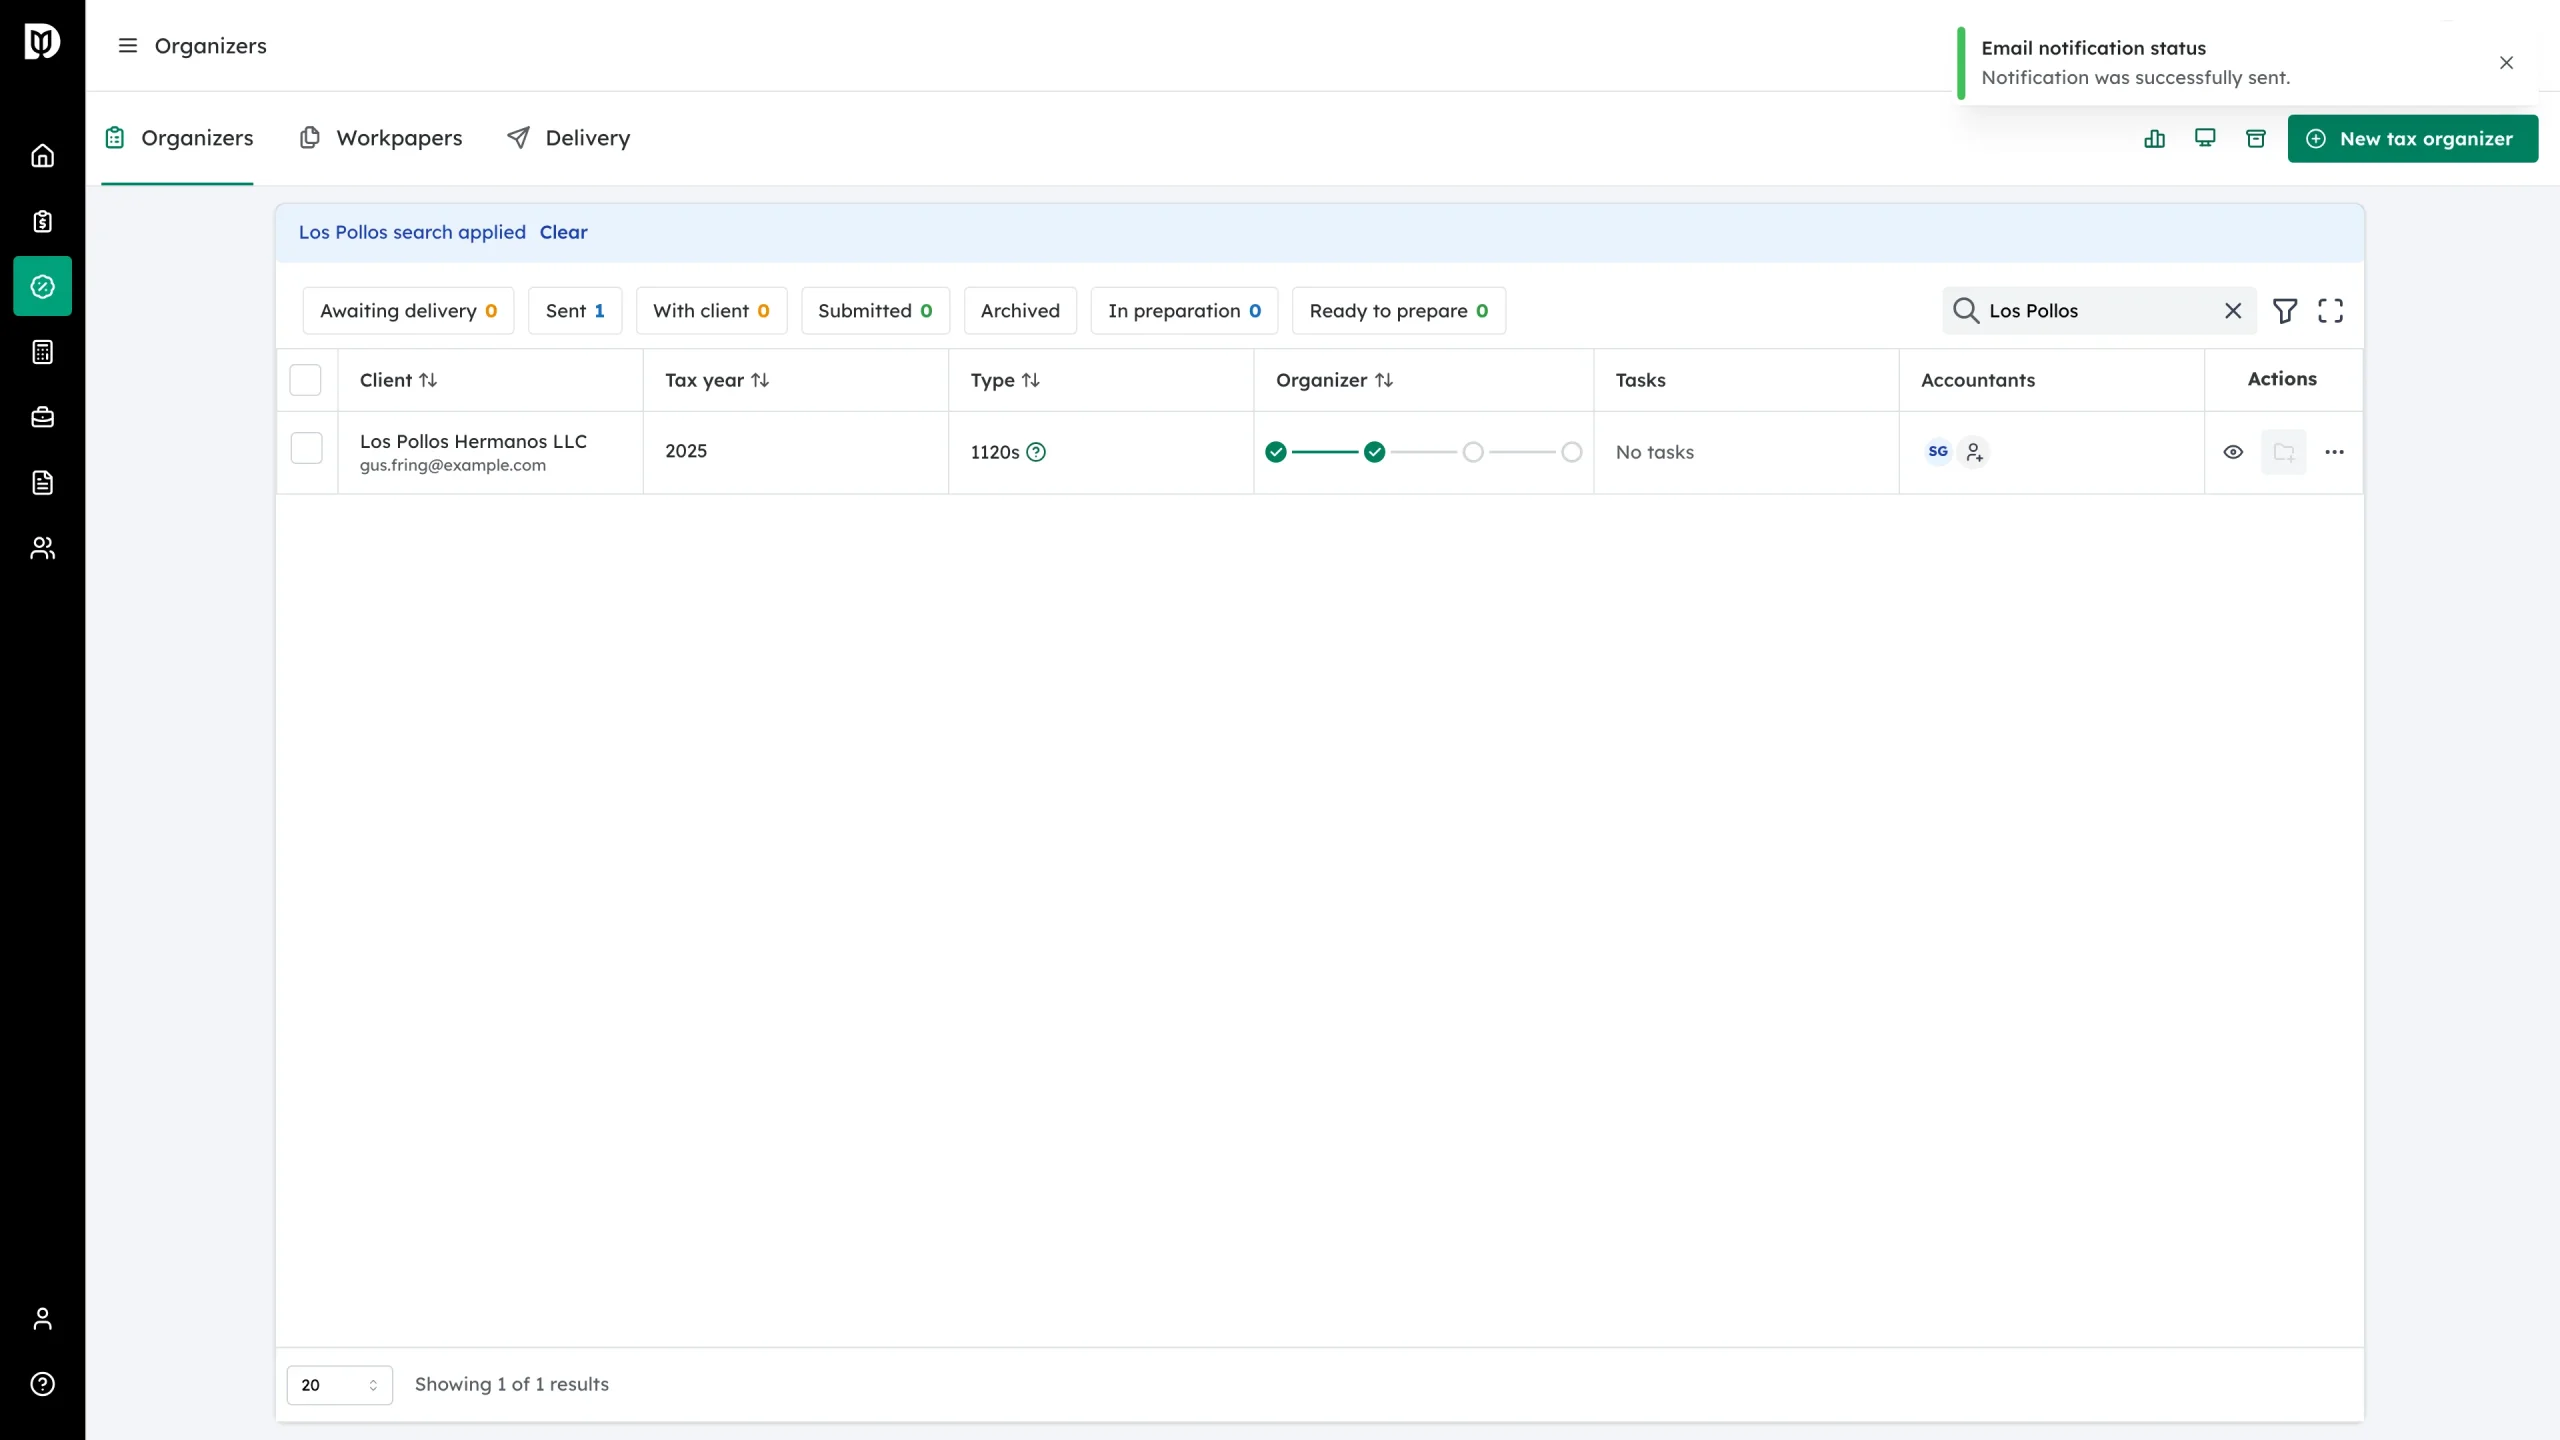
Step 4: Look for the confirmation
A toast appears at the top right: “Email notification status — Notification was successfully sent.” The client receives the organizer invitation email again, with their link to sign in and continue.
What happens next
The client gets an Organizer Invitation email with a link into their organizer. Their earlier answers are saved automatically, so they pick up right where they left off. You can send another reminder later if needed.
Troubleshooting
- The menu says Invite Client, not Email Reminder: this organizer was created with Invite later and was never sent. Click Invite Client to send the first invitation.
- The client can’t find the email: ask them to check spam for “Organizer Invitation”, or use the magic-link star button next to their email on the row to generate a sign-in link you can send yourself.
- Wrong email address on the row: the reminder goes to the address shown under the client’s name — fix the contact’s email first, then resend.