Go to the Companies section #
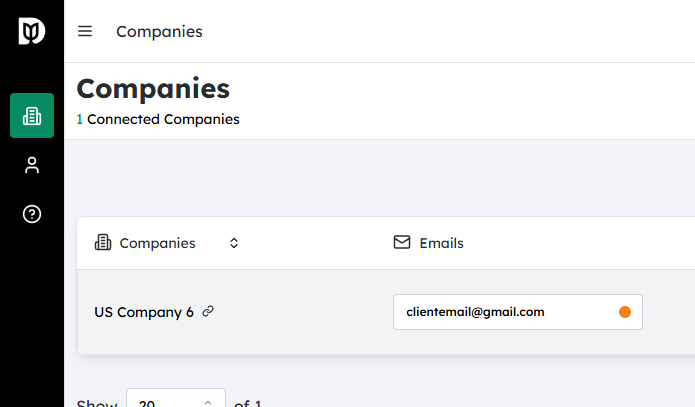
- From your main dashboard or navigation menu, locate and click on “Companies”.
- This will open the area where you manage your company records and any related integrations or settings.
Open the Settings for Companies #
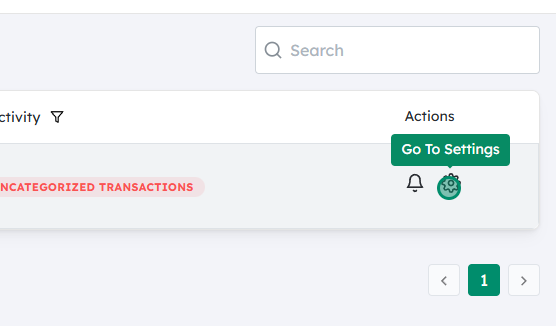
- Once you’re in the Companies section, look for a “Settings” button or tab (often found in the top-right corner or in a side menu).
- Click “Settings” to access configuration options related to company data and integrations.
Choose which accounts to sync #
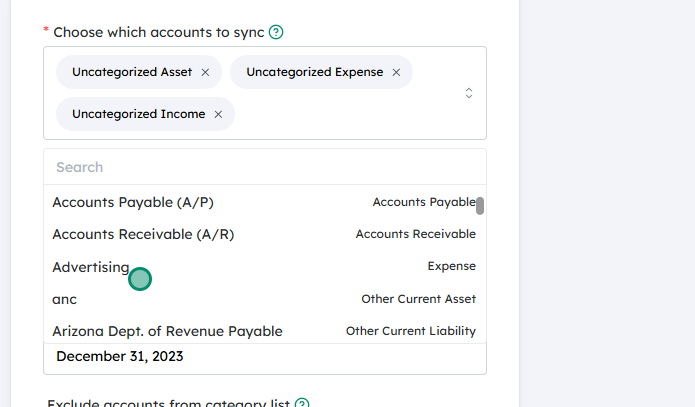
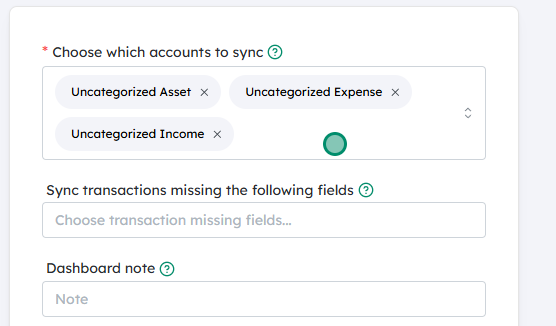
- In Settings, find the option labeled “Choose which accounts to sync”, “Account Sync”, or similar.
- Click this option to see a list of available external accounts or services (for example, accounting systems, CRMs, or other connected platforms).
Select the accounts you want to sync #
- You’ll now see a list of accounts that can be synchronized.
- Click on each desired account to enable syncing. This may be done via:
- A checkbox next to each account name, or
- A toggle switch you can turn on or off.
- Make sure only the accounts you want to sync are selected.

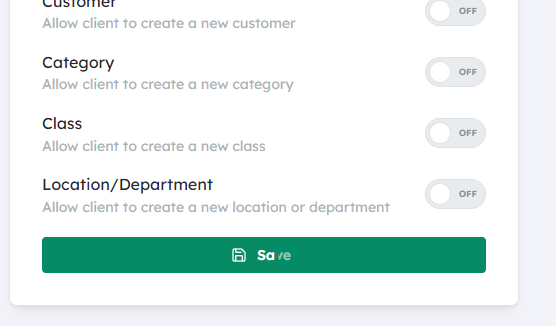
Save your changes #
- After selecting the appropriate accounts, scroll down (if needed) and click “Save”
- The system will apply your preferences and begin syncing data with the accounts you selected, according to your integration’s rules and schedule.
Updated on December 2, 2025


 #
# #
#