

Who this is for: Firm administrators and team leads who need to assign accountants to specific client contacts.
What you’ll learn: How to assign staff members to contacts during creation, how to update assignments on existing contacts, and how to use bulk assignment features.
Before you begin #
- You must have administrator or team lead access
- Staff members must already be added to your firm in Account Settings
- Staff with “Access All” permissions automatically have access to all contacts
Step-by-step instructions #
Assigning Staff When Creating a Contact #
Step 1: Start Creating a New Contact #
Navigate to Contacts and click Add Contact.
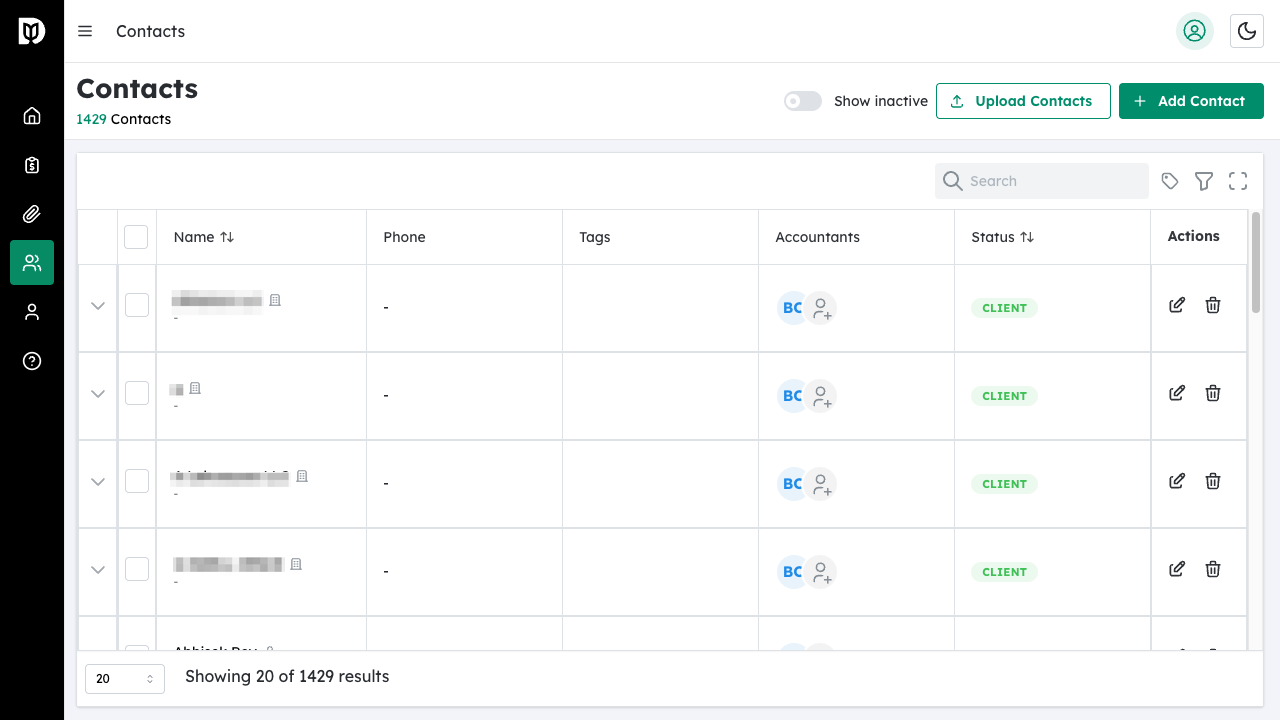
Step 2: Complete Basic Information #
Fill in the contact type and basic information, then click Next to proceed through the wizard.
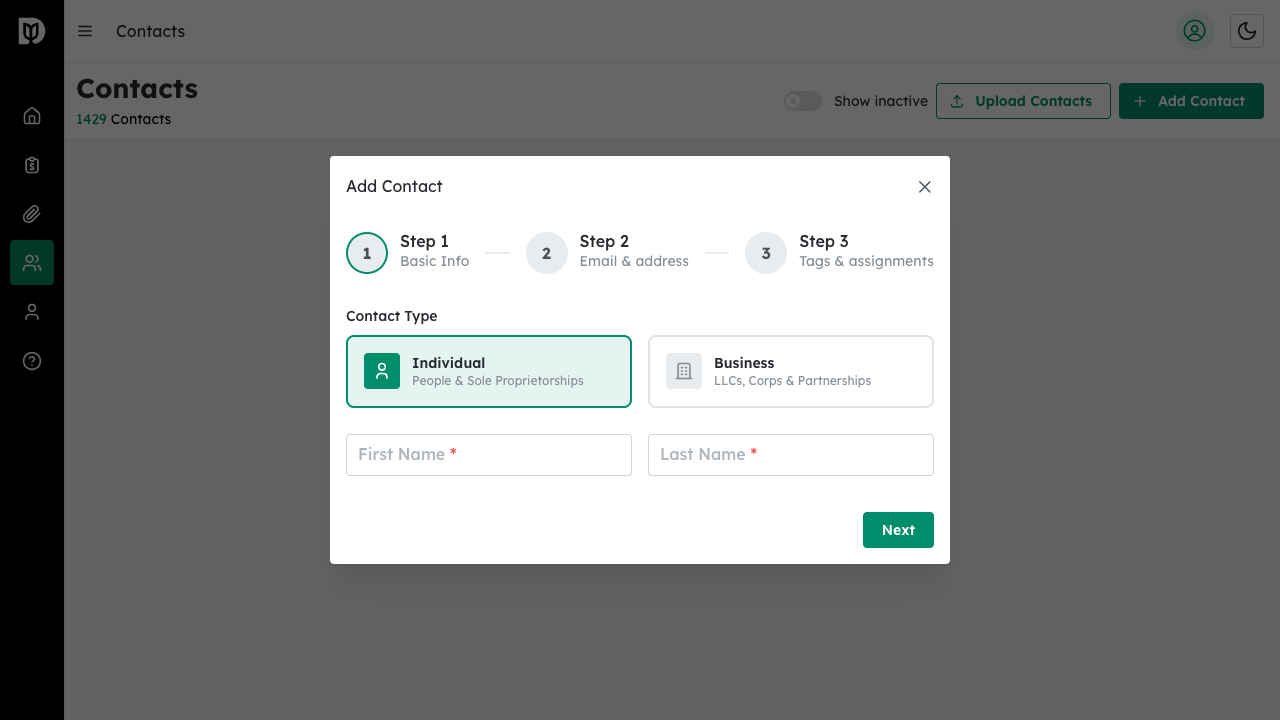
Step 3: Select Assigned Accountants #
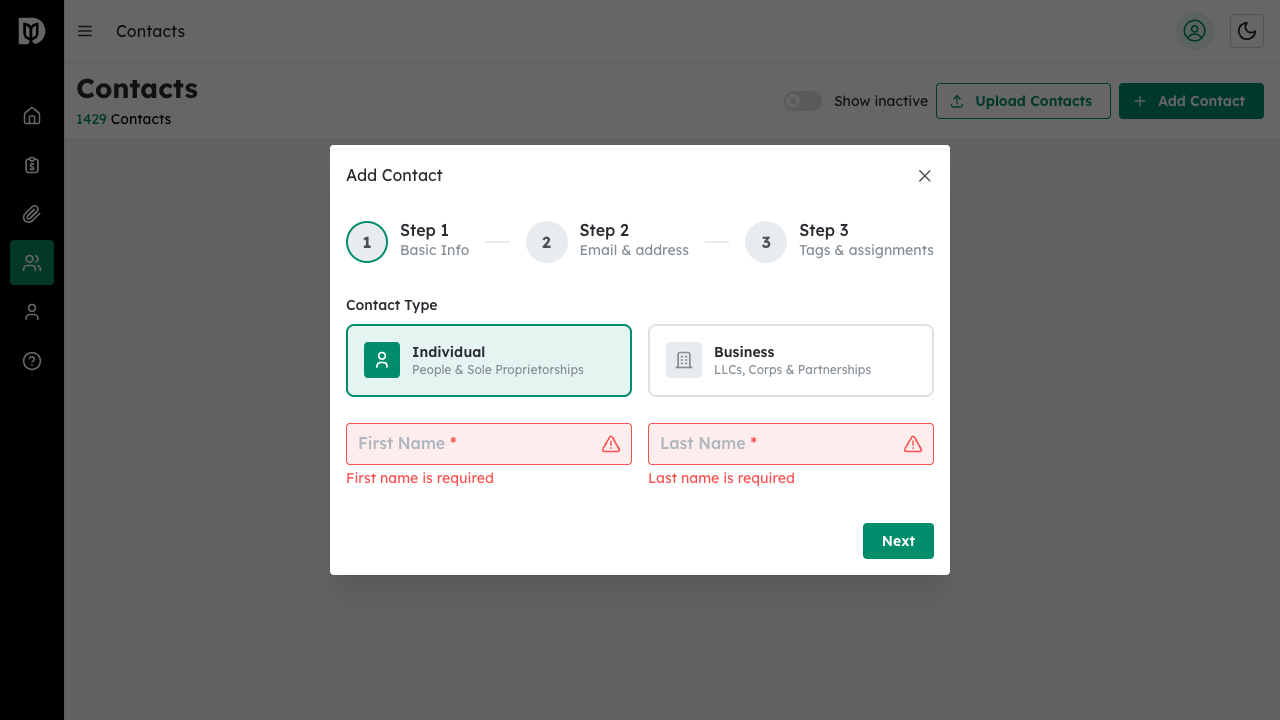
In the Tags & Assignments step, click the Assigned Accountants dropdown. Select one or more staff members who should have access to this contact.
Step 4: Complete Contact Creation #
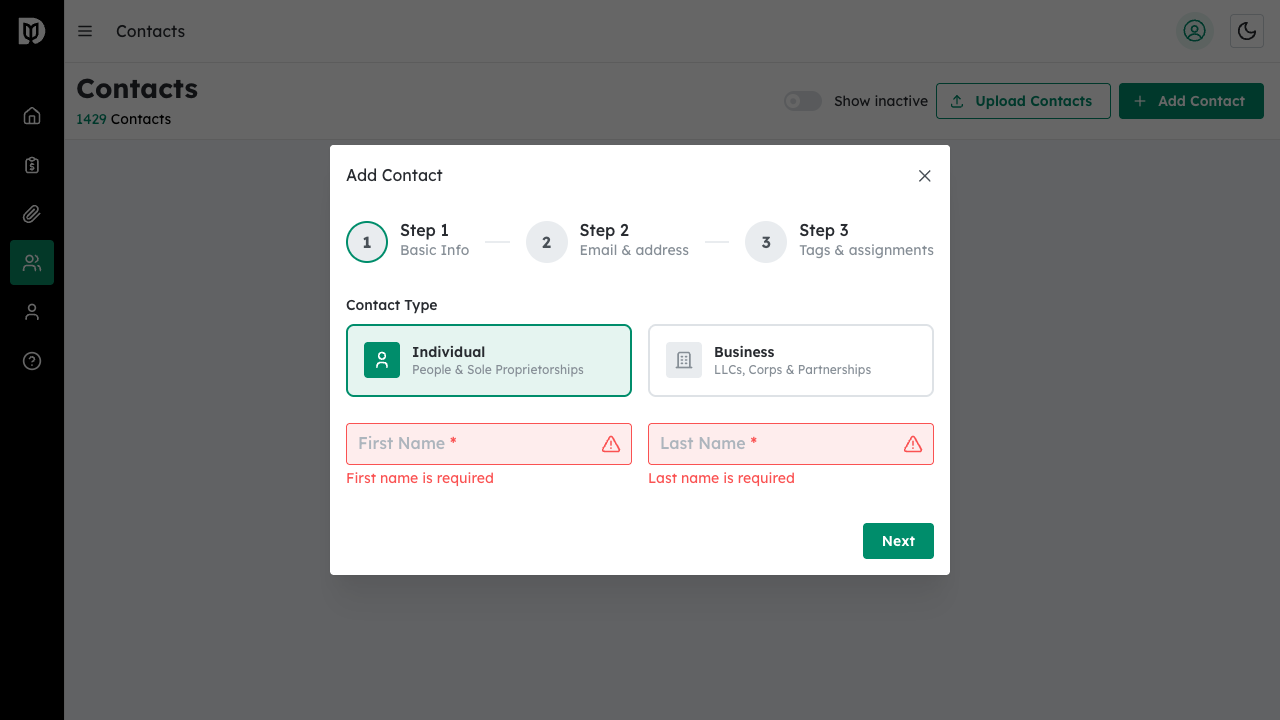
Finish setting tags and status, then click Create Contact. The selected accountants will have access to this contact.
Updating Staff Assignments on Existing Contacts #
Step 1: Open the Contact Profile #
Navigate to the contact whose assignments you want to change.
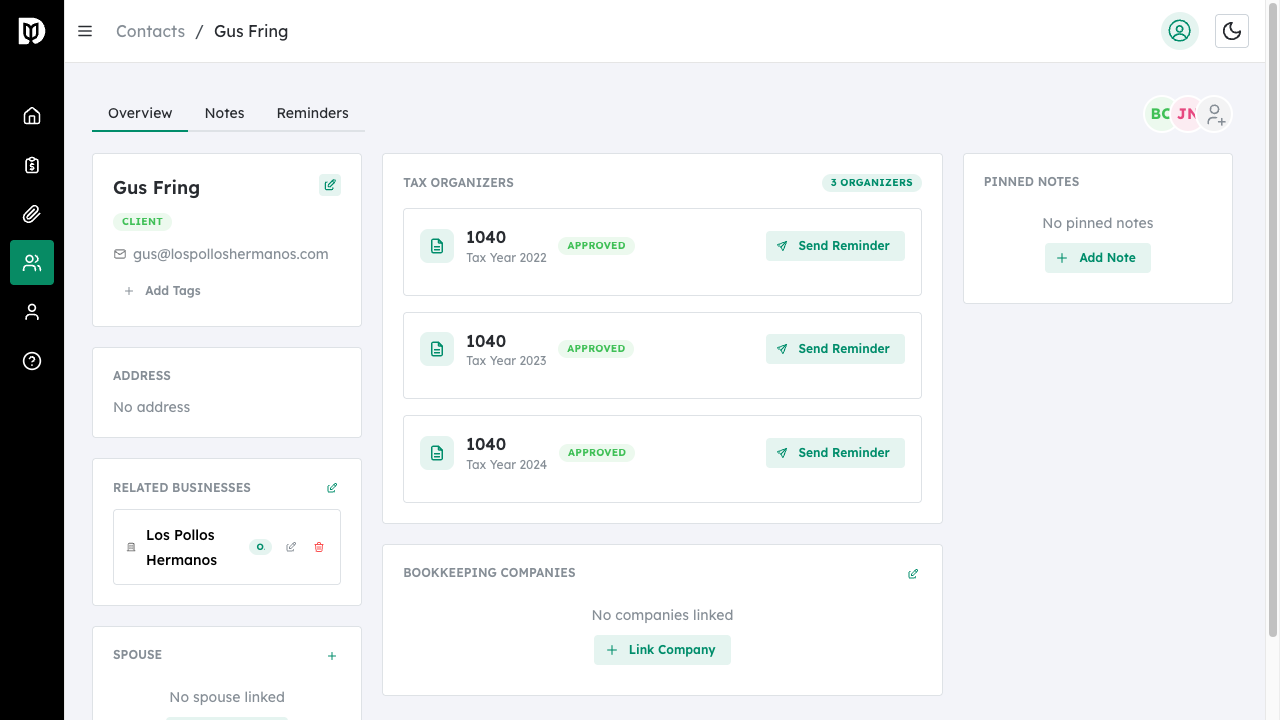
Step 2: View Current Assignments #
Assigned staff members appear as avatar icons in the top right area of the contact profile. Hover over avatars to see staff names.
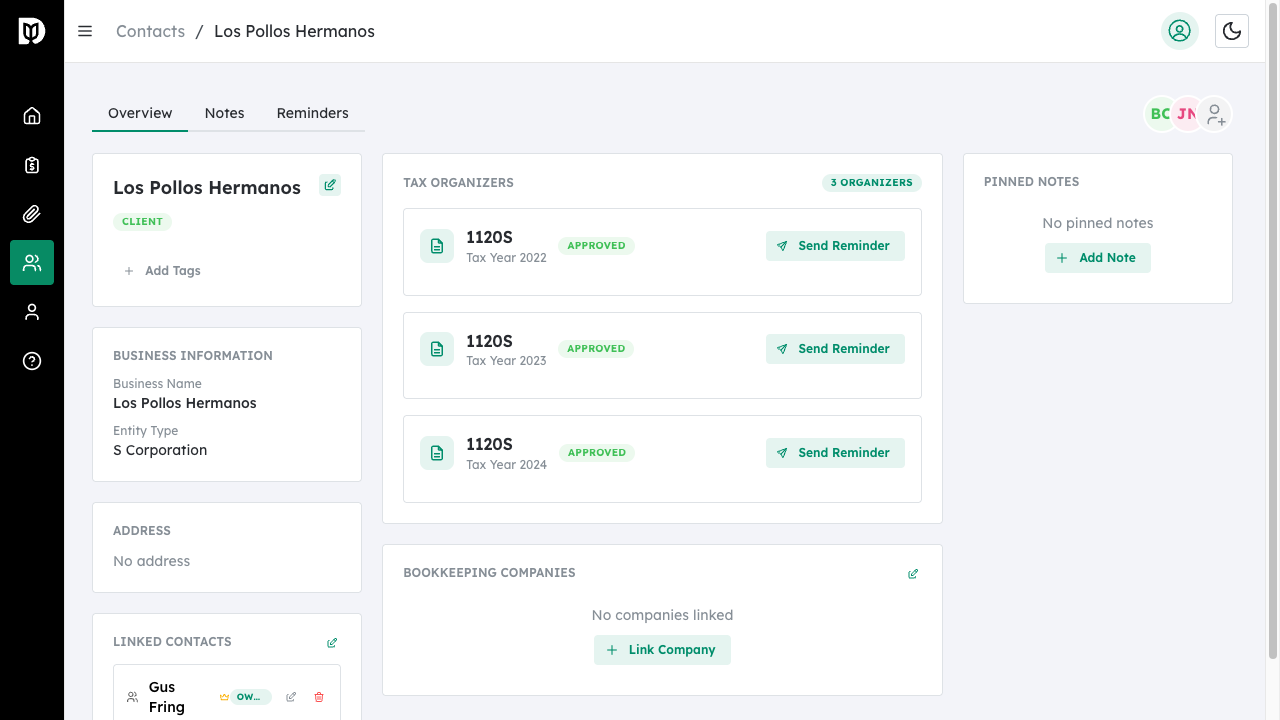
Step 3: Access Staff Management #
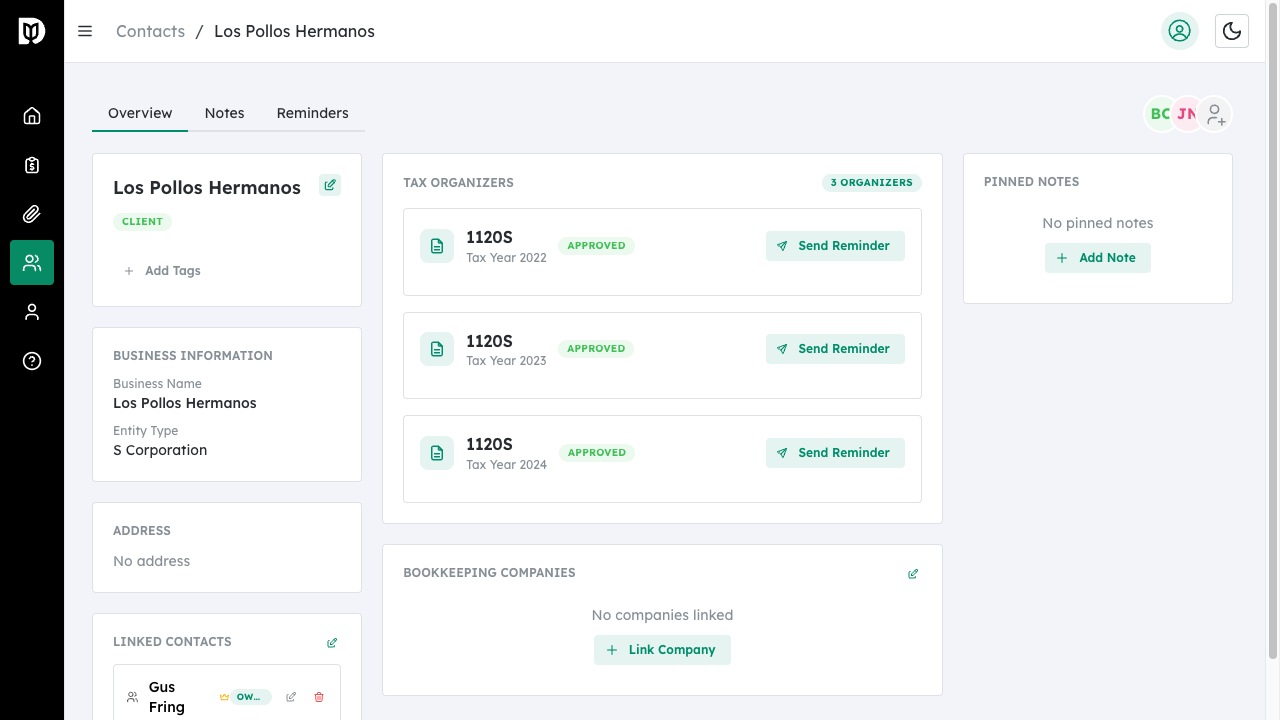
Click the Add User icon (person with plus sign) next to the staff avatars, or navigate to Account > Staff to manage assignments.
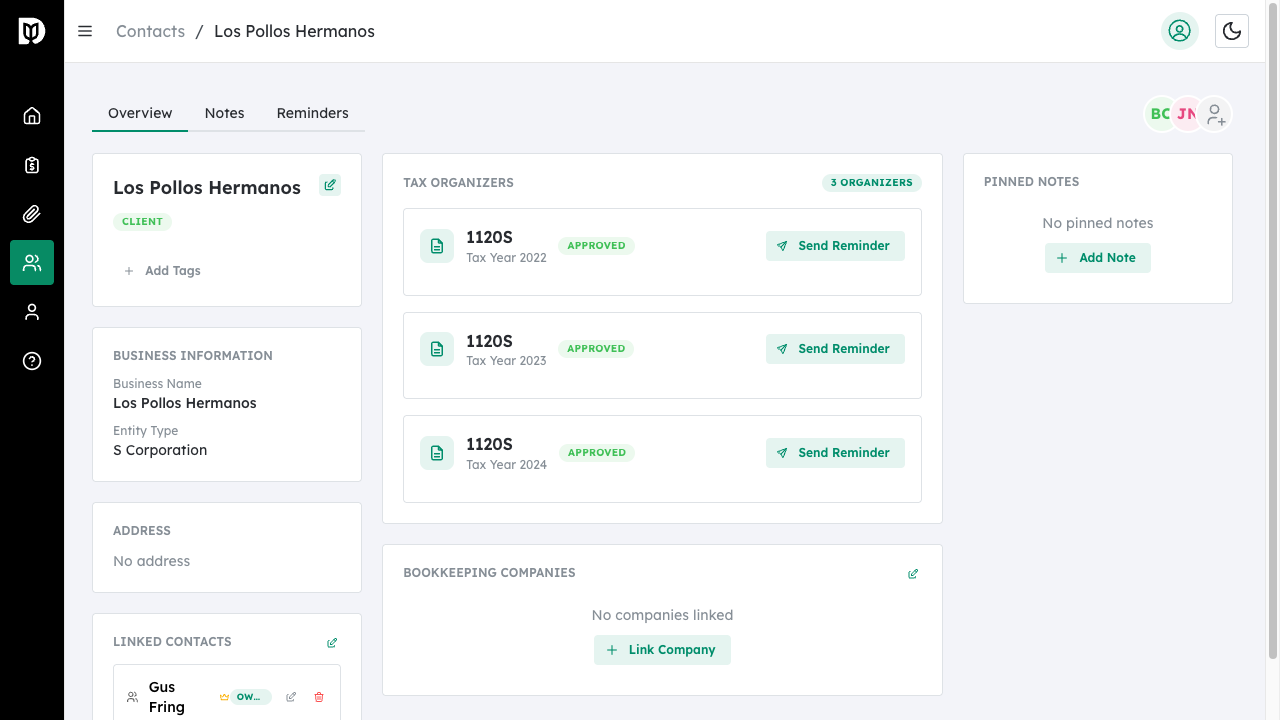
Step 4: Edit Contact to Change Assignments #
Click the Edit icon on the contact profile to open the edit form. You can modify the assigned accountants in the accountants field.
Bulk Staff Assignment #
Assign accountants to multiple contacts at once.
Step 1: Select Multiple Contacts #
On the Contacts list page, use the checkboxes to select the contacts you want to update.
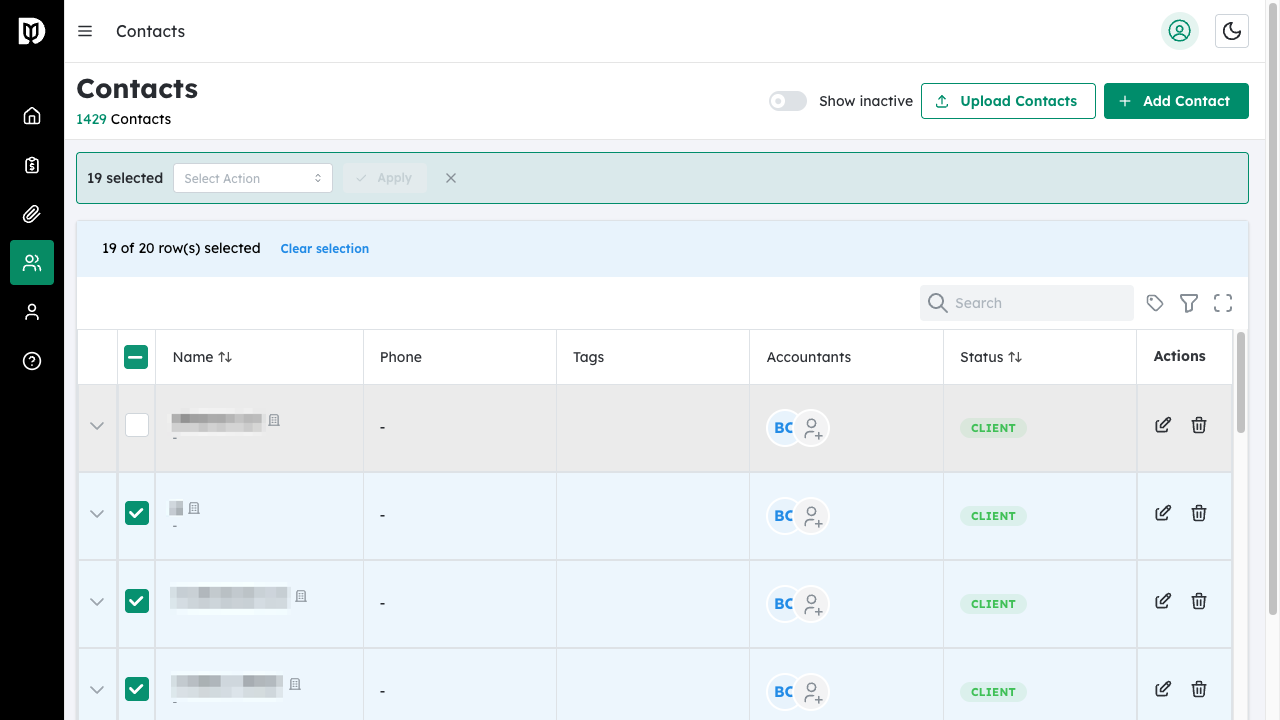
Step 2: Open Bulk Actions #
Click the Bulk Actions menu that appears when contacts are selected.
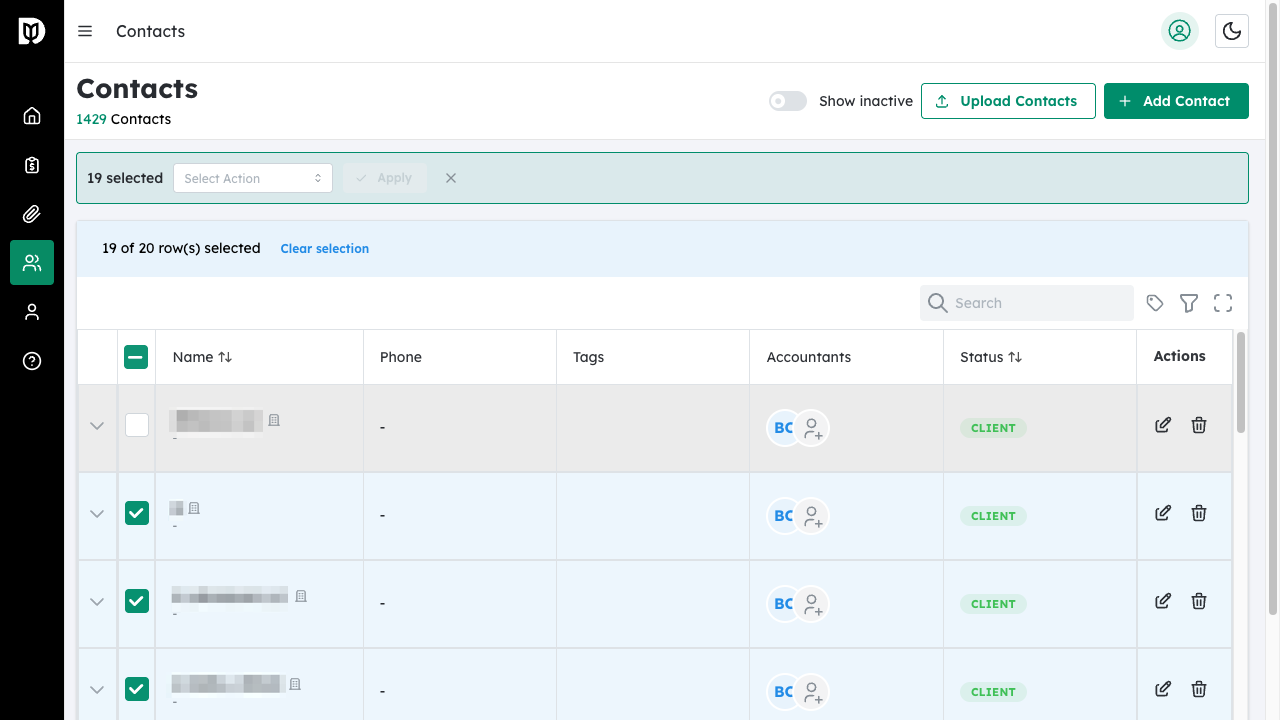
Step 3: Choose Assign Accountants #
Select the Assign accountants option from the bulk actions menu.
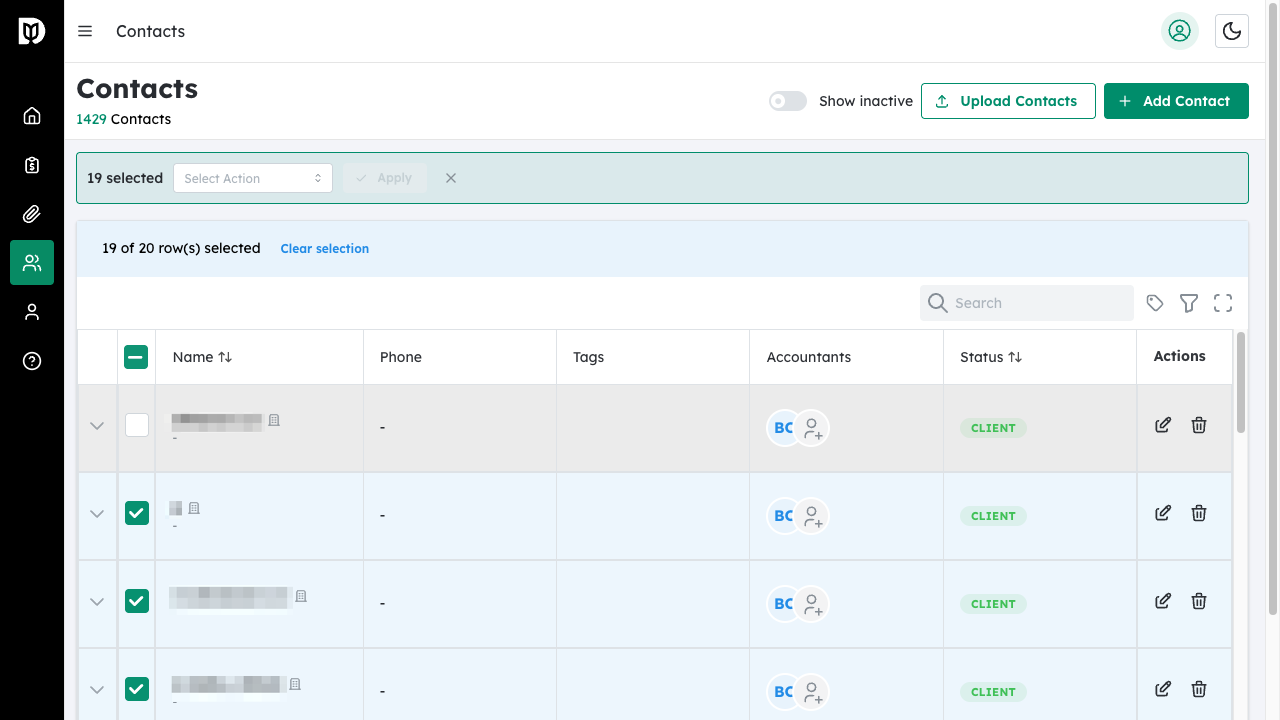
Step 4: Select Staff and Apply #
A panel will show all selected contacts and available accountants. Check the accountants to assign to each contact, then click Apply to save the assignments.
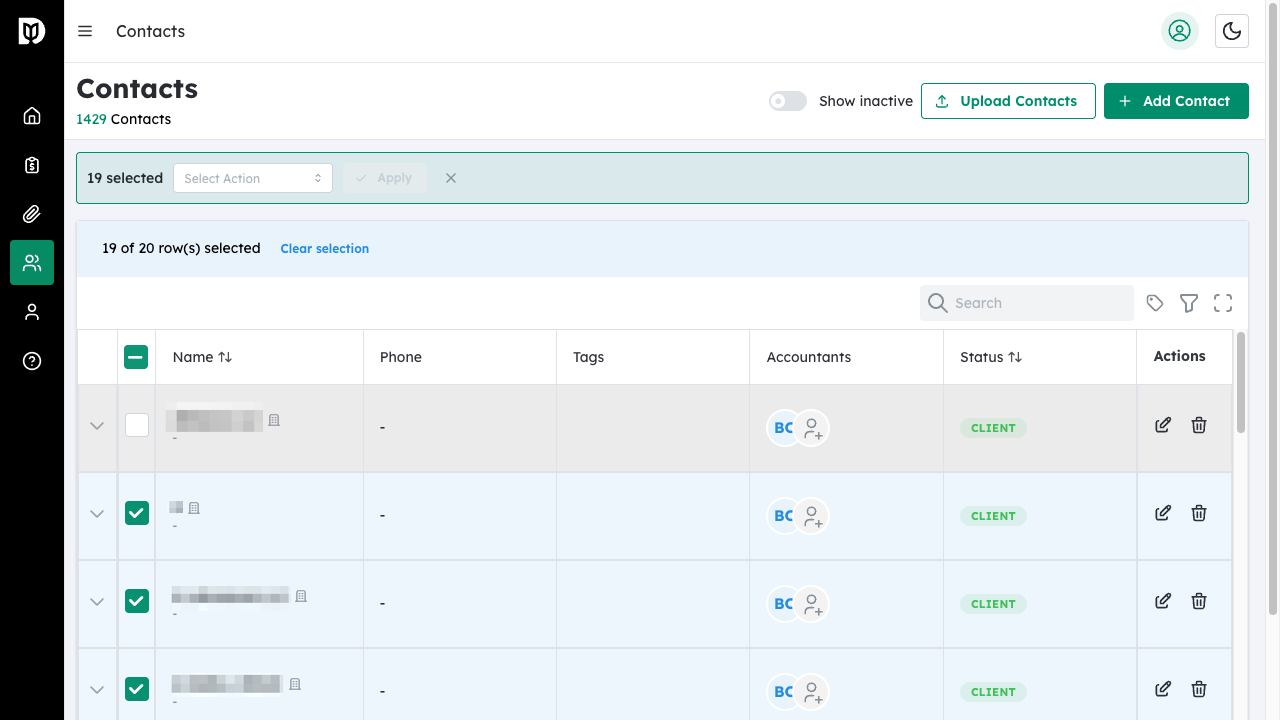
Understanding Access Levels #
There are two ways staff members gain access to contacts:
- Explicit Assignment – Staff assigned directly to specific contacts
- Access All Permissions – Staff with “Access All Tax” or “Access All Bookkeeping” settings have automatic access to all contacts for those services
Staff with Access All permissions appear in the avatars alongside explicitly assigned staff.
What happens next #
Assigned staff members can view and work with the contact’s profile, notes, organizers, and bookkeeping data based on their role permissions. Staff without access will not see the contact in their lists.
Troubleshooting #
- Staff member not appearing in dropdown: Verify the staff member has been added to your firm in Account > Staff settings.
- Cannot assign staff: You may not have permission to modify staff assignments. Contact your firm administrator.
- Staff can see contacts they’re not assigned to: Check if the staff member has “Access All” permissions enabled, which grants access to all contacts.
- Bulk assignment not working: Ensure you have at least one contact selected and one accountant available for assignment.


