

Who this is for: Accountants ready to lock a draft report before delivering it.
What you’ll learn: How to finalize a report so its numbers are captured as a permanent snapshot.
Before you begin #
- Finish customizing the draft — sections, commentary, budget, and forecast — first.
- Finalizing captures the current figures and locks the report. You can still create a new report for the same period later.
Step-by-step instructions #
Step 1: Start finalizing #
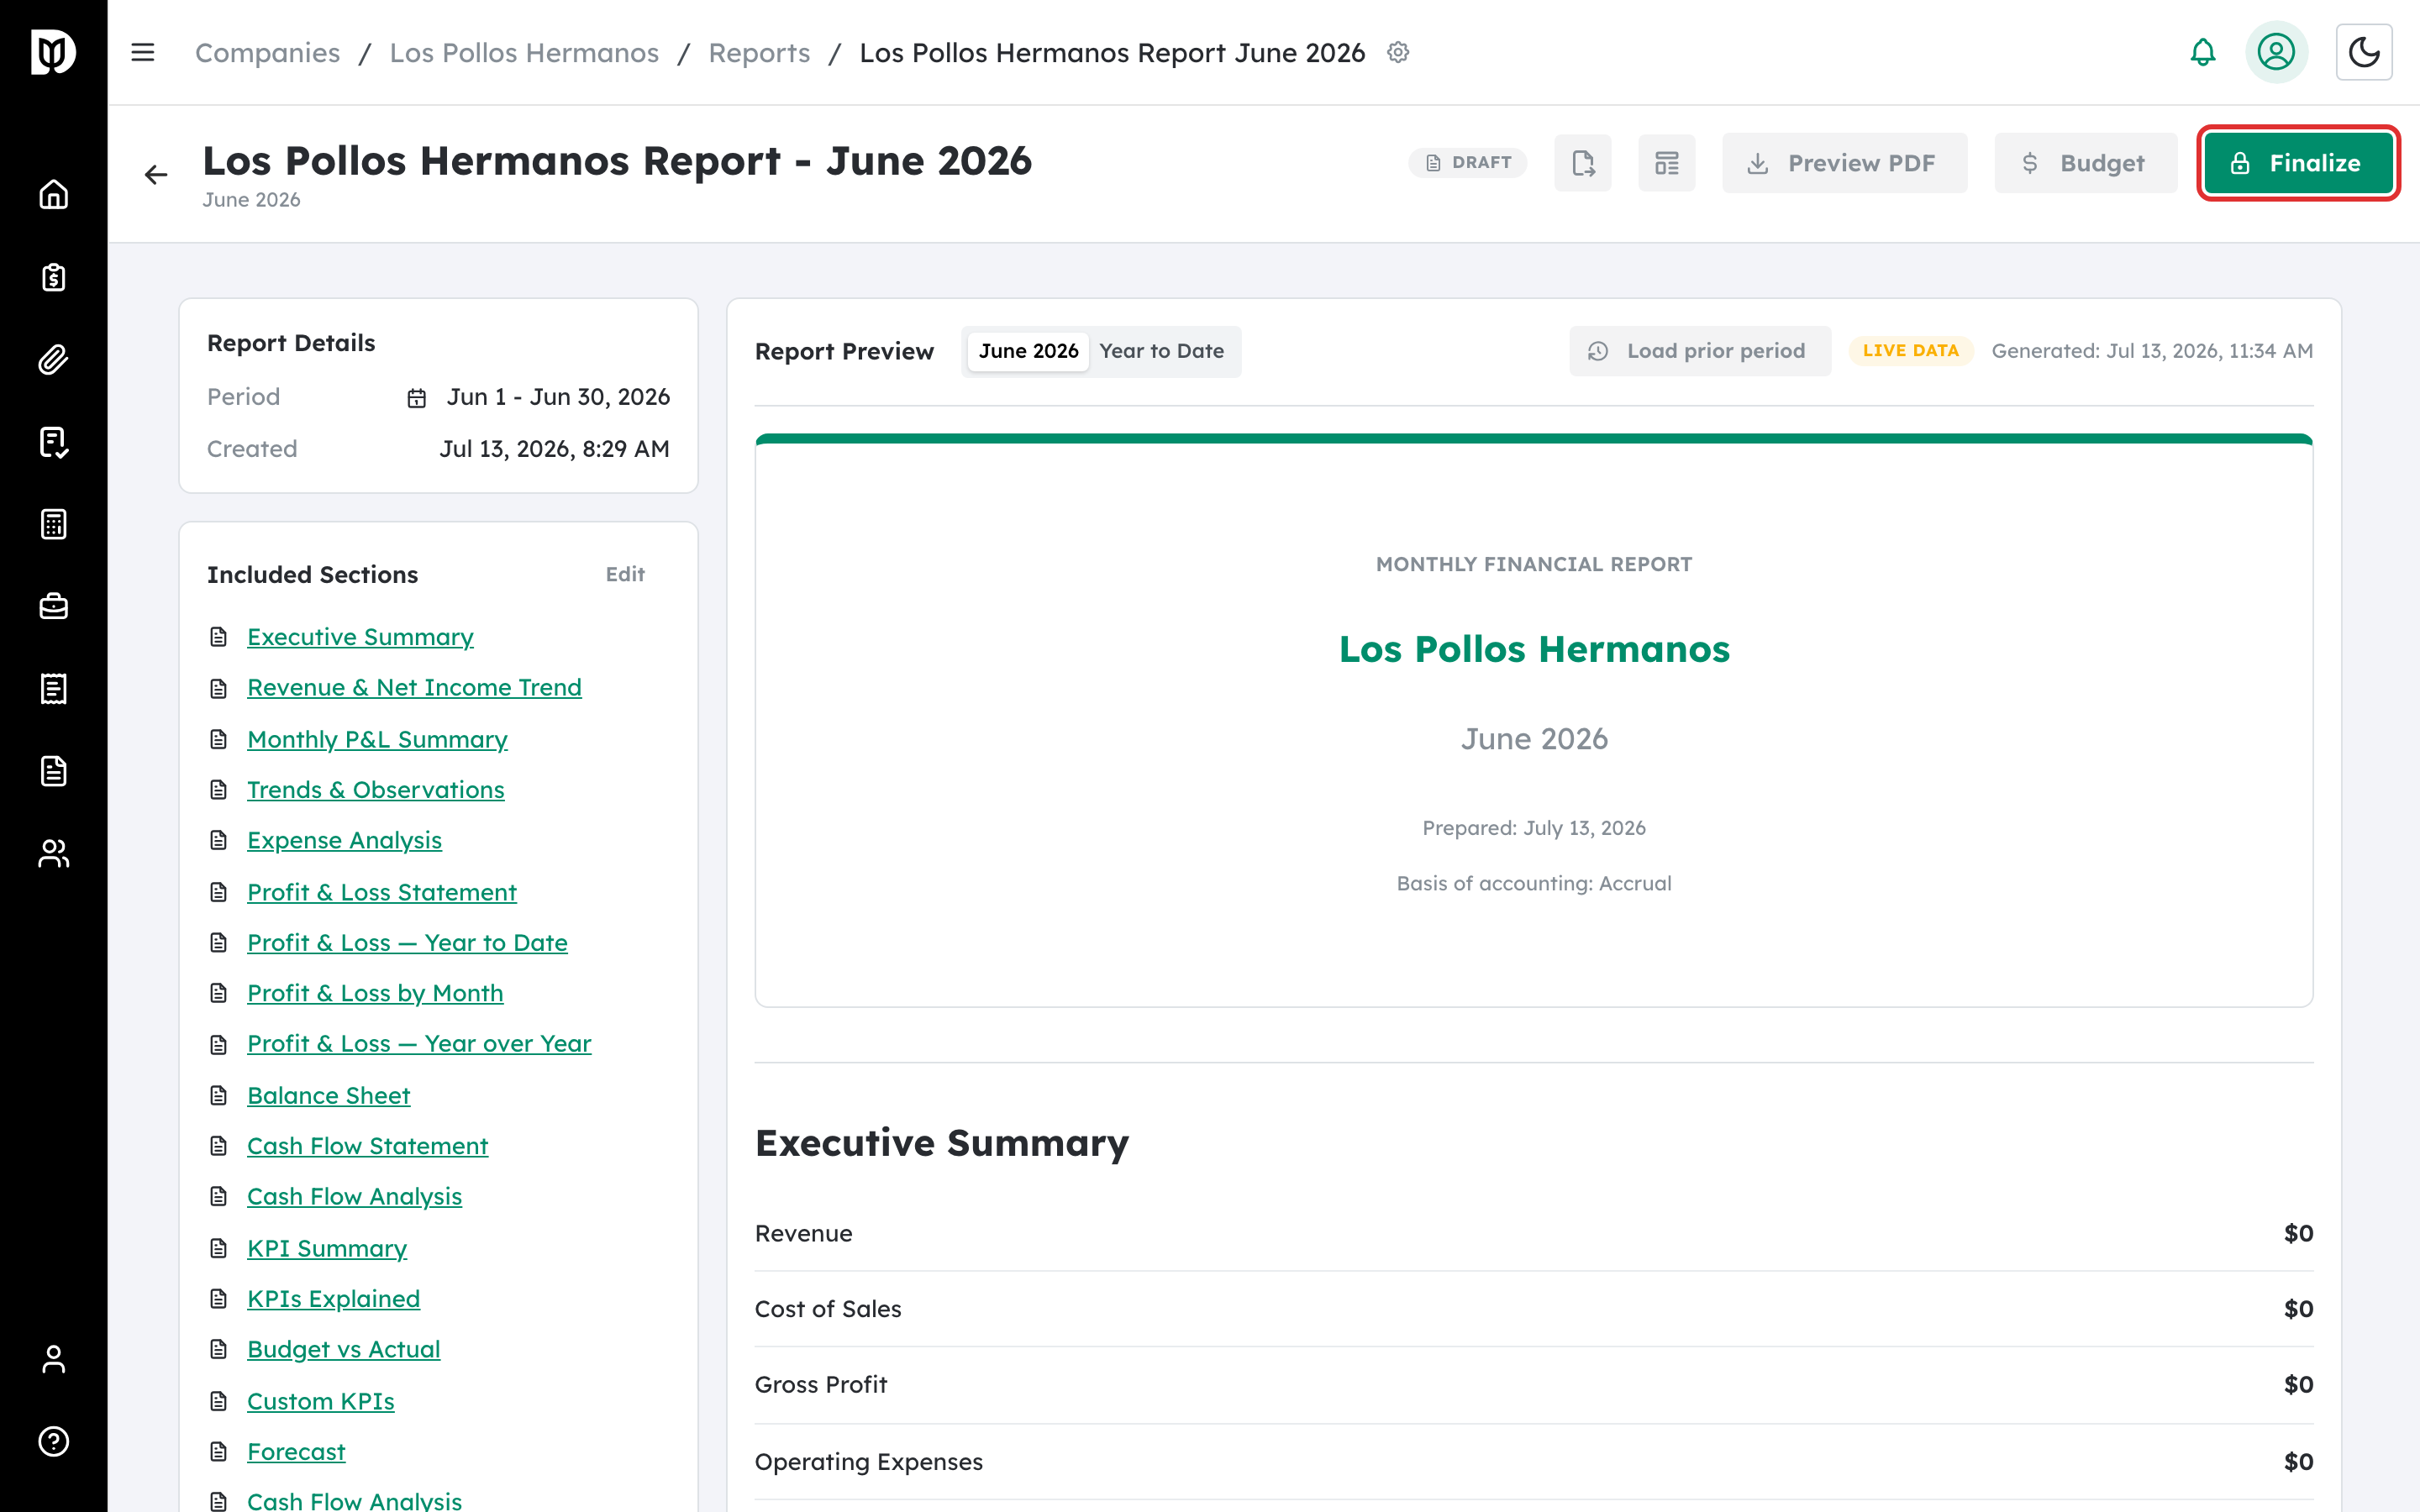
In the report header, select Finalize.
Step 2: Review the included sections #
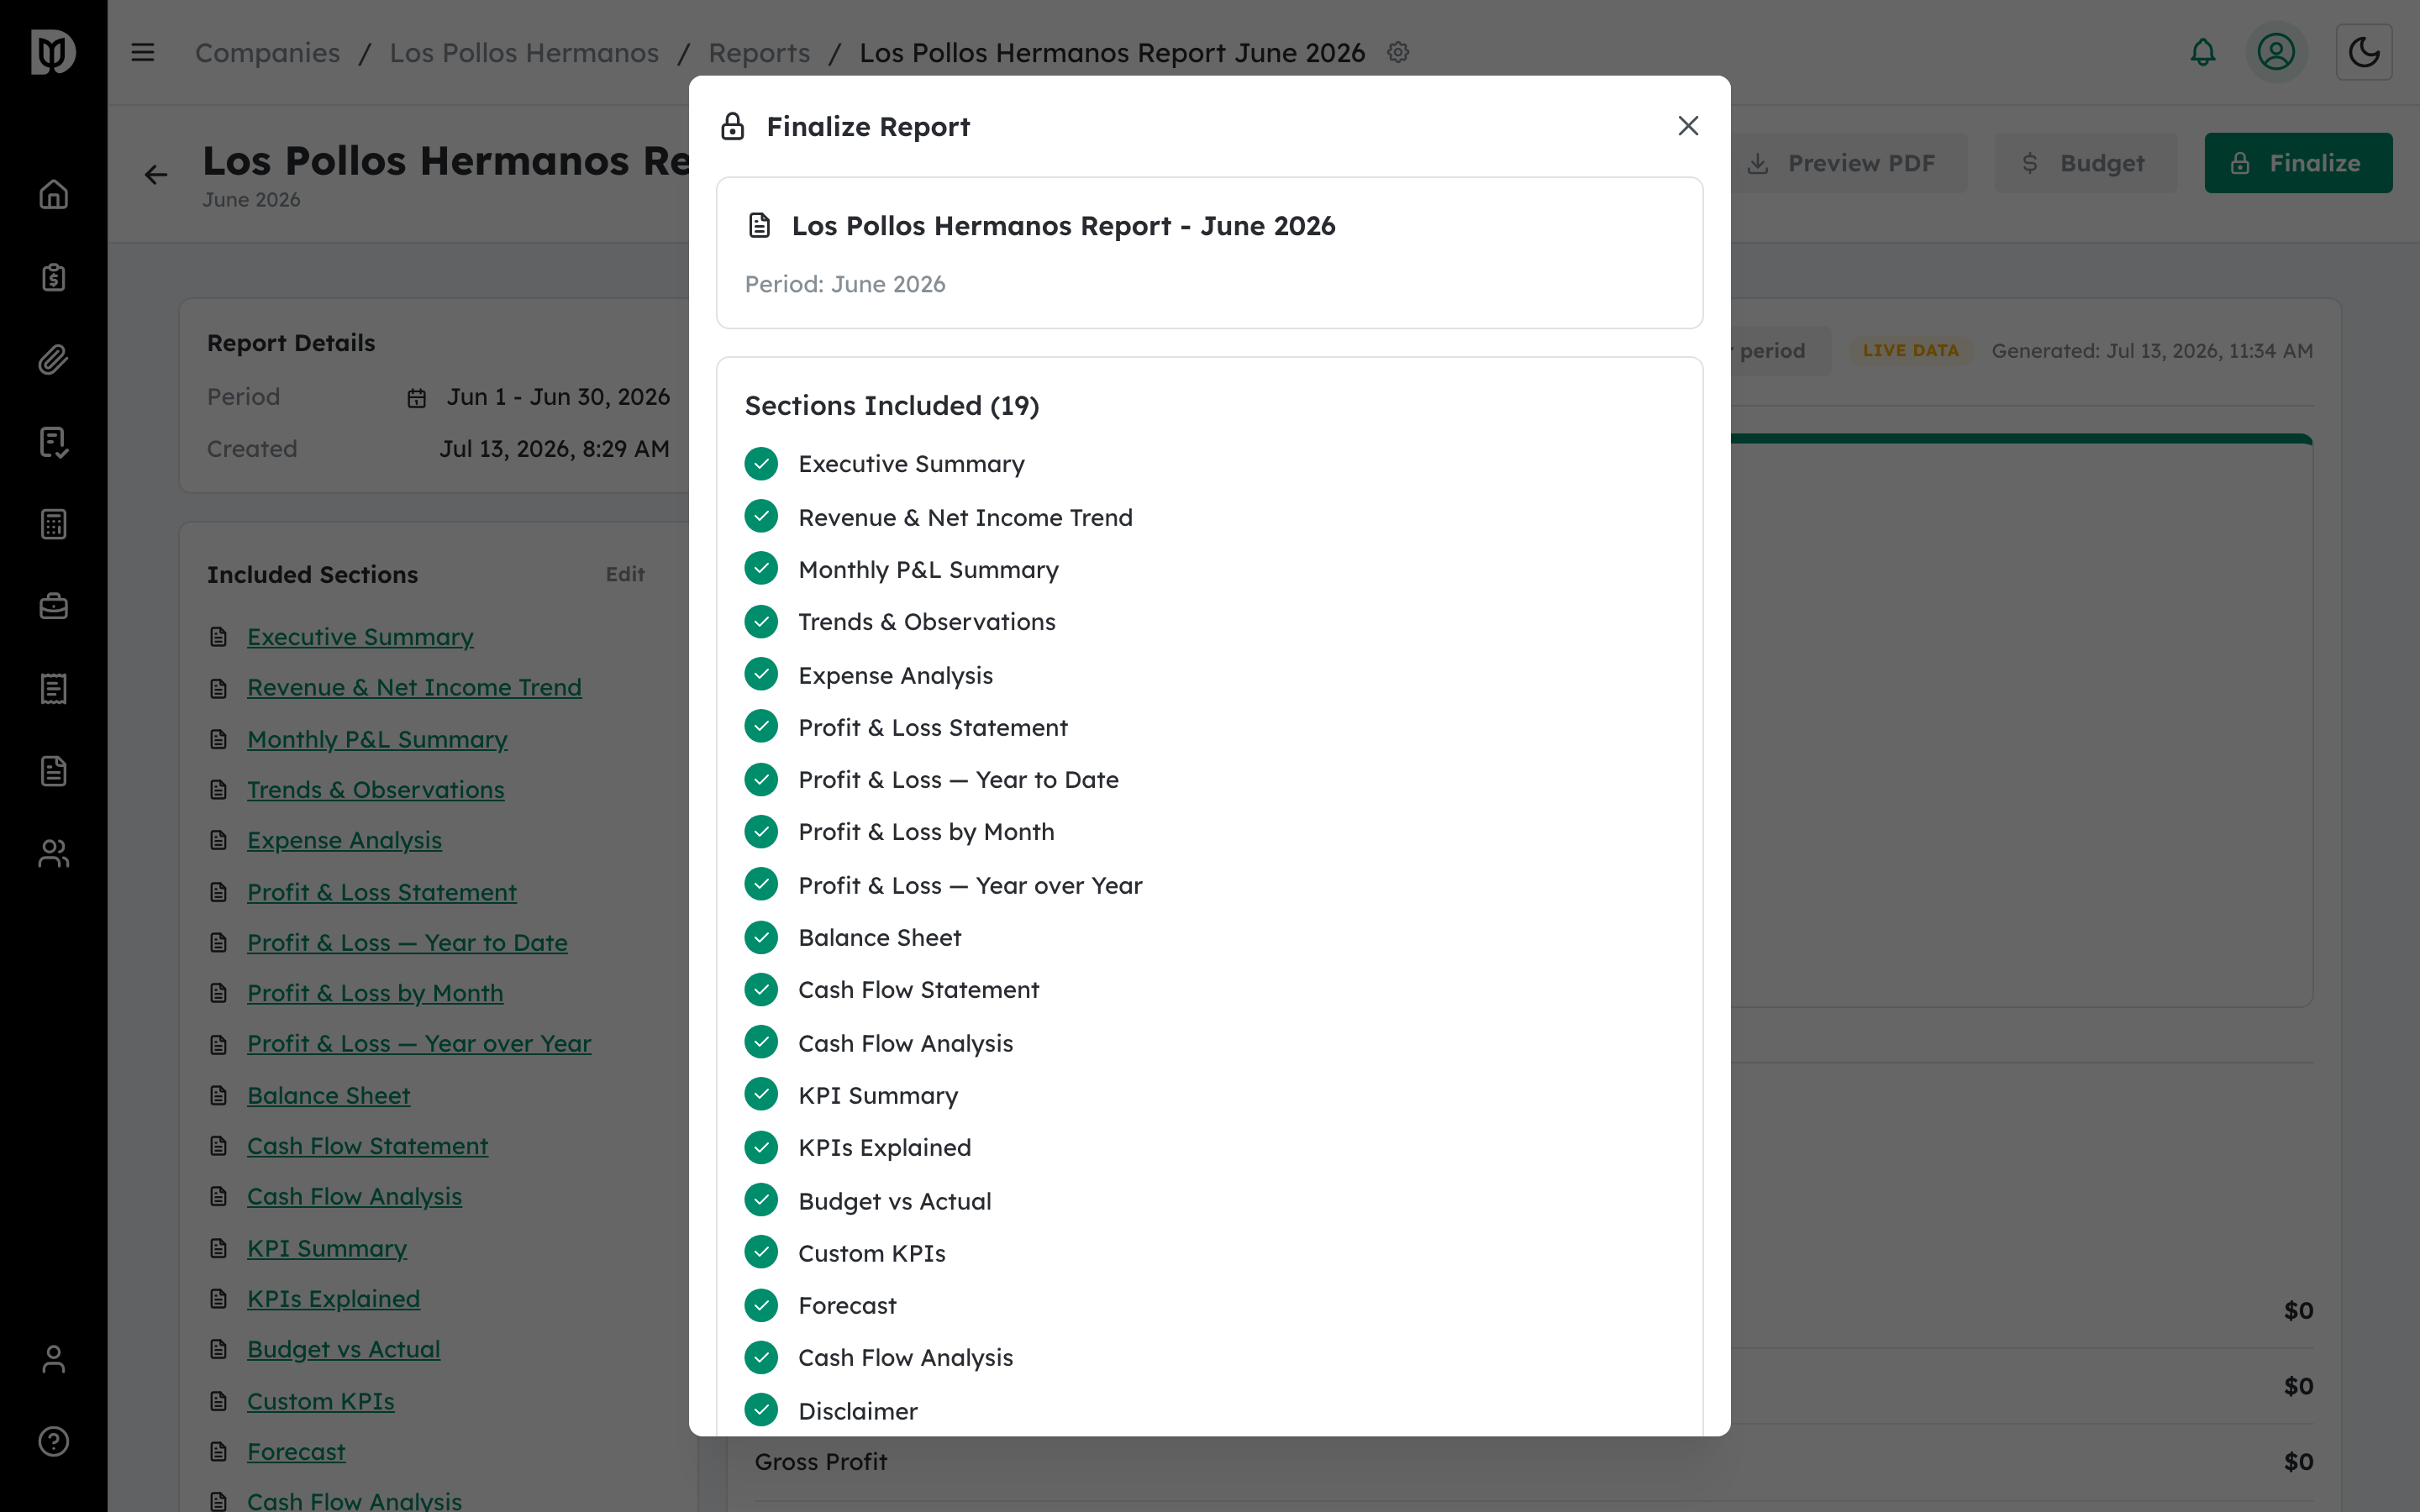
The Finalize Report window lists the sections that will be included. Confirm the list looks right.
Step 3: Set finalization options (optional) #
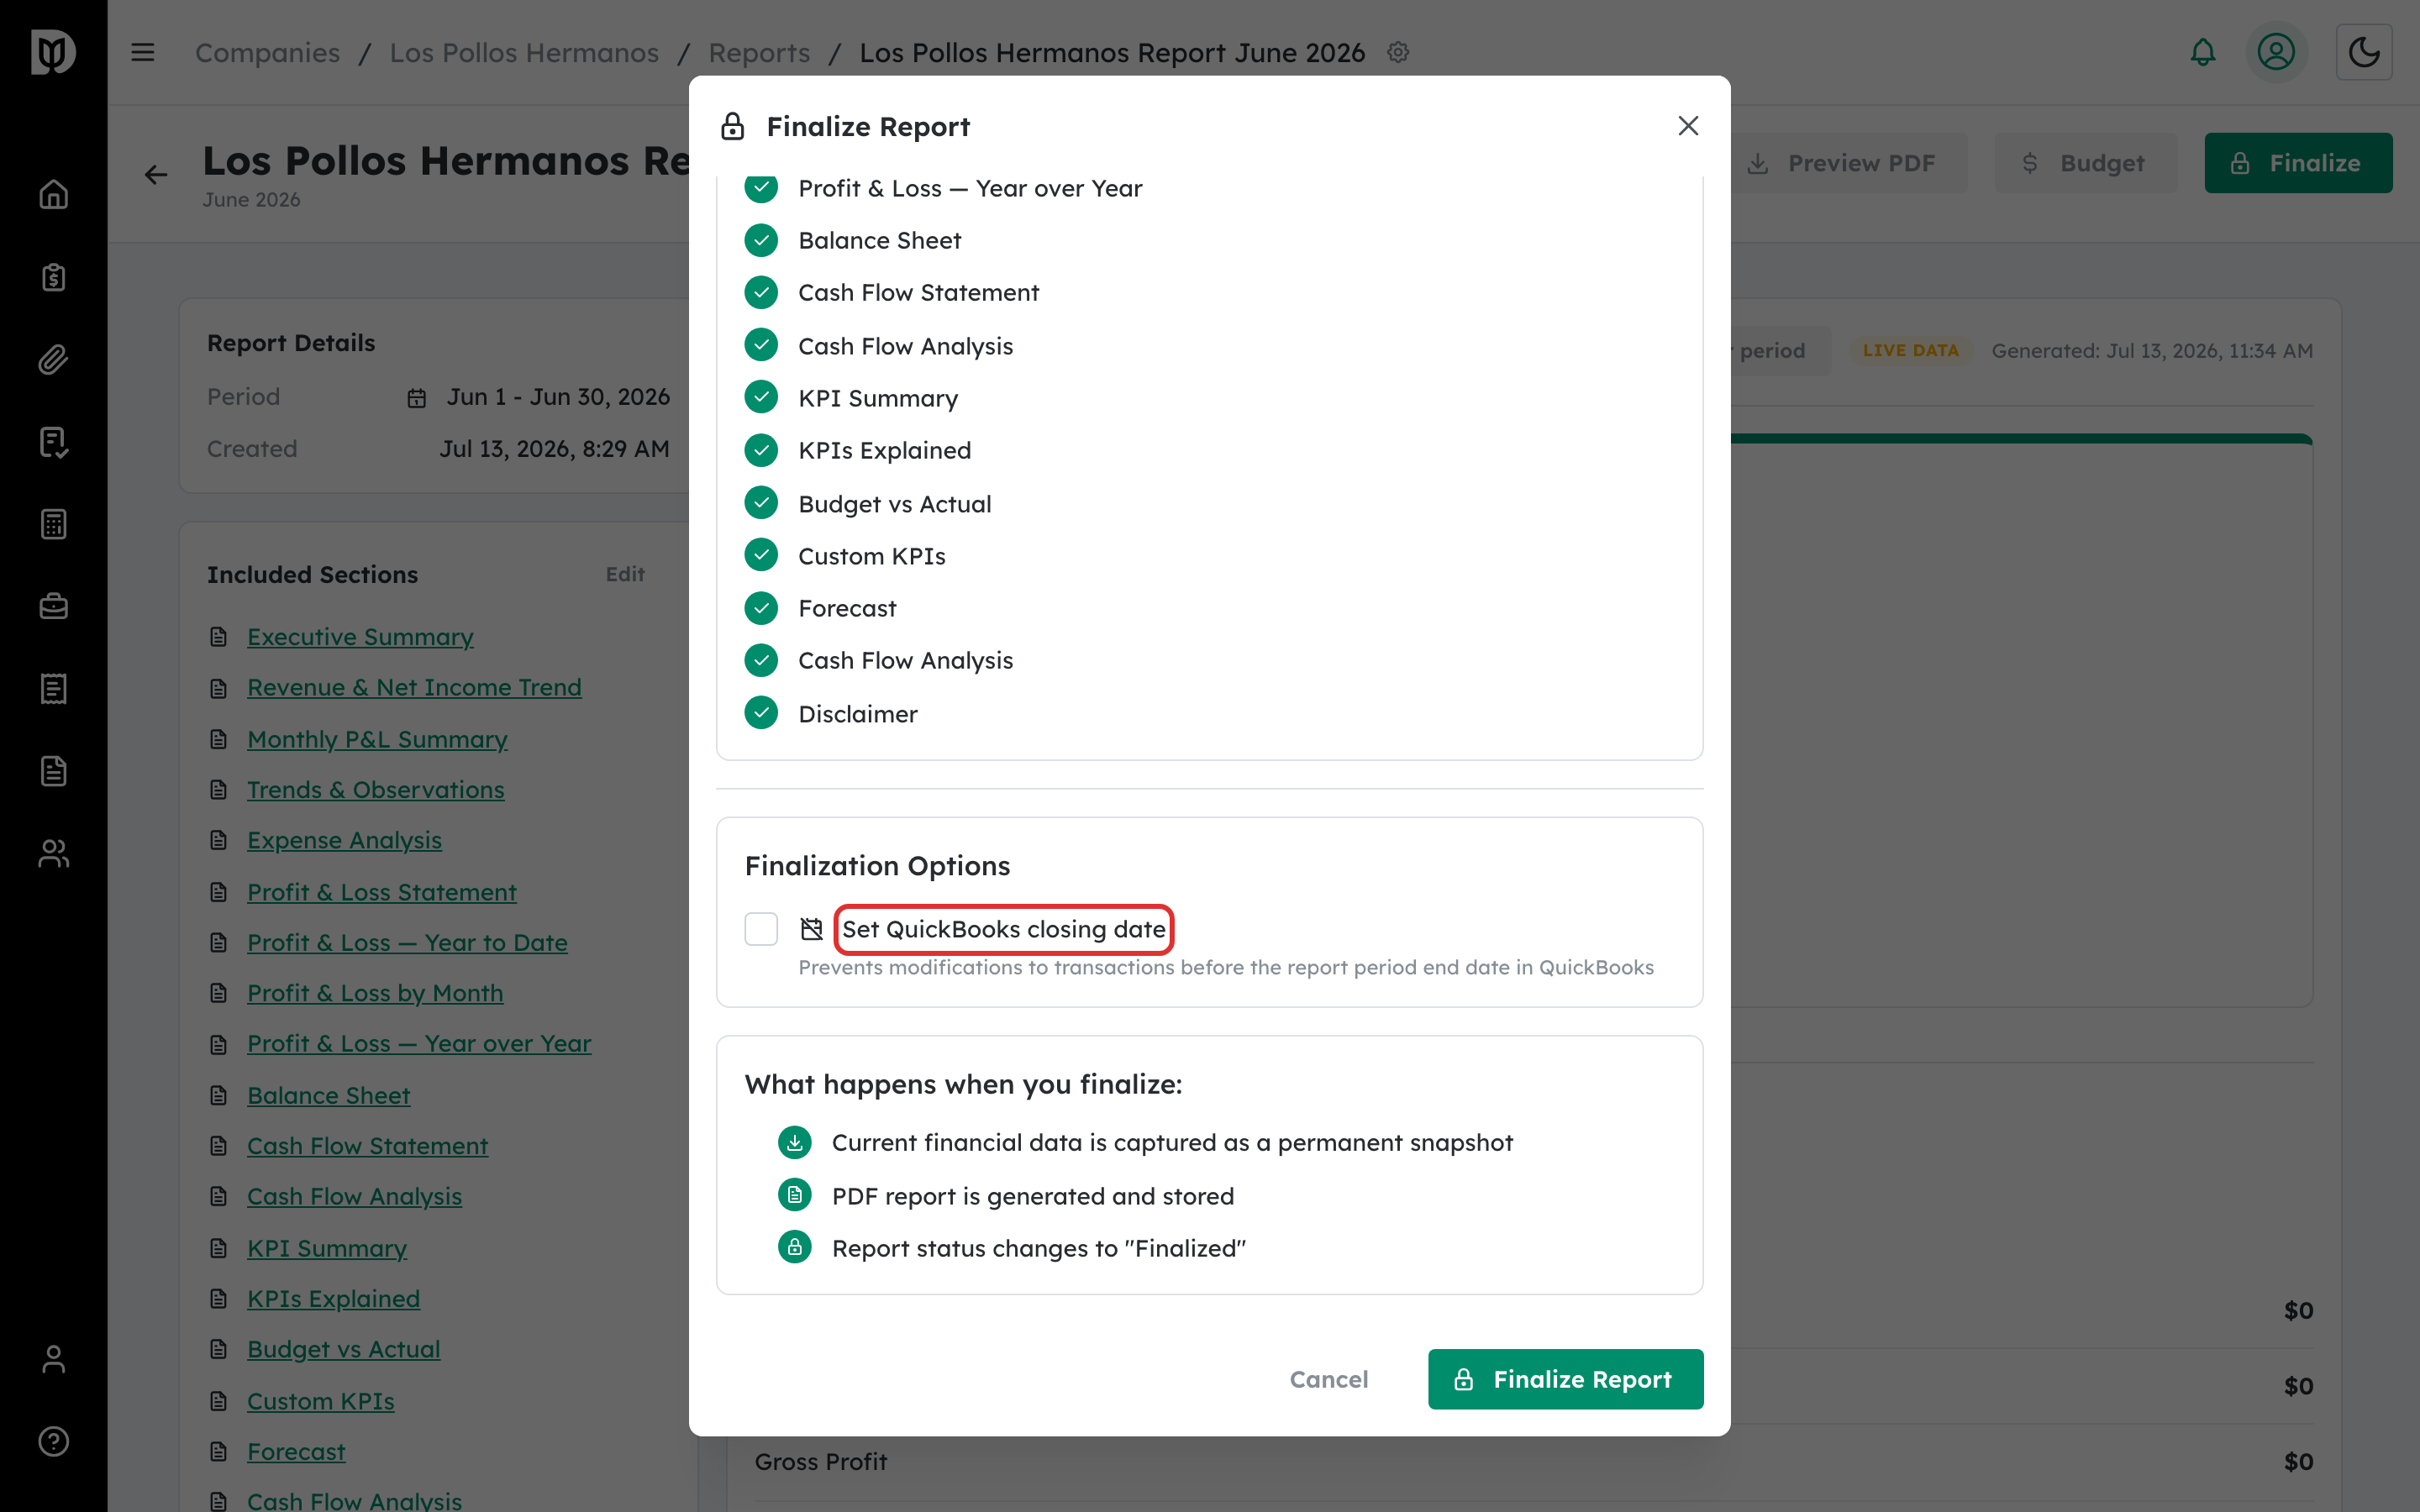
Turn on Set QuickBooks closing date to prevent changes to transactions on or before the report’s period-end date in QuickBooks.
Step 4: Finalize the report #
Select Finalize Report. Debits captures the data as a permanent snapshot and generates the PDF.
What happens next #
The report status changes to Finalized and the numbers are locked. You can now deliver it to your client.
Troubleshooting #
- Problem: You spotted an error after finalizing. Finalized reports are locked; create a new report for the same period with the correction.
- Problem: Finalizing failed. Try again — if a report was already finalized in another tab, refresh the page.


