
Who this is for: Firm administrators and accountants who want to organize contacts using tags.
What you’ll learn: How to create custom tags, assign tags to contacts, and filter contacts by tag.
Before you begin #
- You must be logged into your Debits account
- You need access to the Contacts module
Step-by-step instructions #
Step 1: Open a Contact Profile #
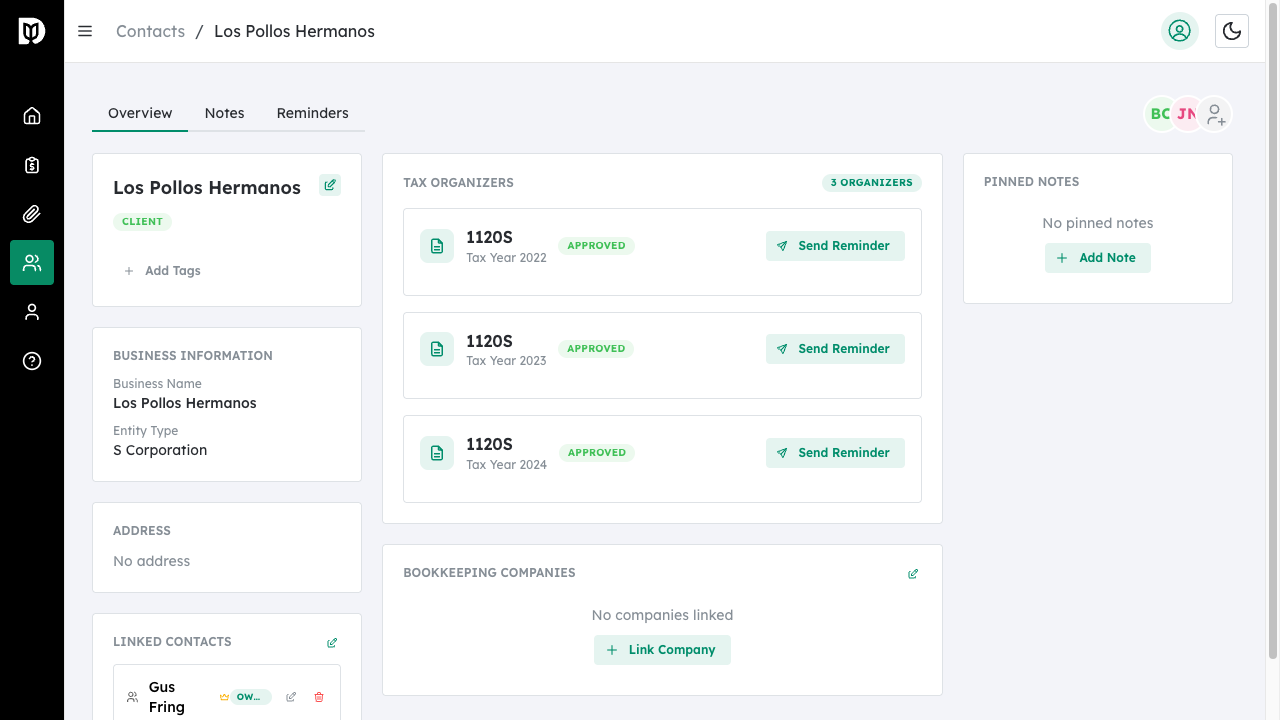
Navigate to Contacts and click on any contact to open their profile.
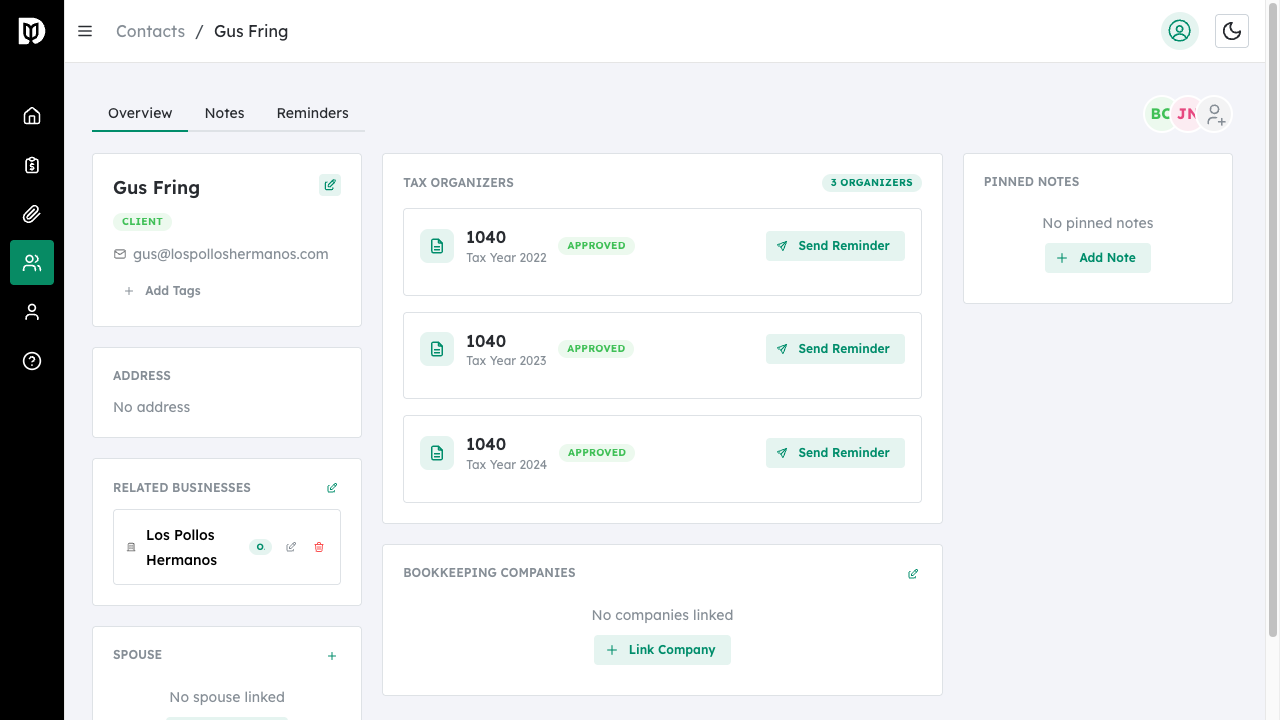
Step 2: Click Edit Tags #
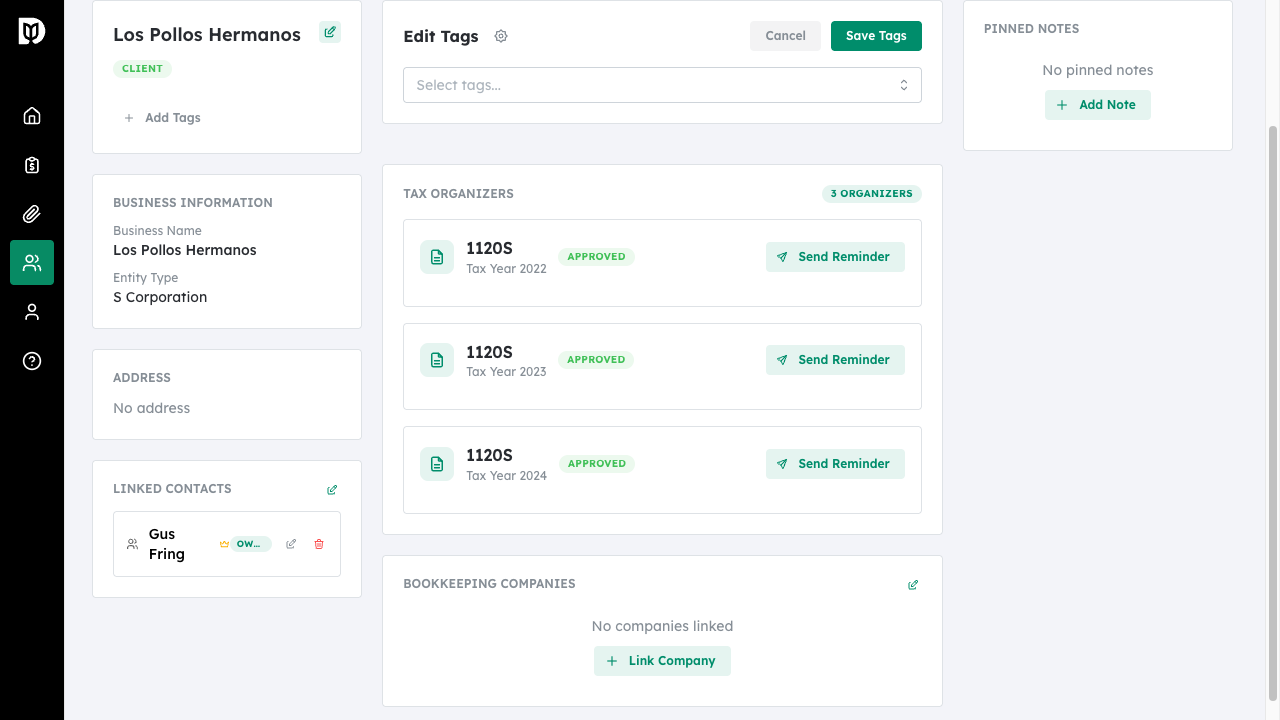
In the contact information section, click the Edit icon next to the tags, or click Add Tags if no tags are assigned yet.
Step 3: Select Tags #
A tag selection panel will appear. Select existing tags from the dropdown or type to search for specific tags.

Step 4: Save Your Changes #
Click Save Tags to apply the selected tags to the contact. The tags will appear as colored badges on the contact profile.
Creating Custom Tags #
Step 1: Open Tag Settings #
While in the Edit Tags panel, click the Settings icon (gear) next to the title to open tag management.

Step 2: Enter Tag Details #
In the Create Tag modal:
- Enter a Tag Name (required)
- Select a Color for the tag by clicking on a color swatch
- Preview how the tag will appear

Step 3: Create the Tag #
Click Create Tag to save. The new tag will be available for all contacts.

Editing or Deleting Tags #
To edit an existing tag:
- Open the tag settings from any contact’s Edit Tags panel
- Click on an existing tag to edit it
- Change the name or color
- Click Save Changes
To delete a tag:
- Open the tag in edit mode
- Click Delete this tag at the bottom of the form
- Confirm the deletion – the tag will be removed from all contacts
Filtering Contacts by Tag #
On the main Contacts page, use the filter options to view contacts with specific tags:
- Click the Filter button in the toolbar
- Select the tag(s) you want to filter by
- The contact list will update to show only matching contacts
Bulk Tag Assignment #
To assign tags to multiple contacts at once:
- Select multiple contacts using the checkboxes
- Click the Edit Tags option in the bulk actions menu
- Select tags to add or remove
- Click Apply to update all selected contacts
What happens next #
Tags appear as colored badges on contacts in both the list view and detail pages. Use tags to quickly identify client types, service categories, or any custom groupings that work for your firm.
Troubleshooting #
- Tag not appearing: Ensure you clicked Save Tags after selecting. Refresh the page if the tag still doesn’t appear.
- Cannot create tags: Tag creation may be limited to administrators. Contact your firm administrator if you need to create new tags.
- Deleting a tag removes it everywhere: This is expected behavior. When you delete a tag, it is removed from all contacts that had it assigned.


