This guide is for accountants and firm staff. It walks through creating a reasonable compensation study for an S-corporation shareholder-employee, from picking the client to calculating the figure.
Before you begin
- The business must already exist as a business contact with its entity type set to S Corporation or LLC (S Corp).
- The shareholder must be linked to that business as an owner, officer, shareholder or partner. You can still add them by hand if the relationship does not exist.
- Have the tax year, roughly how many hours a week the shareholder works, the state the work is done in, and how their week splits across job functions.
Step 1: Start a new survey
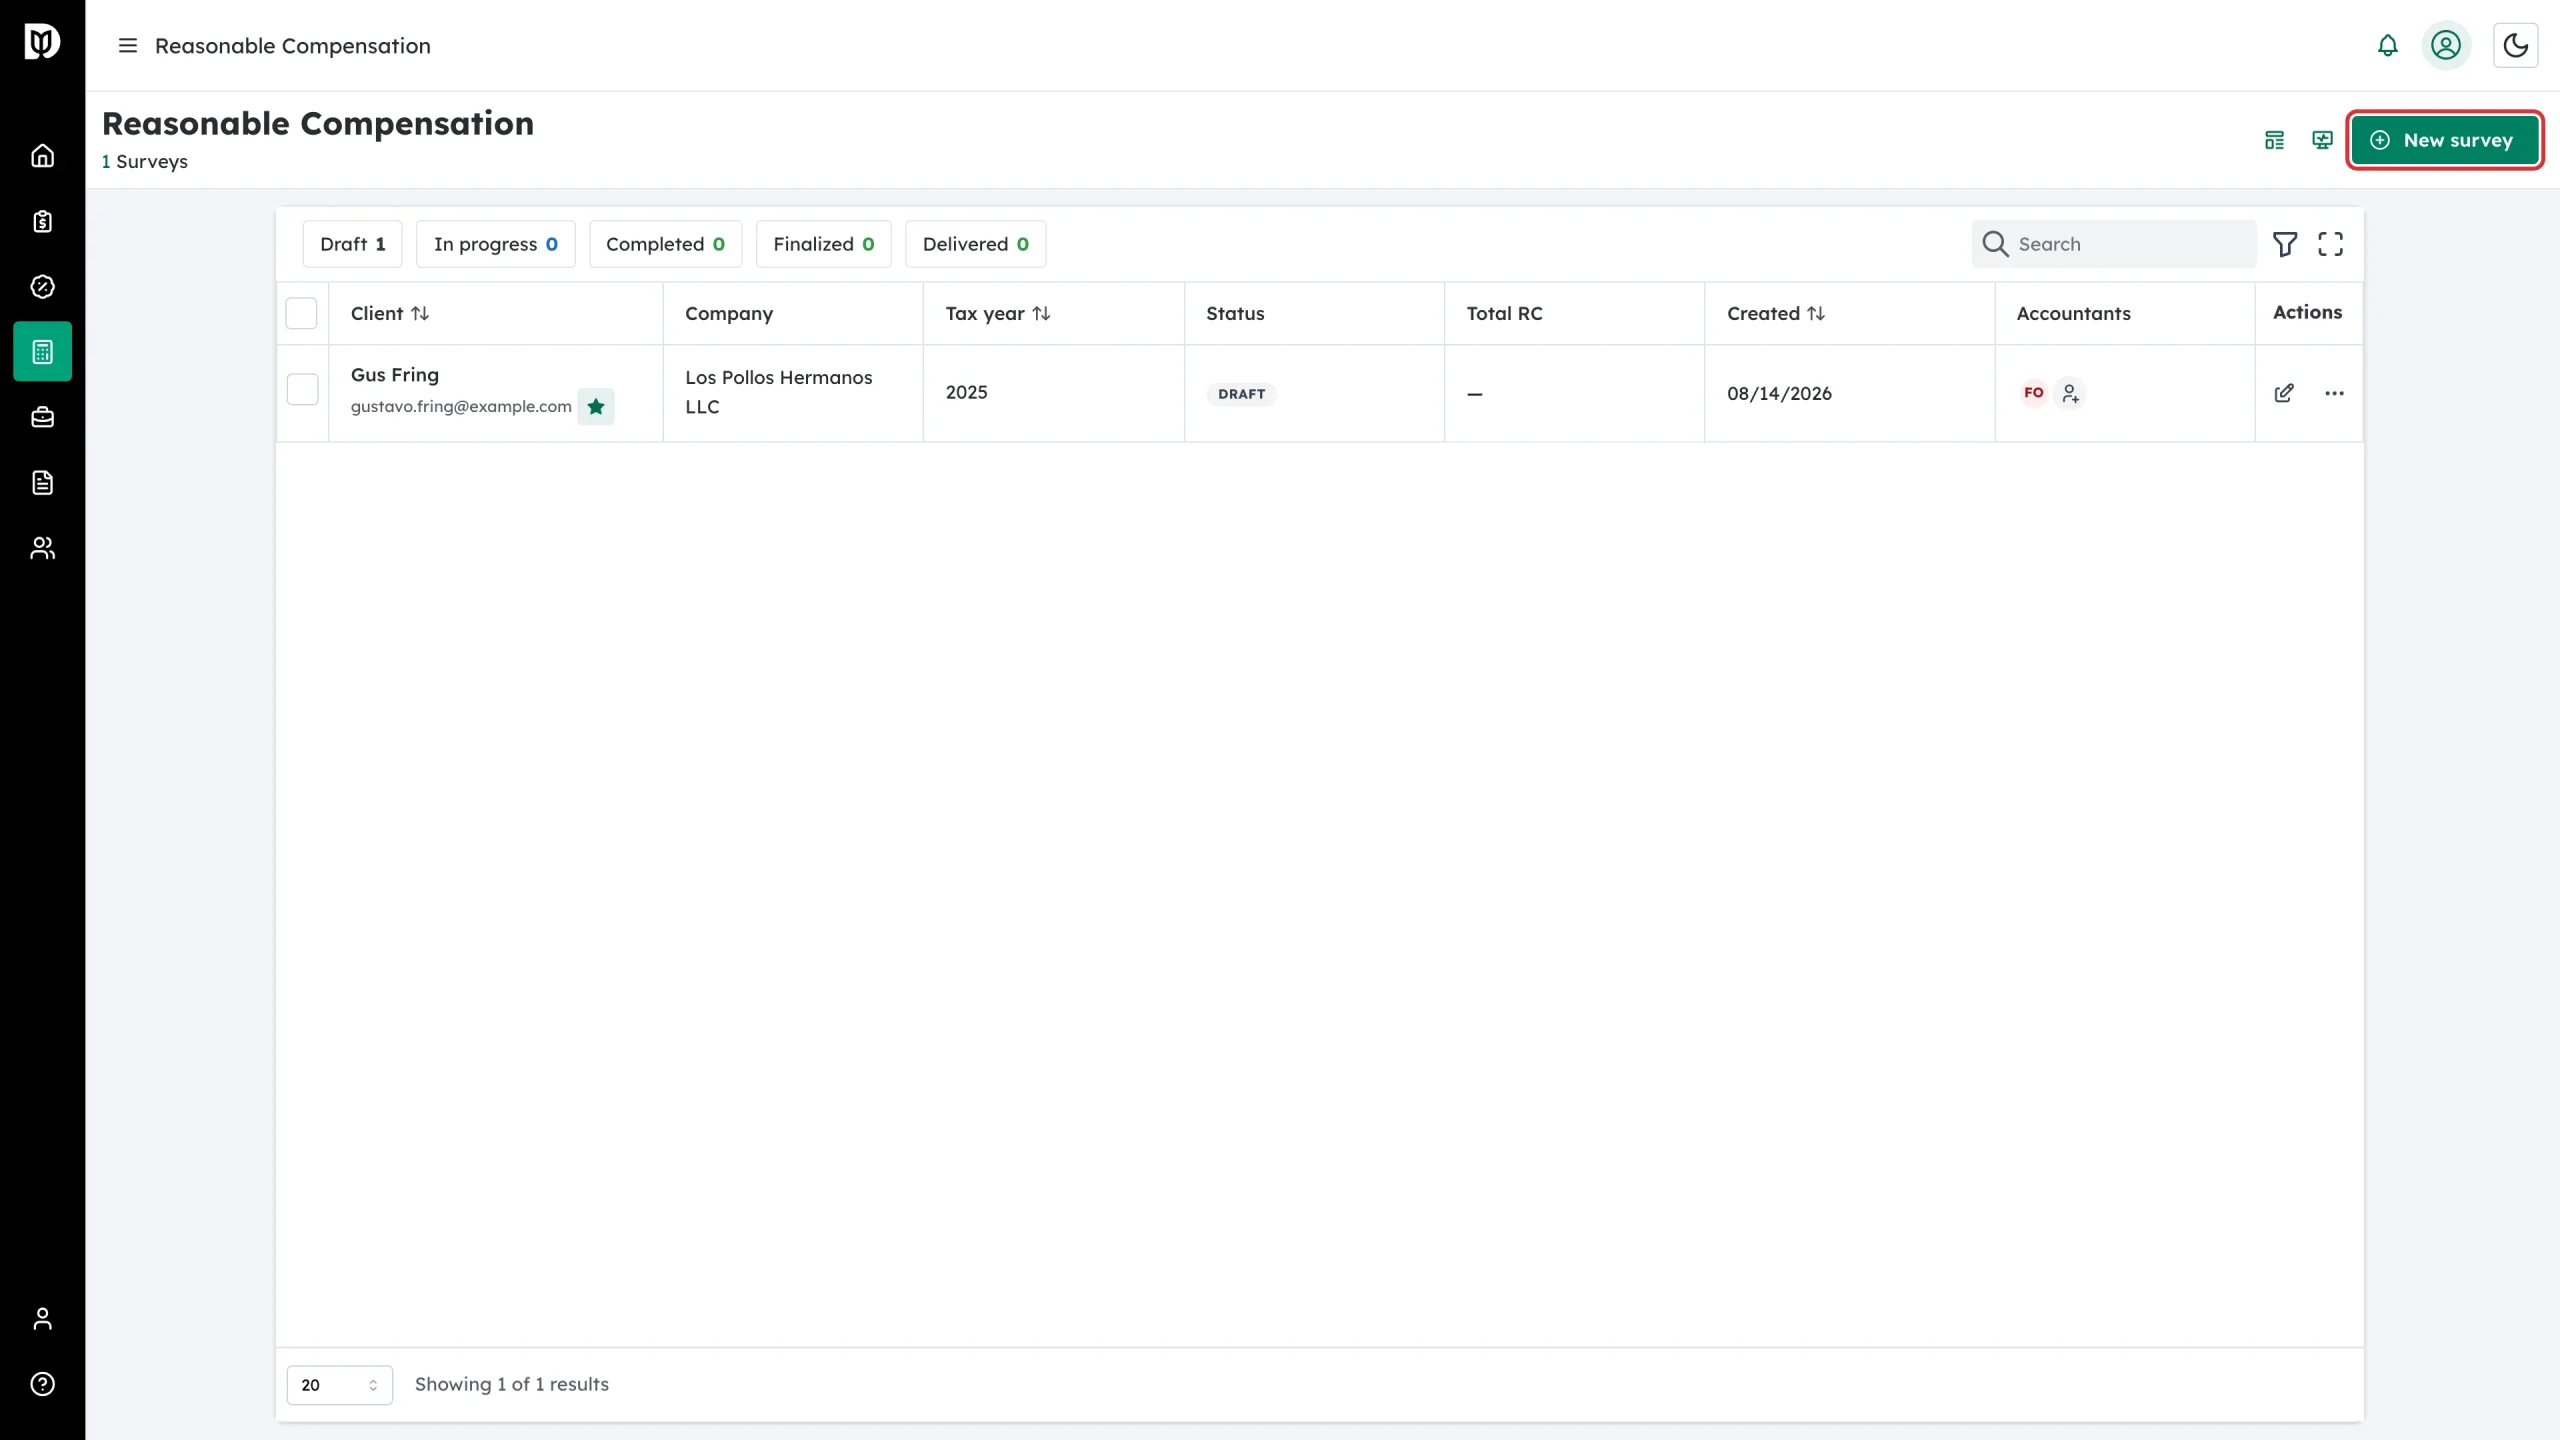
From Reasonable Comp, click New survey.
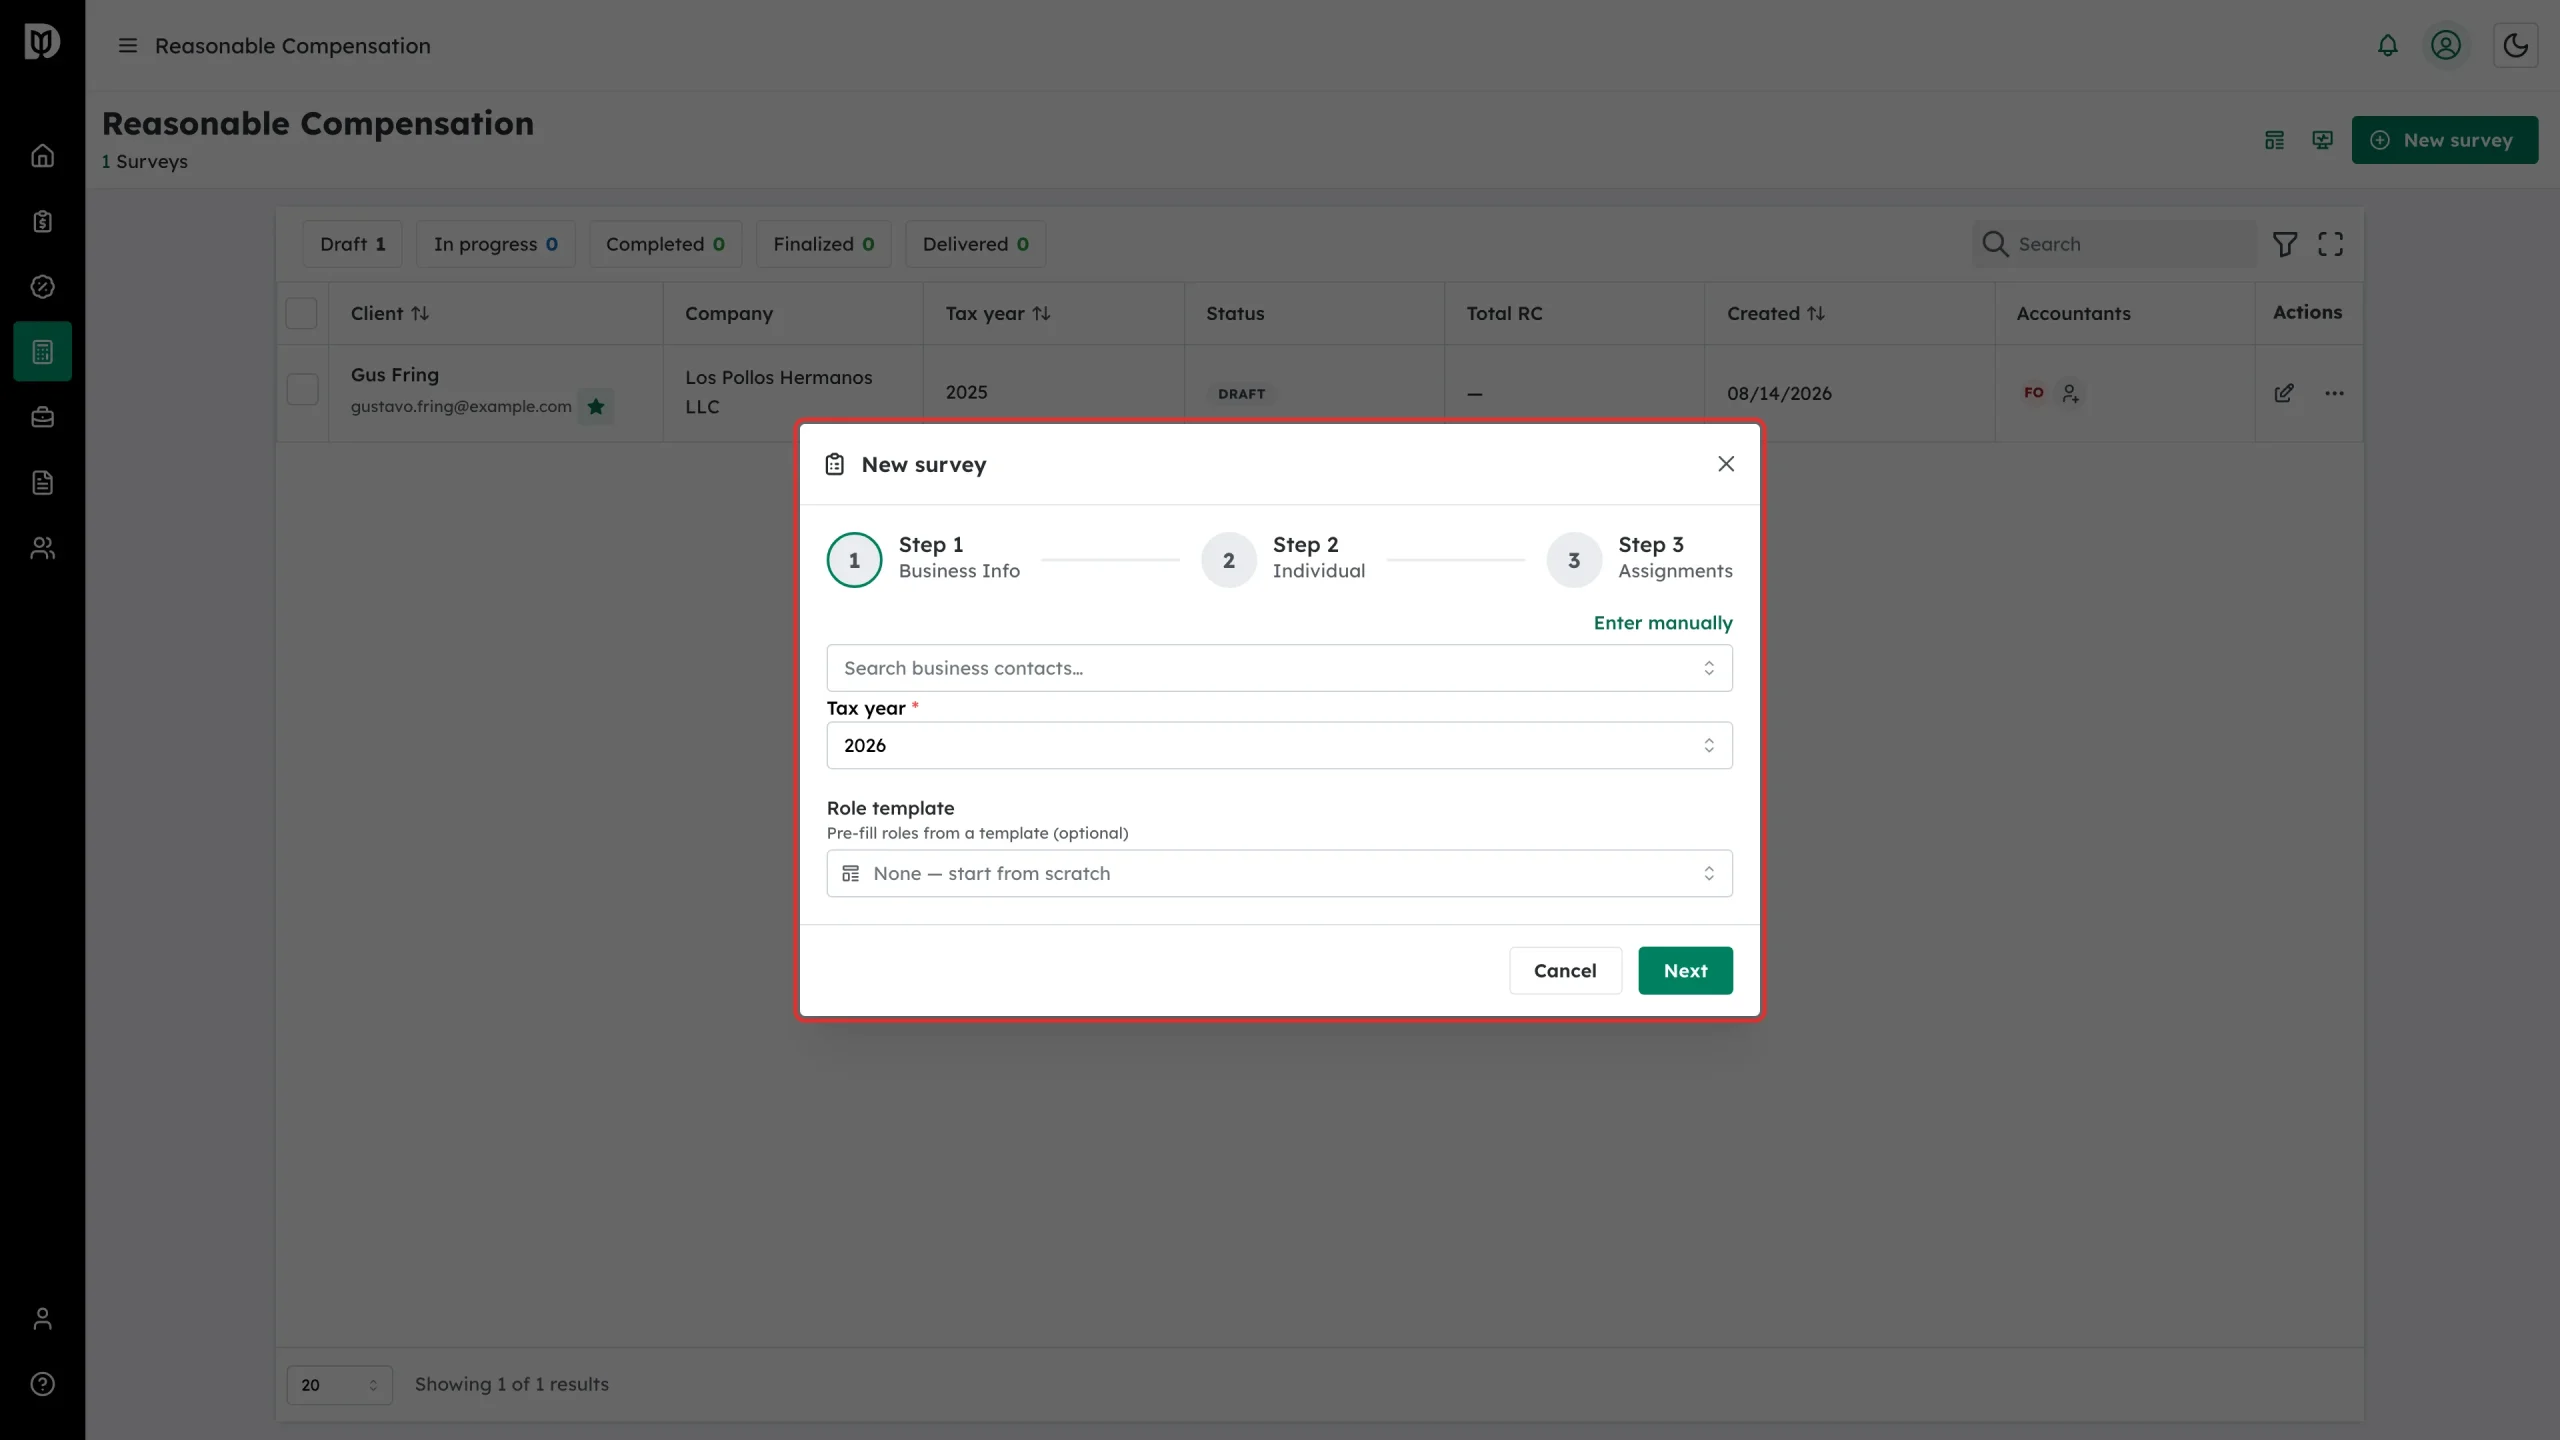
The New survey window opens on Step 1 — Business Info.
Step 2: Pick the business
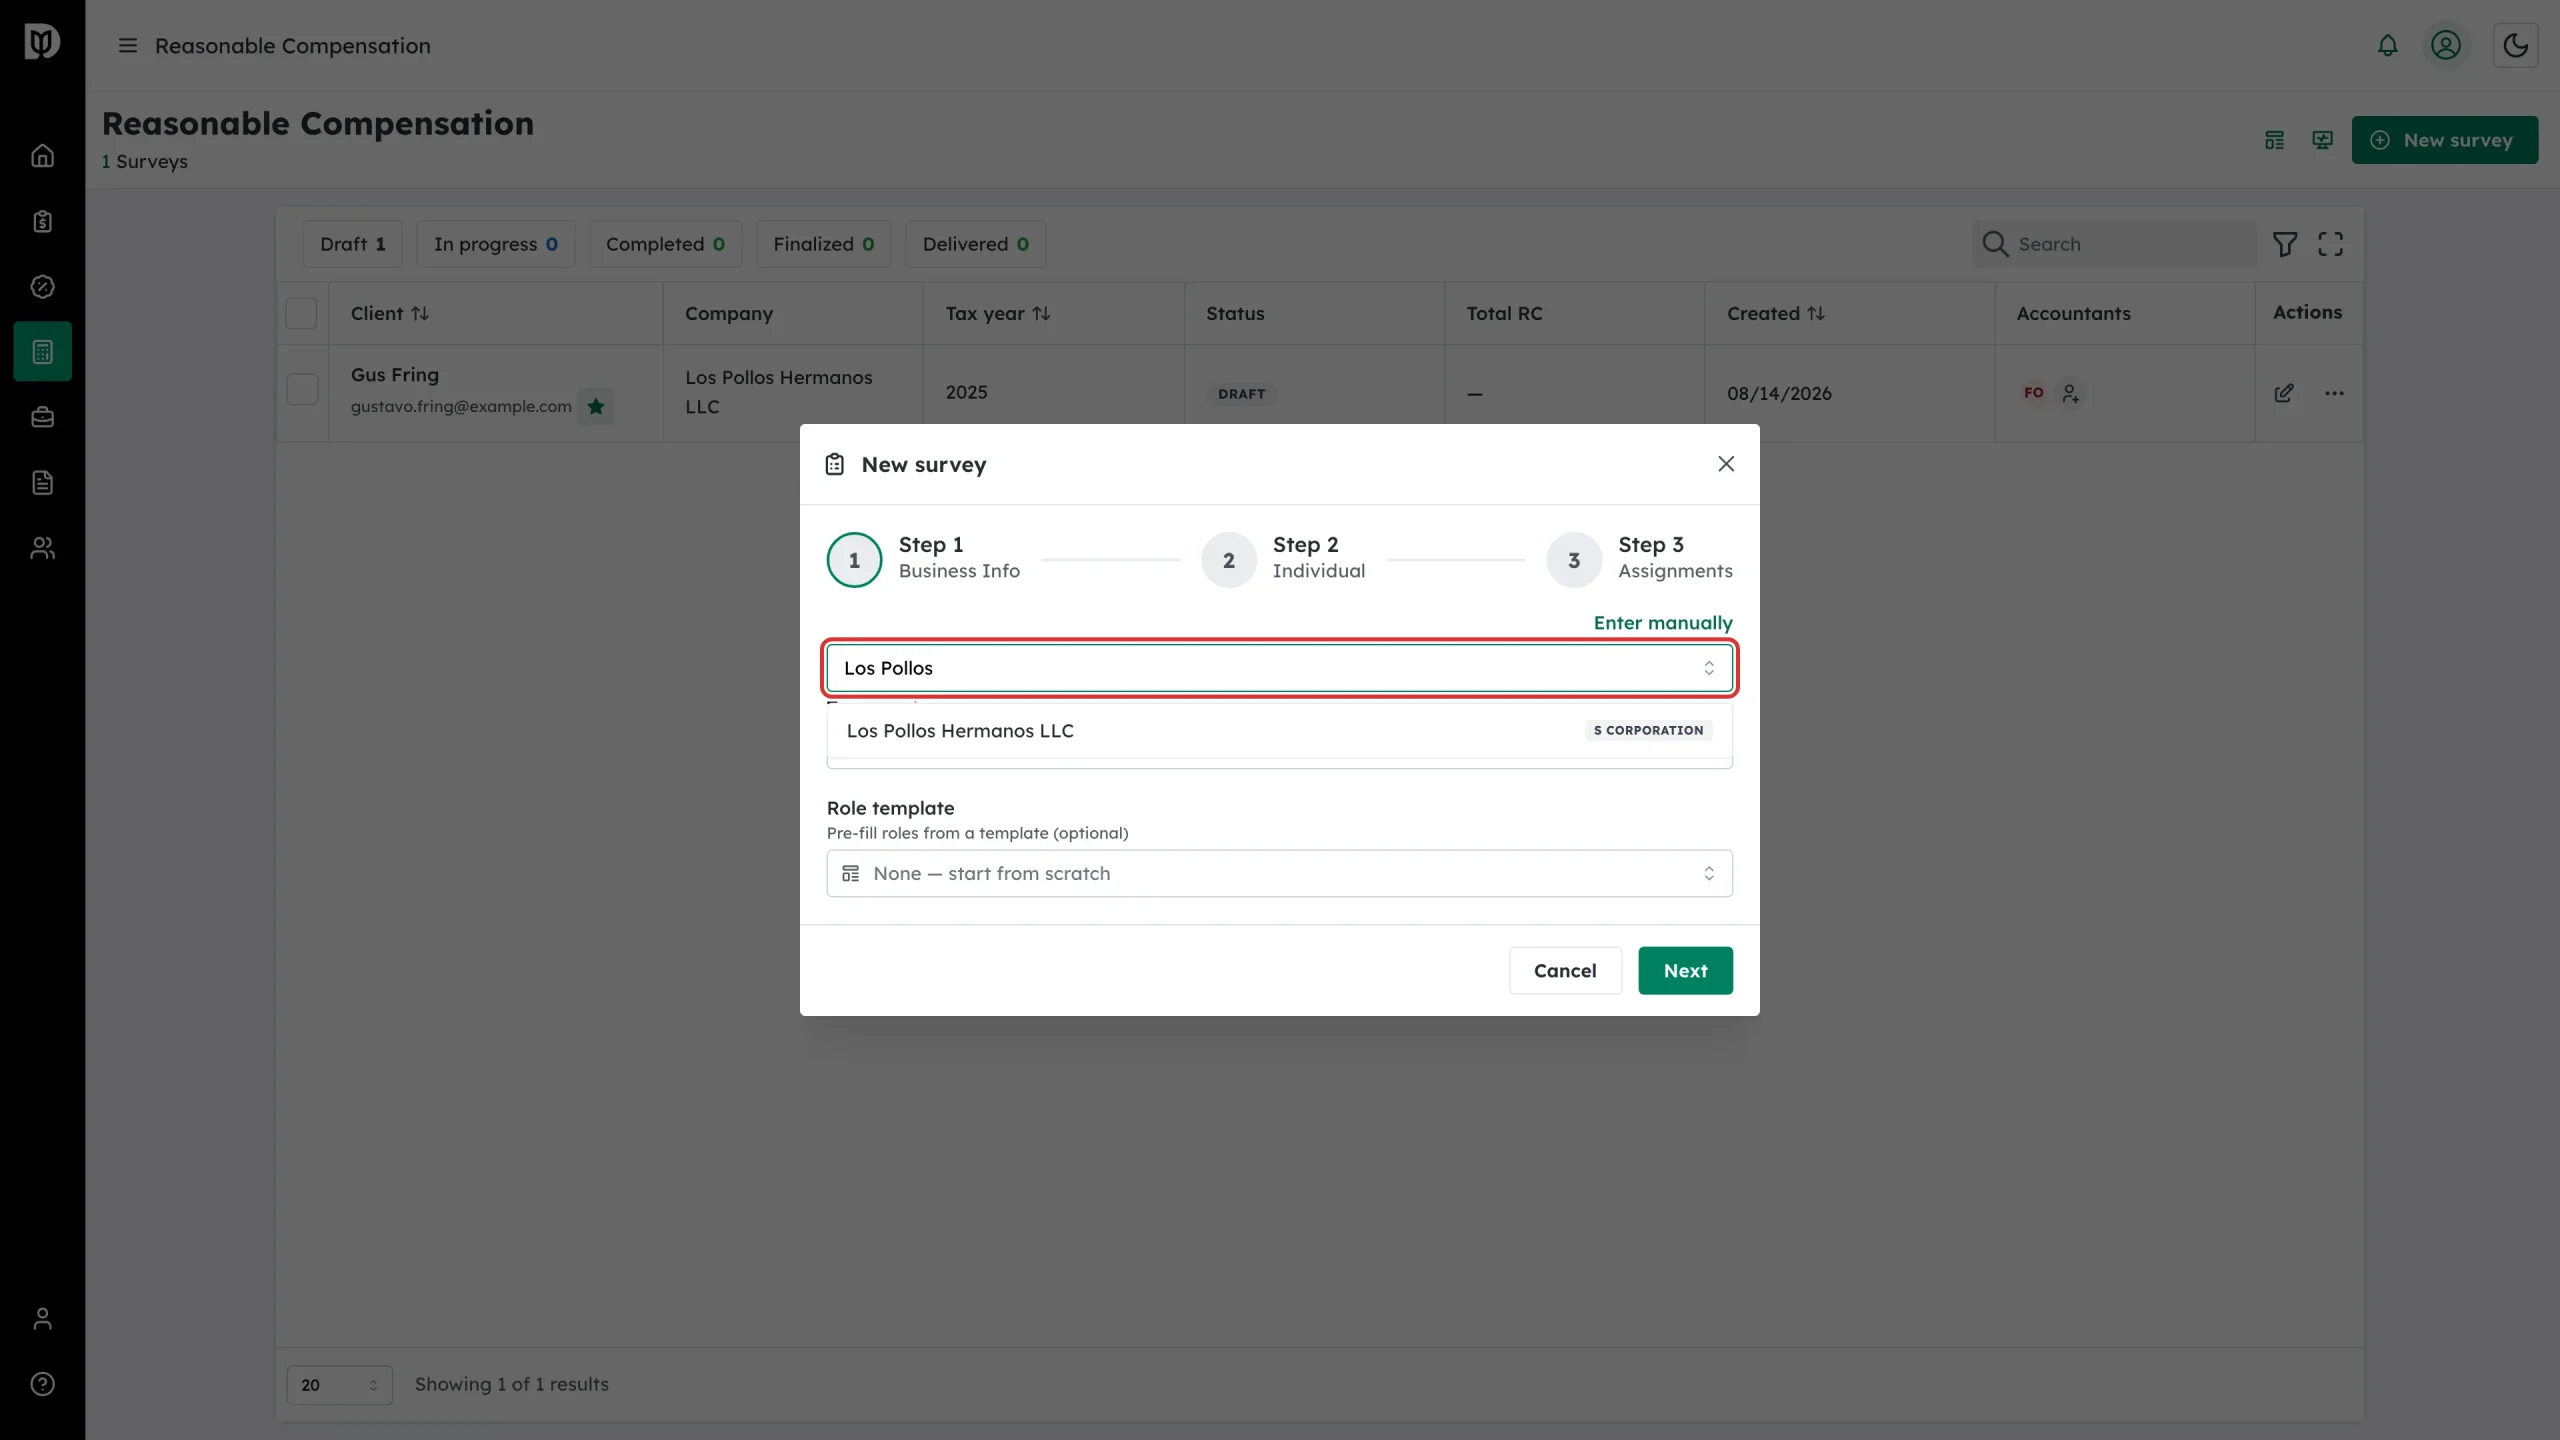
Type in Search business contacts… and choose the company. If it is not a contact yet, click Enter manually and type the company name and EIN instead.
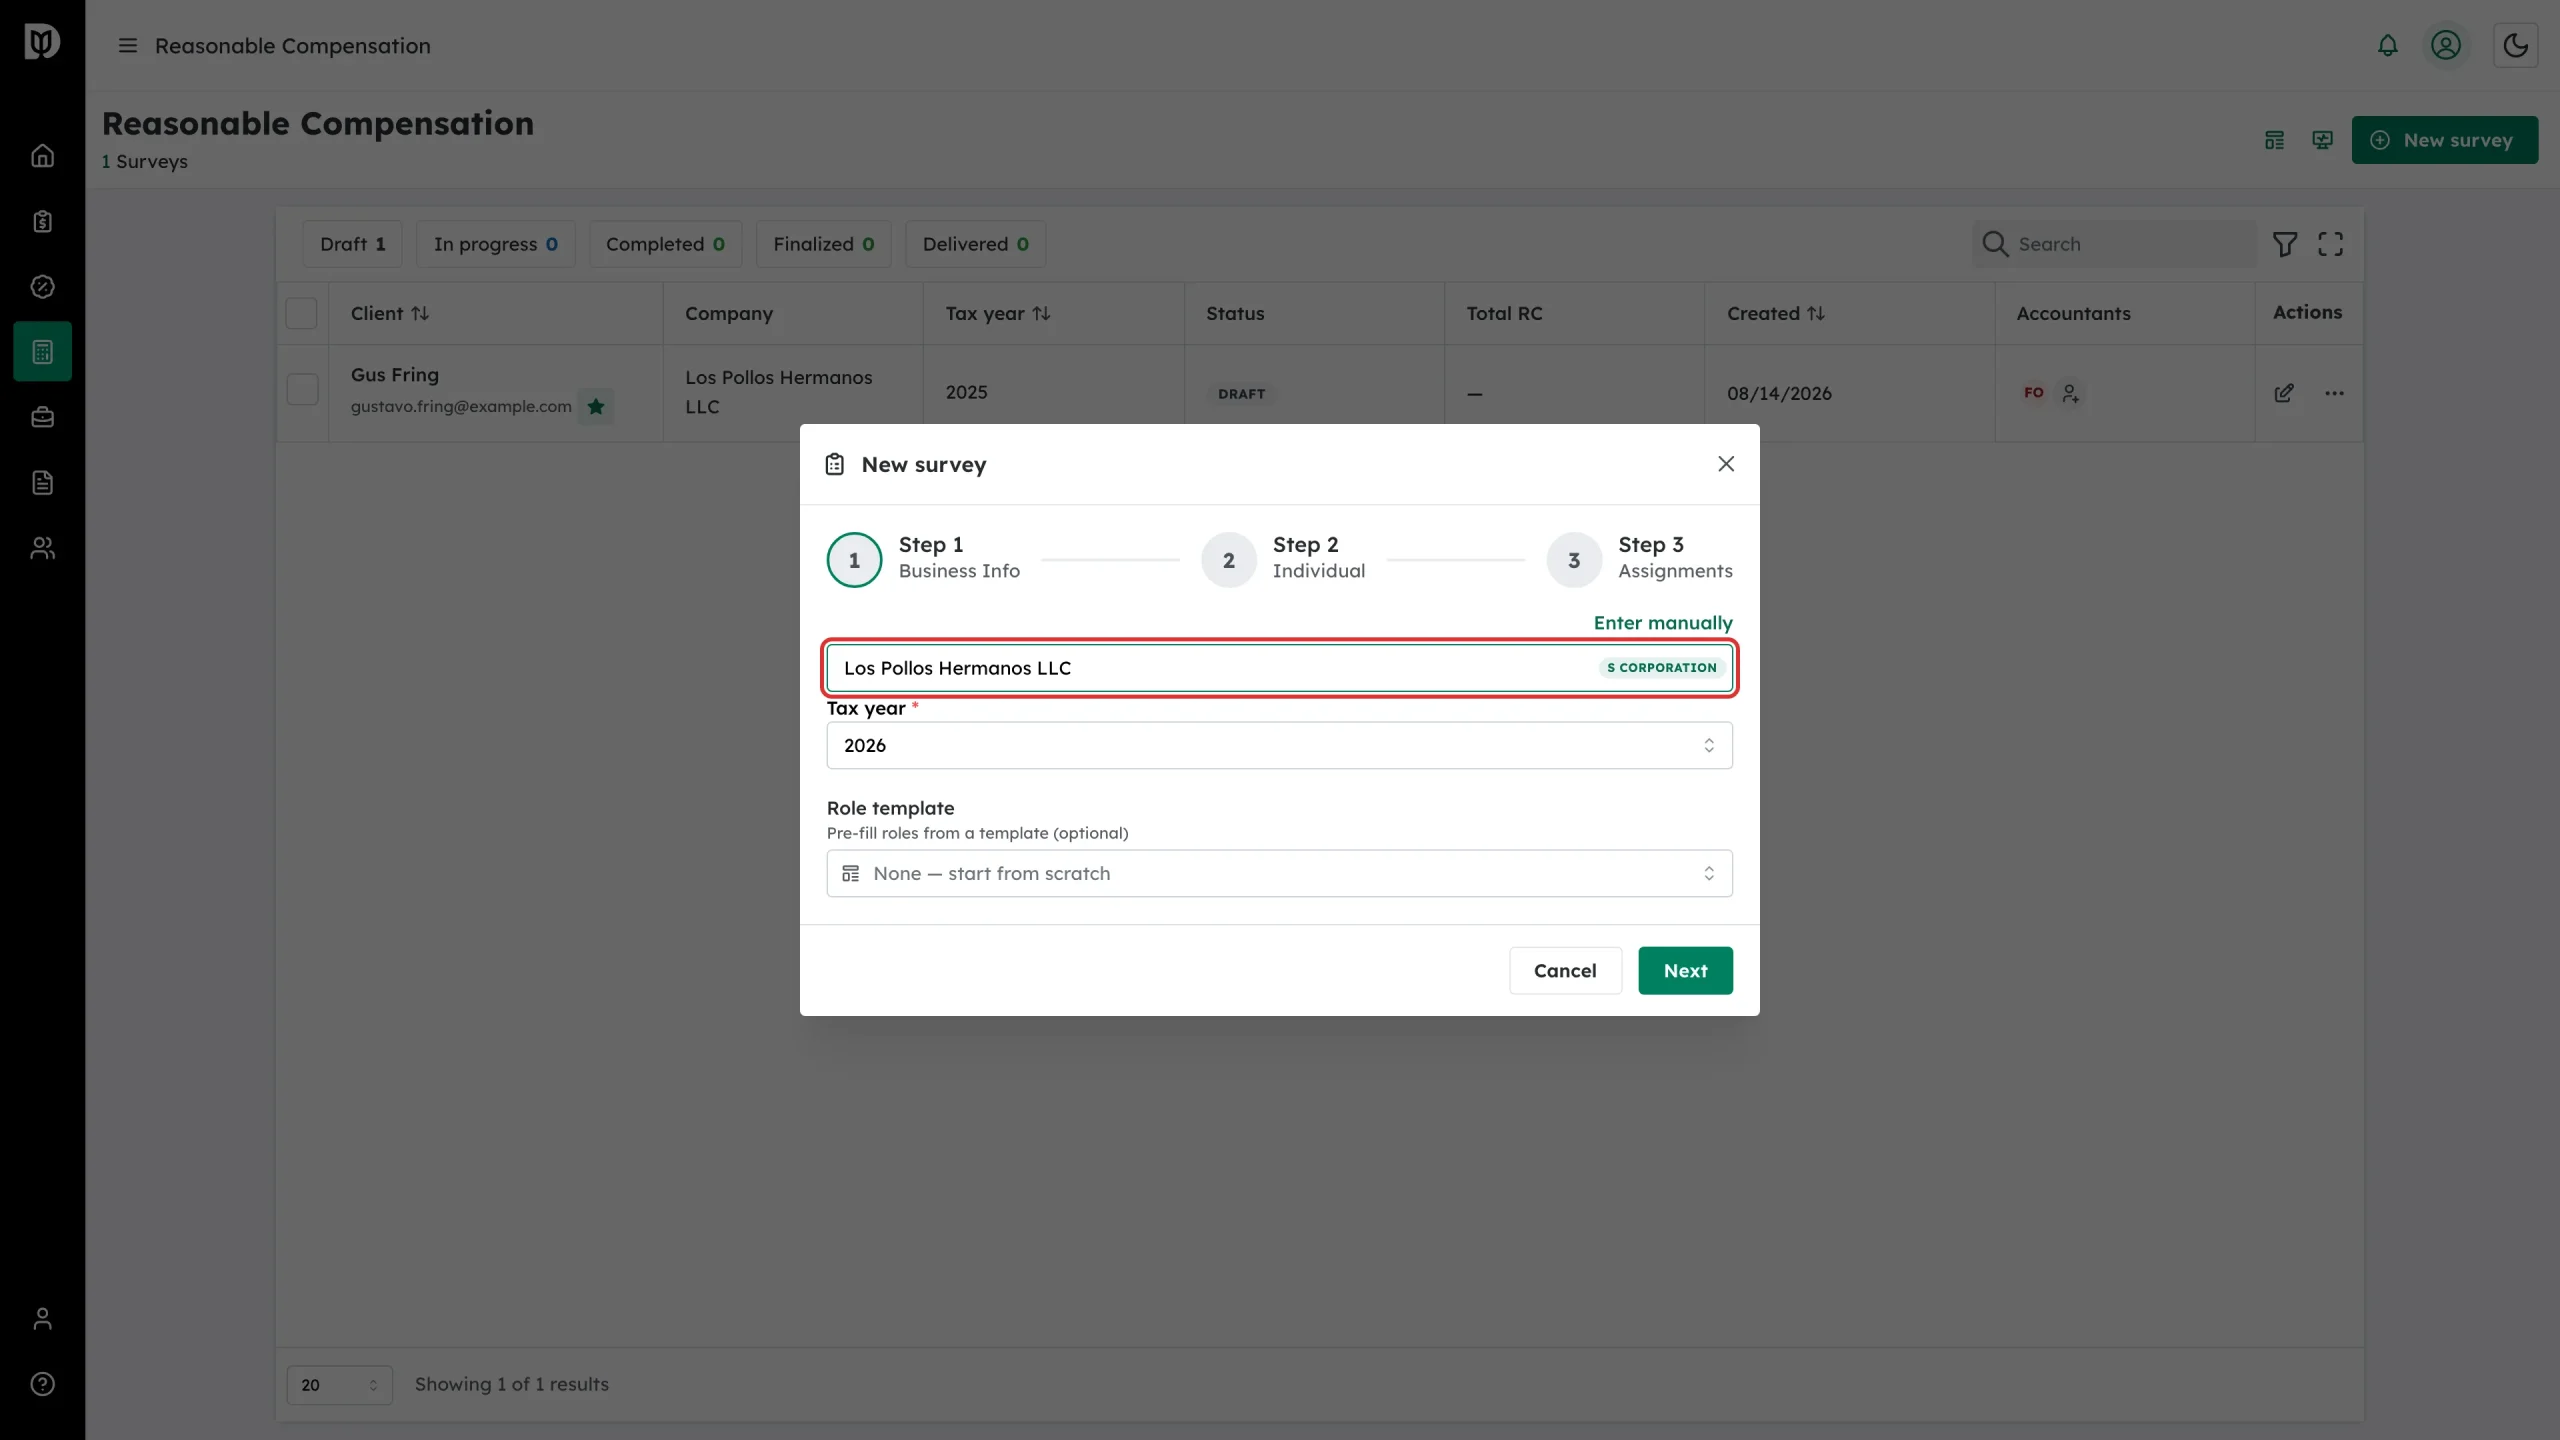
Once selected, Debits fills in the company name and EIN and shows the entity type as a badge. If the contact has no entity type, pick S Corporation or LLC (S Corp) from the cards that appear.
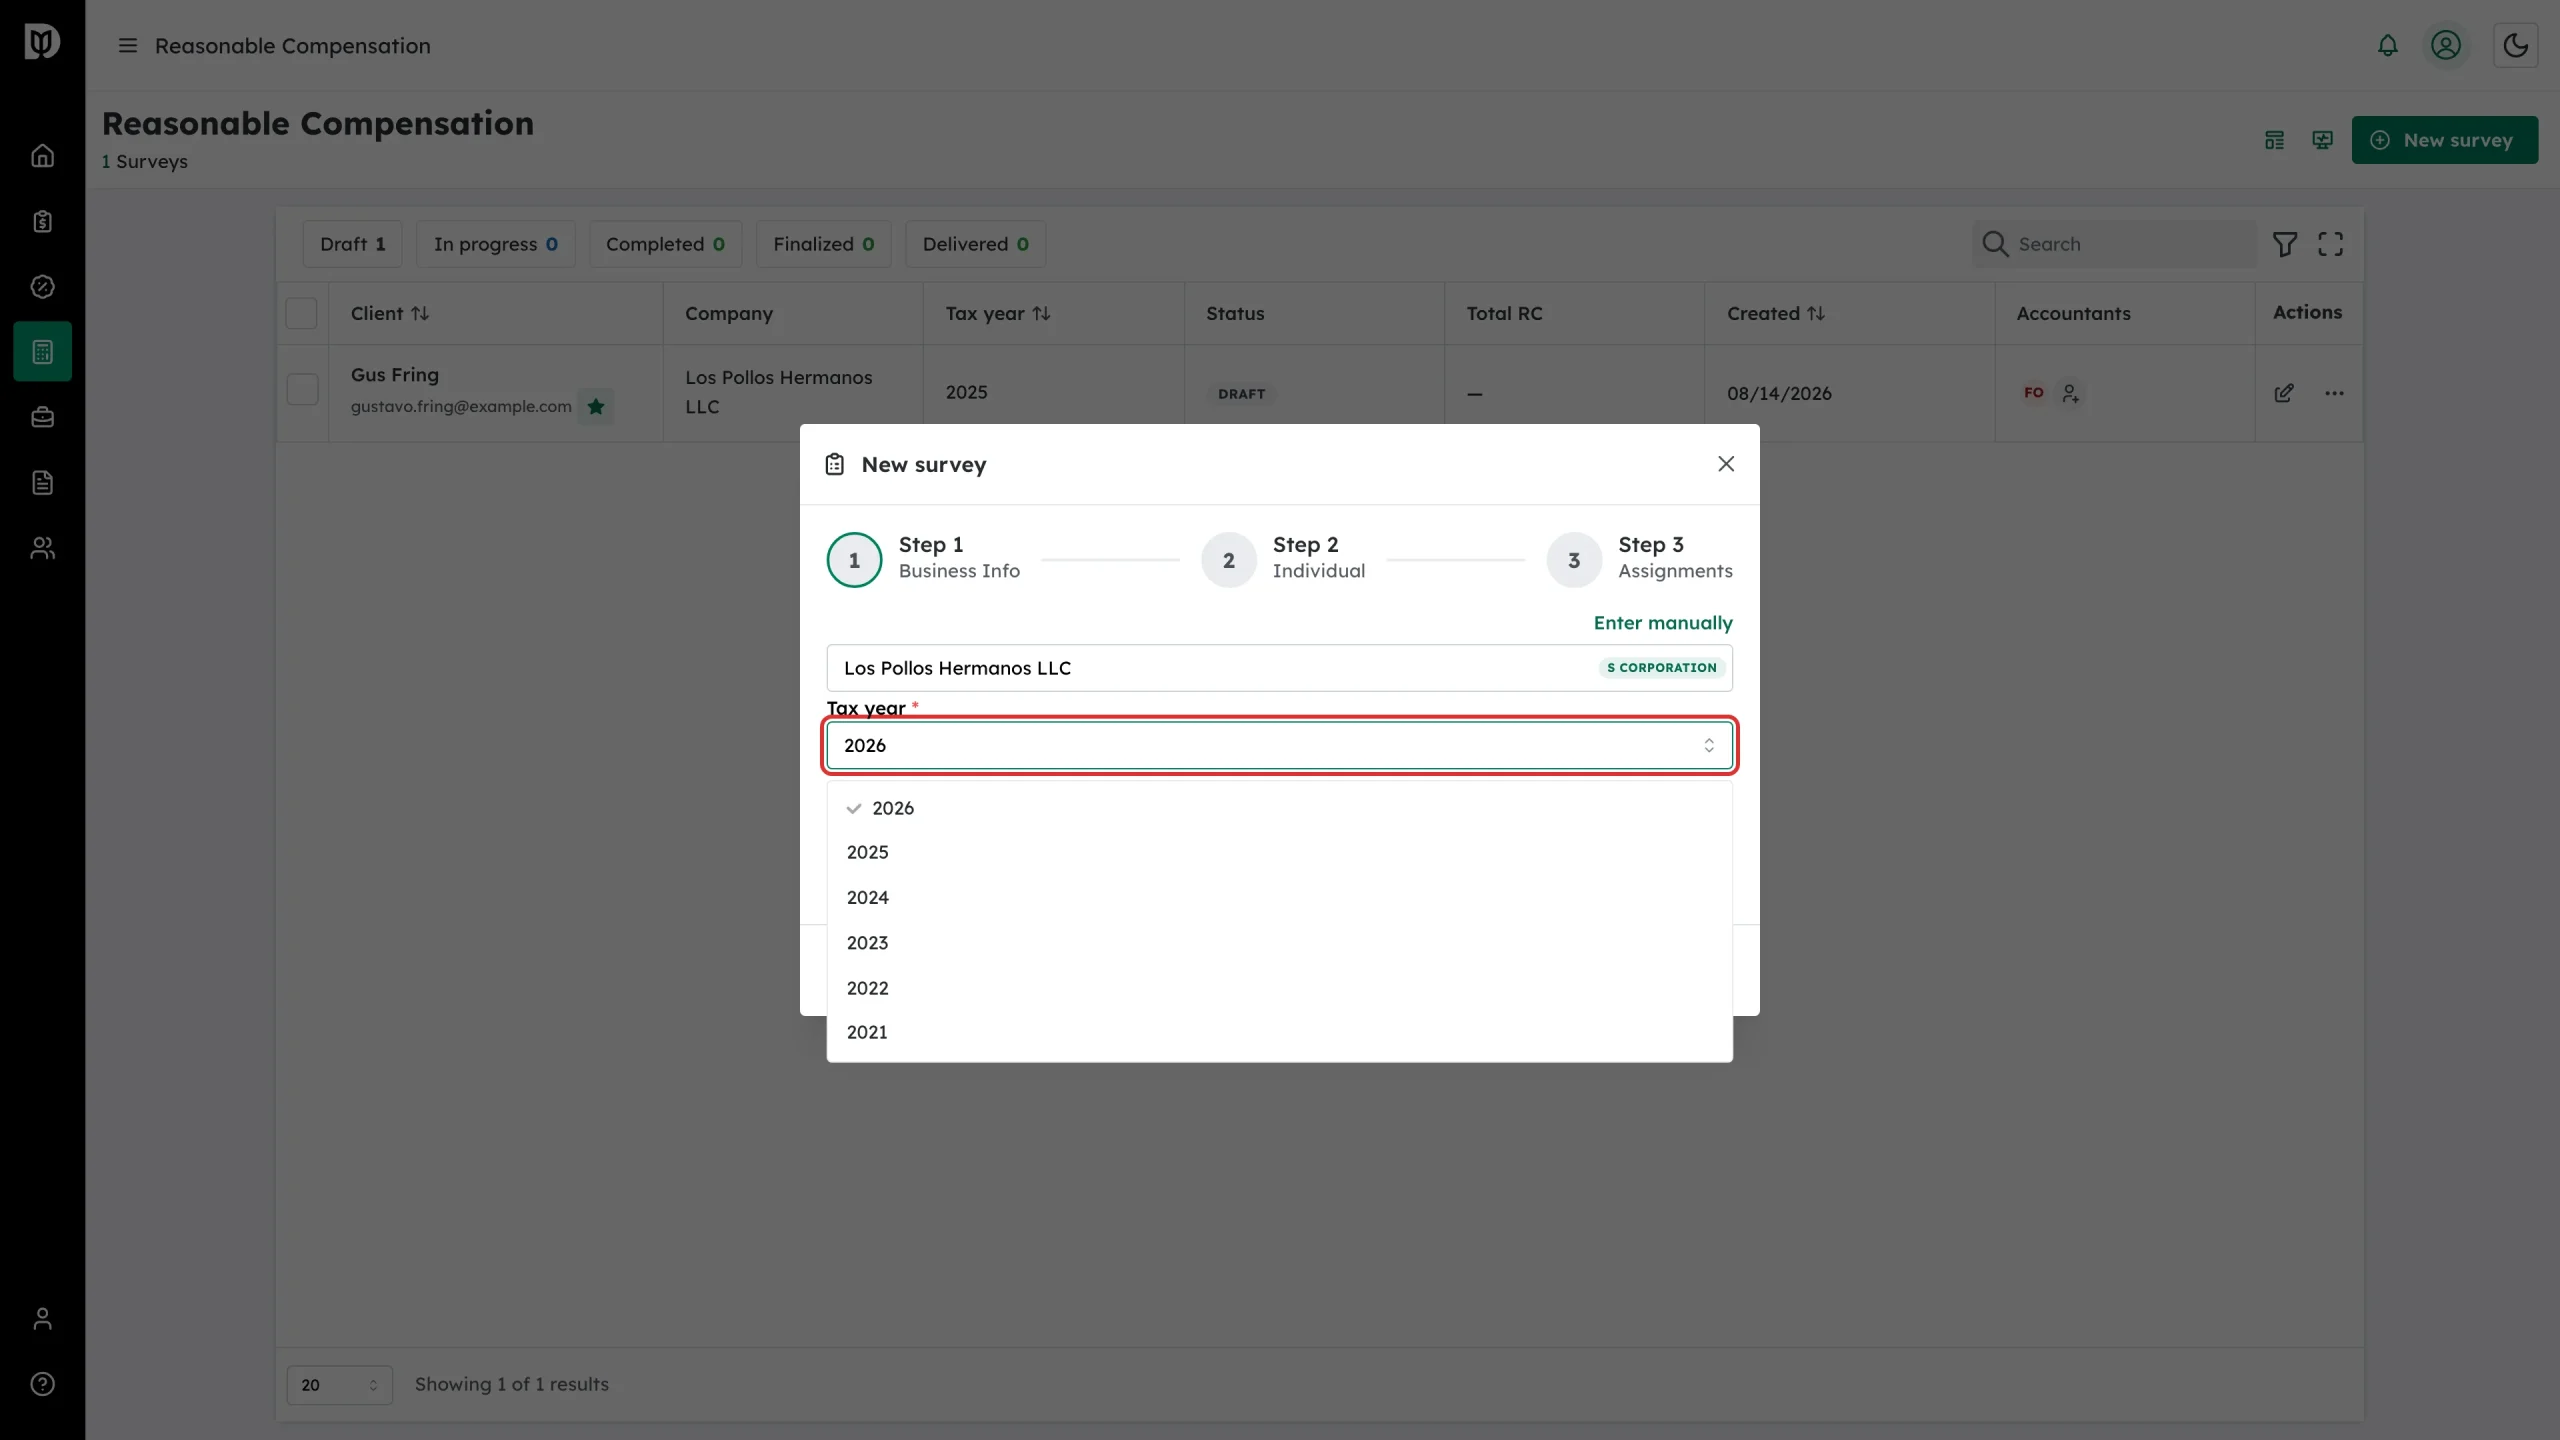
Step 3: Set the tax year
Choose the year the study covers. The list runs from the current year back five years.
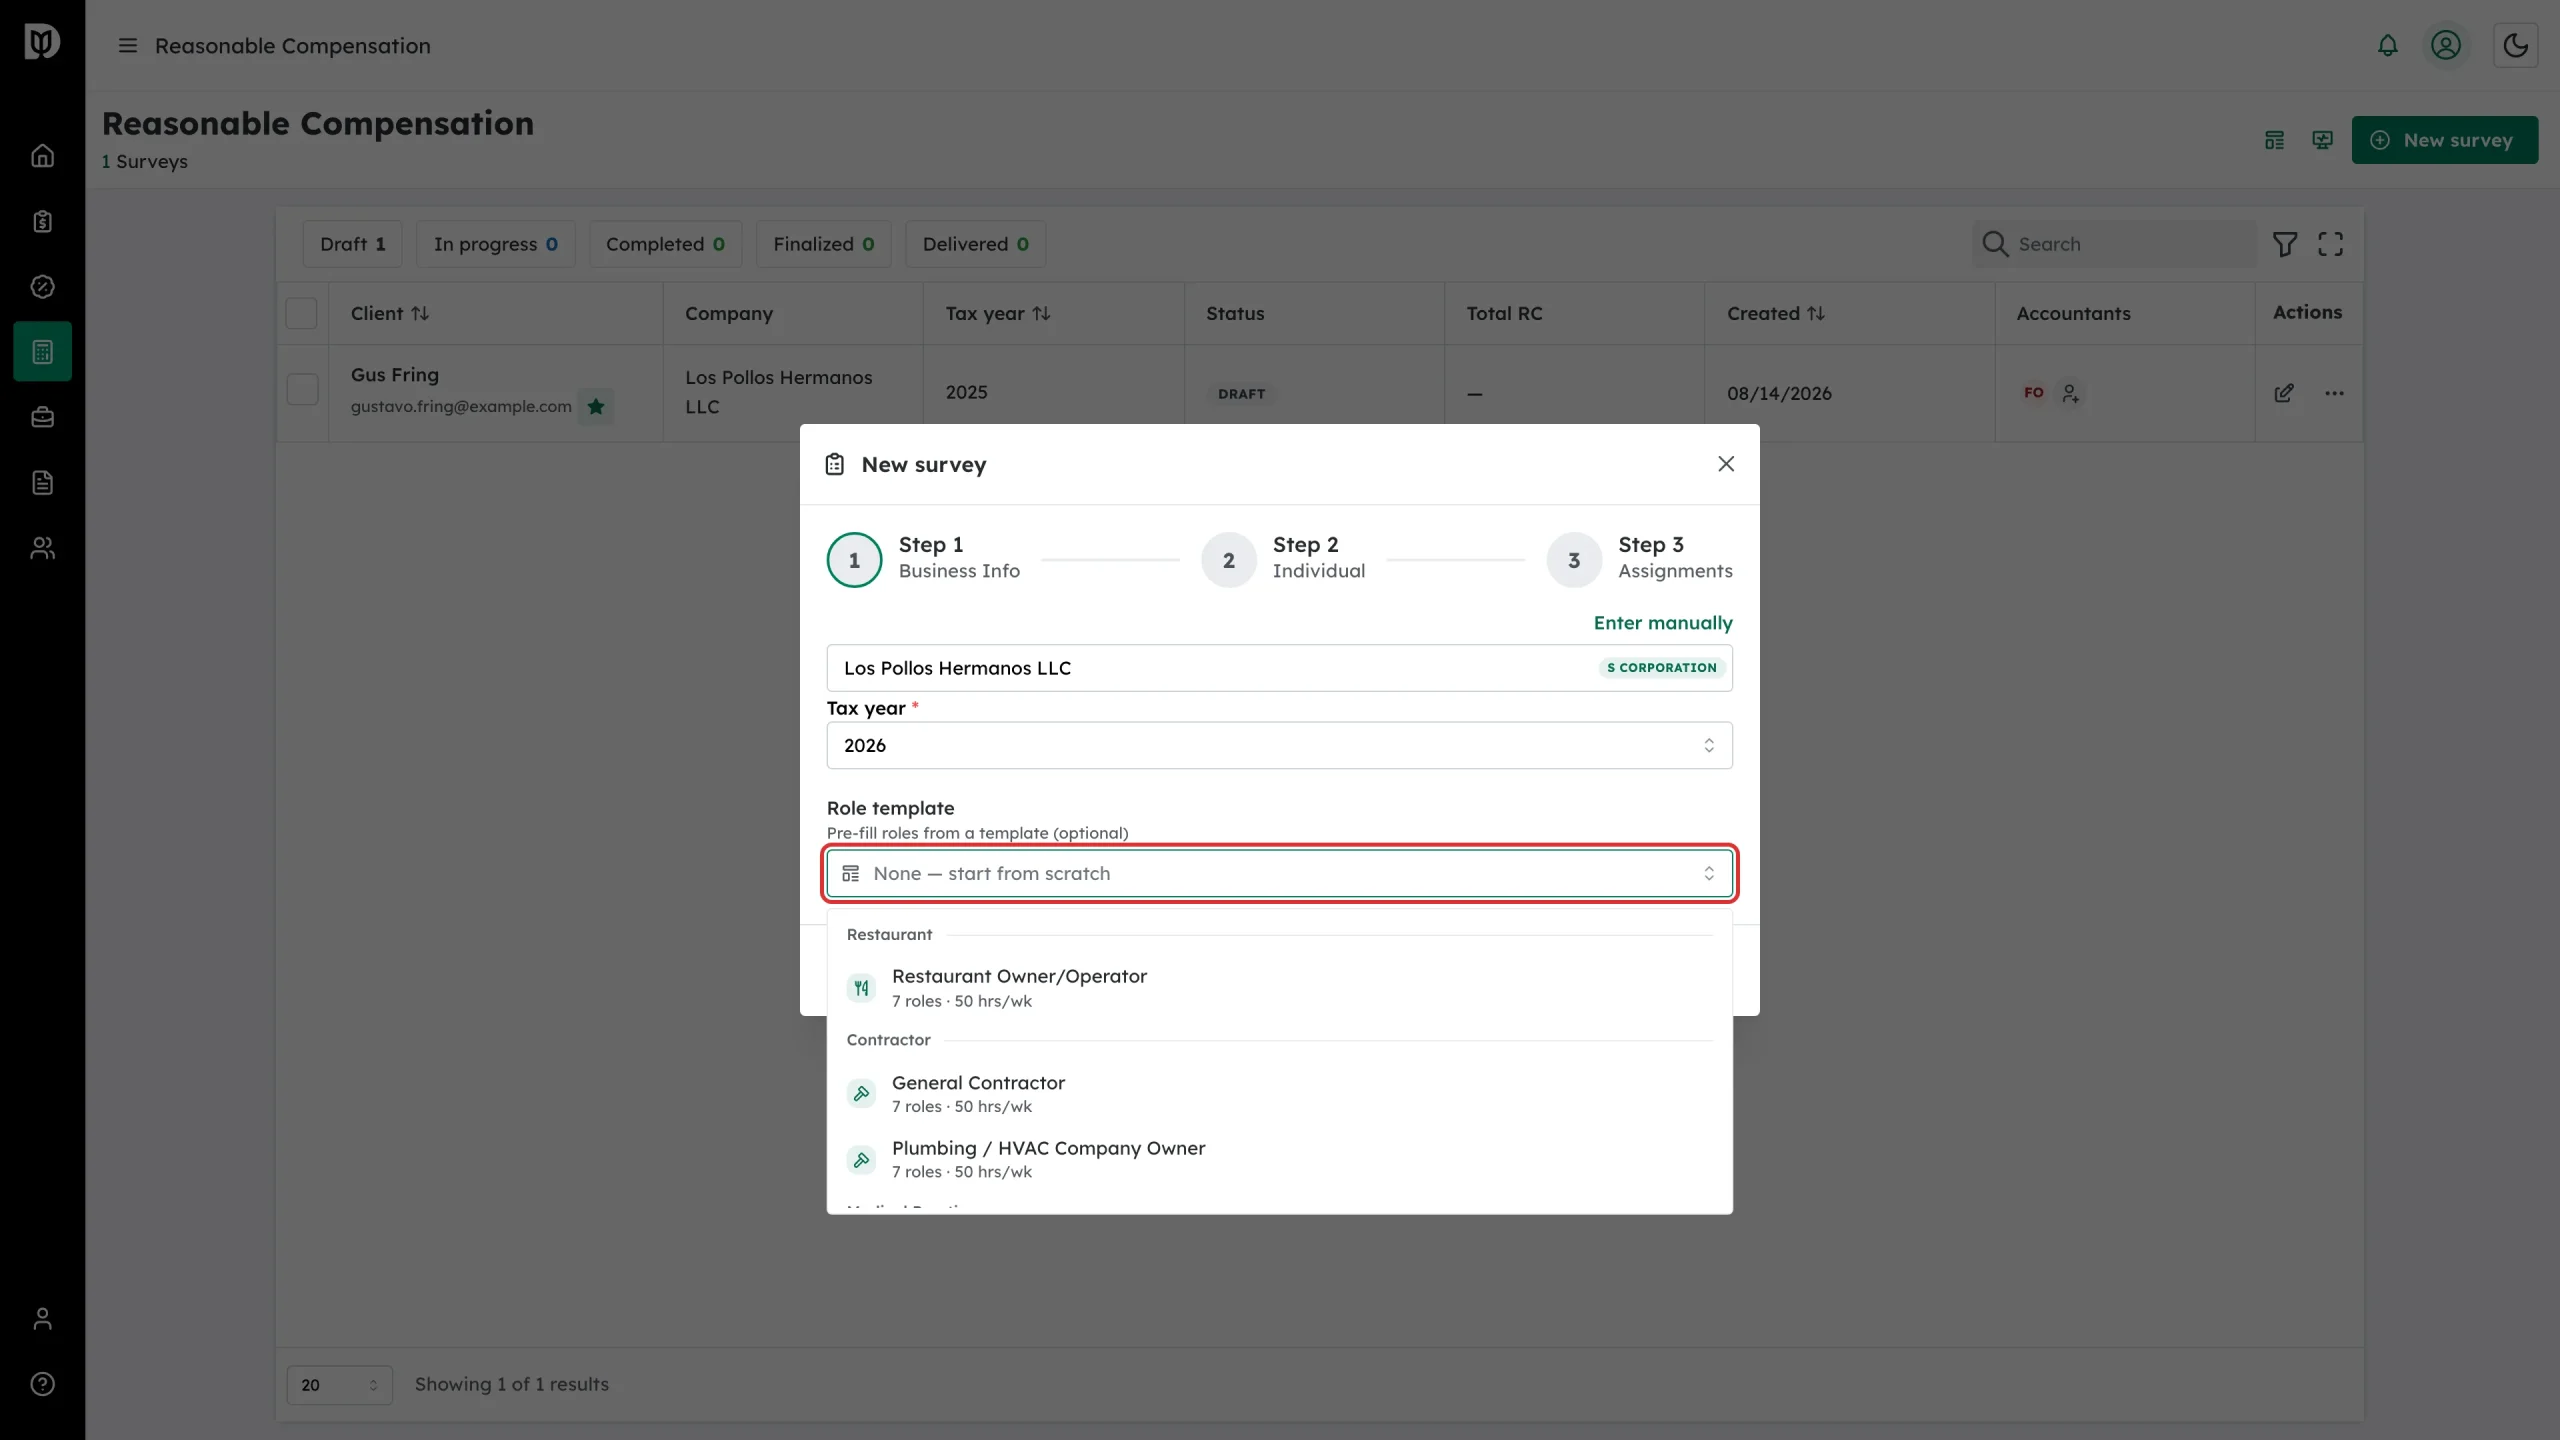
Step 4: Apply a role template (optional)
Role template pre-fills the roles and a suggested weekly hours figure from a saved set — for example Restaurant Owner/Operator or General Contractor. Leave it on None — start from scratch to choose roles yourself.
Click Next.
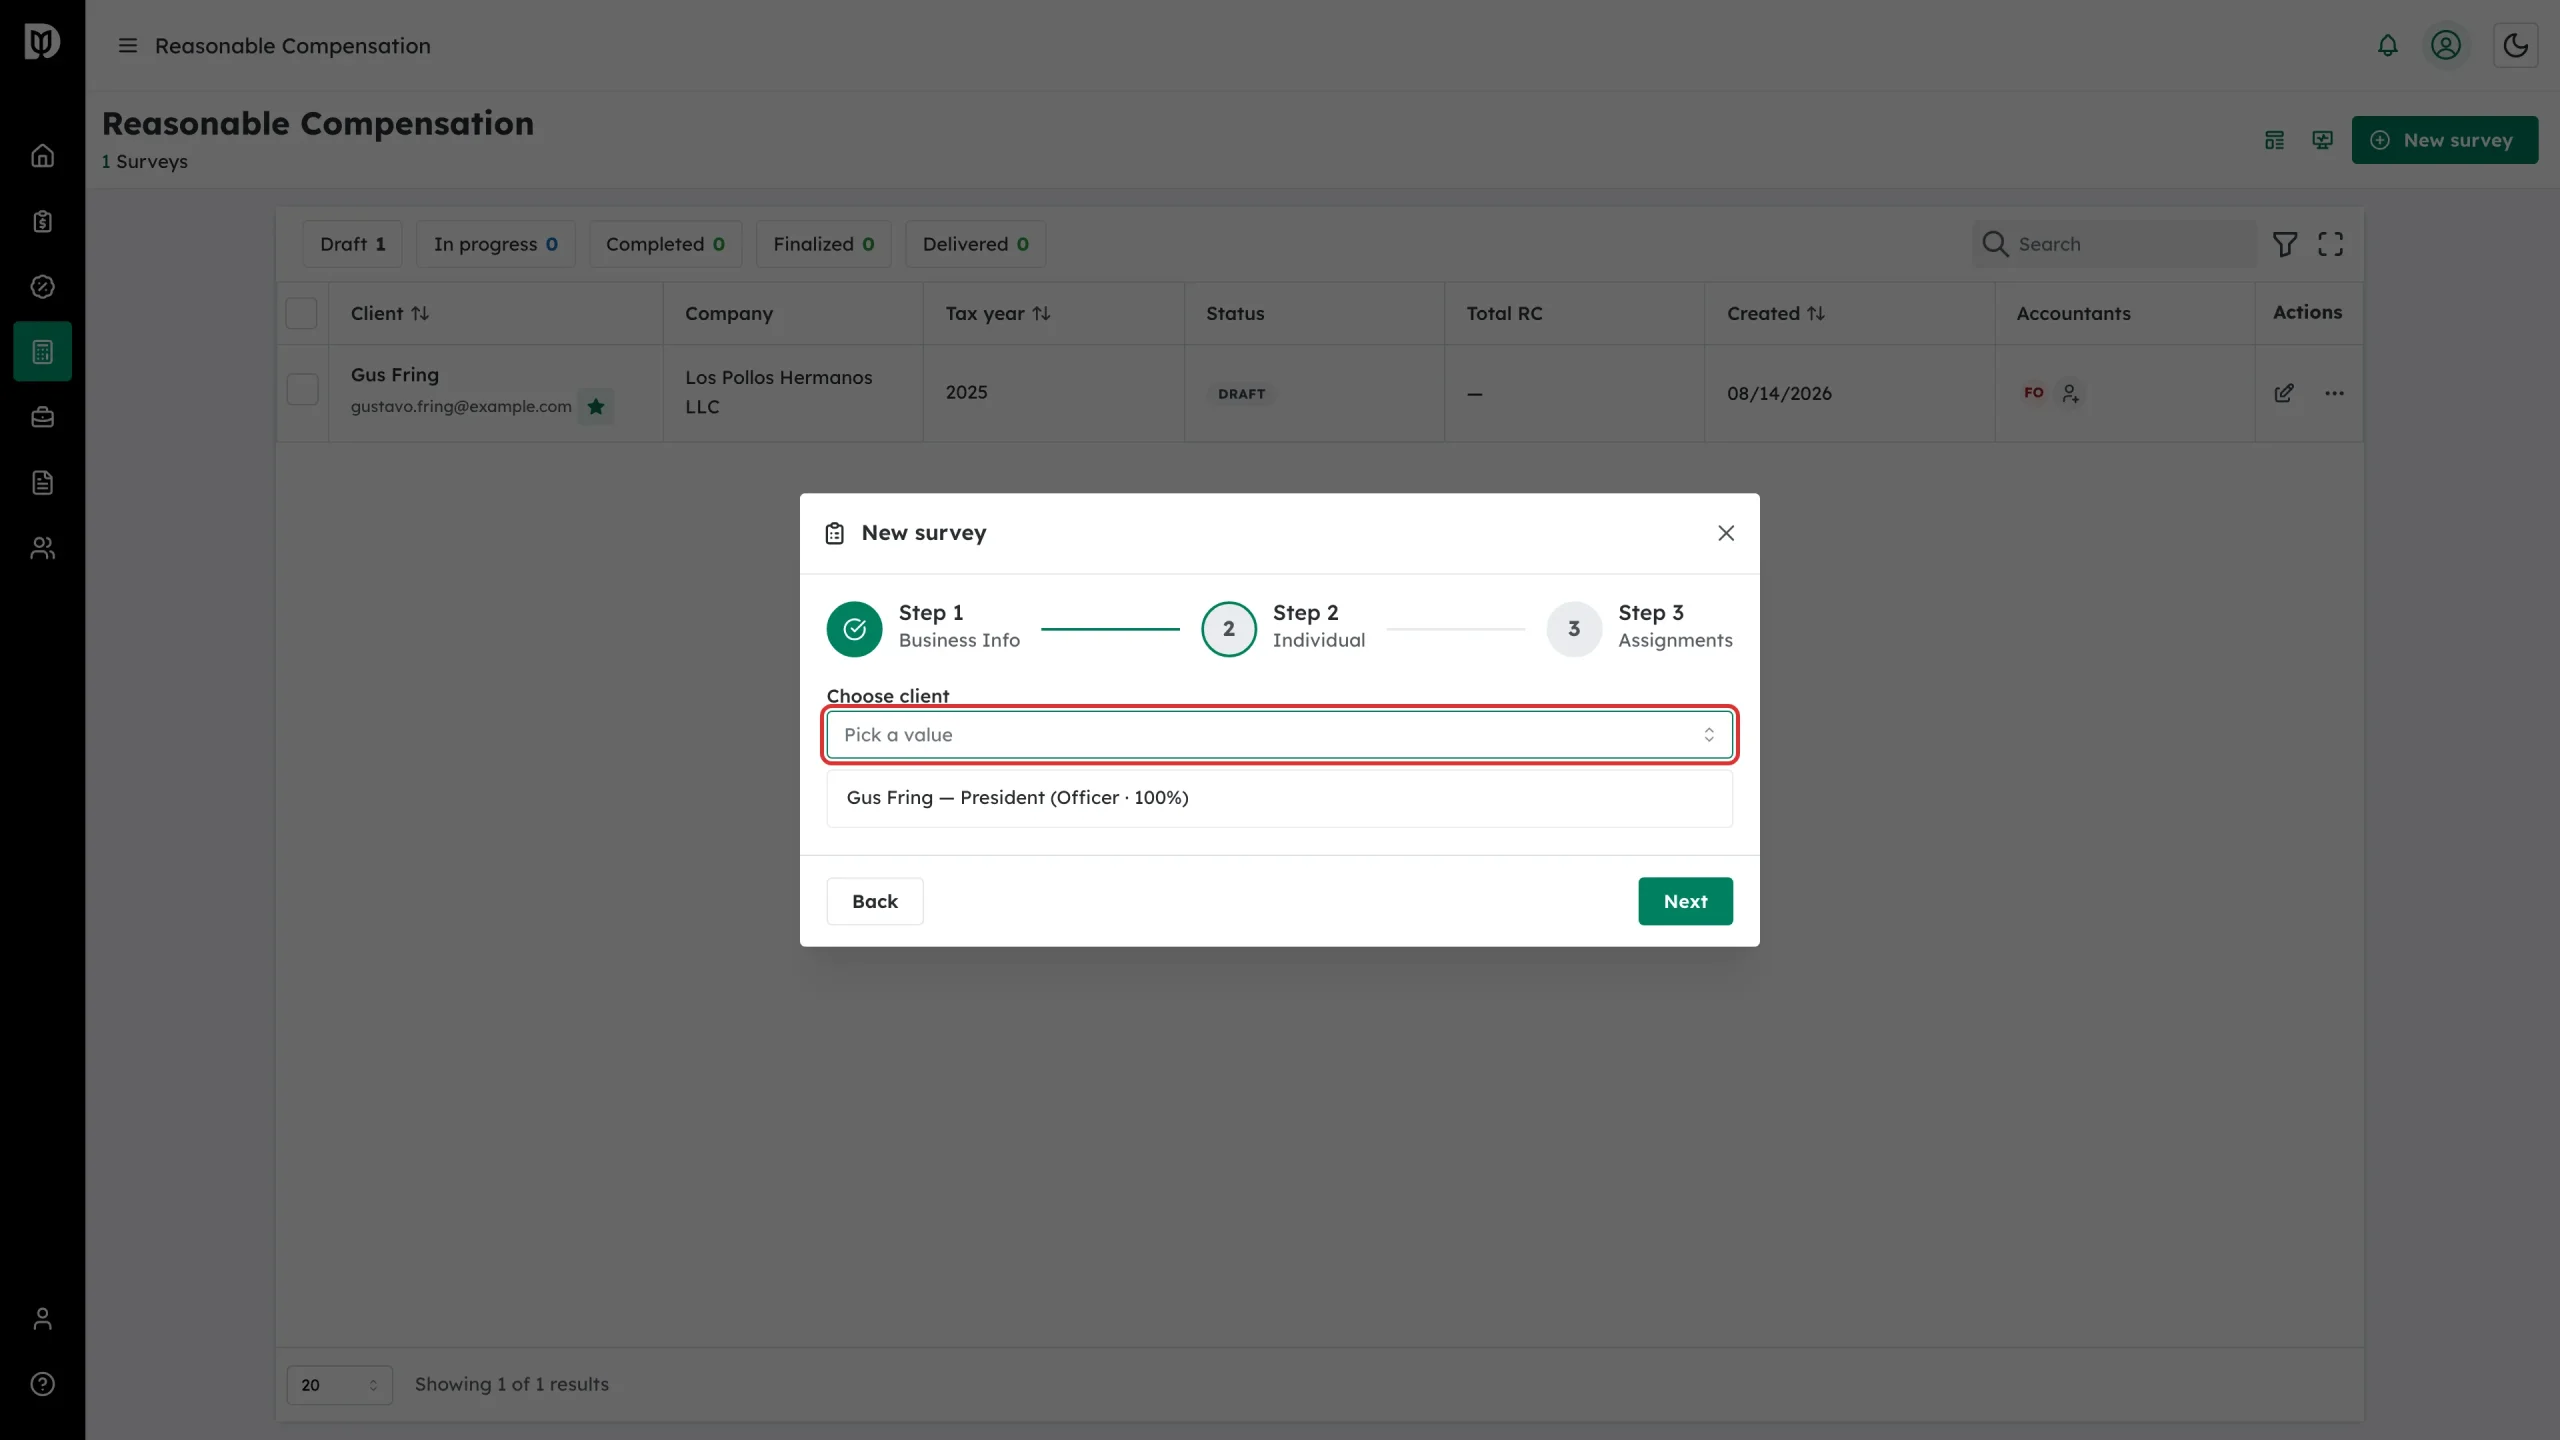
Step 5: Choose the shareholder
On Step 2 — Individual, Choose client lists the people linked to that business, with their role and ownership percentage.
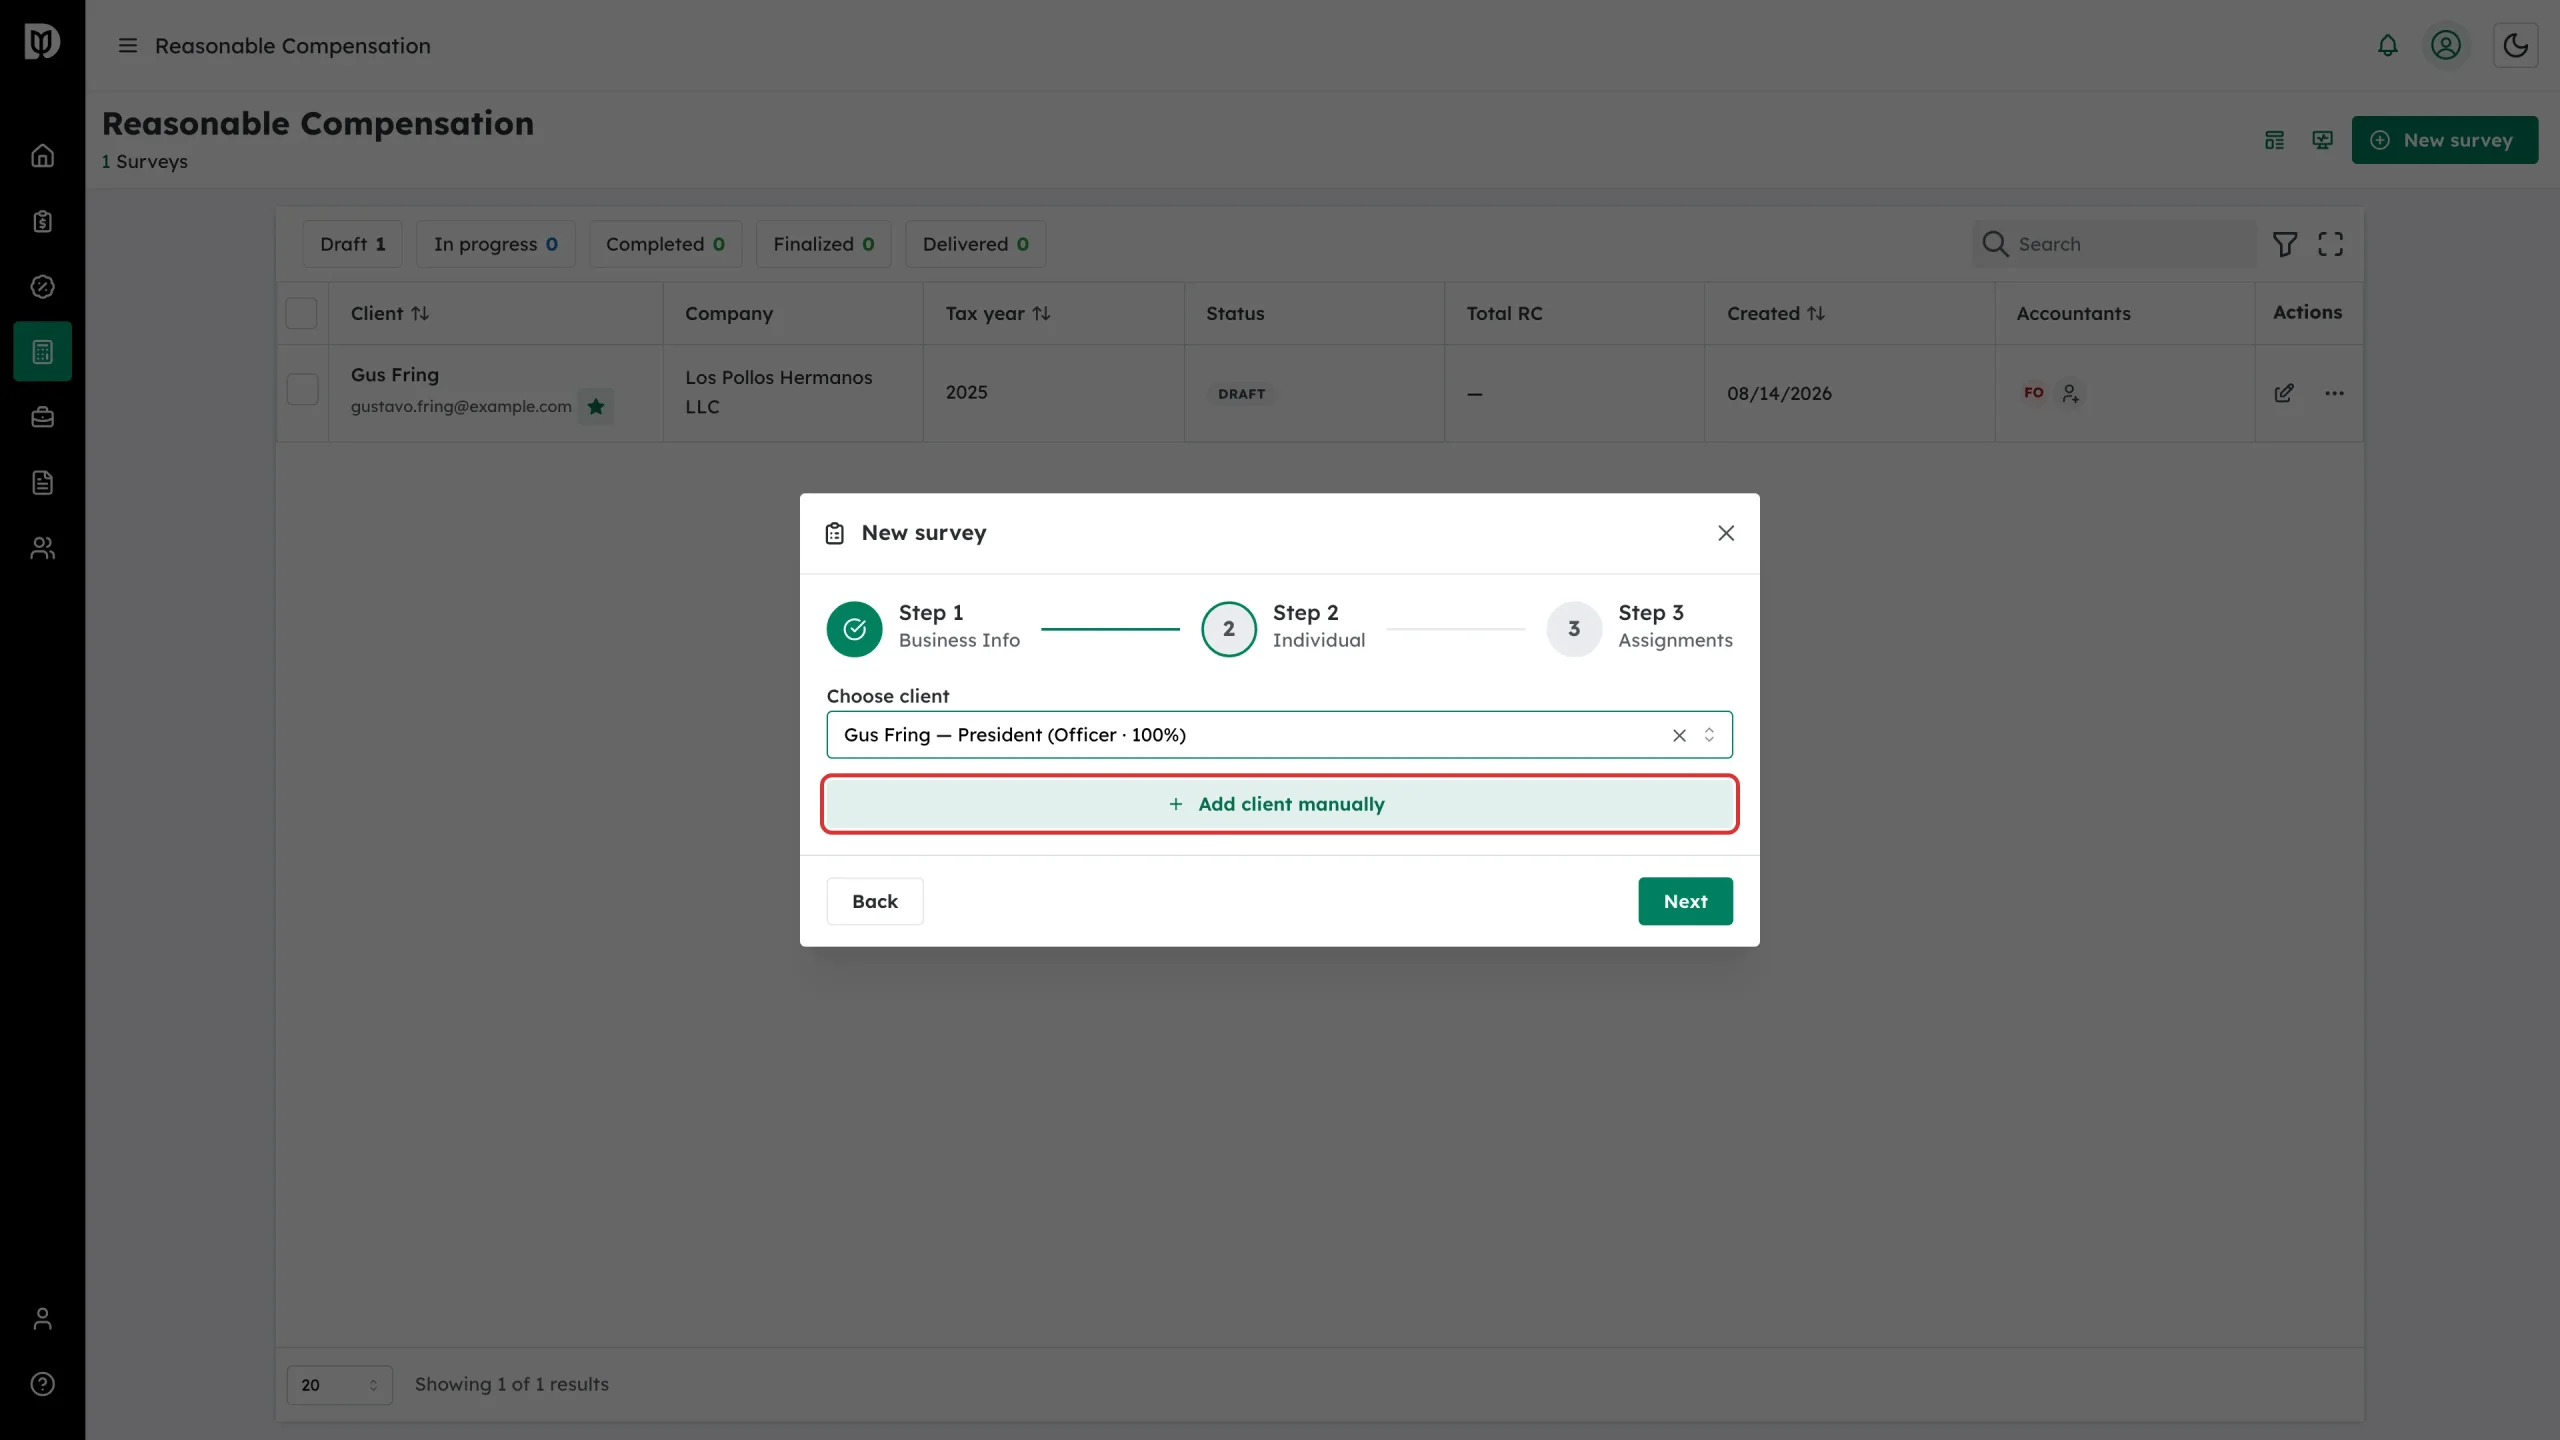
If the person is not there, click Add client manually and type their first name, last name and email. Click Next.
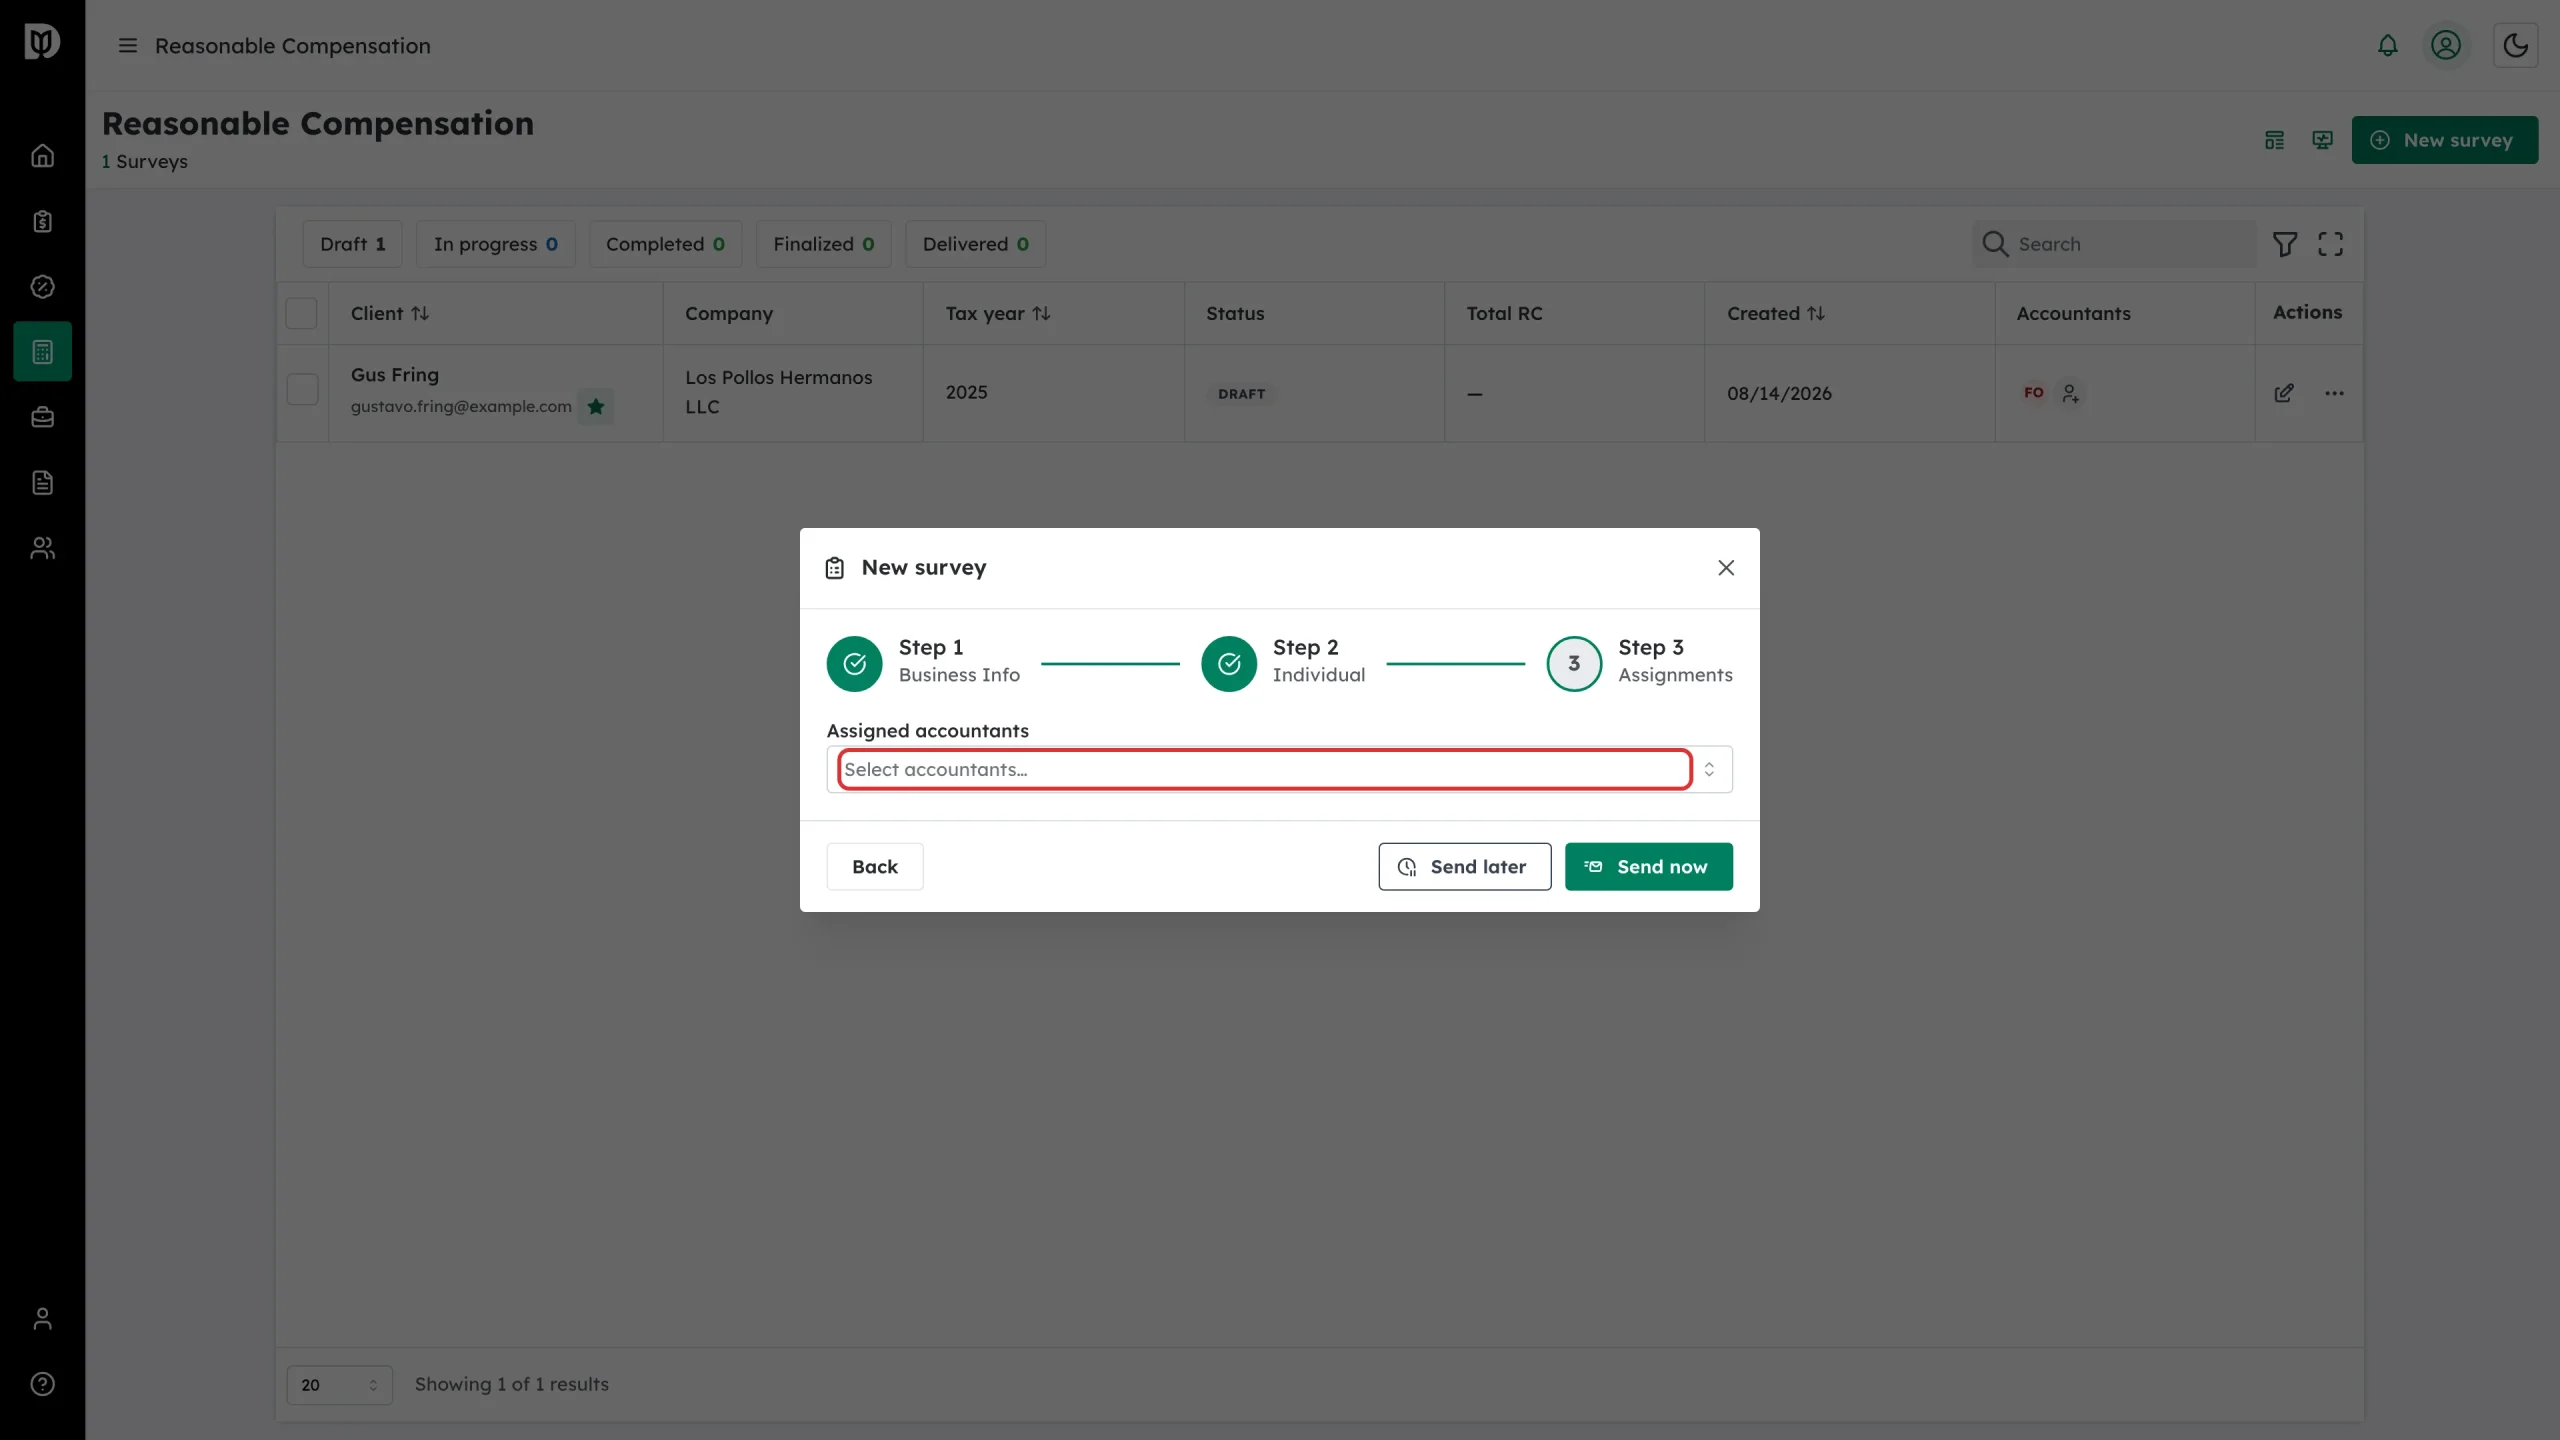
Step 6: Assign accountants
On Step 3 — Assignments, pick who at your firm owns this study. This drives the assignment filter on the survey list.
Step 7: Choose how the survey is answered
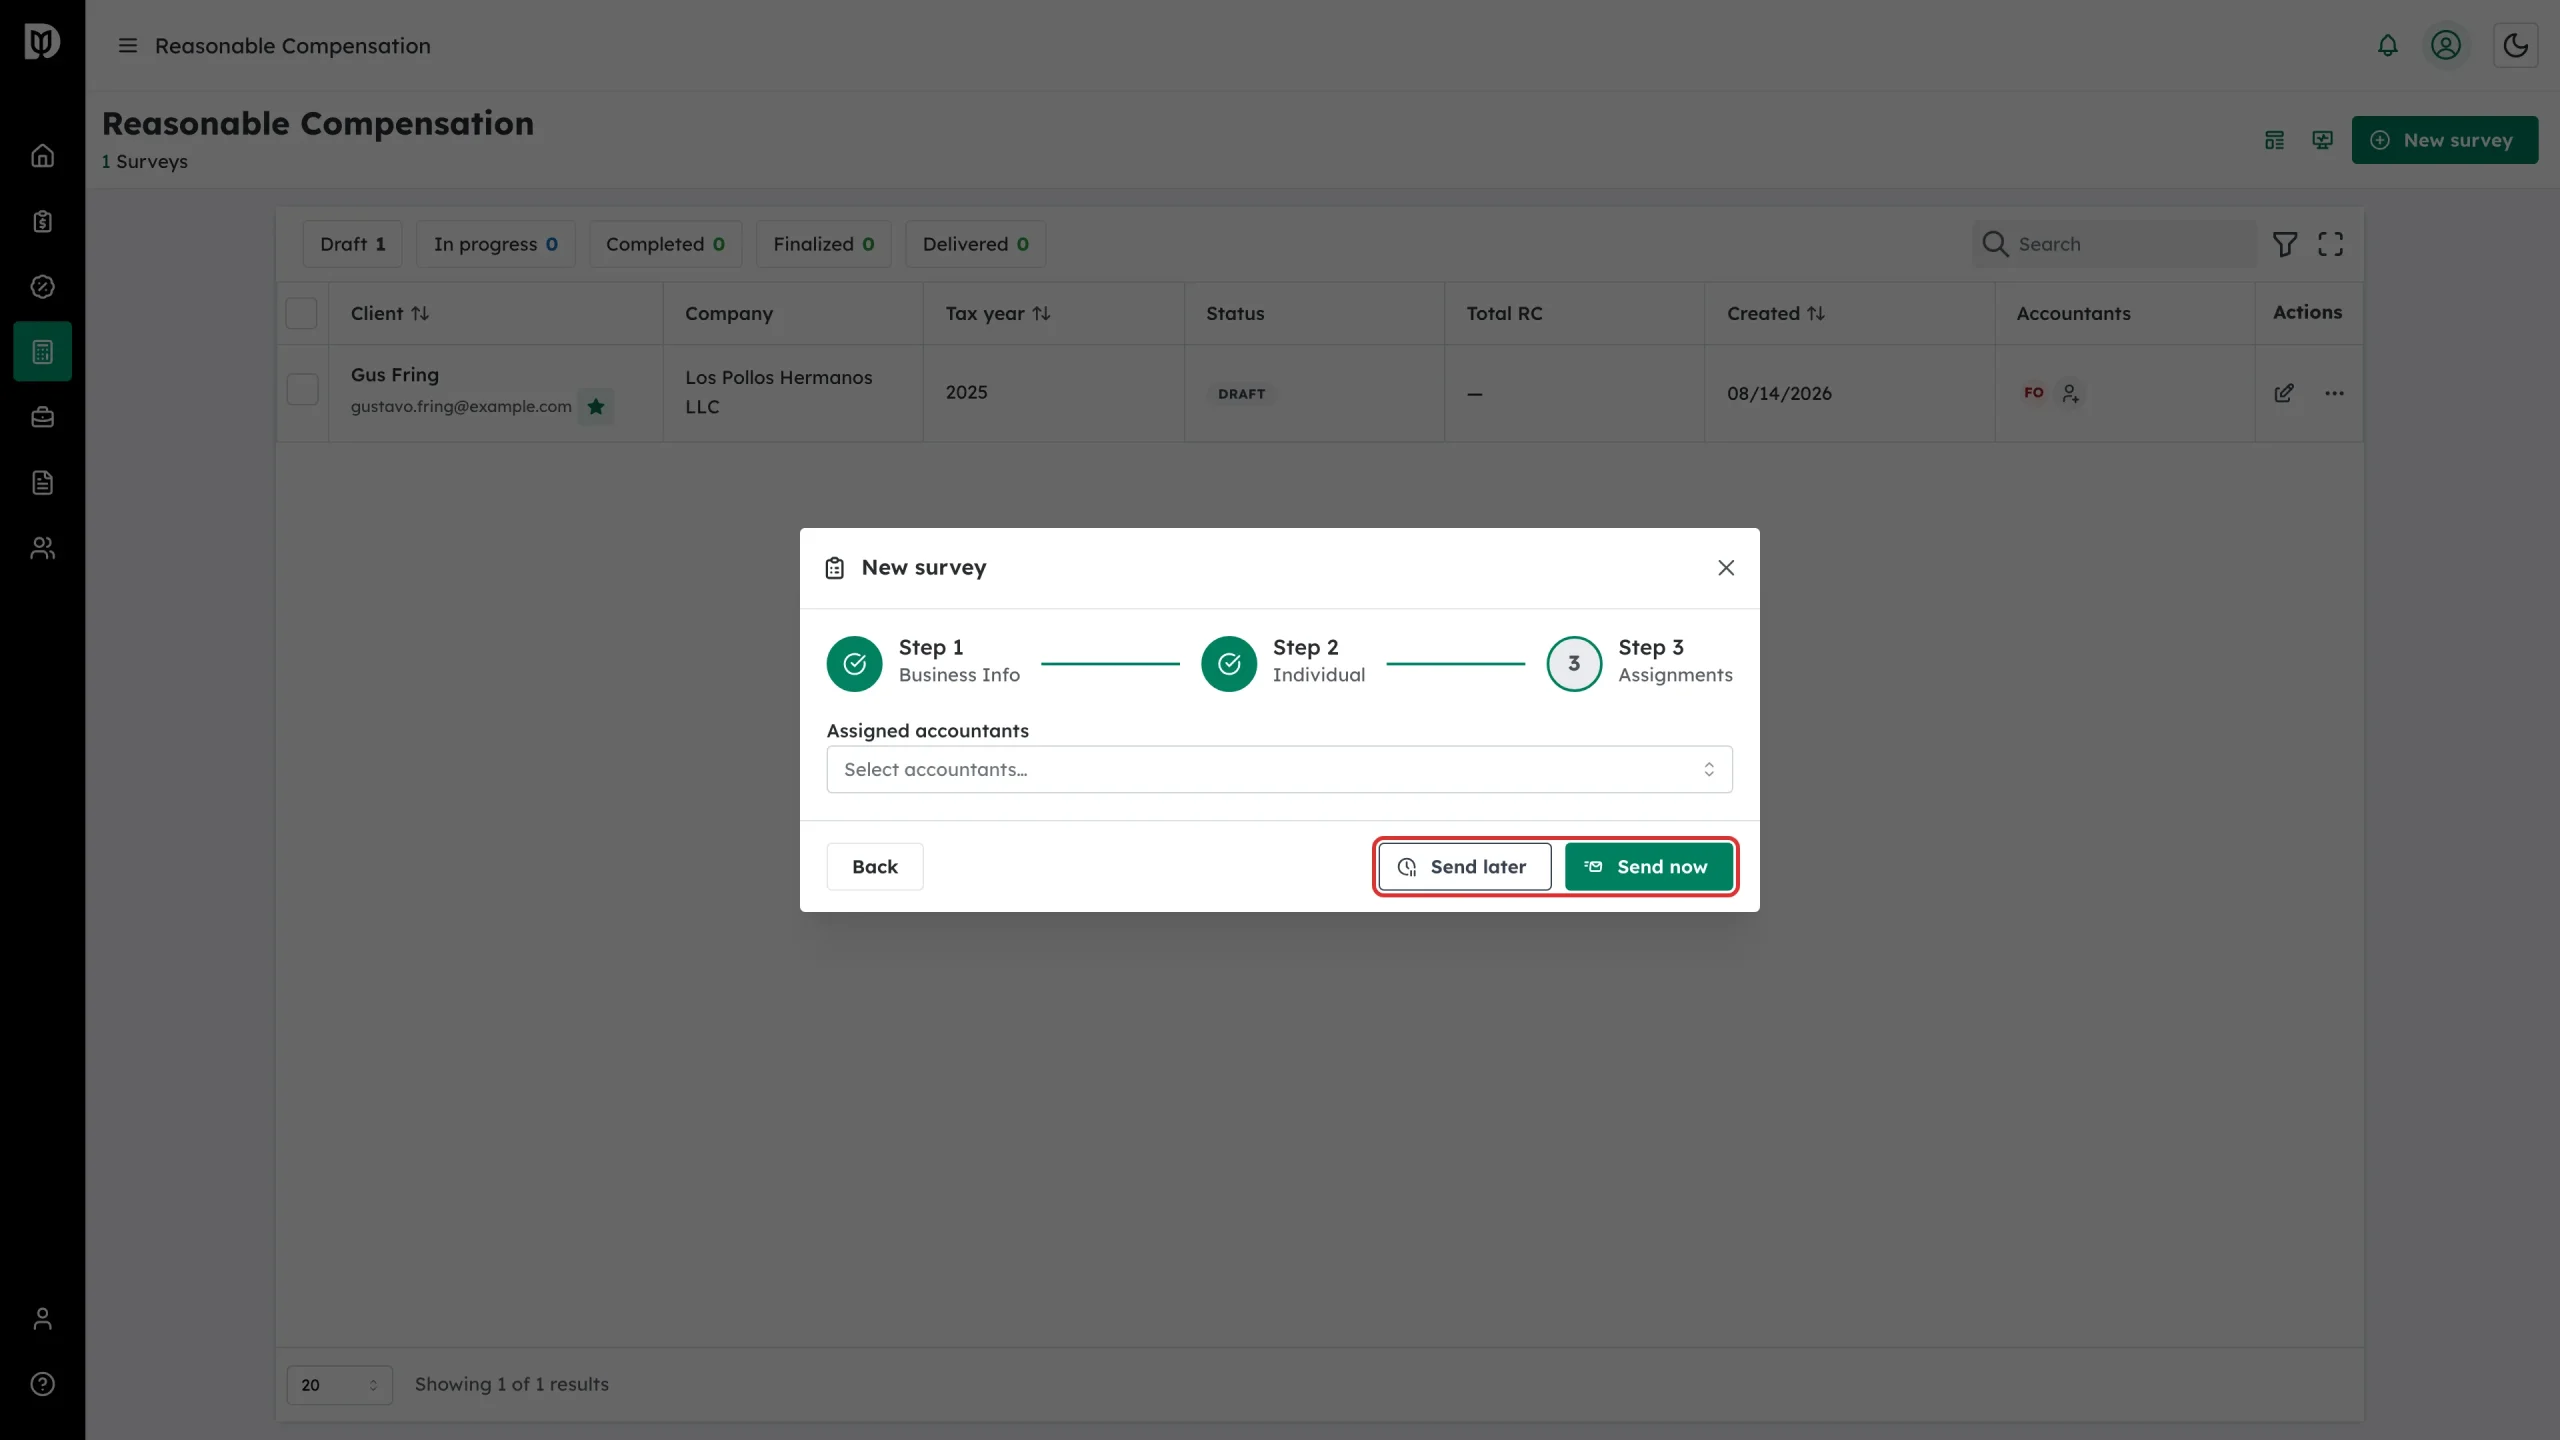
Two buttons finish the window:
- Send later — creates the study and opens it so you can fill in the answers yourself. You can still email the client later.
- Send now — creates the study and emails the client an invitation to answer the questions themselves. It needs a client email address.
Step 8: Find your way around the survey
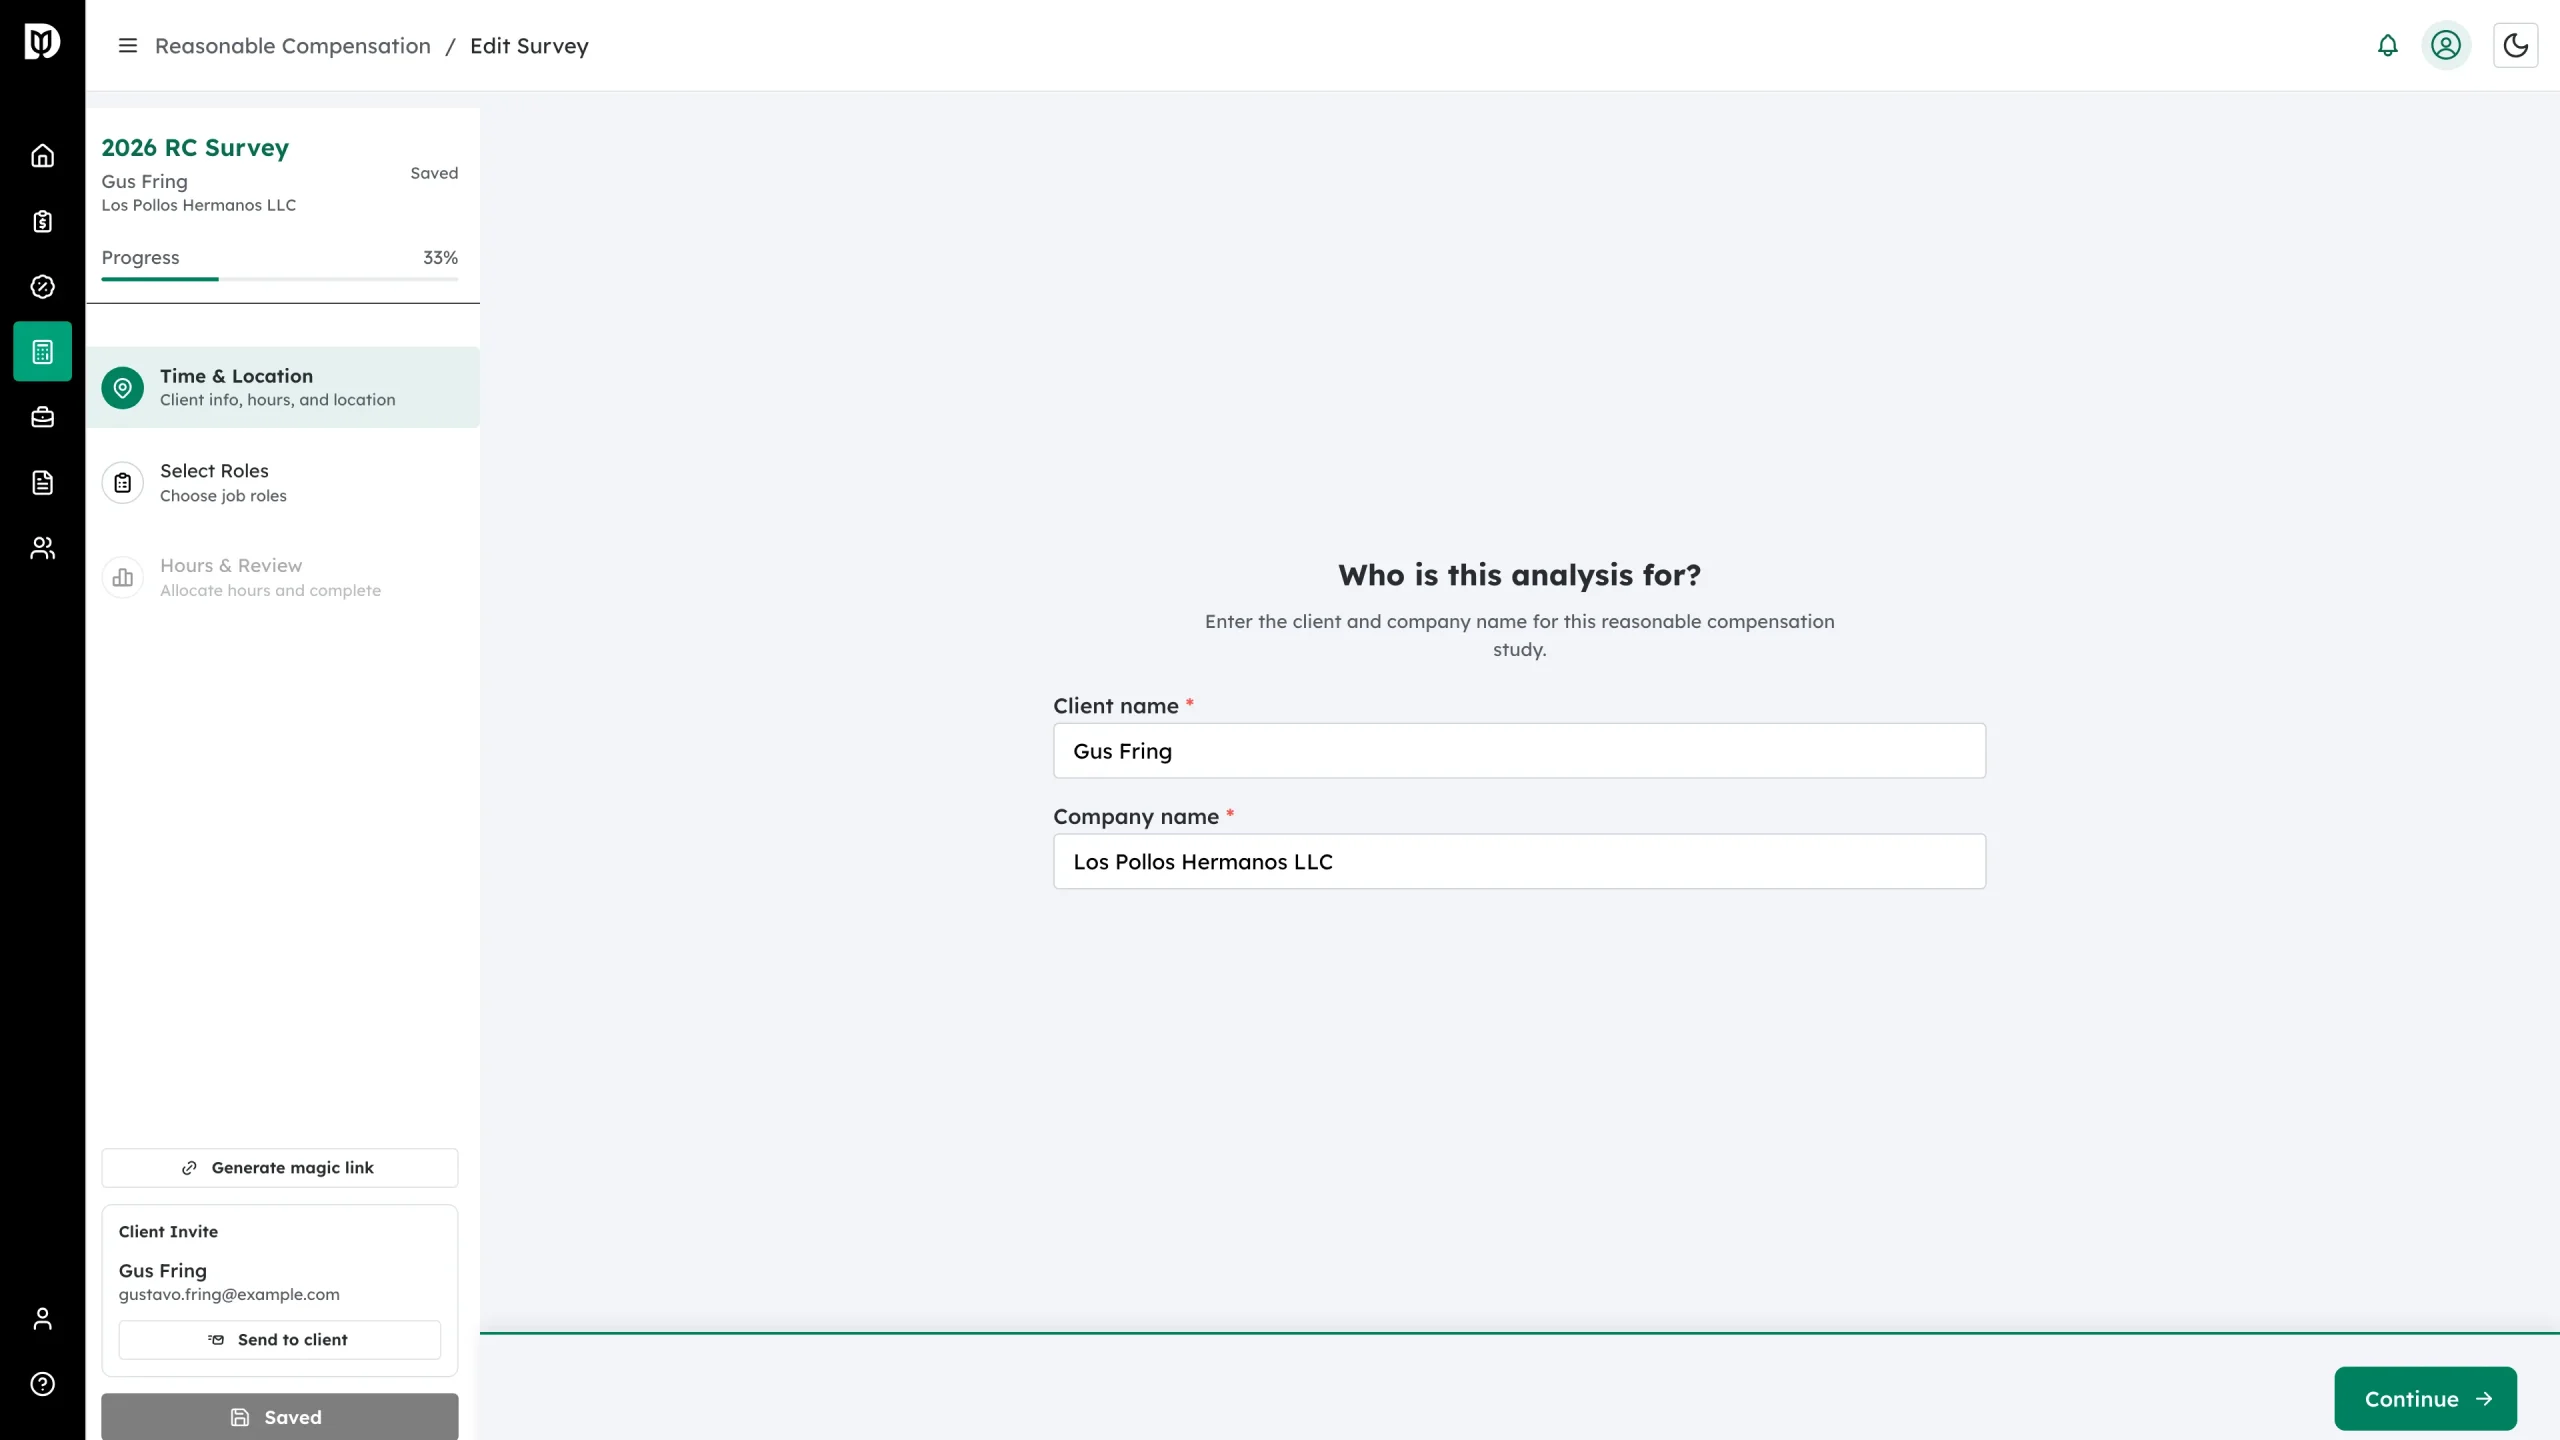
The study opens with a sidebar on the left: the client and company, a progress bar, the number of roles selected, the save status, and the three steps — Time & Location, Select Roles, Hours & Review. Your answers save automatically about three seconds after each change, and you can click Save at any time.
Step 9: Confirm the client and company
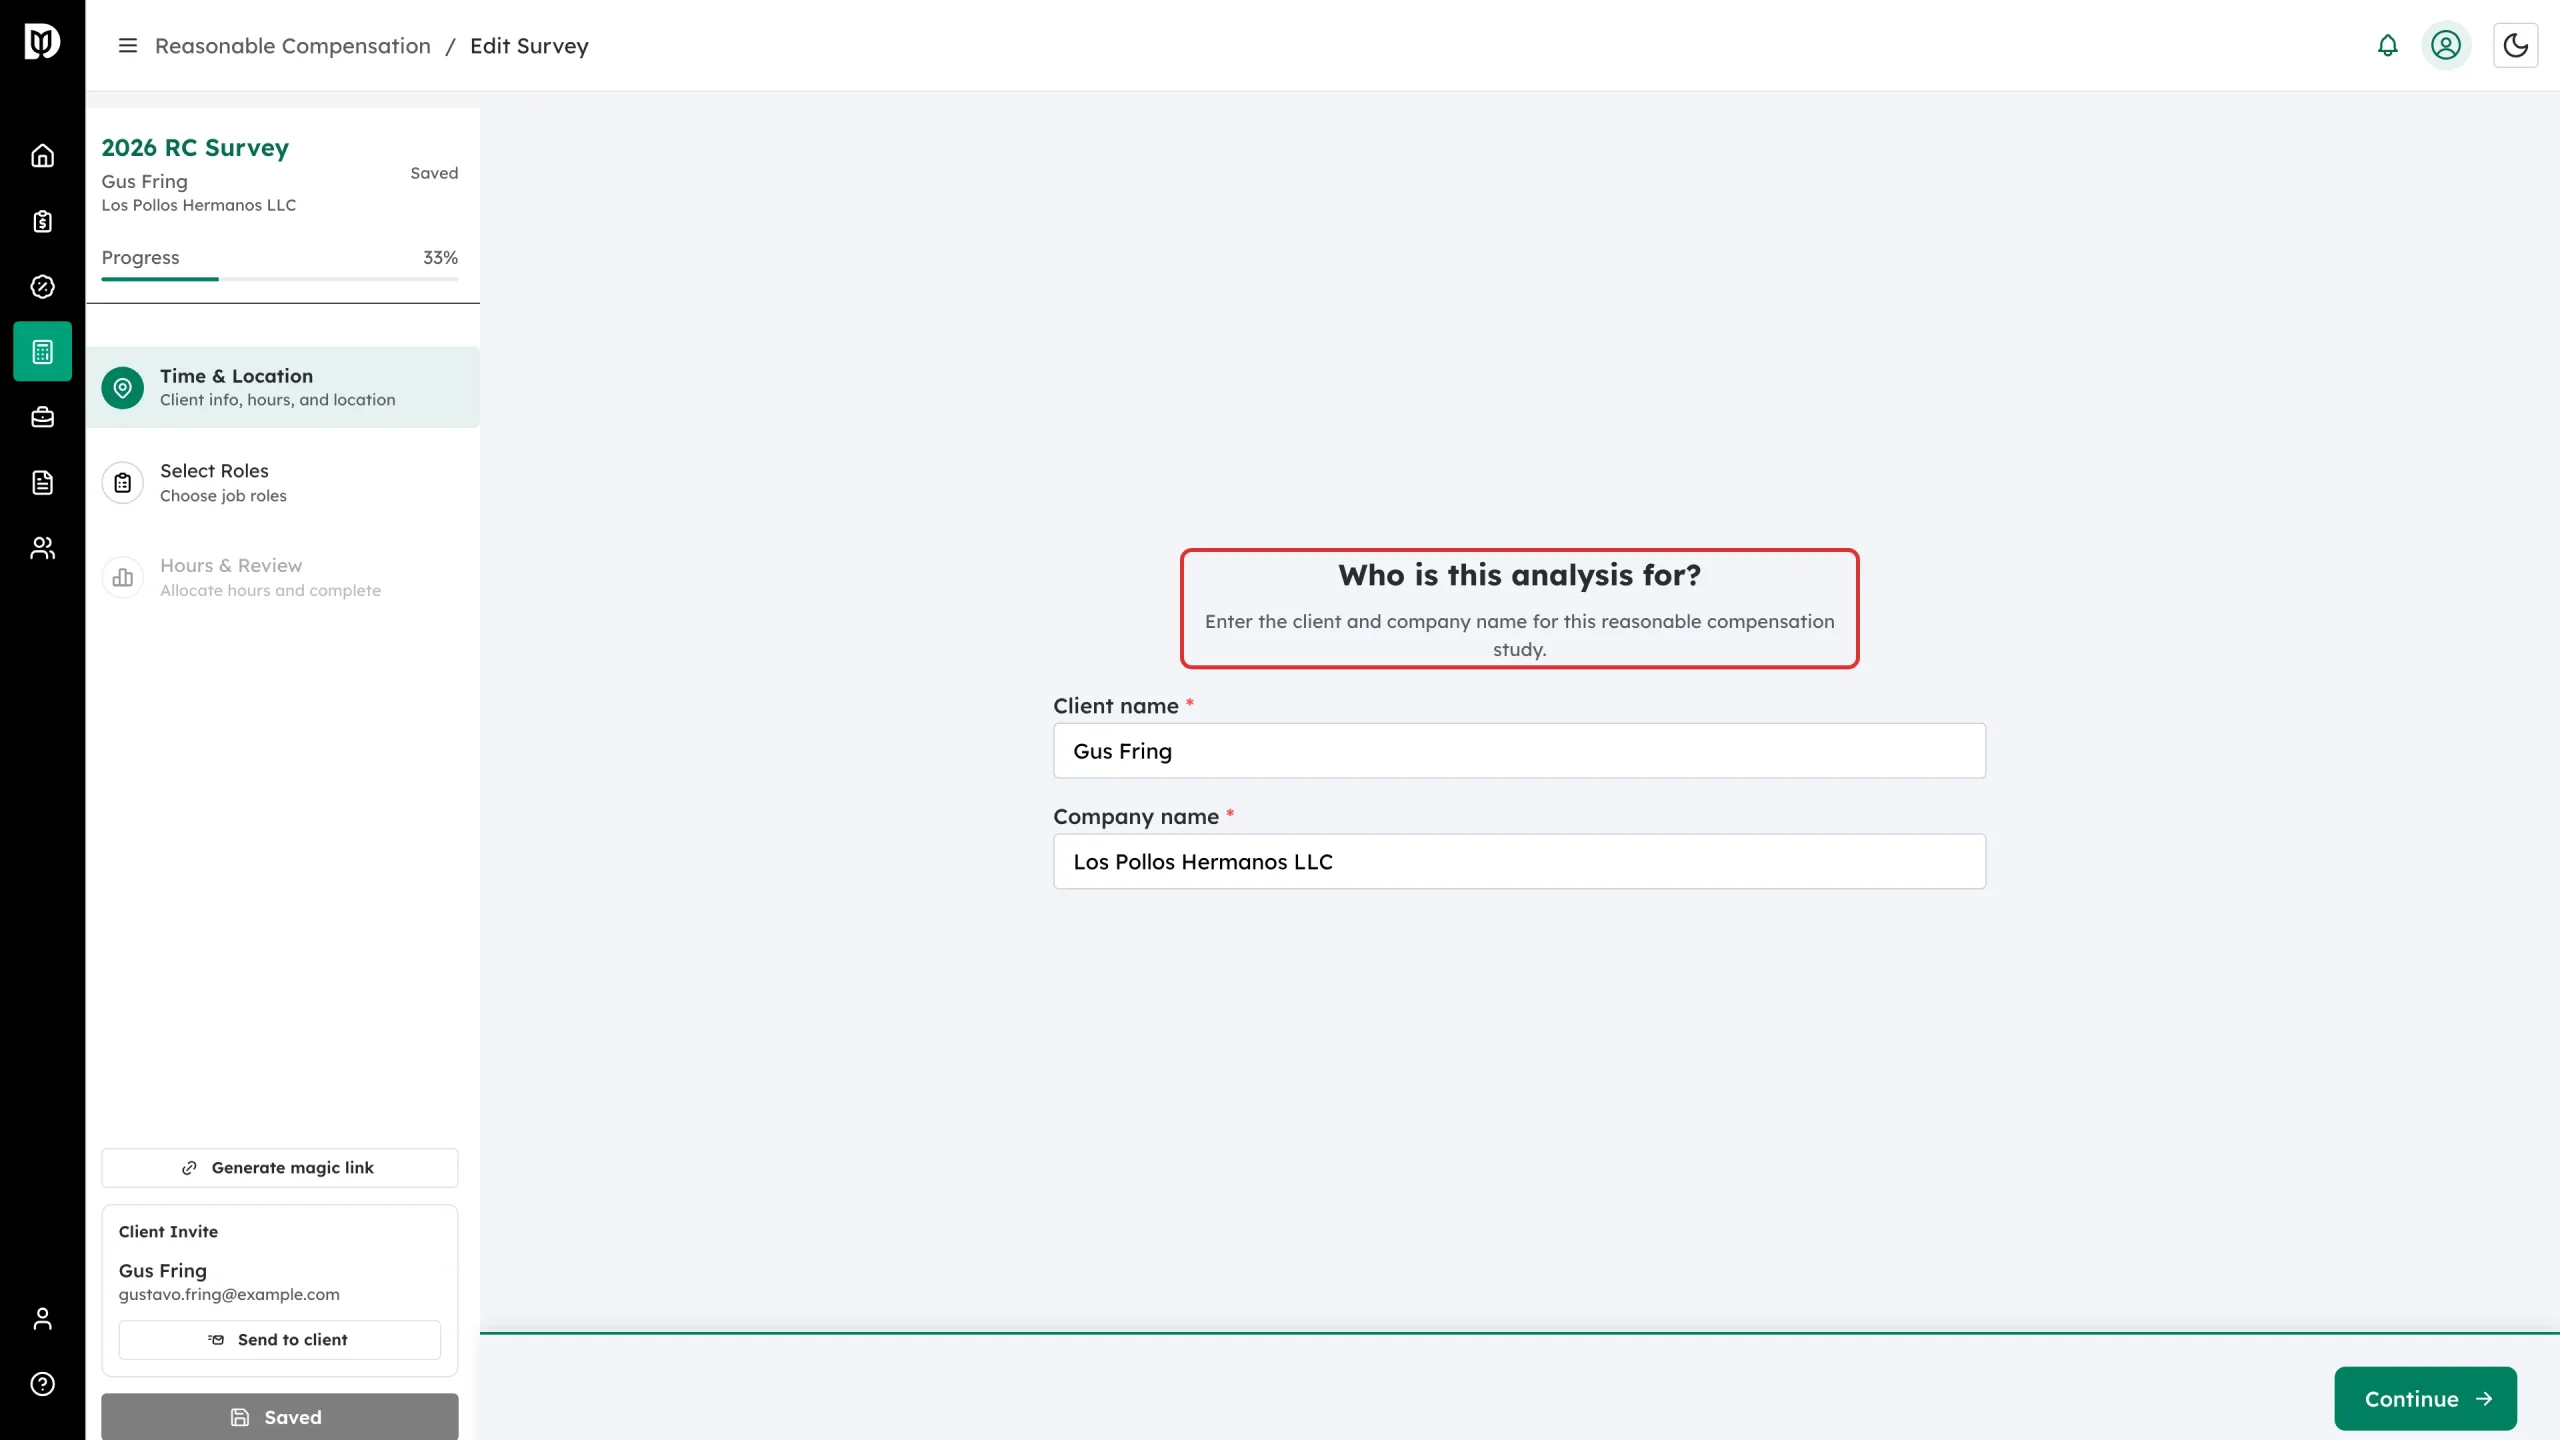
The first question is Who is this analysis for? Both fields are already filled from the contact. Correct them if needed and click Continue.
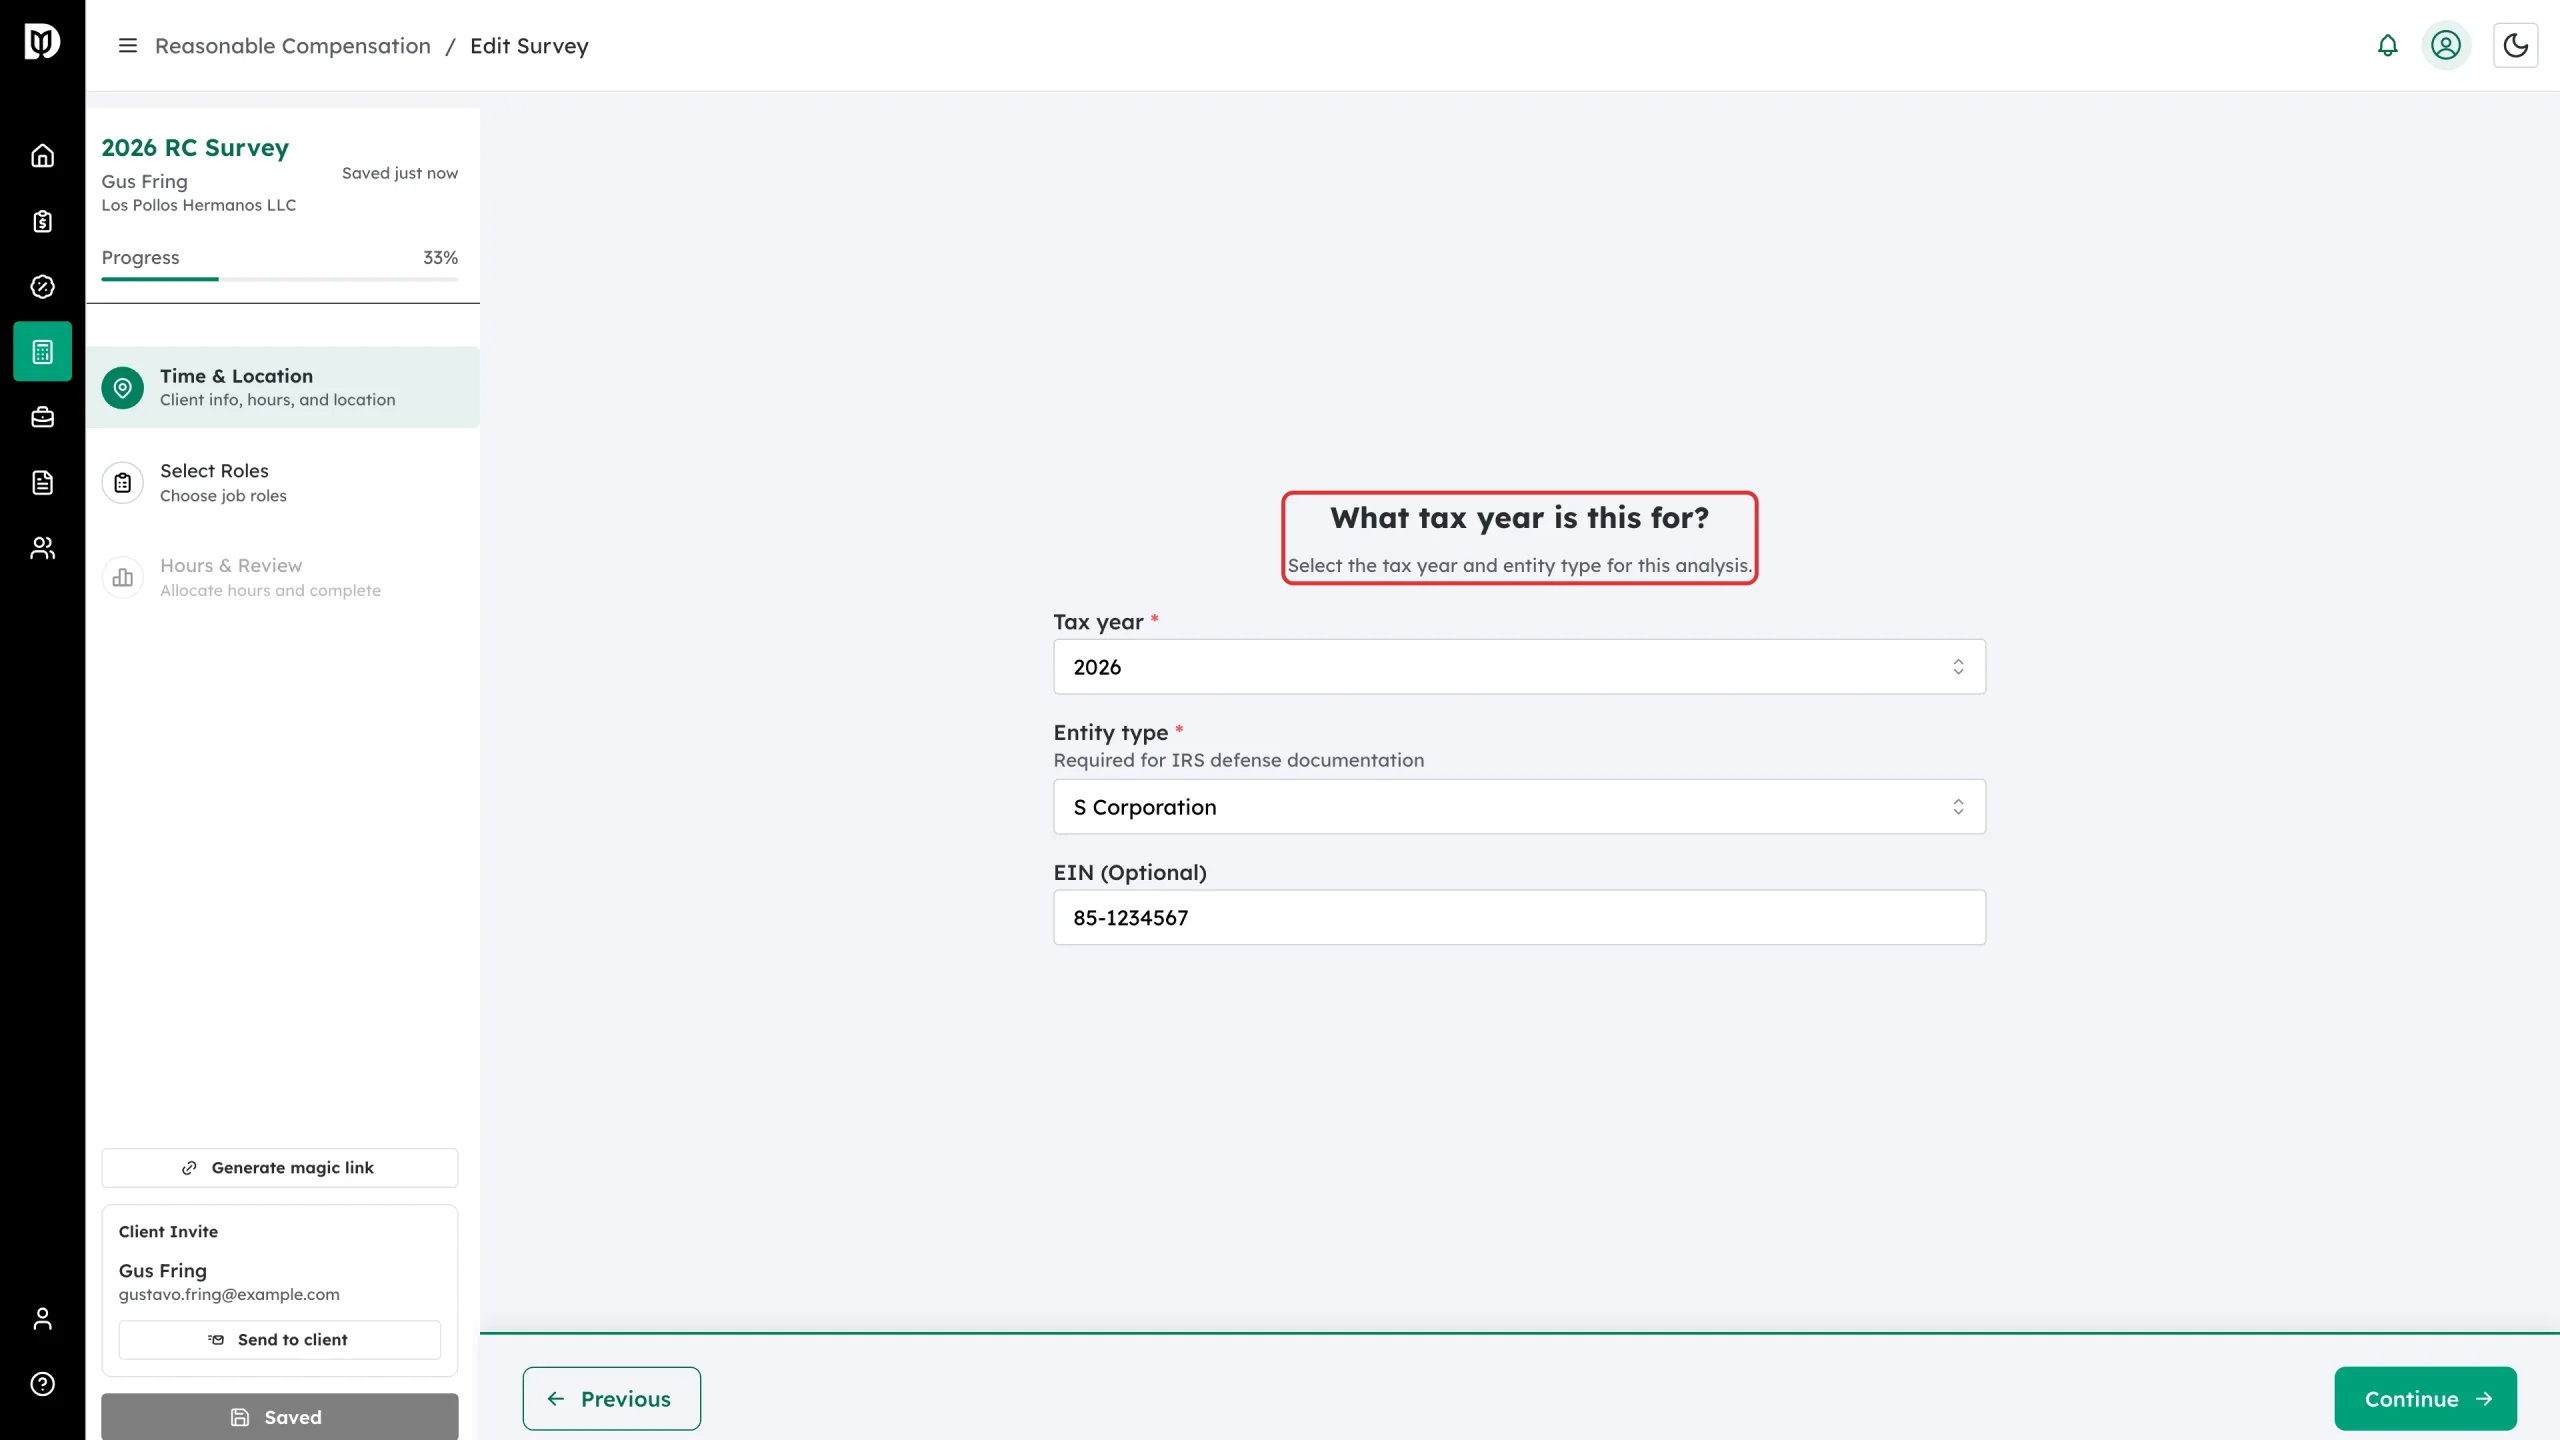
Step 10: Confirm the tax year, entity type and EIN
What tax year is this for? carries the tax year, entity type and an optional EIN.
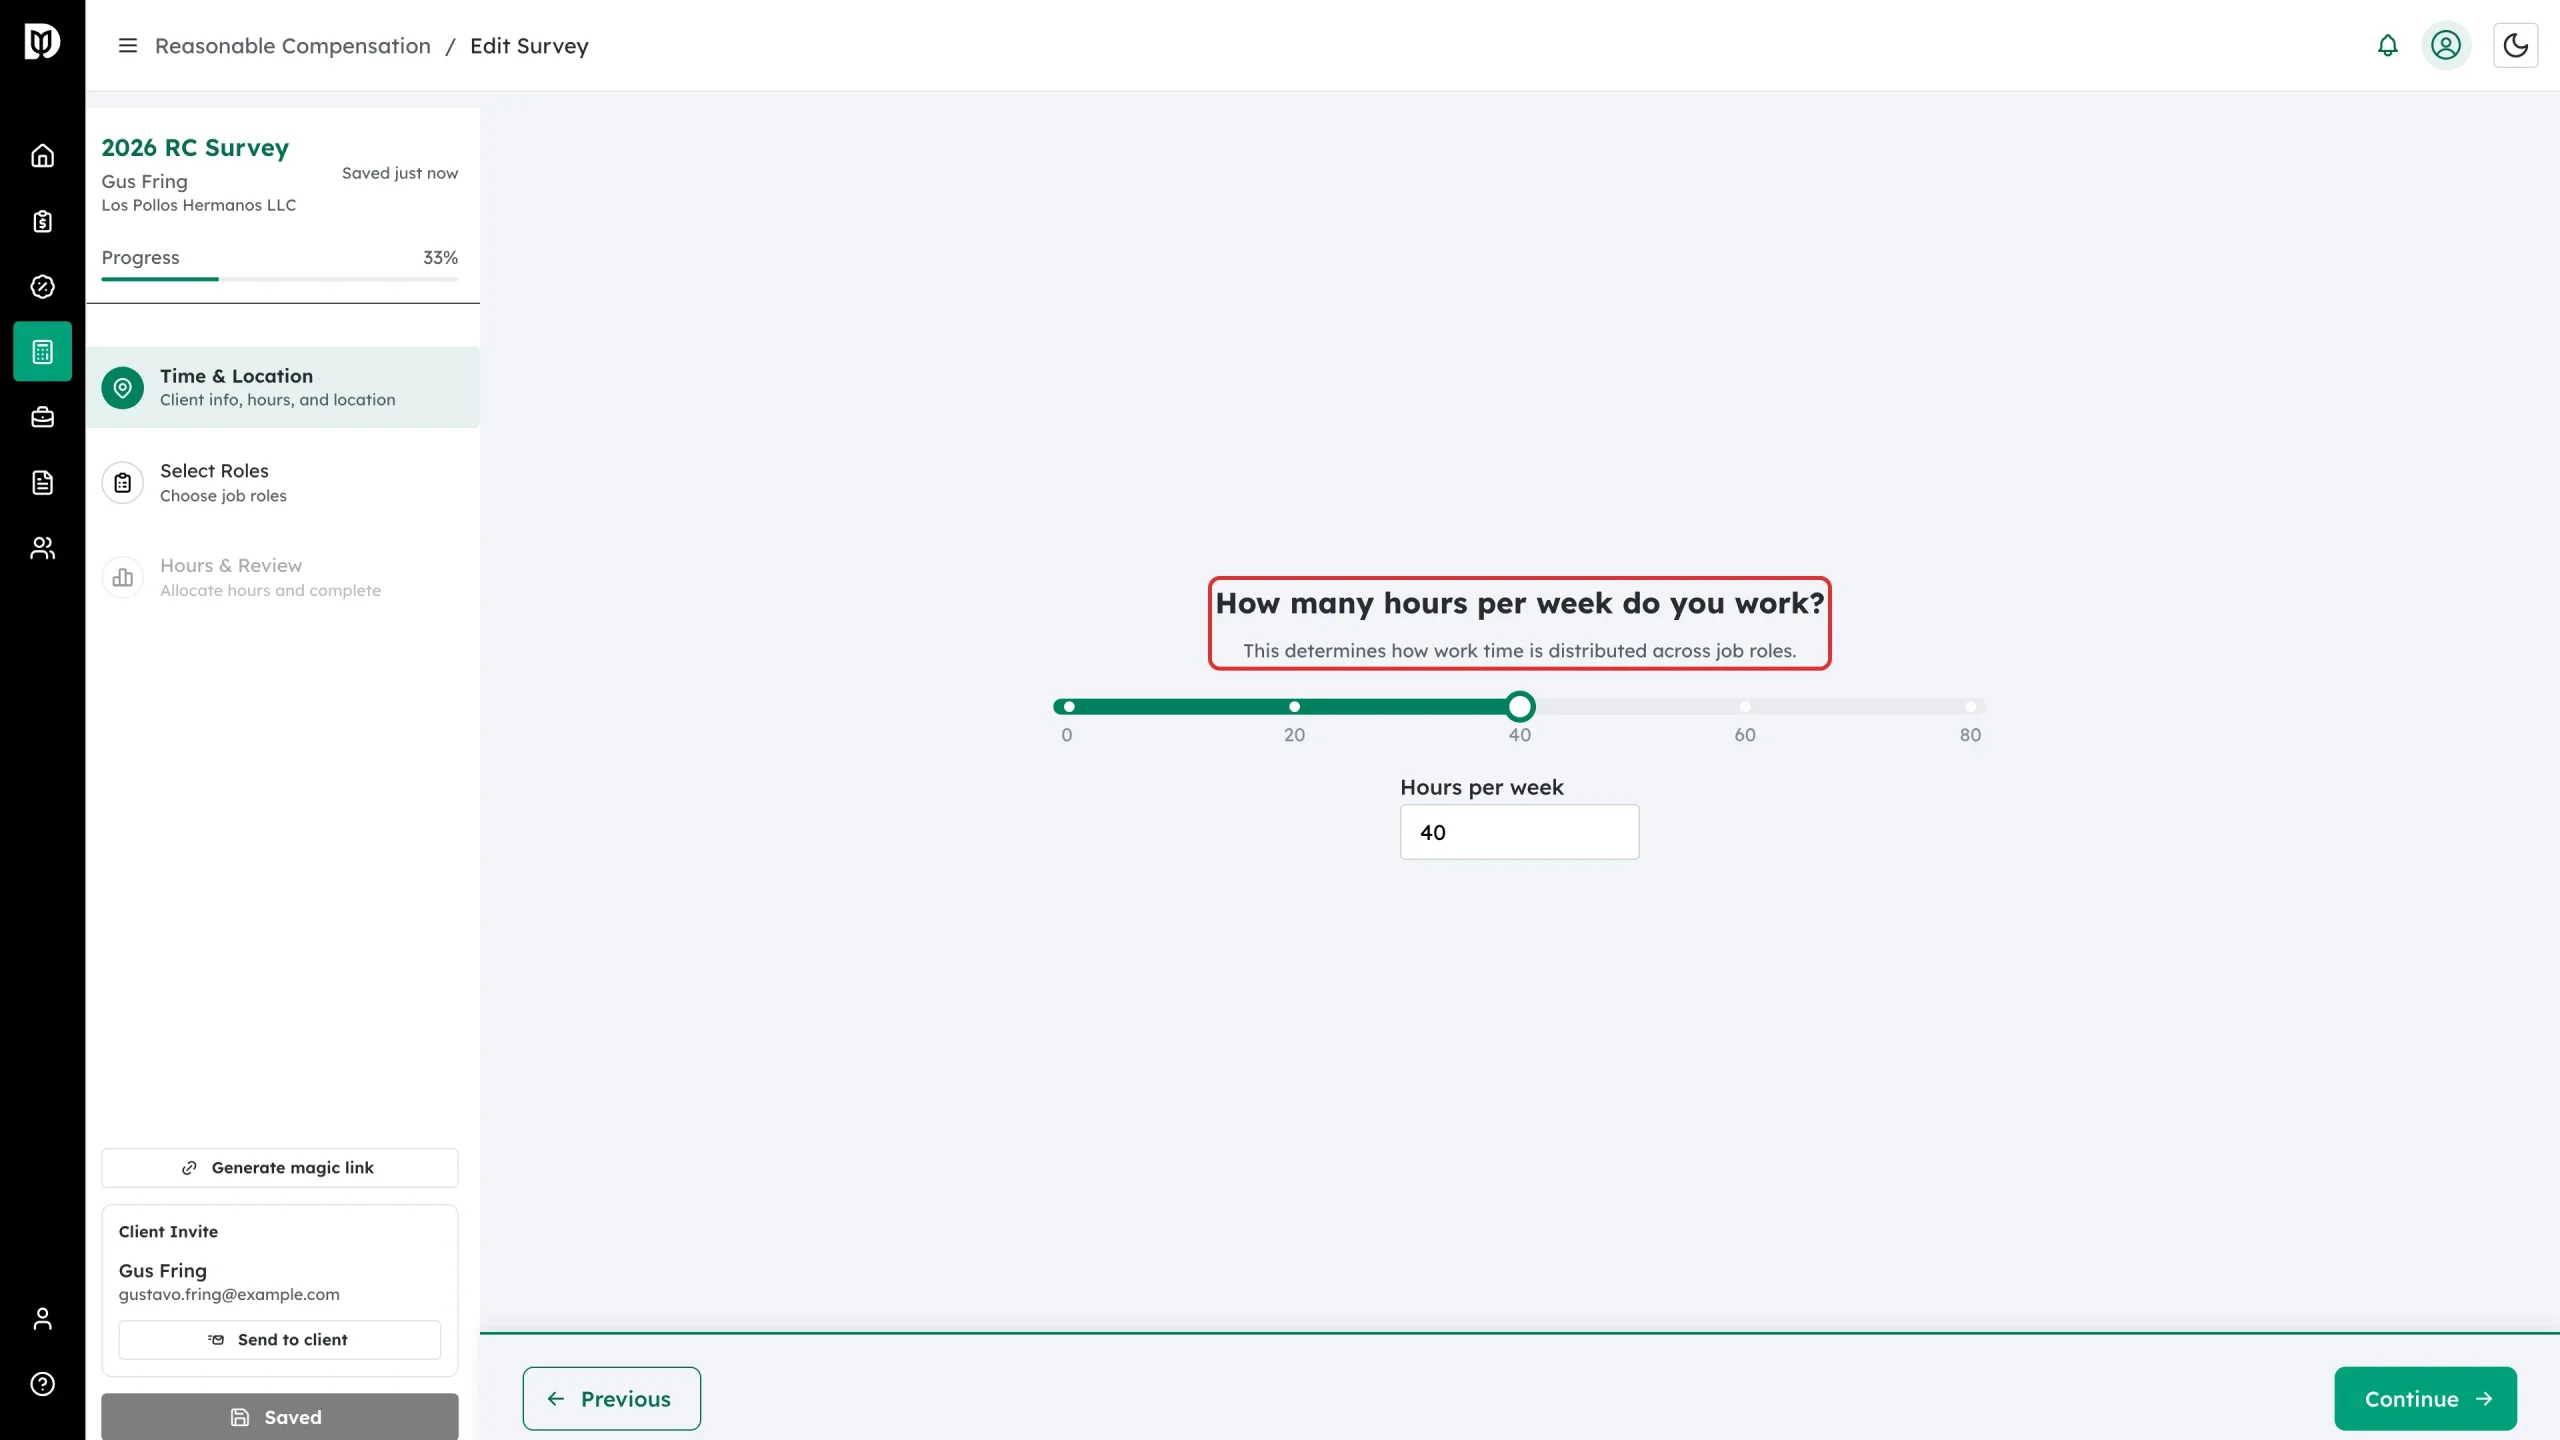
Step 11: Set the working week
How many hours per week do you work? is a slider running from 0 to 80, with a Hours per week box underneath if you would rather type the figure. This is the total you will divide across roles later, so it drives the whole calculation — use the hours the shareholder genuinely works, not a round number.
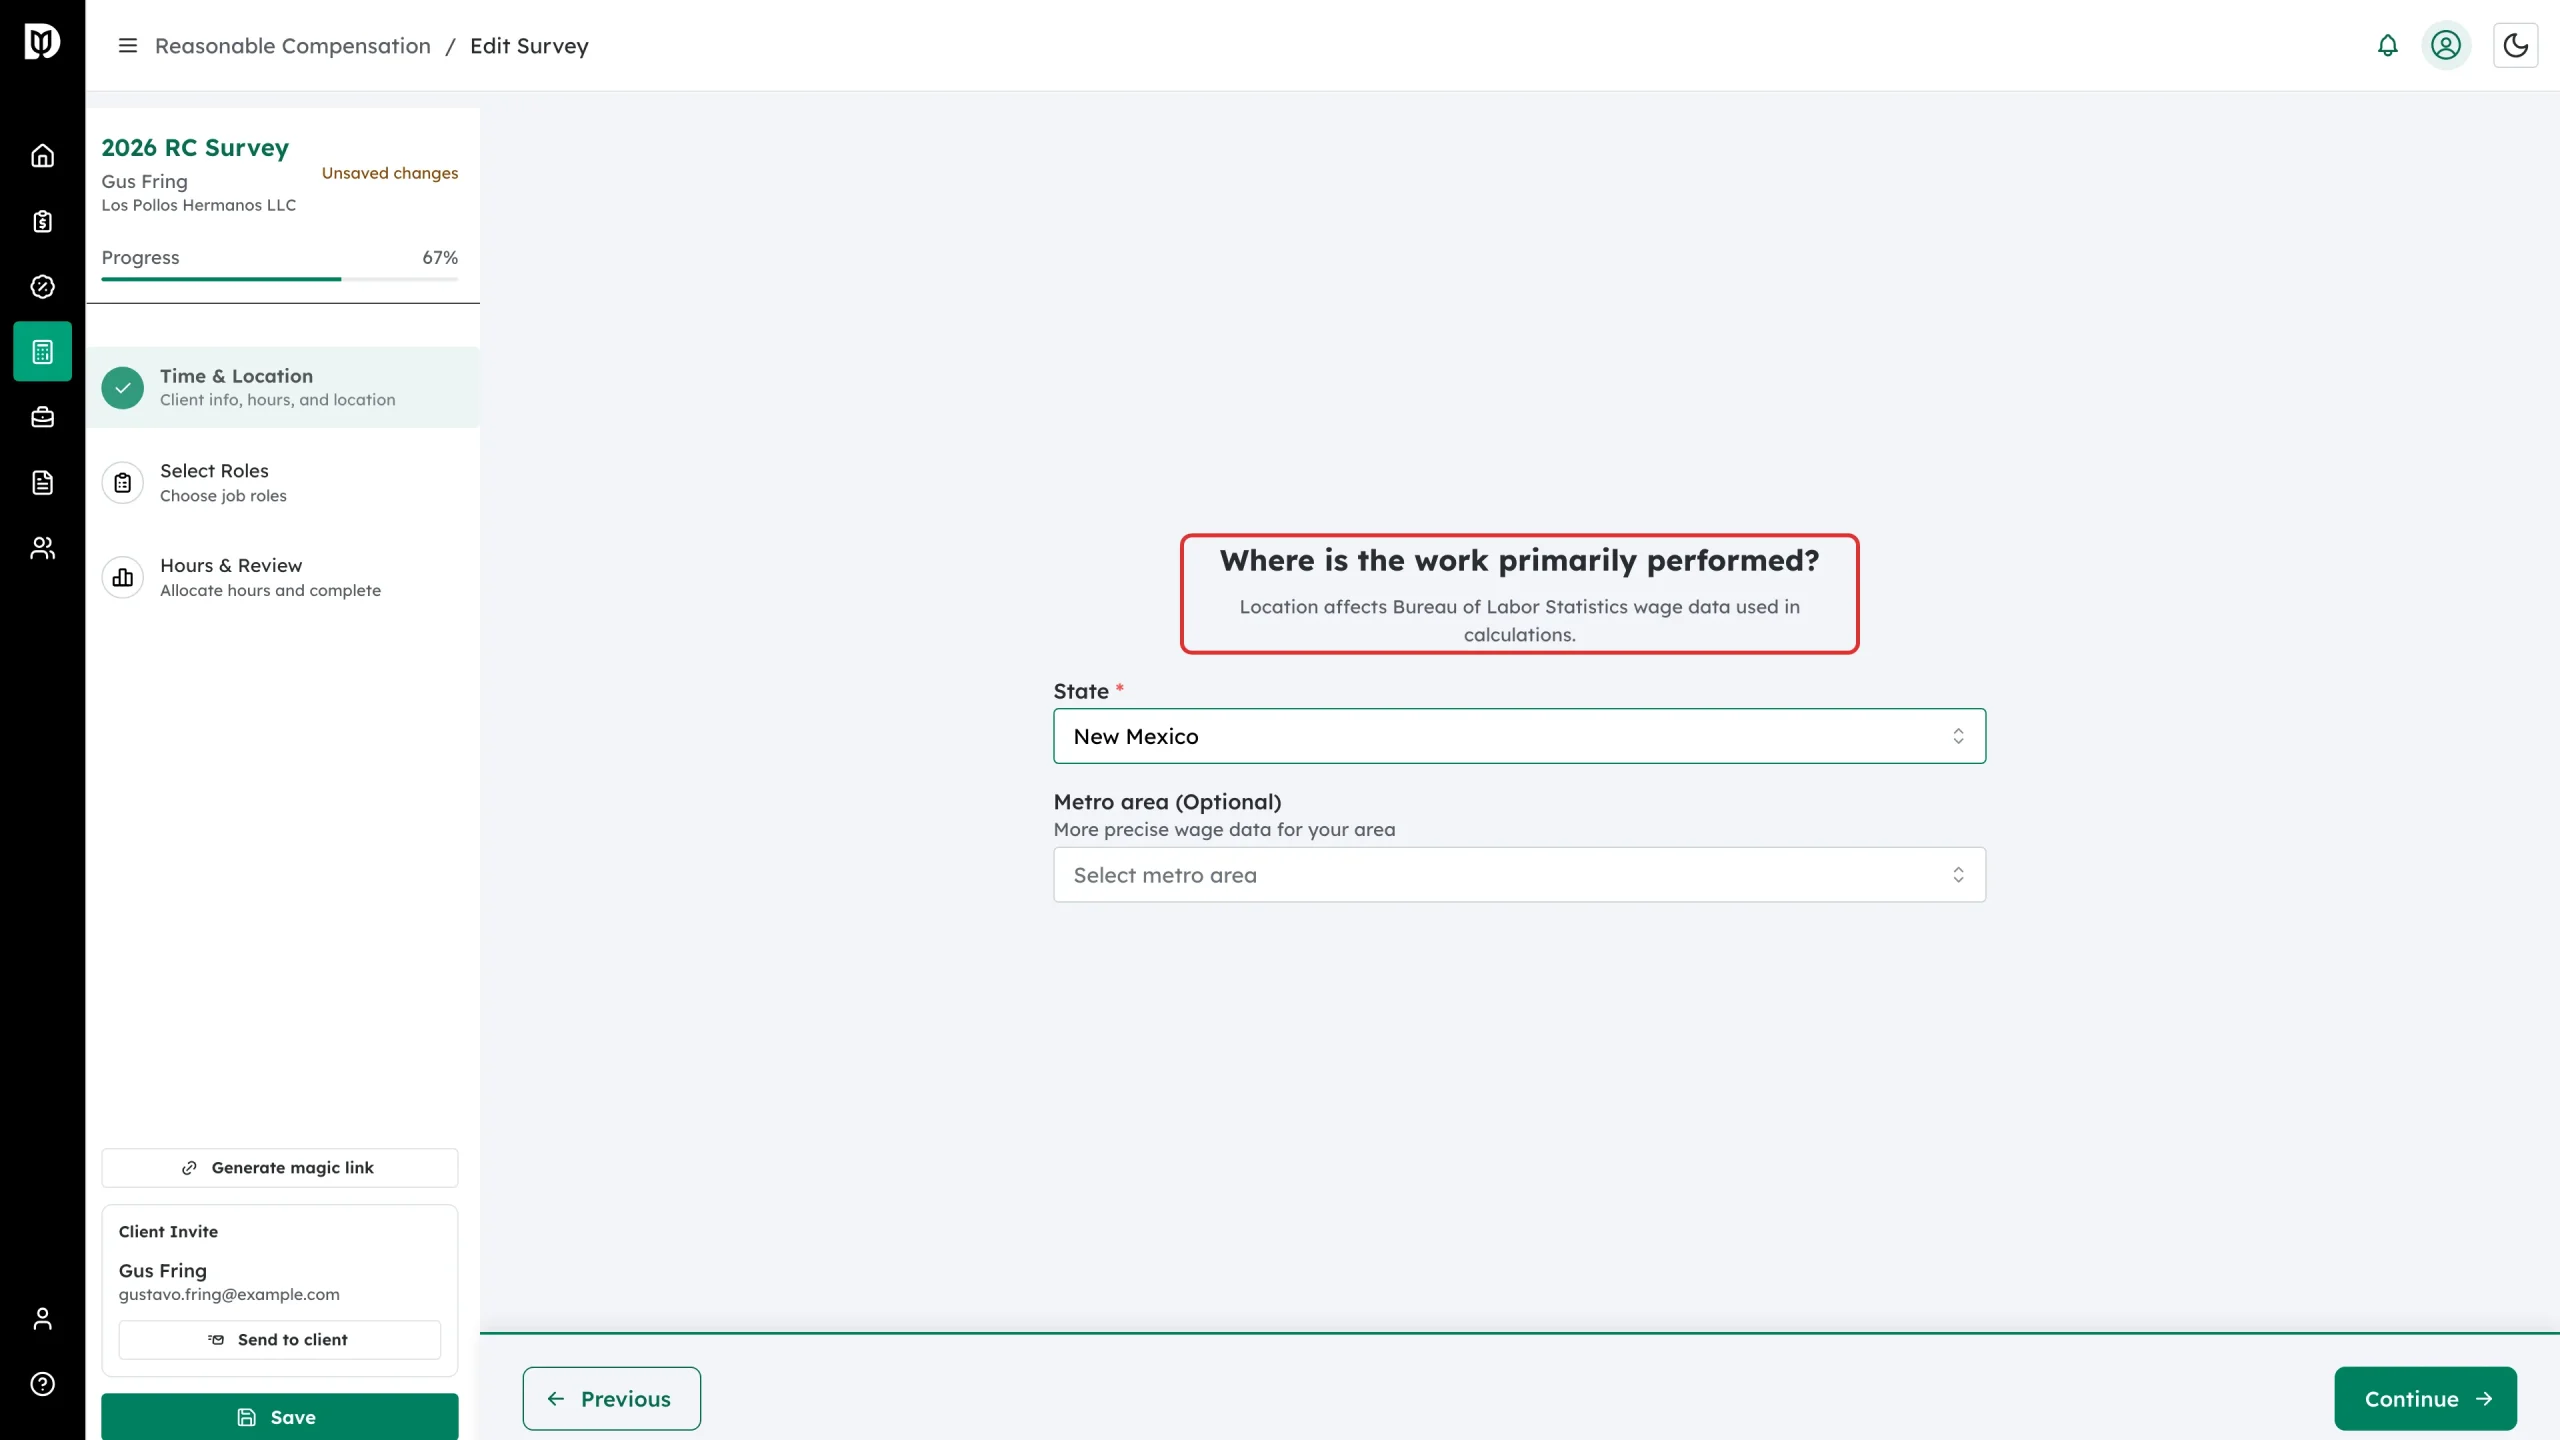
Step 12: Set the location
Where is the work primarily performed? takes a State (required) and an optional Metro area. This picks which Bureau of Labor Statistics wage table is used, so a metro area gives a tighter figure where one exists.
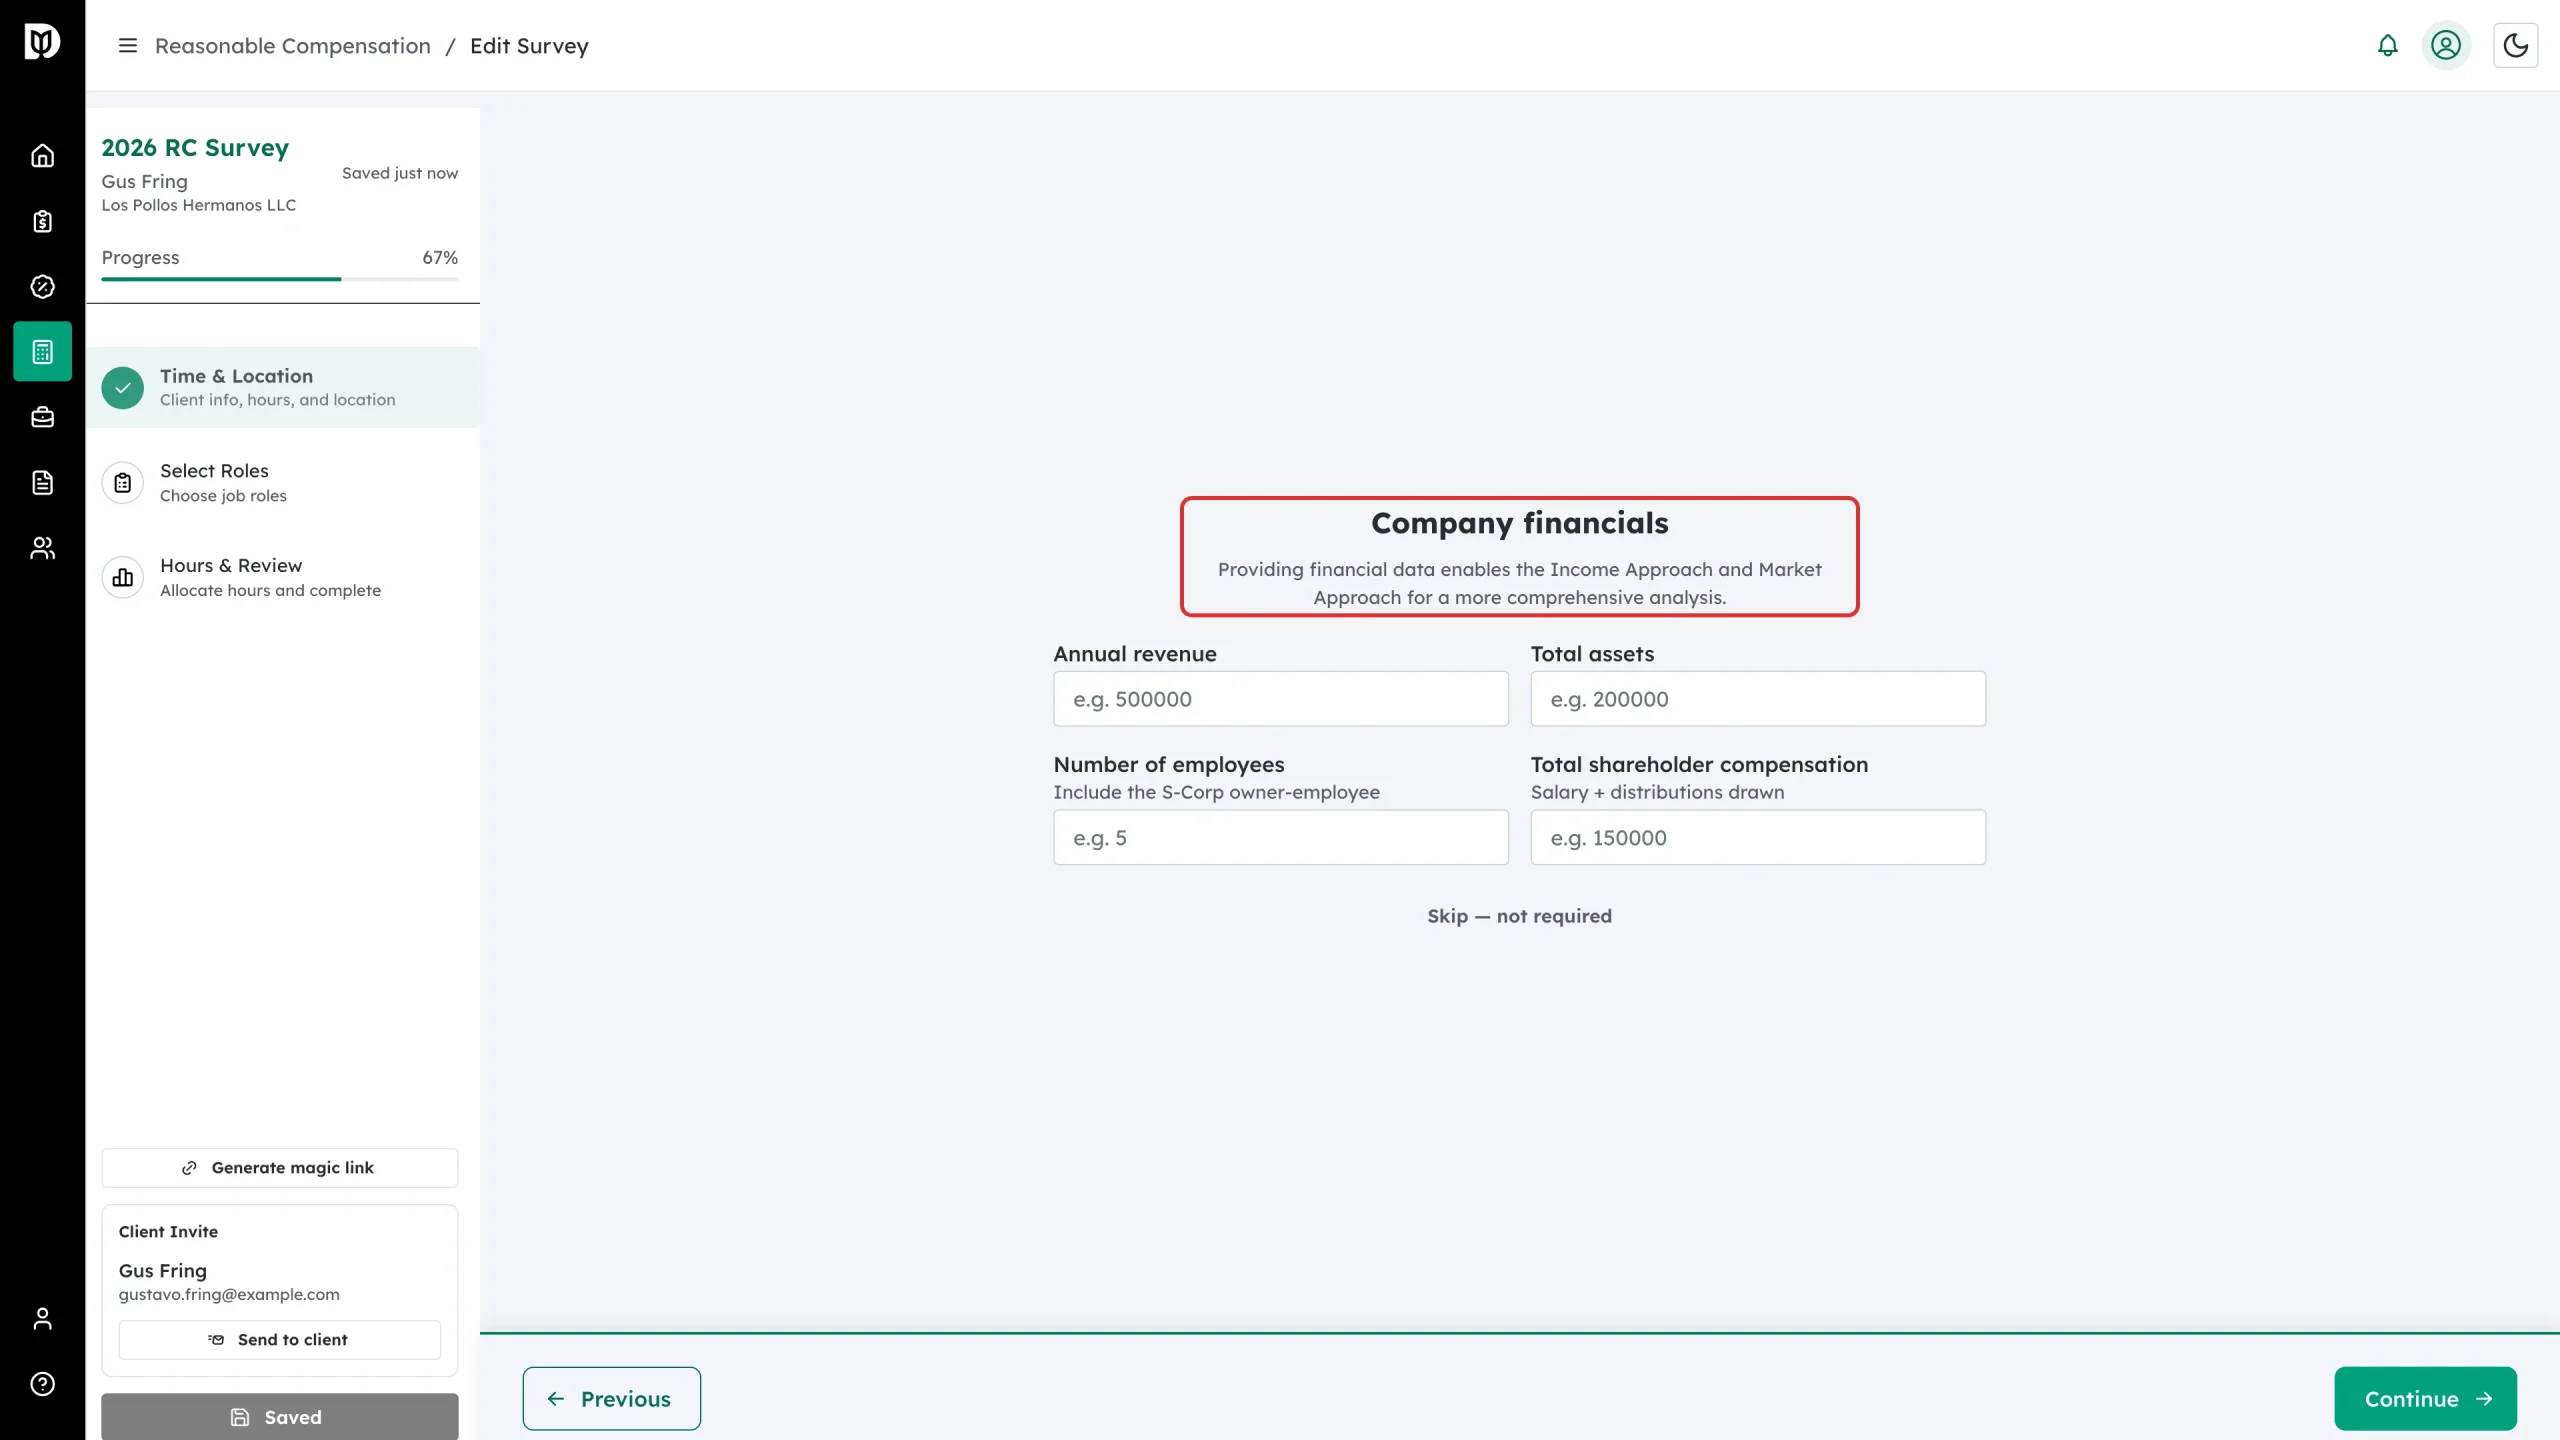
Step 13: Add company financials (optional)
Company financials takes annual revenue, total assets, number of employees (include the S-corp owner-employee) and total shareholder compensation (salary plus distributions drawn). Fill it in if you have the numbers: without them the report marks the Income Approach unavailable and the figure rests on the other approaches alone. Click Skip — not required if you do not have them.
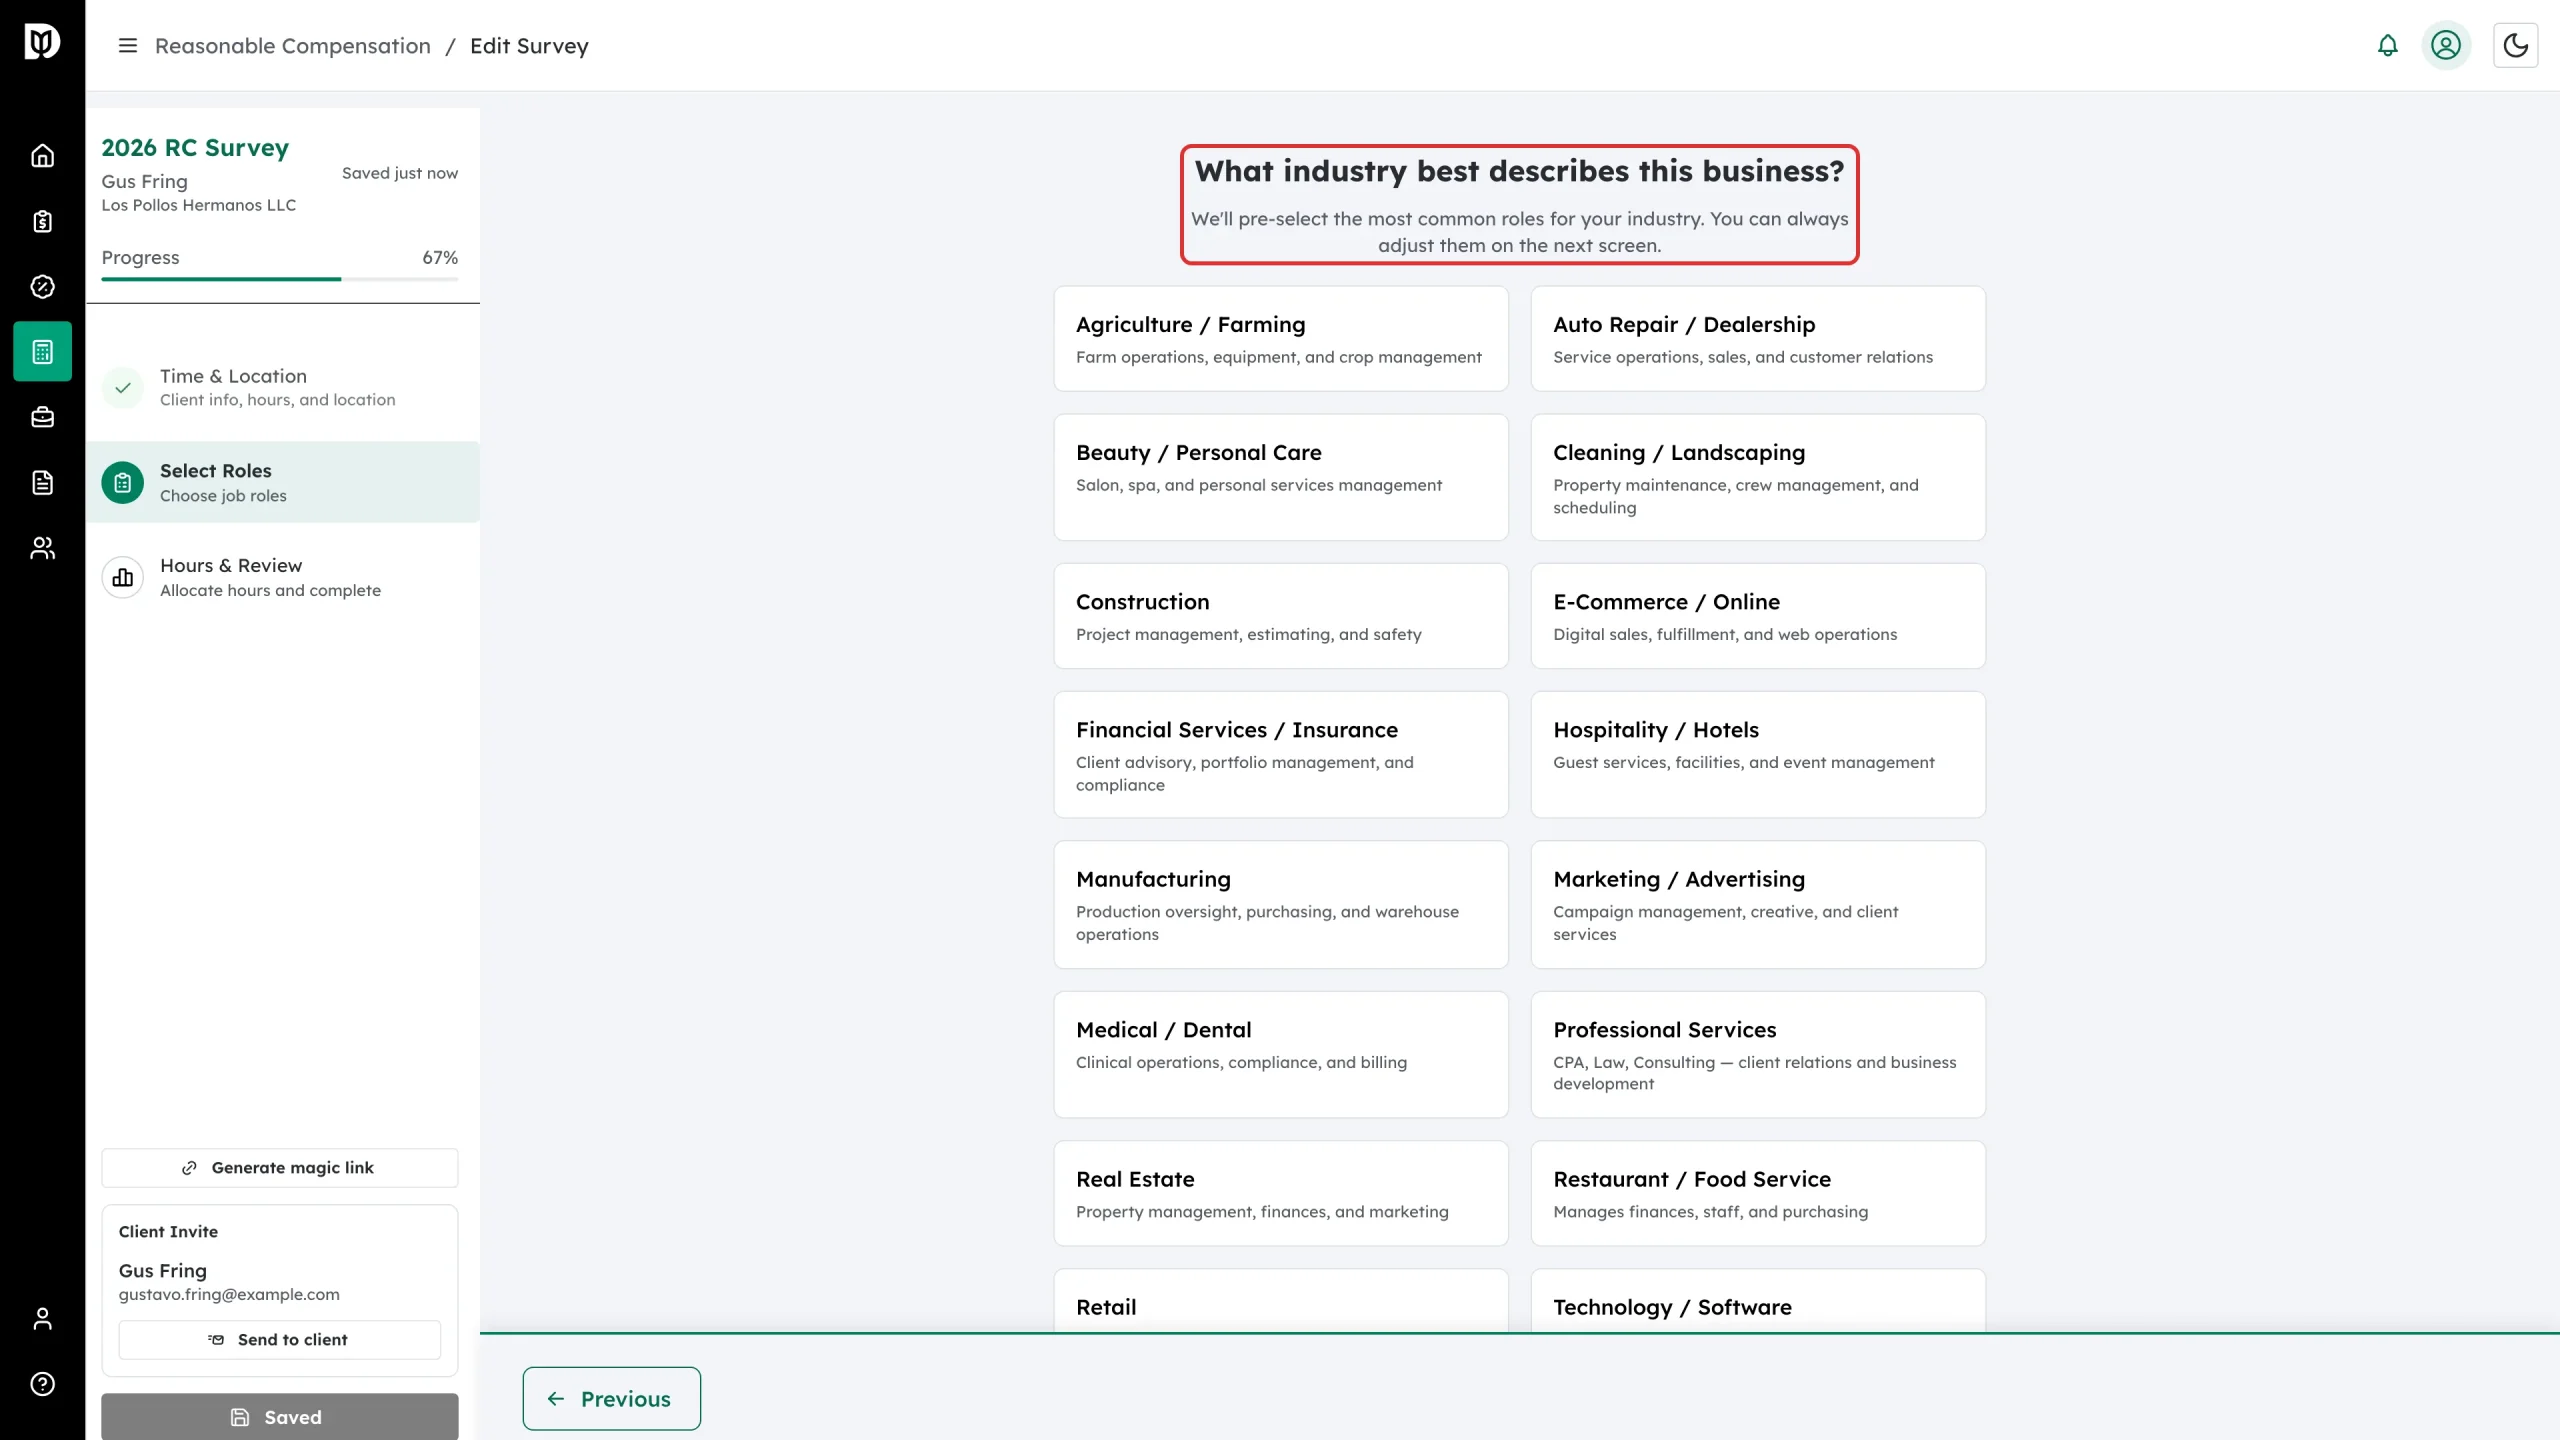
Step 14: Pick the industry
Step 2 opens with What industry best describes this business? Choosing one pre-selects a sensible role set and spreads the weekly hours across it, which you then adjust.
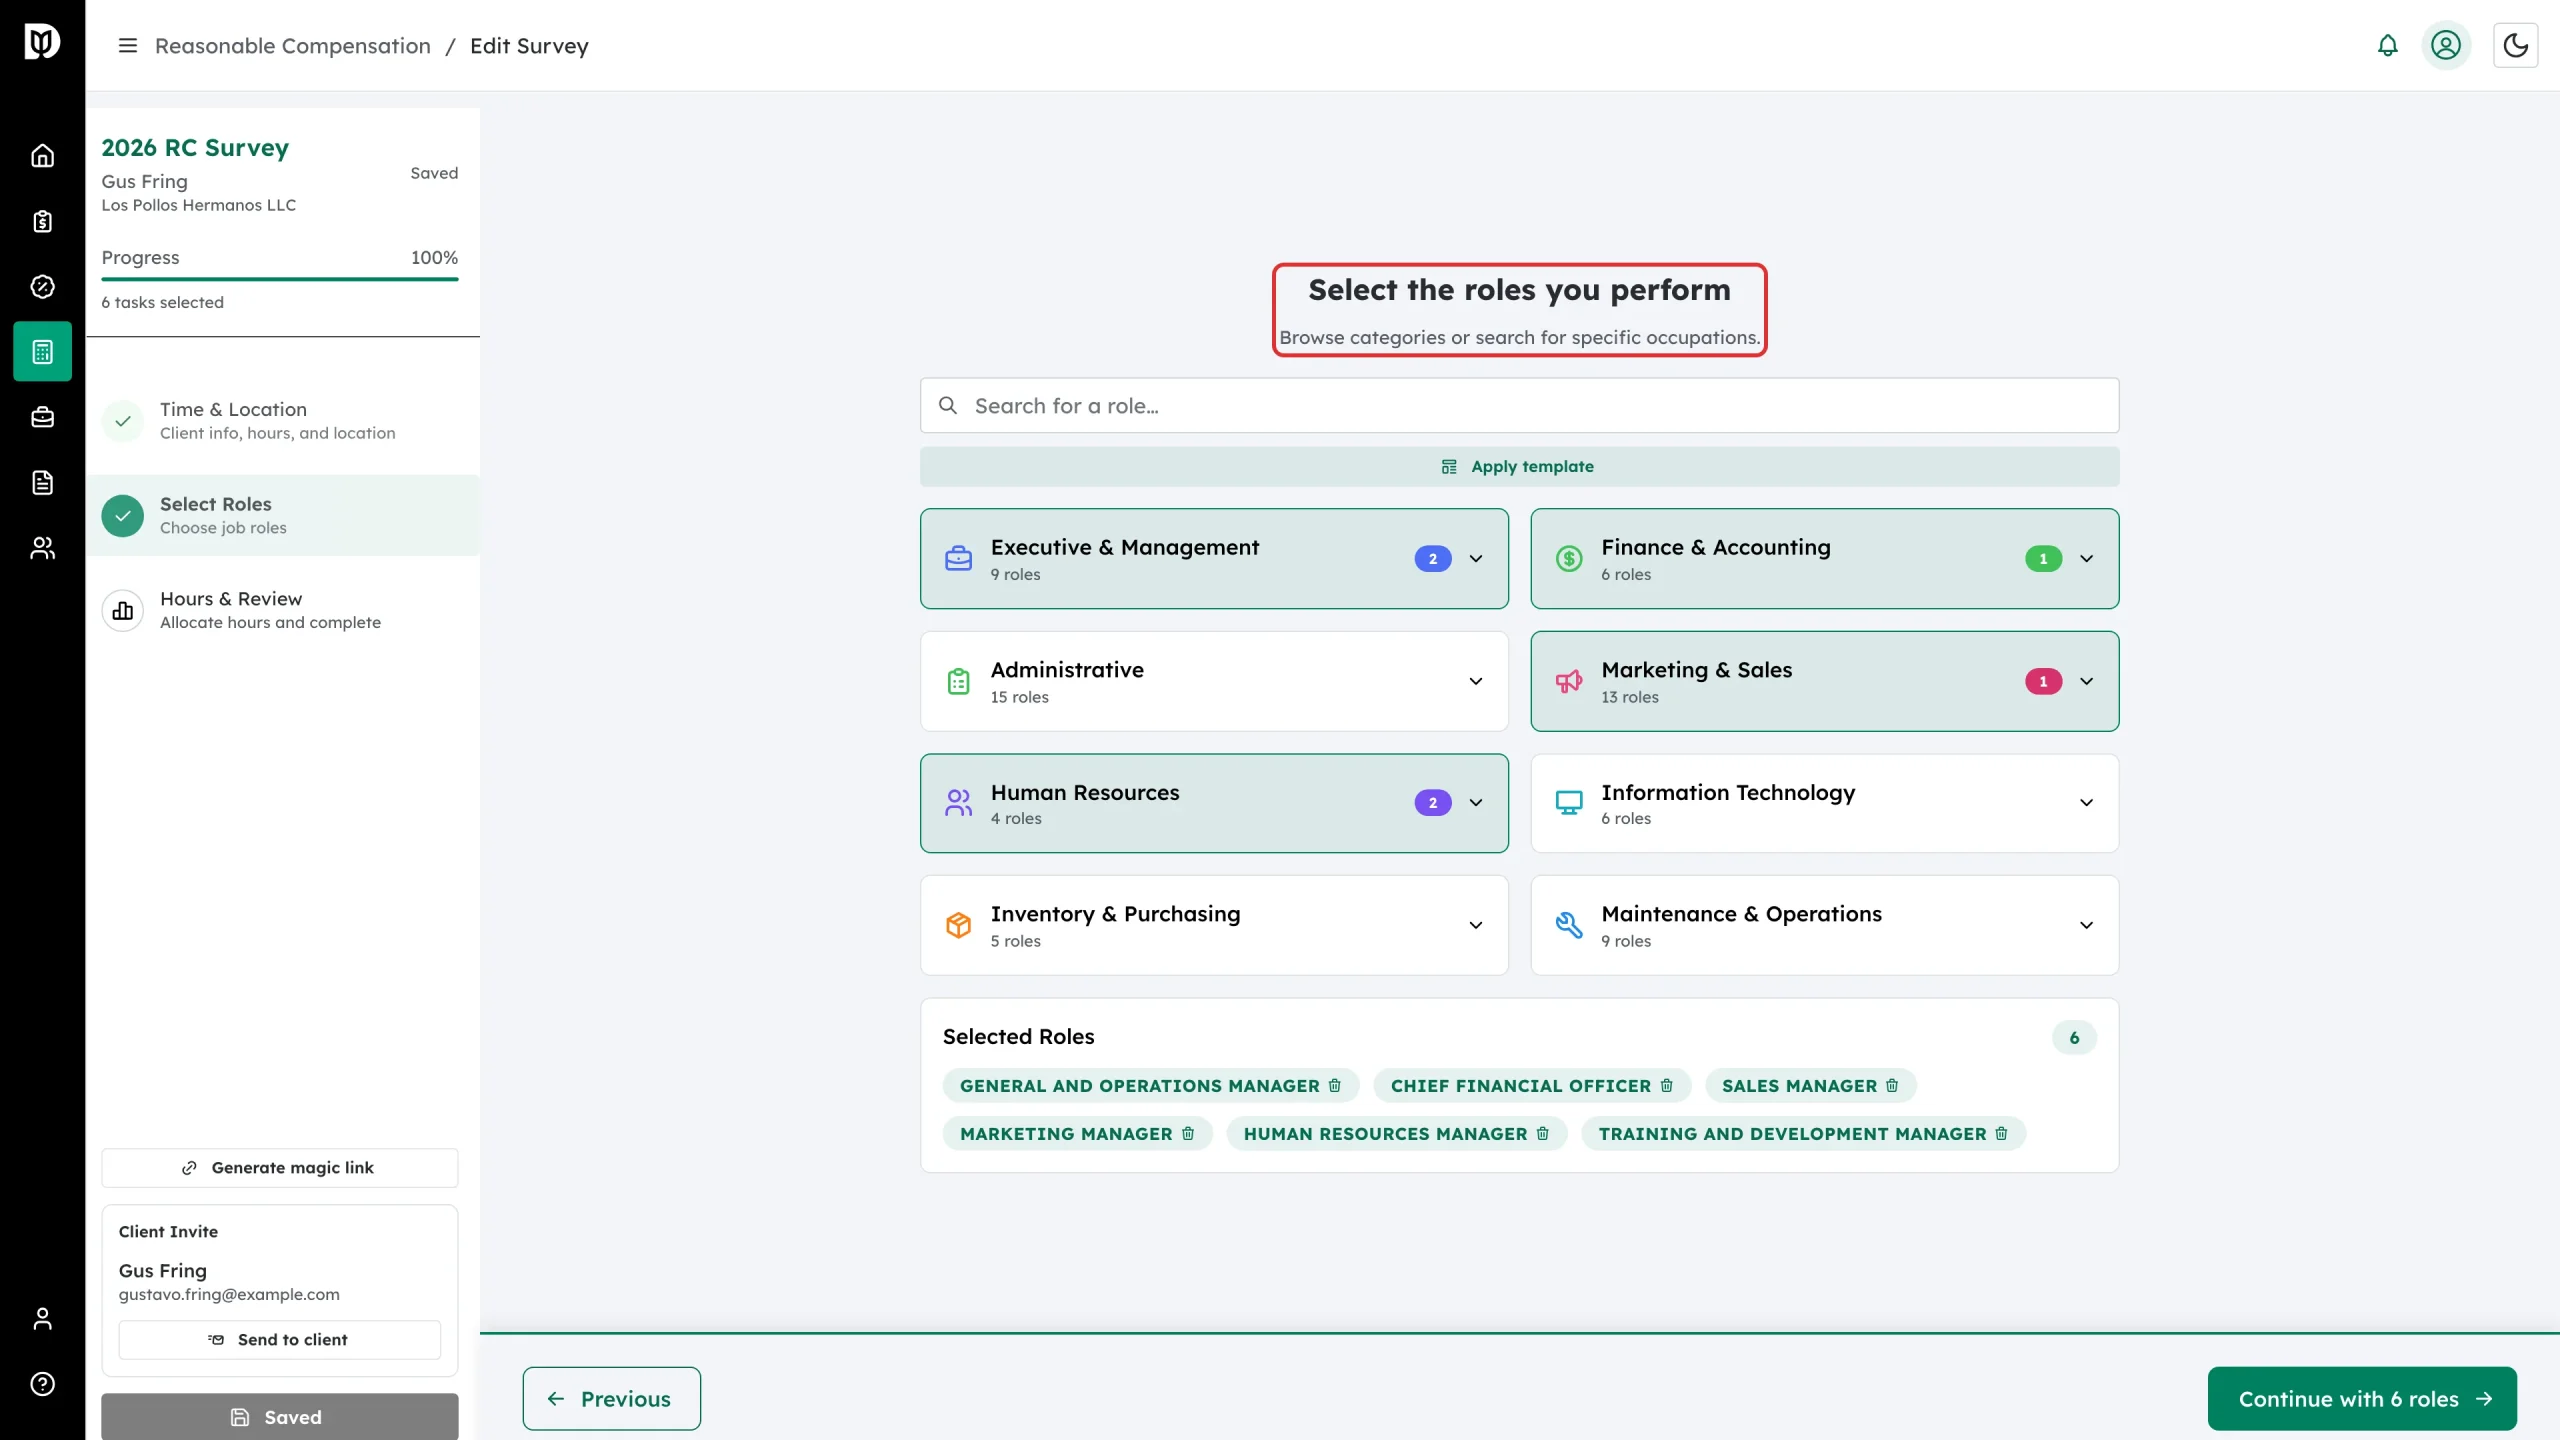
Step 15: Choose the roles
Select the roles you perform shows eight collapsible categories — Executive & Management, Finance & Accounting, Administrative, Marketing & Sales, Human Resources, Information Technology, Inventory & Purchasing and Maintenance & Operations. Expand a category to tick roles, or use Search for a role… to find a specific occupation. Search covers every occupation the Bureau of Labor Statistics publishes wages for, by official title, definition and alternate job titles, so a title like “Book Editor” or “Proofreader” finds its occupation and shows which title matched. Apply template pulls in a saved set. Chosen roles collect in Selected Roles at the bottom, each with a bin icon to remove it. Click Continue with N roles.
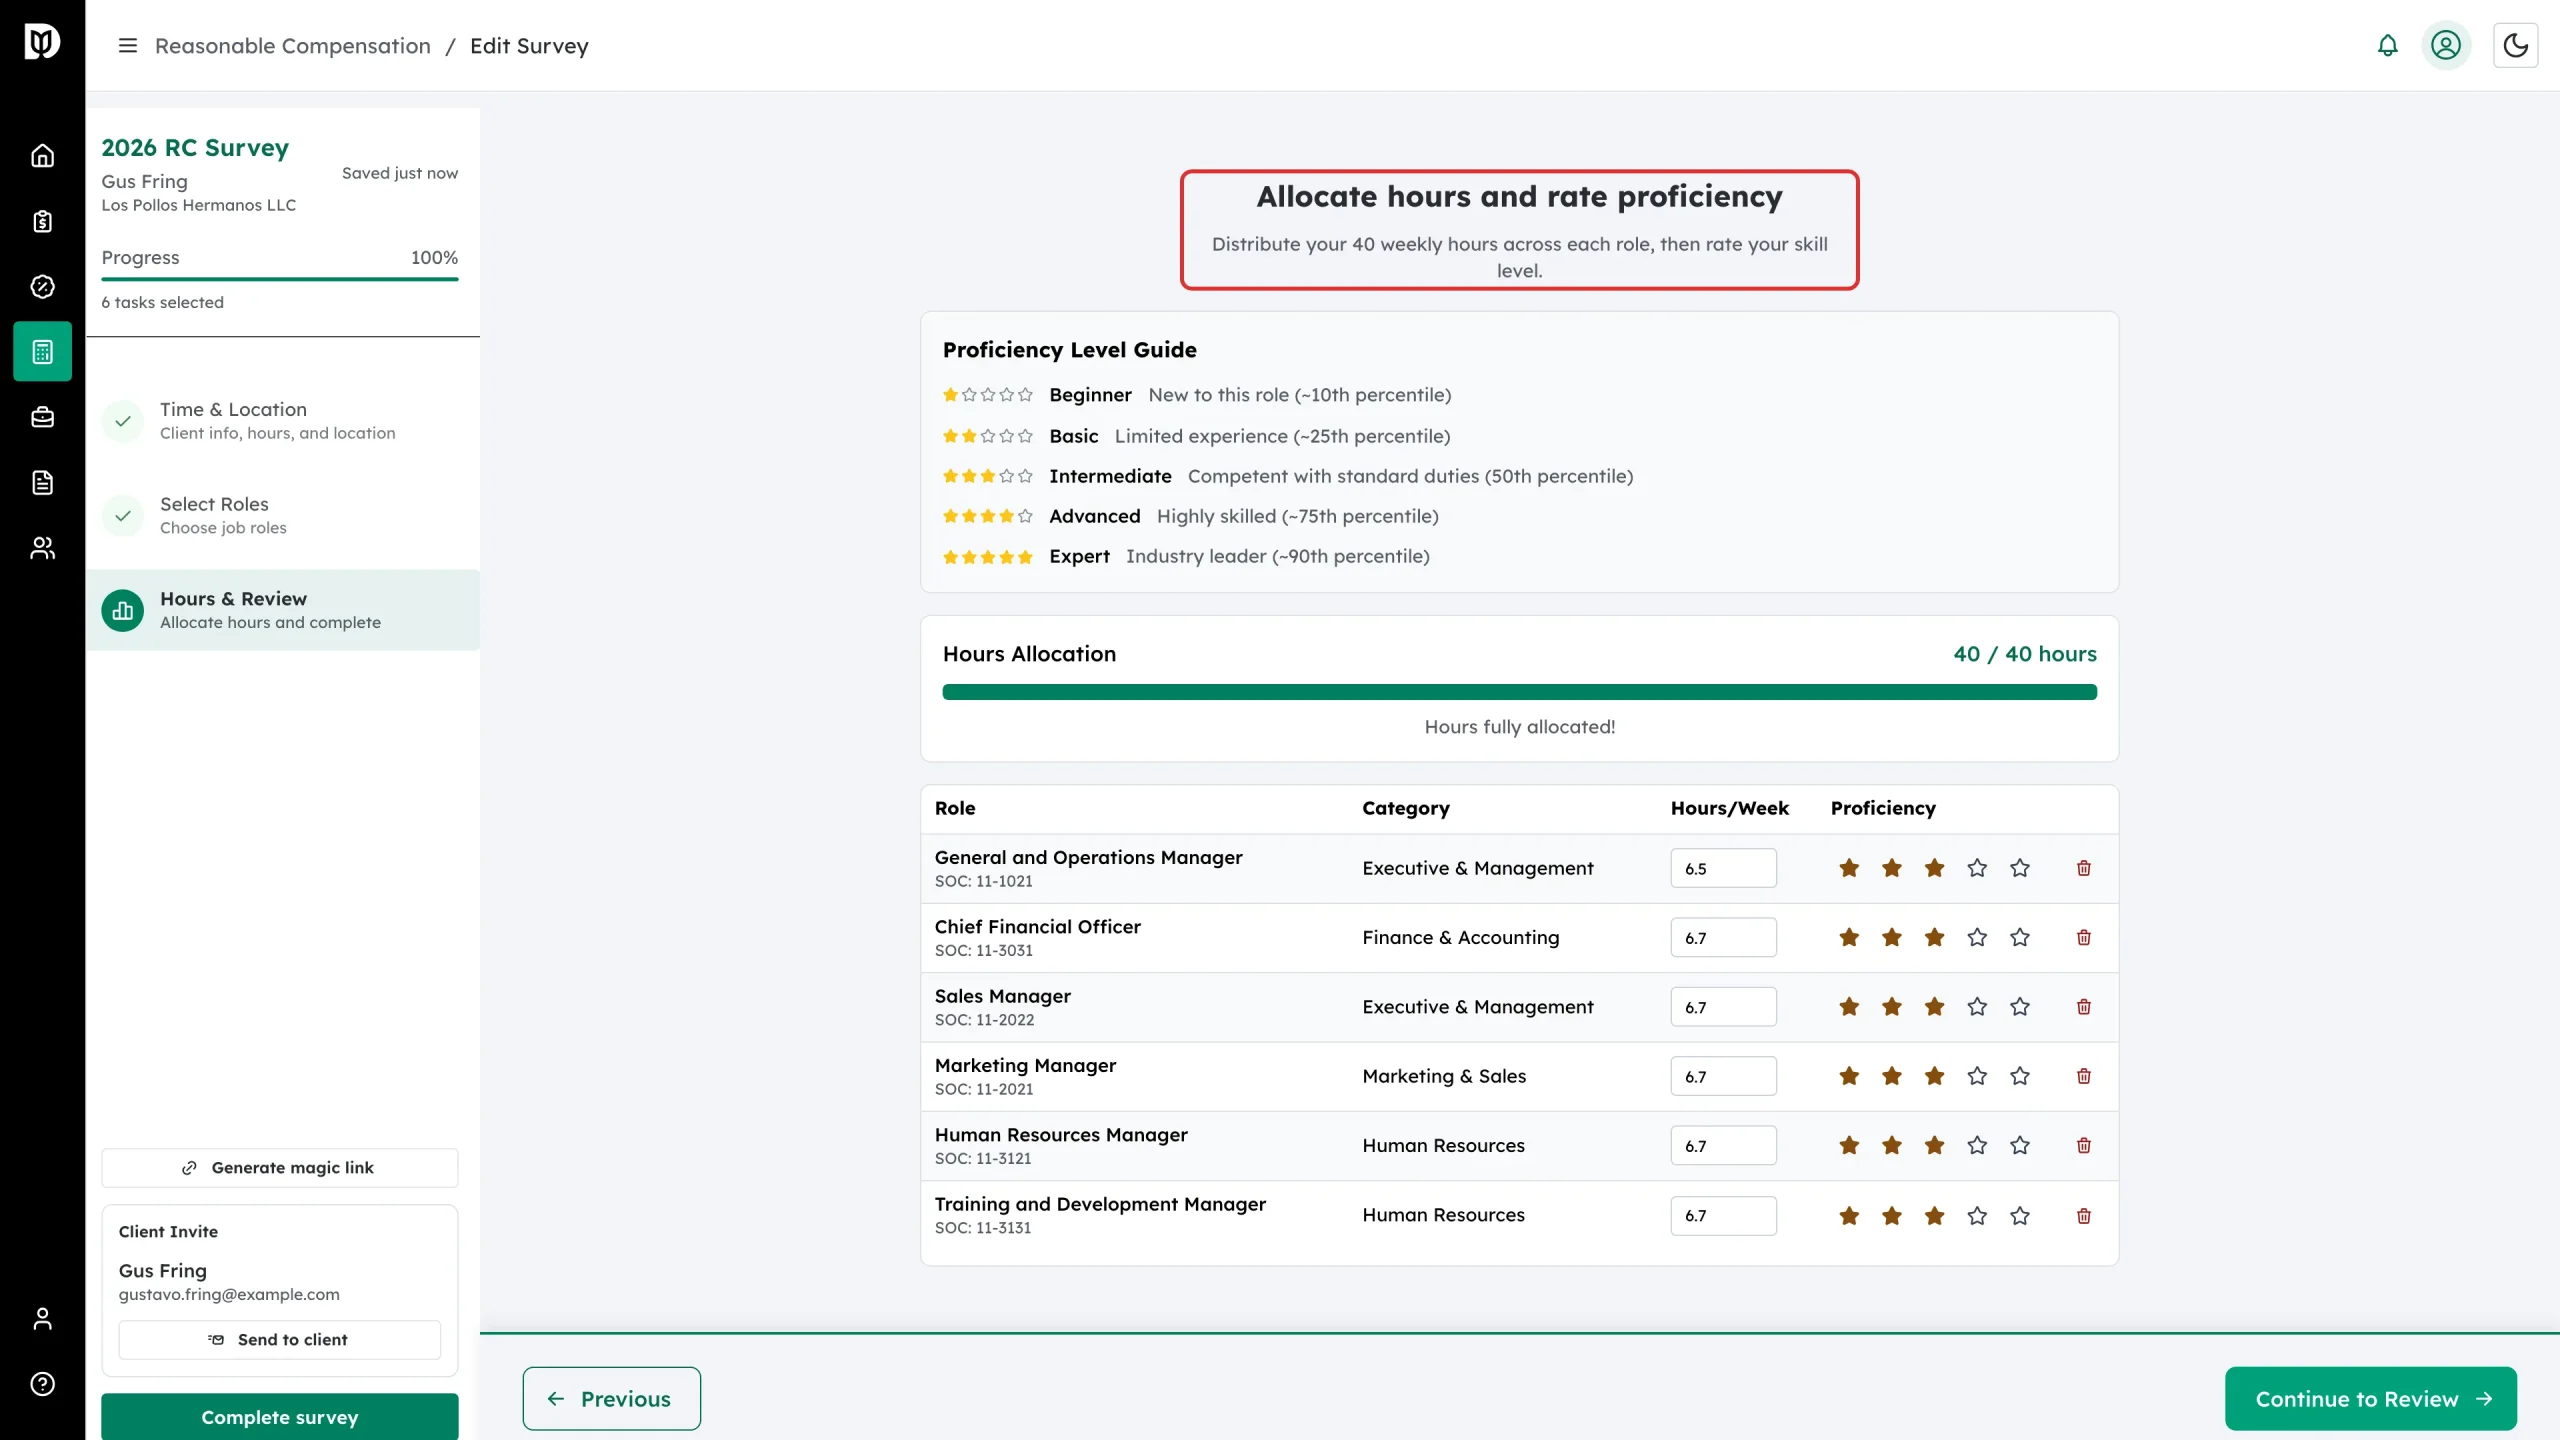
Step 16: Allocate hours and rate proficiency
Allocate hours and rate proficiency is where the number is really decided. For each role set Hours/Week and a star rating:
- 1 star — Beginner, new to this role (about the 10th percentile)
- 2 stars — Basic, limited experience (about the 25th)
- 3 stars — Intermediate, competent with standard duties (the 50th)
- 4 stars — Advanced, highly skilled (about the 75th)
- 5 stars — Expert, industry leader (about the 90th)
The Hours Allocation bar tracks your total against the weekly hours from step 11 and turns green at “Hours fully allocated!”. Then click Continue to Review.
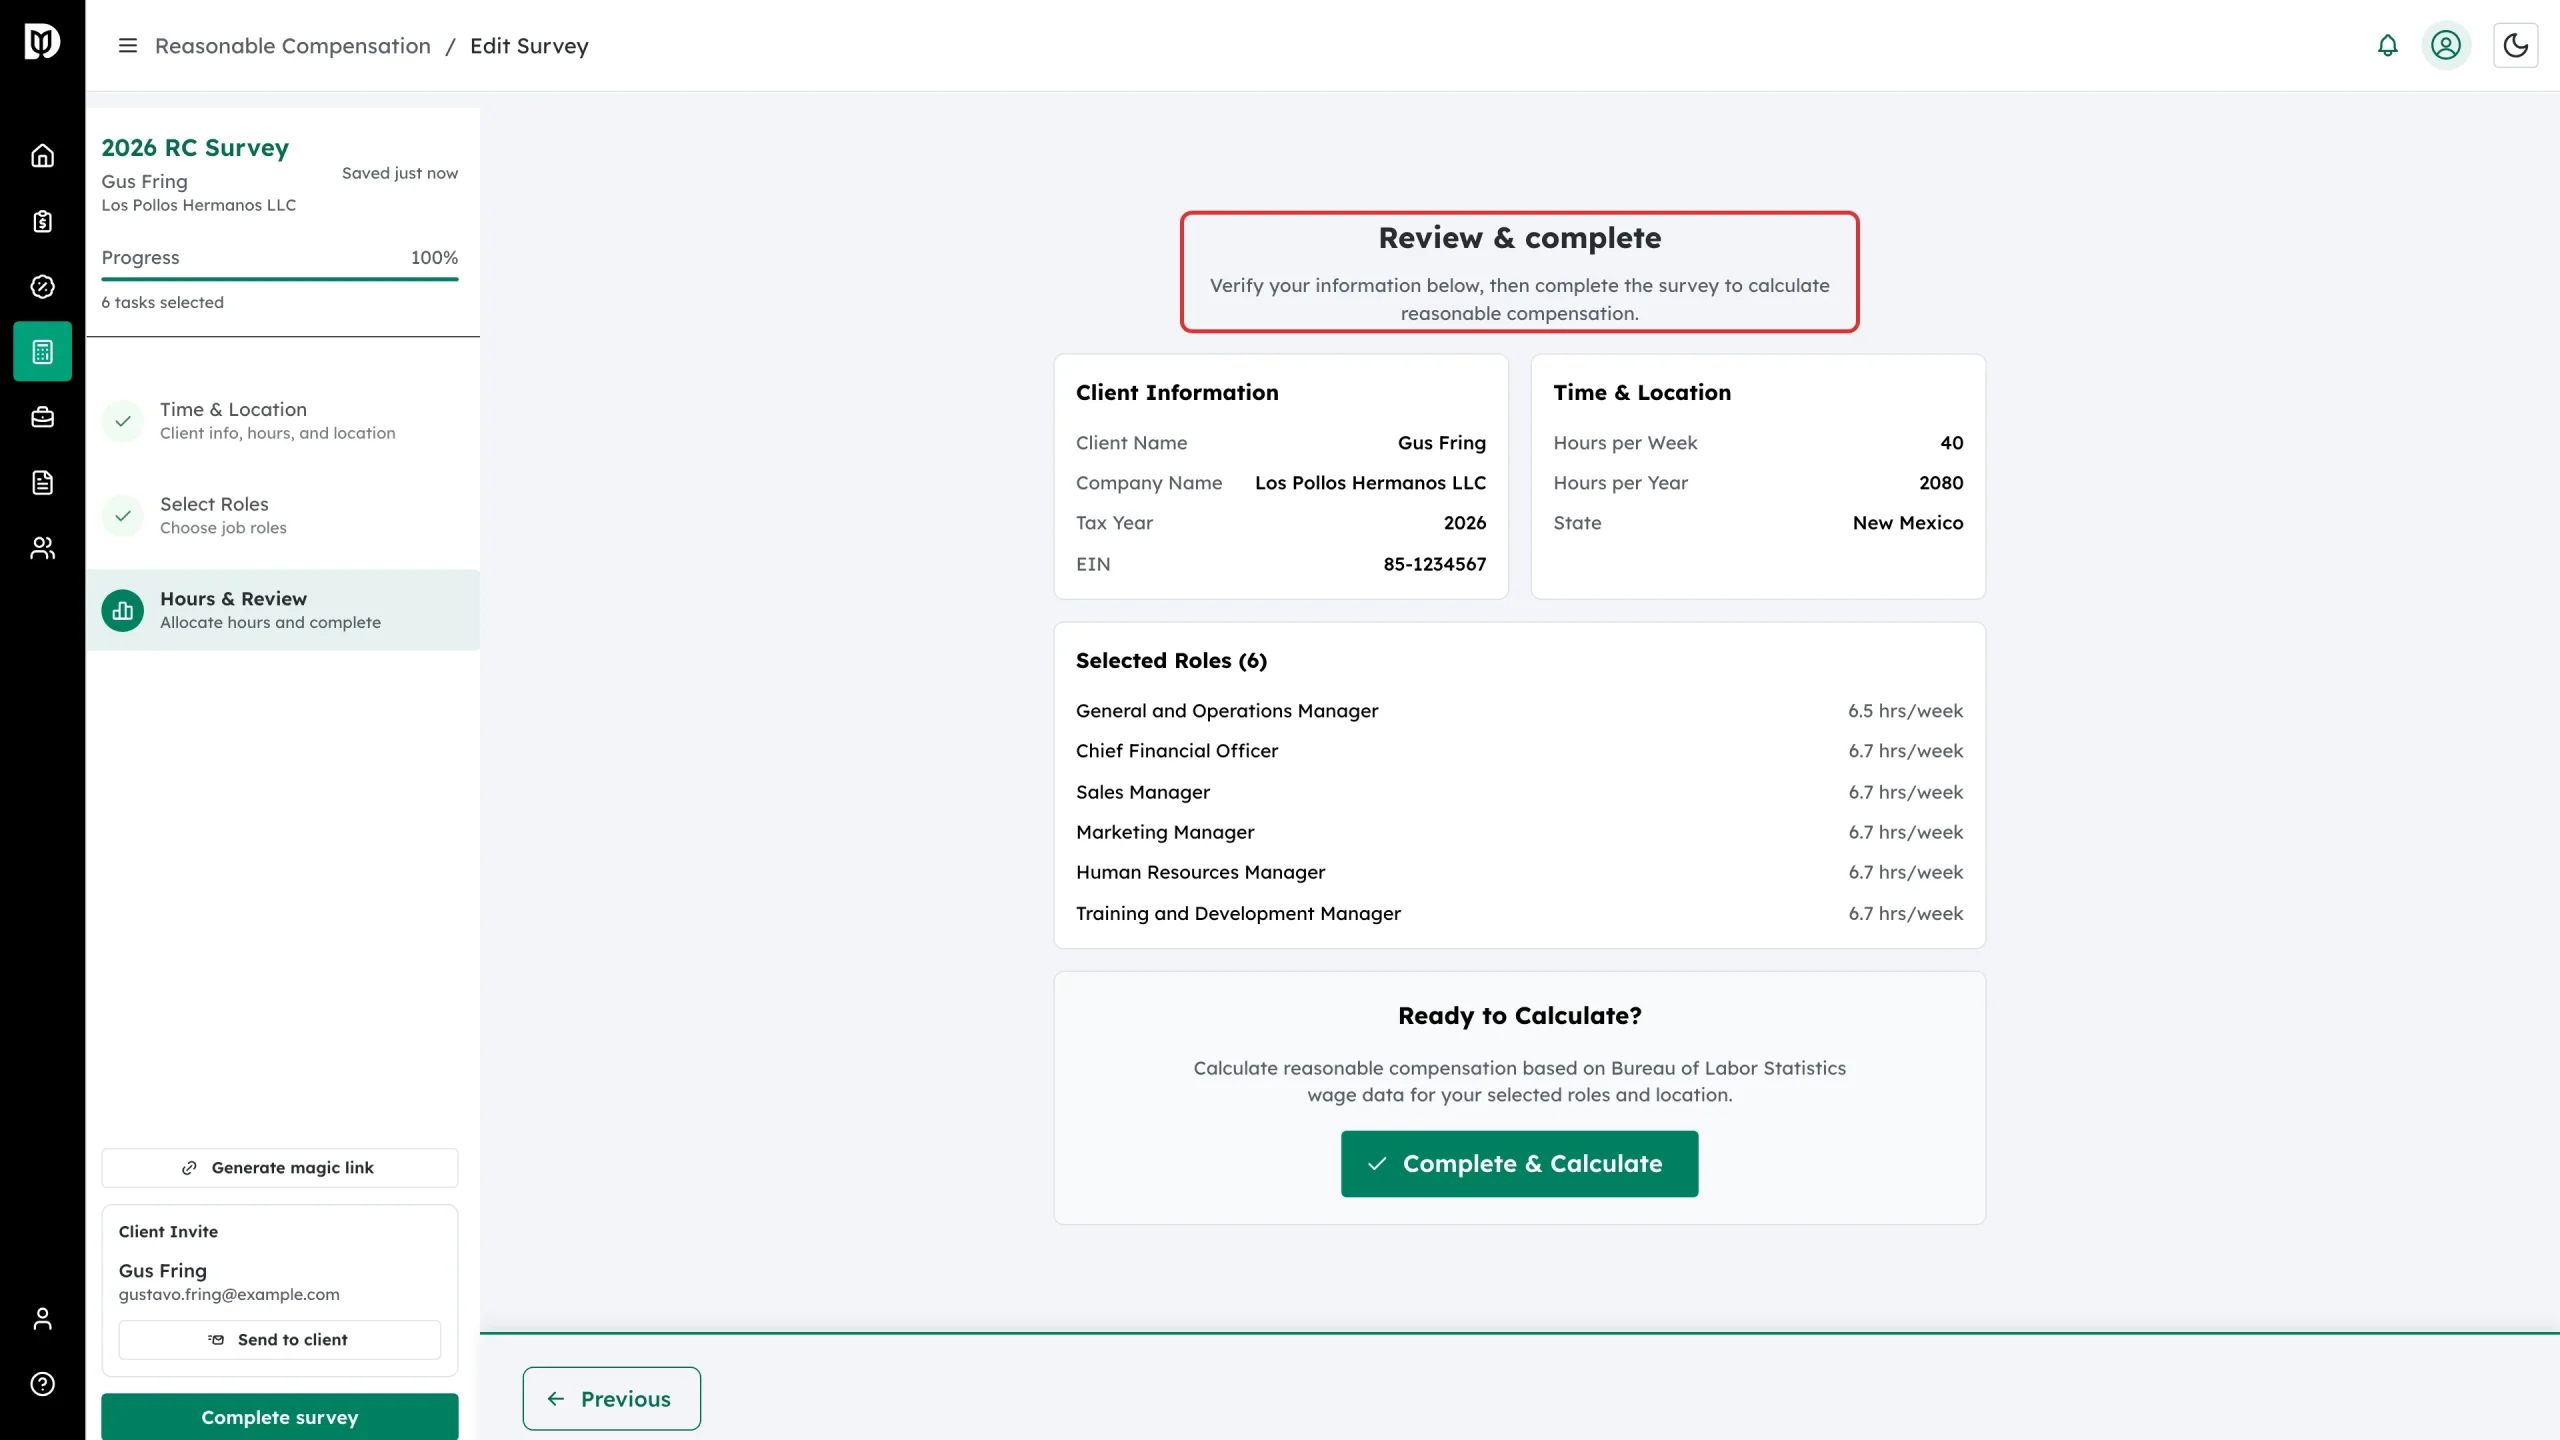
Step 17: Review and calculate
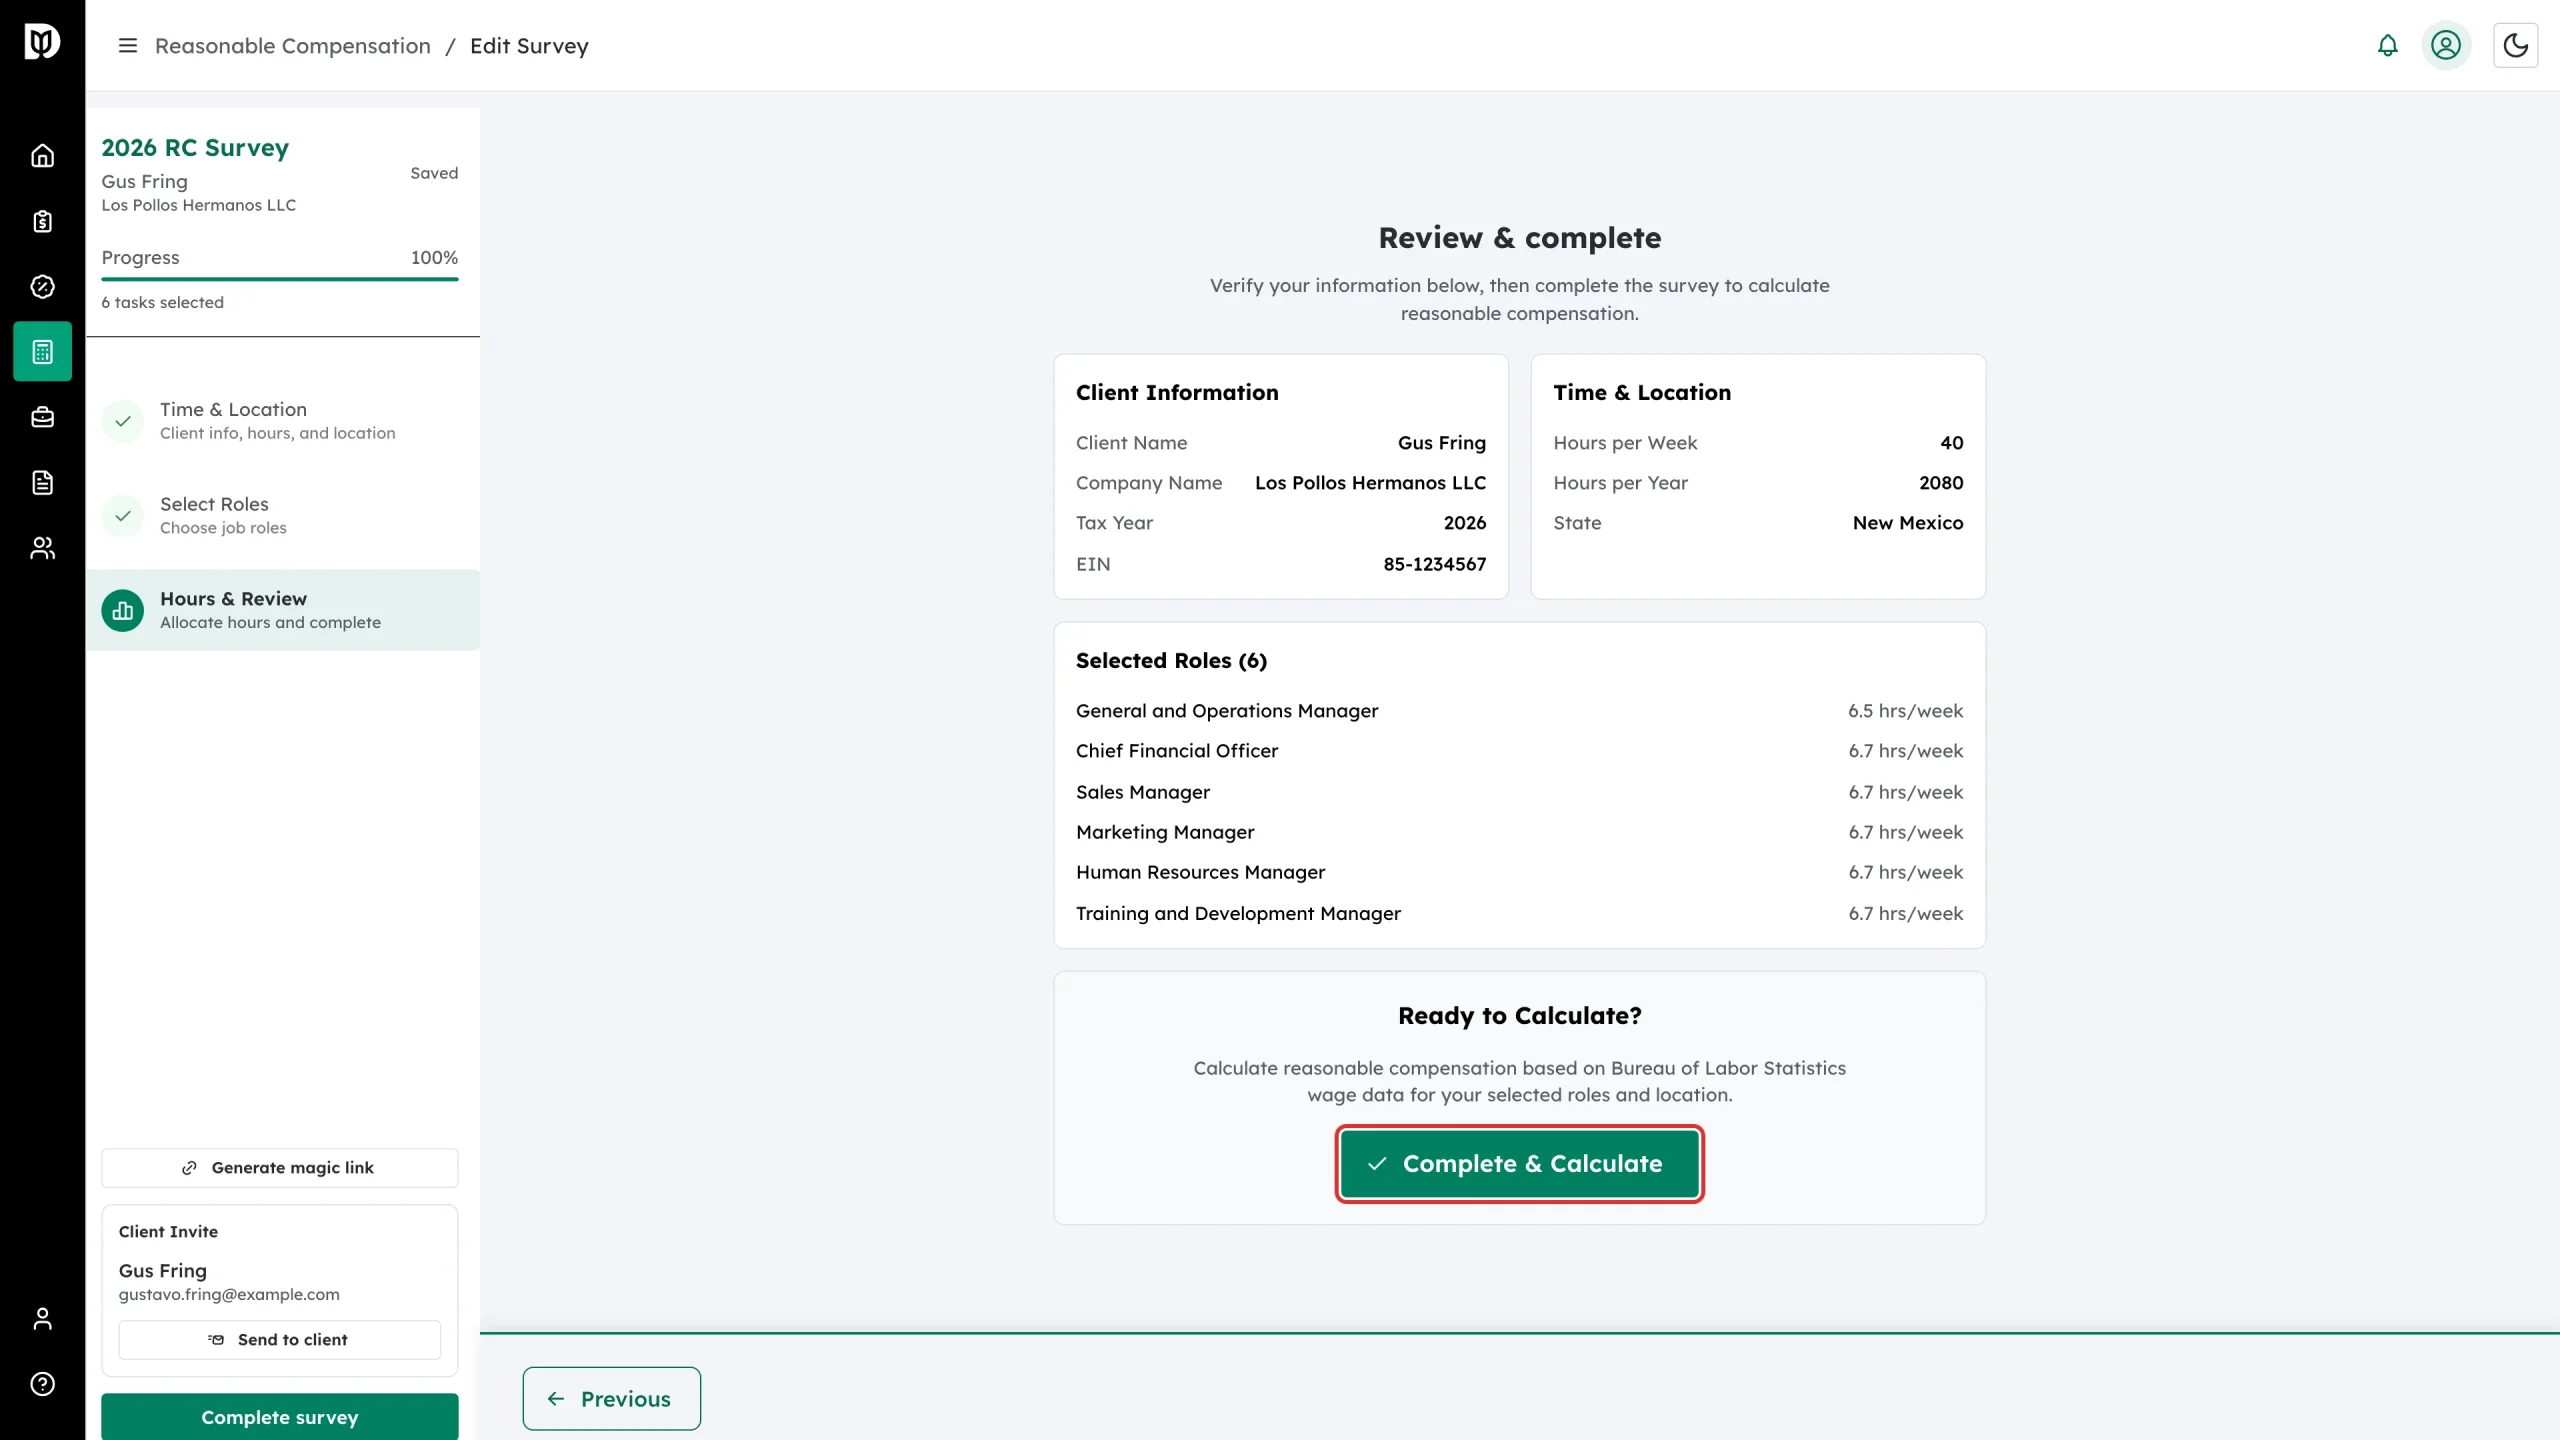
Review & complete lists the client information, the time and location, and every selected role with its hours. Check it, then click Complete & Calculate.
Sending the survey to the client instead
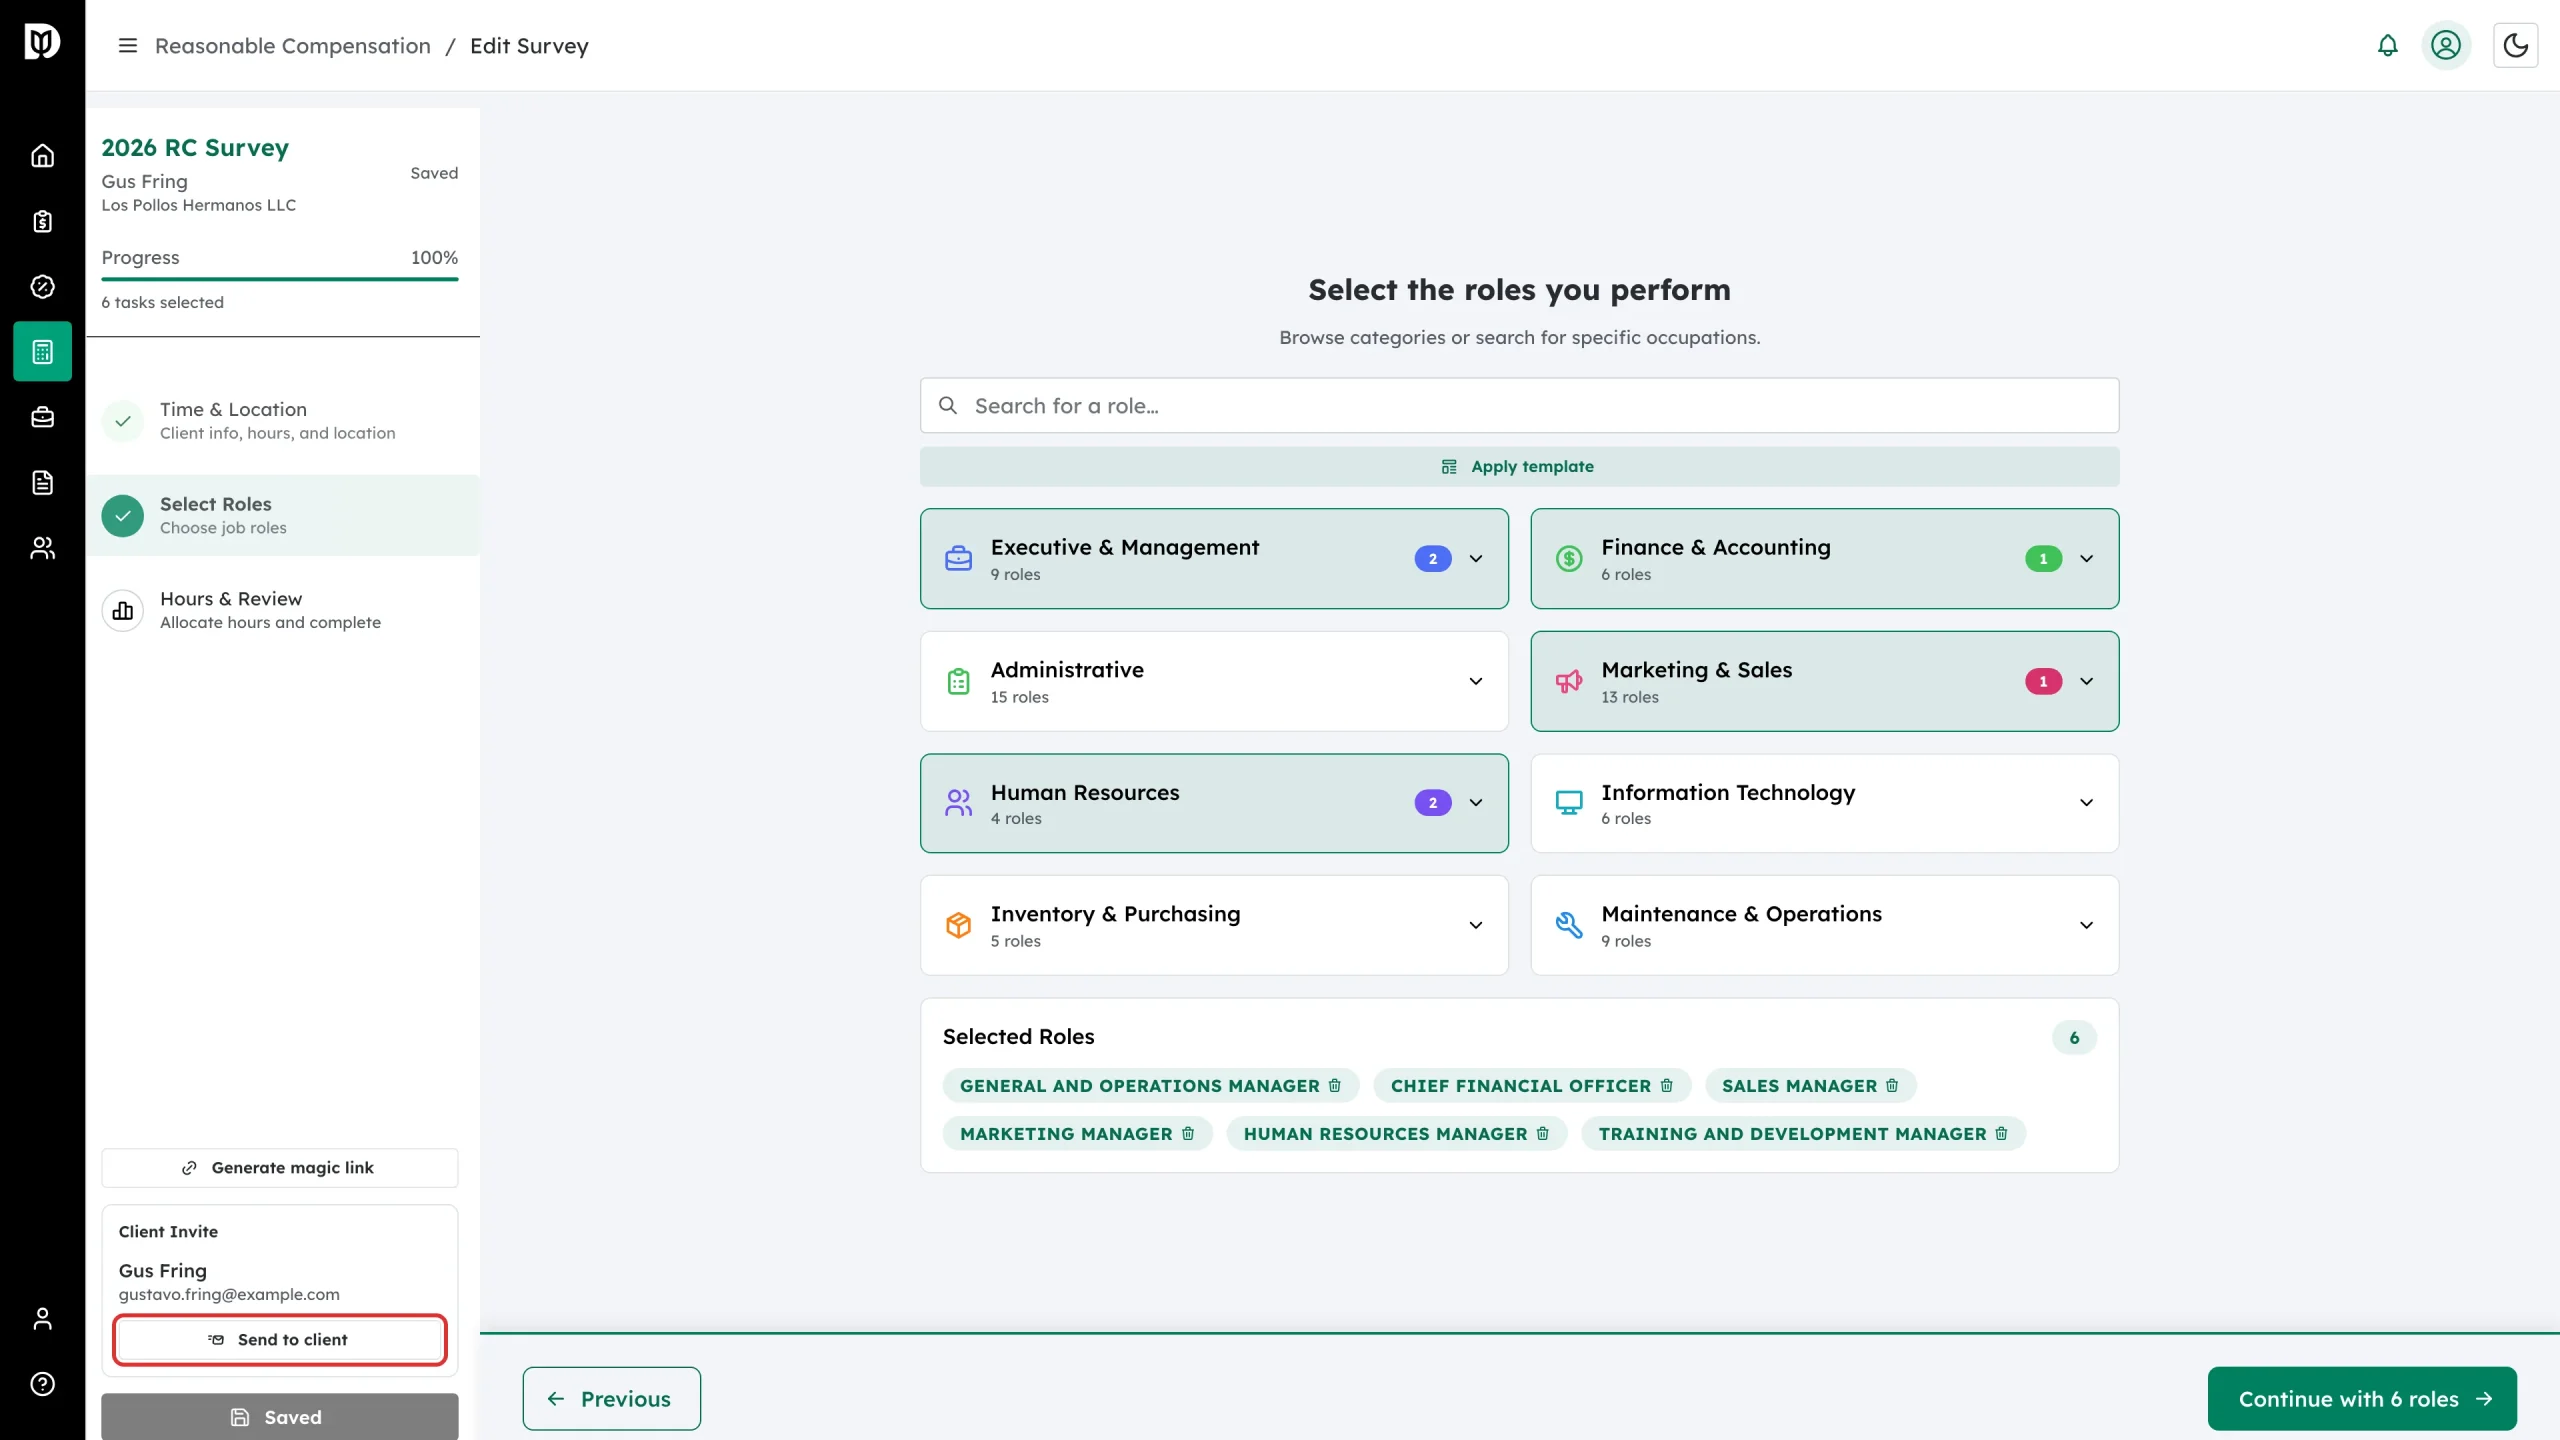
You do not have to answer the questions yourself. The sidebar carries a Client Invite panel with the client’s email and a Send to client button, which emails them the survey.
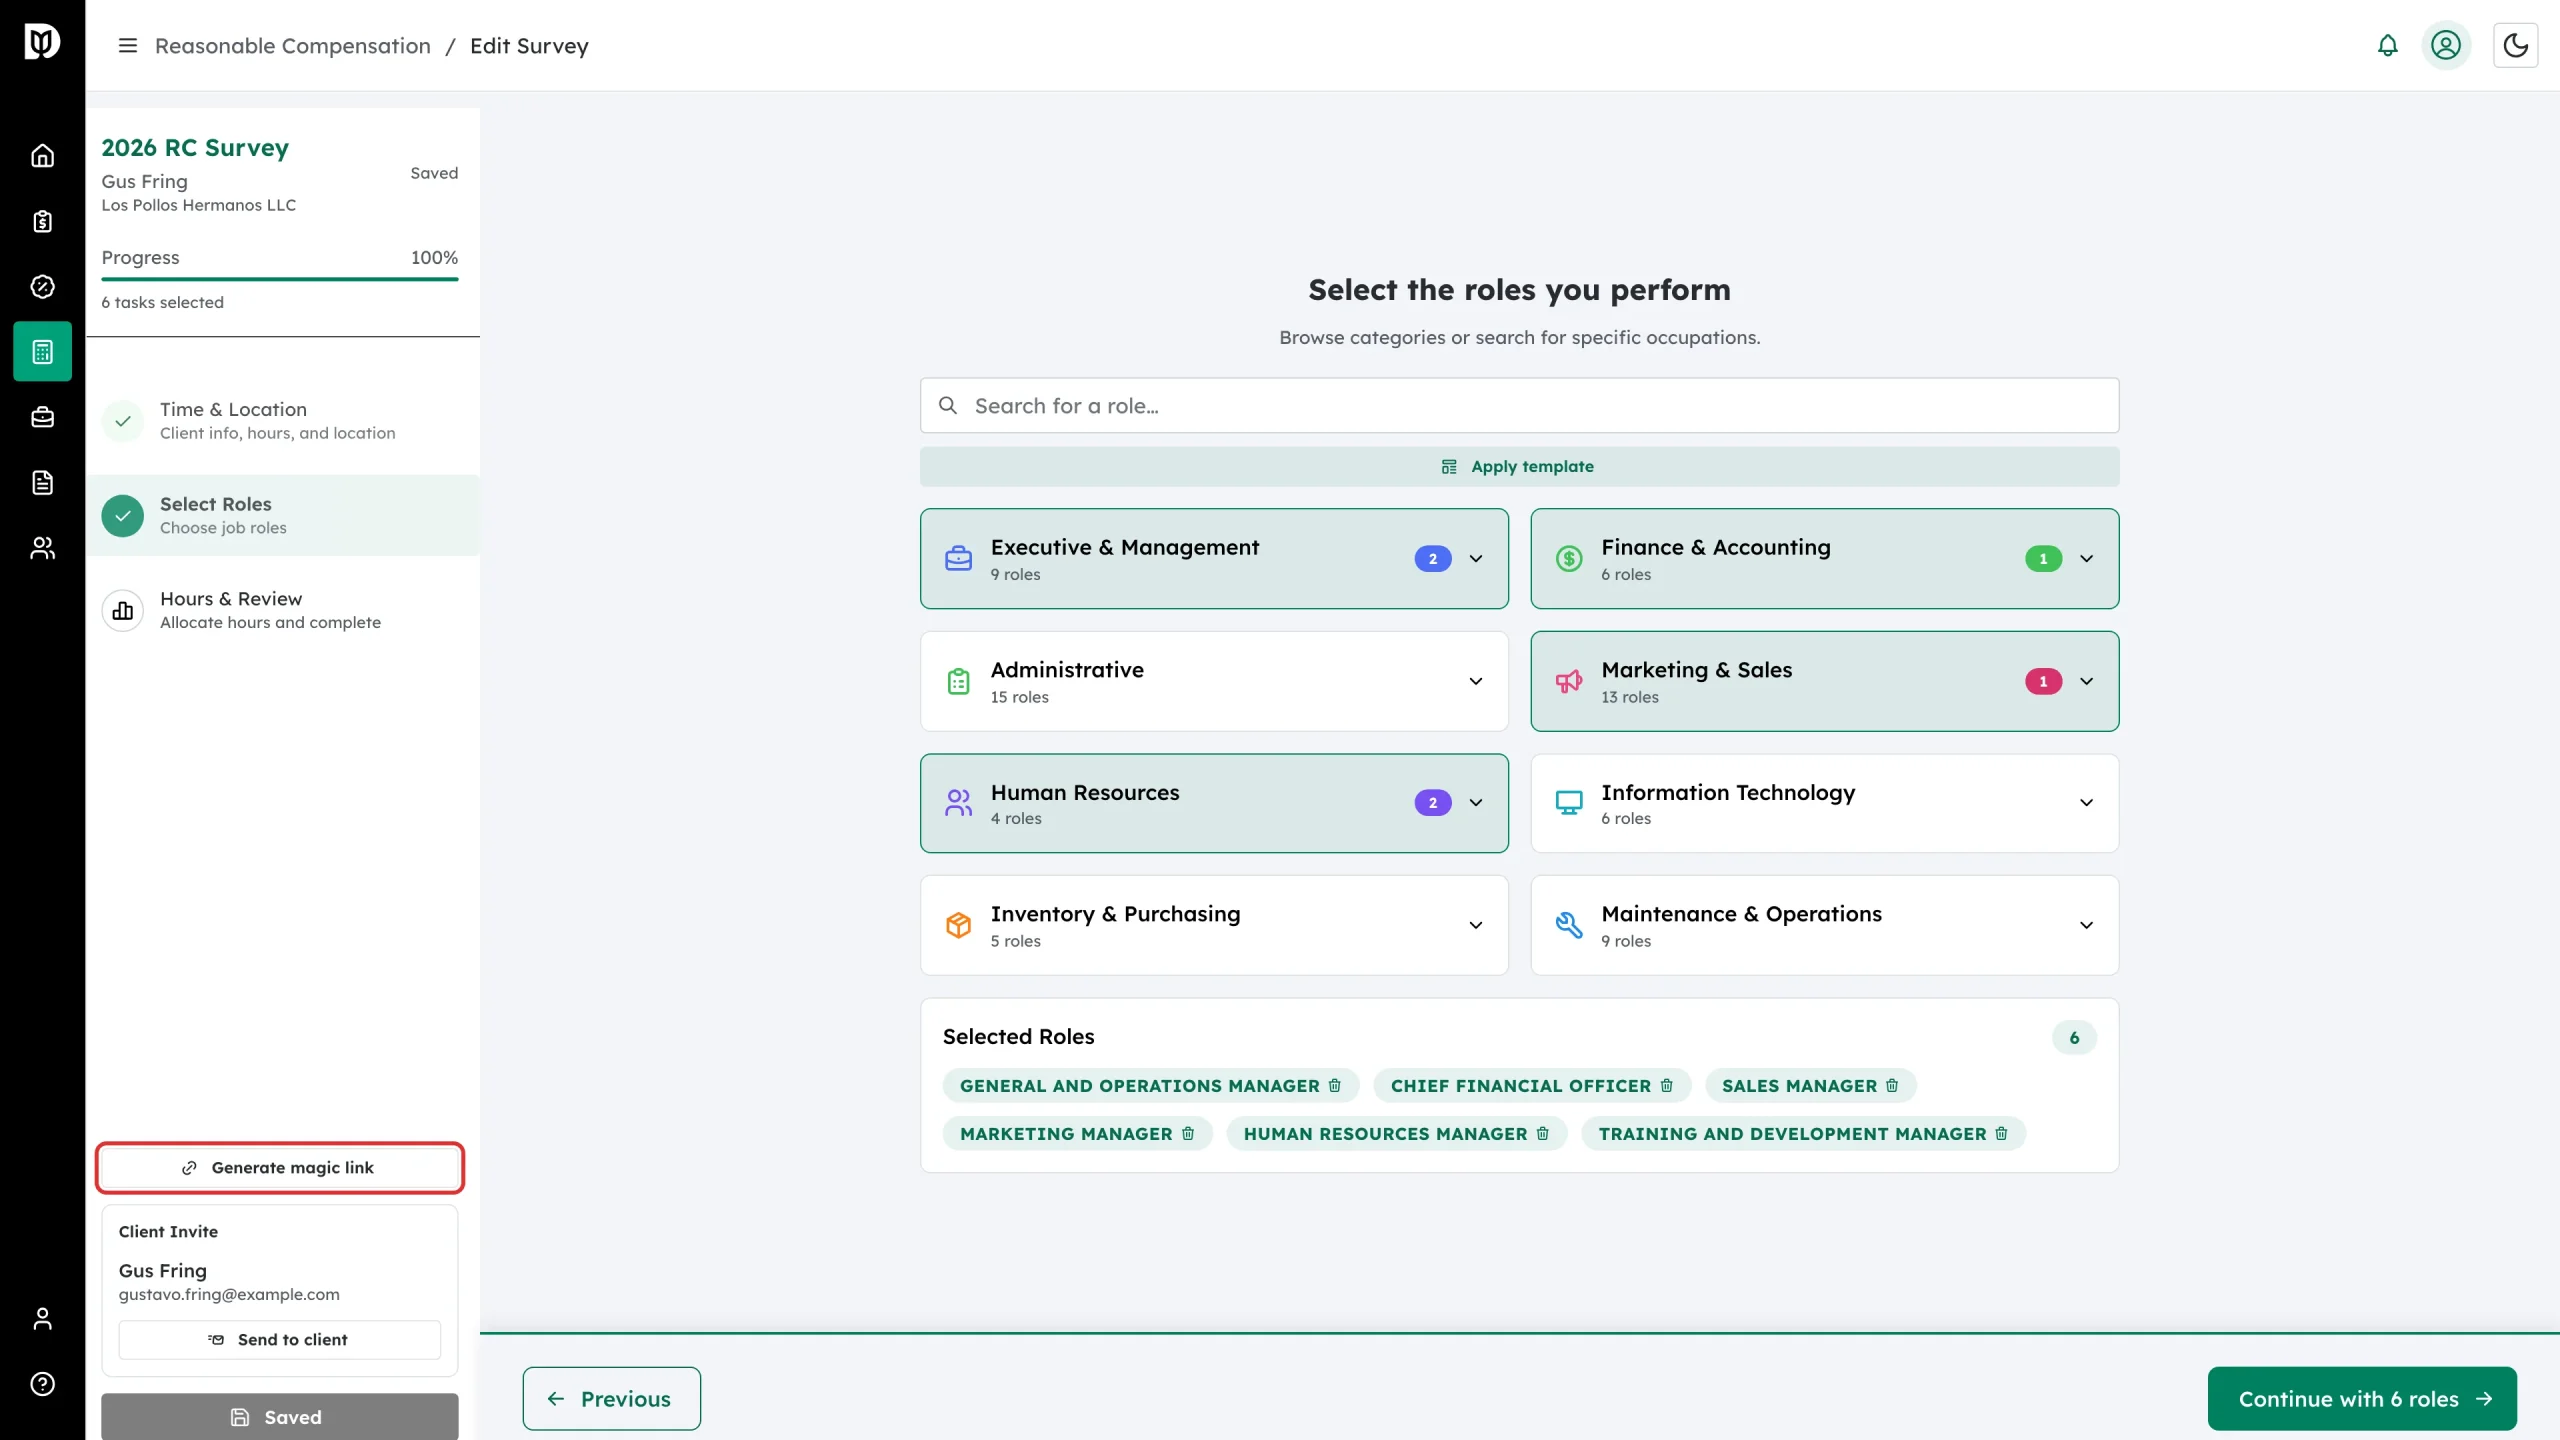
Generate magic link gives you a link you can send by any means, for clients who cannot find the email.
What happens next
Debits looks up wage data for each role, applies the location and proficiency adjustments, reconciles the valuation approaches and opens the report. See How to read, finalize and deliver a reasonable compensation report.
Troubleshooting
- The business does not appear in the search. Only business contacts are listed. Create it under Contacts, or click Enter manually.
- Choose client is empty. The business has no owner, officer, shareholder or partner relationship. Add one under the contact, or use Add client manually.
- Send now is greyed out. There is no client email on the record. Add one, or use Send later.
- Continue will not move on. A required field is blank — most often State on the location question.
- Complete & Calculate does nothing. Every role needs both hours and a proficiency rating. Go back to Hours & Review and fill the gaps flagged at the top of the step.
- The report says the Income Approach is unavailable. Company financials were left blank. Reopen the survey, fill them in and recalculate.