Who this is for: Accountants and firm admins who want one place to see every piece of client work in progress.
What you’ll learn: How the workflow board is put together — boards, stages, cards and the three ways to look at them — so you can find any job in seconds.
Before you begin
- Workflow must be switched on for your firm, and your user needs workflow access. If you do not see Workflow in the sidebar, ask your firm owner.
- You need at least one board. A new firm normally starts with a bookkeeping board and a tax board.
- Some controls are permission-based: Templates and Automations need those permissions, and Analytics is for firm owners and admins only.
Step-by-step instructions
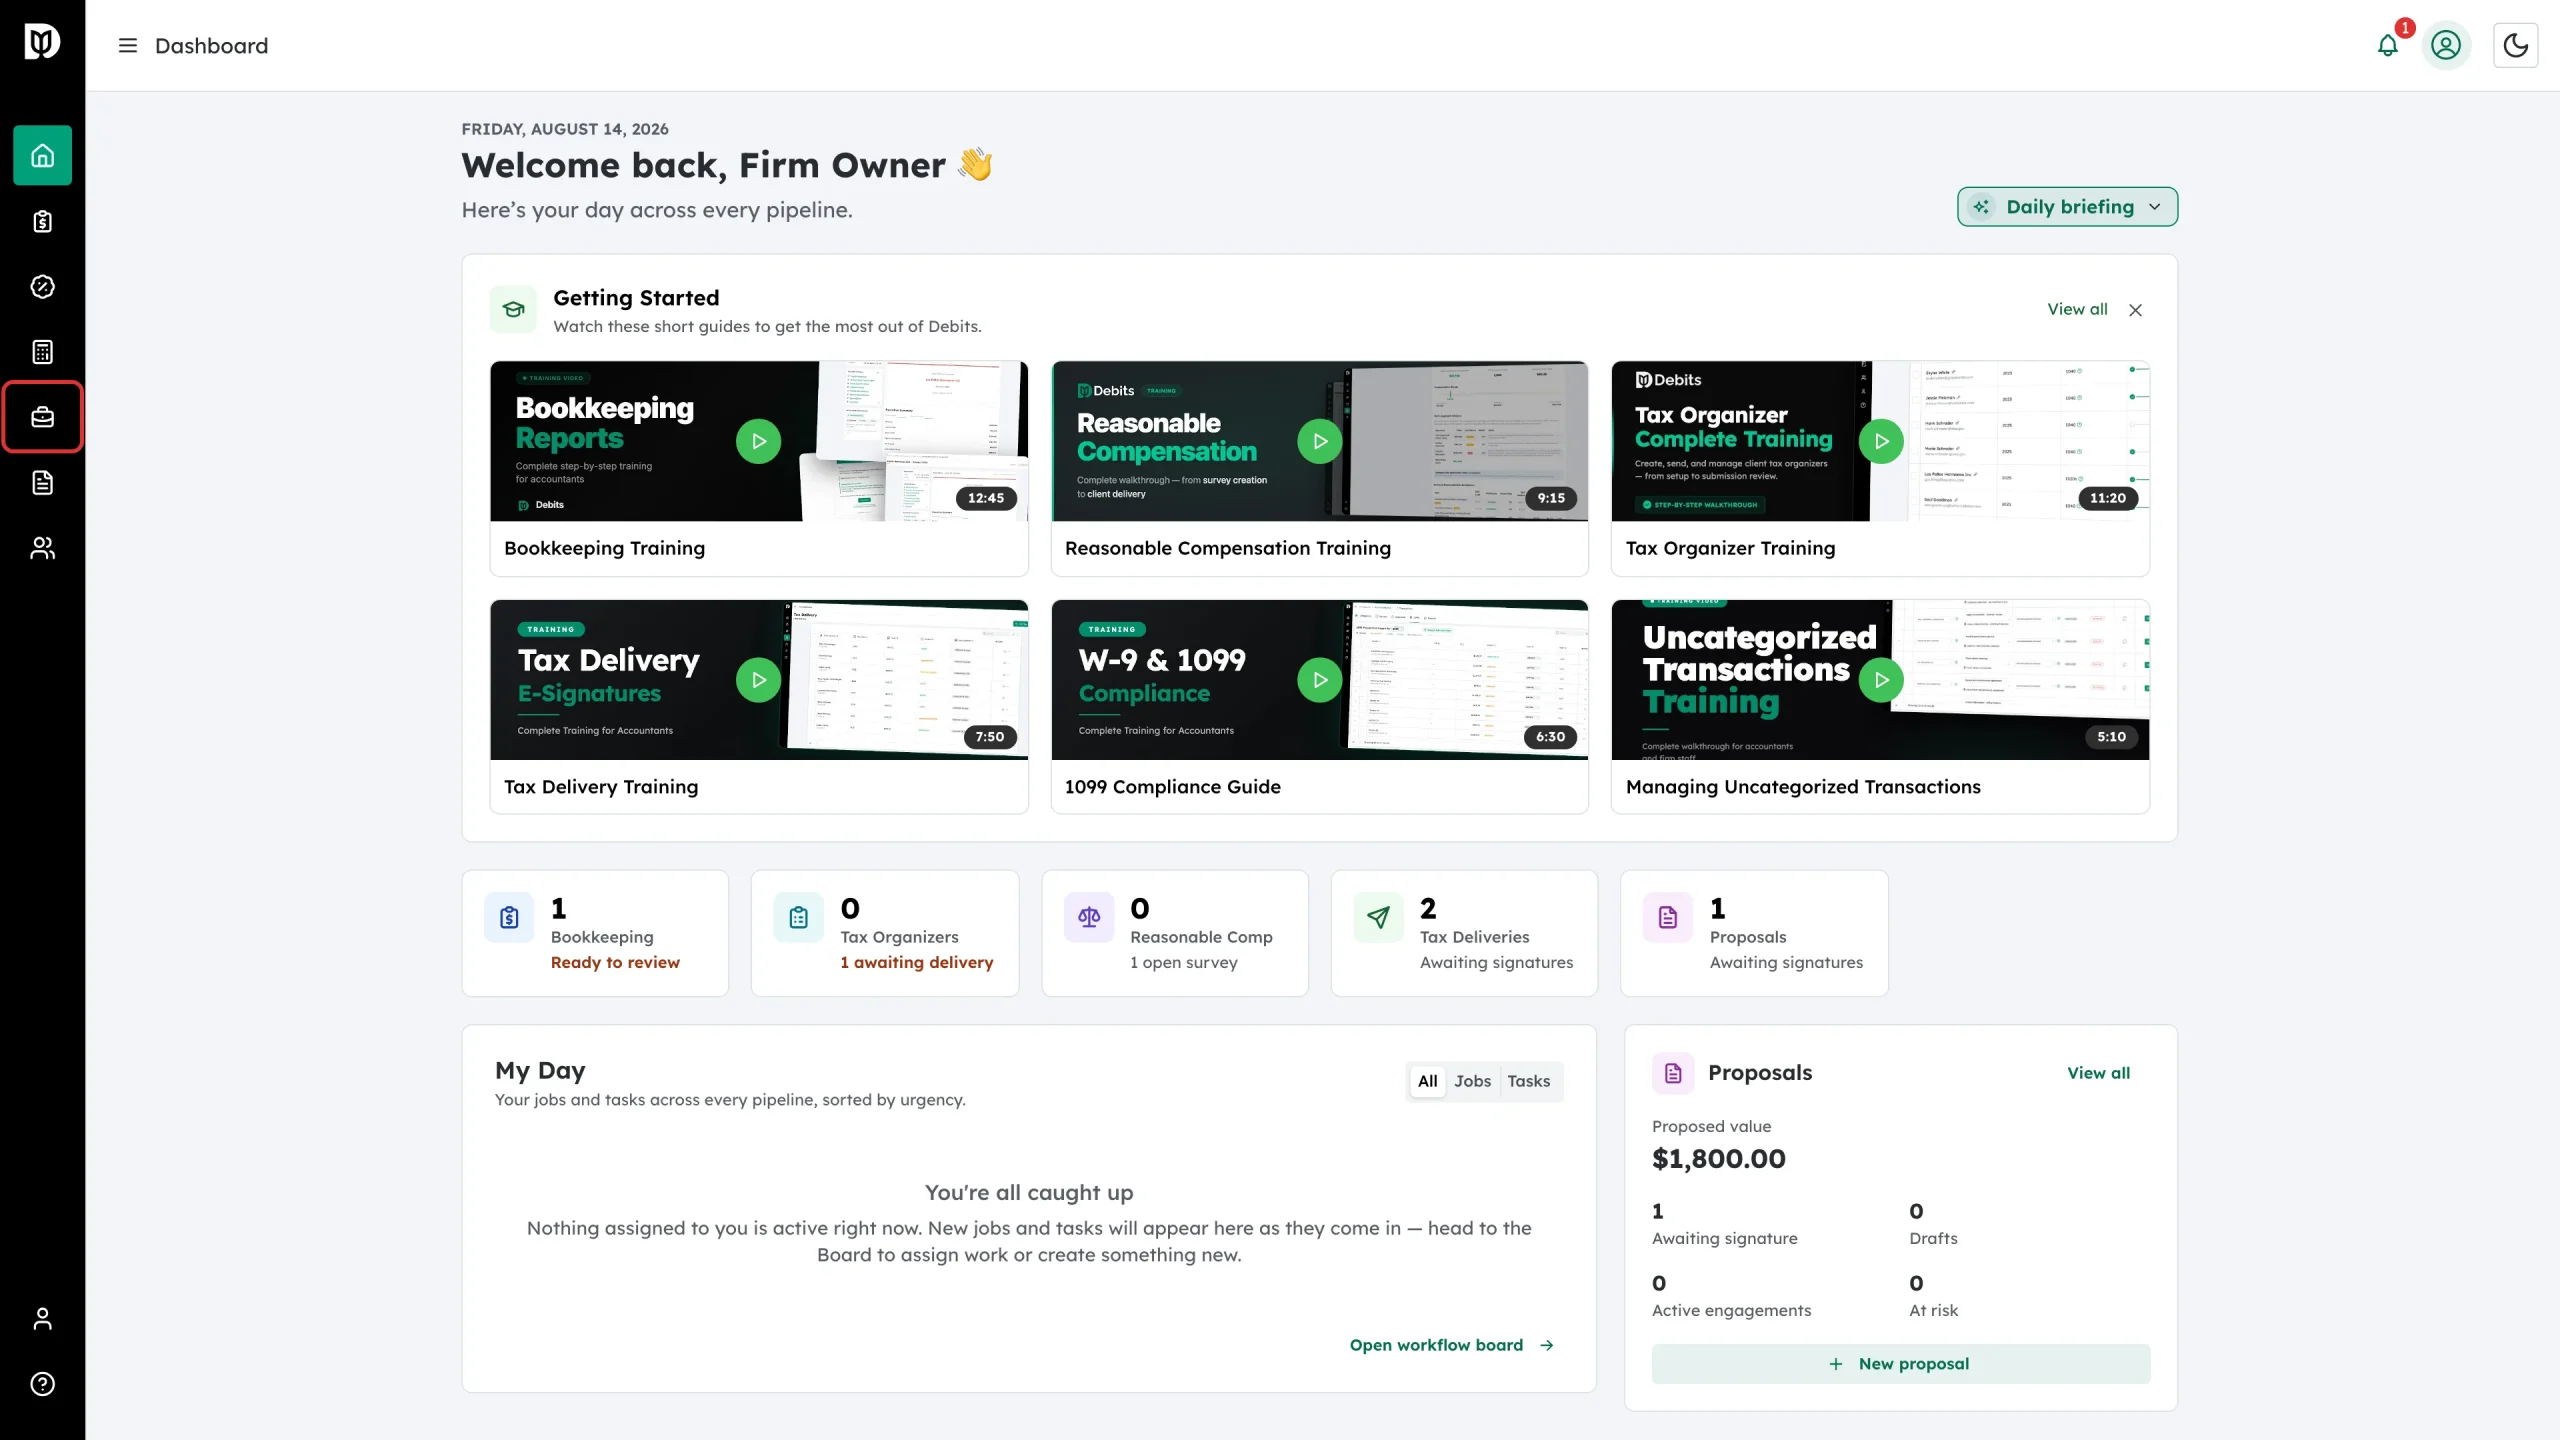
Step 1: Open Workflow
Select the Workflow icon in the left sidebar. The board opens on whichever board you used last.
Step 2: Pick a board
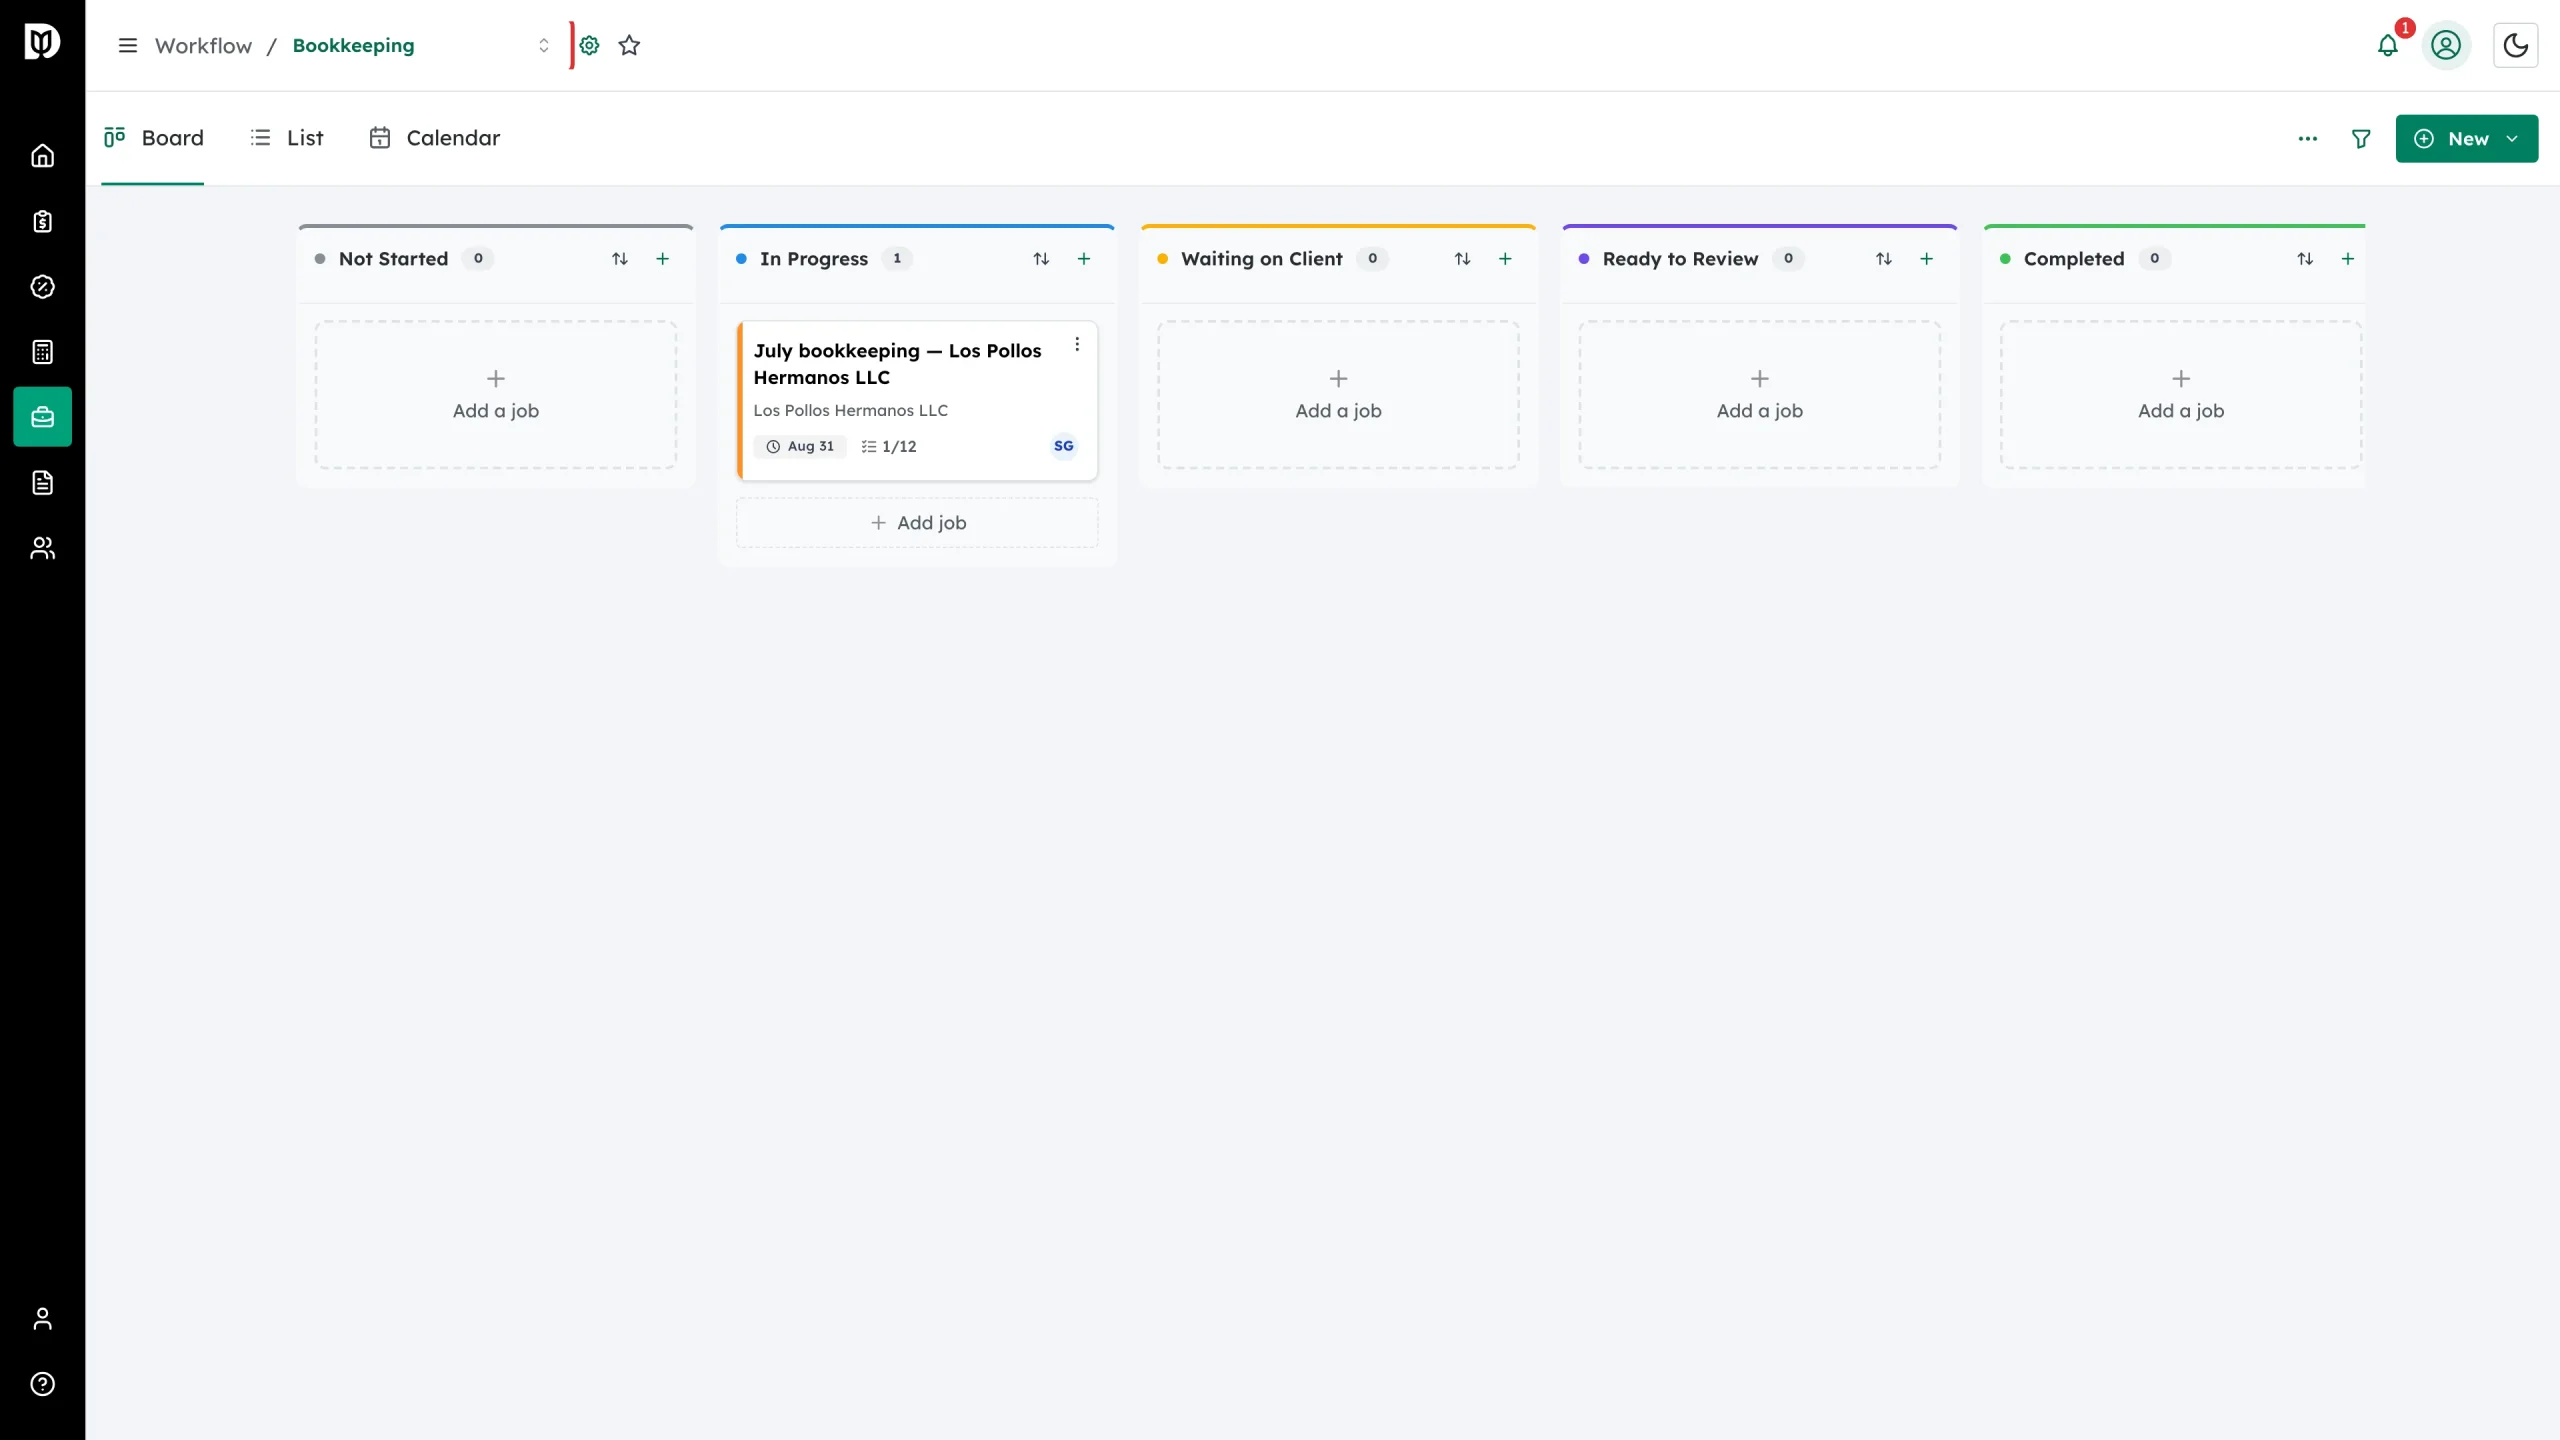
The board name sits in the breadcrumb at the top. Select it to switch boards. Each board is one kind of work — for example one for bookkeeping and one for tax returns.
Step 3: Read the stages
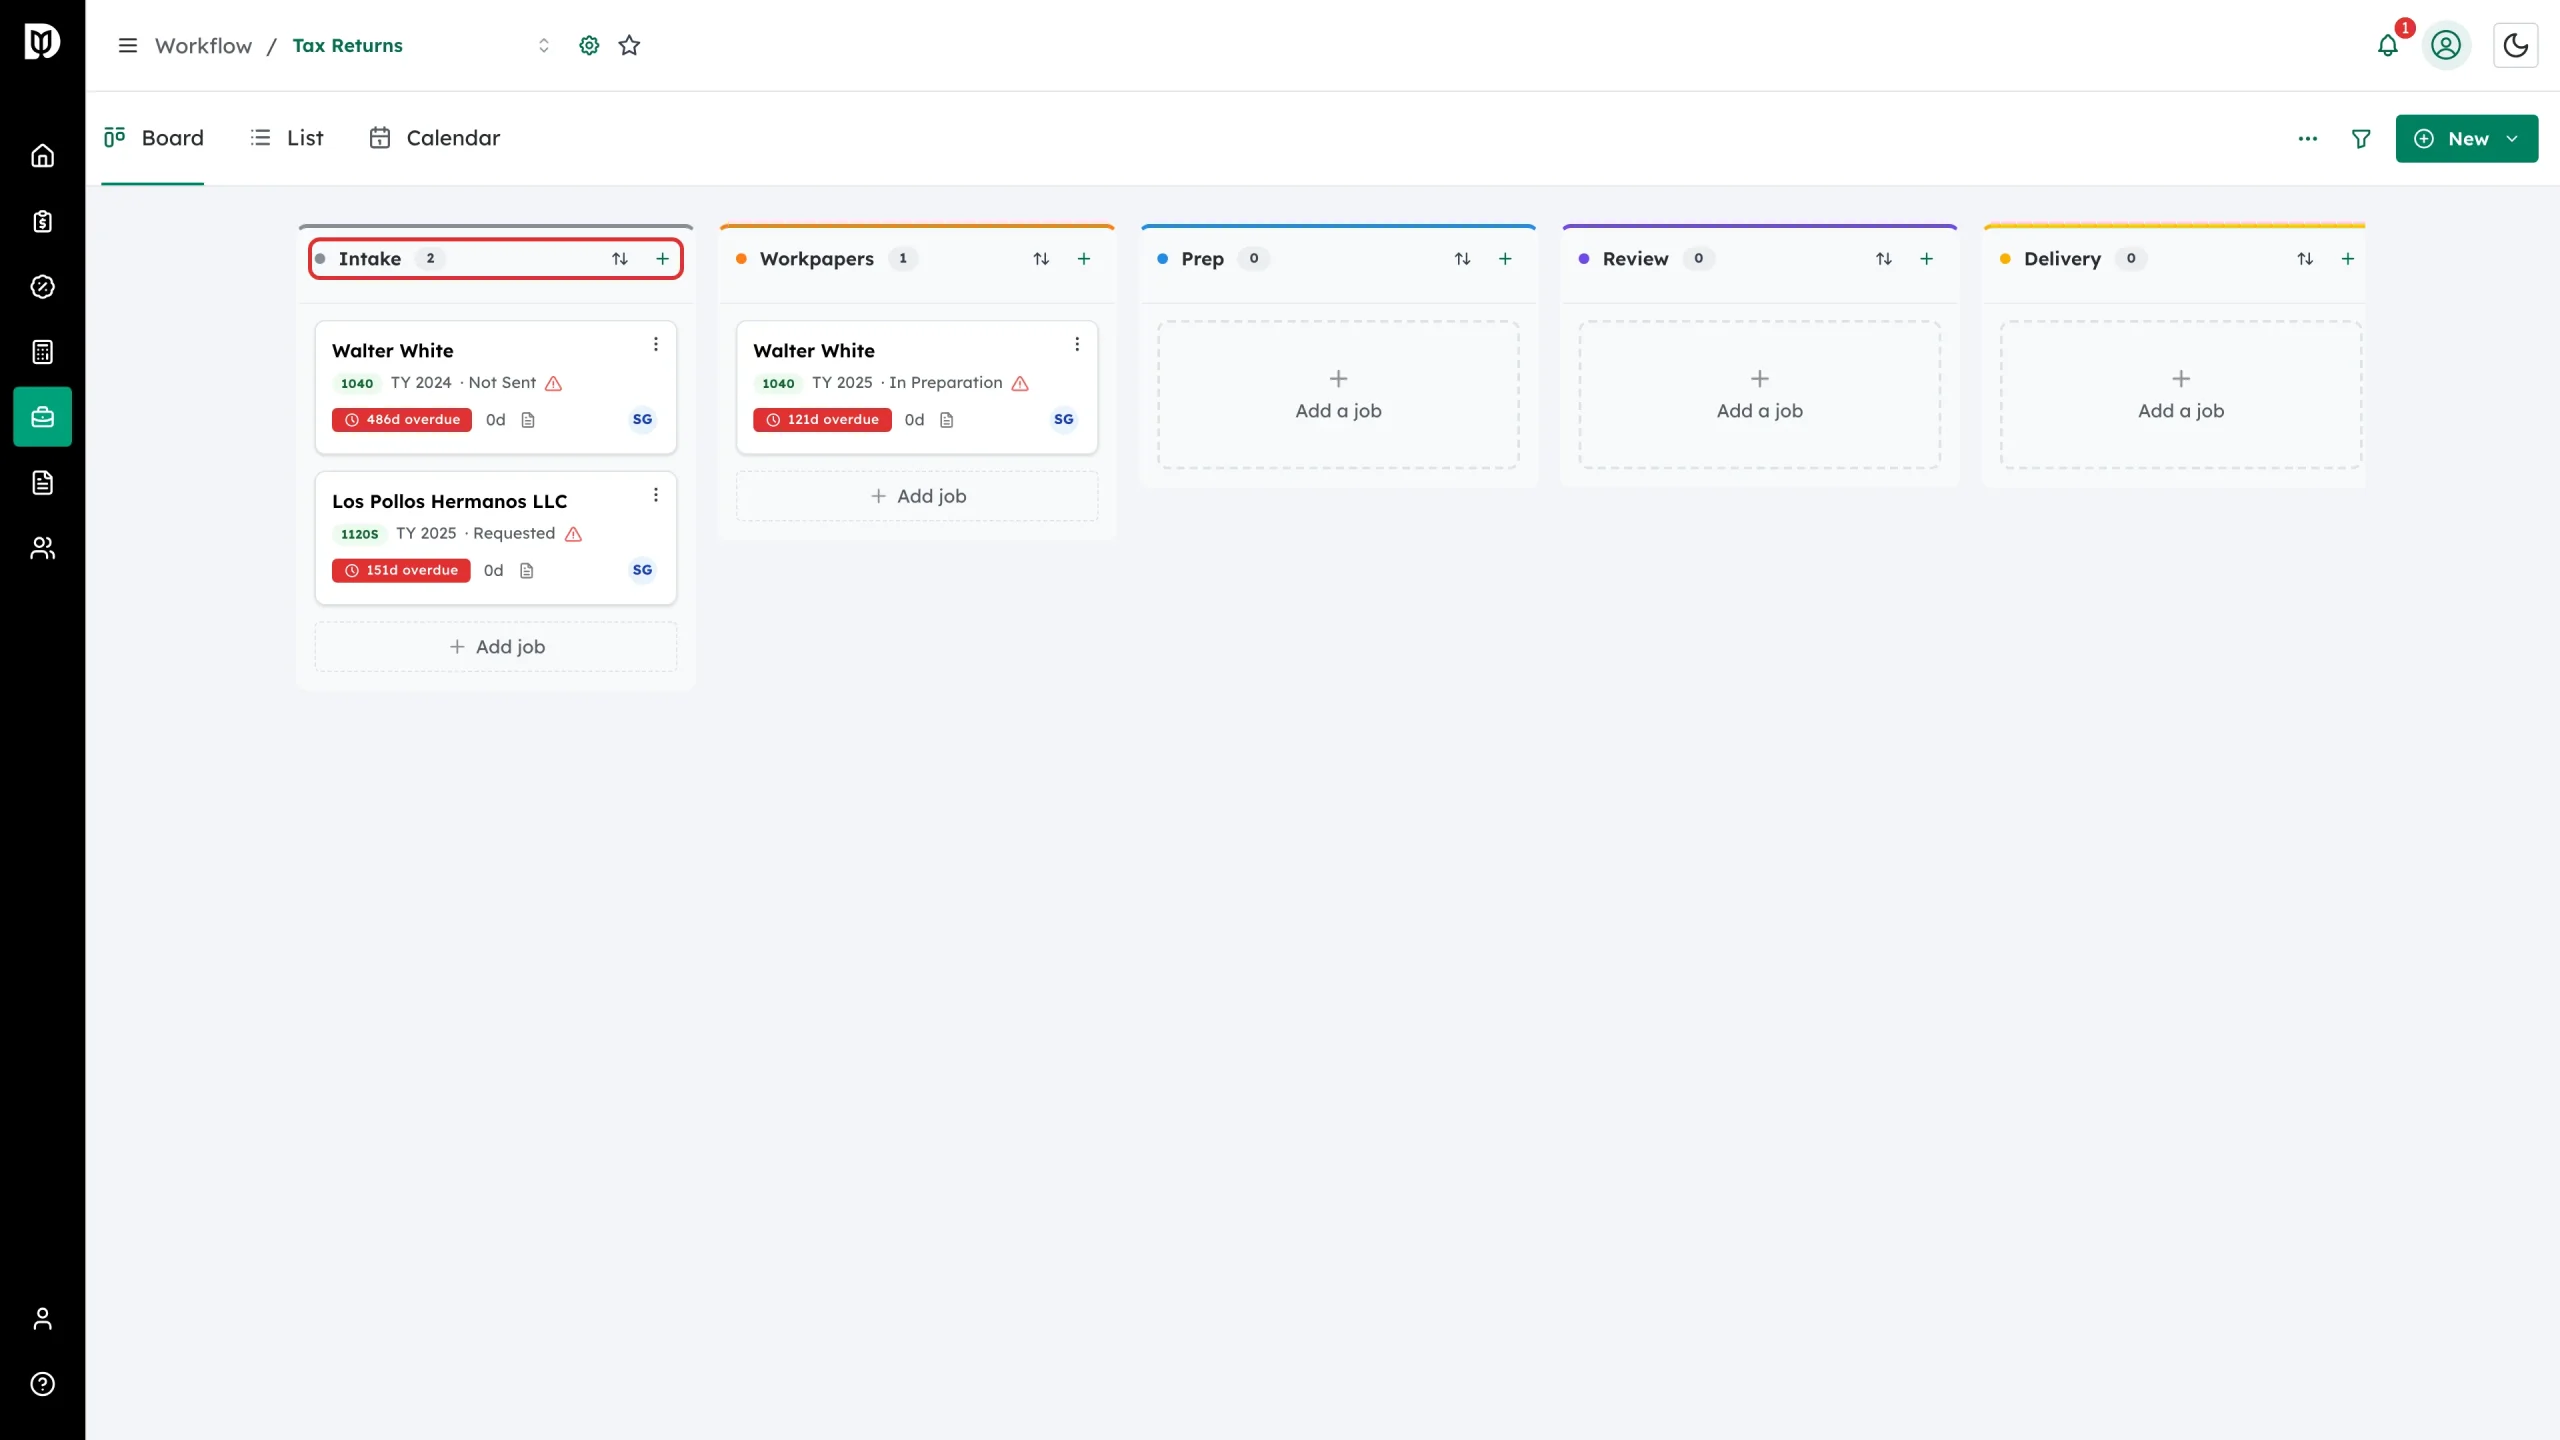
Each column is a stage — a step the work moves through, left to right. The number beside the stage name is how many jobs are sitting there. Use the sort control to reorder the cards, or the plus to add a job straight into that stage.
Step 4: Read a card
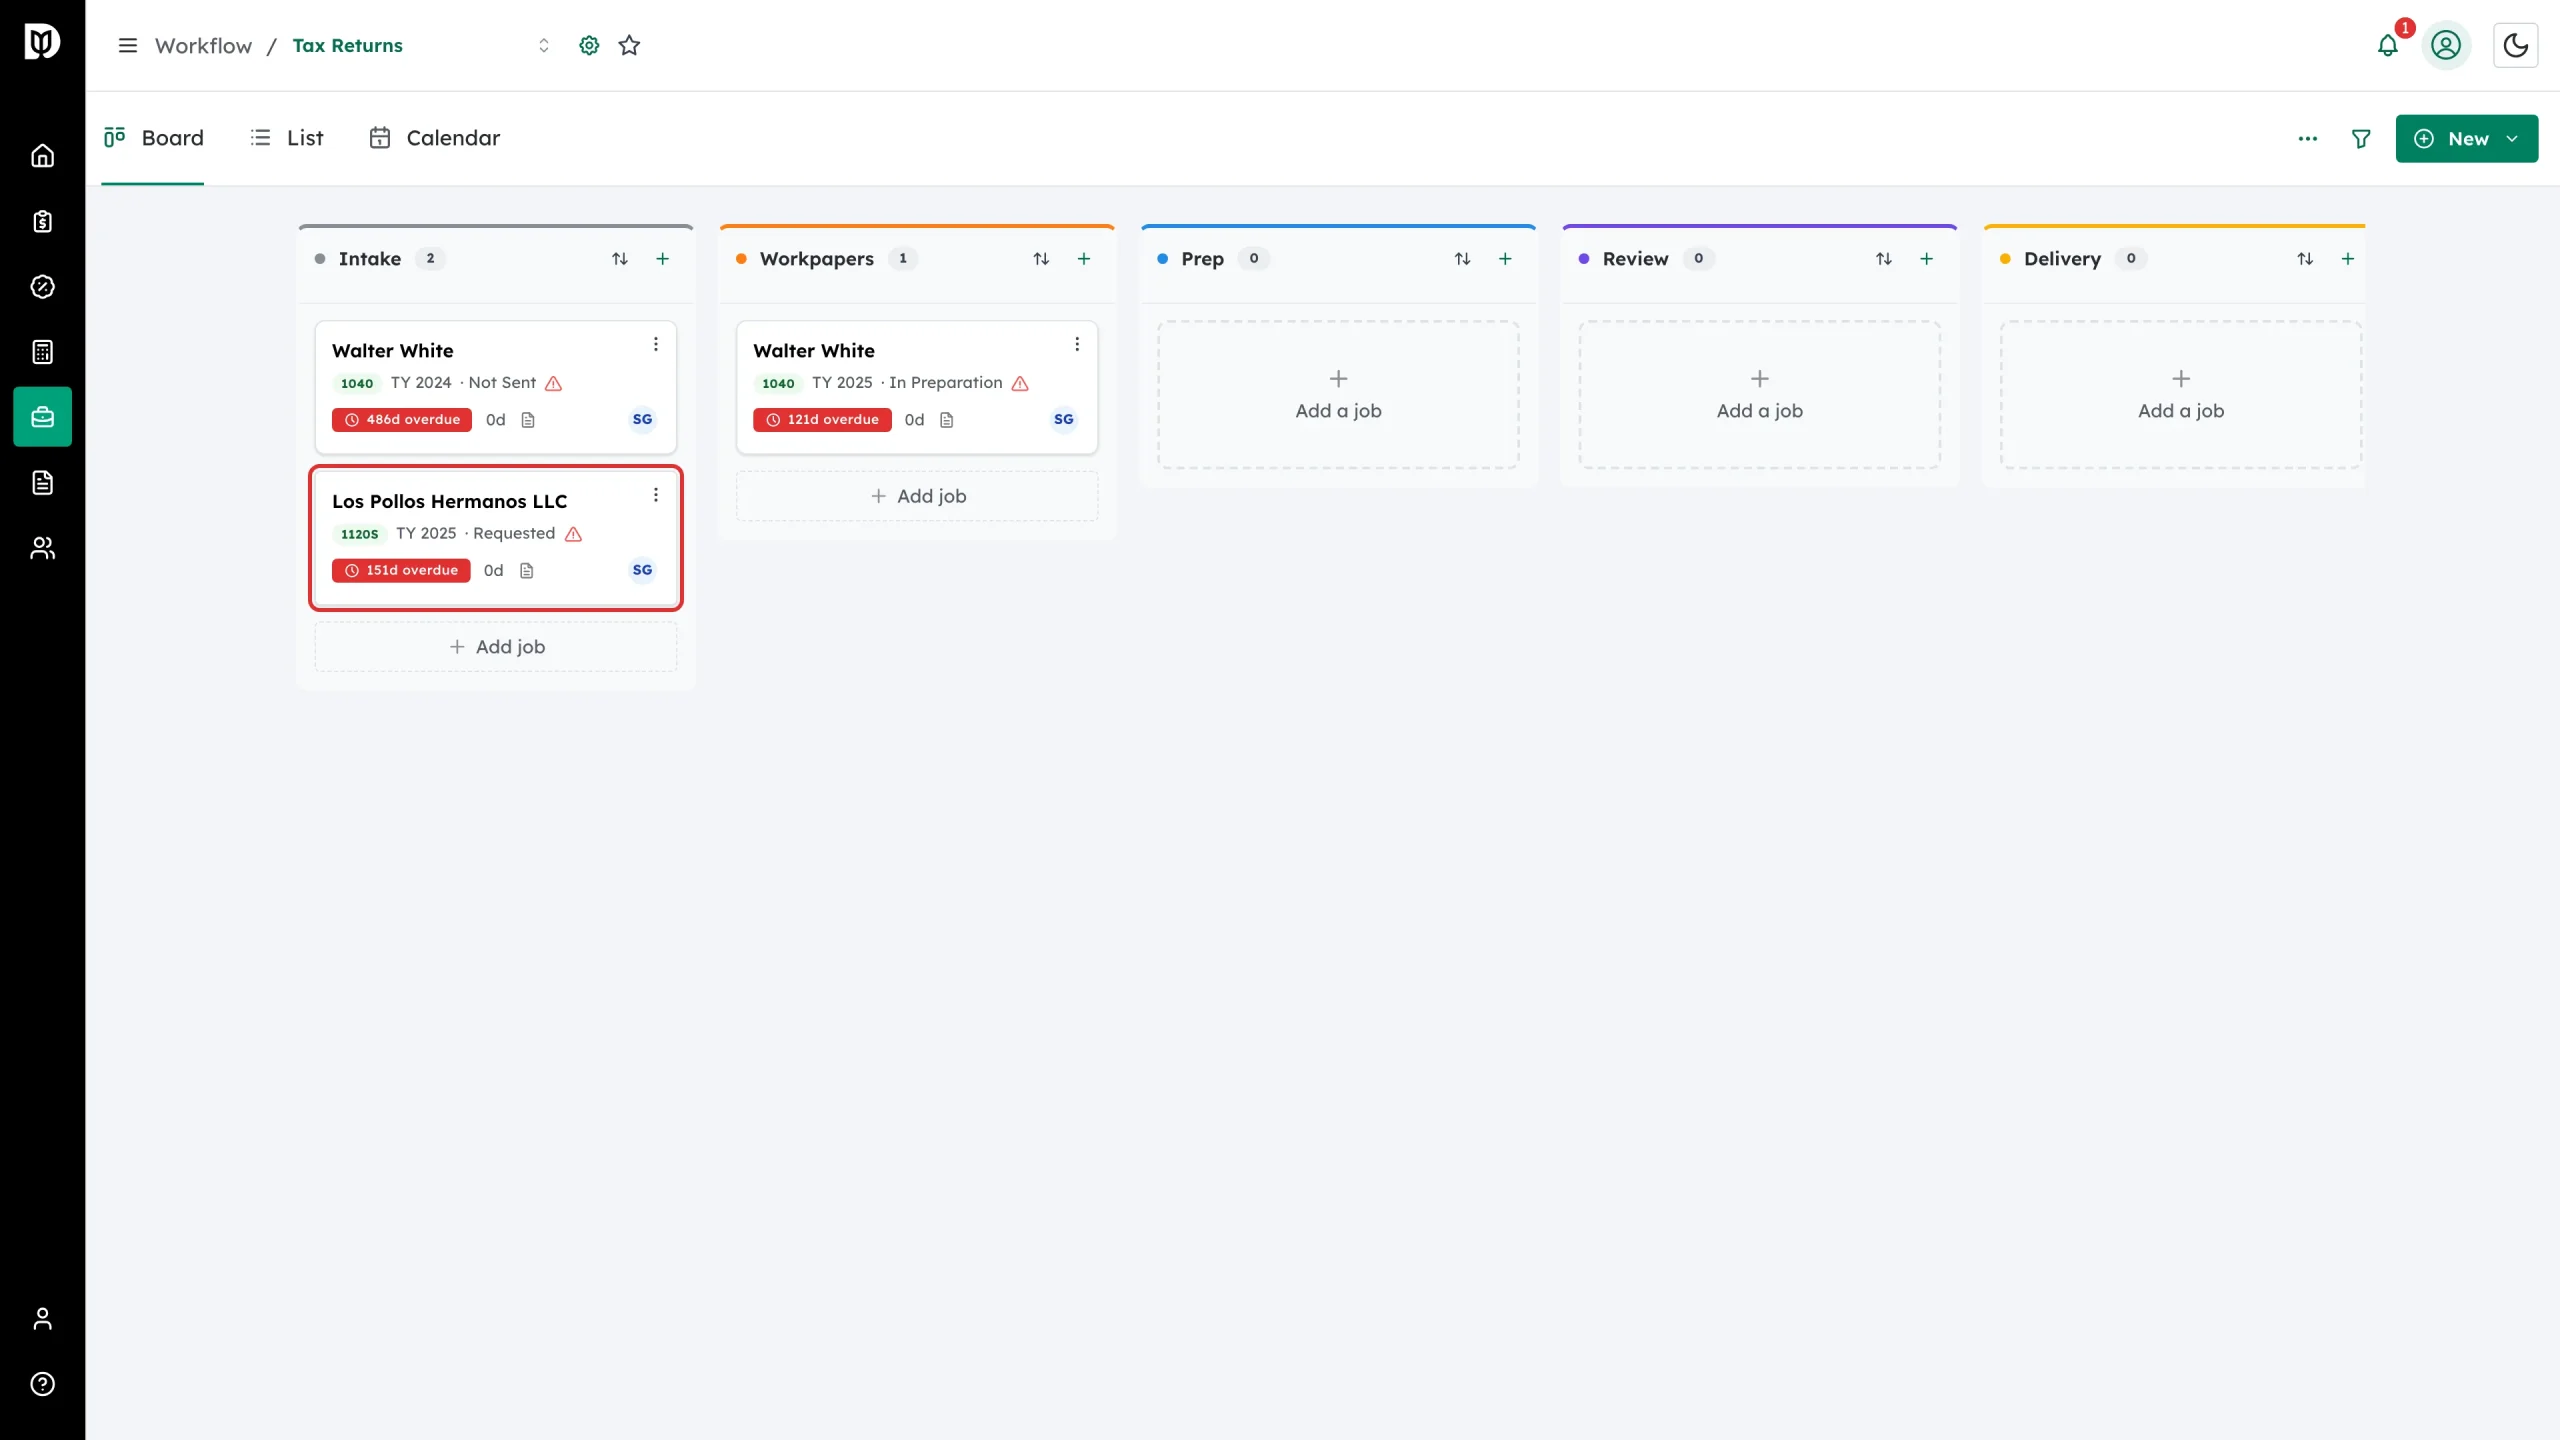
Each card is one job for one client. The card shows the client, the due date, how much of the job’s checklist is done, and the initials of whoever it is assigned to. On a tax board it also shows the return type, the tax year and where the return has actually got to.
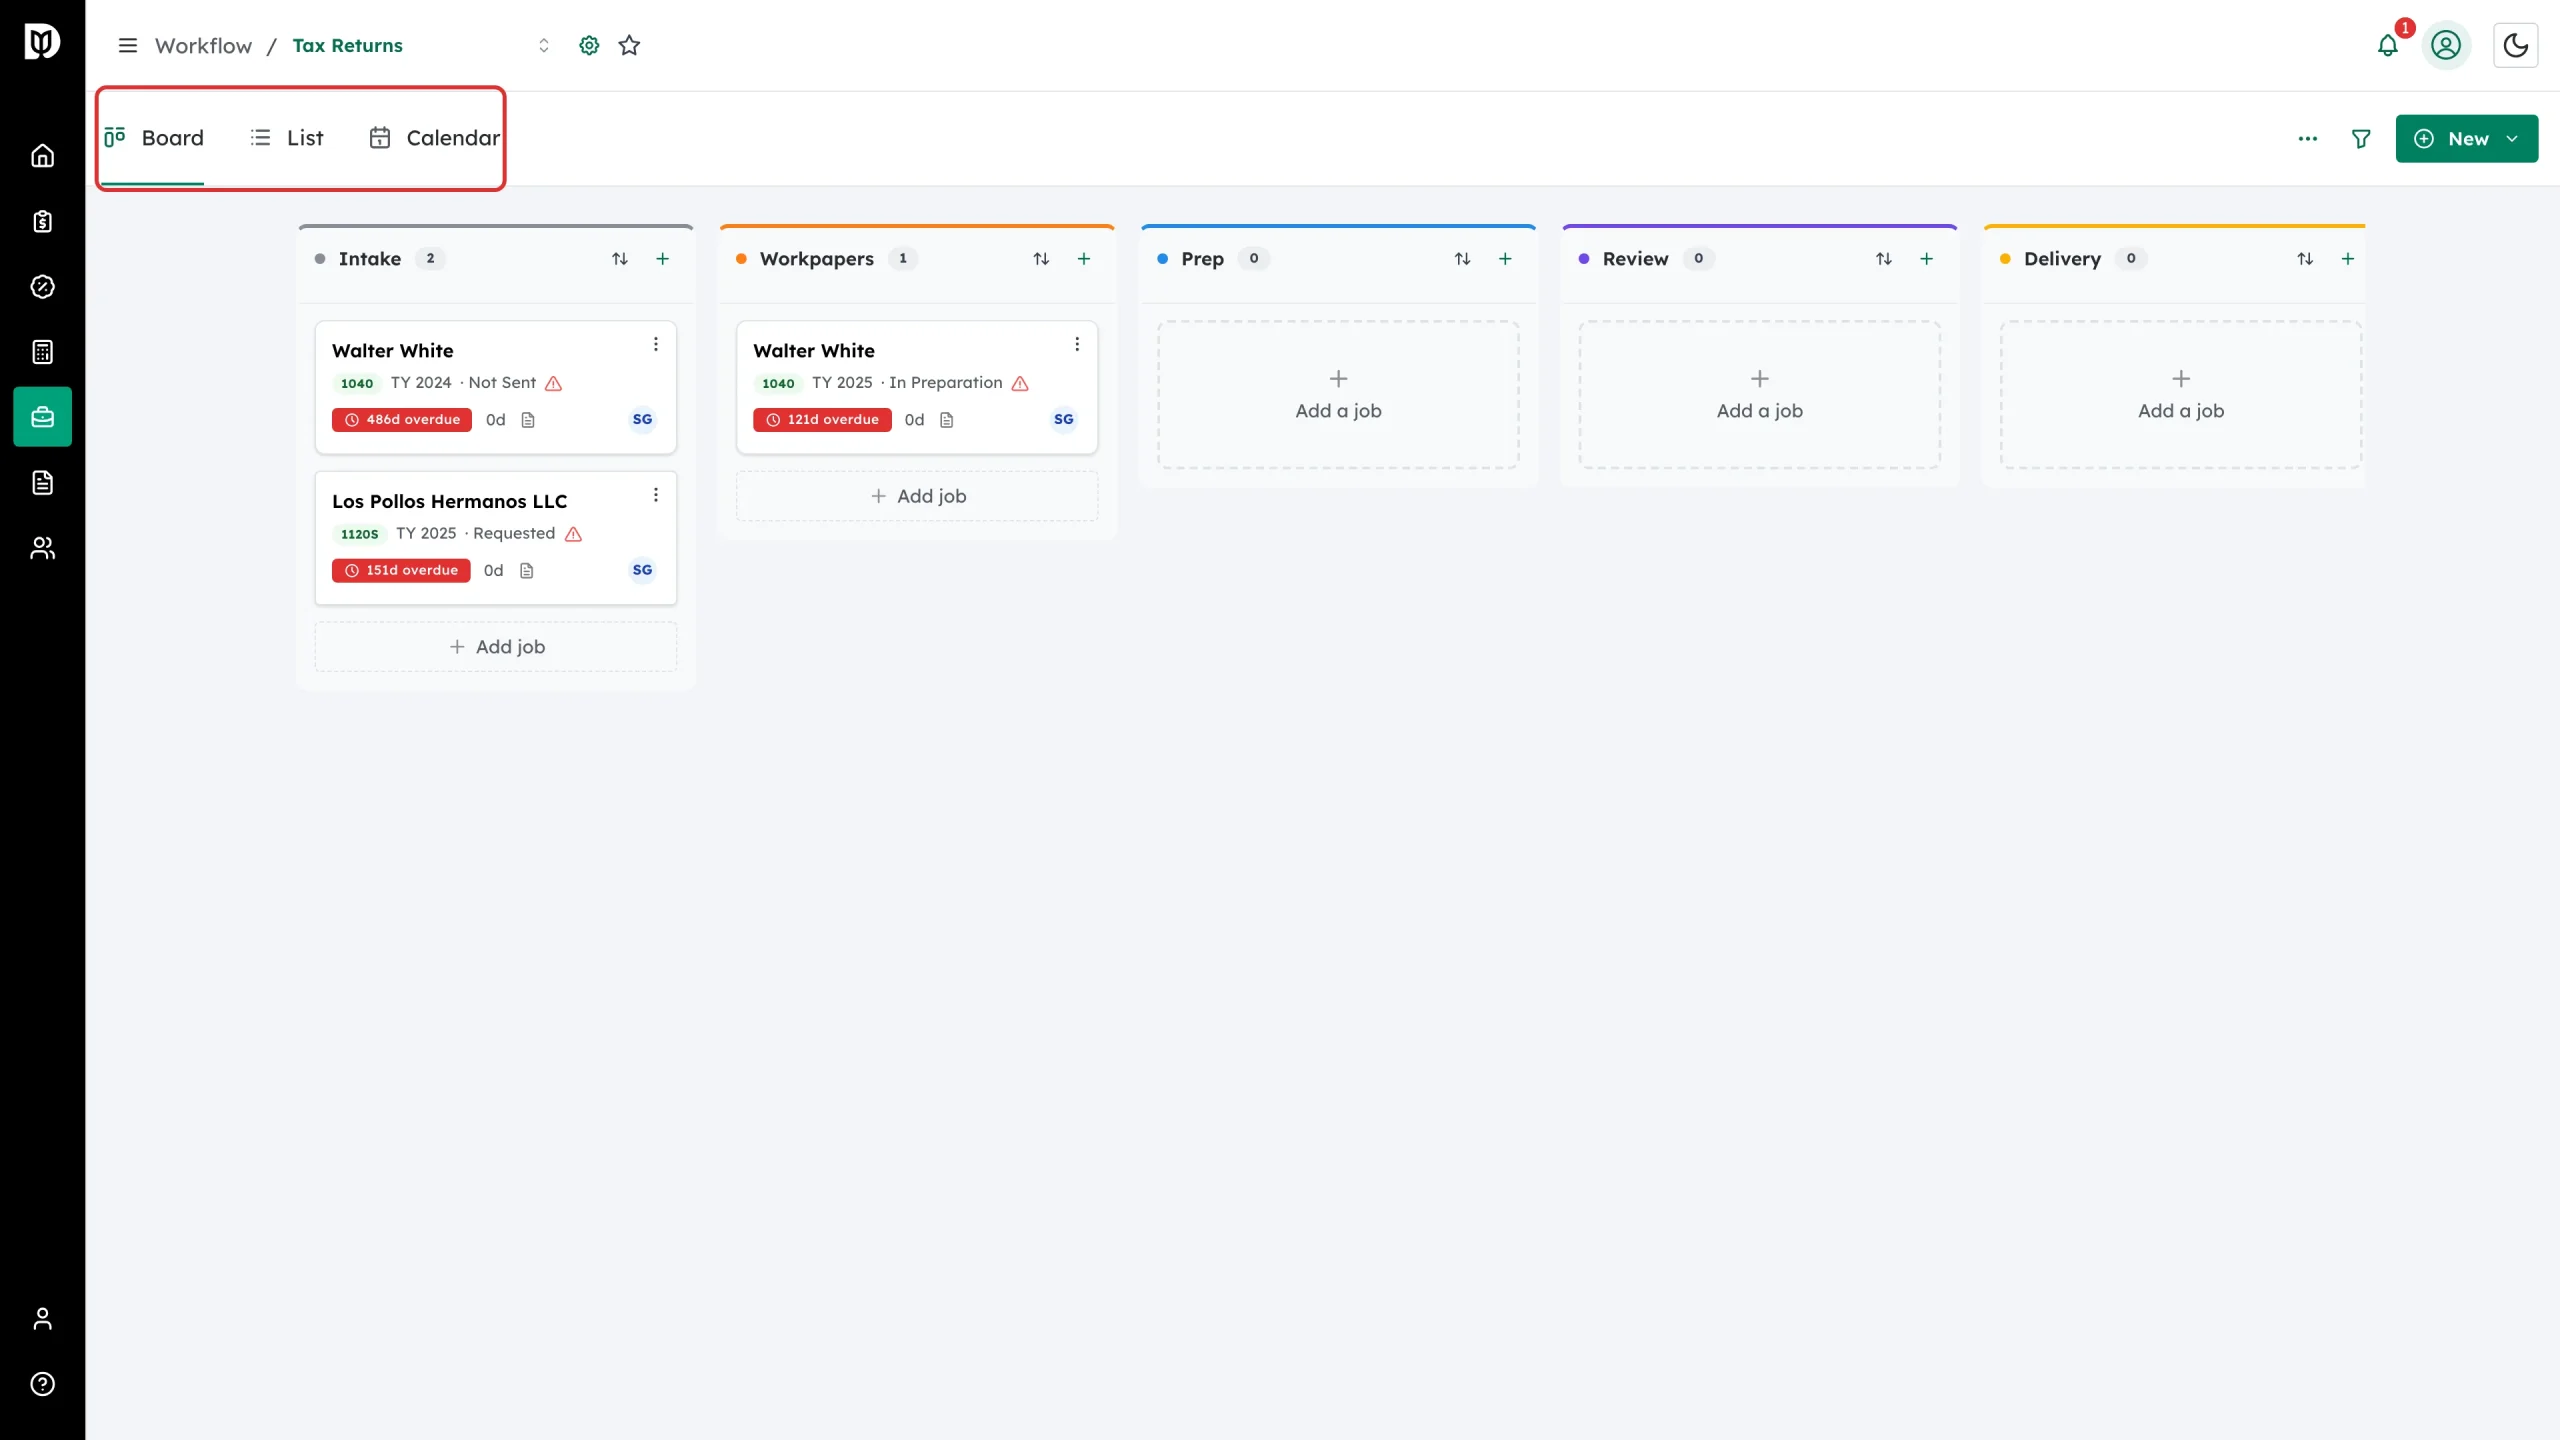
Step 5: Switch views
Board, List and Calendar show the same jobs three ways. Board is best for moving work along, List for scanning and editing in bulk, Calendar for seeing what is due when.
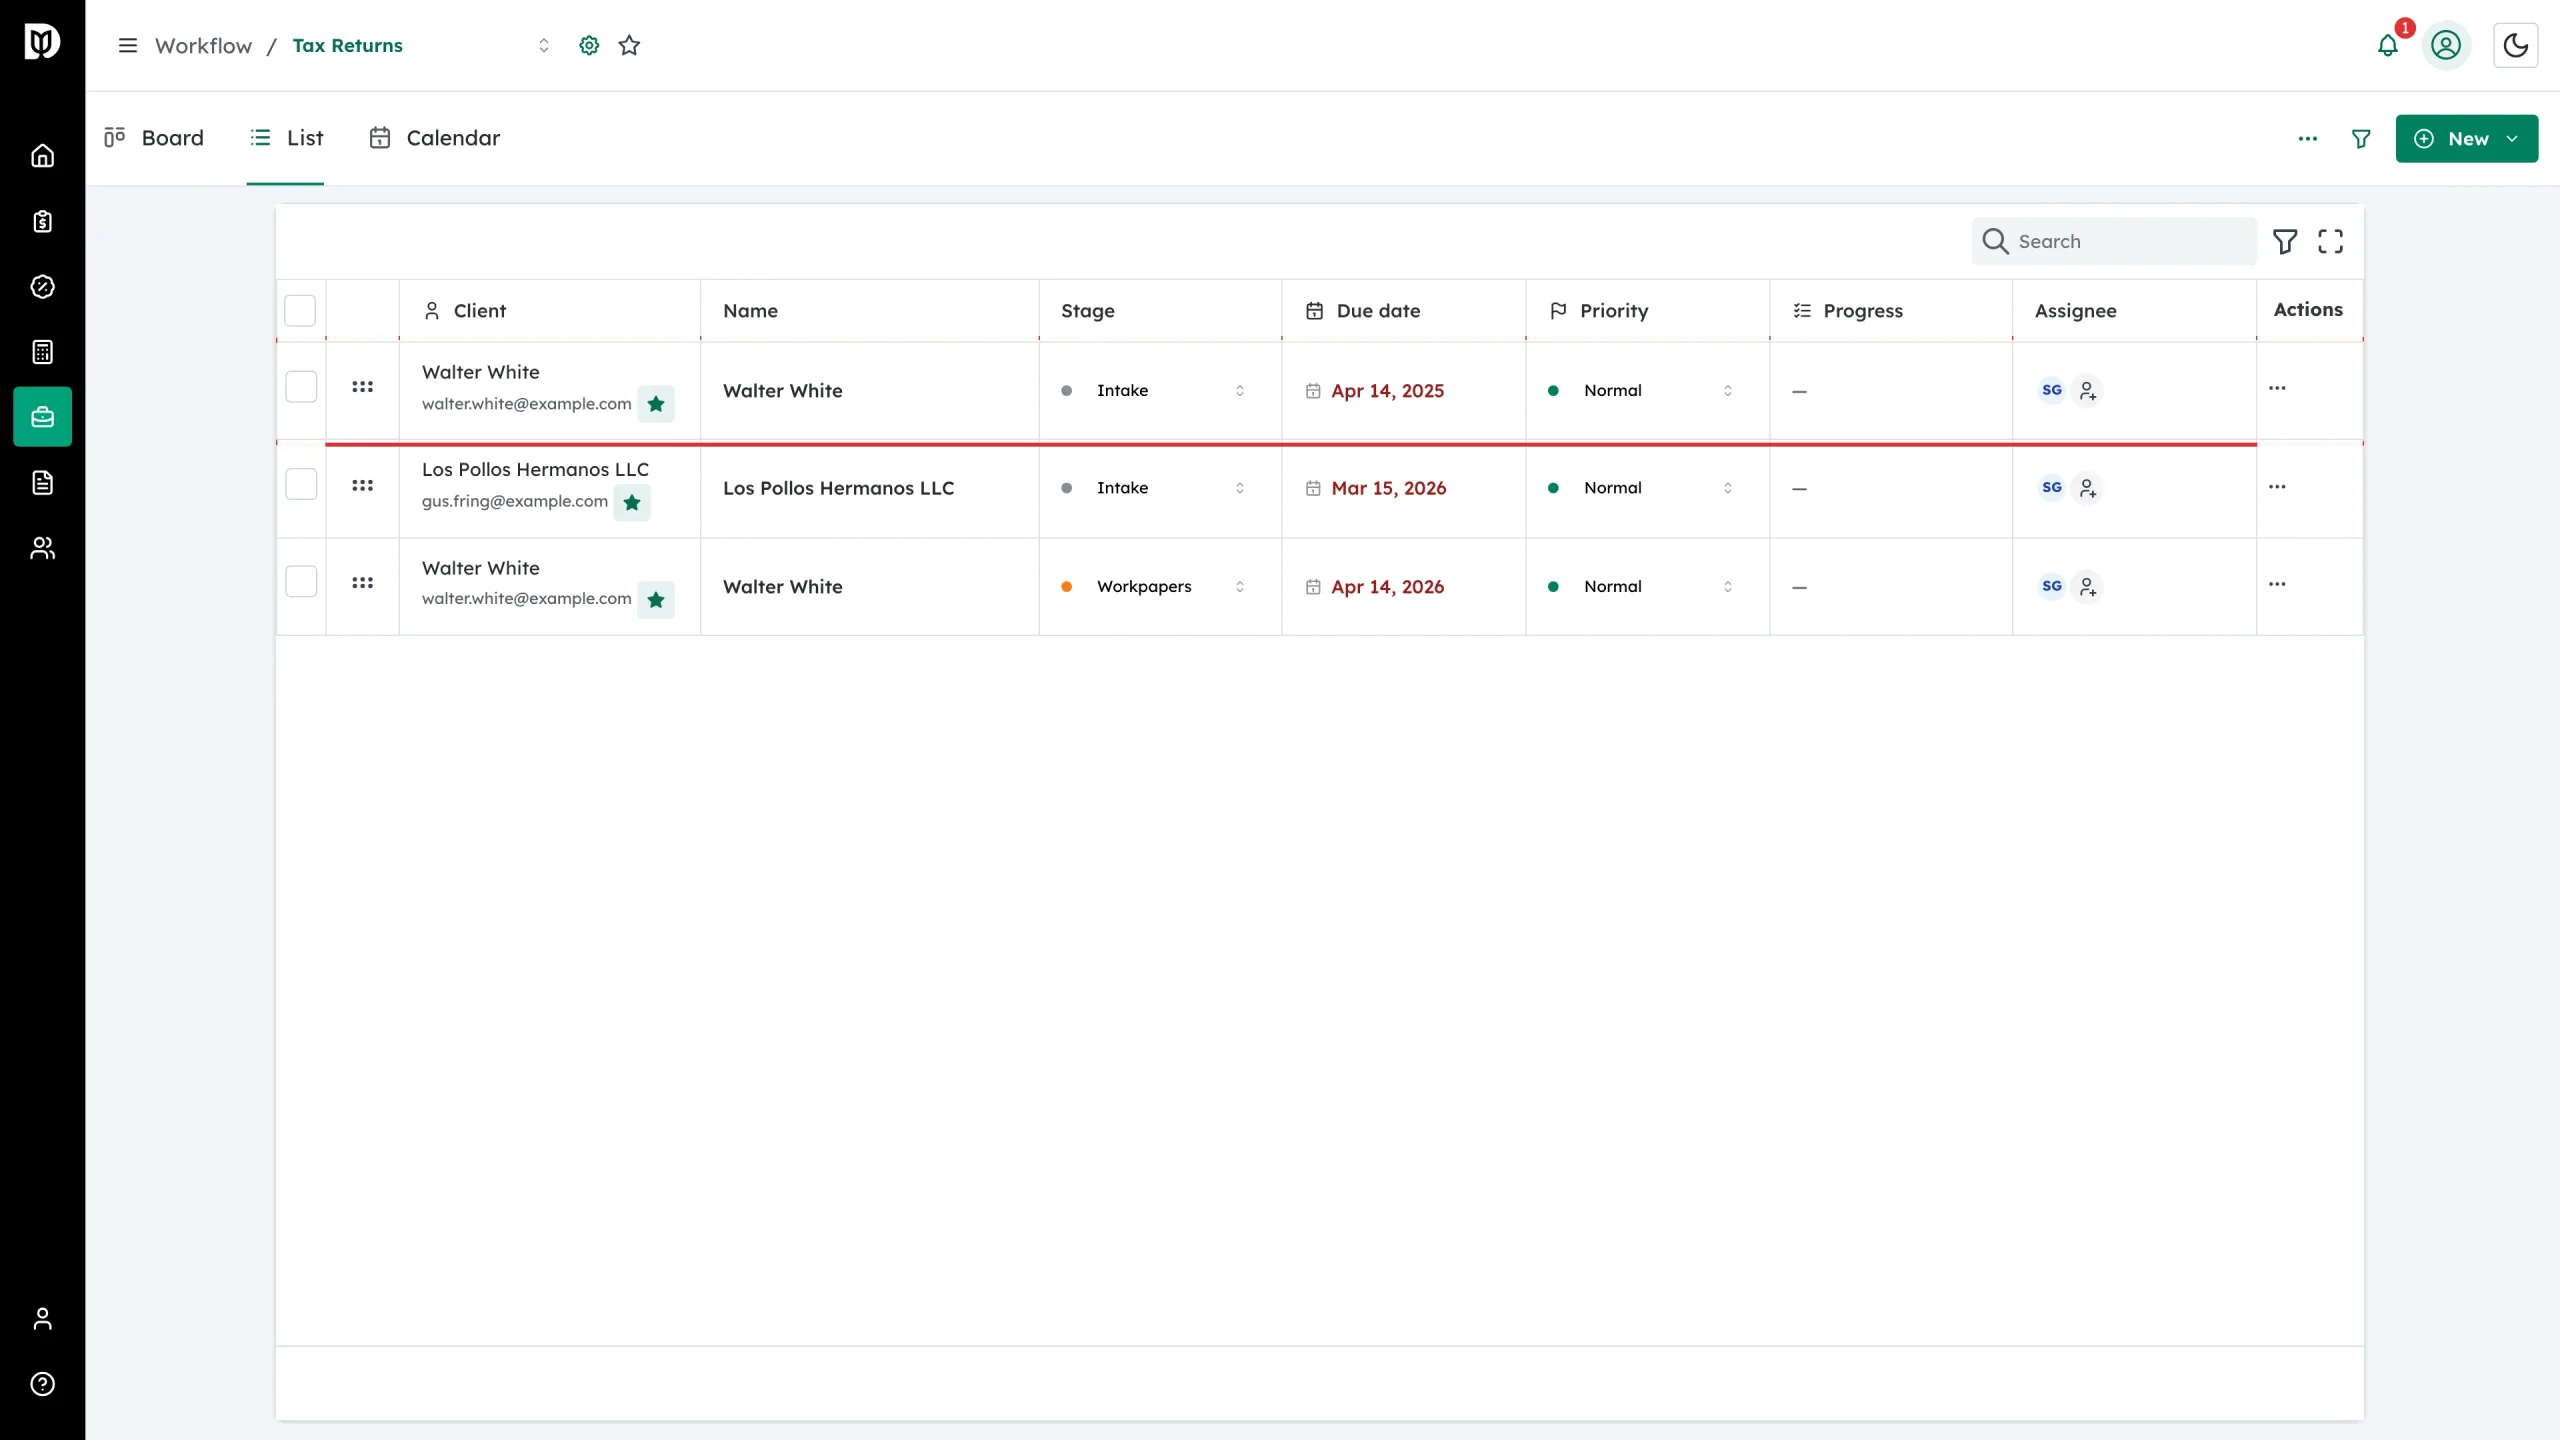
Step 6: Use the List view for quick edits
In List, each job is a row with its client, stage, due date, priority, progress and assignee. Stage, due date and priority can be changed straight from the row.
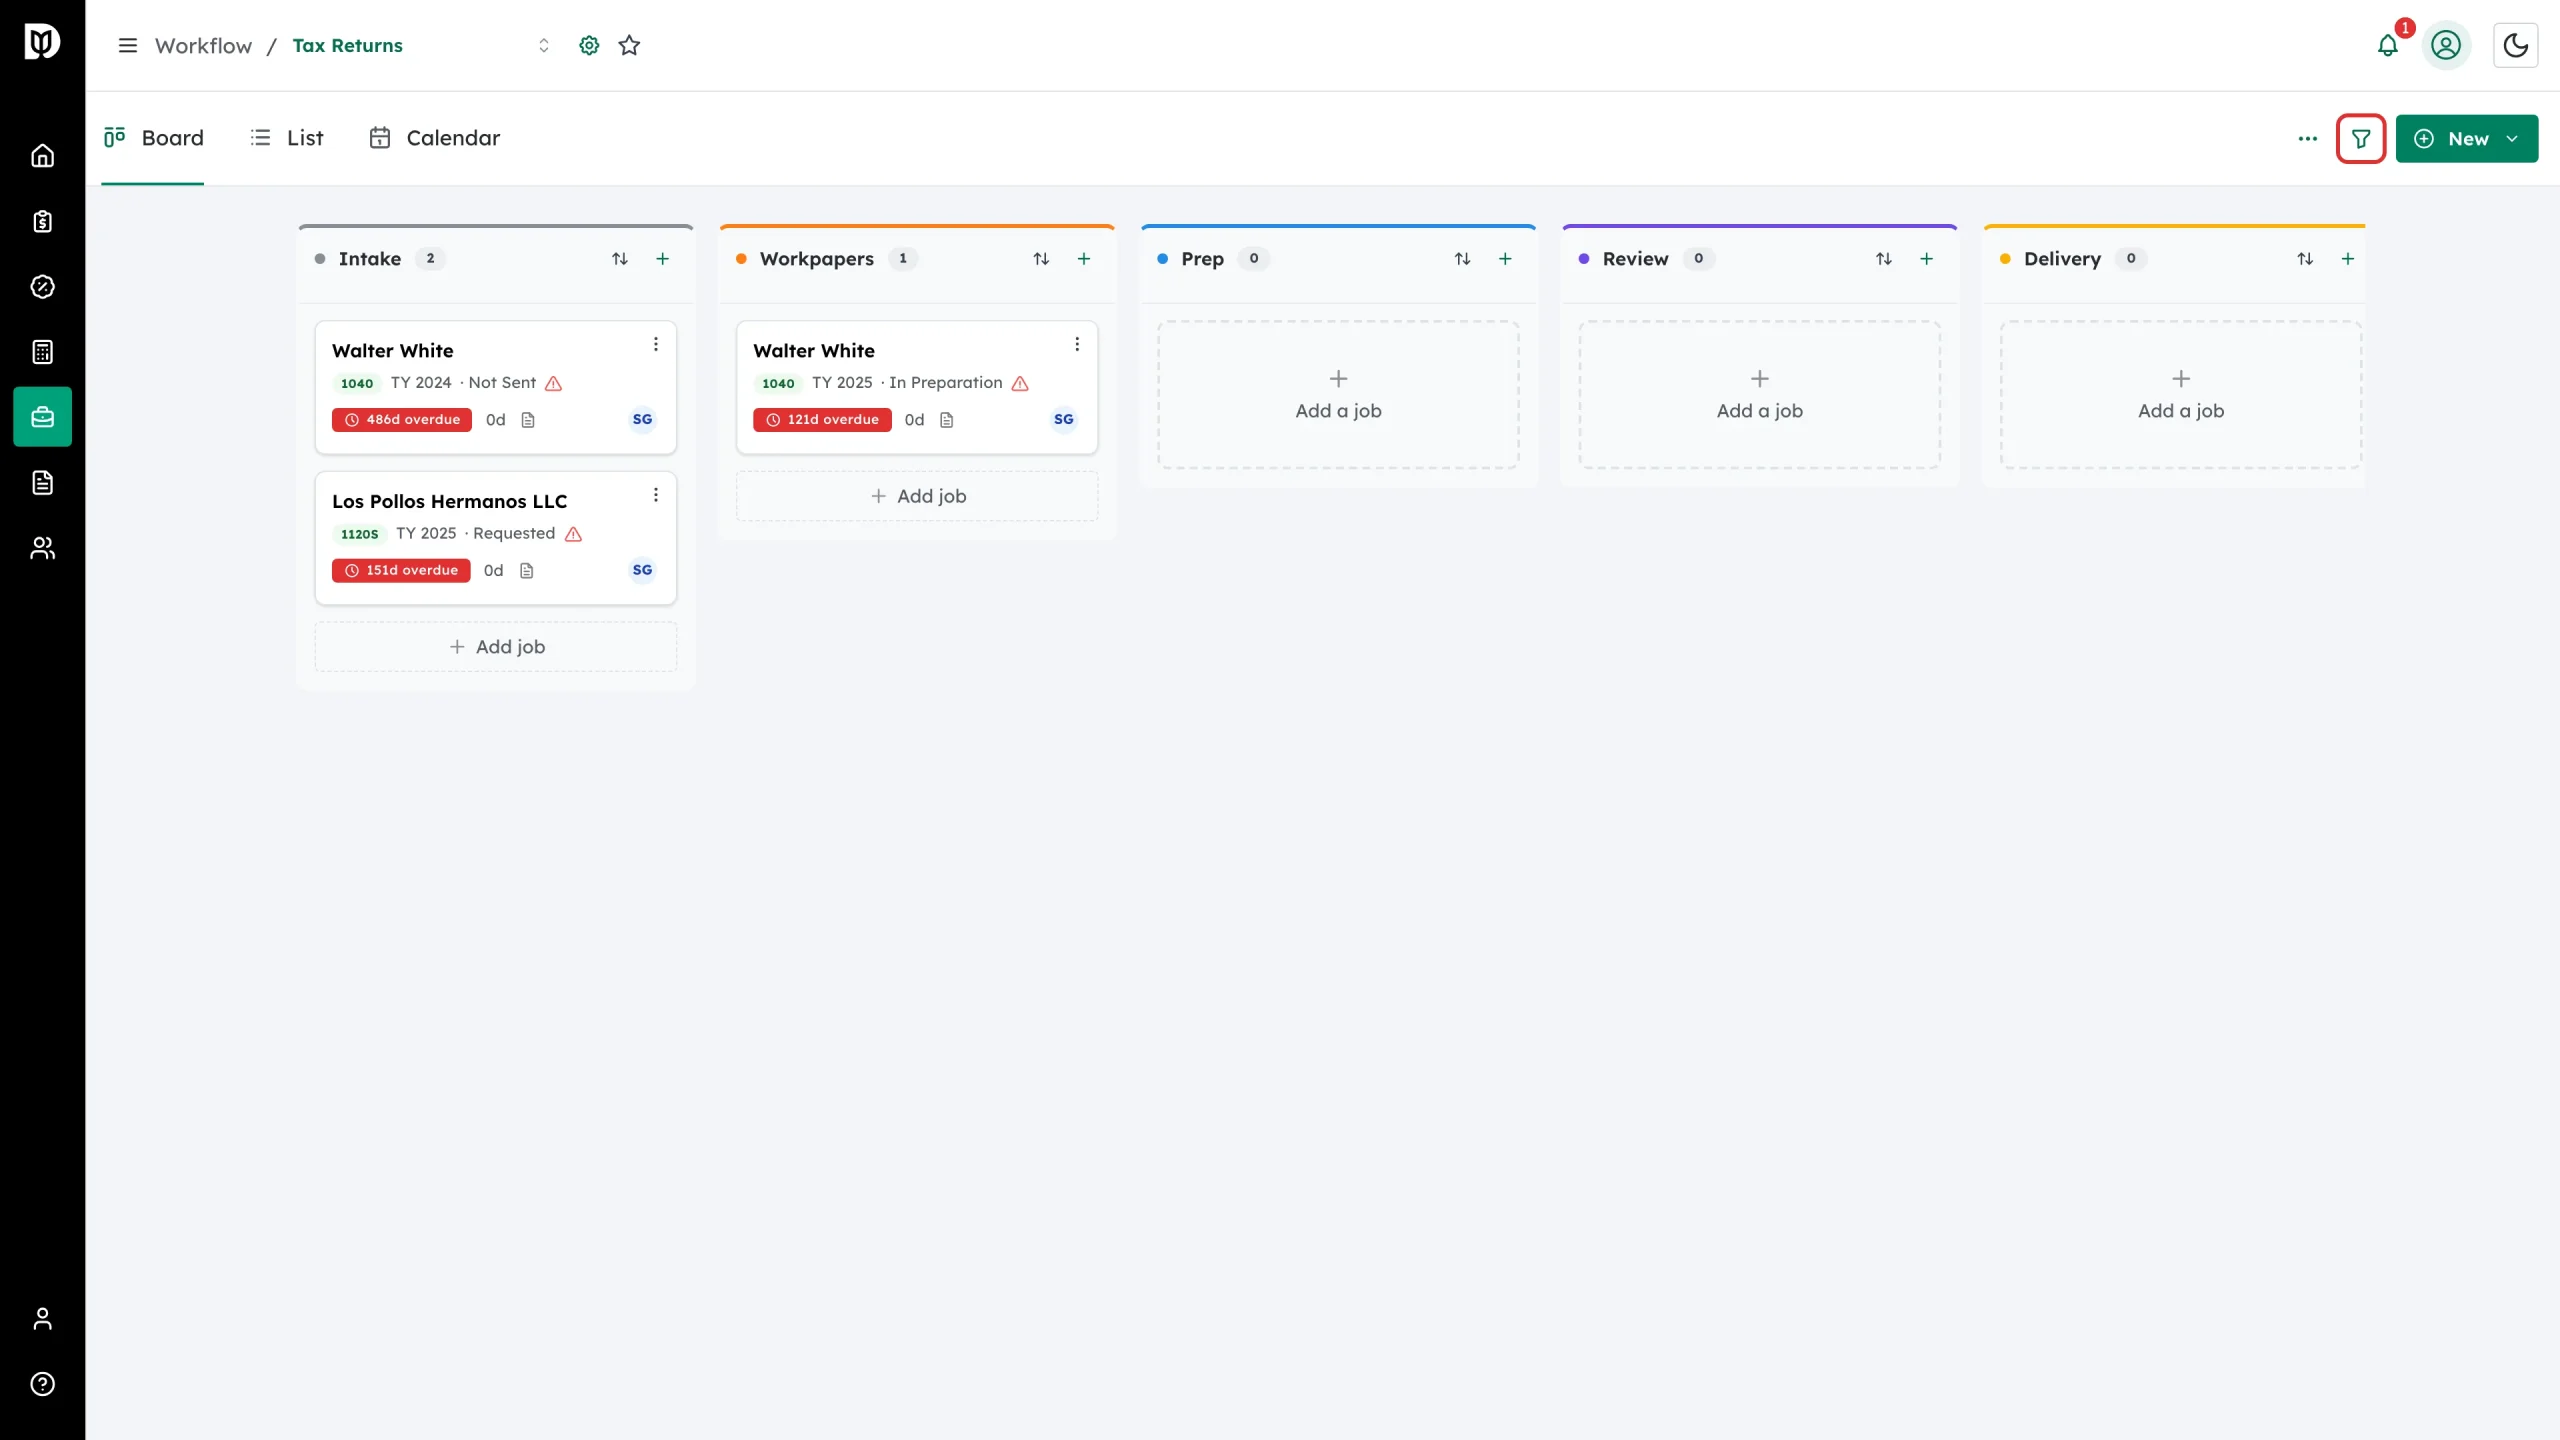
Step 7: Filter the board
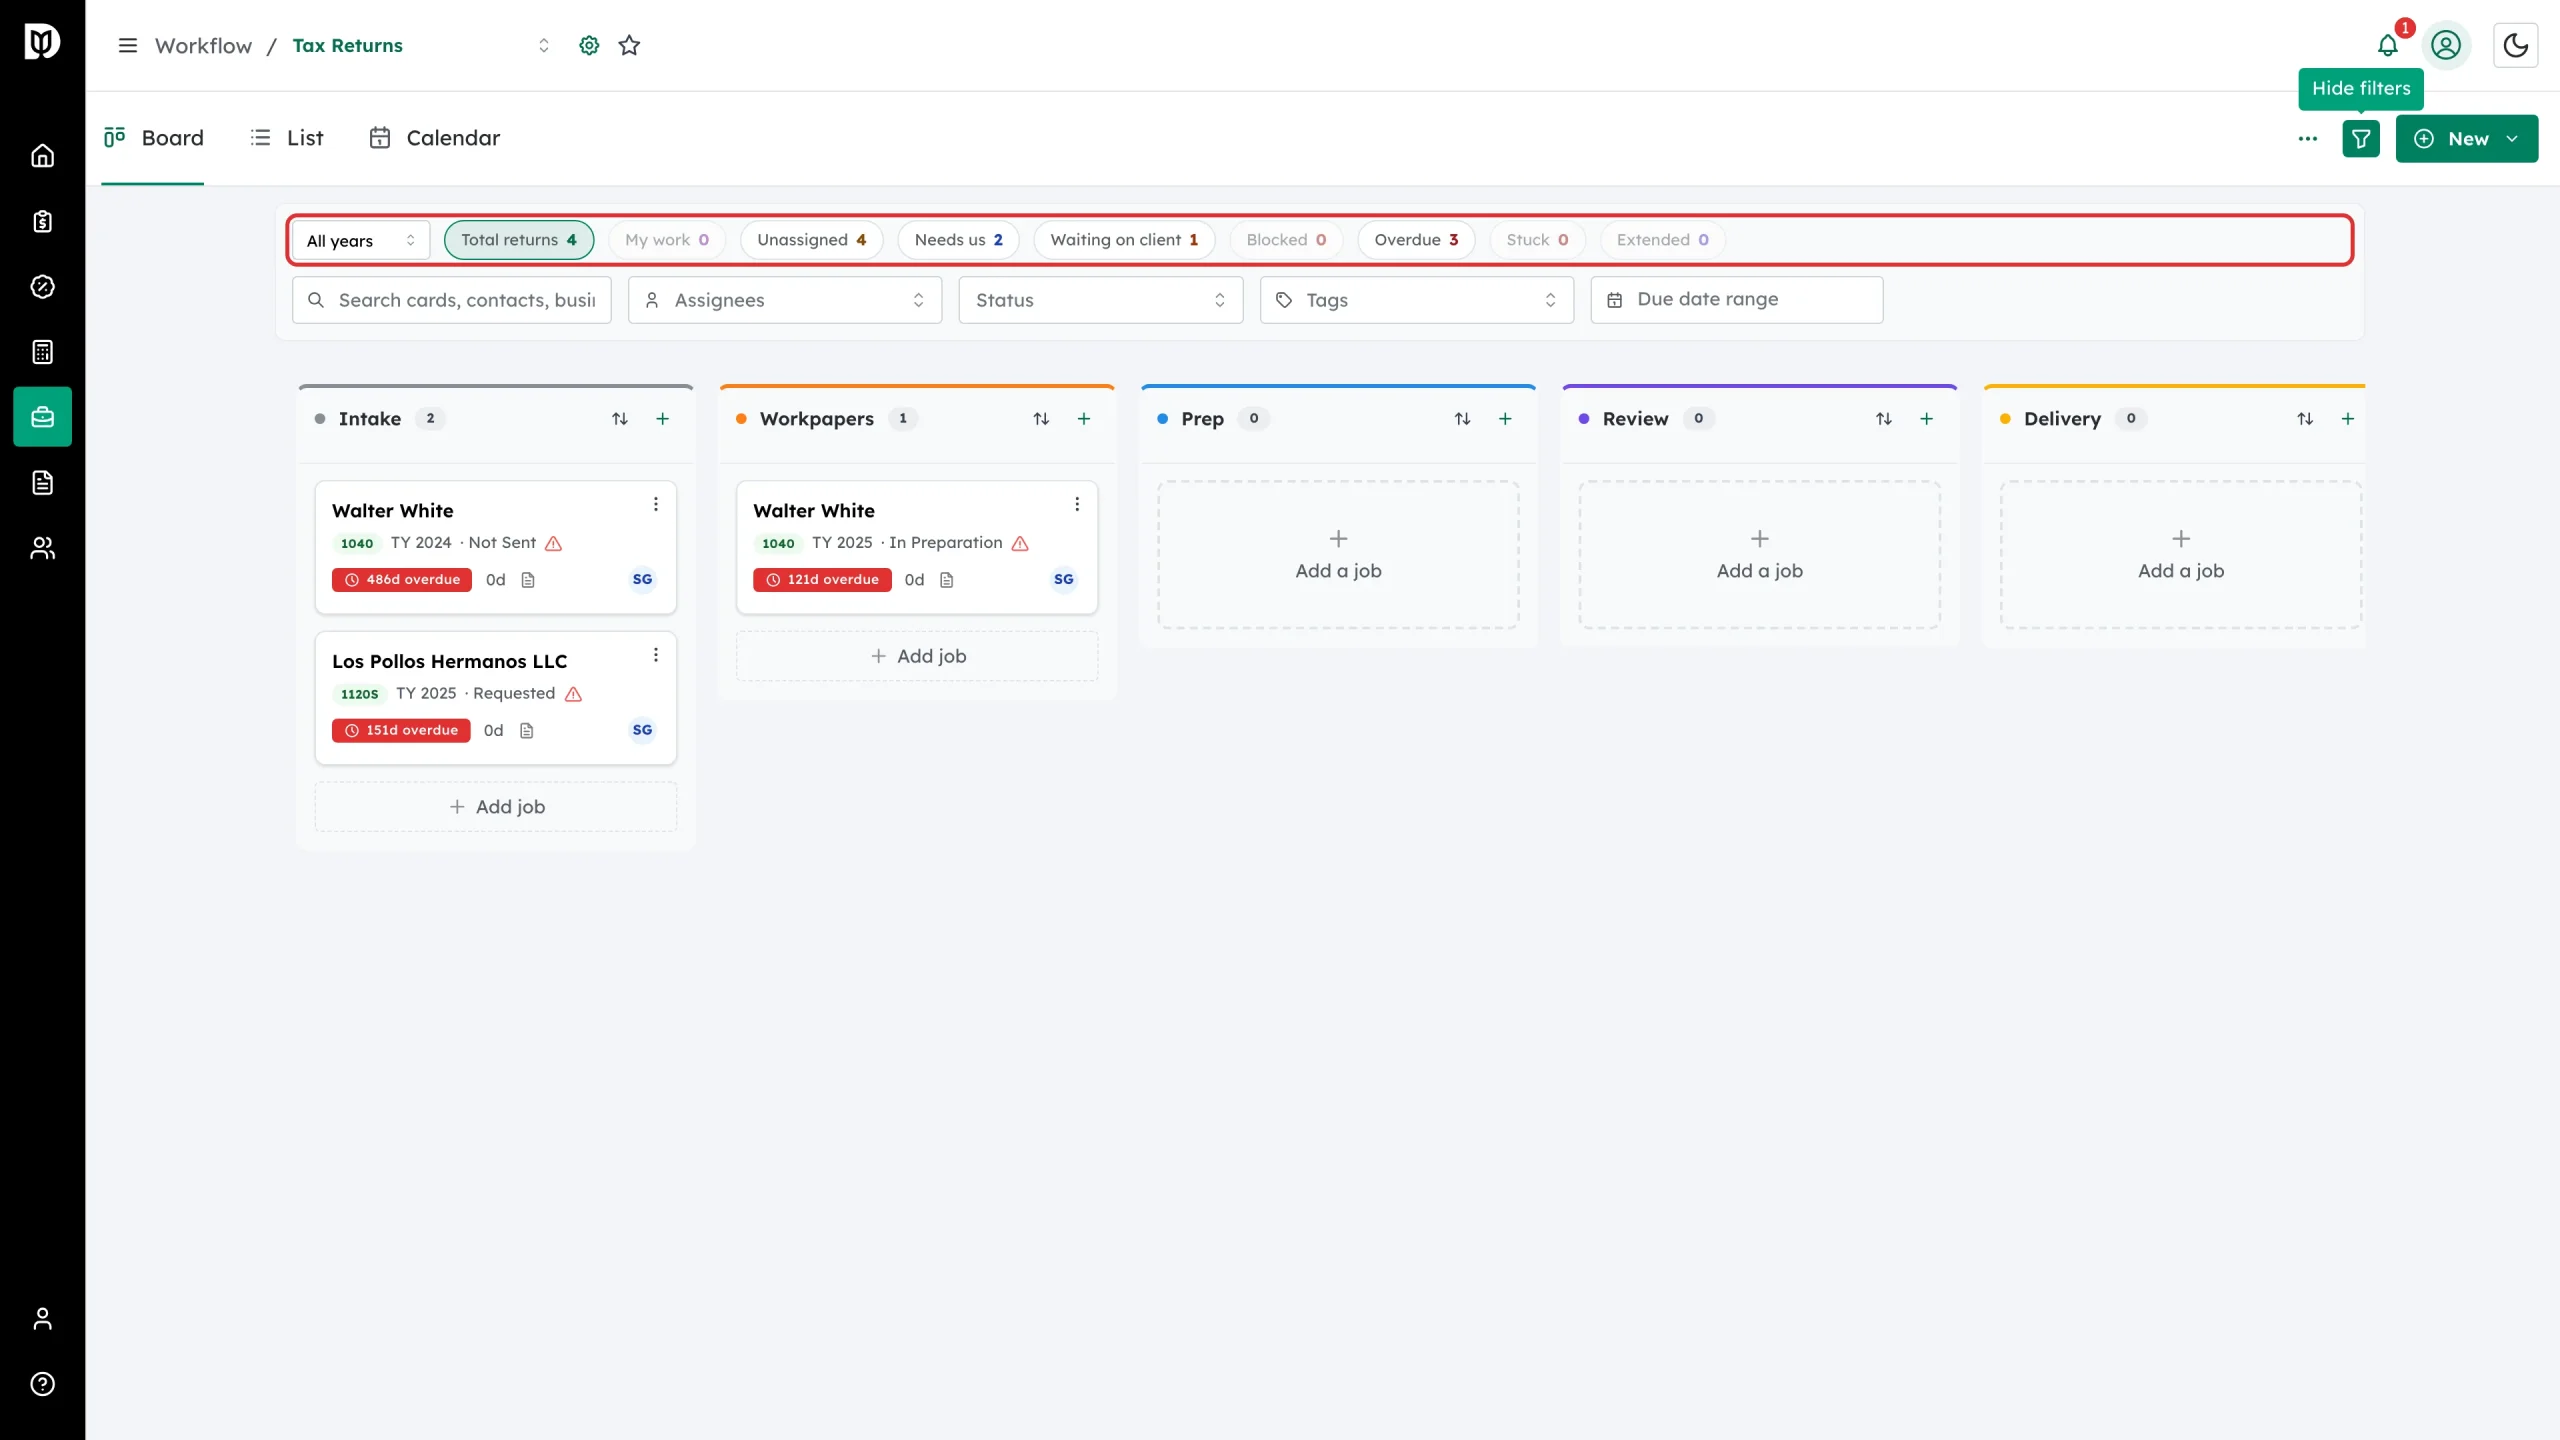
Select the filter icon to open the filter bar. You can search cards, contacts and businesses, or narrow the board by assignee, status, tag or due-date range.
Step 8: Use the tax queues on a tax board
On a board whose service type is Tax, the filter bar also carries a tax year selector and a row of queue tiles — Total returns, My work, Unassigned, Needs us, Waiting on client, Blocked, Overdue, Stuck and Extended. Select a tile to show only those returns.
Step 9: Find everything else in the More menu
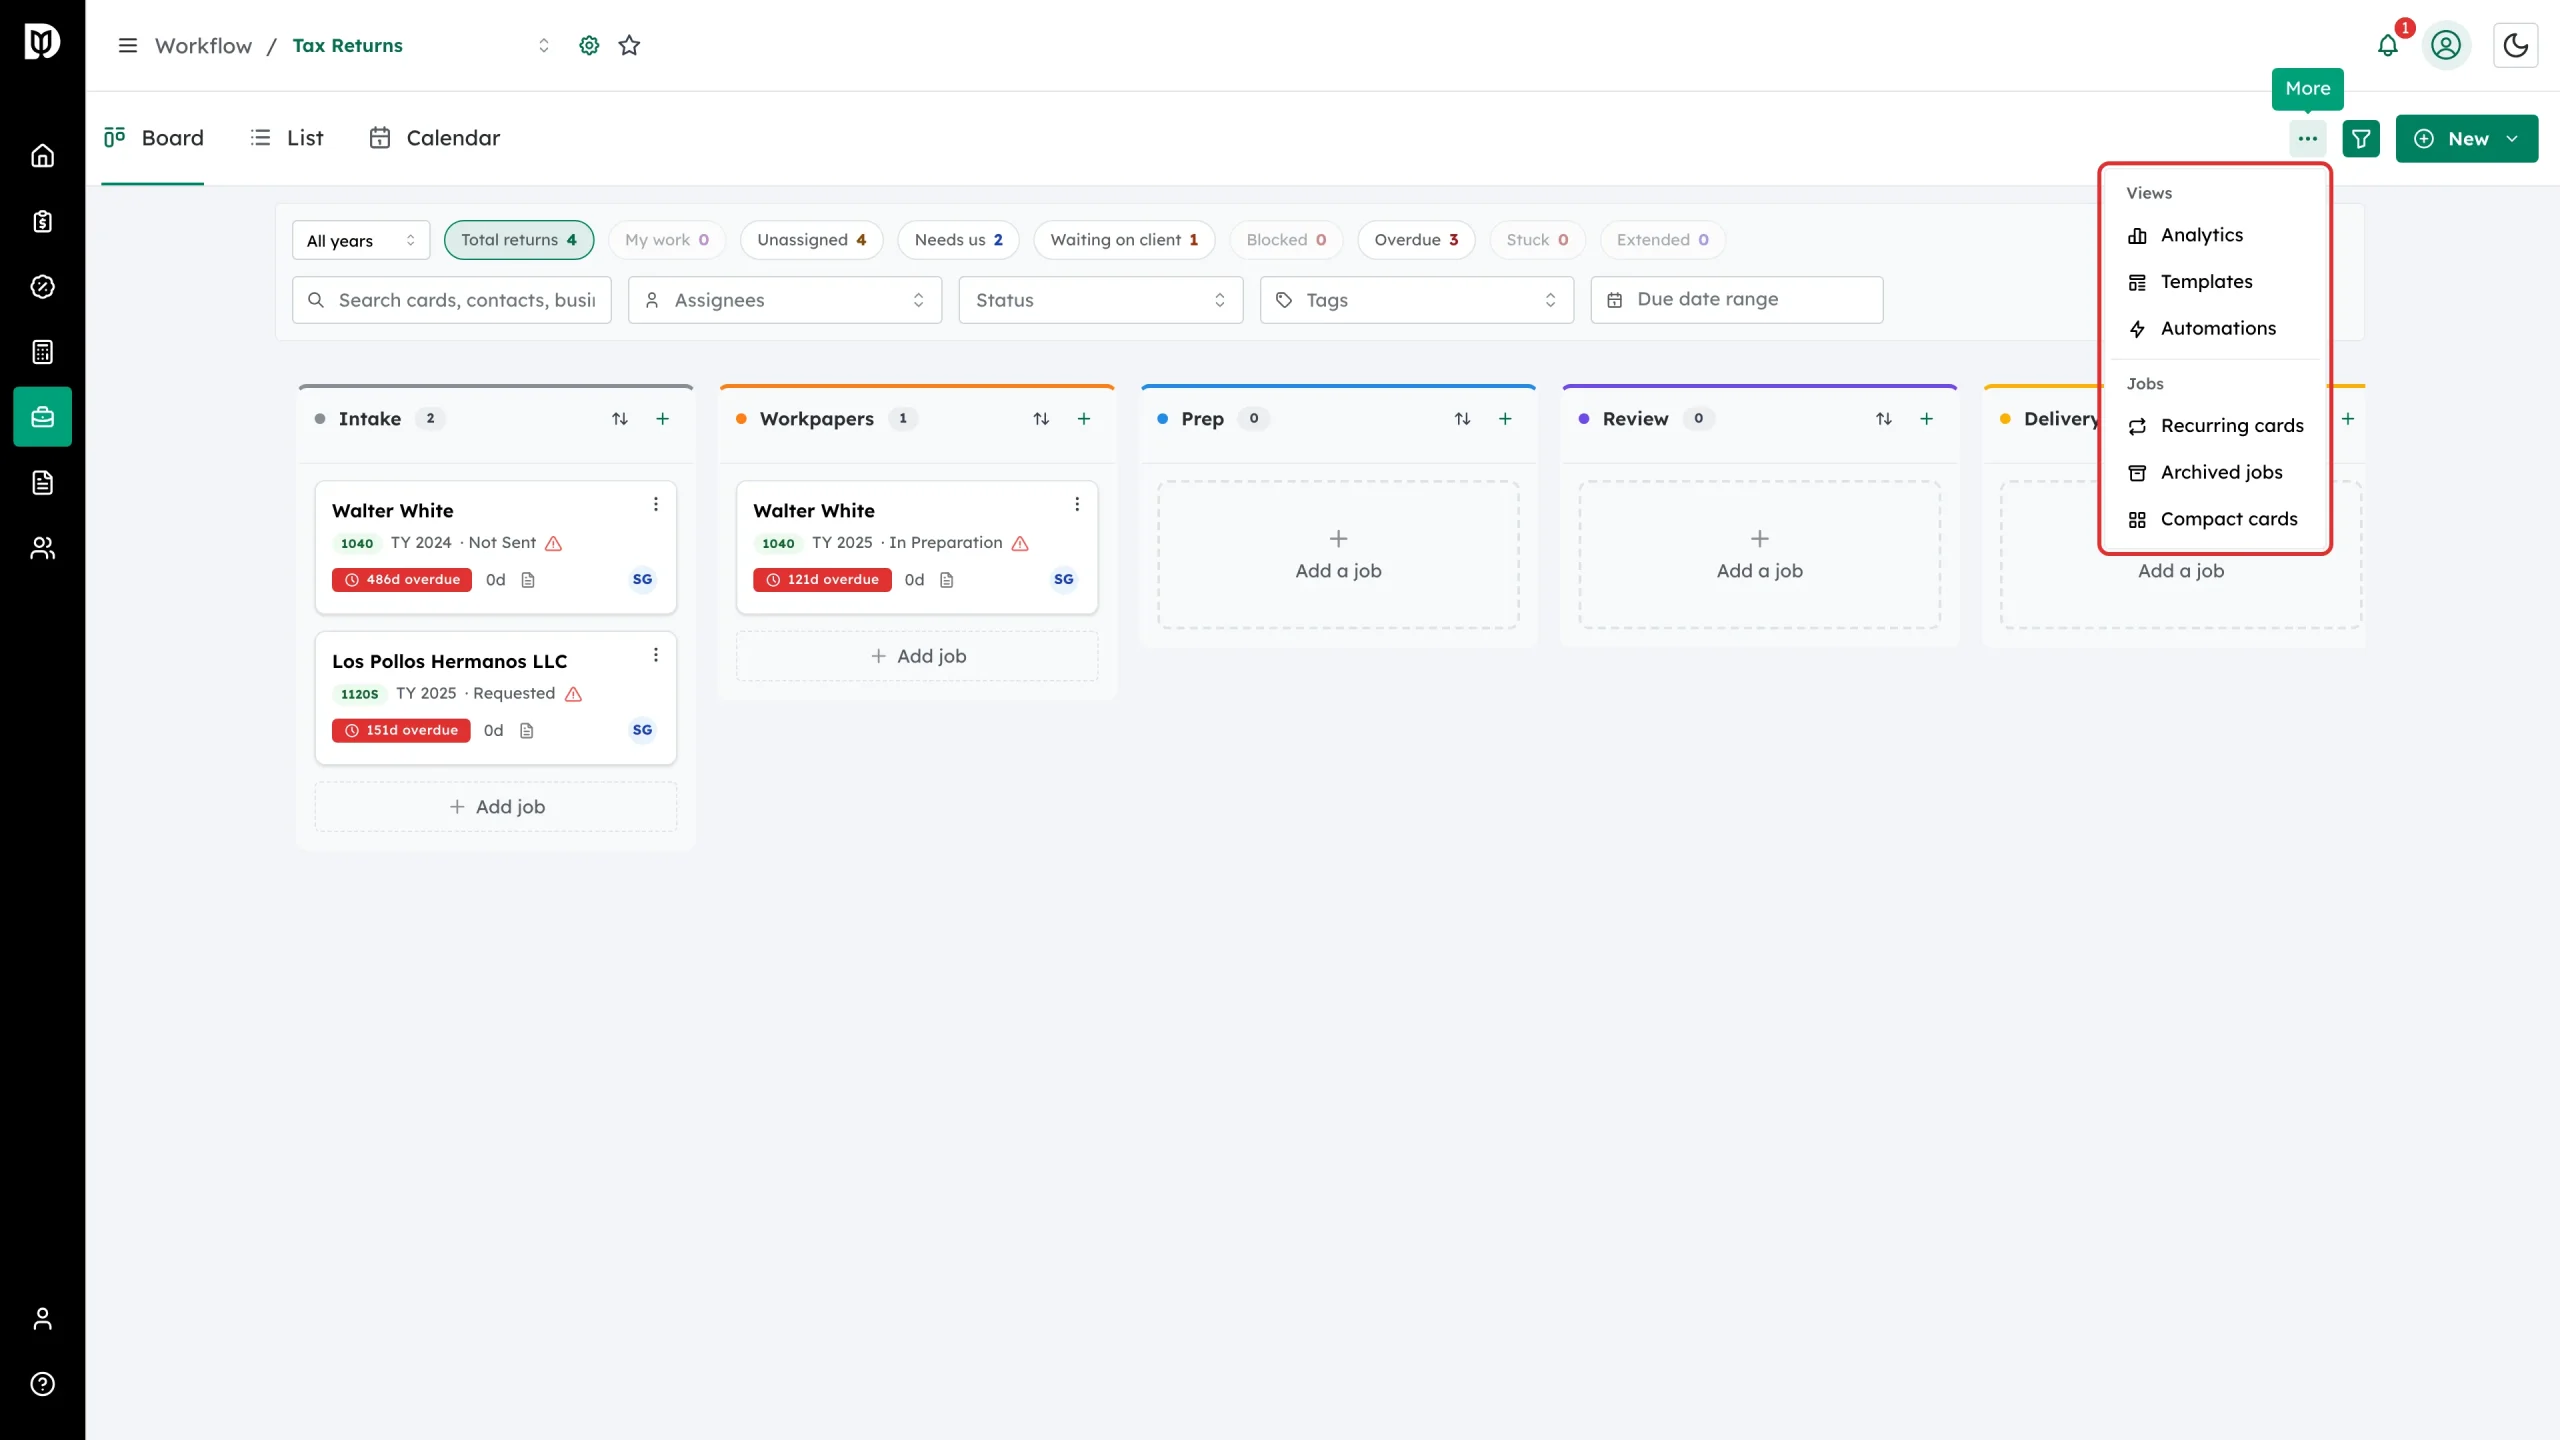
The three-dot More menu holds the rest of the board: Analytics, Templates and Automations under Views, and Recurring cards, Archived jobs and a compact/comfortable card size switch under Jobs.
Step 10: Set your default board
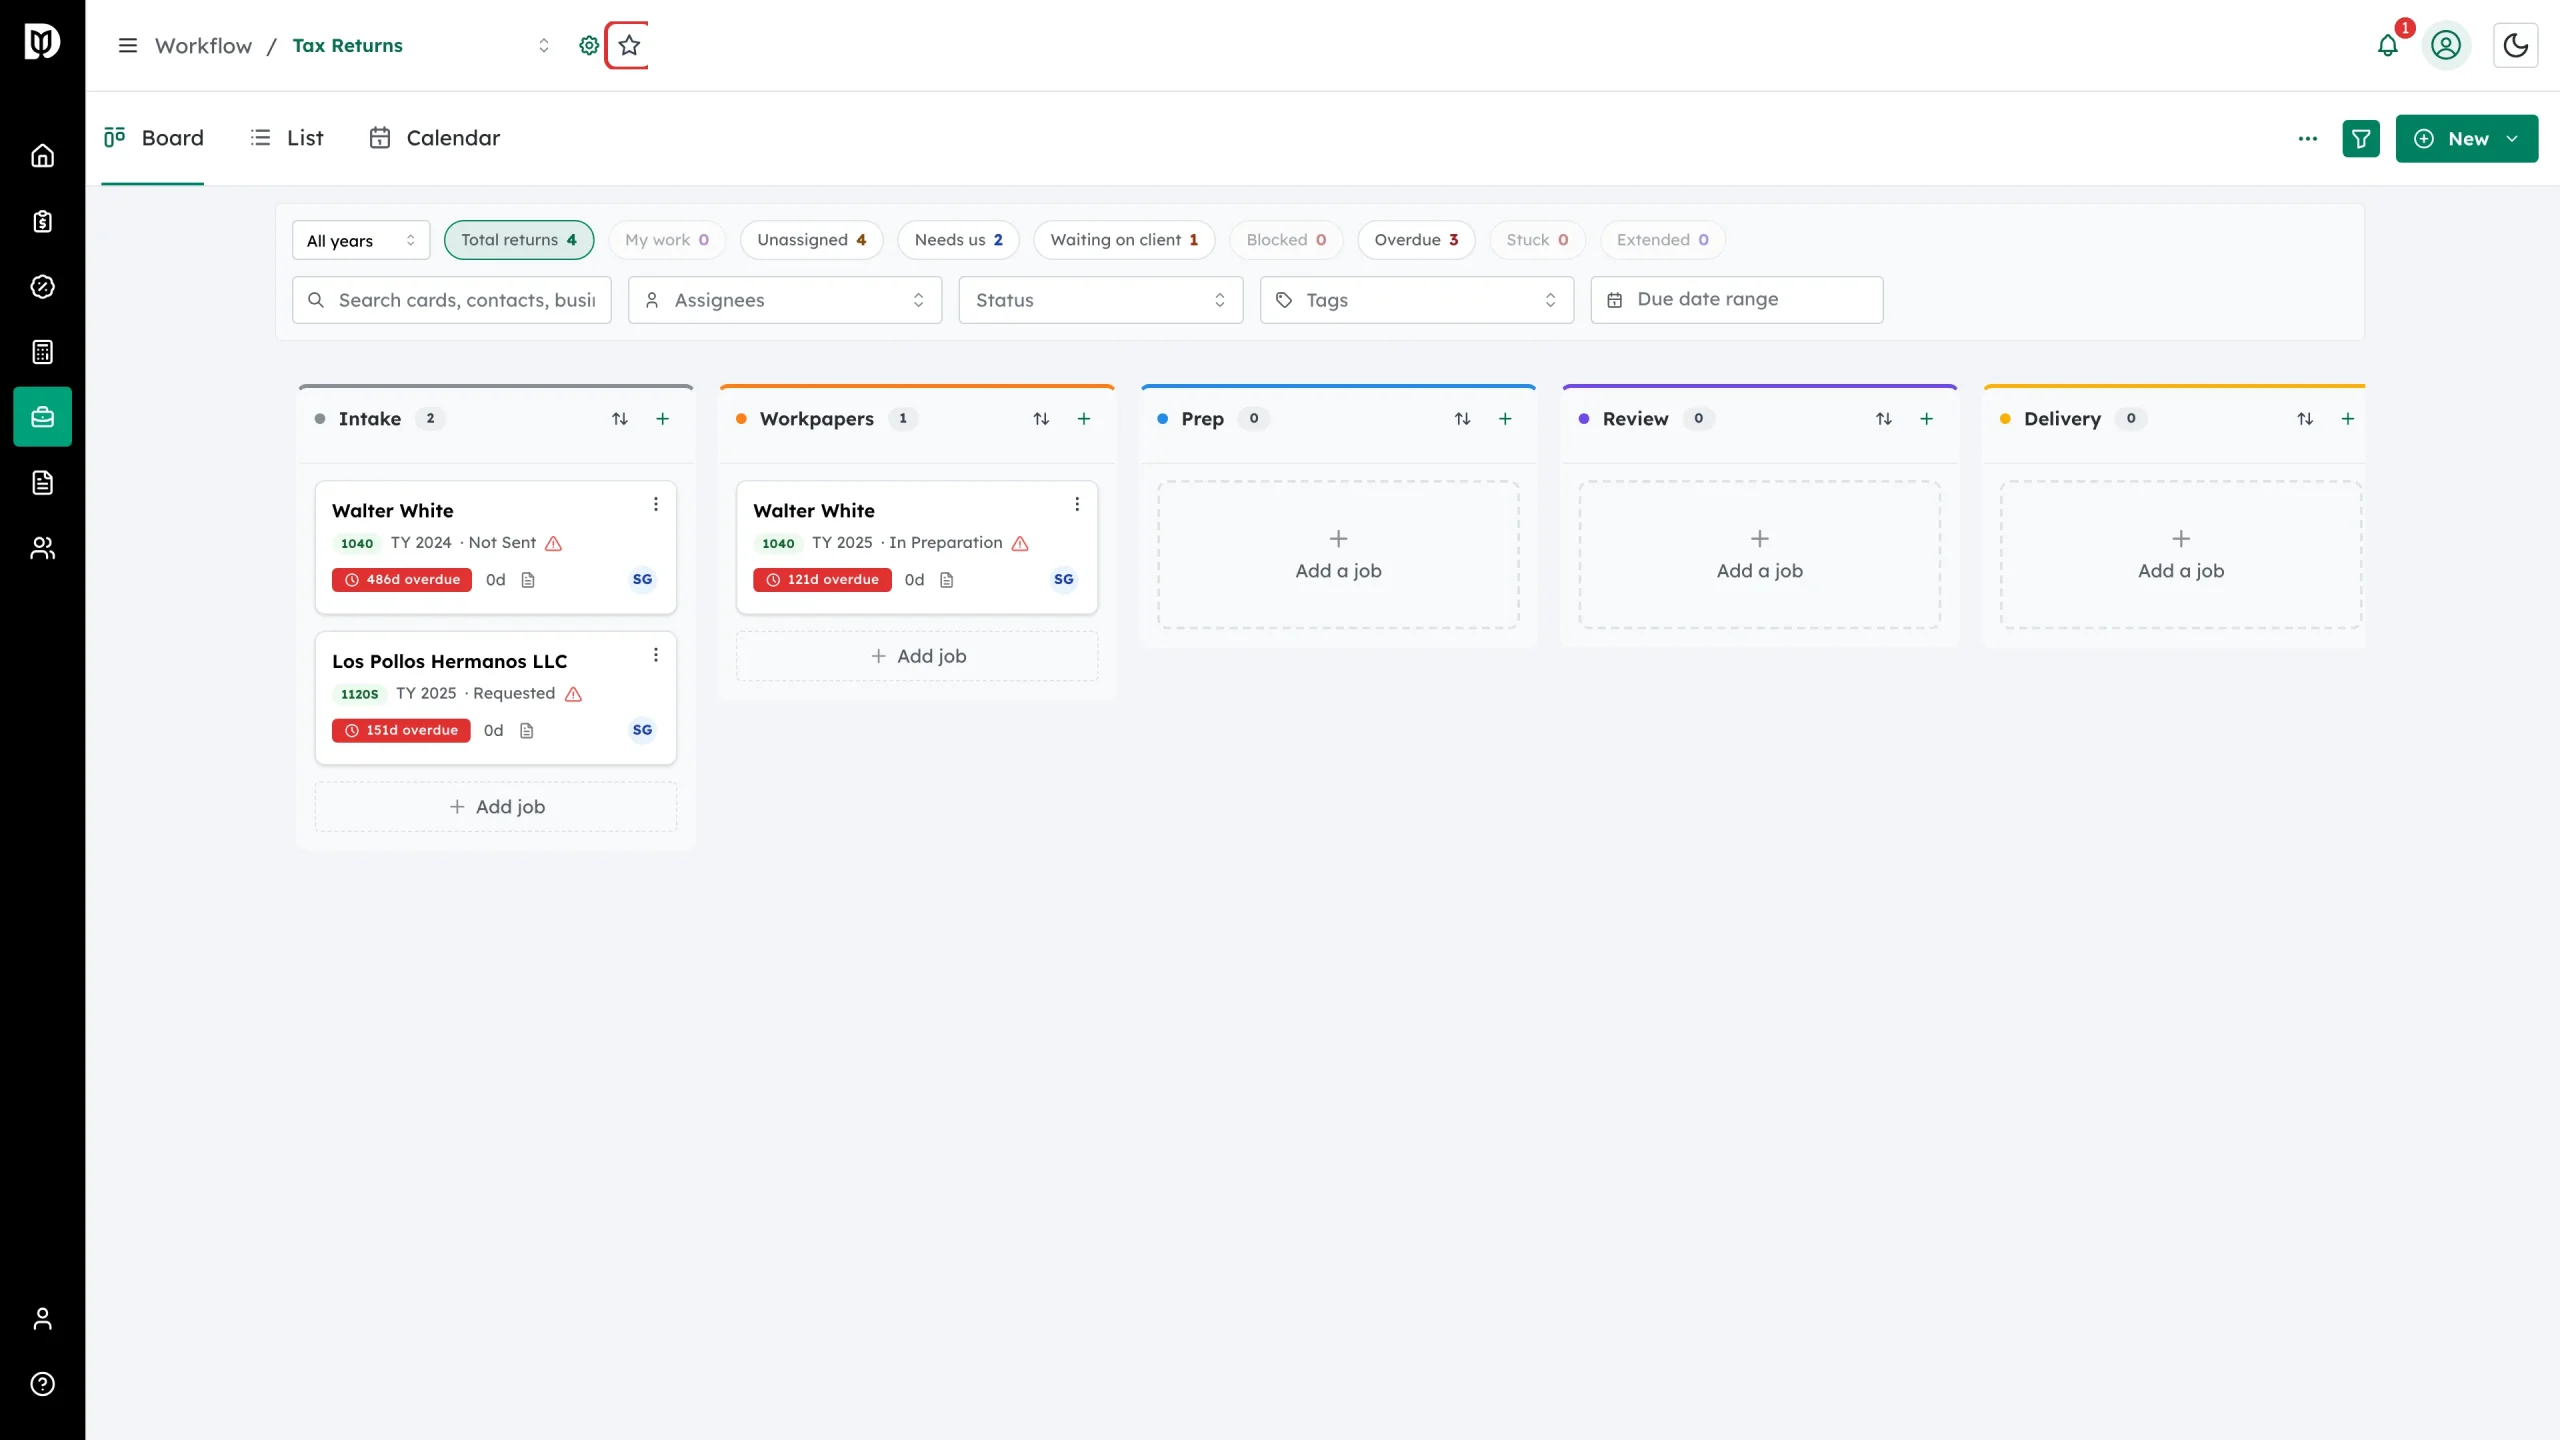
Select the star beside the board name to make that board the one that opens for you every time. Select it again to clear it.
What happens next
You now have a board you can navigate. The next things to do are to add work to it and to shape the stages around how your firm actually works — see How to Create and Move a Job Card and How to Set Up a Pipeline and Its Stages.
Troubleshooting
- Workflow is missing from the sidebar. Either the firm has workflow switched off, or your user has no workflow access. Going to the address directly sends you back to the dashboard.
- A board you expect is missing from the picker. Boards are private to owners and admins unless they are shared. Ask the board’s owner to share it with you or with the whole team.
- Templates, Automations or Analytics are missing from the More menu. Each needs its own permission; Analytics is firm owners and admins only.
- The board is empty. Check the filter bar — a leftover assignee, tag or date filter hides cards. On a tax board, also check the year selector and whether a queue tile is still selected.