

Who this is for: Bookkeepers and reviewers who want to stop expected transactions from being flagged every month.
What you’ll learn: How to view, add, and remove exclusion rules so the scan skips transactions you have already accepted.
Before you begin #
- Open the client’s Month End tab, select the Review tab, then switch to Review Items.
- Removing an exclusion rule requires an owner or admin role.
Step-by-step instructions #
Step 1: Open Exclusions #
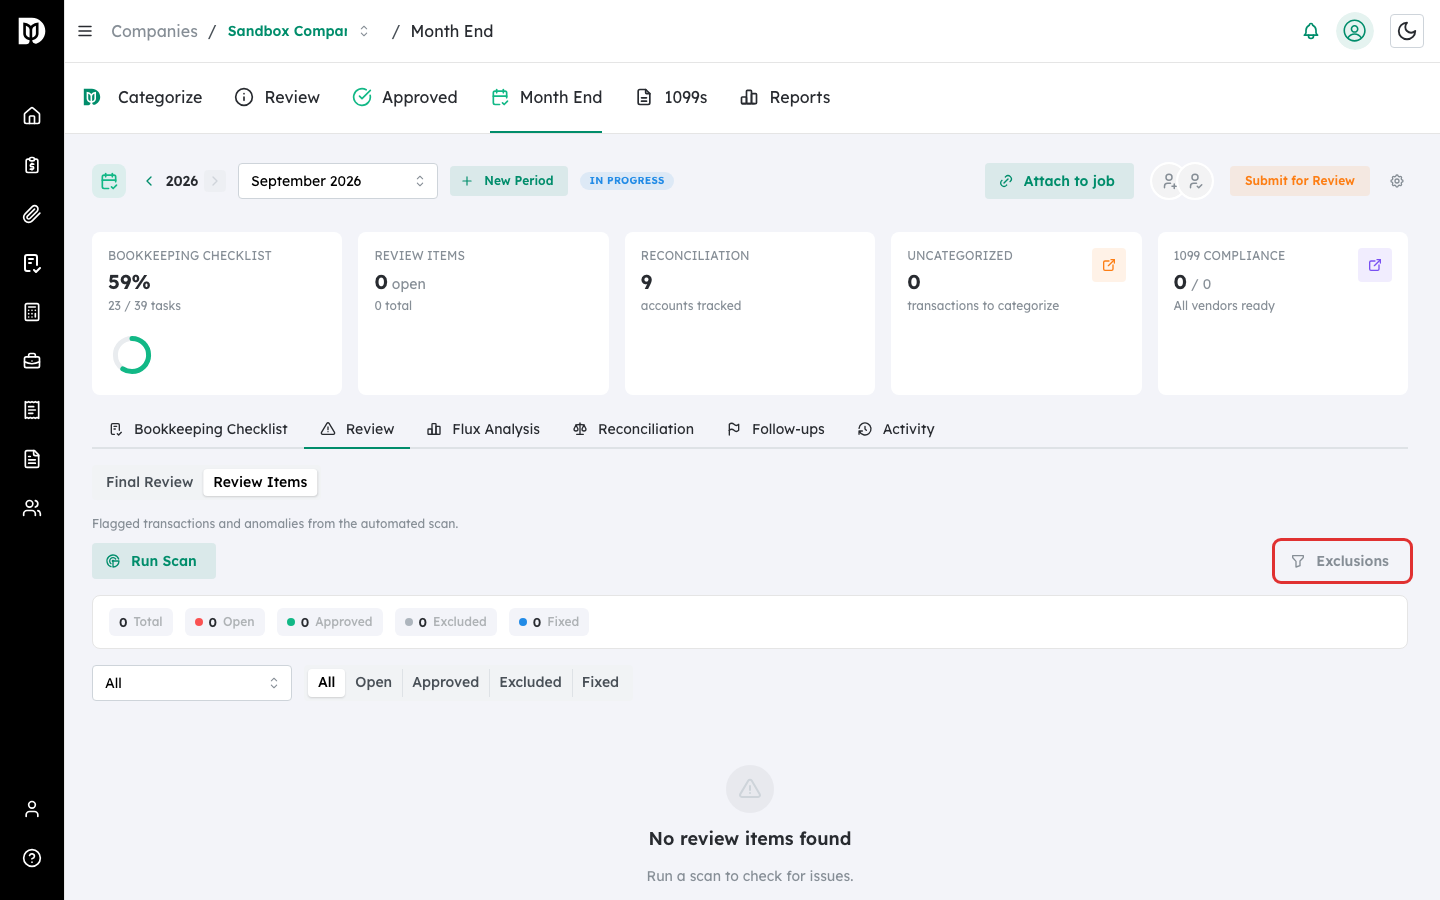
Select Exclusions on the Review Items view.
Step 2: Review the rules #
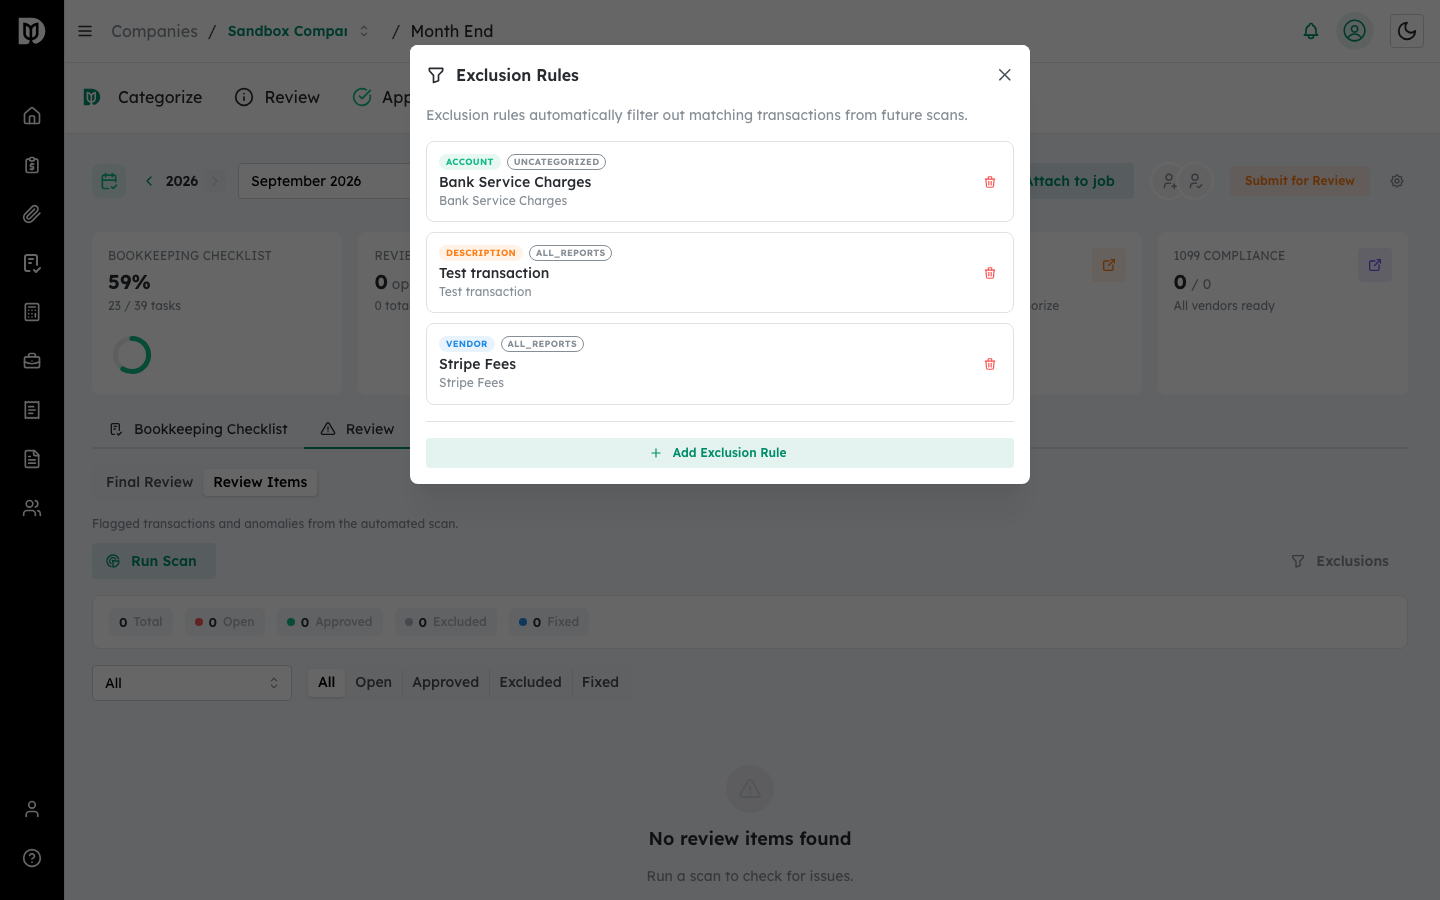
The Exclusion Rules window lists each rule with its type, such as by vendor, account, or transaction type. Rules automatically filter matching transactions out of future scans.
Step 3: Remove a rule #
To stop excluding a transaction type, select the trash icon next to its rule. Matching transactions will appear in future scans again.
What happens next #
New rules take effect the next time you run the scan. You can also create an exclusion directly from a flagged item while resolving it, which adds a matching rule for you.
Troubleshooting #
- Problem: A transaction you expected is still being flagged. Confirm a matching rule exists and that its value matches the vendor, account, or type on the transaction.
- Problem: You cannot delete a rule. Only owners and admins can remove exclusion rules. Ask a firm admin.


