

Who this is for: Firm owners, admins, and bookkeeping staff who close a client’s books each month.
What you’ll learn: How to open the Month End workspace for a client and create a new close period so you can track the whole close in one place.
Before you begin #
- You need an accountant role (owner, admin, or staff) on the firm account.
- Month-End Close must be enabled for your account.
- The client company should be connected to QuickBooks so transactions and balances are available.
Step-by-step instructions #
Step 1: Open the Month End workspace #
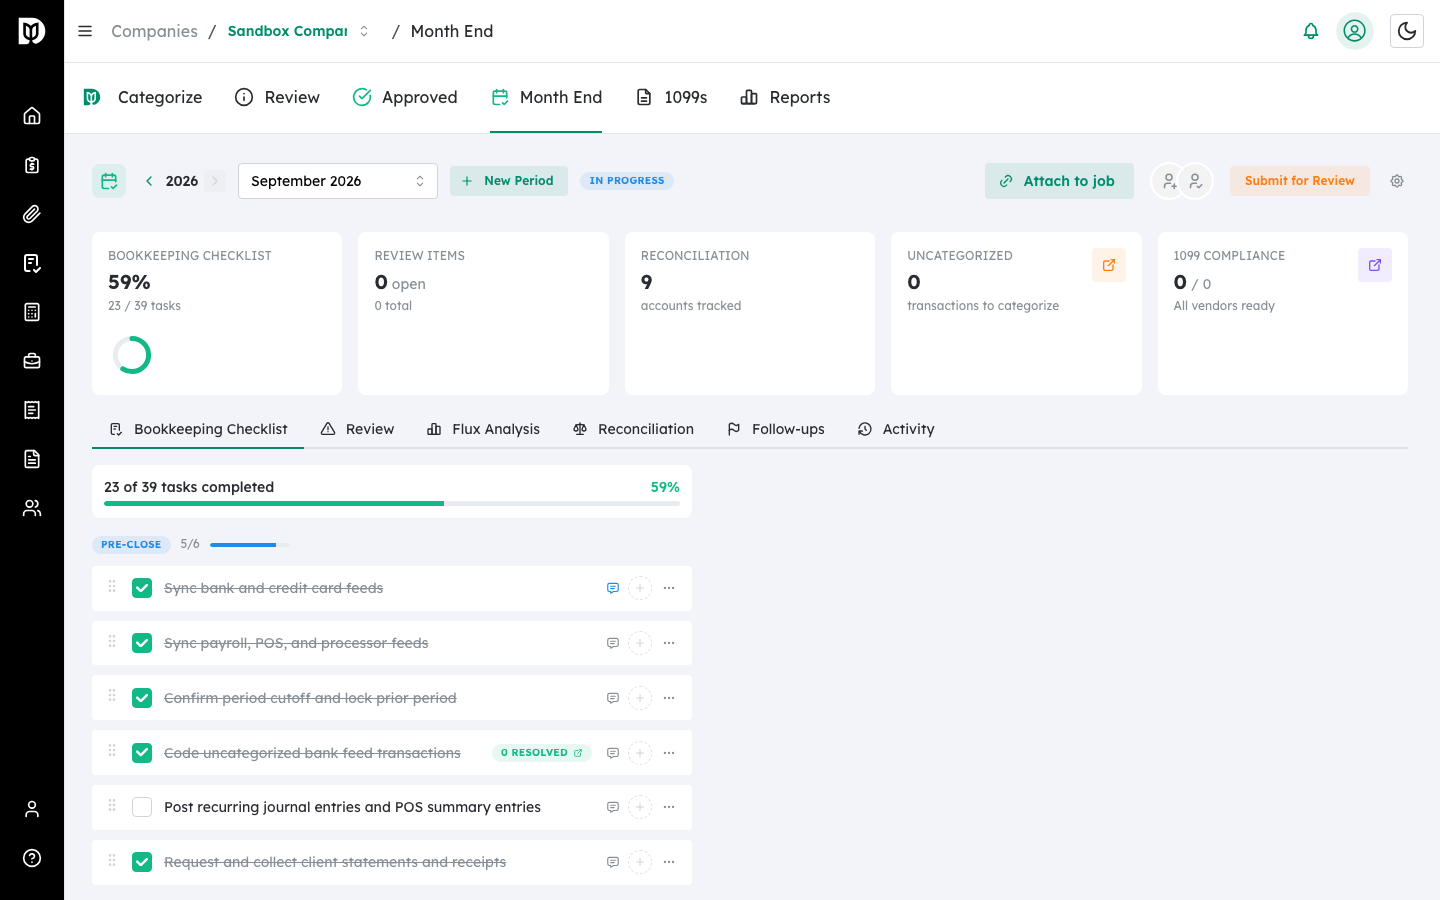
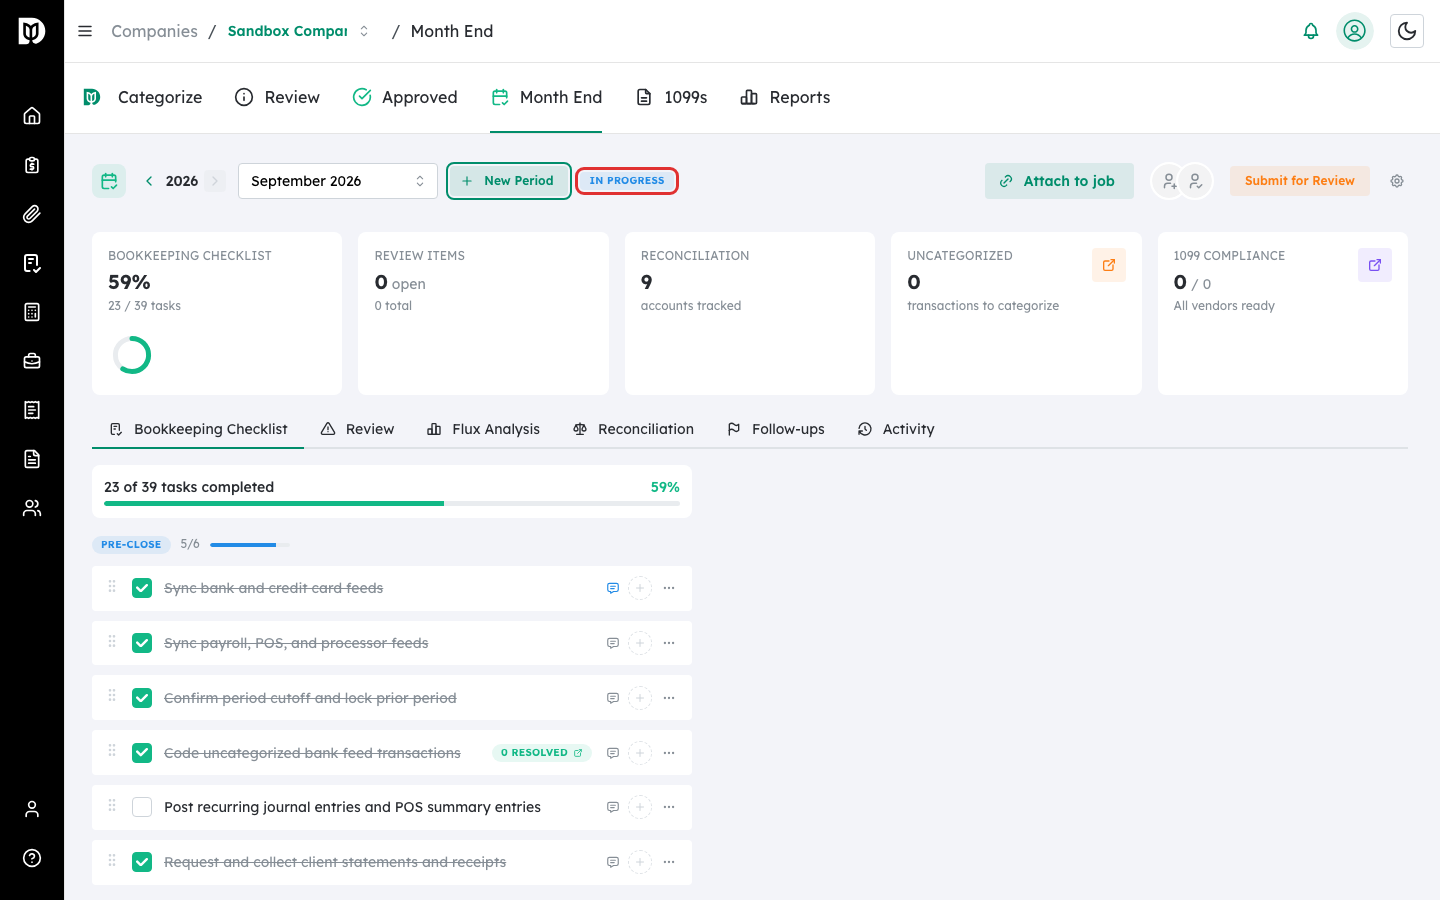
Go to Companies, open the client, then select the Month End tab. The workspace opens on the most recent close period.
Step 2: Create a new close period #
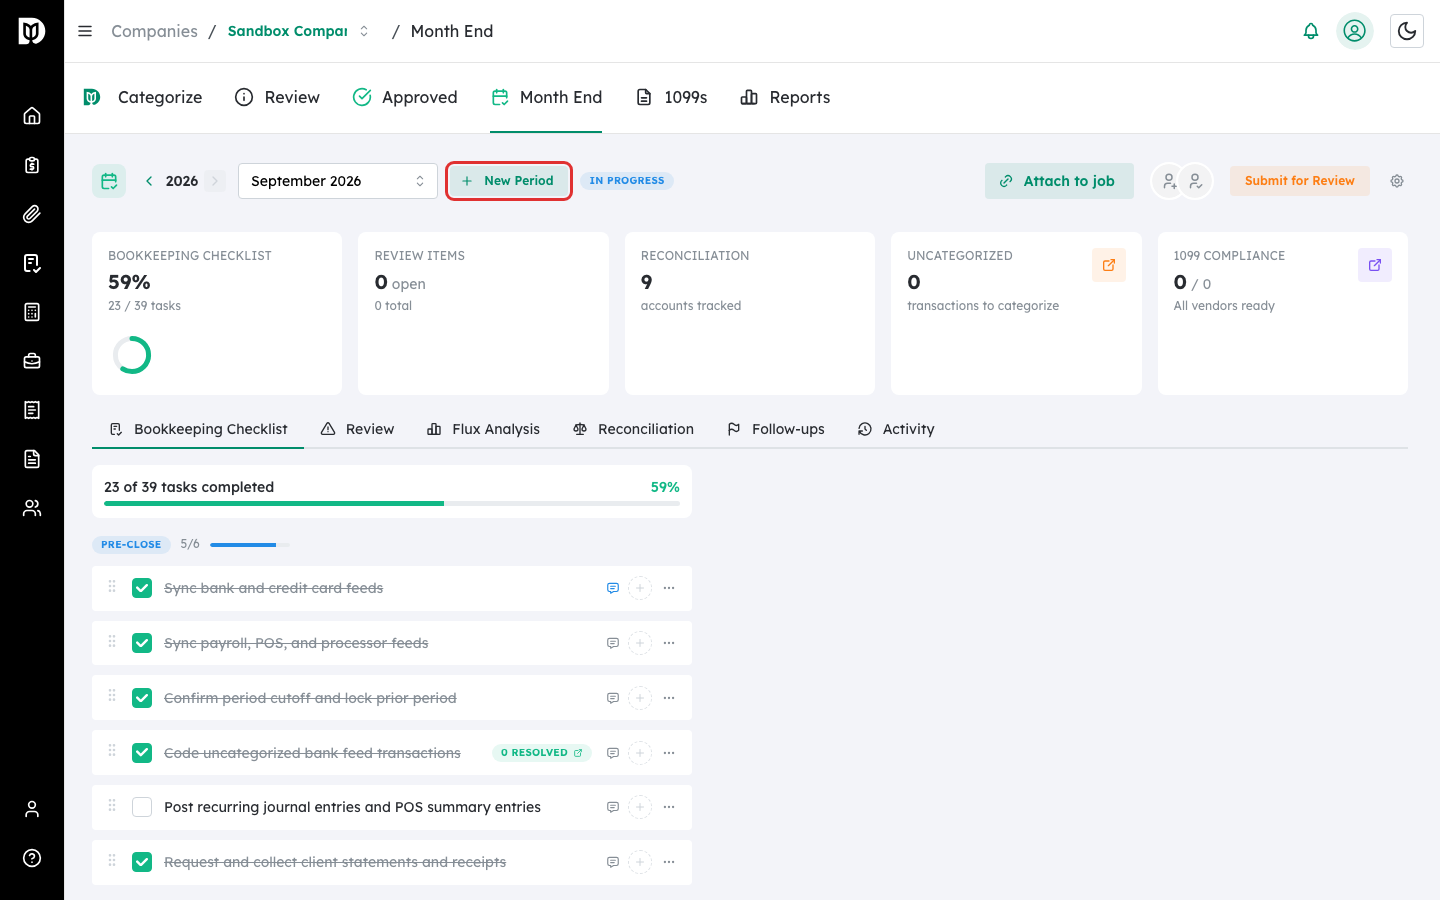
Select New Period in the header.
Step 3: Choose the month and assignees #
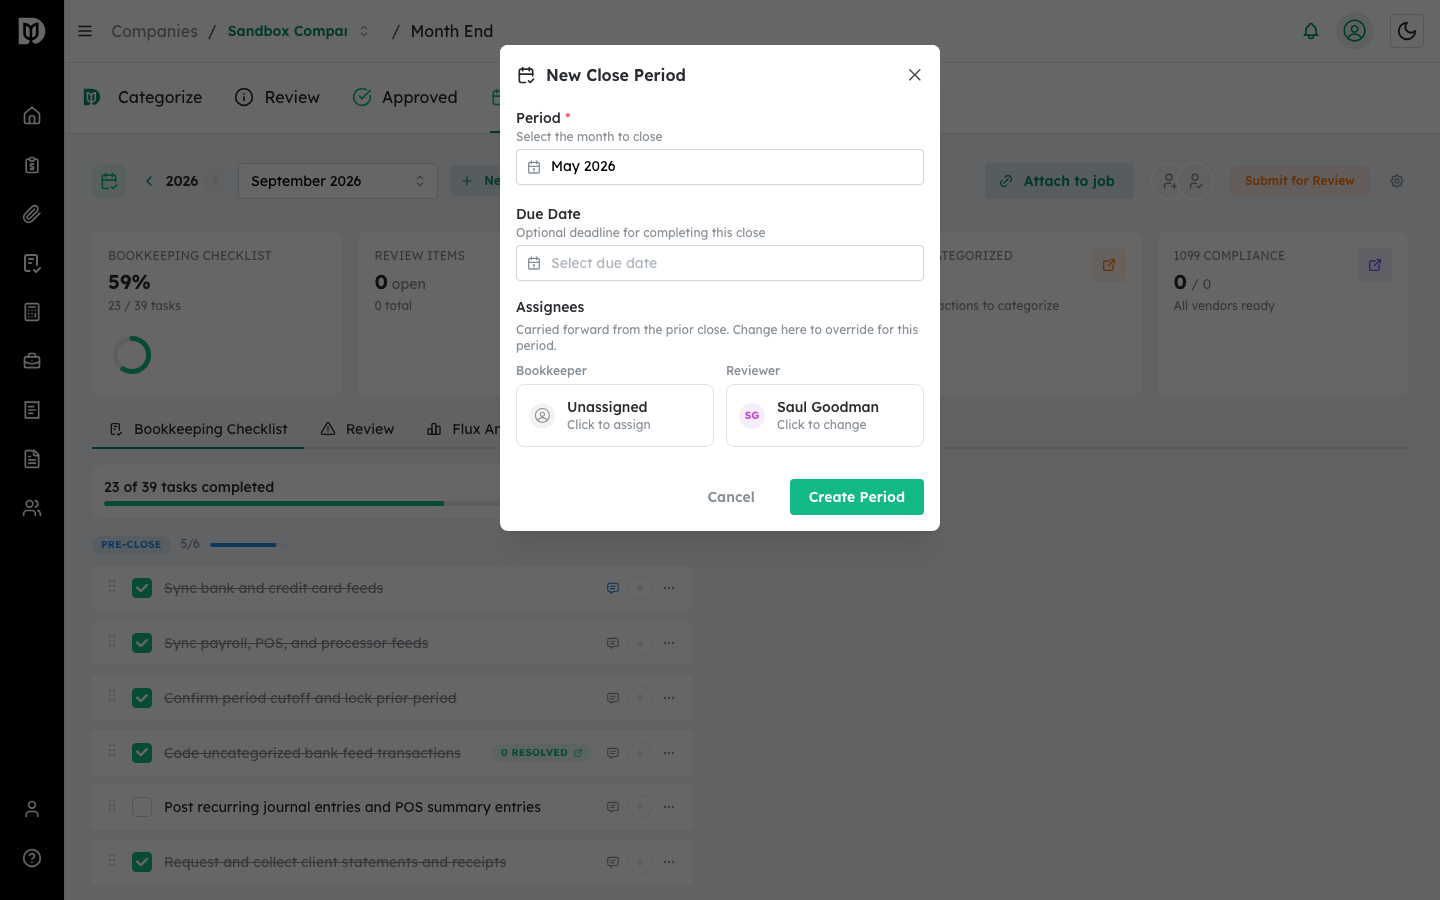
In the New Close Period window, pick the Period month to close. Optionally set a Due Date. The bookkeeper and reviewer carry forward from the prior close, so change them only if needed for this period.
Step 4: Create the period #
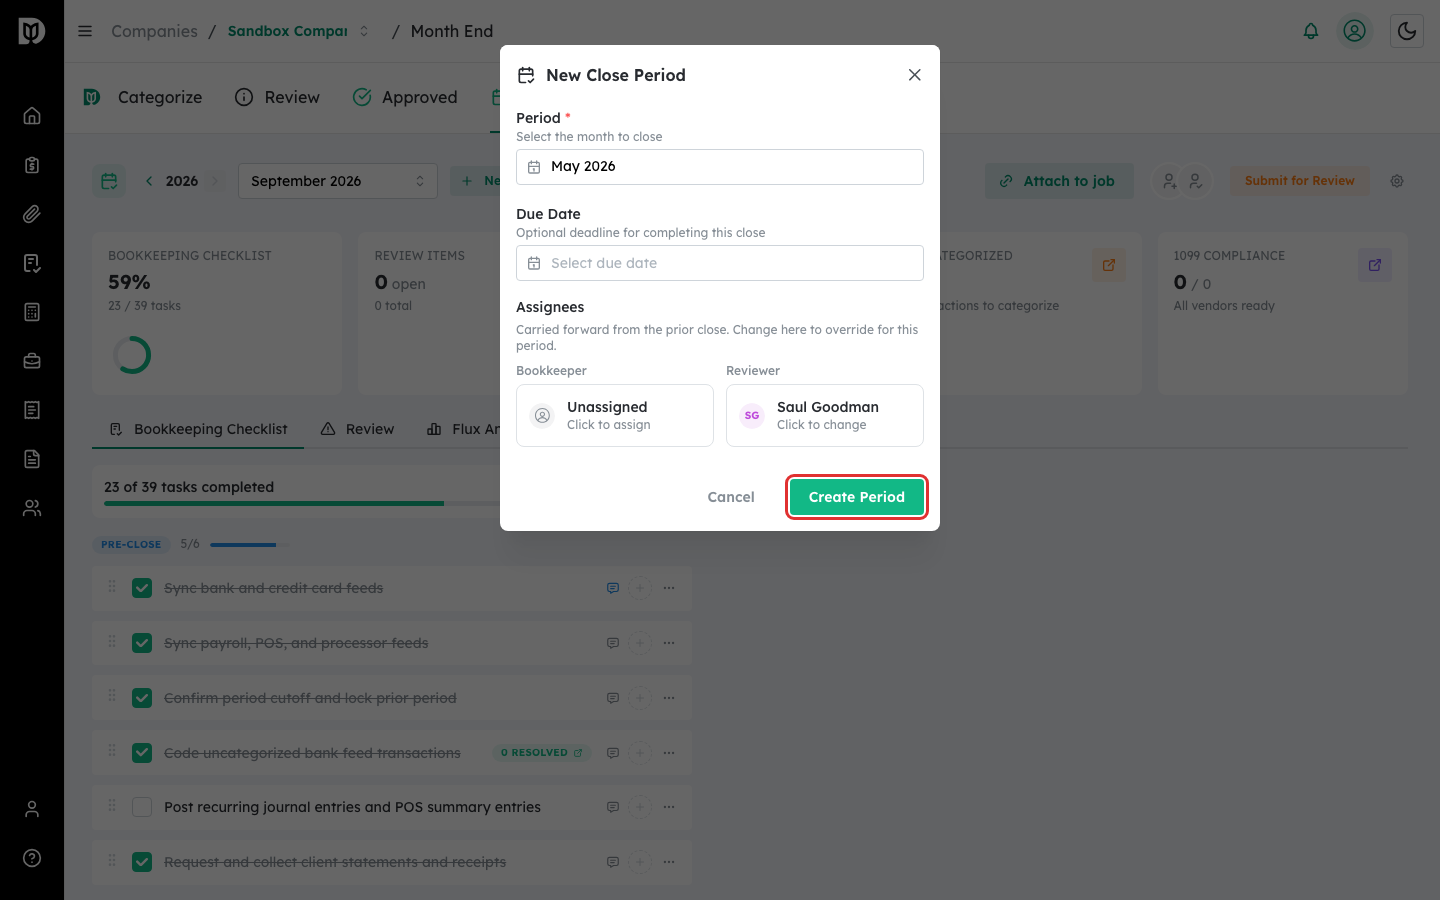
Select Create Period. The close opens with a fresh checklist based on the client’s default template.
What happens next #
The new period is created and its status badge shows in the header. A close moves through four stages: Not Started, In Progress, In Review, and Closed. Use the year arrows and the period dropdown in the header to switch between months.
Troubleshooting #
- Problem: The selected month starts before your paid sync date. Debits offers to extend the sync for a small one-time charge per added month. Accept to create the period with full history, or pick a later month.
- Problem: A period already exists for that month. Each month can have only one close period. Pick a different month or open the existing one from the period dropdown.


