Who this is for: Accountants and firm admins who work from the client list every day.
What you’ll learn: How the contact list is laid out, how to narrow it down, and what lives on a client’s profile.
Before you begin
- You need access to the Contacts area.
- A contact is either an Individual or a Business. Both live in the same list, marked with a person or building icon beside the name.
- Every contact carries a status: Client, Prospect, Other or Inactive.
Step-by-step instructions
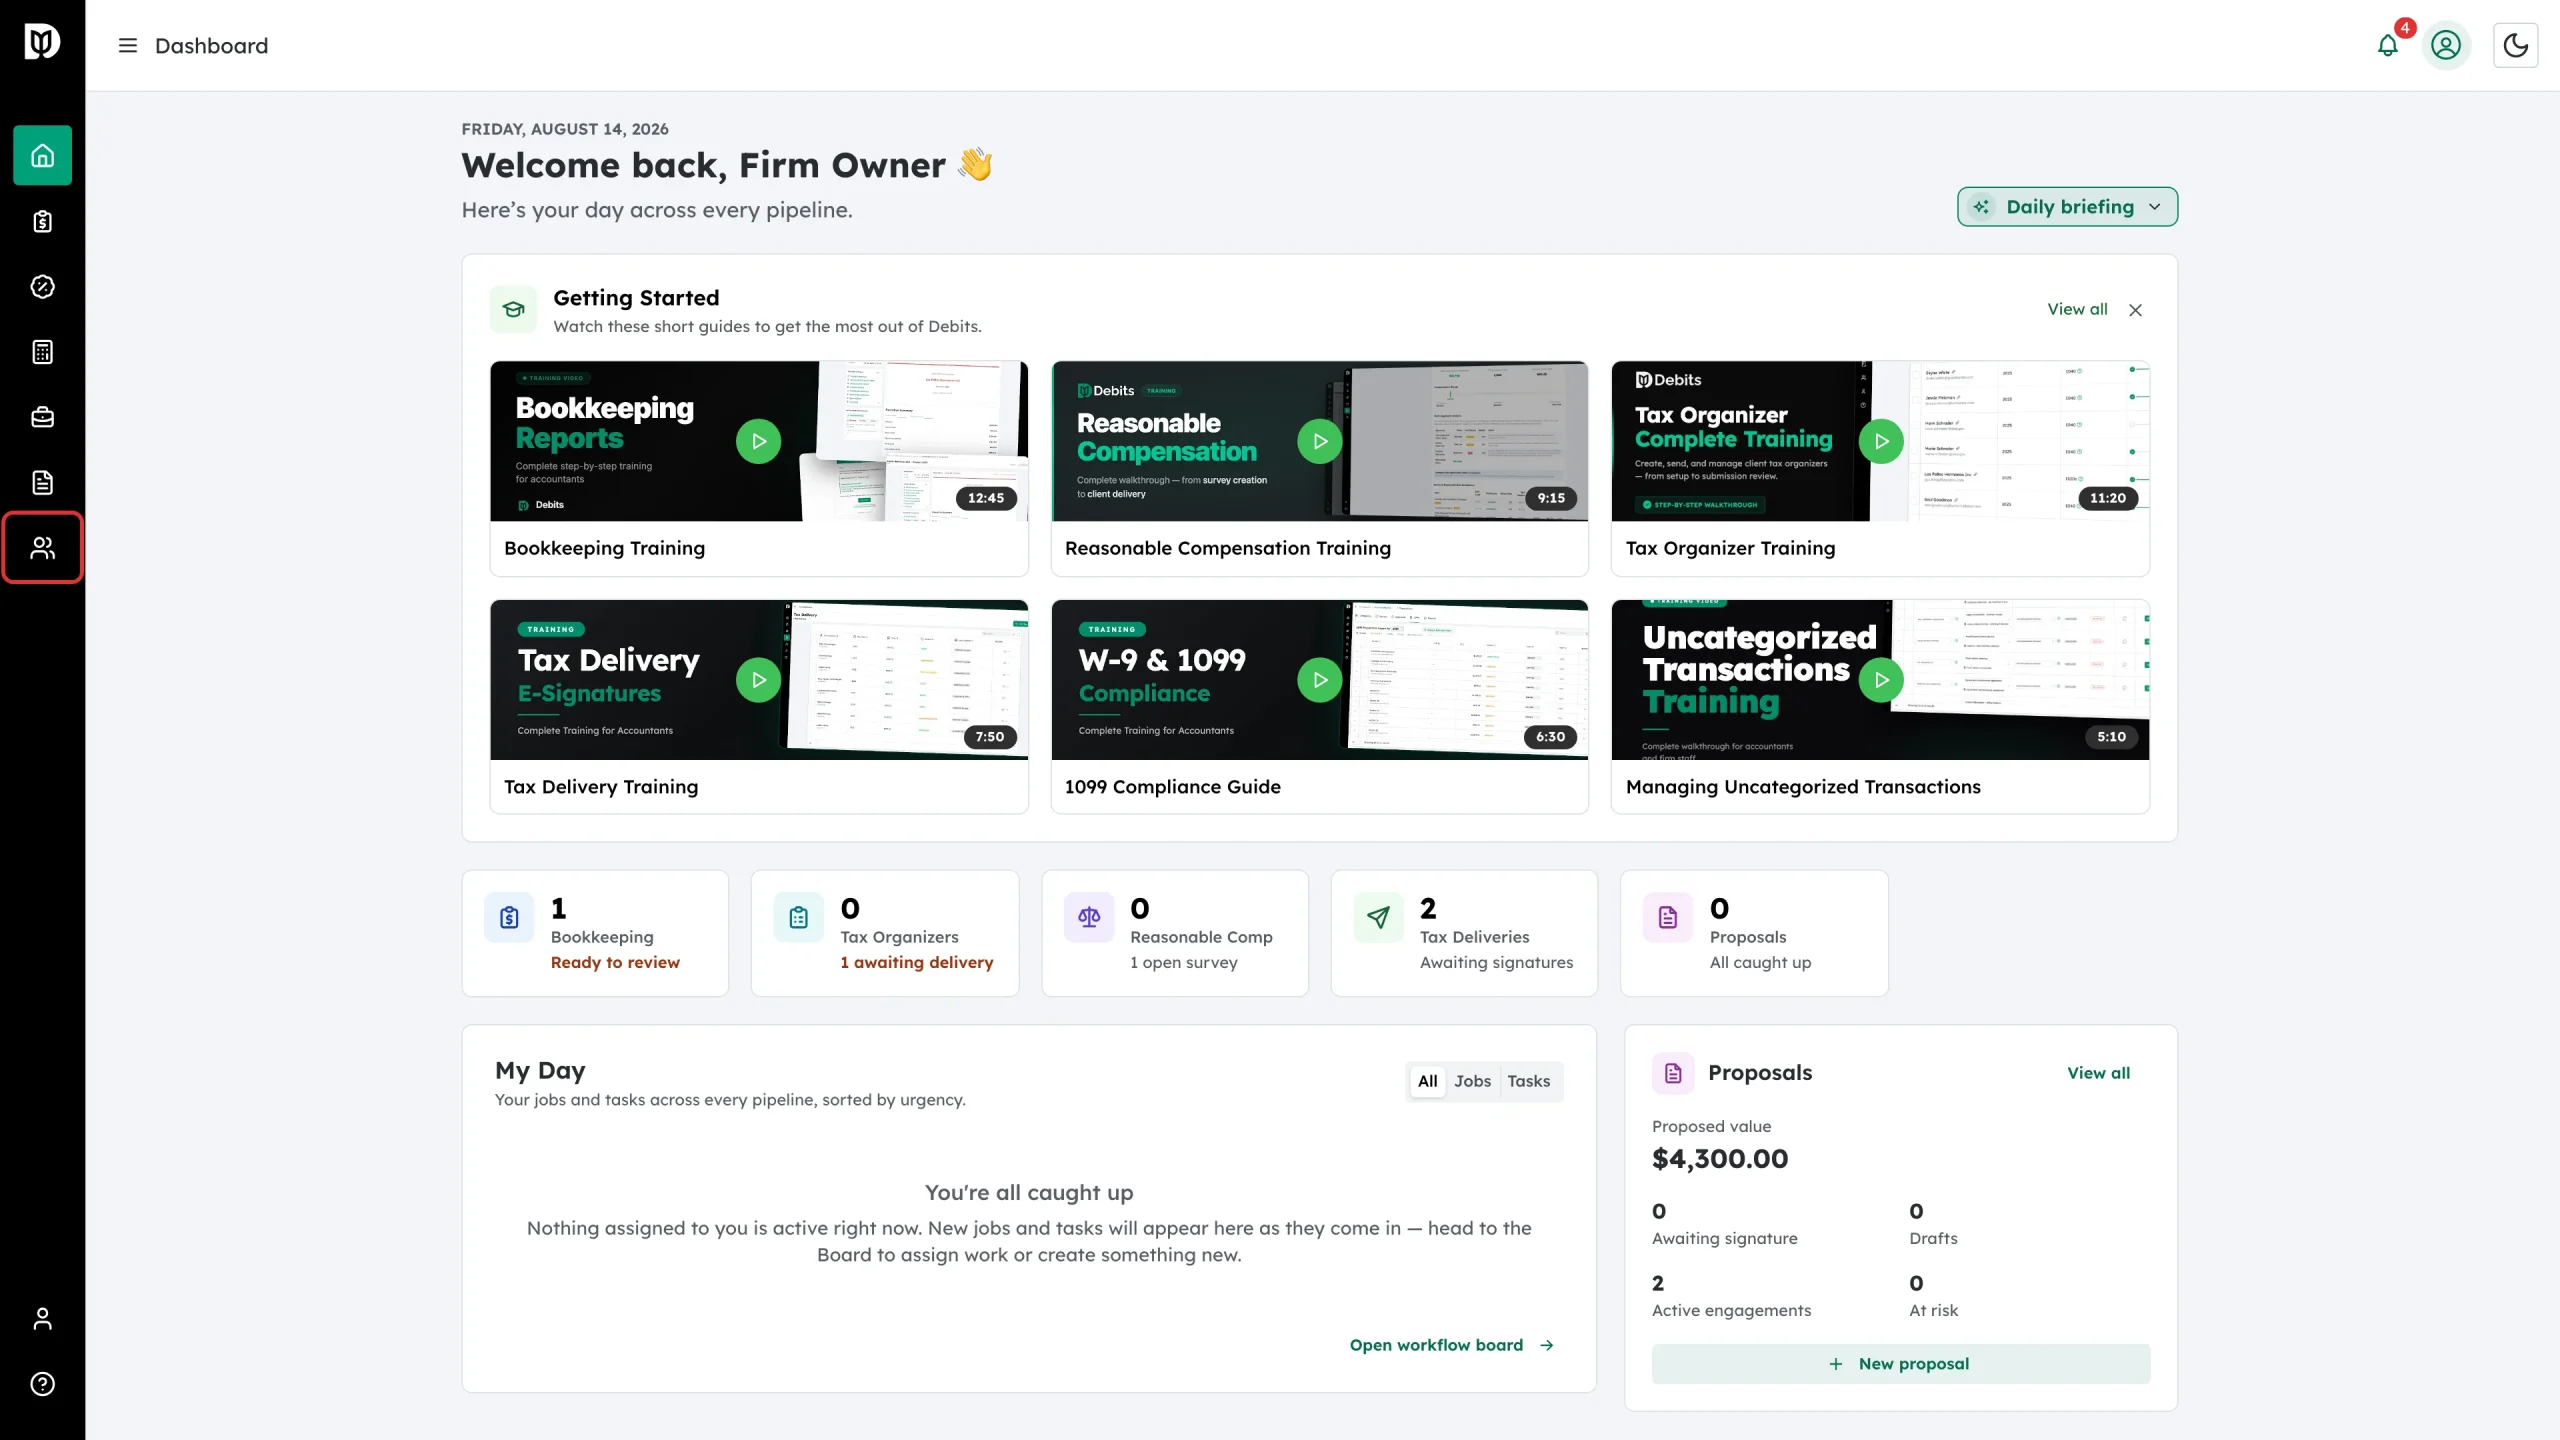
Step 1: Open Contacts
Select the Contacts icon in the left sidebar. The heading tells you how many contacts your firm has.
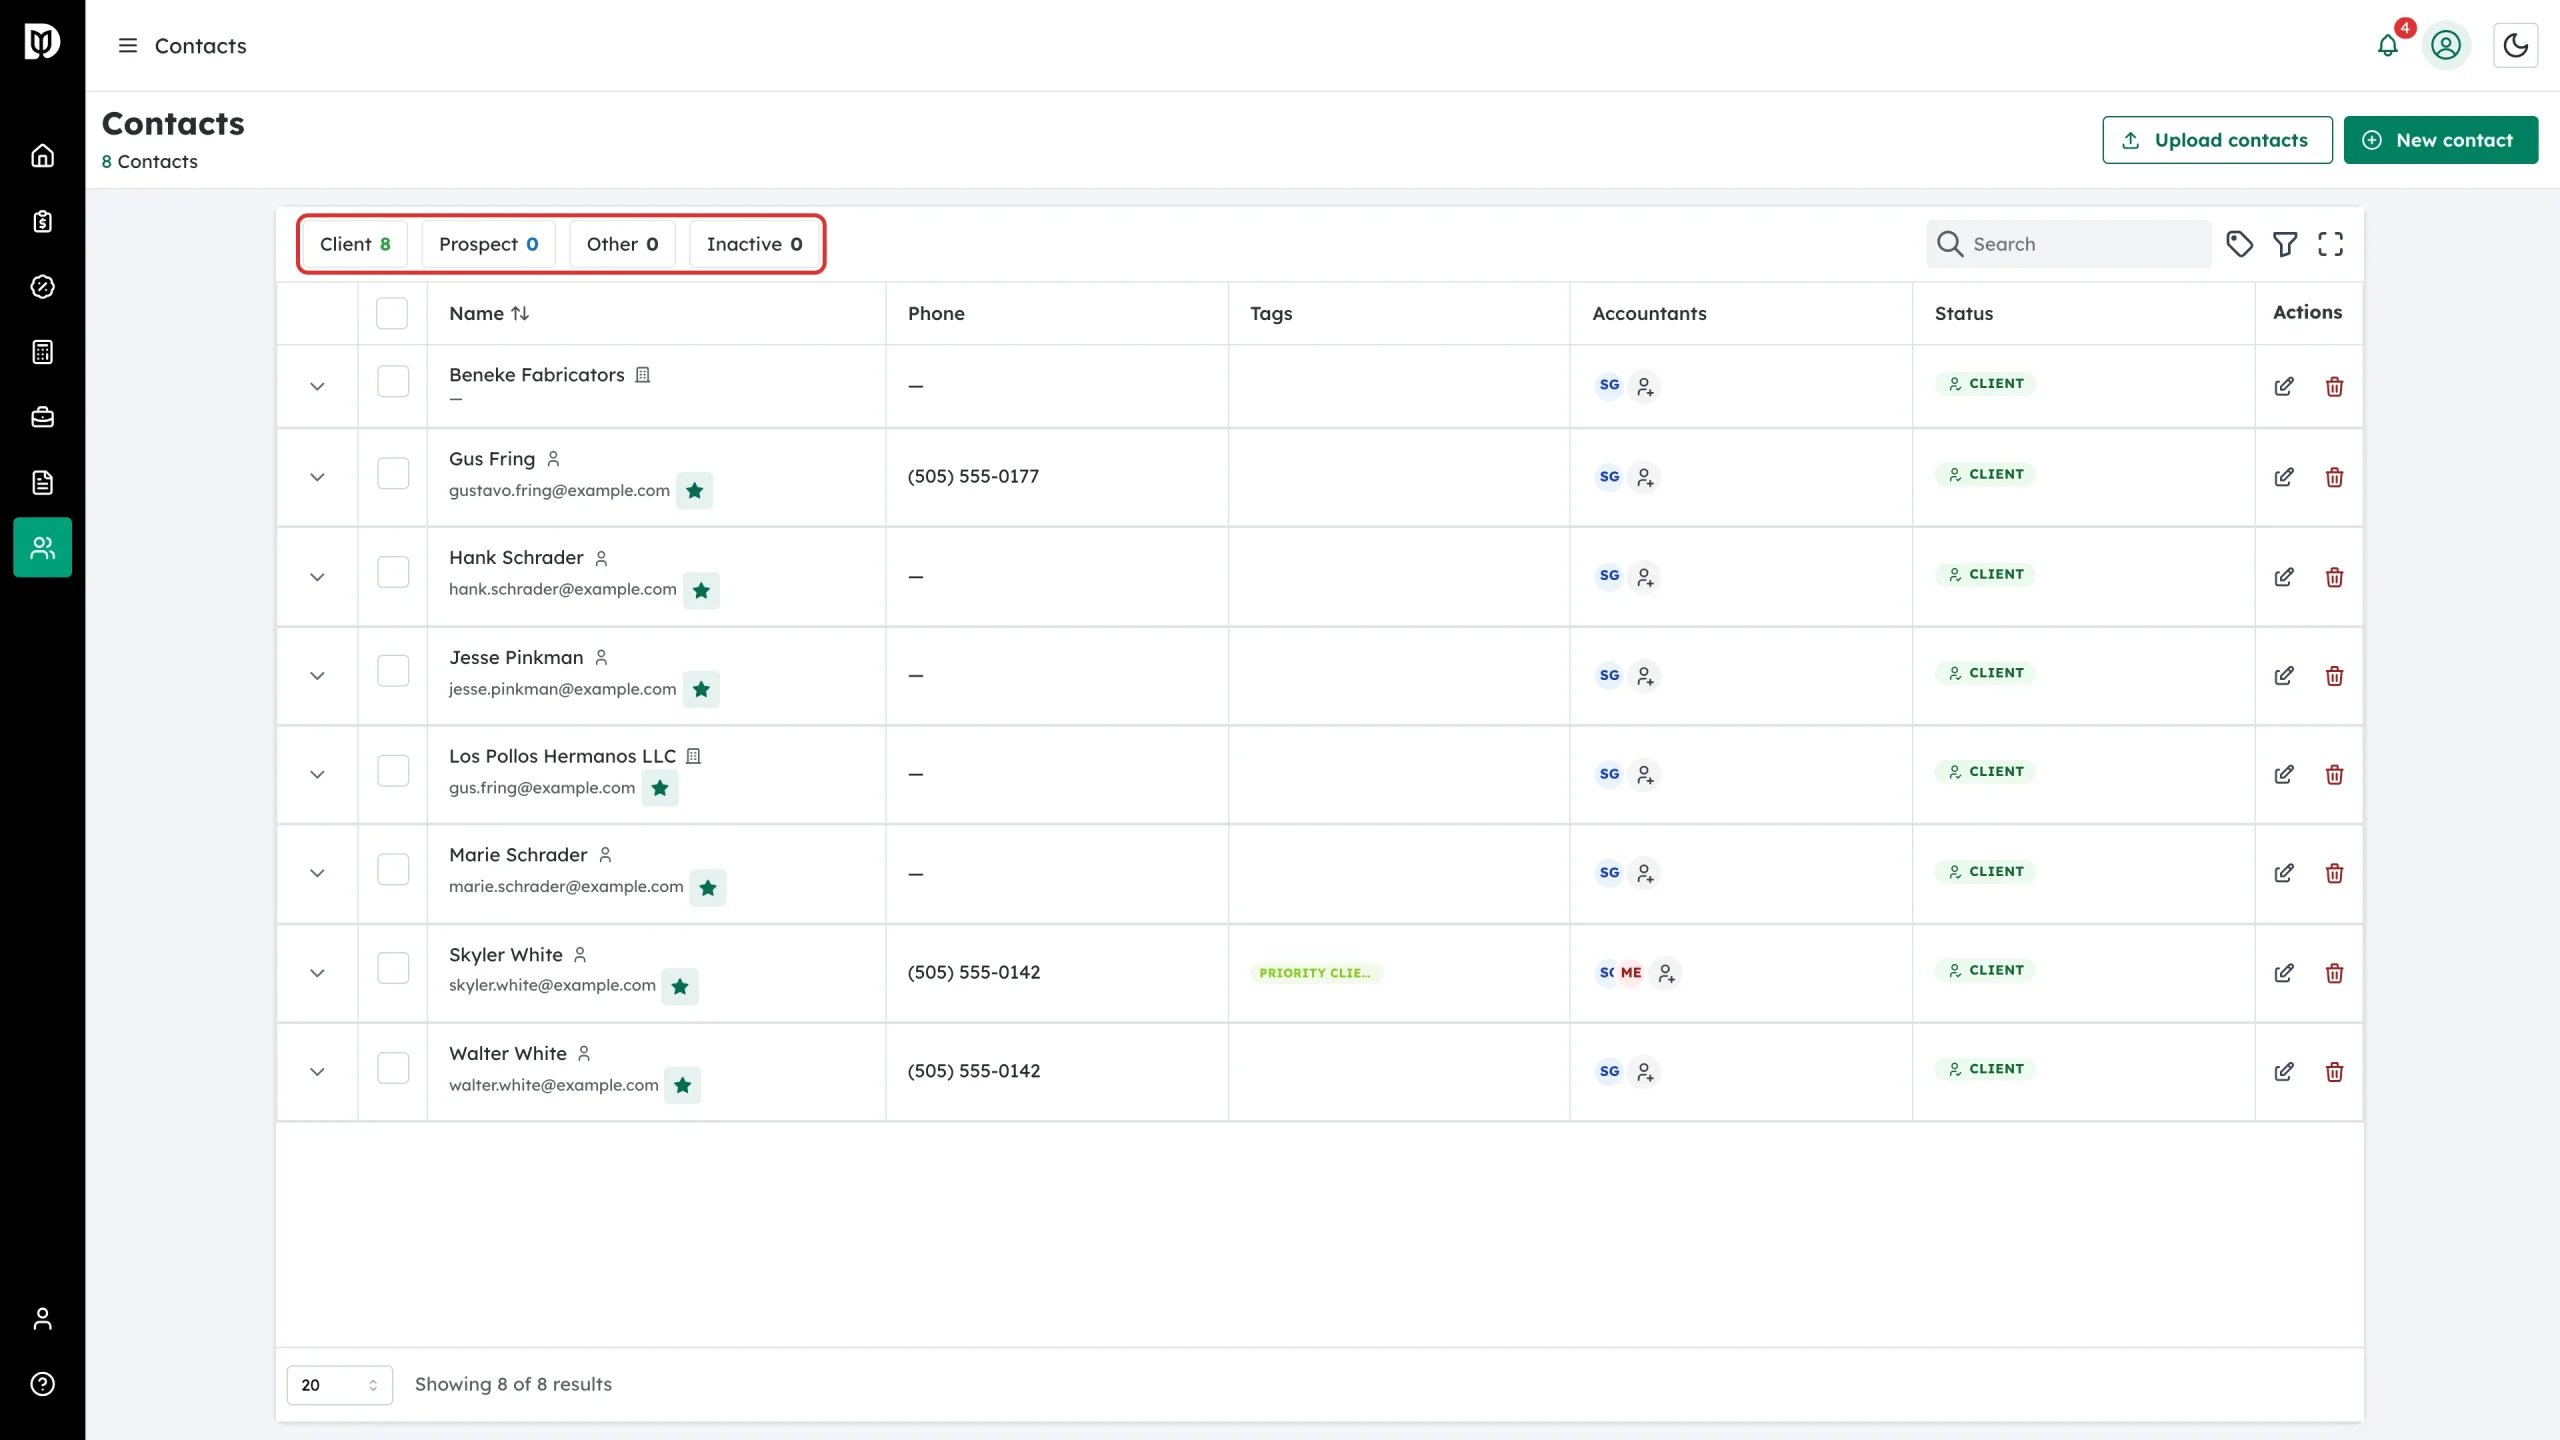
Step 2: Read the status chips
The chips above the table count your contacts by status across the whole list, not just the page you are on. Select one to show only those contacts; select it again to clear it.
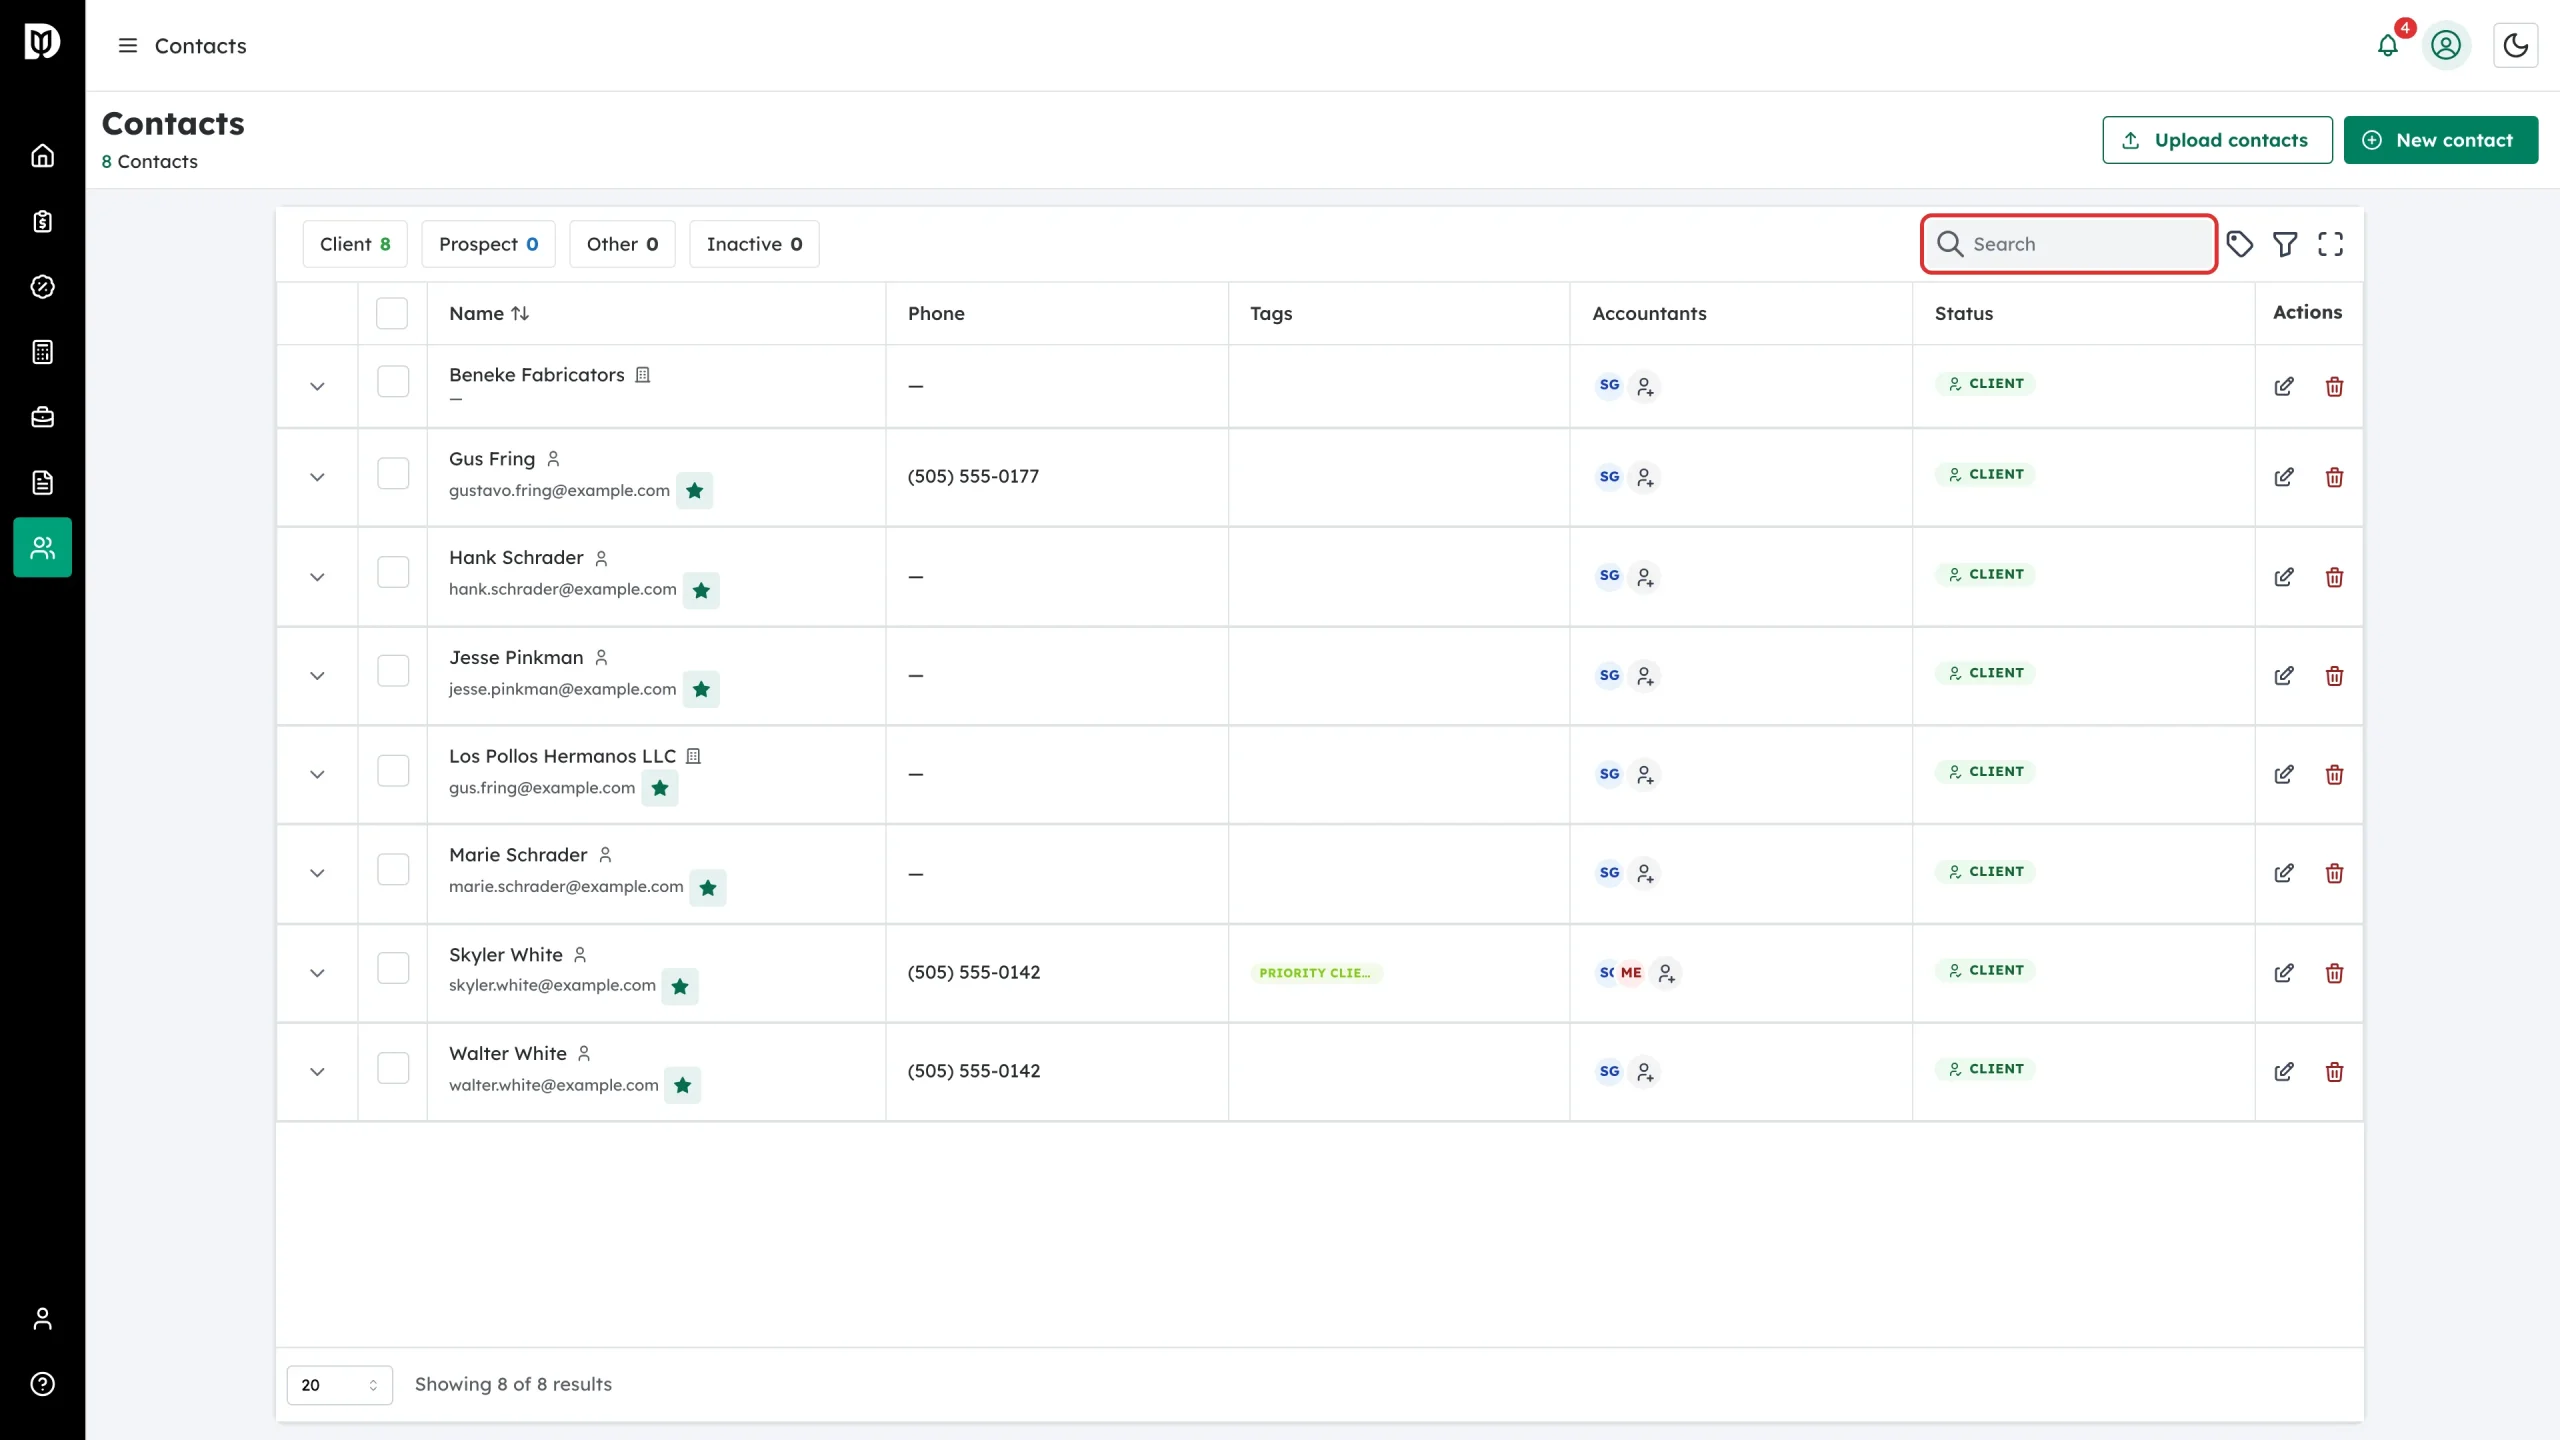
Step 3: Search
Search matches names, businesses and email addresses.
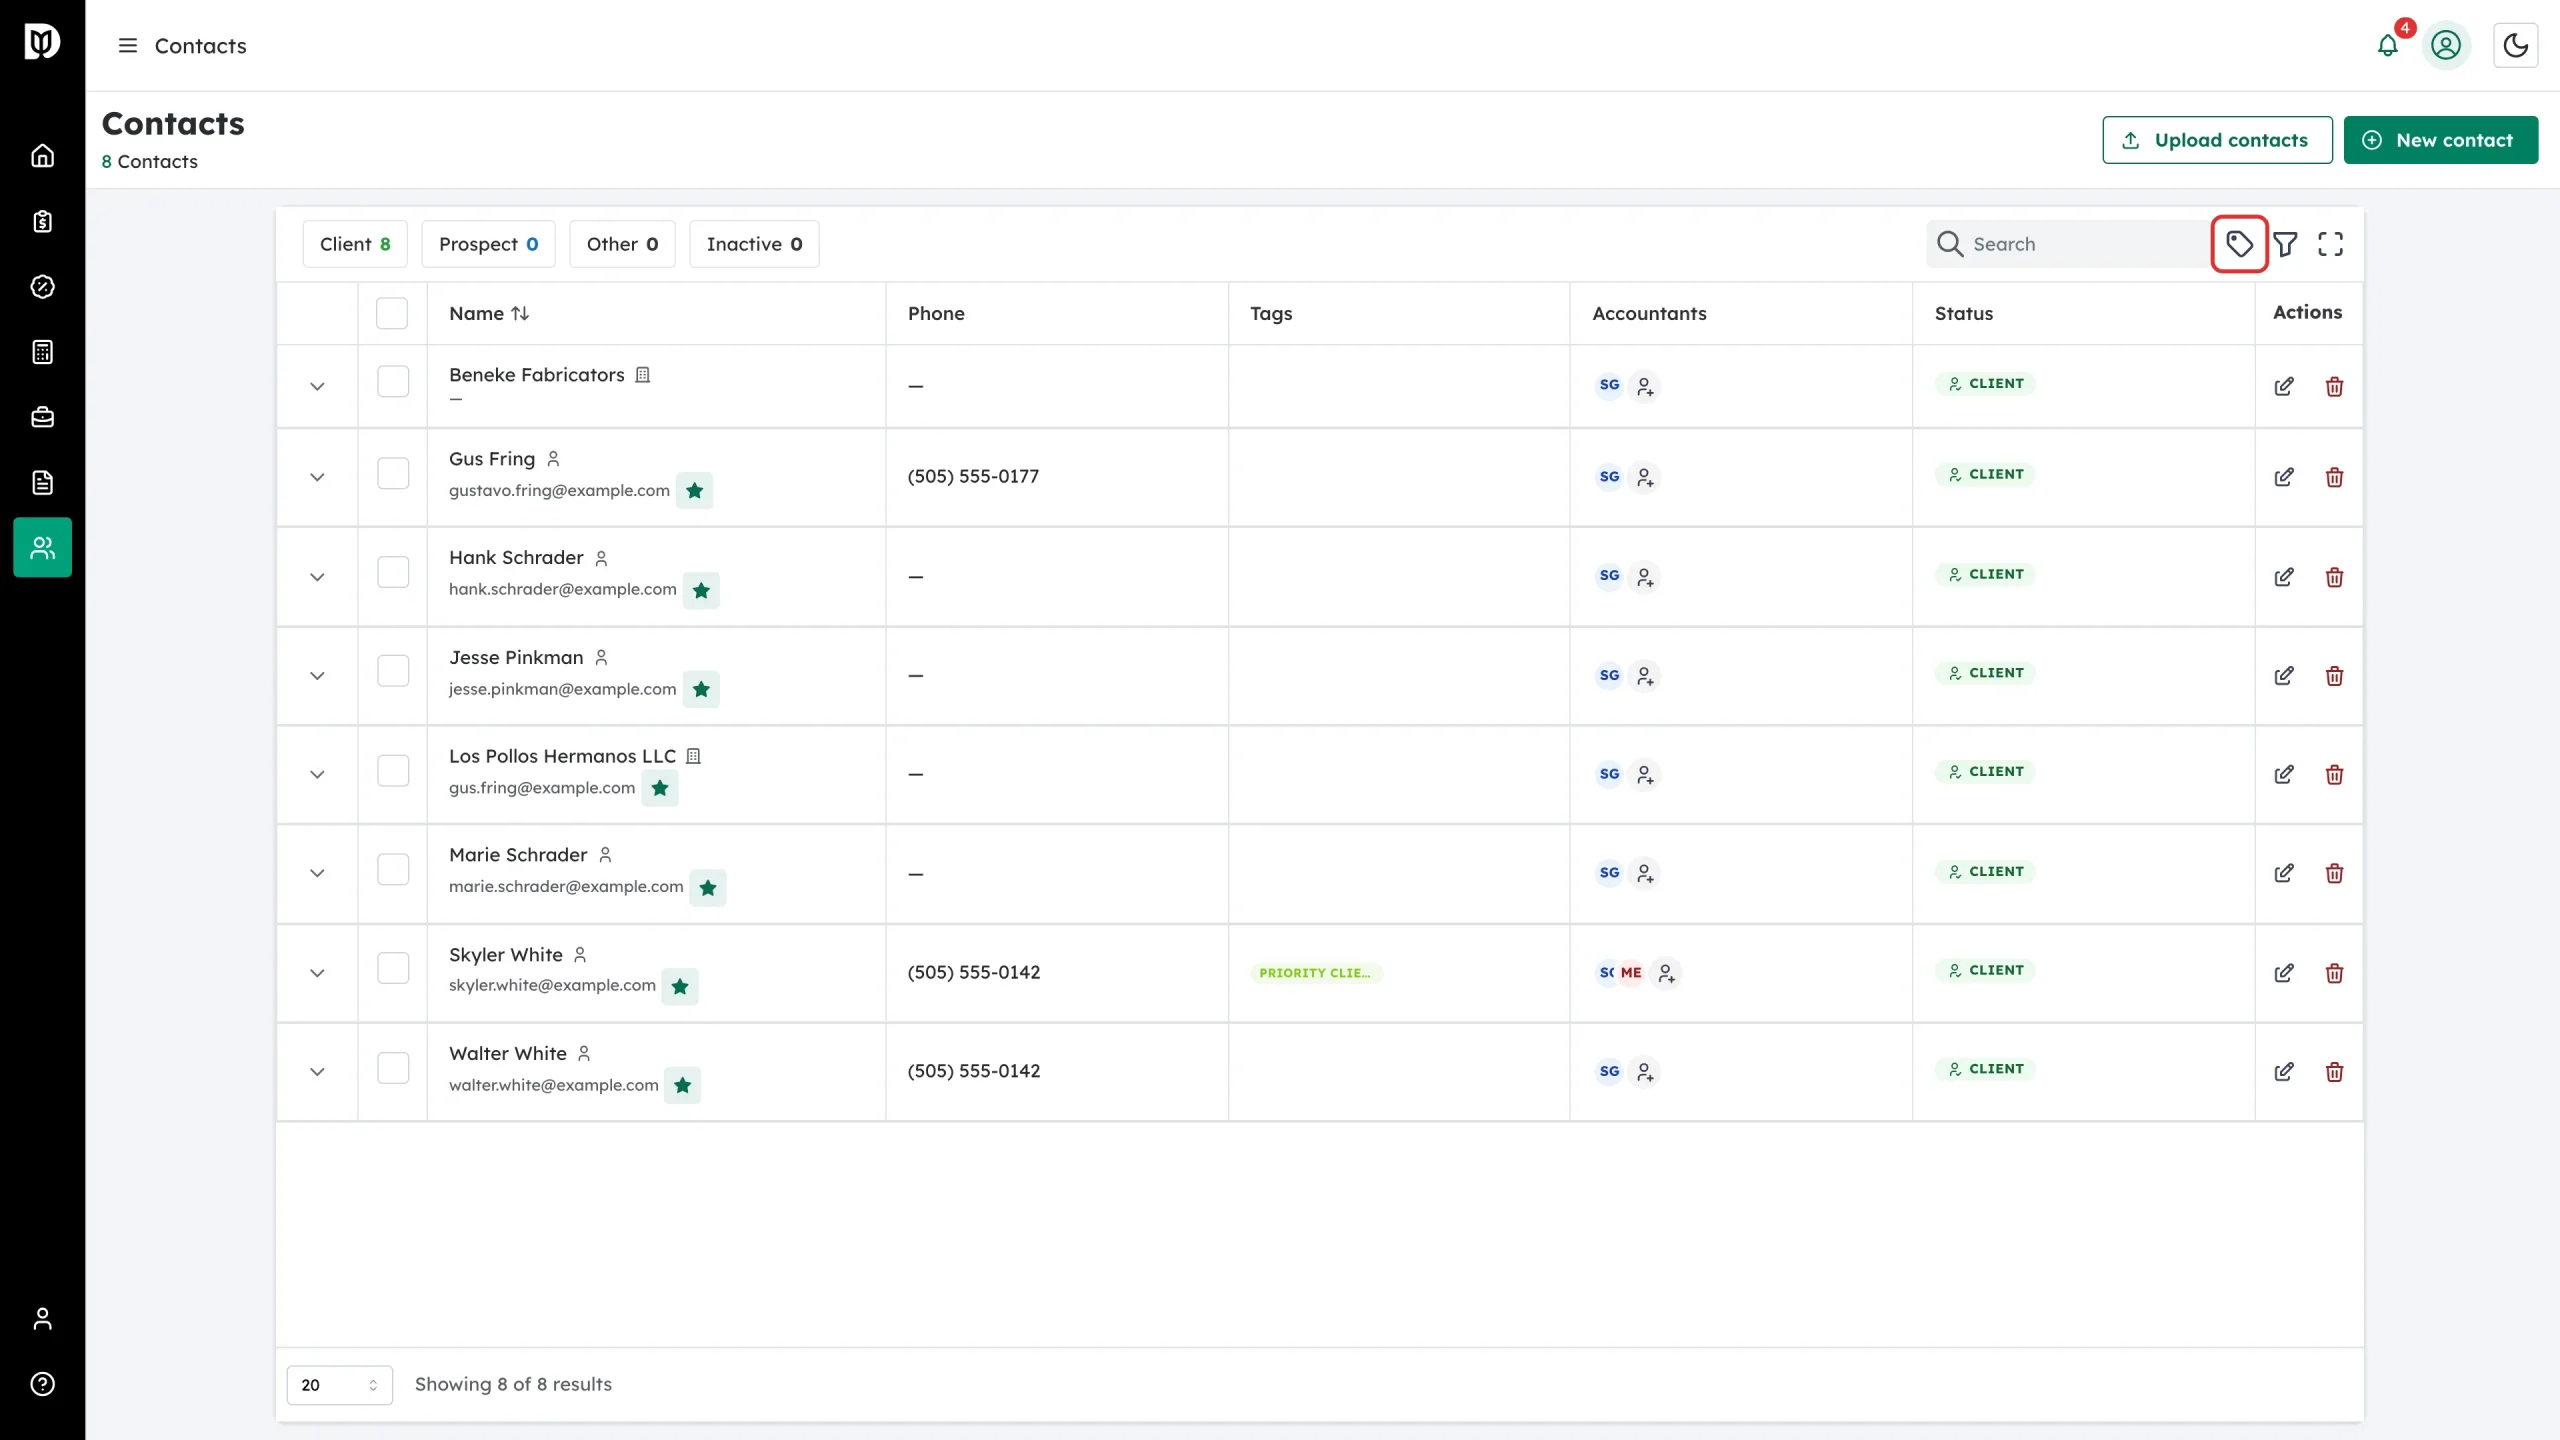
Step 4: Use the toolbar
The tag icon opens Manage tags, the funnel shows a filter row under the column headers, and the expand icon gives the table the full window.
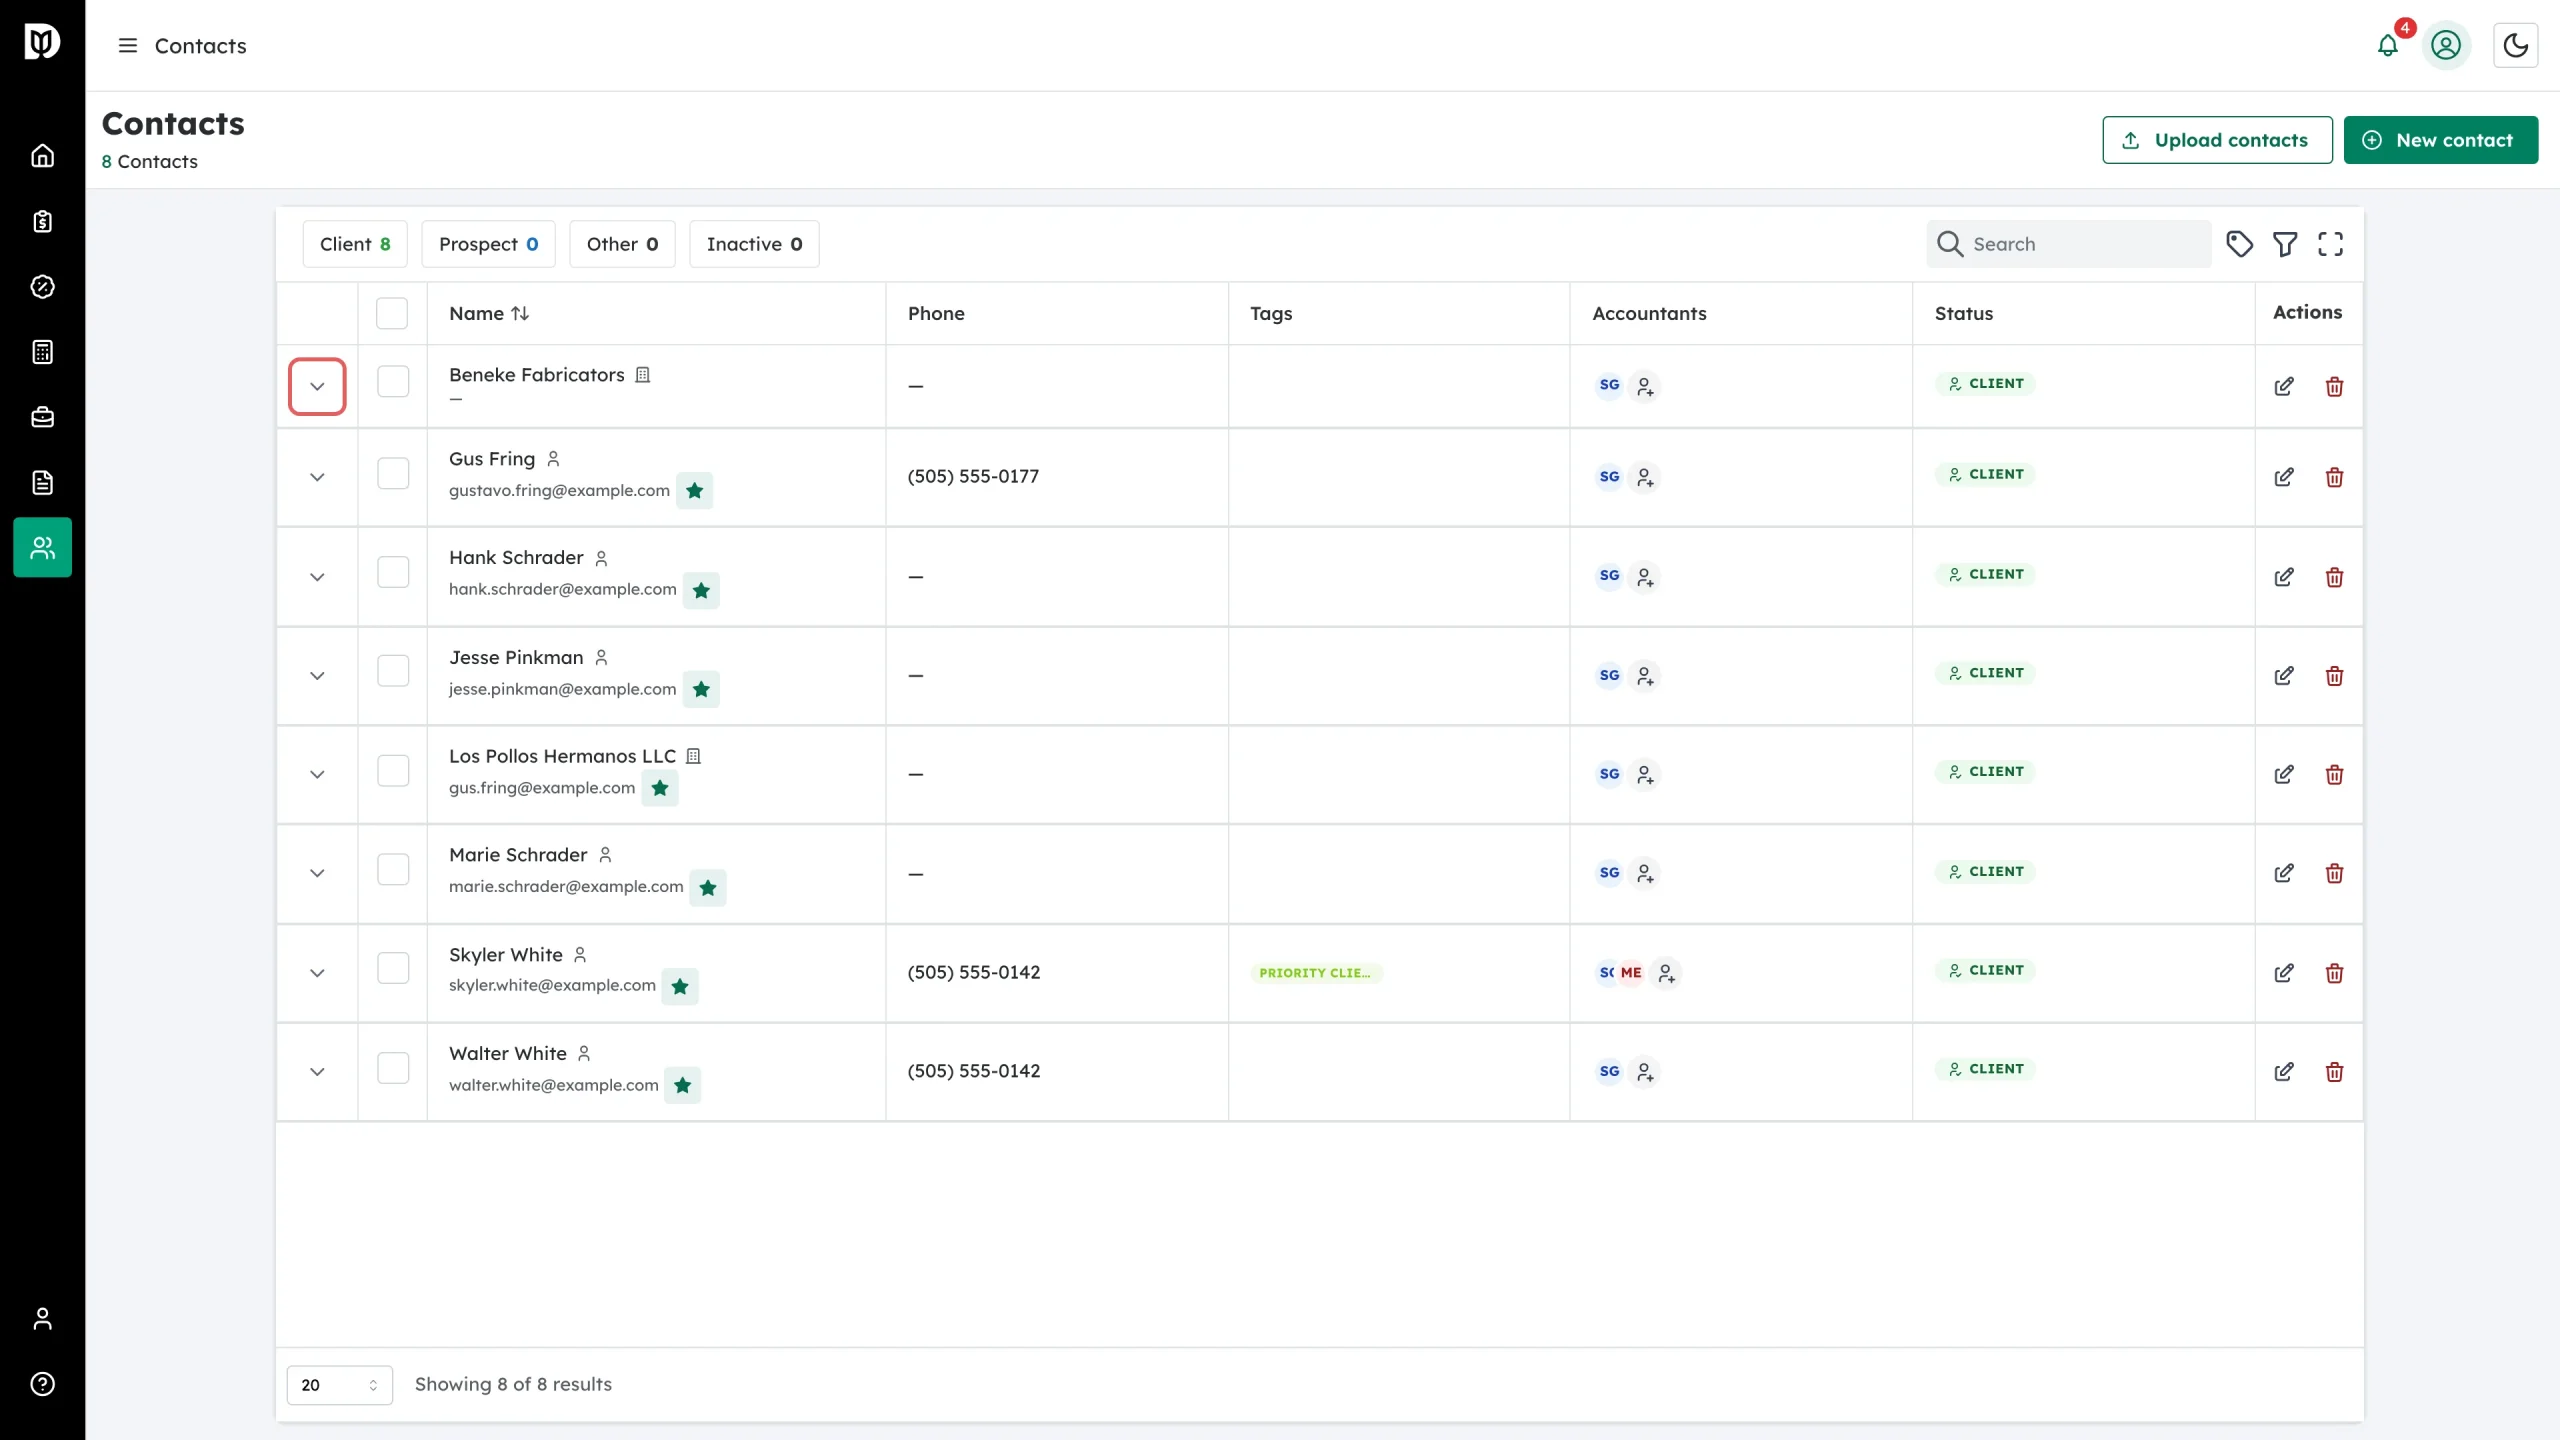
Step 5: Expand a row
The chevron at the start of a row opens a summary without leaving the list.
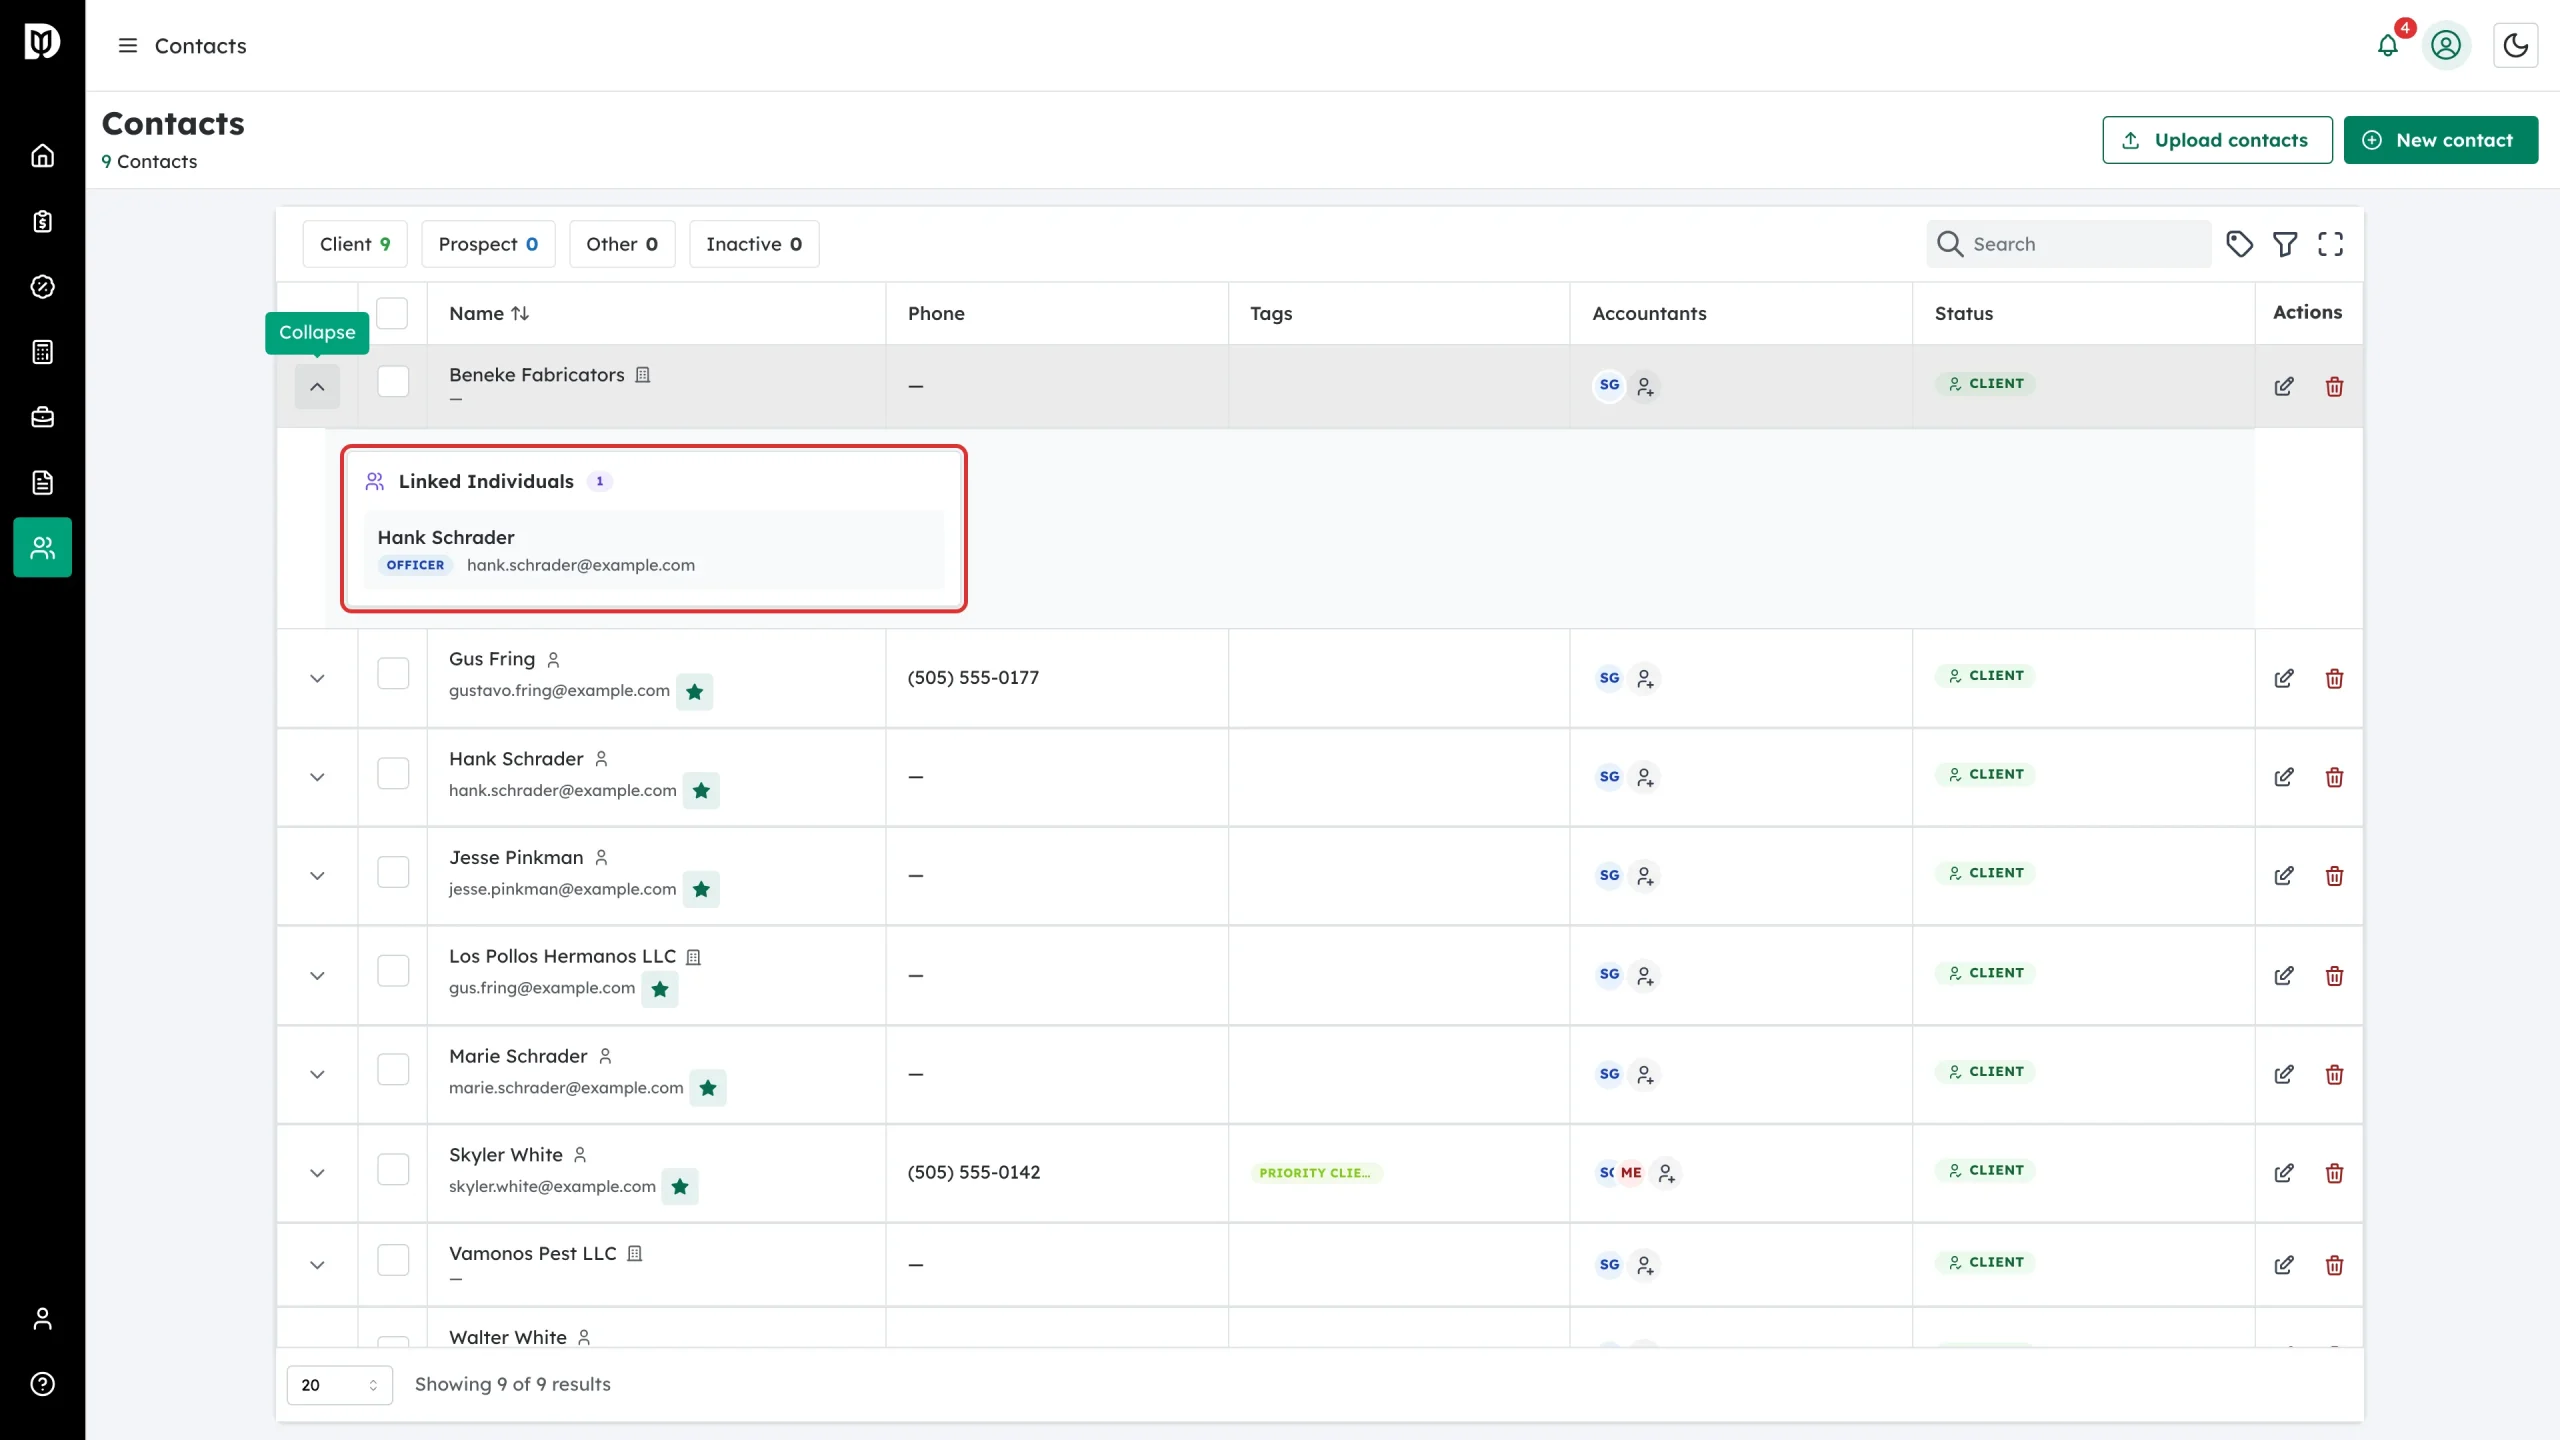
Step 6: See who is connected
For a business, the expanded row lists the people linked to it and the role each one holds.
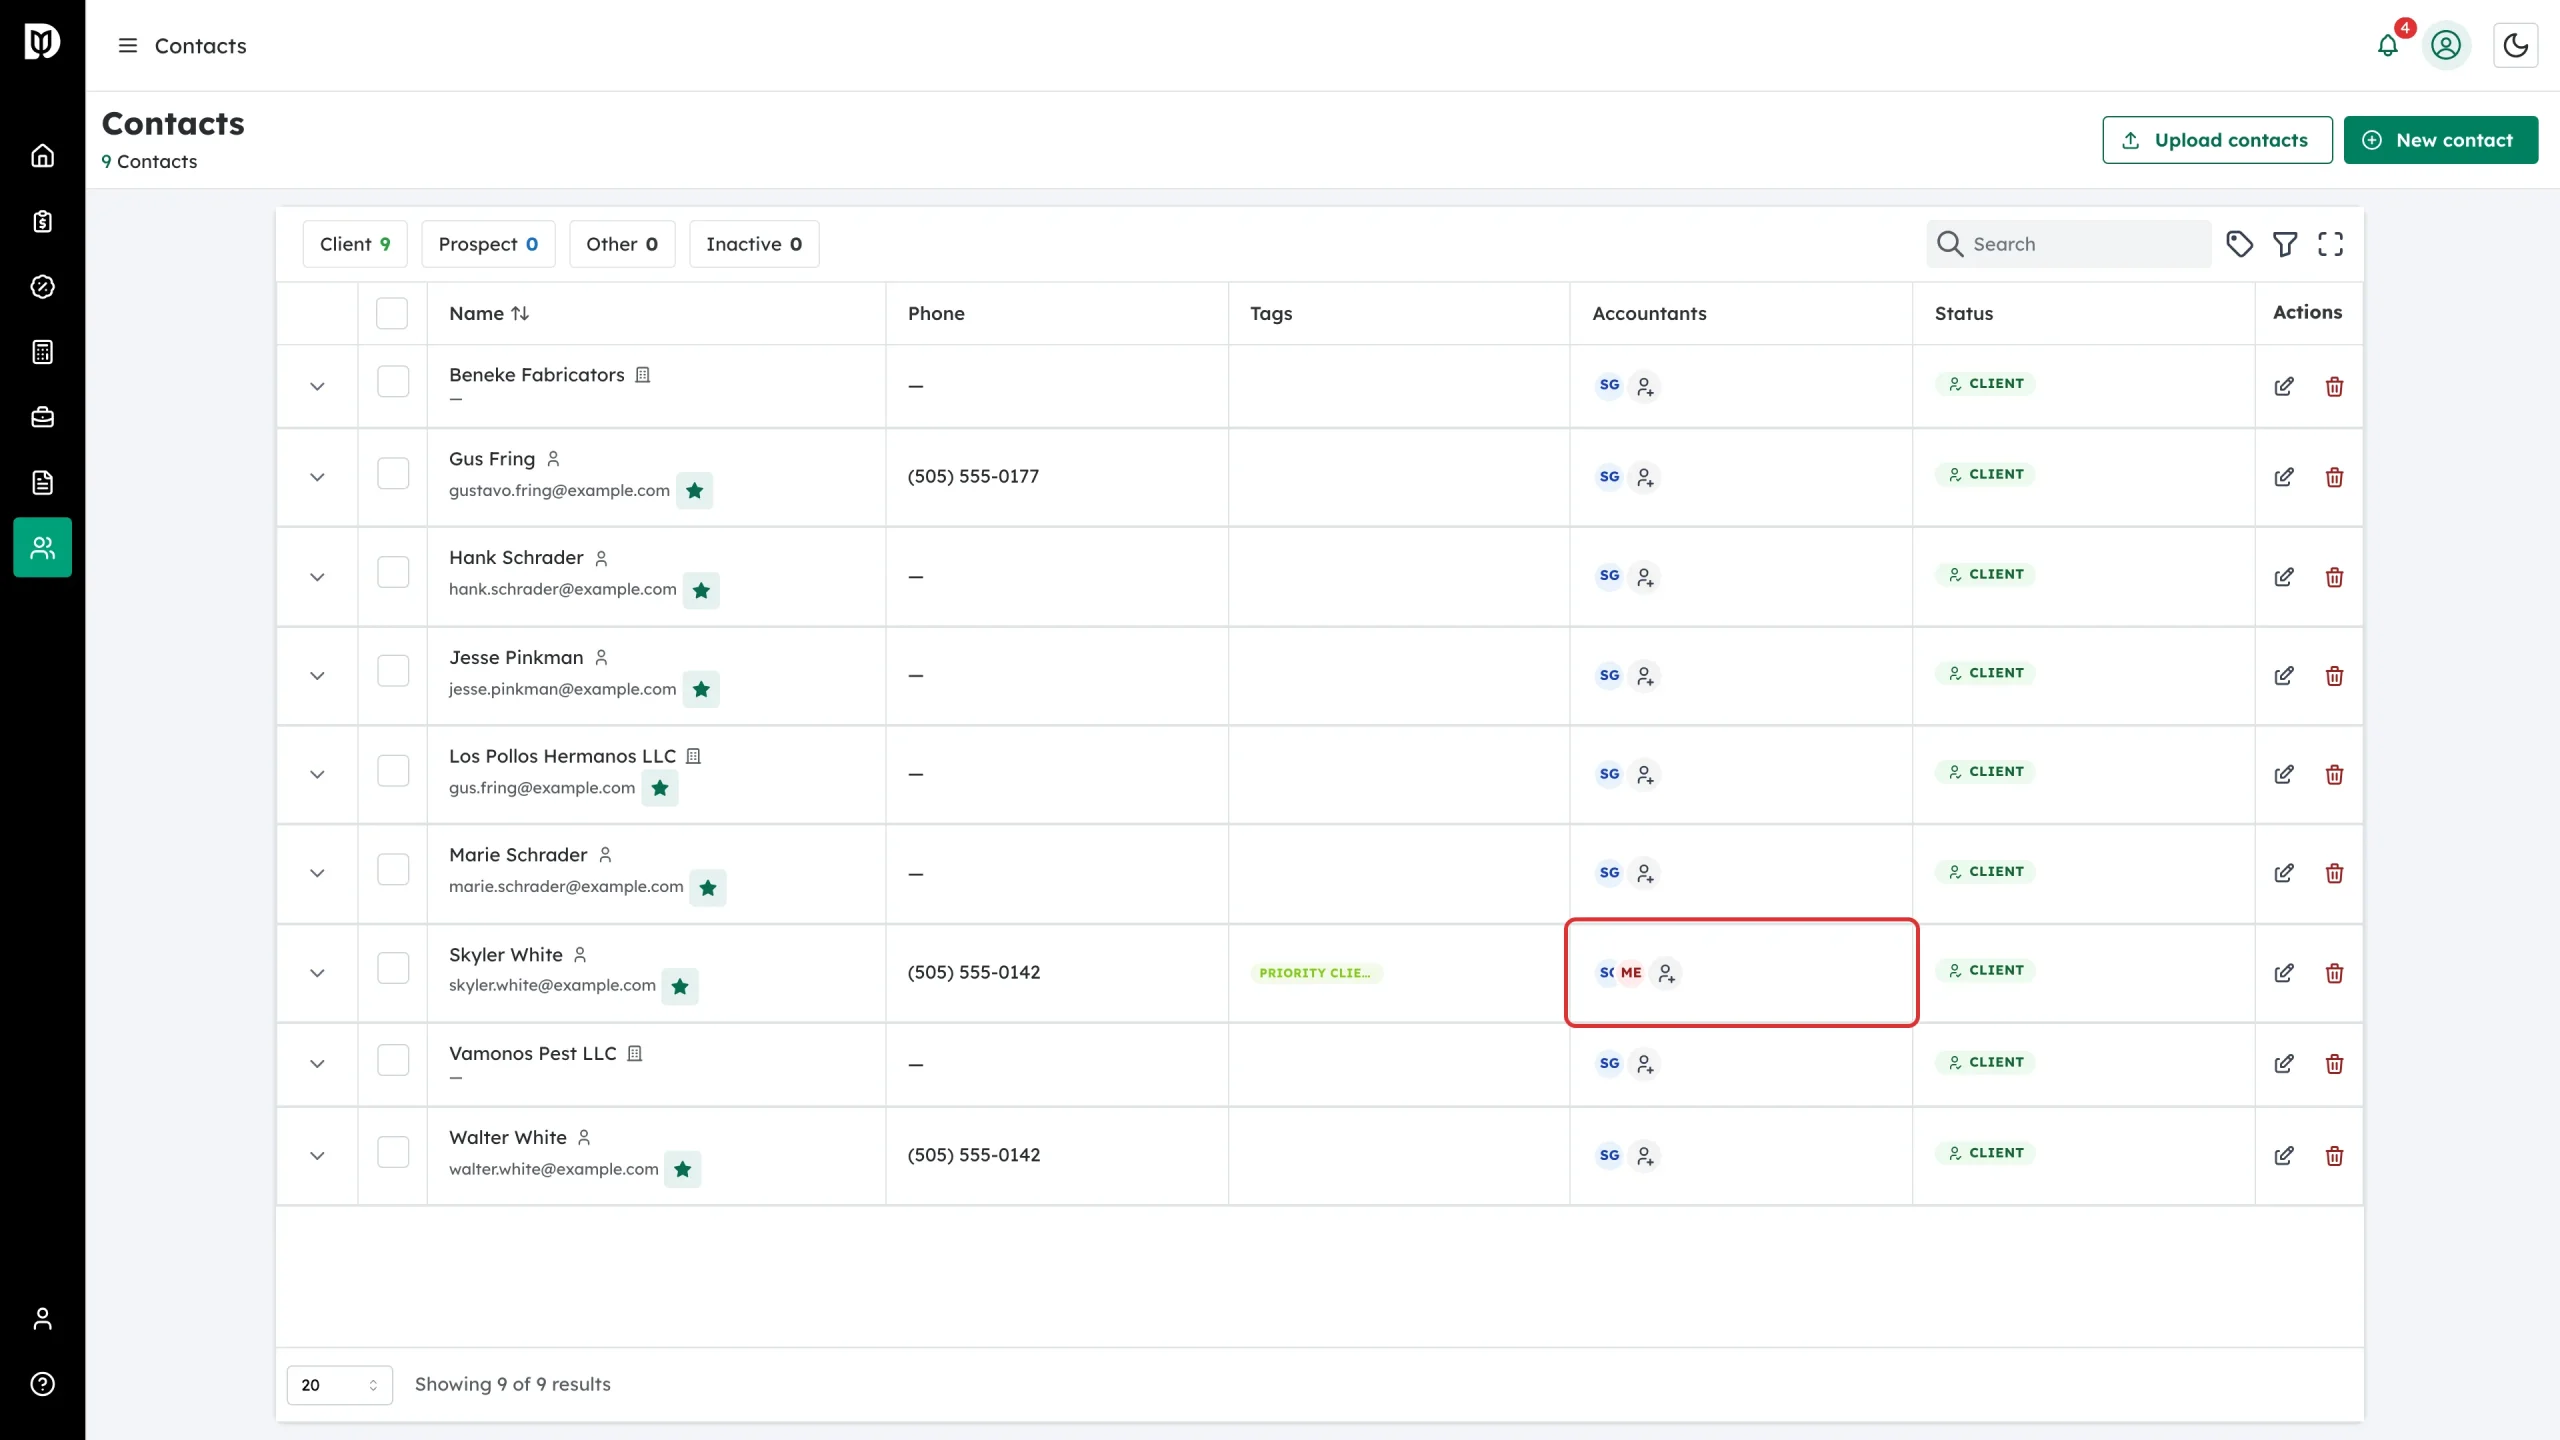
Step 7: Check who owns the relationship
The Accountants column shows the staff assigned to that client. Use the add button in the cell to assign someone without opening the contact.
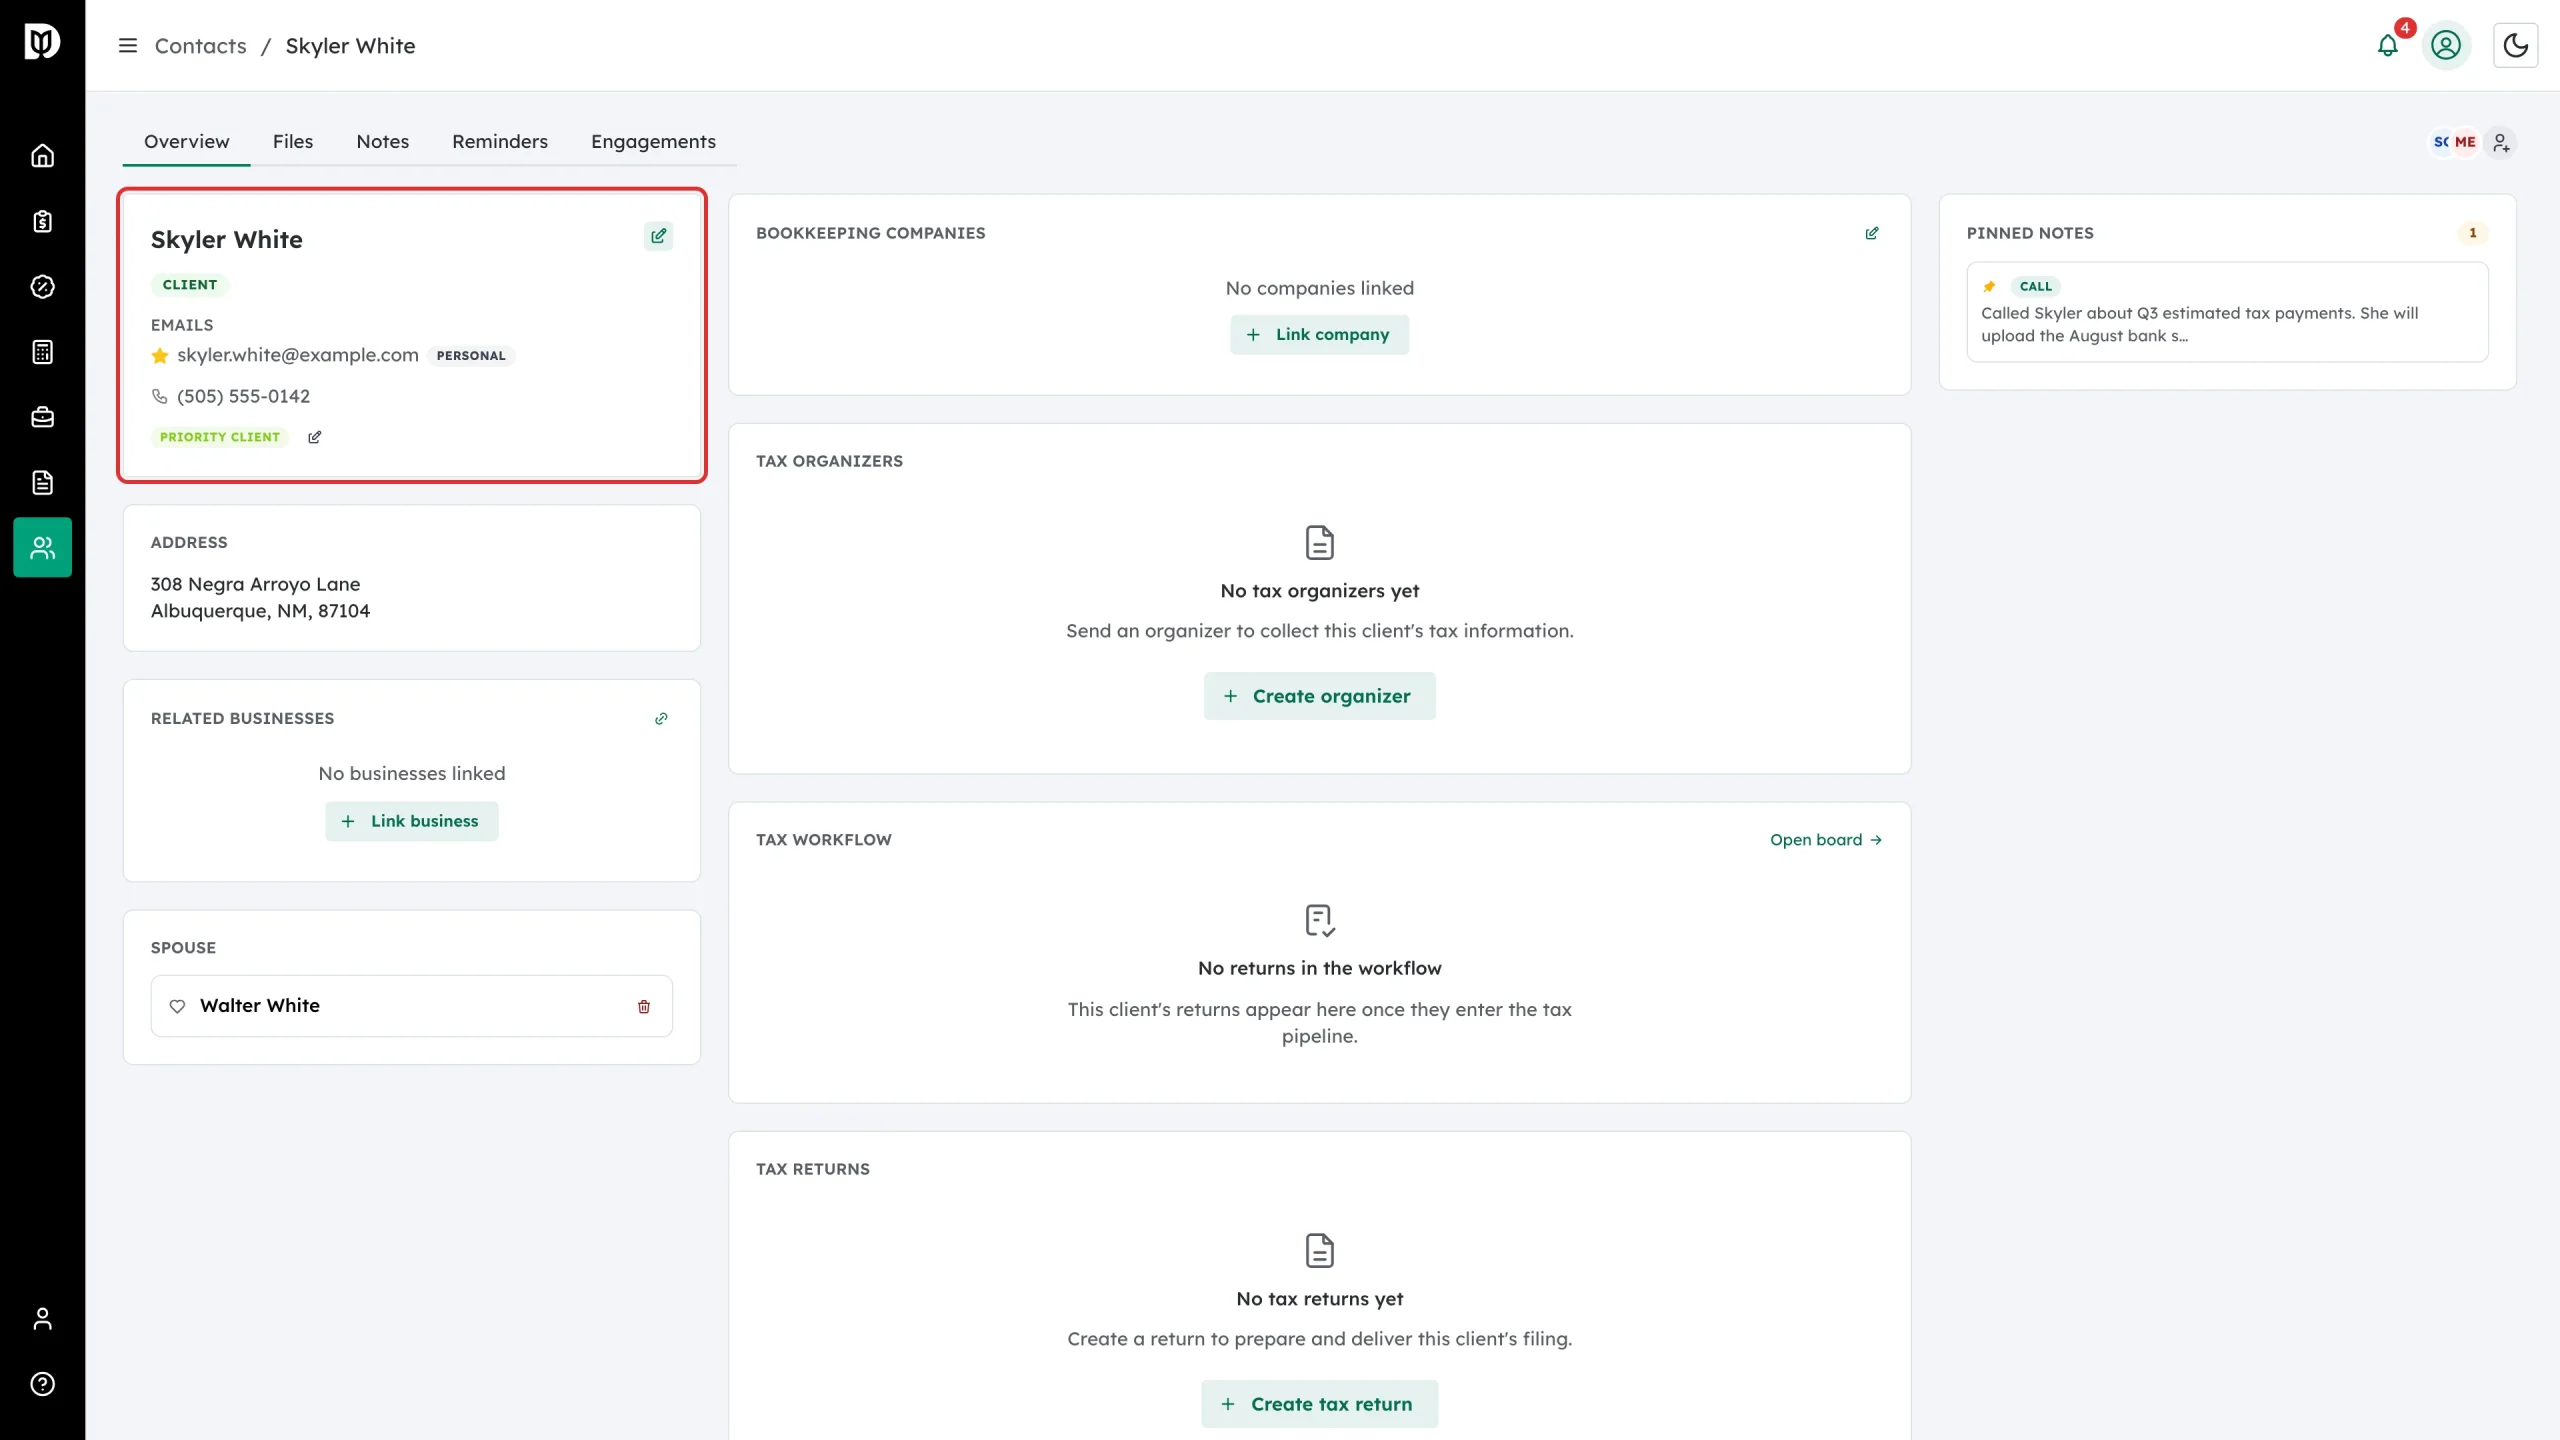
Step 8: Open a client
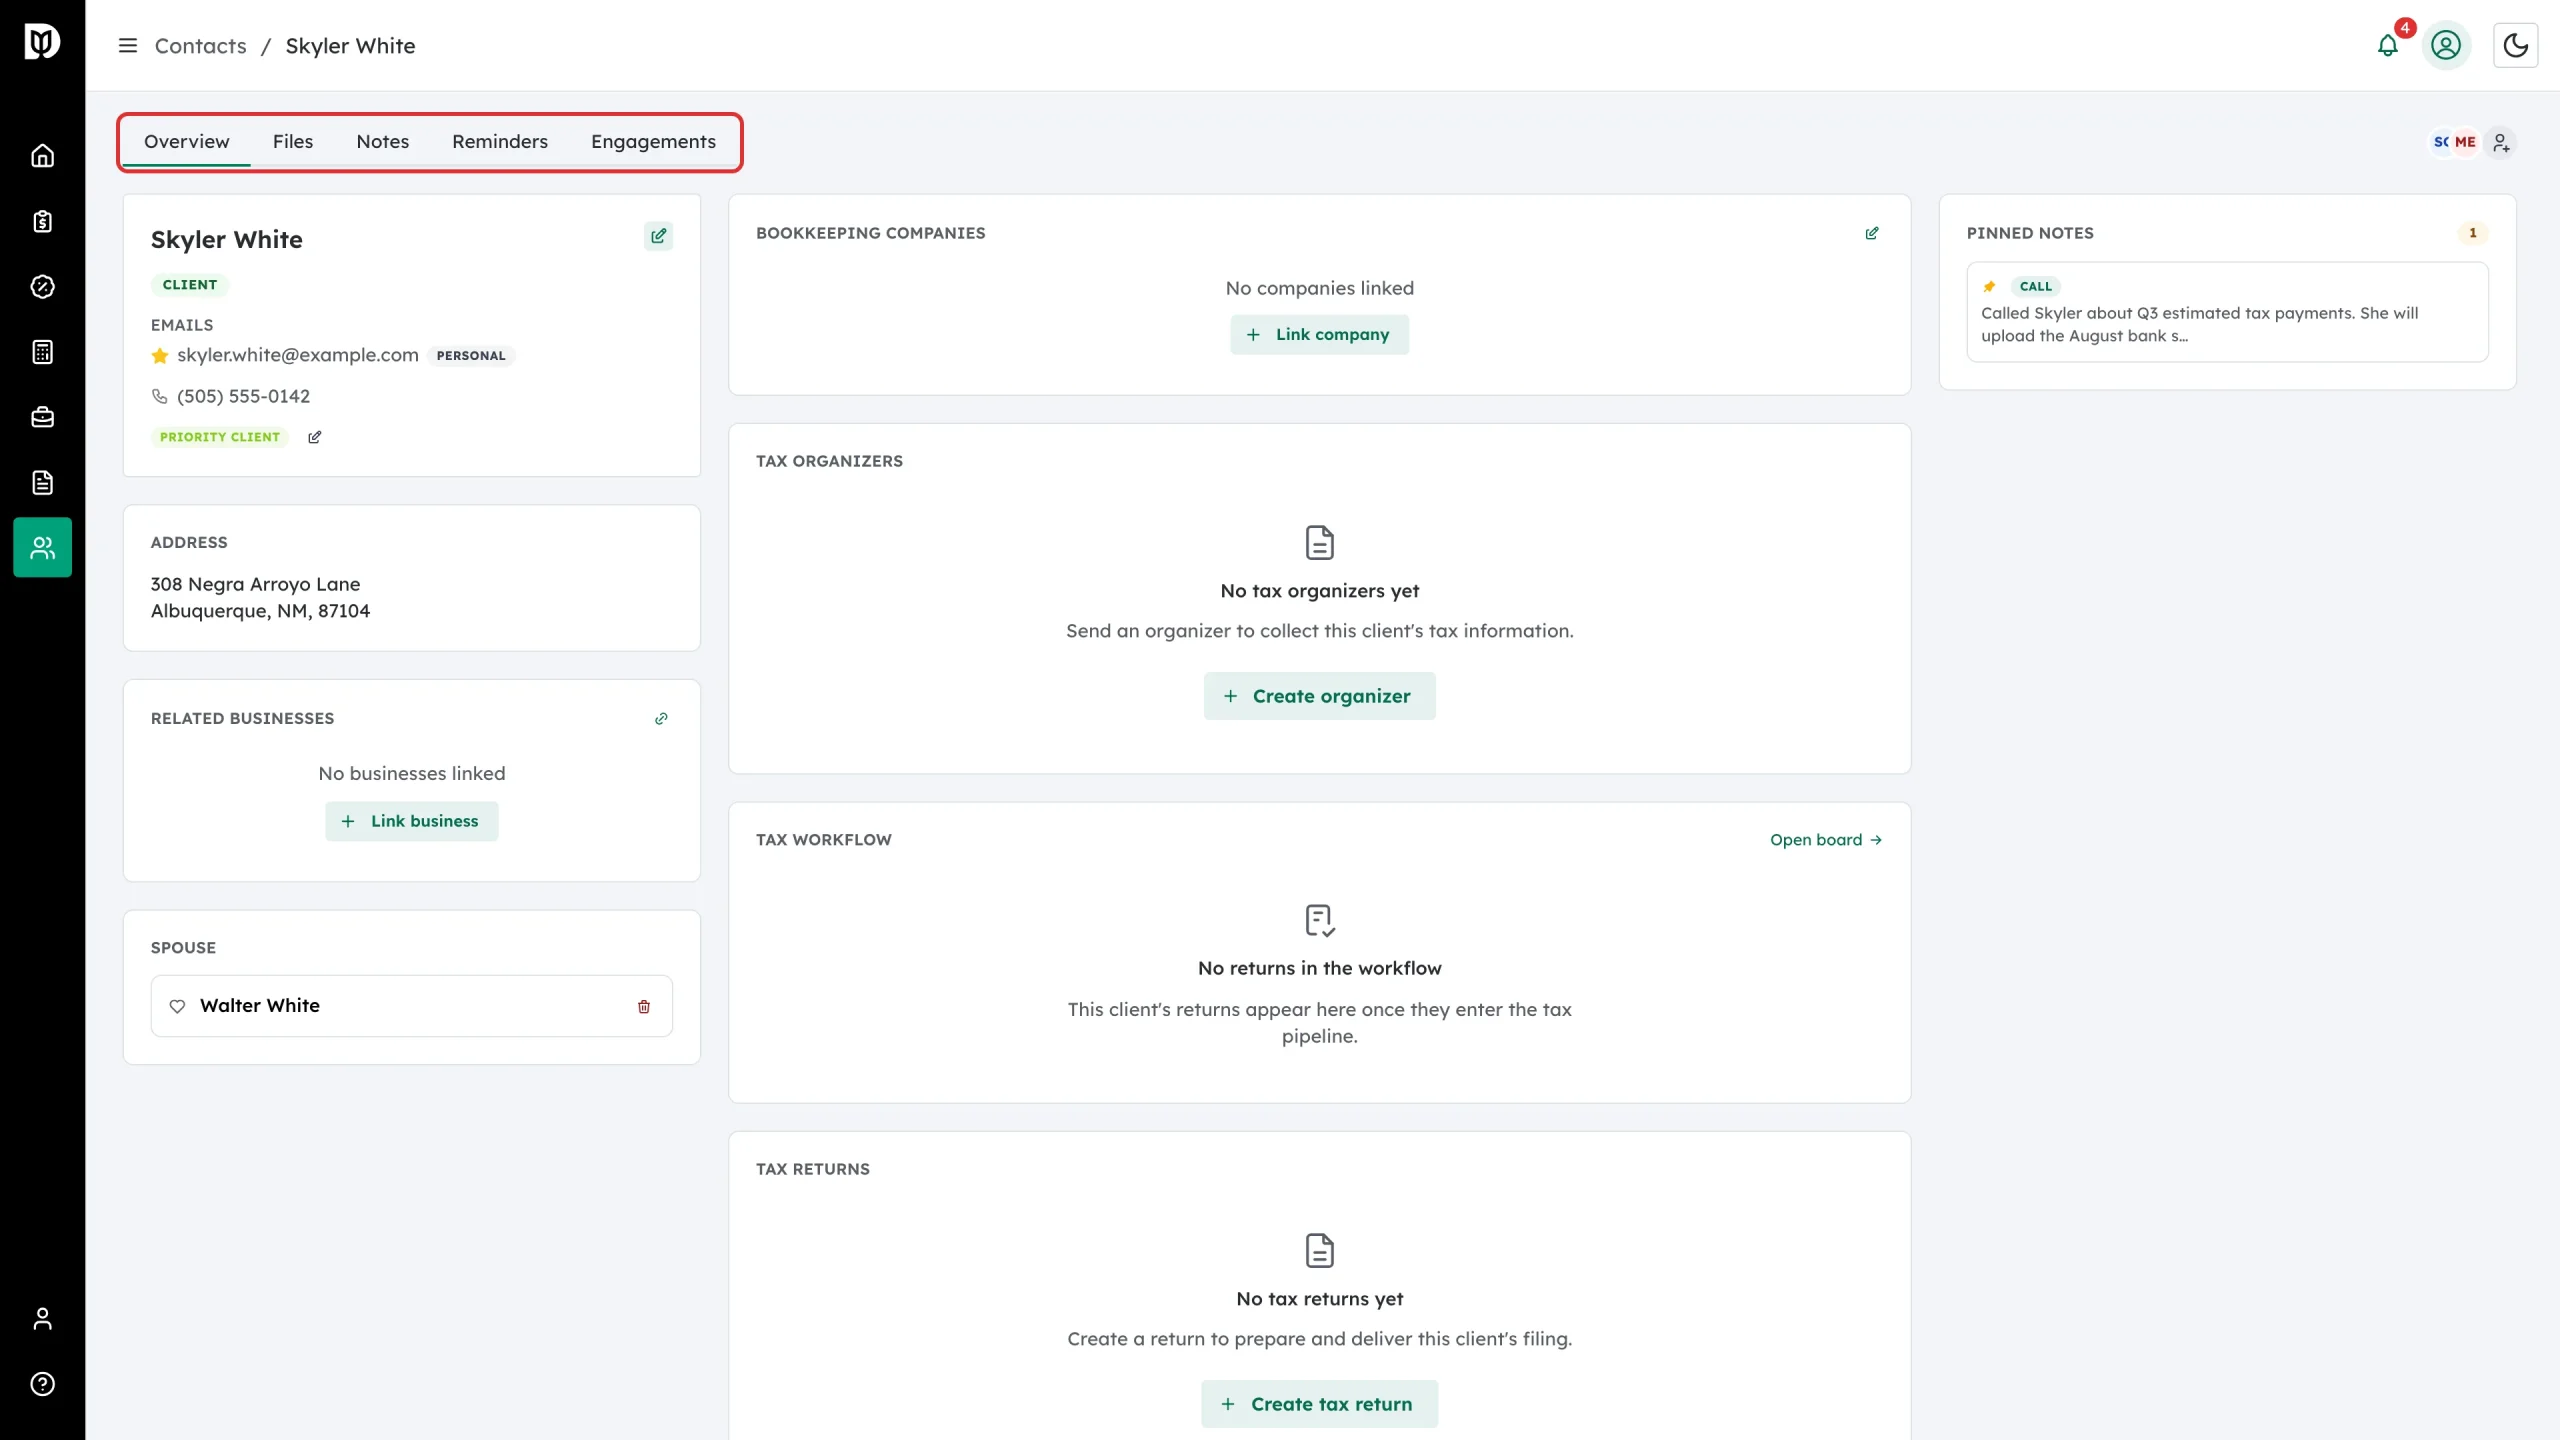
Select a name to open the profile. The card on the left is the identity of the client: status, emails with the primary one starred, phone, tags and address. For a business it also shows the business name and entity type.
Step 9: Move around the profile
The tabs across the top are Overview, Files, Notes, Reminders and, when the firm uses them, Billing and Engagements. Overview gathers the client’s bookkeeping companies, tax organizers, tax workflow, tax returns, related people and pinned notes in one place.
What happens next
The contact record is what the rest of Debits hangs off. Job cards on the workflow board, tax organizers, returns, invoices and engagements are all attached to a contact, and they surface on the Overview tab as they are created.
Troubleshooting
- The list looks short. A status chip or a column filter is still applied. Clear it with Clear in the banner above the table.
- A client is missing. Check the Inactive chip — deactivated clients are hidden from the default view.
- A row has no email. Some features, including workflow job cards, need one. Open the contact and add it.