
Who this is for: Accountants who have created a draft financial report in Debits.
What you’ll learn: How to use the report detail page to preview live data, edit sections, add commentary, switch between Monthly and Year-to-Date views, and download a draft PDF.
Before you begin #
- You must have a draft financial report already created for a company.
- The company must be connected to QuickBooks Online so that live data can be fetched.
Step-by-step instructions #
Step 1: Open the report detail page #
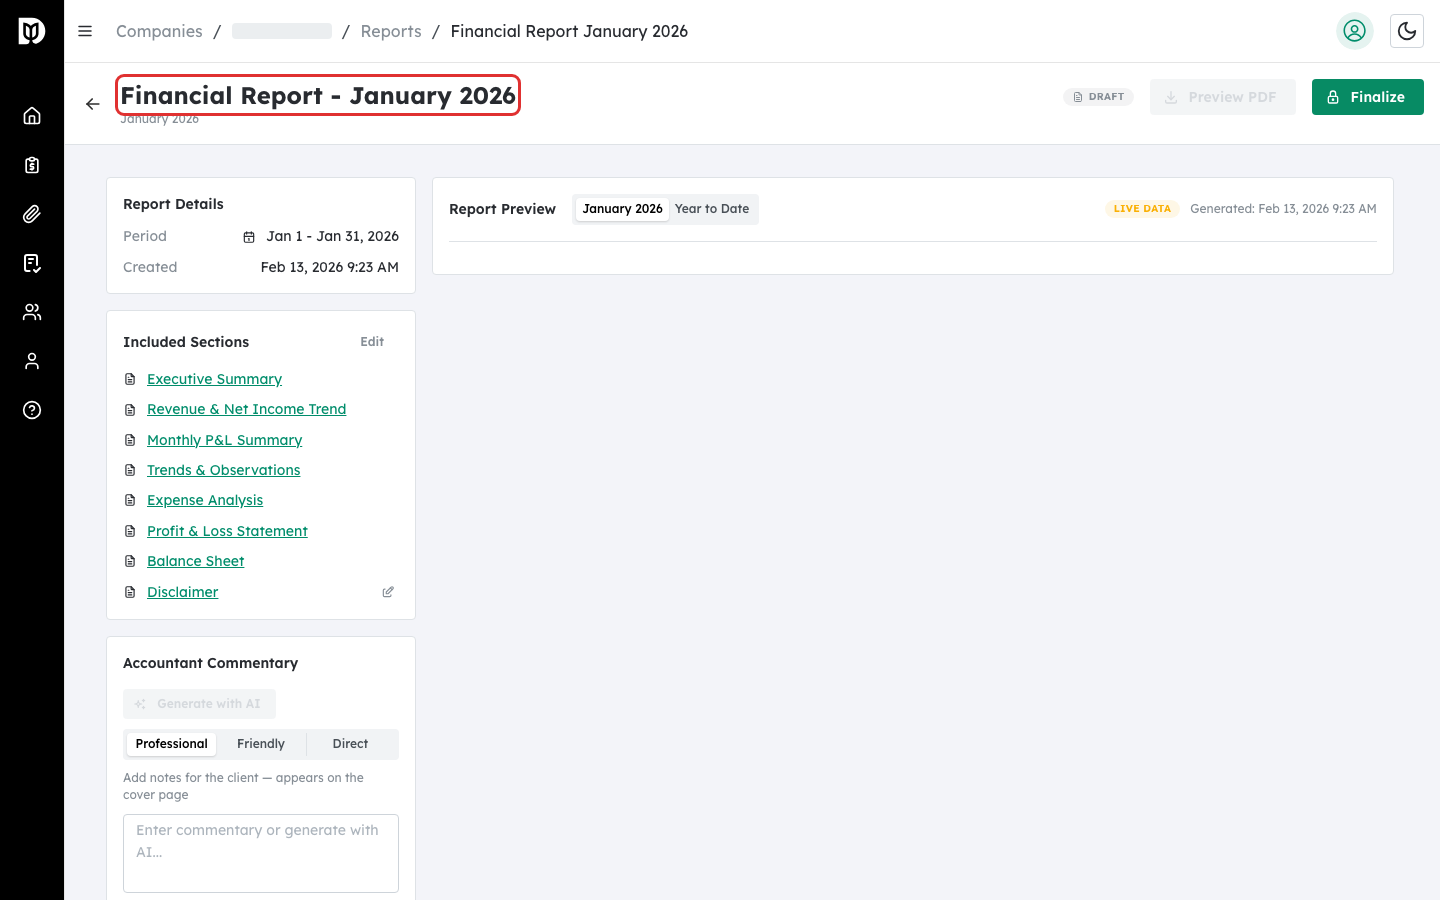
From the Reports tab, click the title of any report in the table, or select View from the three-dot actions menu. This opens the report detail page showing the report title, period, and status badge at the top.
Step 2: Review the report preview #
The main content area displays a live preview of your report. Each enabled section is rendered with real-time data from QuickBooks. Scroll down to review all sections including the Executive Summary, charts, financial statements, and disclaimer.
Step 3: Switch between Monthly and Year-to-Date views #
Use the Monthly / YTD segmented control at the top of the preview area to toggle between viewing data for the selected month only or for the entire year to date. When you switch to YTD, the system fetches data for each month of the year so far, which may take a moment.
Step 4: Edit report sections #
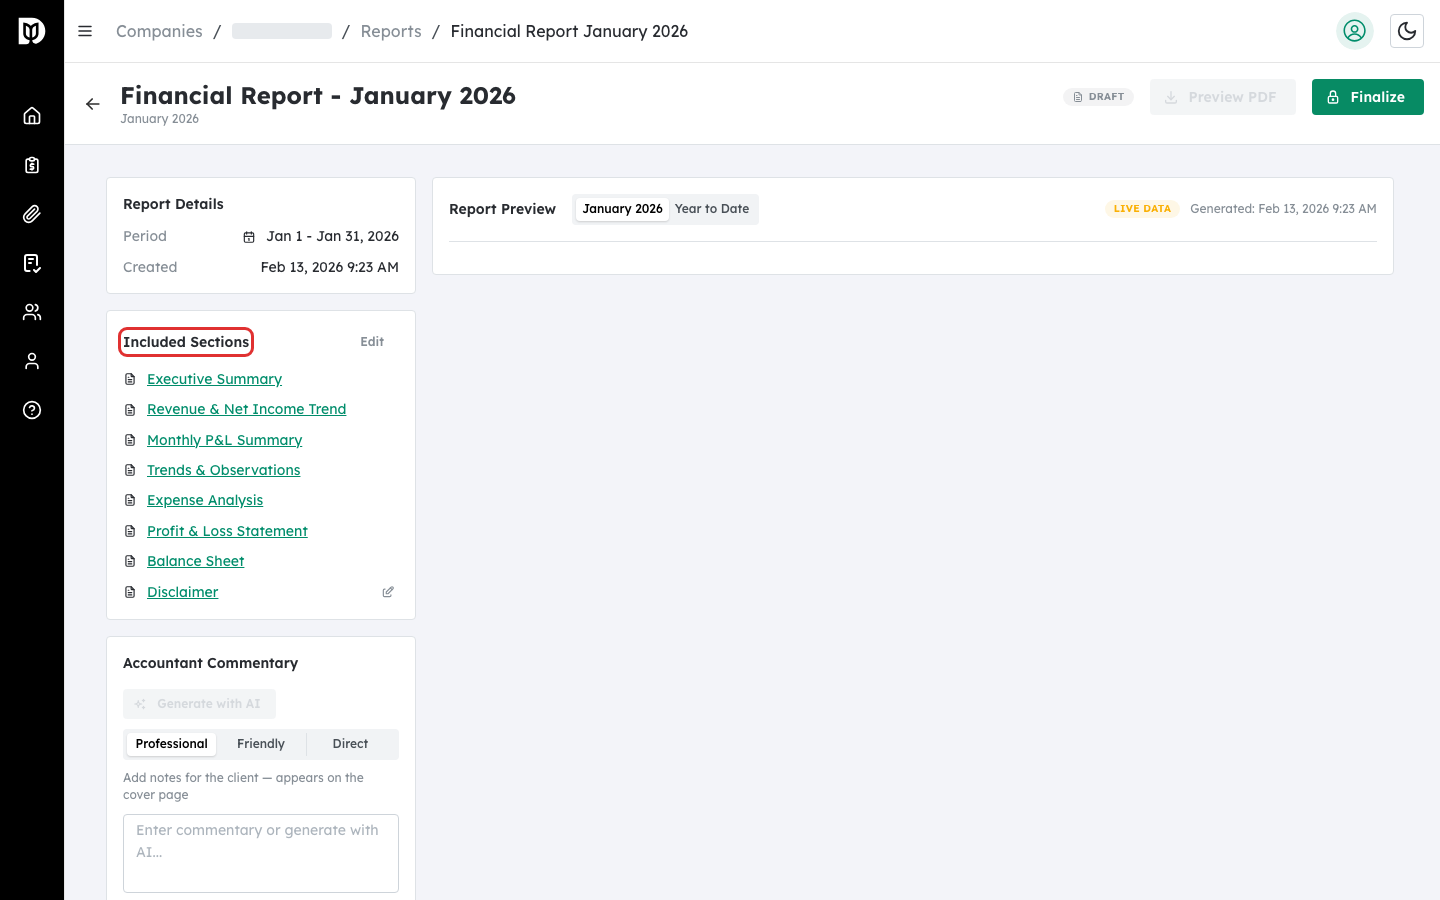
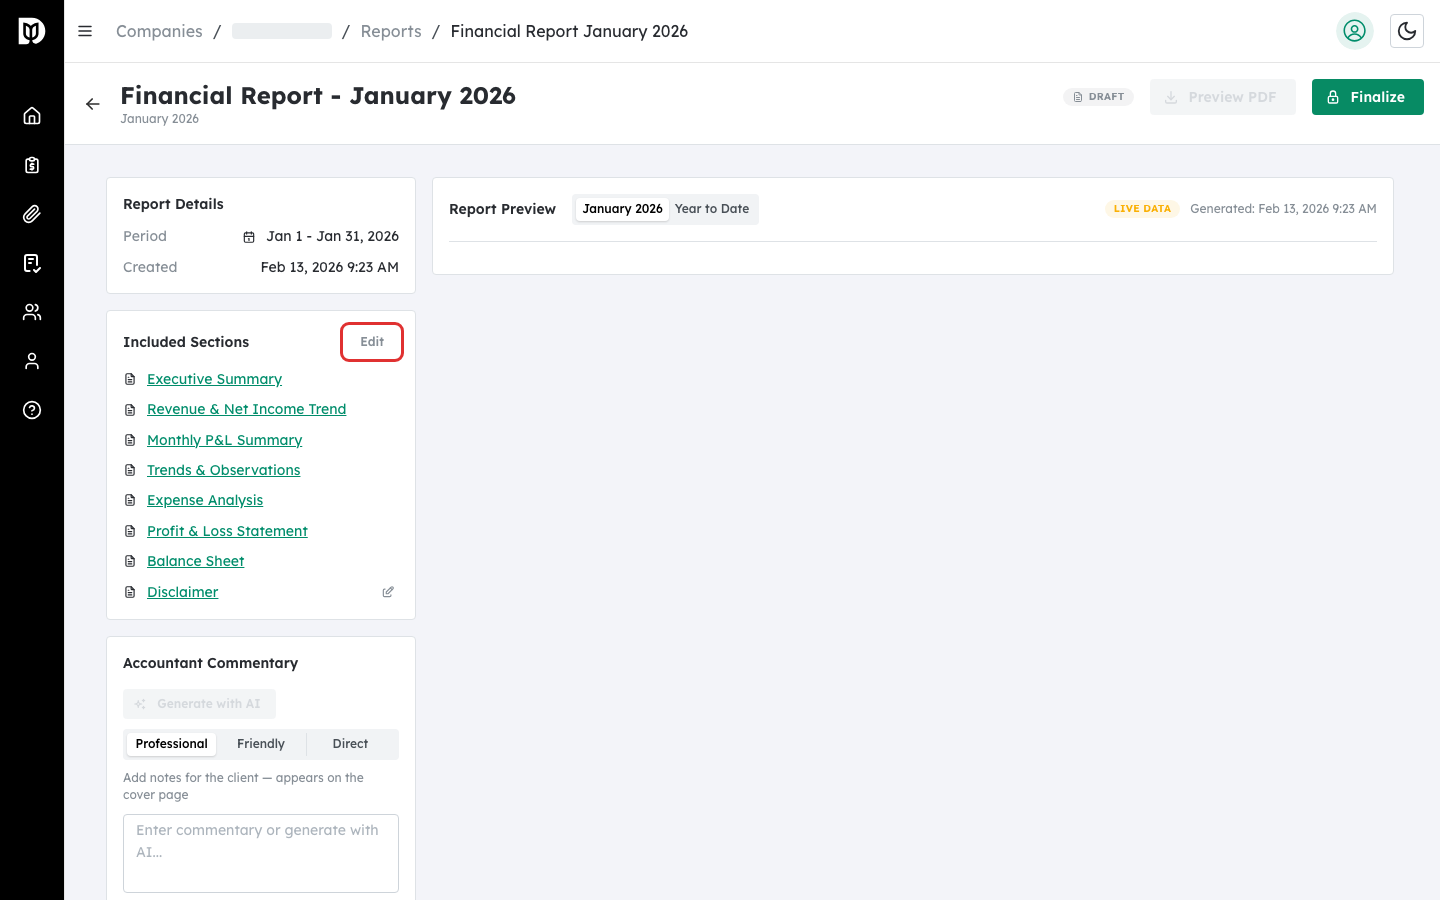
In the sidebar (or the collapsible panel on mobile), find the Included Sections card. Click the Edit button to open the Edit Report Sections modal. Here you can enable or disable sections and drag them into your preferred order. Click Save Changes when done.
Step 5: Jump to a specific section #
In the Included Sections list, click any section name (displayed as a blue underlined link) to scroll smoothly to that section in the preview. This helps you quickly navigate long reports.

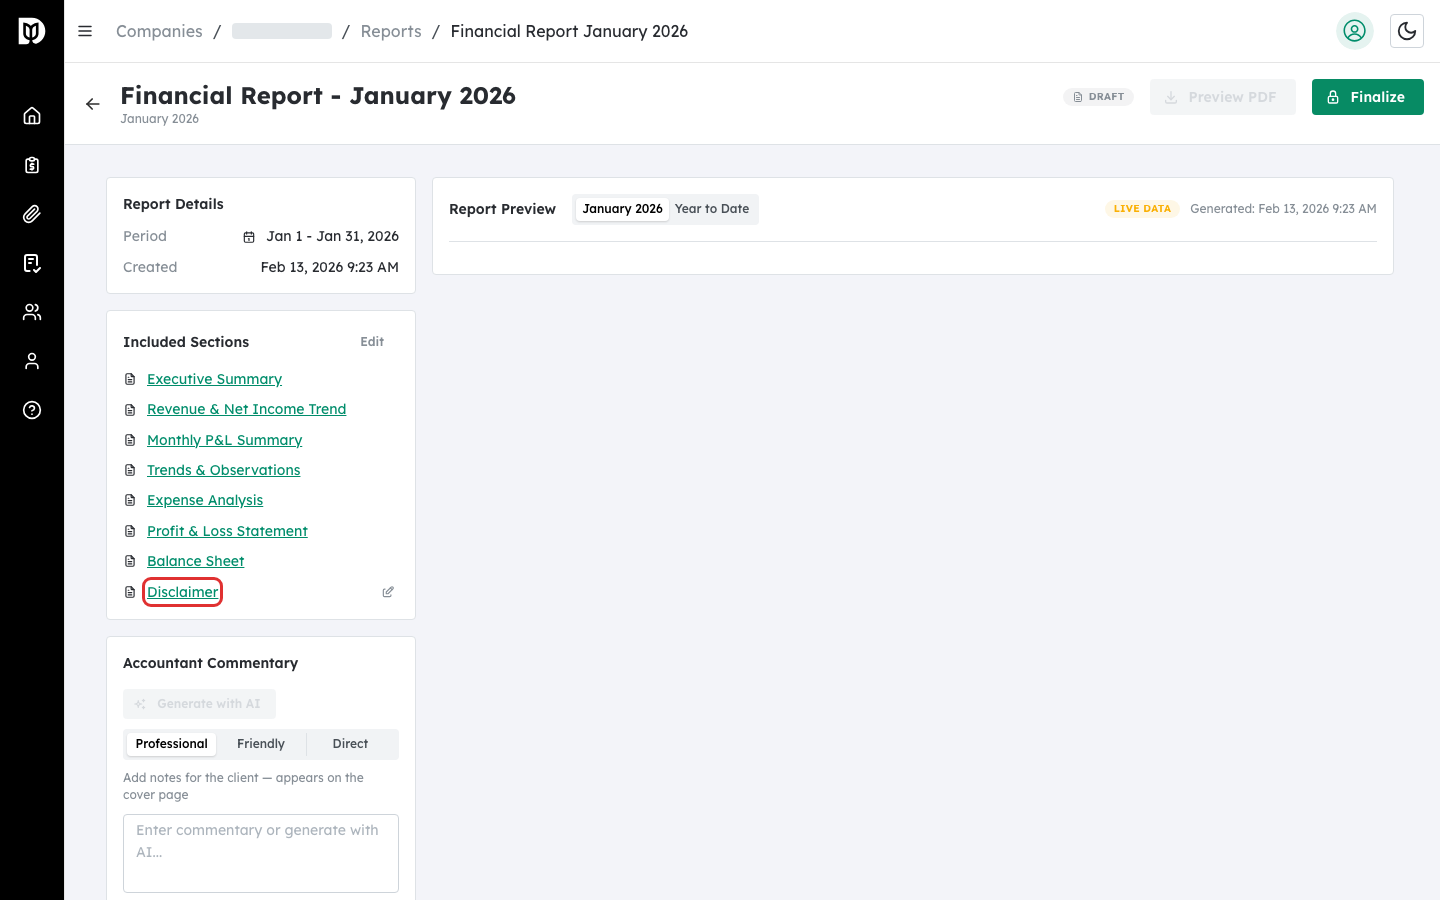
Step 6: Edit the disclaimer text #
Next to the Disclaimer section in the sidebar, click the pencil icon to open the disclaimer editor. Modify the text as needed and click Save. A default disclaimer is provided and can be restored at any time.
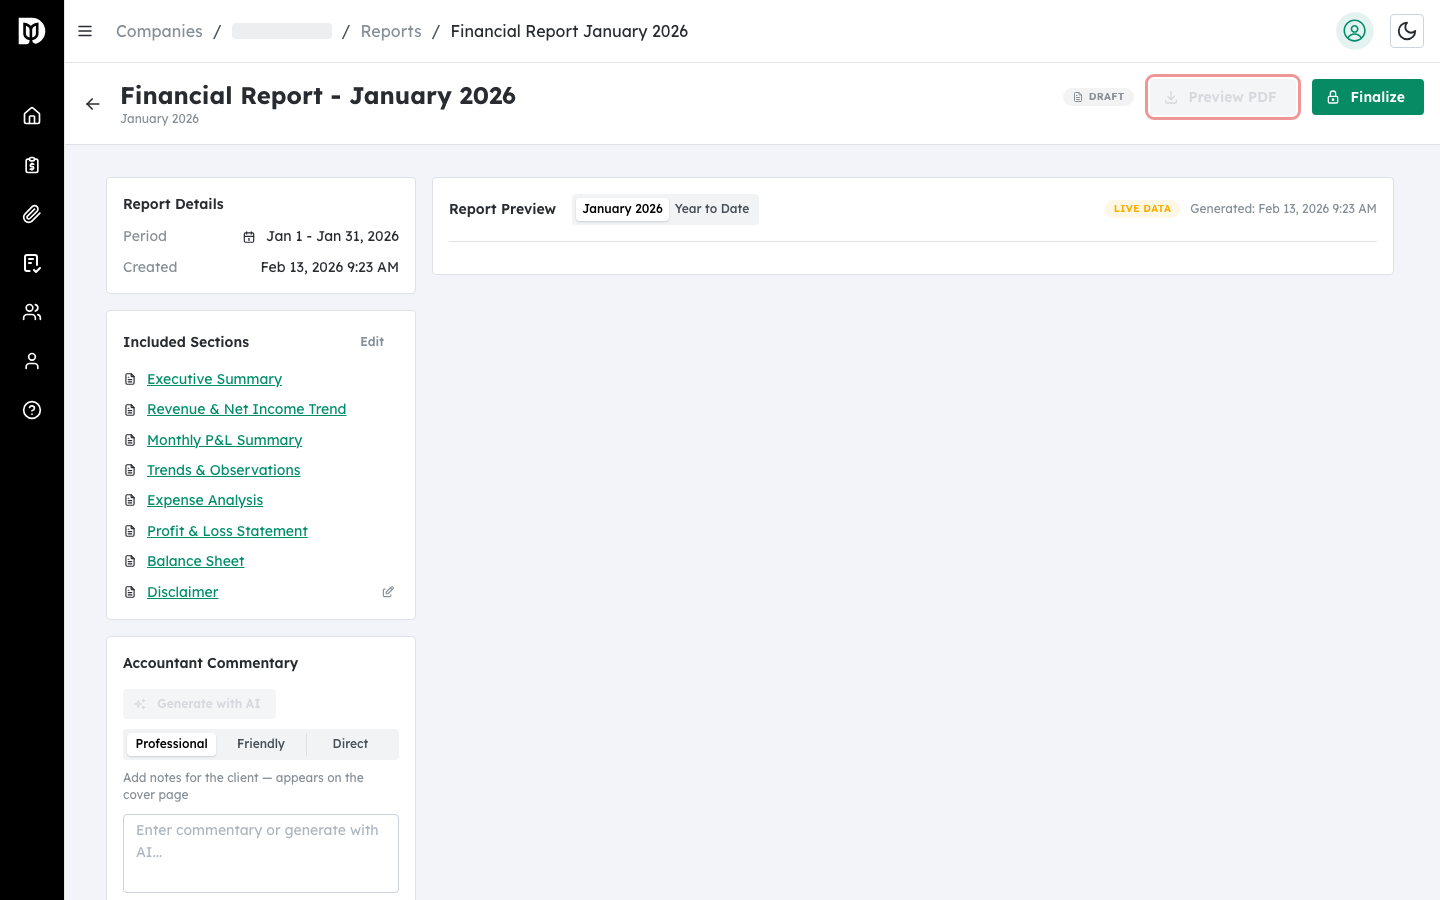
Step 7: Preview and download the draft PDF #
Click the Preview PDF button in the header toolbar. The system generates a PDF using the current live data and your selected sections. The PDF downloads to your computer. A progress modal displays while the file is being generated.
What happens next #
Once you are satisfied with the report content, sections, and commentary, you can finalize the report to lock in a permanent data snapshot and generate the official PDF.
Troubleshooting #
- Preview PDF button is disabled: Live data must be loaded before you can generate a PDF. Wait for all sections to finish loading.
- YTD data is slow to load: Year-to-date mode fetches data for each month individually. For companies with many months of data, this may take 10-20 seconds.
- Sections are not appearing in the preview: Make sure the sections are enabled (checked) in the Edit Report Sections modal.
- “Error generating PDF”: Check your internet connection. If the issue persists, try refreshing the page and clicking Preview PDF again.


