Who this is for: Accountants ready to lock a draft before delivering it.
What you’ll learn: How to finalize a report so its figures are captured as a permanent snapshot.
Before you begin
- Finish the draft first — sections, commentary, KPI targets, and the budget and forecast the report should carry.
- Finalizing captures the current figures and locks the report. You can still create a new report for the same period later.
Step-by-step instructions
Step 1: Start finalizing
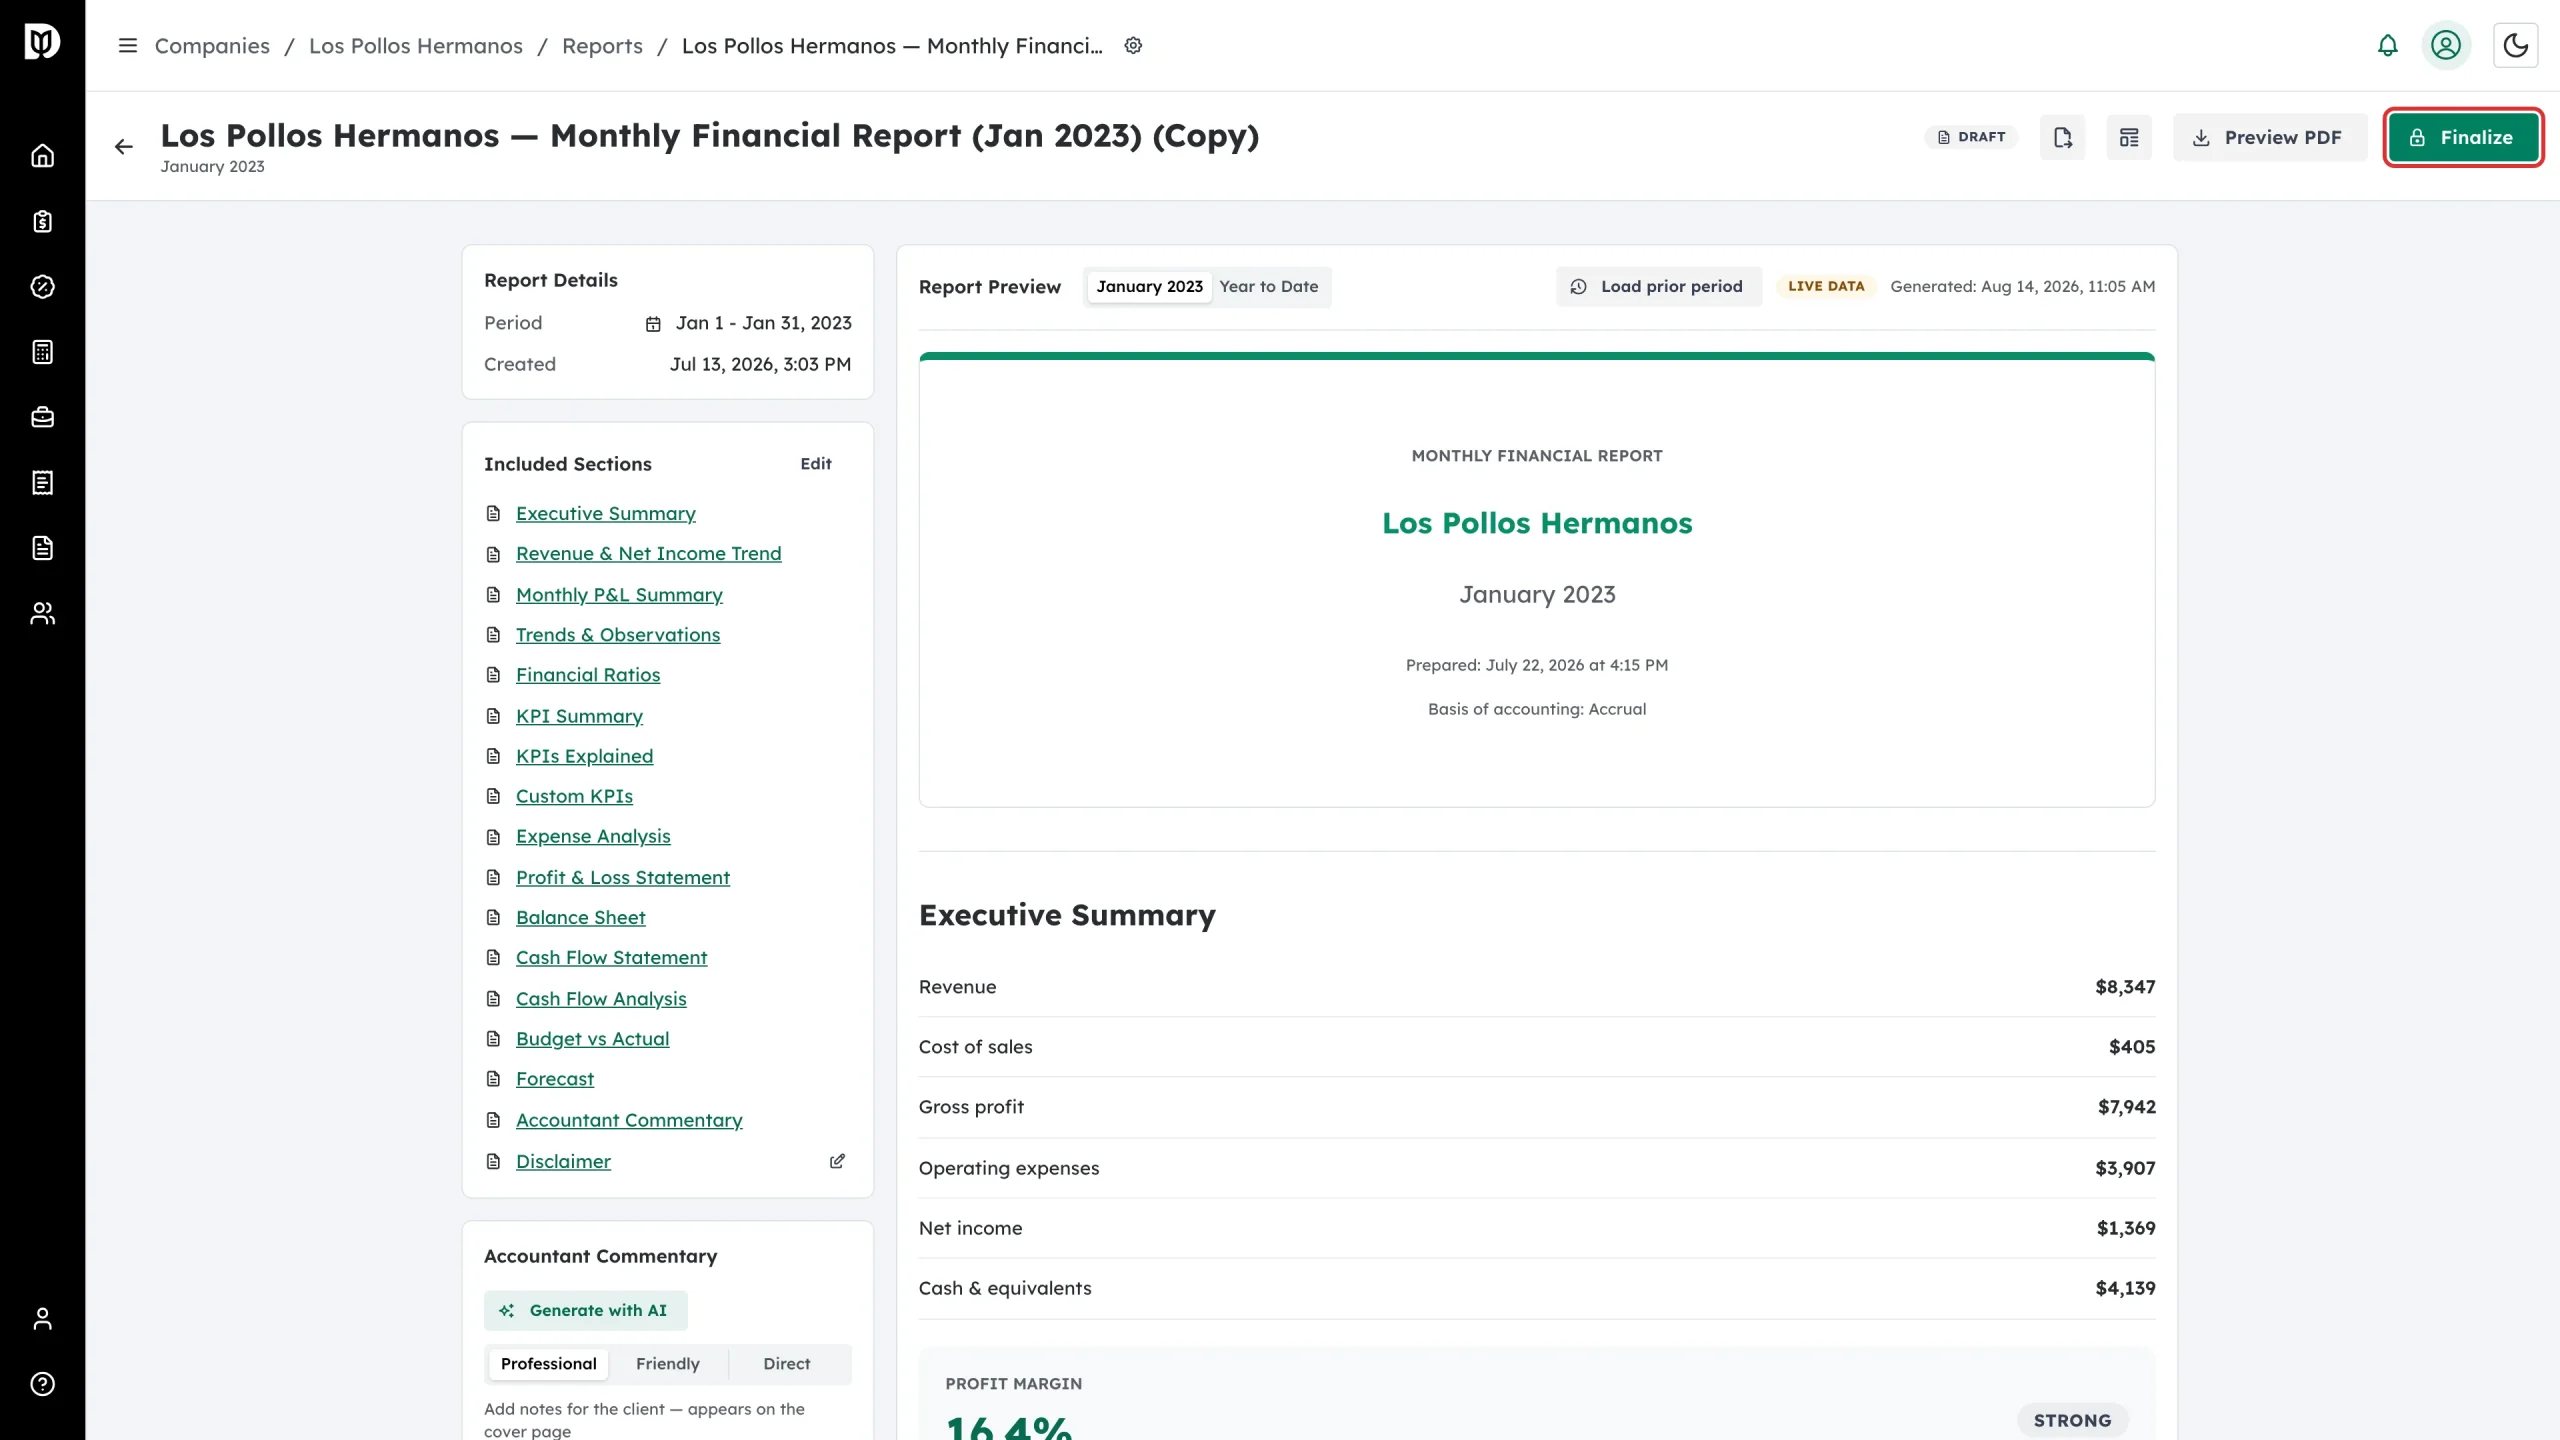
In the report header, select Finalize. You can also finalize from the three-dot menu on the report’s row in the Reports list.
Step 2: Review the window
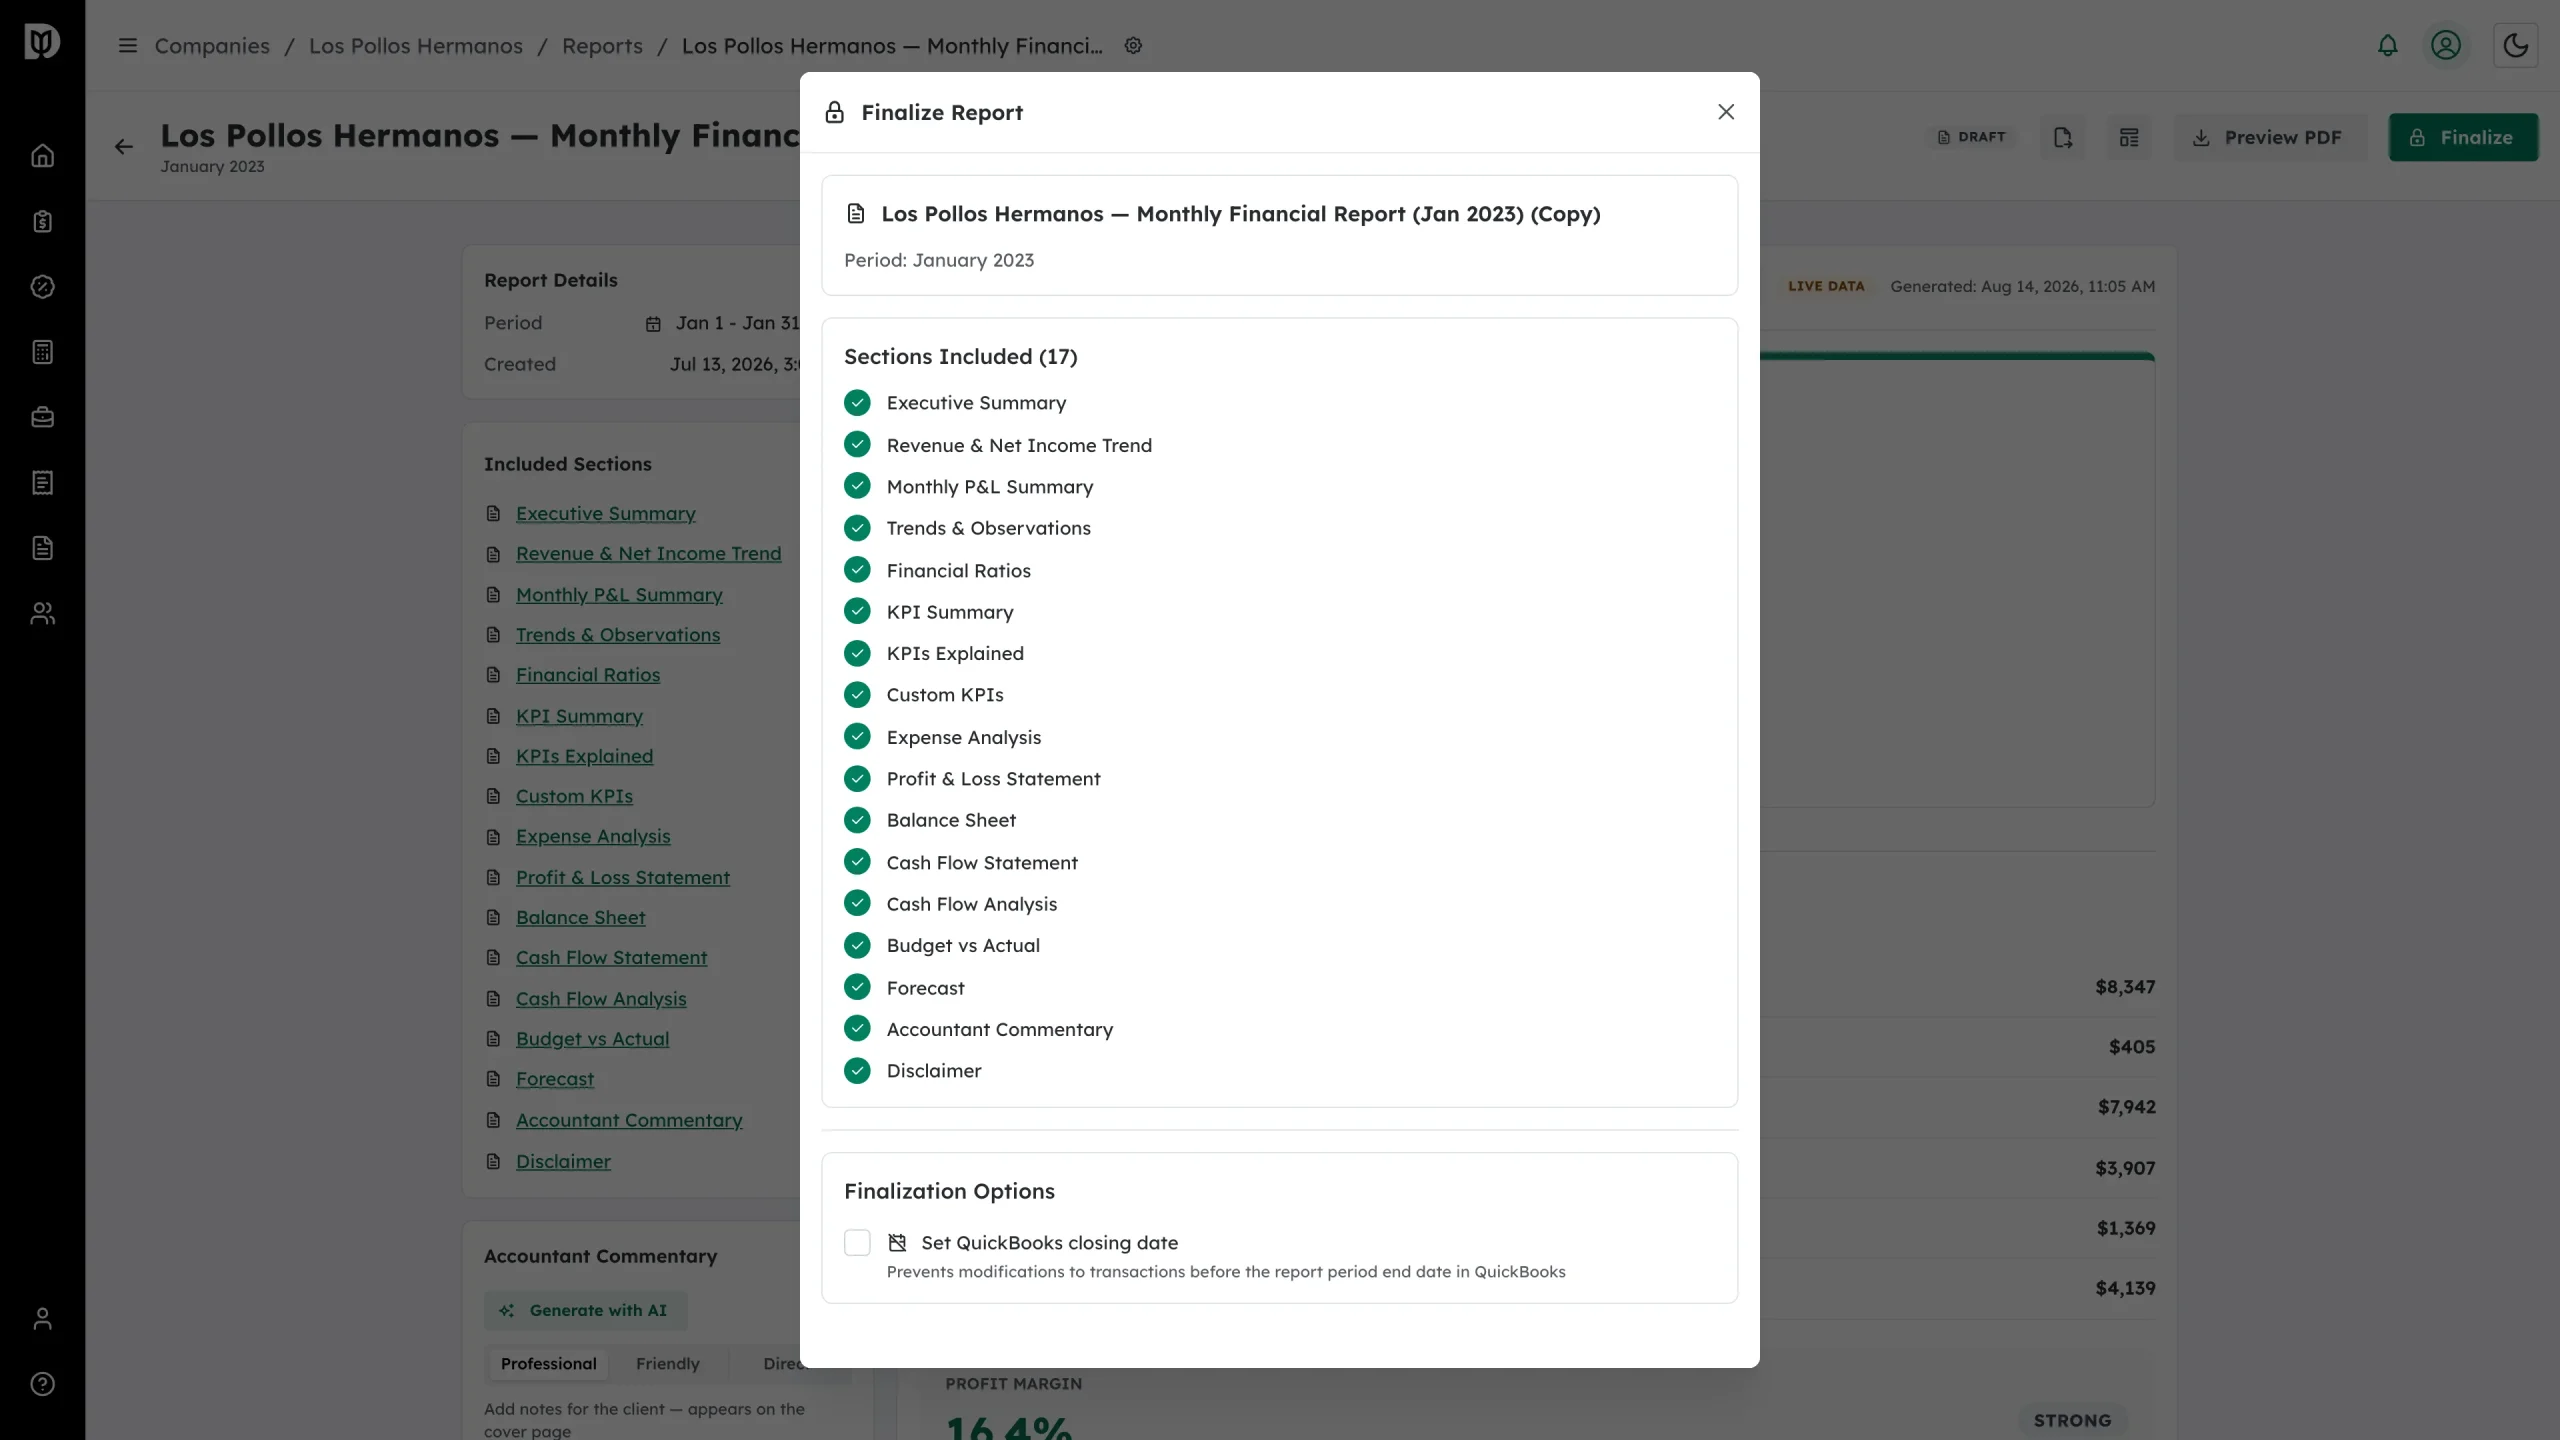
The Finalize Report window confirms the report and period you are about to lock.
Step 3: Check the sections
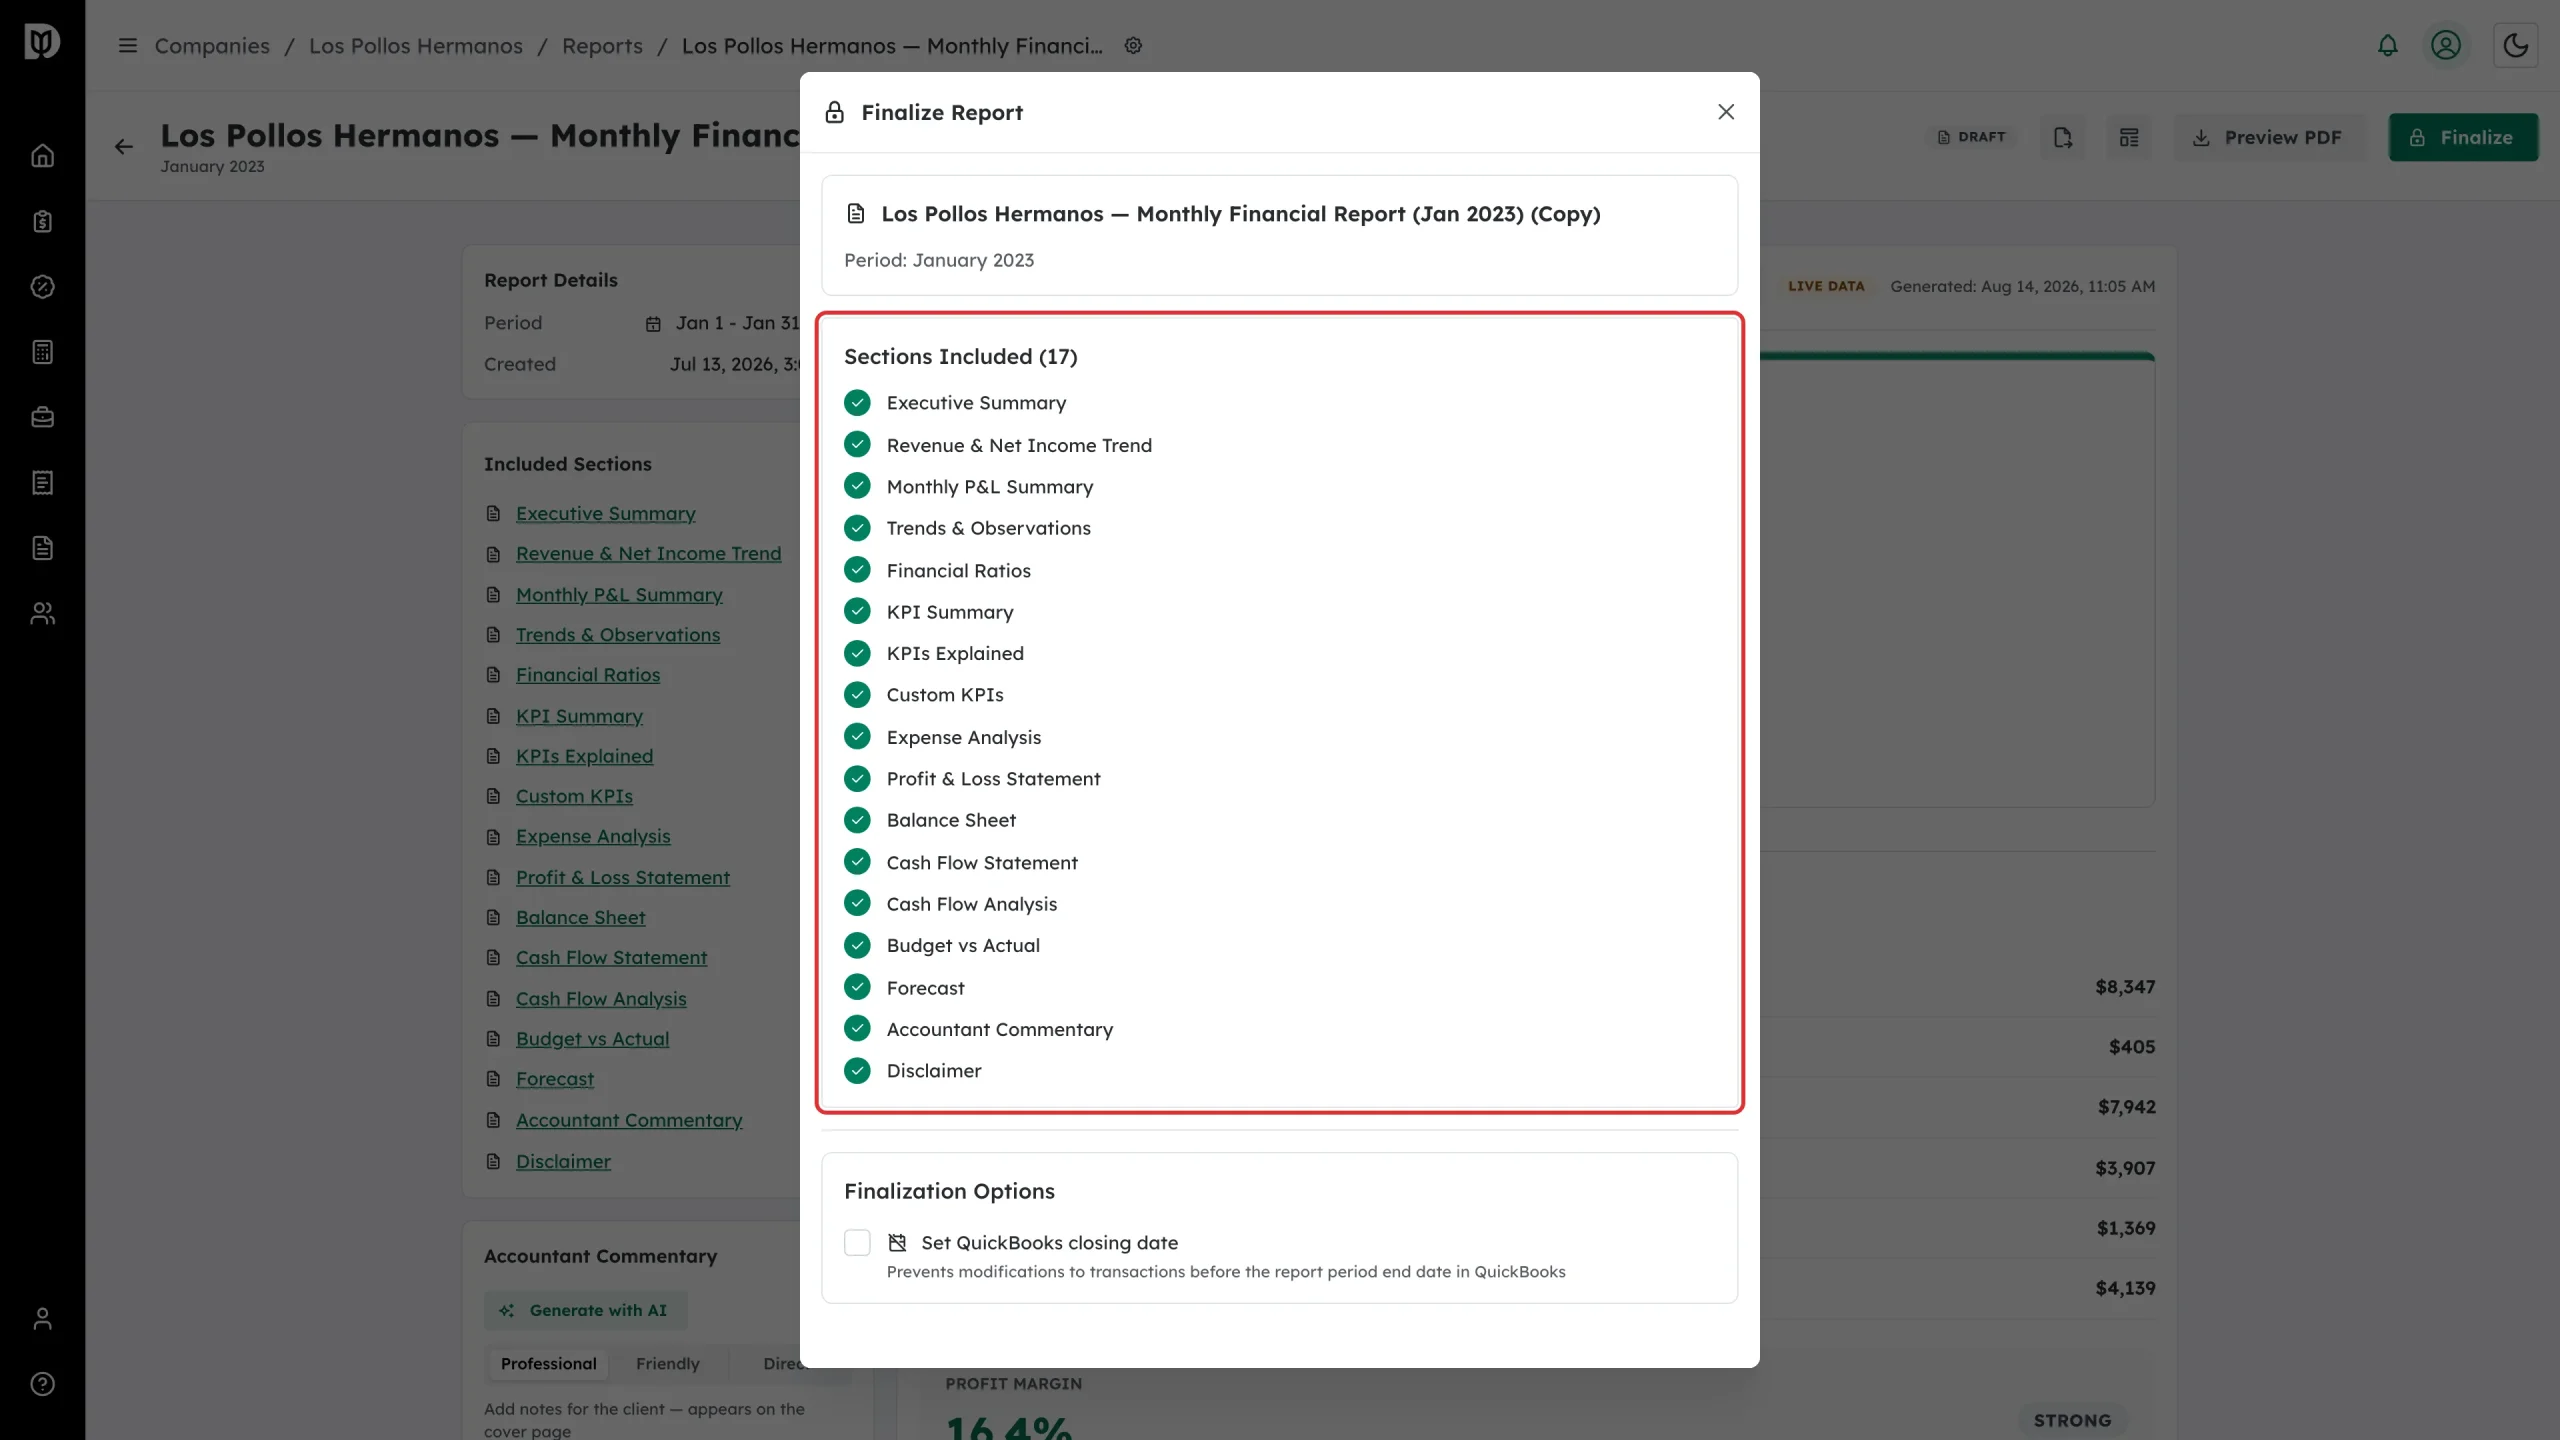
Sections Included lists everything that will be captured. Cancel and go back to Edit if anything is missing.
Step 4: Set a QuickBooks closing date (optional)
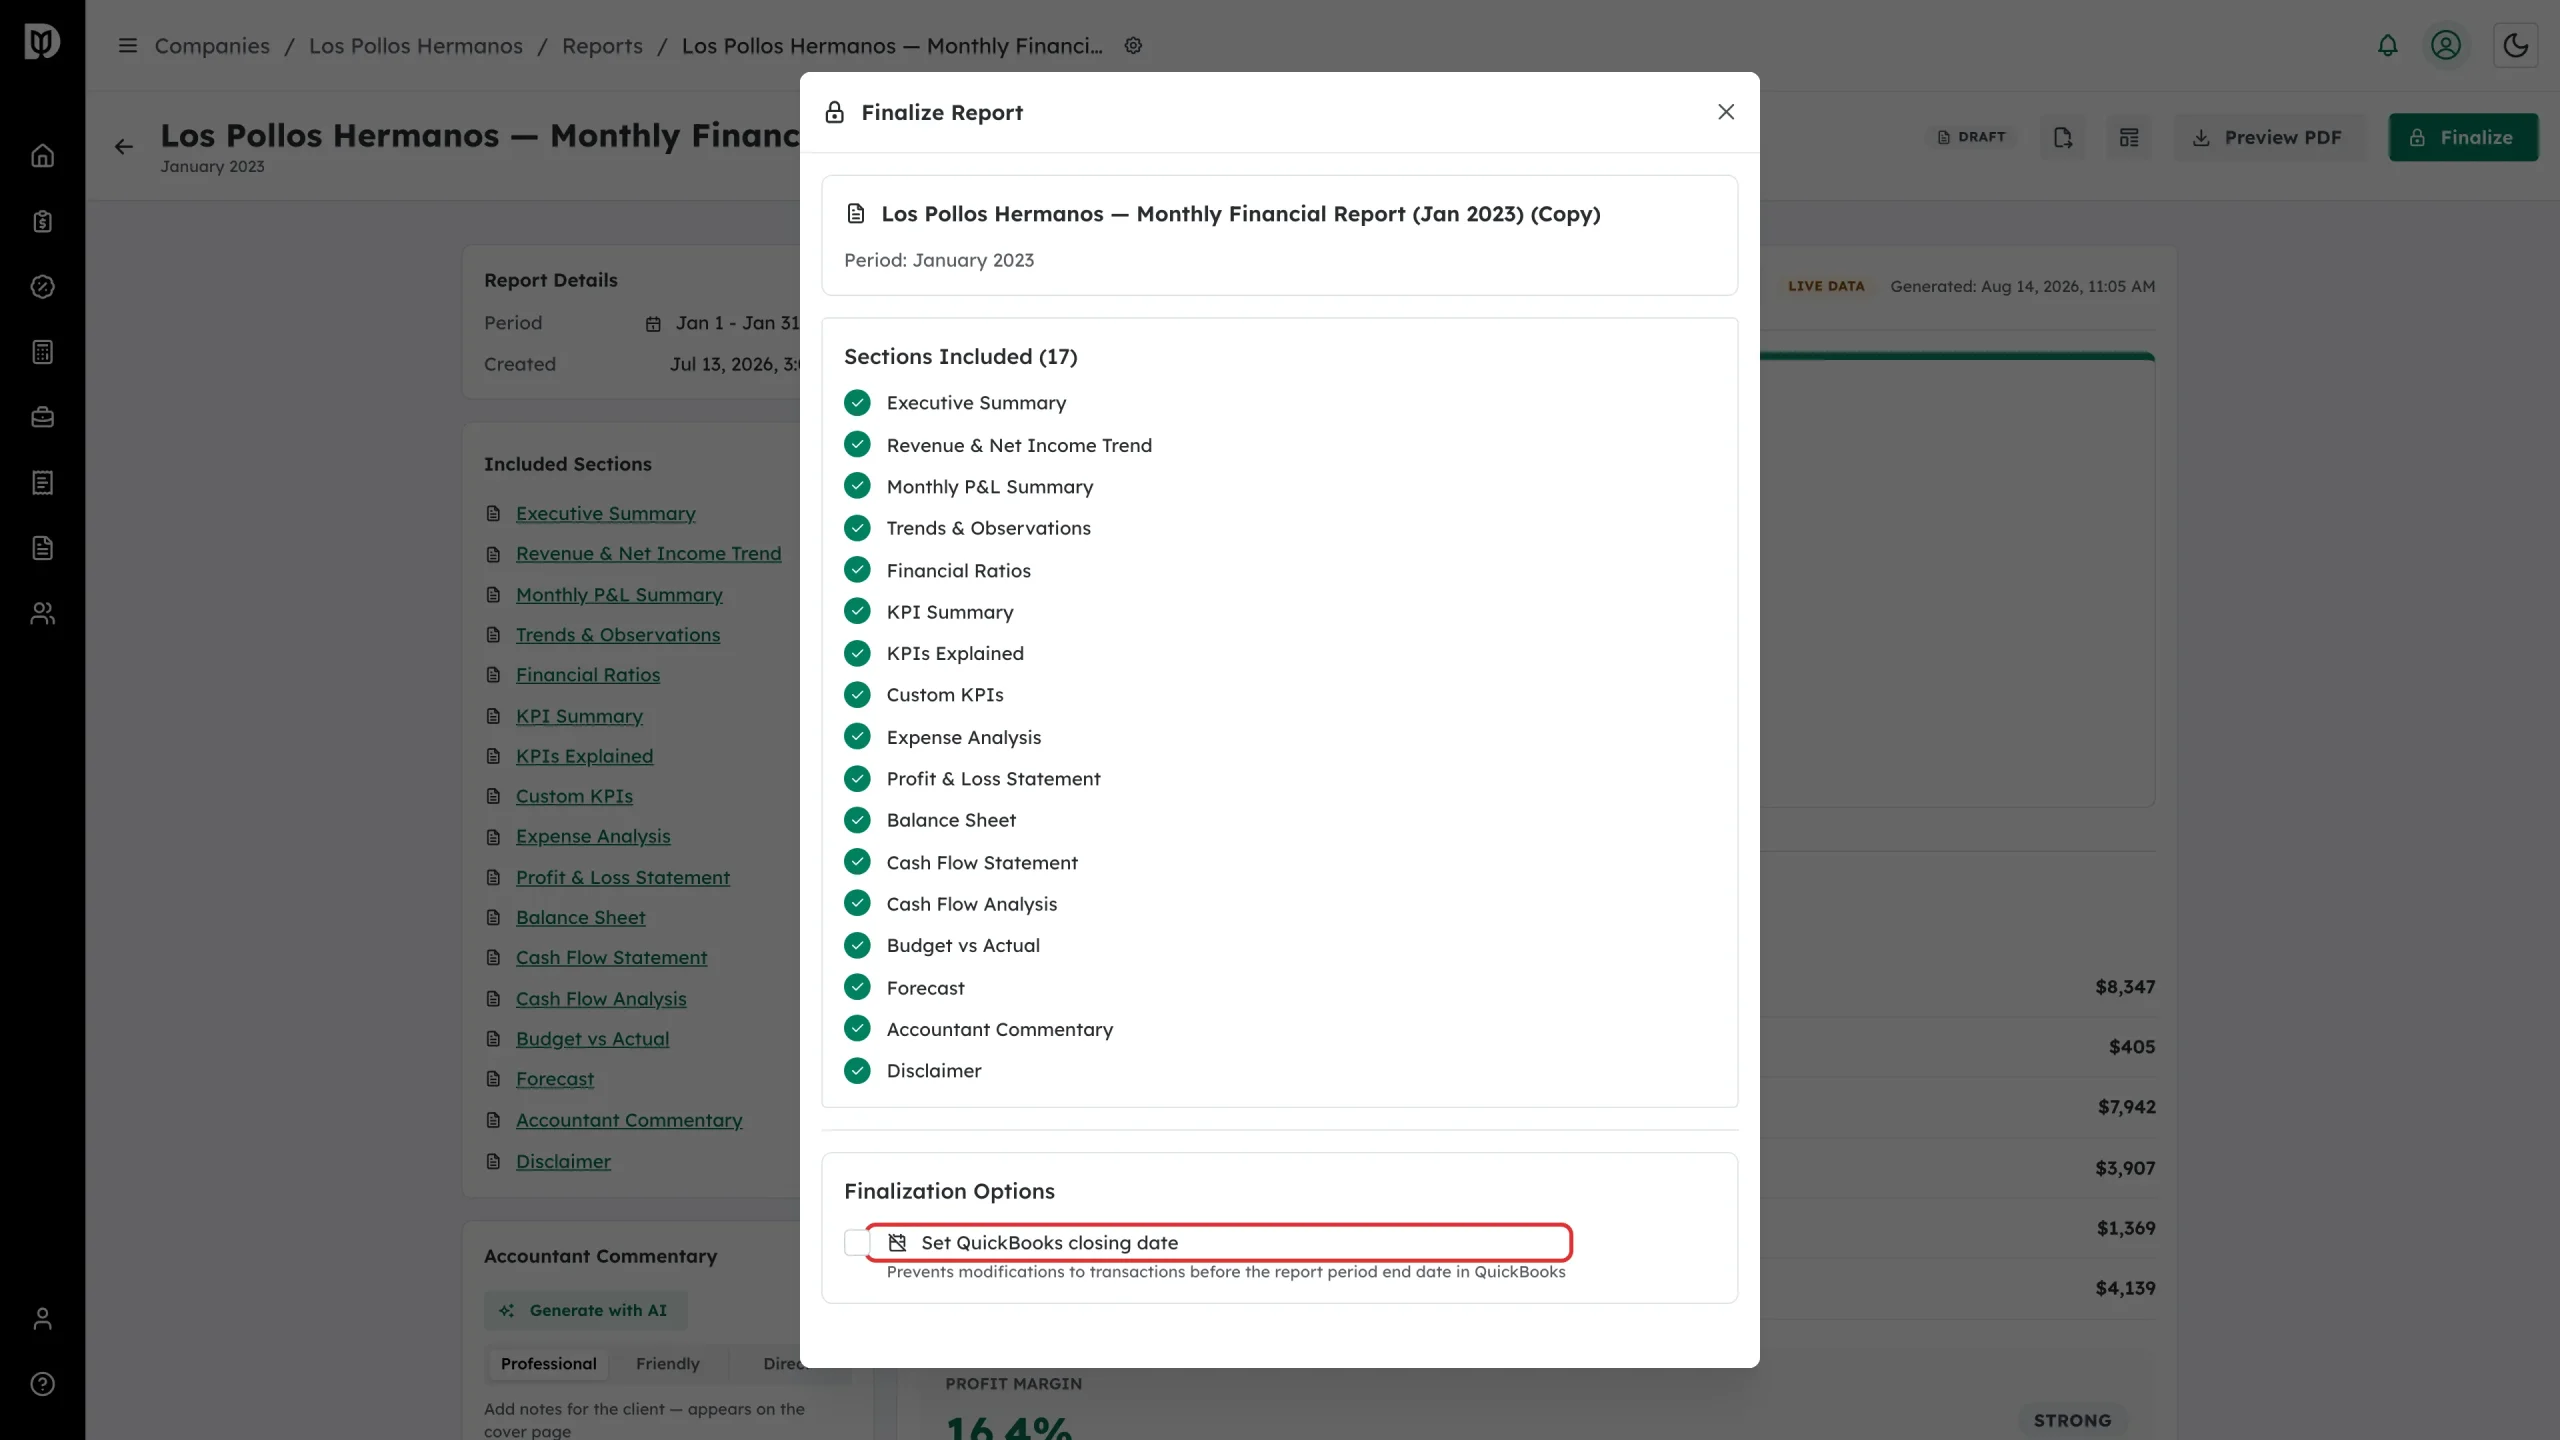
Turn on Set QuickBooks closing date to stop changes to transactions dated on or before the report’s period end in QuickBooks.
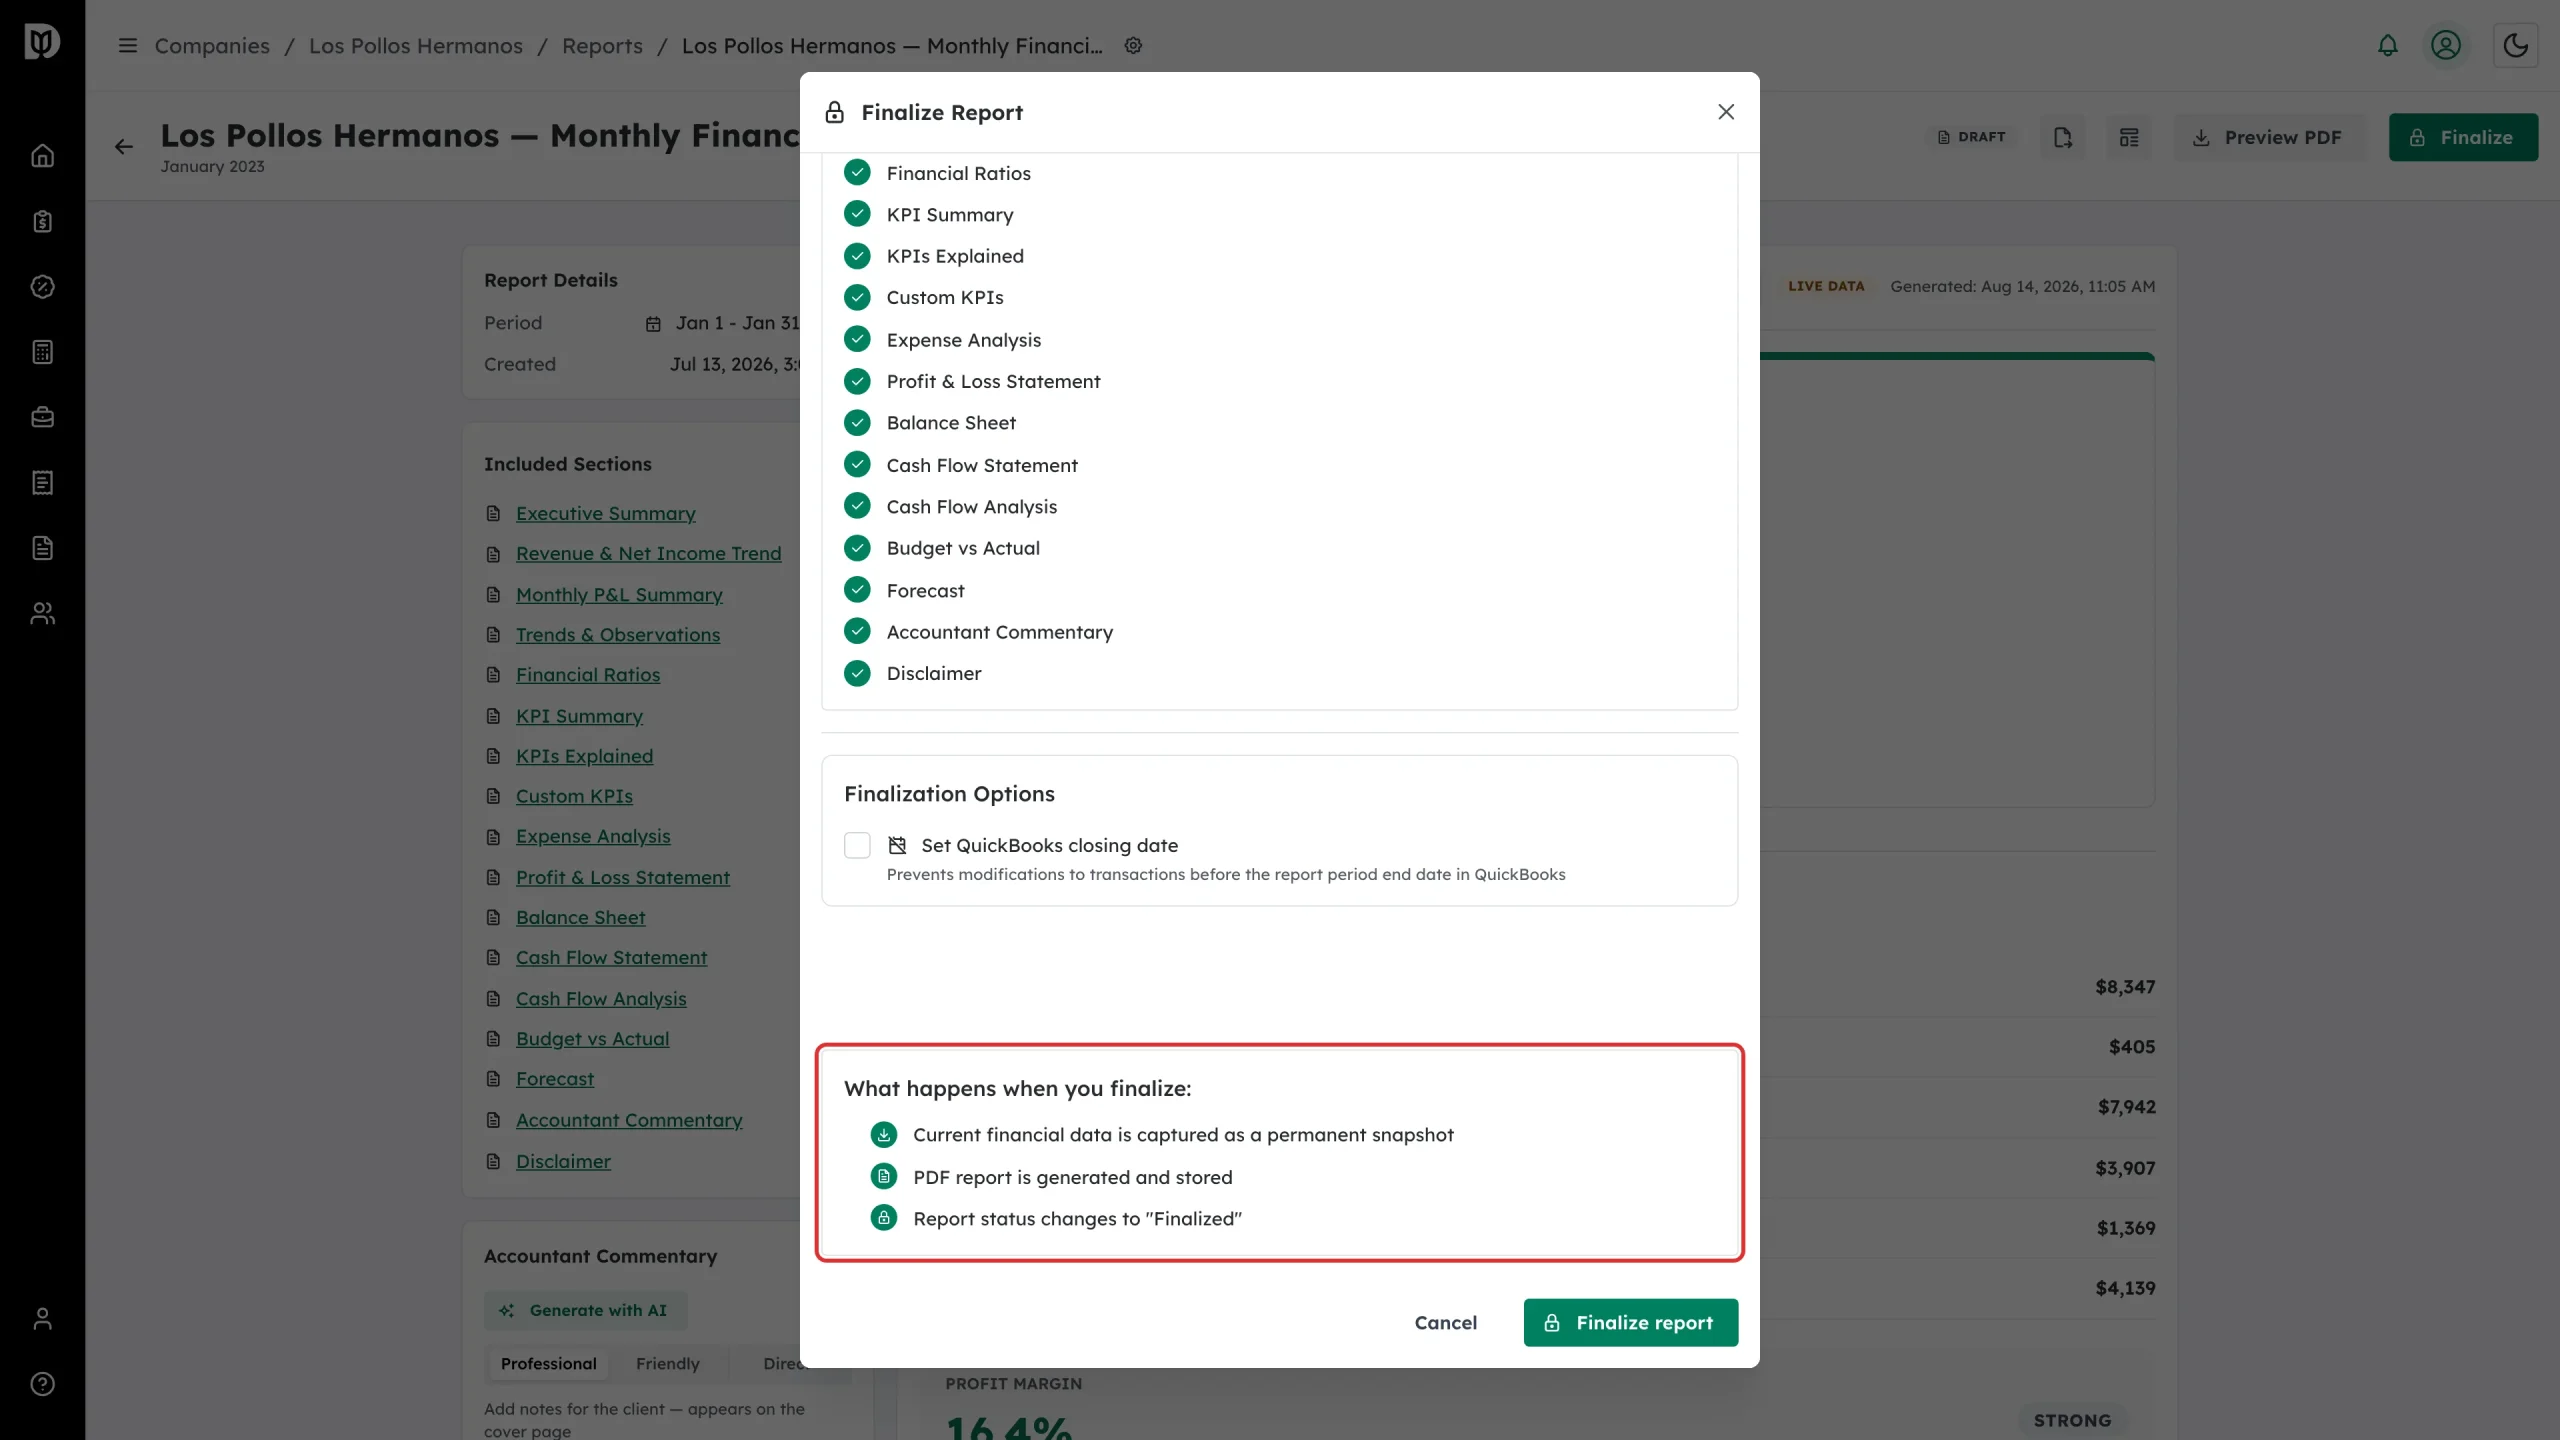
Step 5: Read what finalizing does
The window lists exactly what happens: the figures are captured as a permanent snapshot, the status changes to Finalized, and the closing date is set if you asked for it.
Step 6: Finalize the report
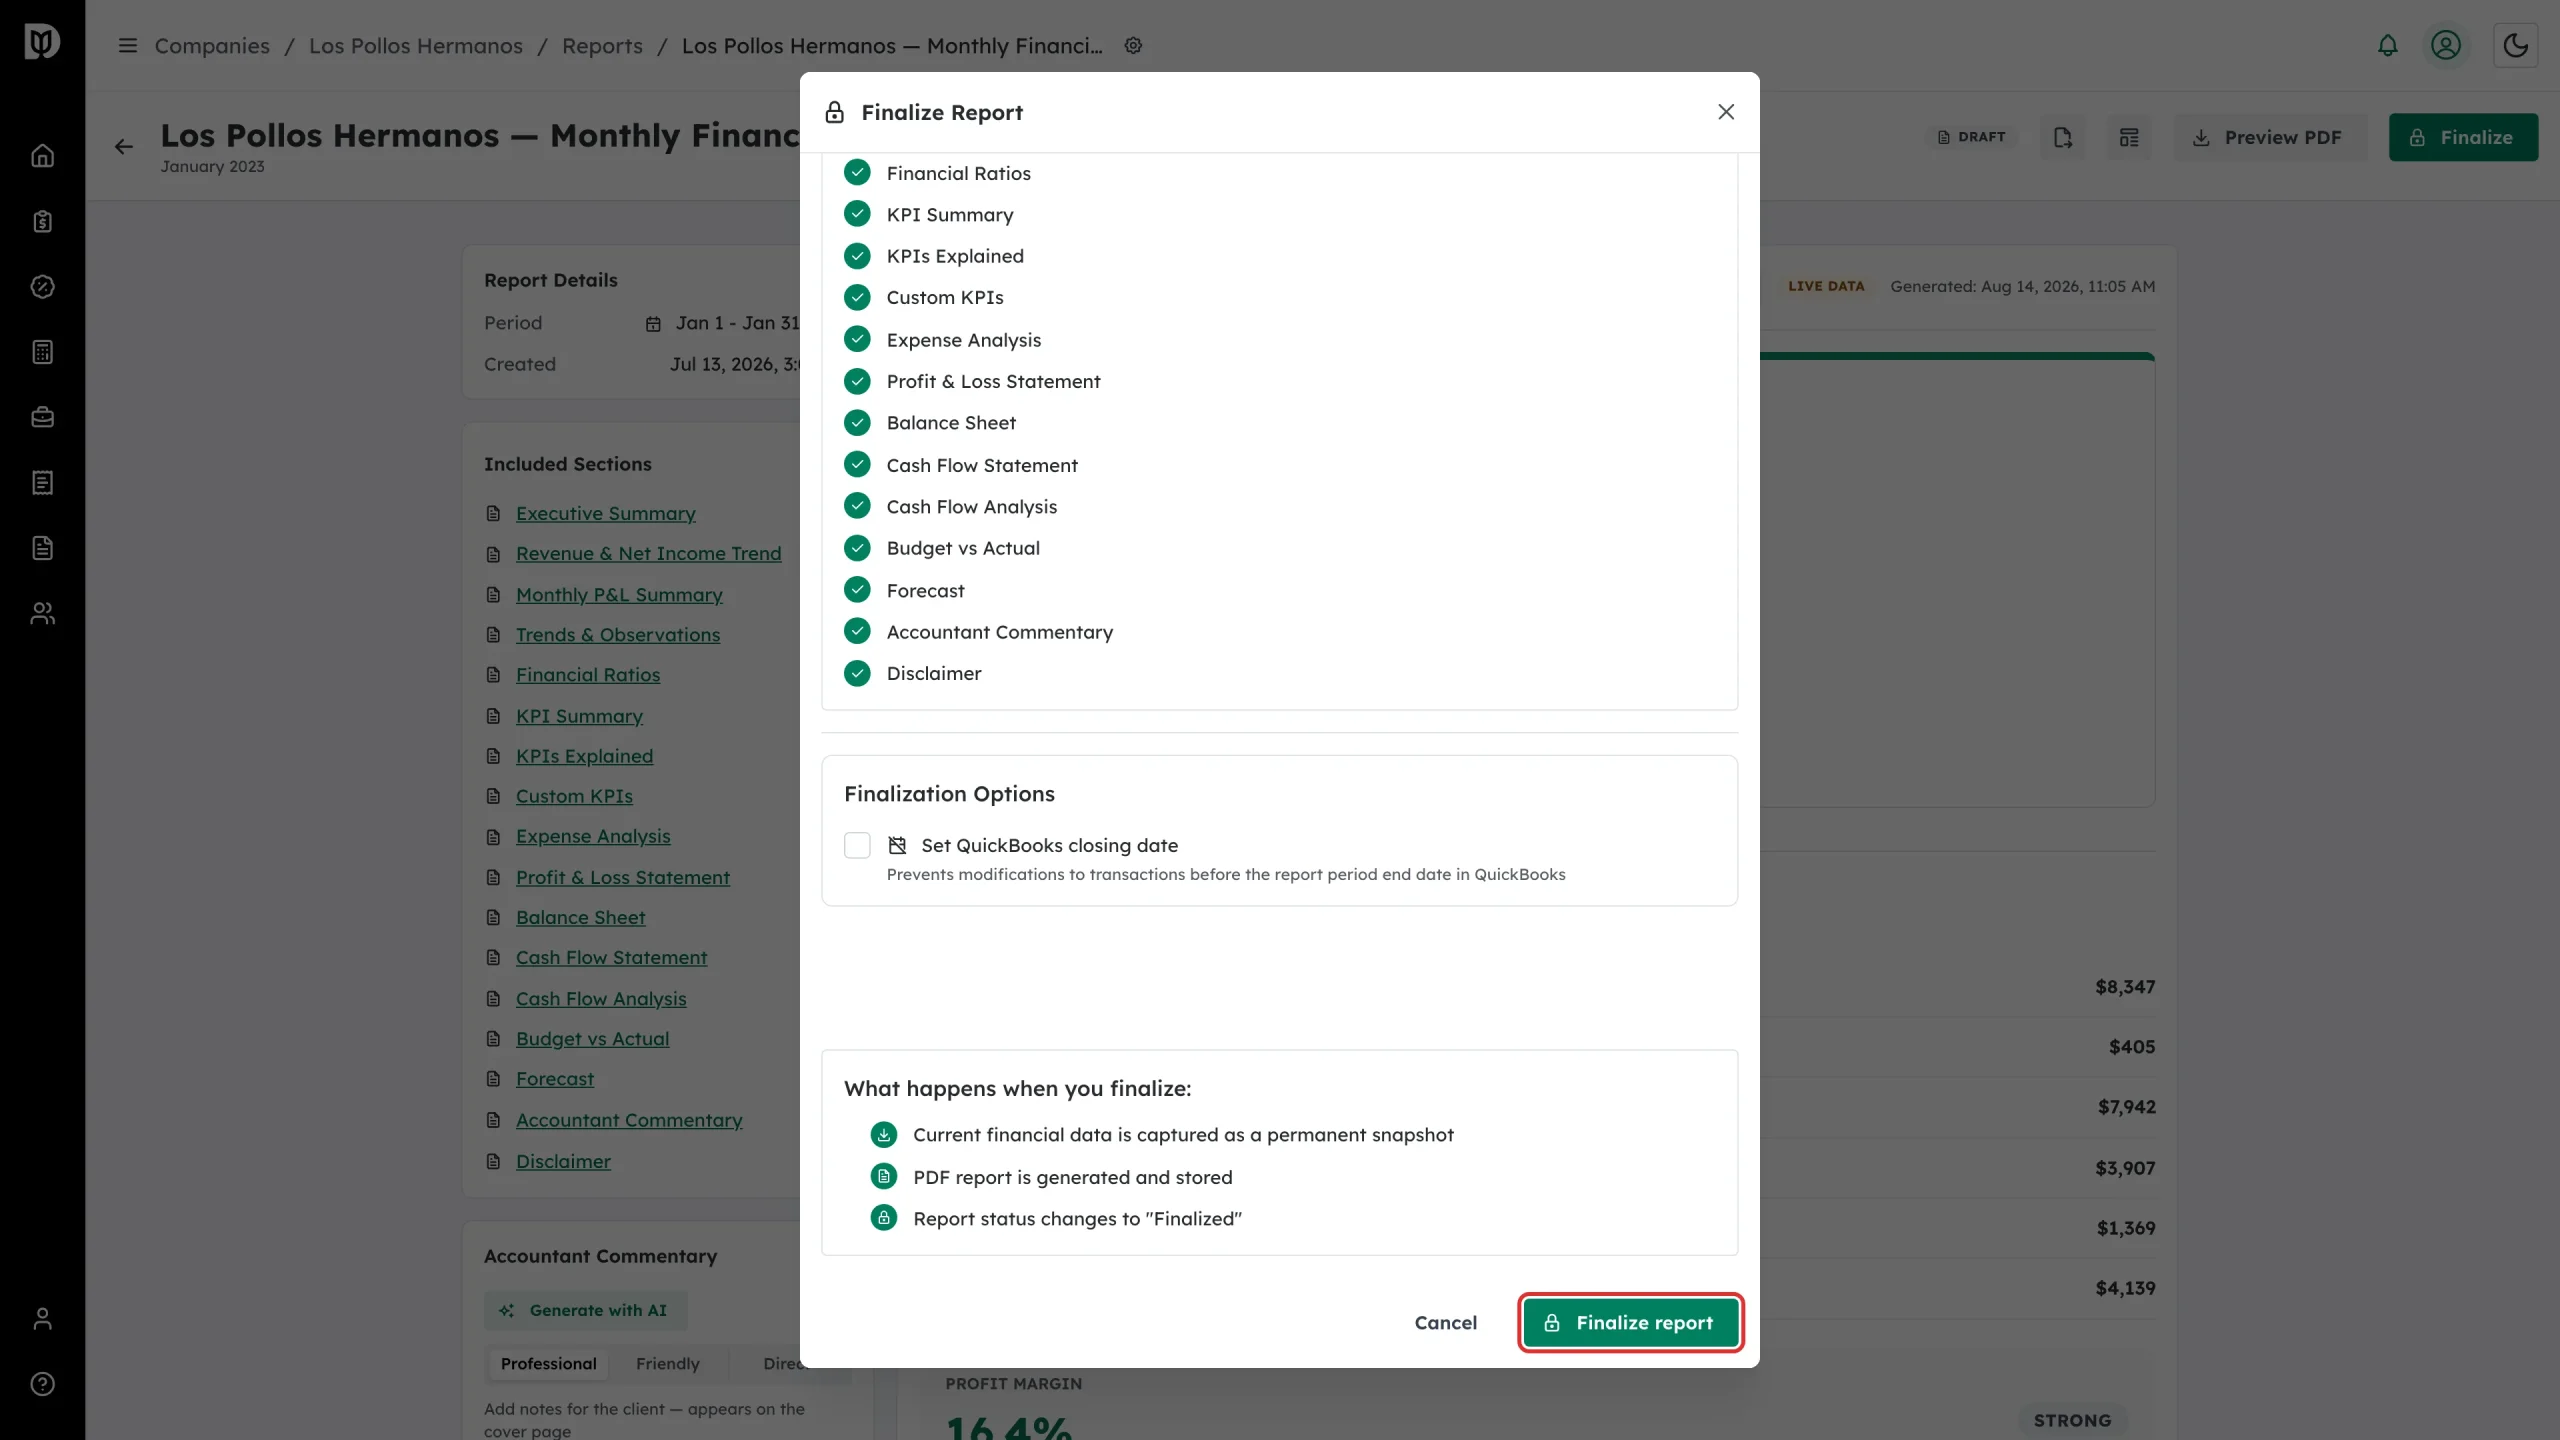
Select Finalize report. A progress bar runs while Debits captures the snapshot.
What happens next
The status changes to Finalized, the figures are locked, and the finalized date appears in Report Details. The Deliver window opens straight away so you can send it, and you can download the PDF at any time with Preview PDF.
Troubleshooting
- You spotted an error after finalizing. If the report has not been sent to anyone yet, select Reopen as draft in the report header (or on the report row’s menu), fix it, and finalize again — finalizing refreshes its figures and forecast. Once a report has been delivered it stays locked: use Duplicate on the report row to start a fresh draft for the same period.
- Finalizing failed. Try again. If the report was already finalized in another tab, refresh the page.
- The finalized report says the snapshot is missing. The figures weren’t captured — usually because QuickBooks data was unavailable at the time. Duplicate the report and finalize it again once the company is connected.