Who this is for: Accountants and bookkeepers who prepare monthly or CFO-style reports for clients.
What you’ll learn: How to start a report for a company and period, pick a starting layout or template, and choose the sections it contains.
Before you begin
- The company must be connected to QuickBooks Online so Debits can pull its figures.
- Open the company, then go to the Reports tab.
- Reports are prepared by your firm. Your client only sees a report after you deliver it.
Step-by-step instructions
Step 1: Open the Reports workspace
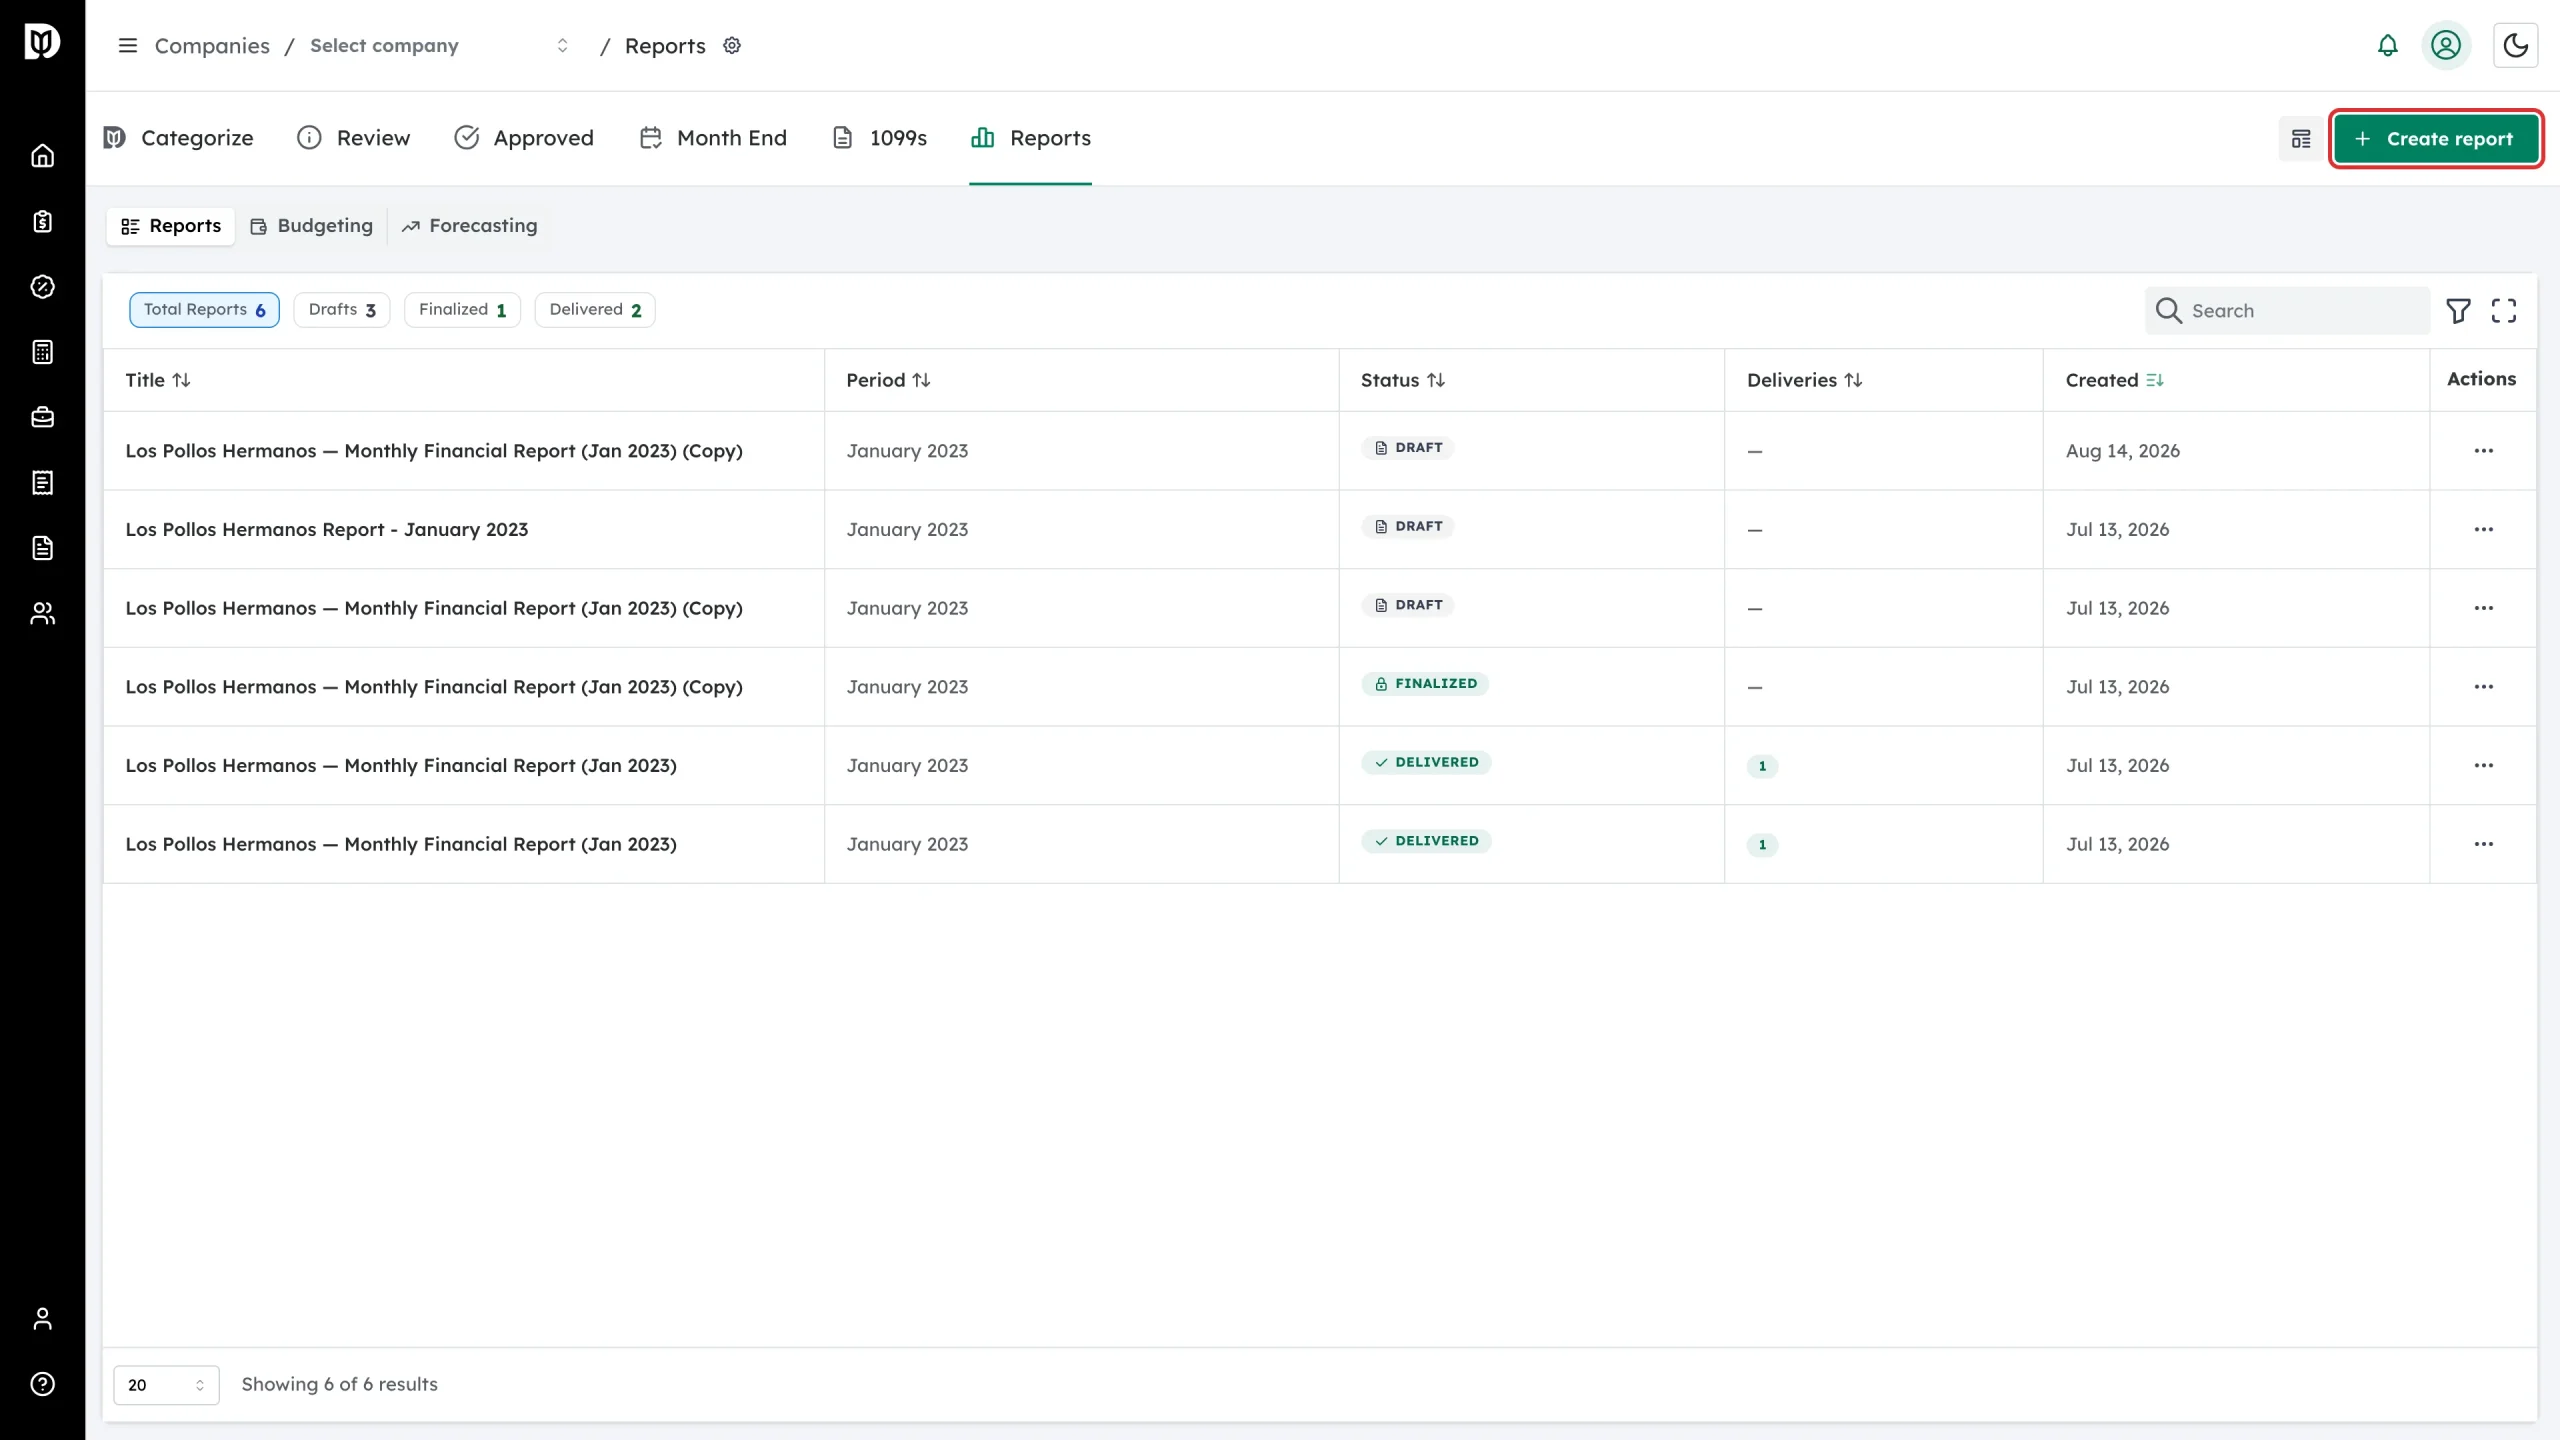
From the company’s bookkeeping page, select the Reports tab, then stay on the Reports view. Select Create report.
Step 2: Review the Create Financial Report window
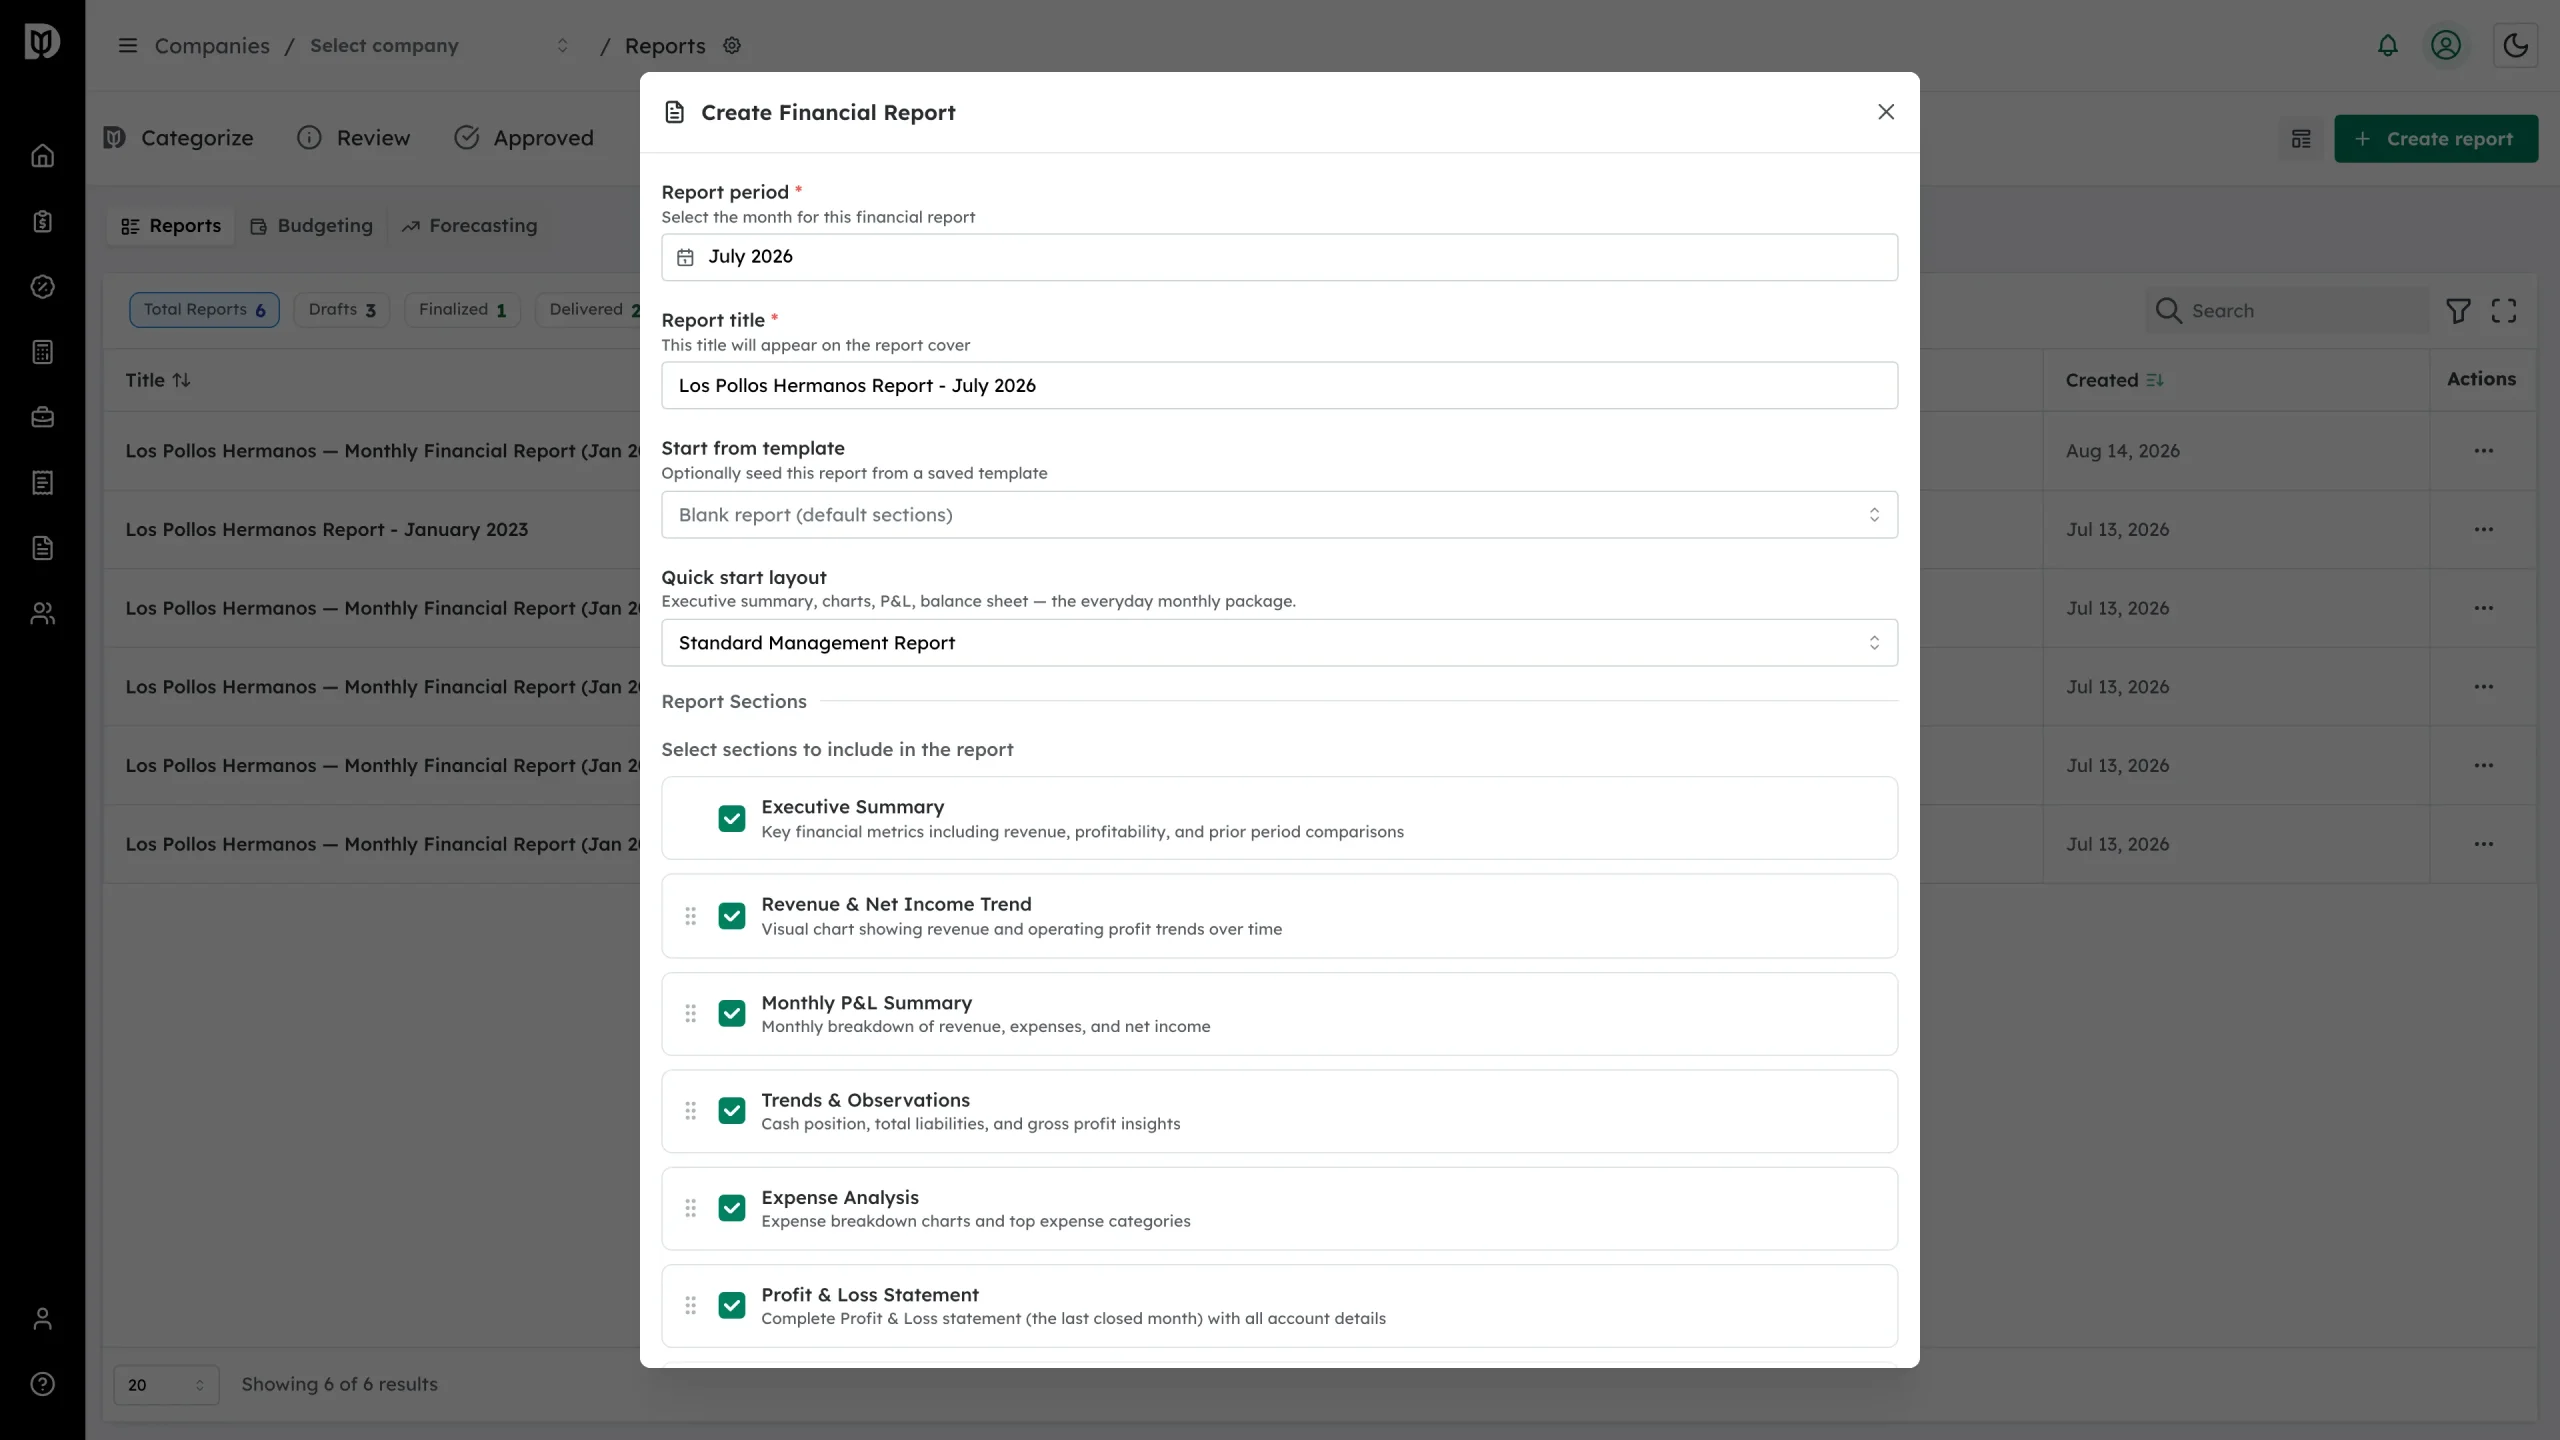
The Create Financial Report window holds everything the new report needs: period, title, an optional template, a quick start layout, and the section list.
Step 3: Choose the report period
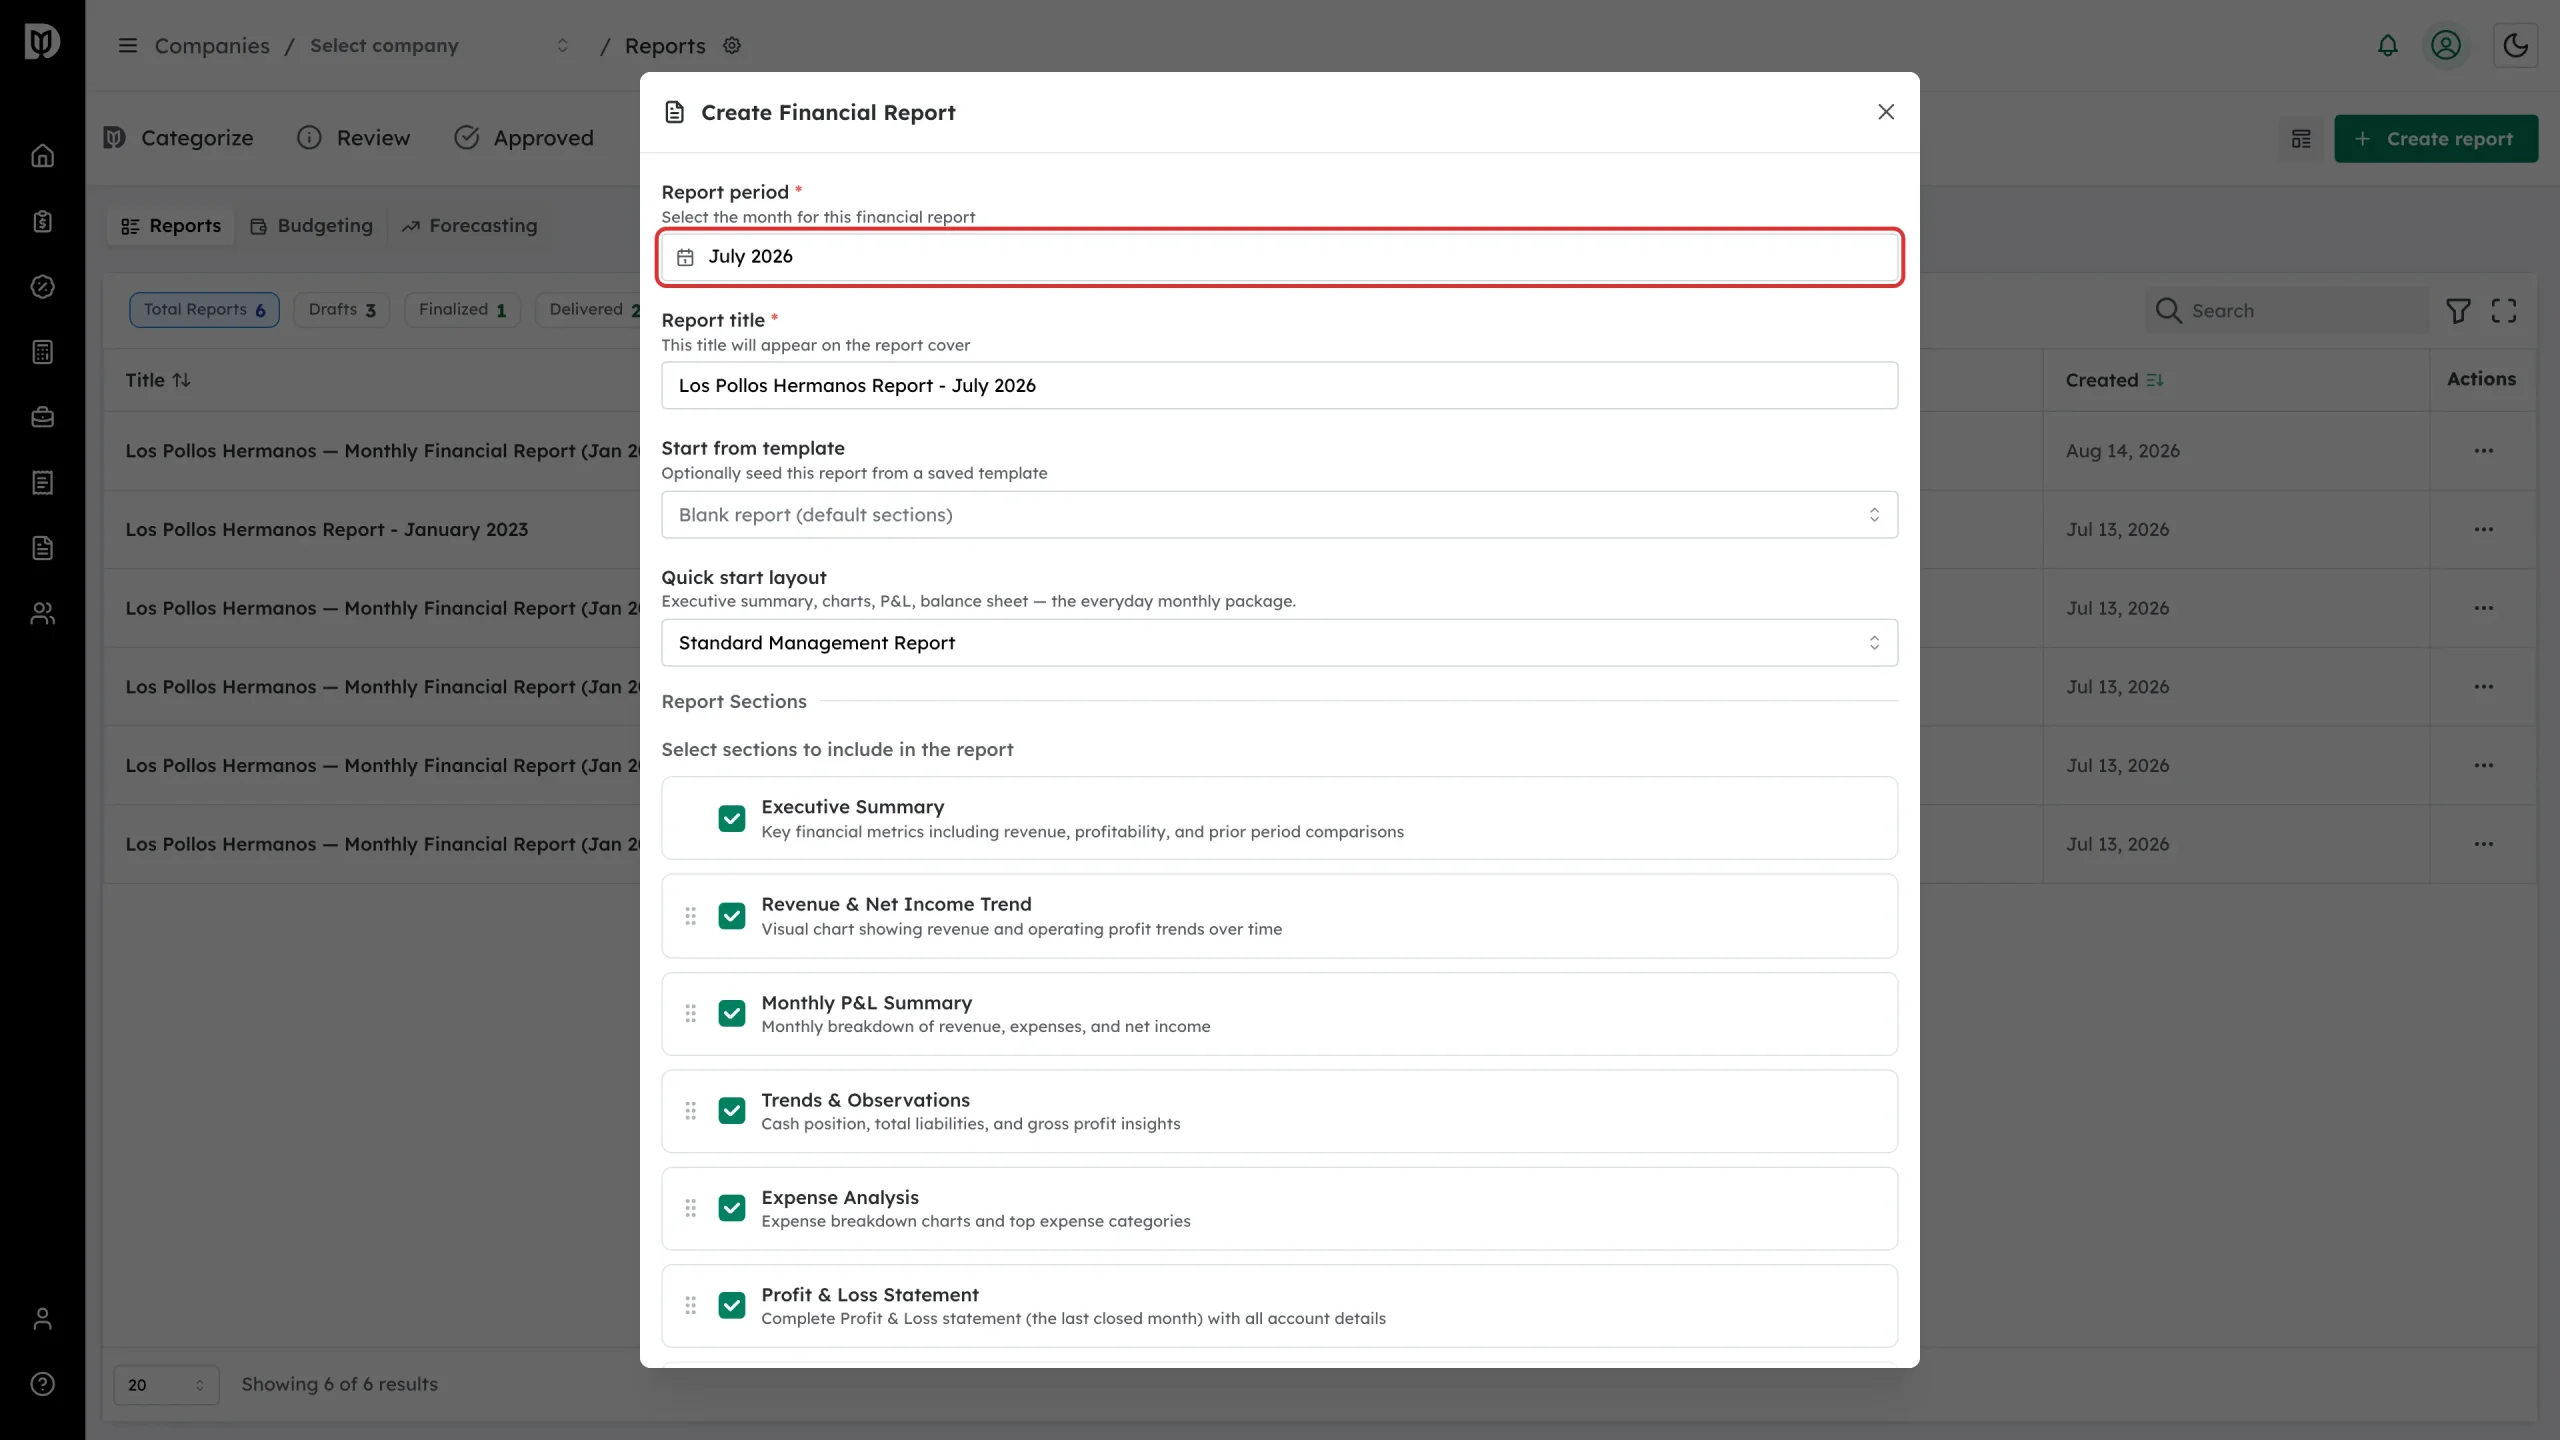
Use Report period to pick the month the report covers. It defaults to last month.
Step 4: Check the report title
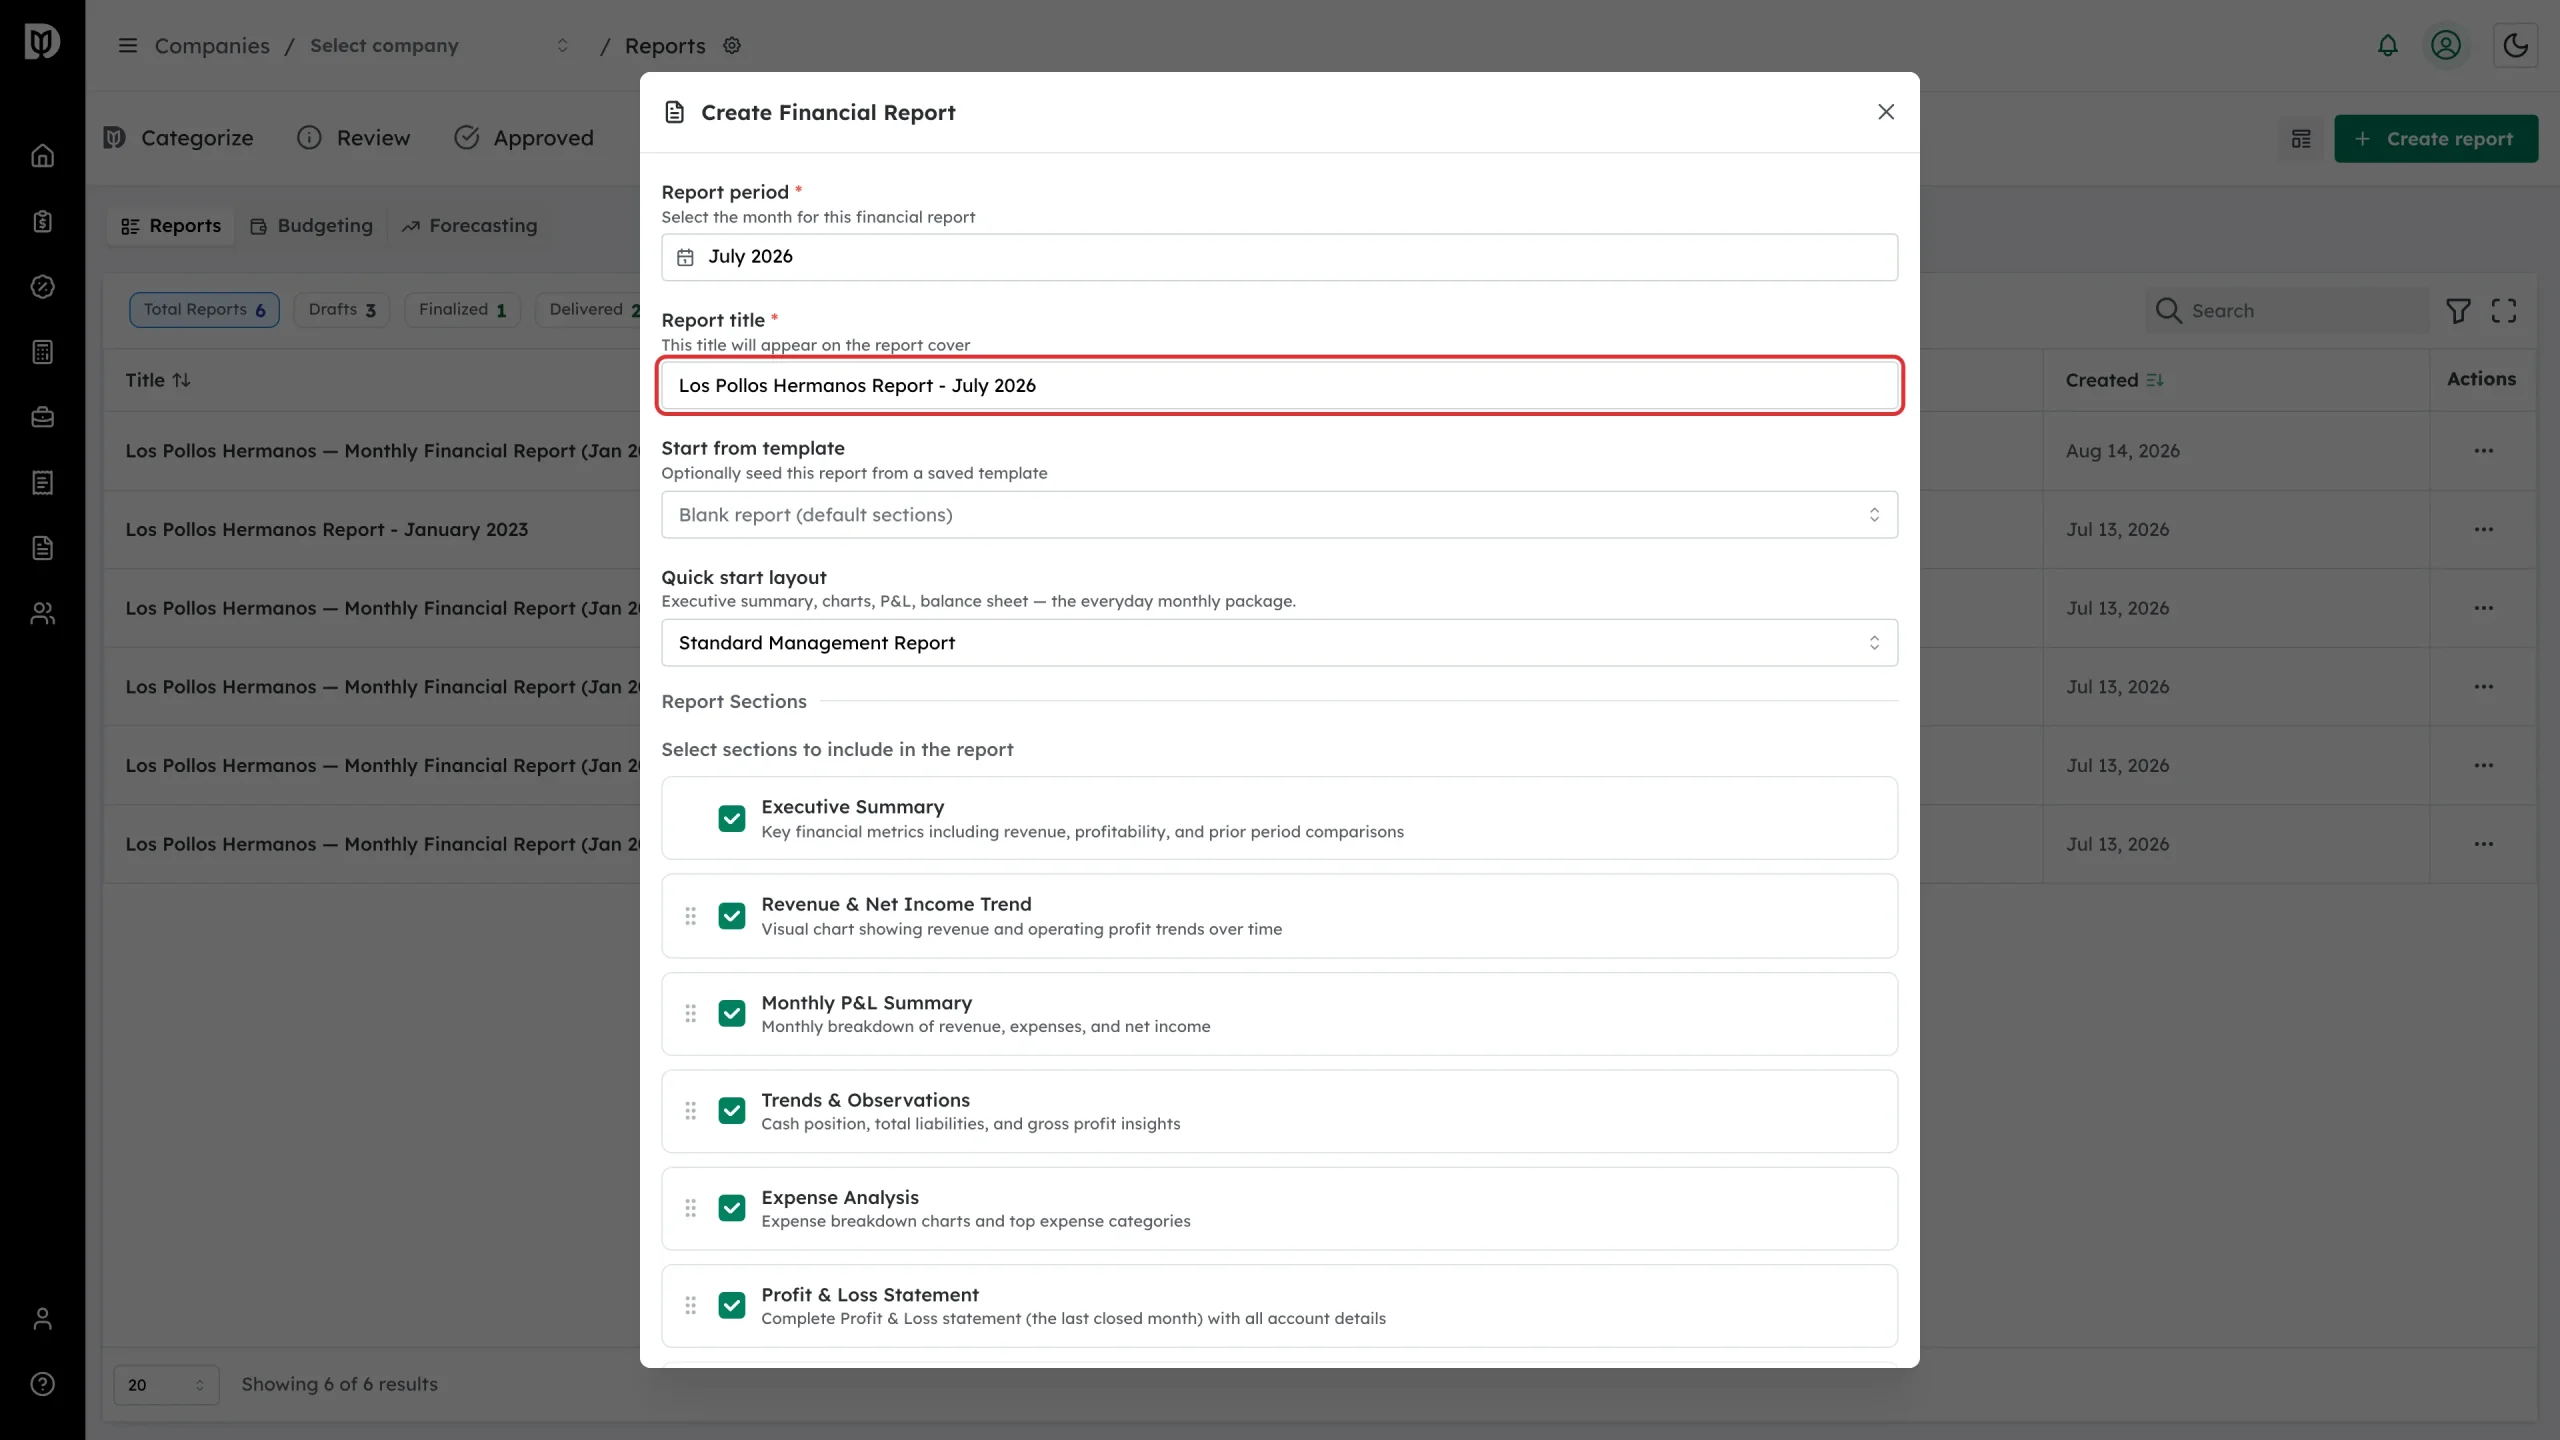
Debits fills in a suggested Report title from the company name and period. This is the title on the report cover — edit it if you like.
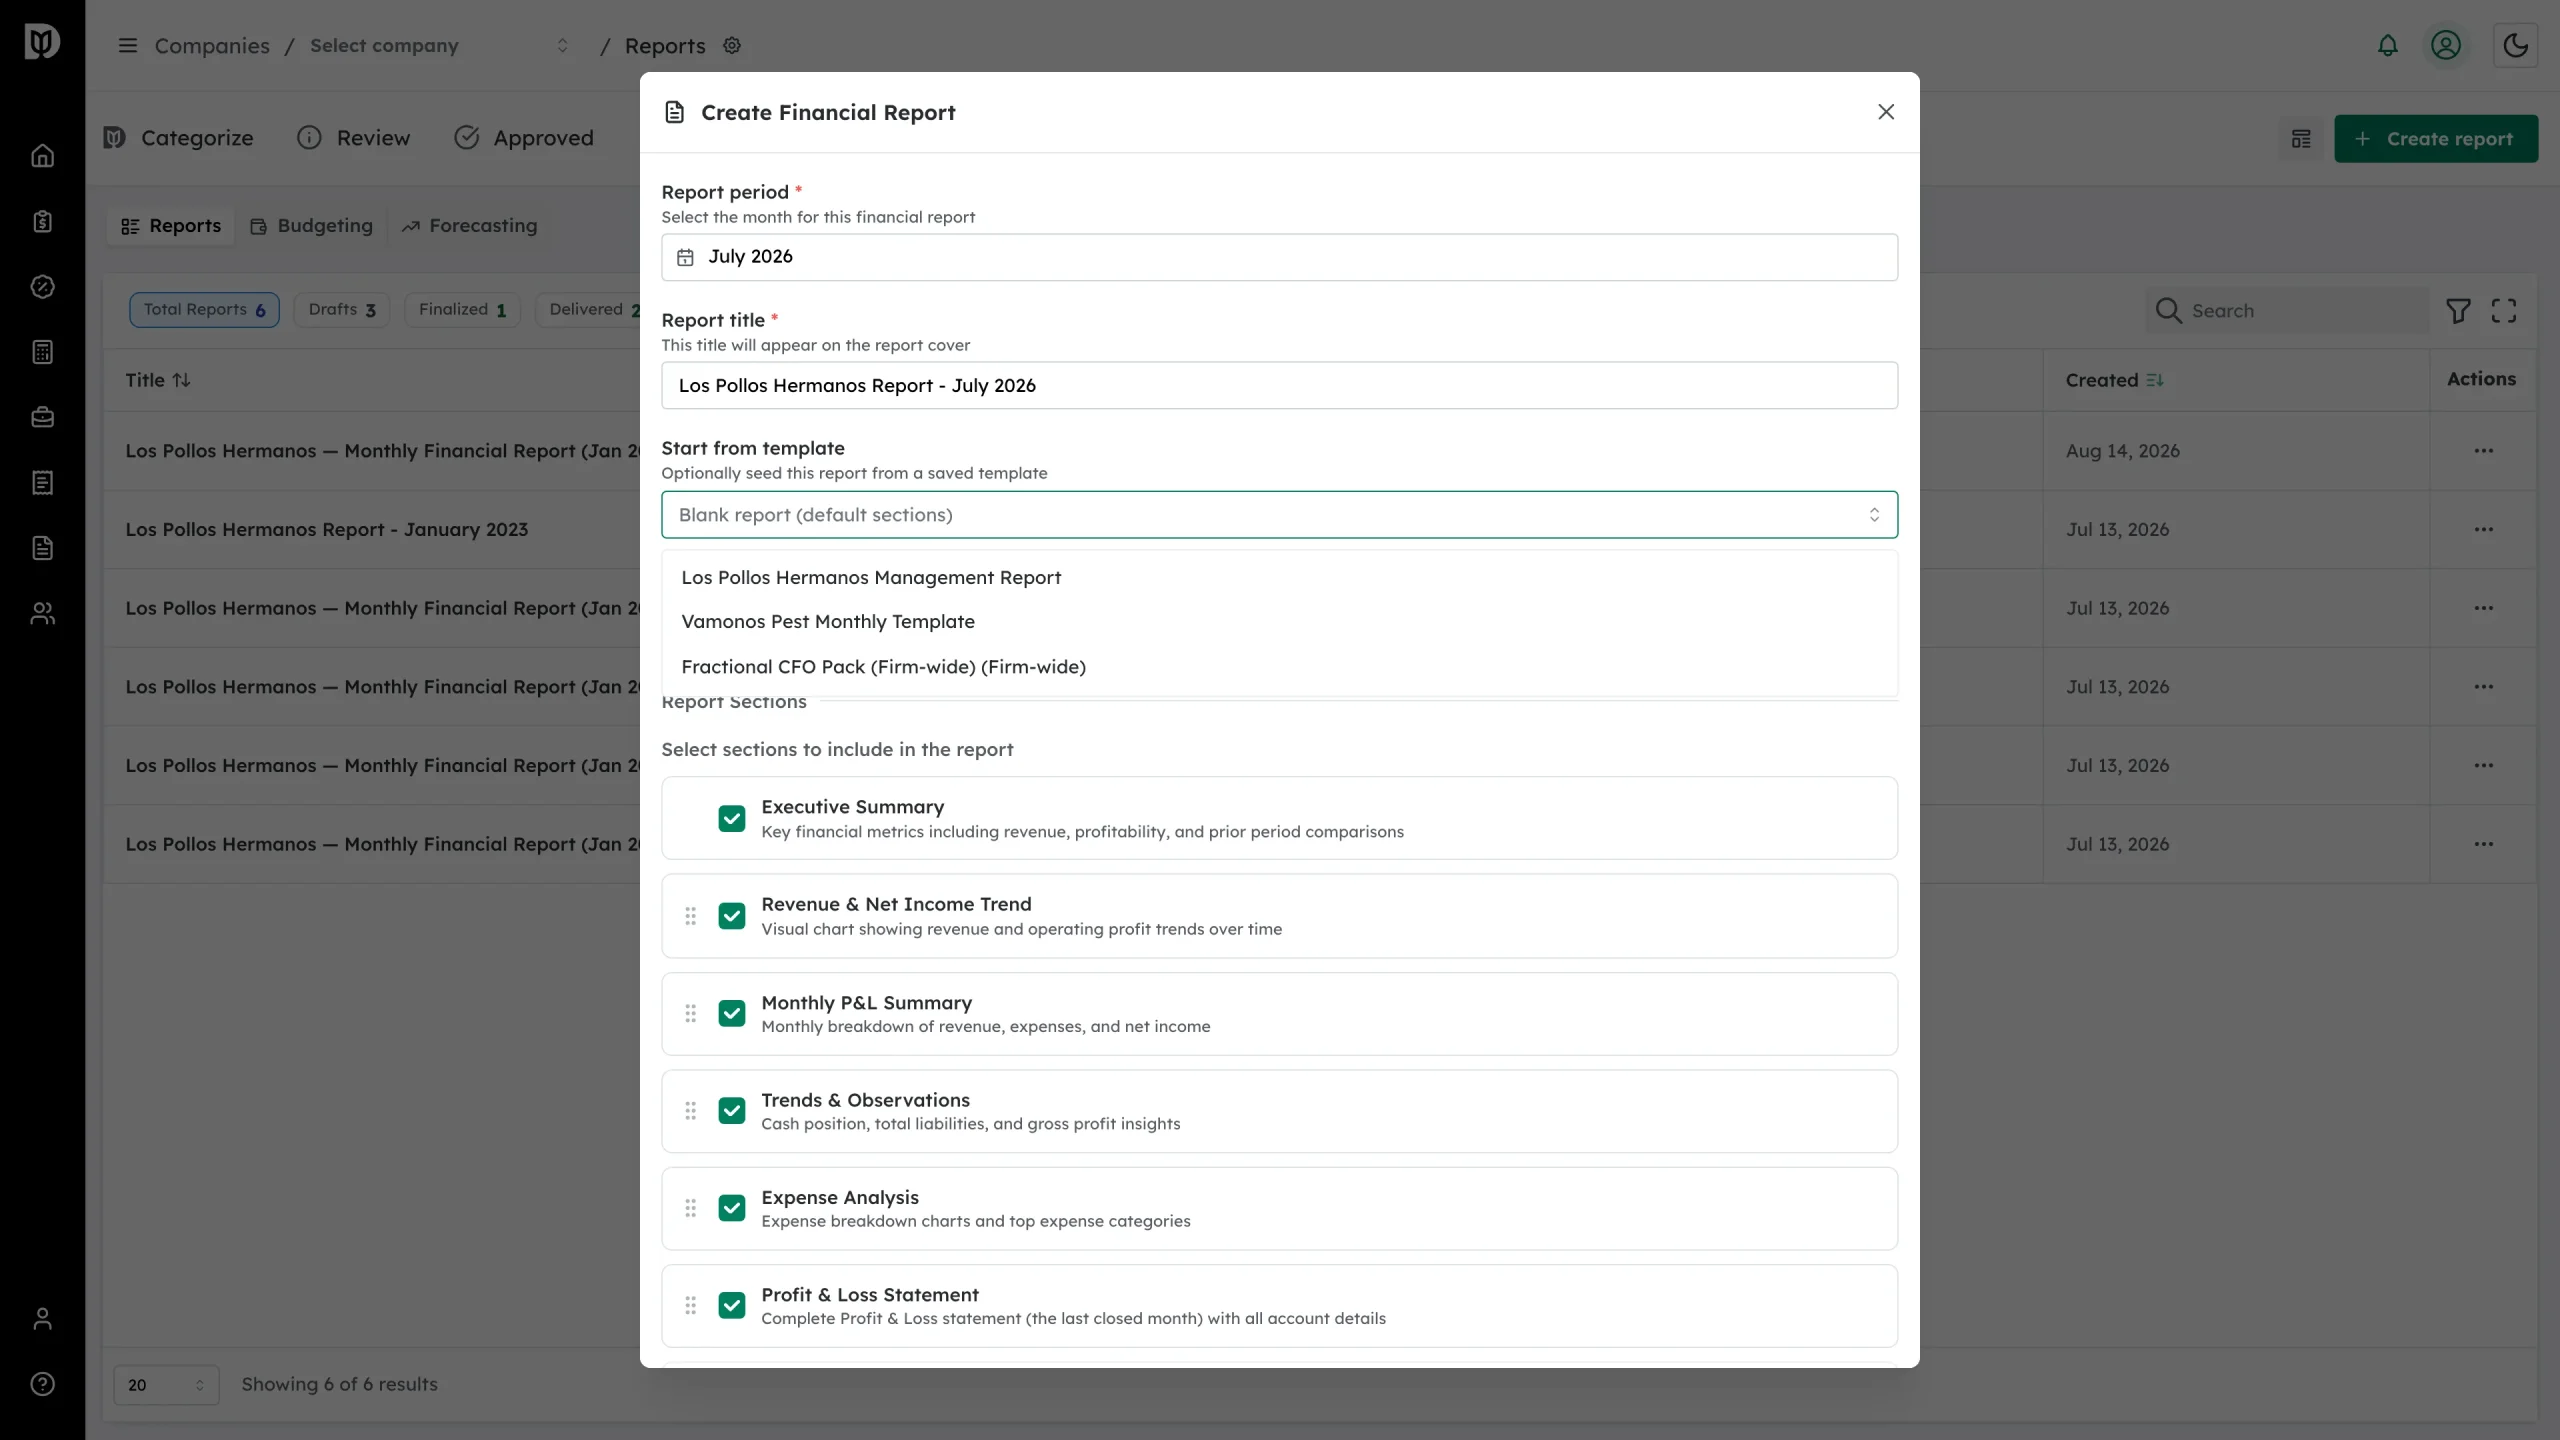
Step 5: Start from a saved template (optional)
Select Start from template to seed the report from one of your firm’s templates. Firm-wide templates are marked so you can tell them from company-specific ones. When you pick a template, Debits lists the sections it will bring in.
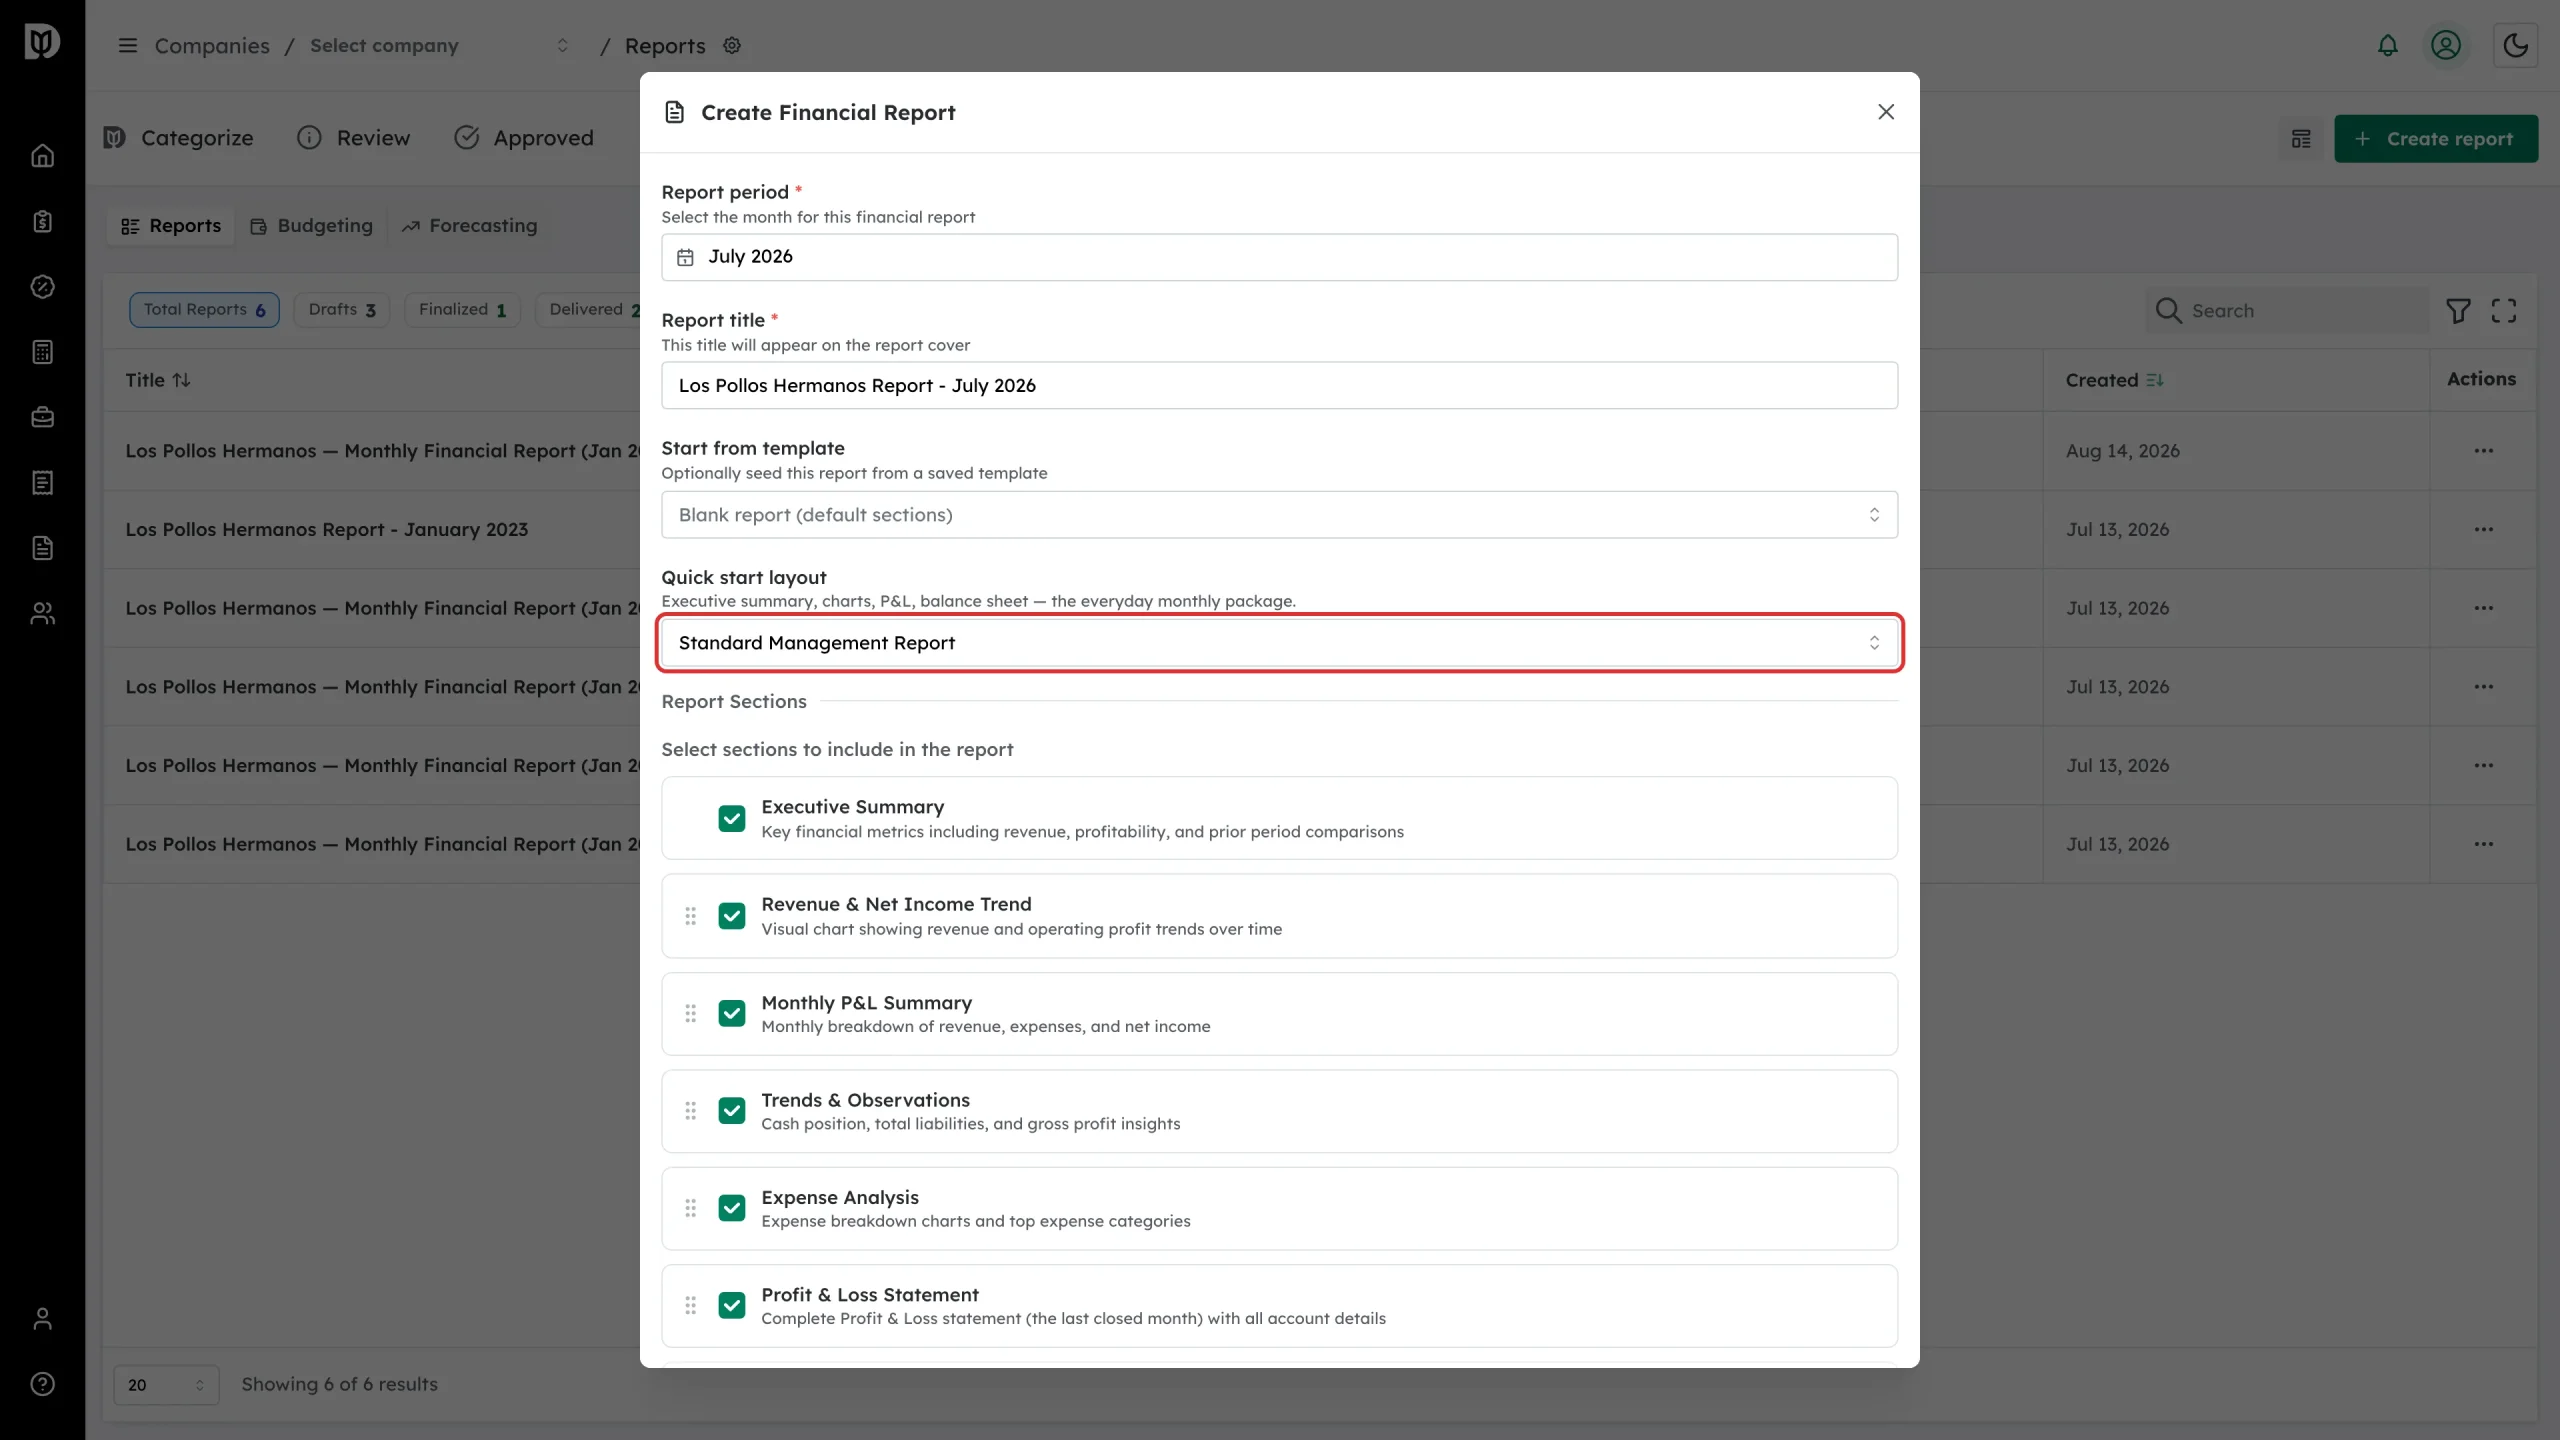
Step 6: Or pick a quick start layout
With no template selected, choose a Quick start layout: Standard Management Report, CFO Board Pack, or Simple P&L. The description under the field tells you what each one includes.
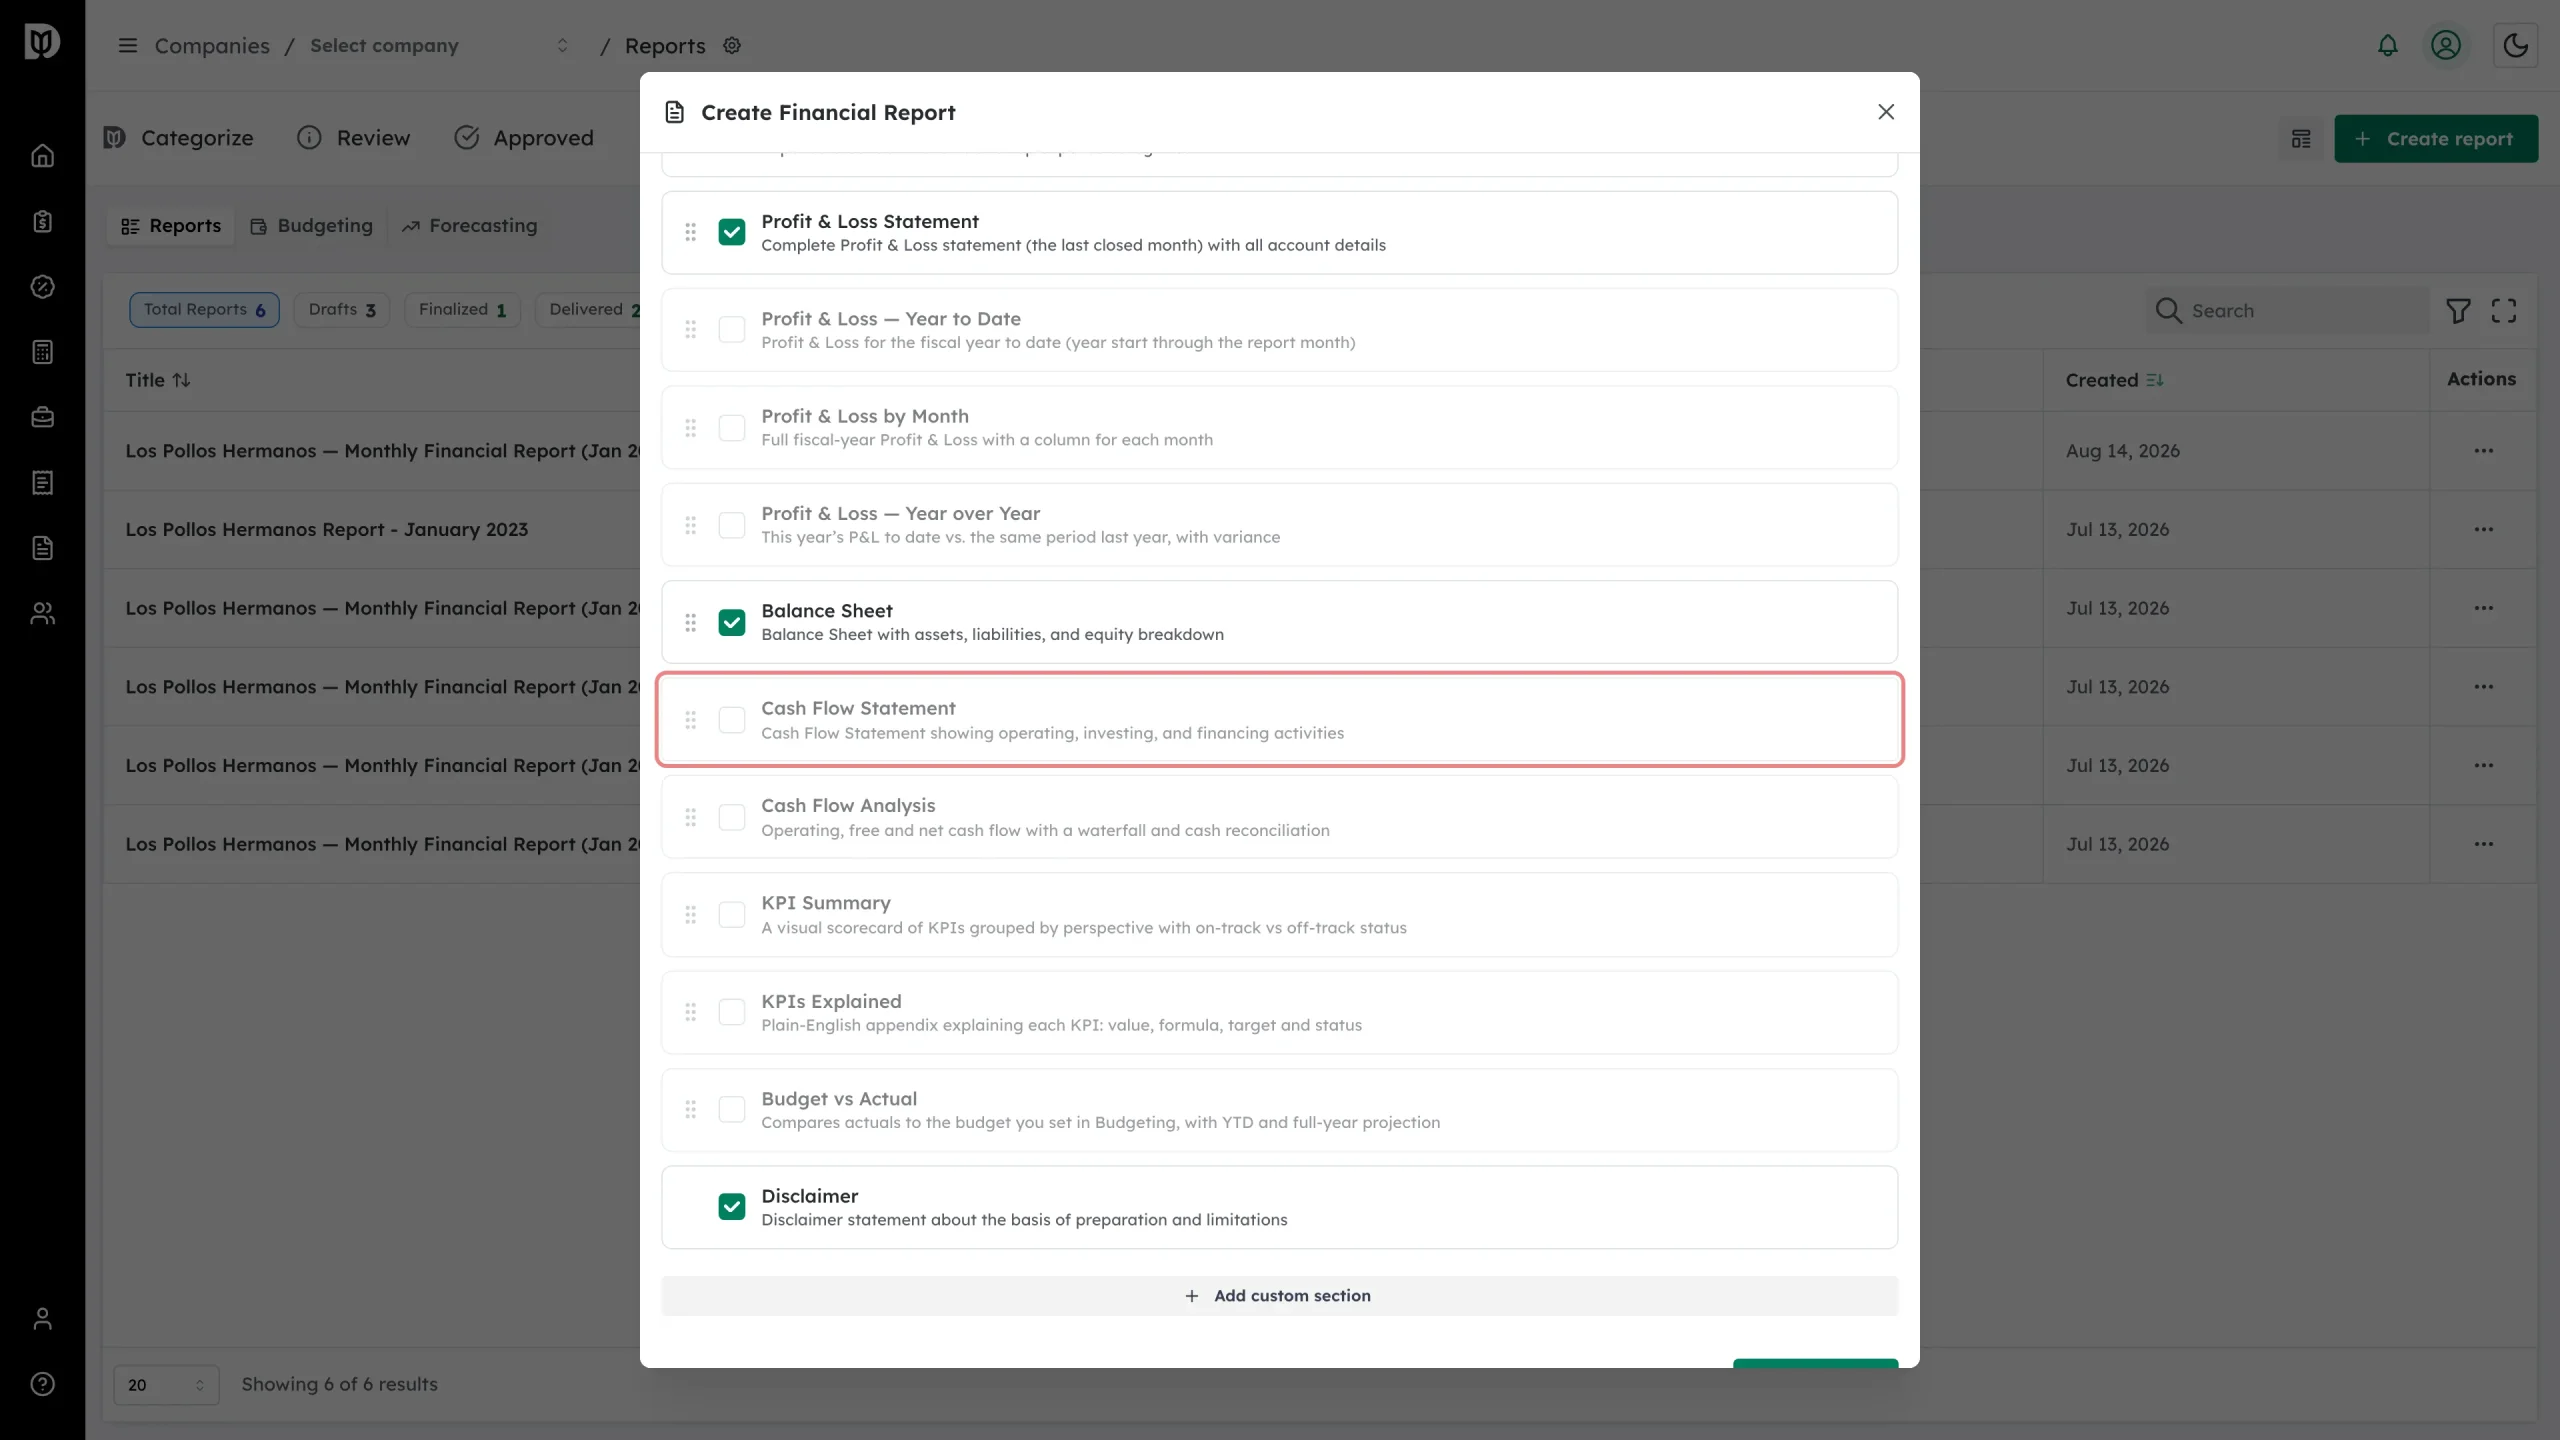
Step 7: Adjust the sections
Under Report Sections, tick or untick sections. Drag a section by its handle to change the order, or use Add custom section for a narrative block, custom KPIs, a forecast, a Profit & Loss variant or a CFO analysis section. You can change all of this later.
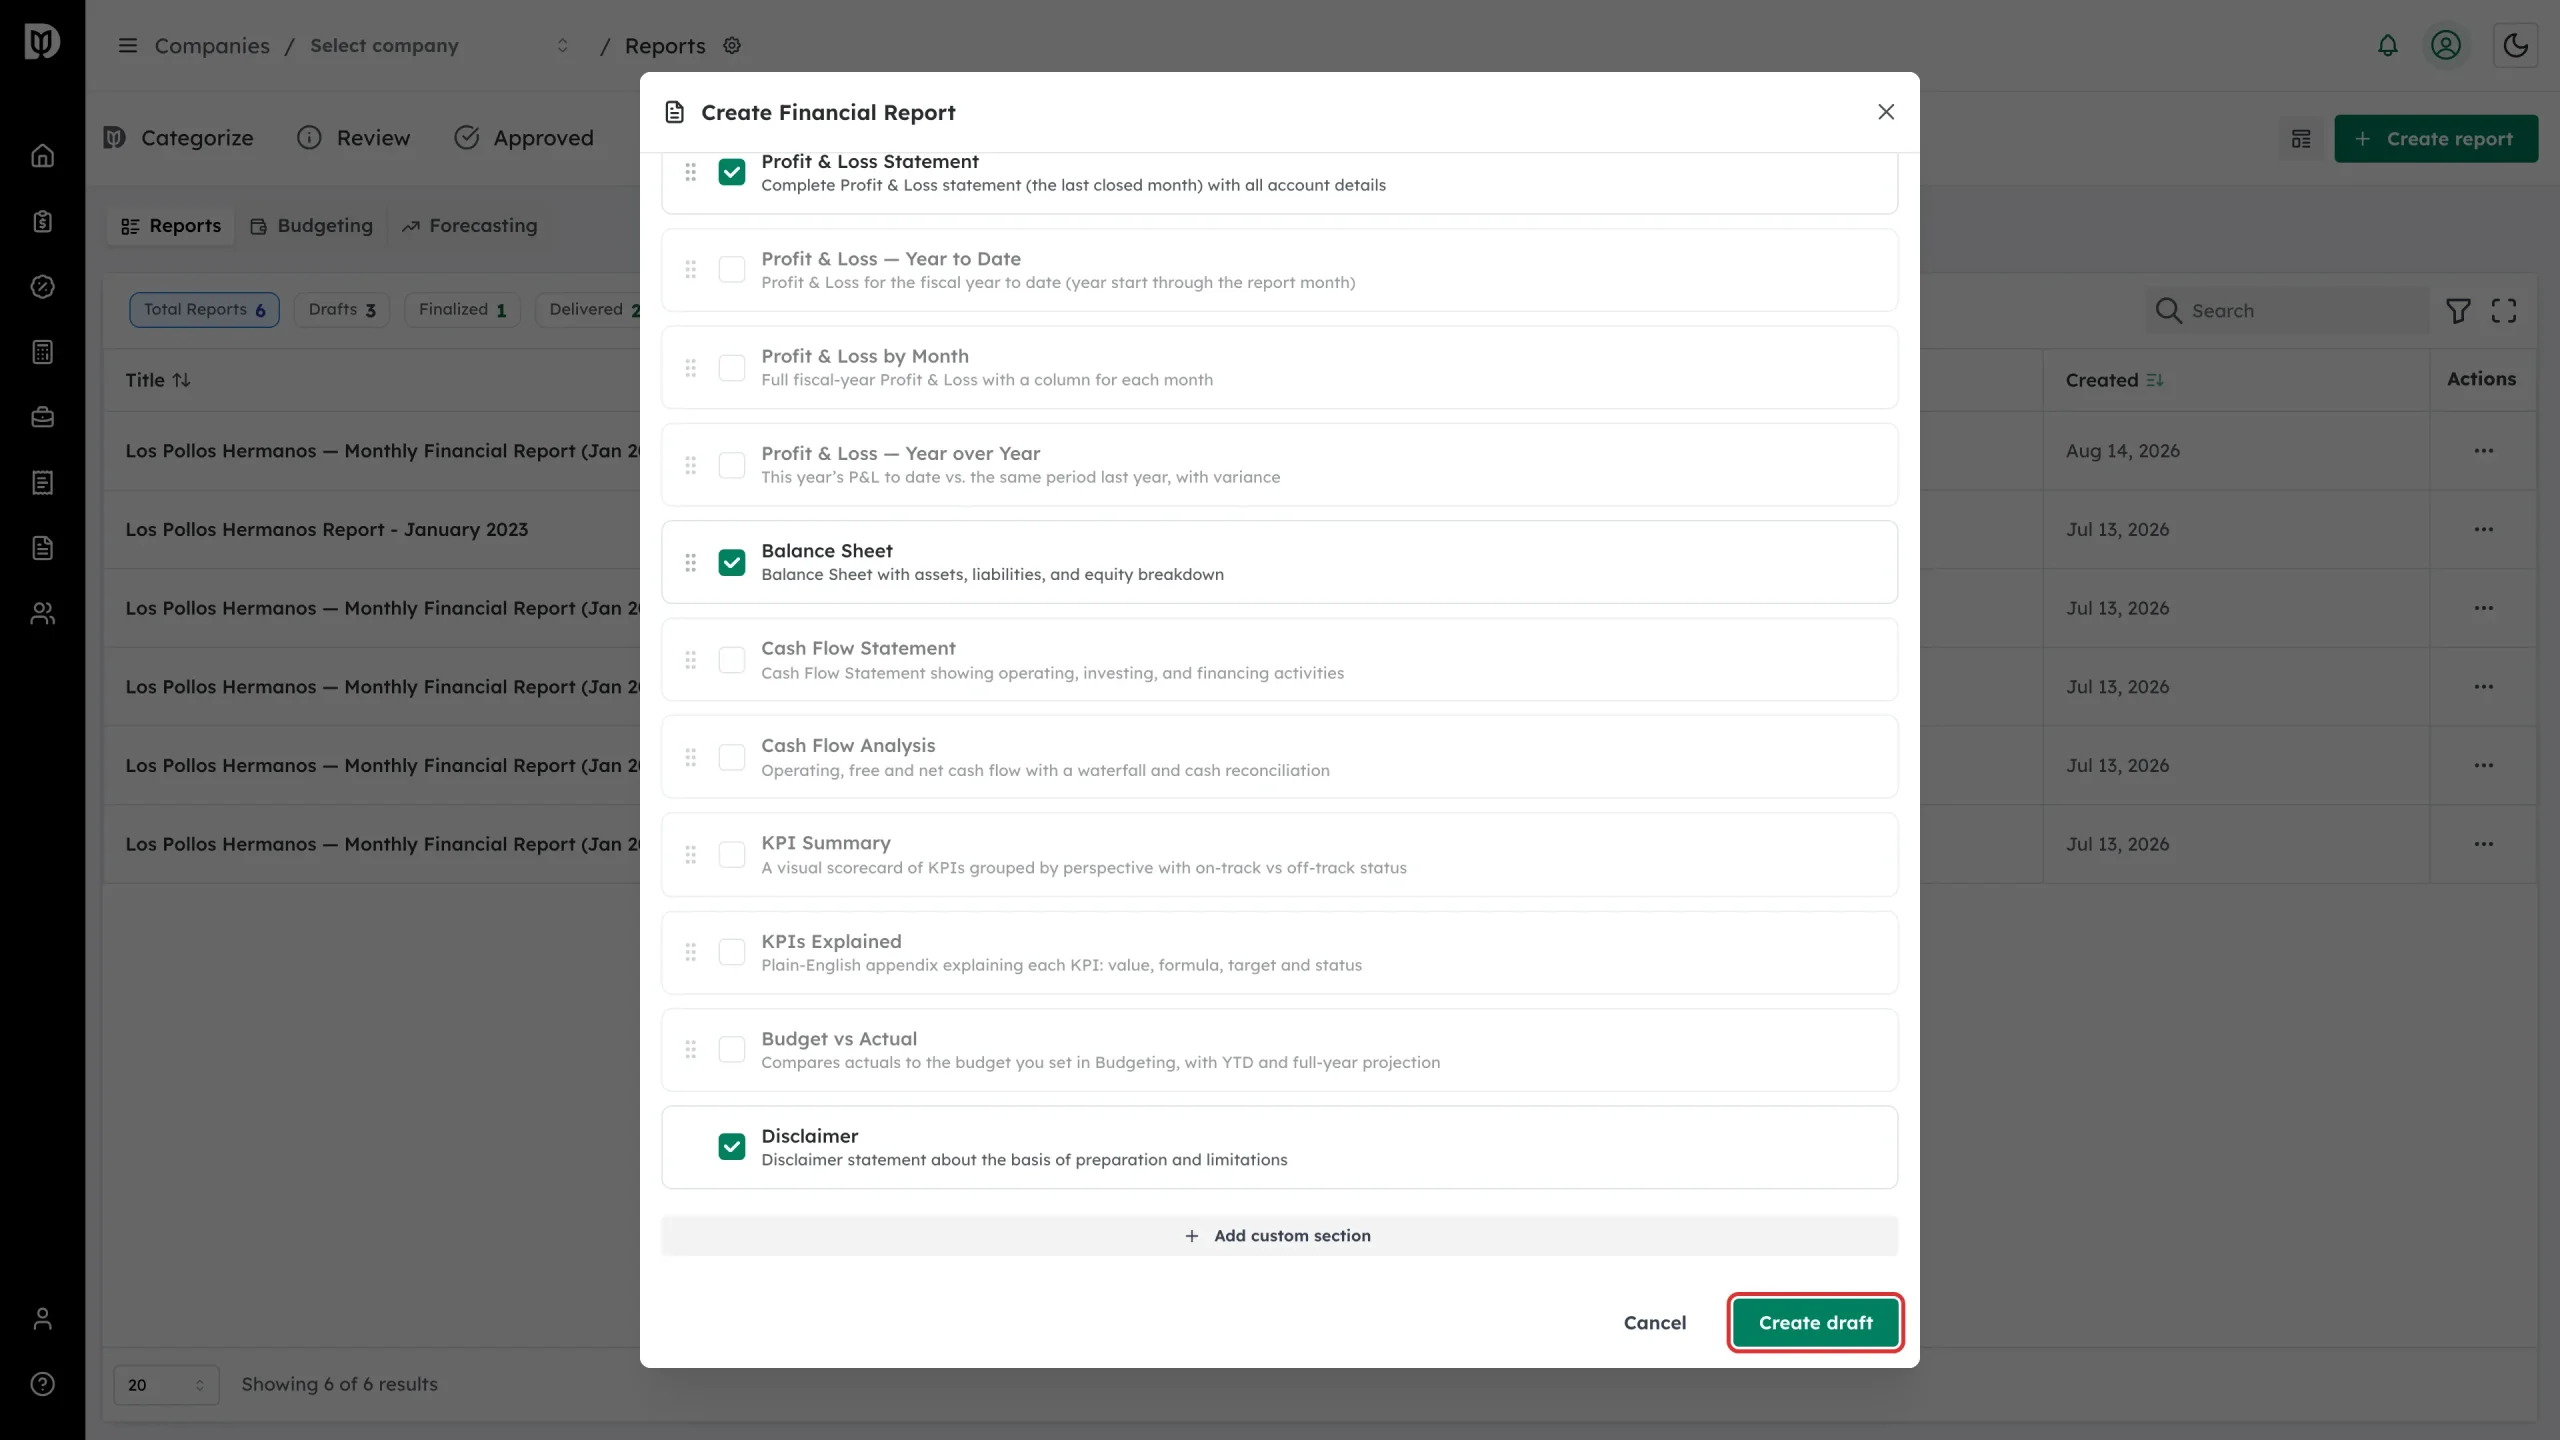
Step 8: Create the draft
Select Create draft. Debits opens the new report so you can preview and customise it.
What happens next
The report is created as a draft. Drafts show a live preview of the company’s current QuickBooks figures and a Live Data badge. Nothing is locked yet — you can edit sections, add commentary, pick a budget and forecast, and preview the PDF before you finalize.
Troubleshooting
- Every figure shows $0. Debits could not pull the company’s QuickBooks data. Check the QuickBooks connection for that company, then reopen the report — a disconnected company shows zeros rather than an error.
- Create draft is greyed out. Turn on at least one section, and fix any custom KPI formula flagged in red.
- A template you expected is missing. Company-specific templates only appear for their own company. Save it as firm-wide to use it everywhere.