

Who this is for: Firm administrators and accountants who need to add and manage client contacts in Debits.
What you’ll learn: How to create individual and business contacts, edit contact information, and organize your contact list.
Before you begin #
- You must be logged into your Debits account
- You need administrator or accountant access to the Contacts module
Step-by-step instructions #
Step 1: Navigate to Contacts #
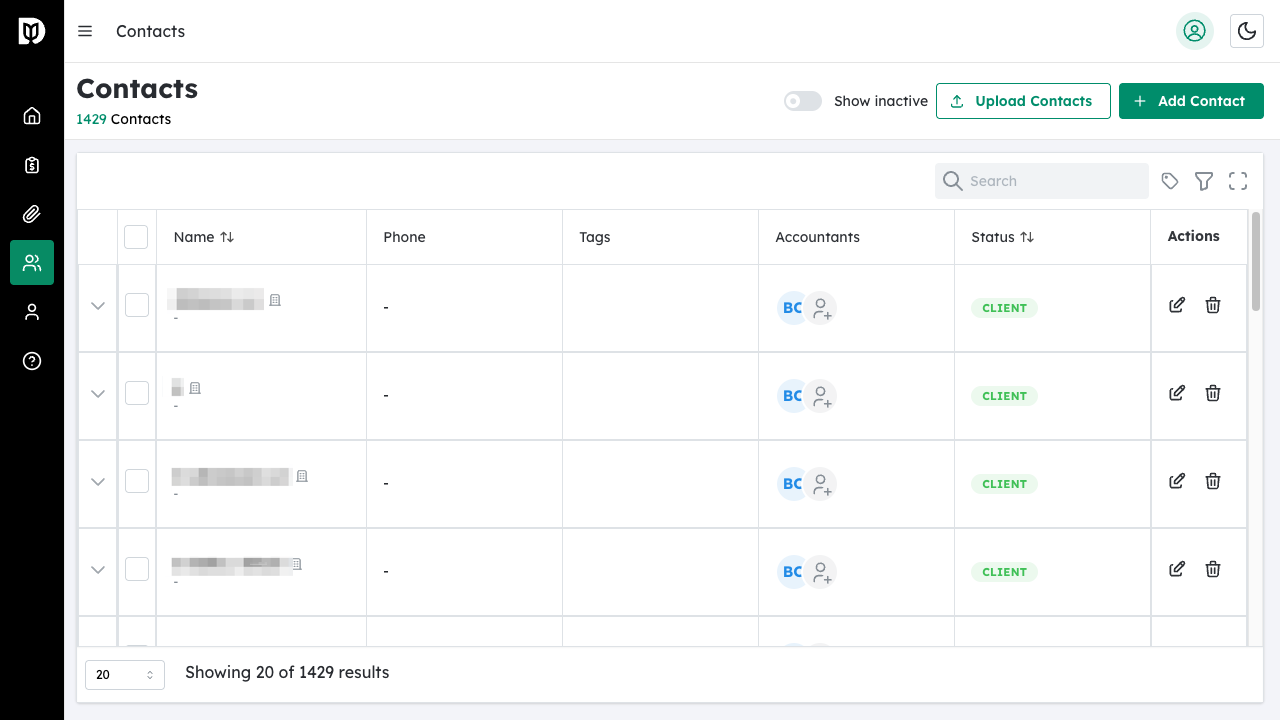
Click Contacts in the main navigation menu to open the Contacts page.
Step 2: Click Add Contact #
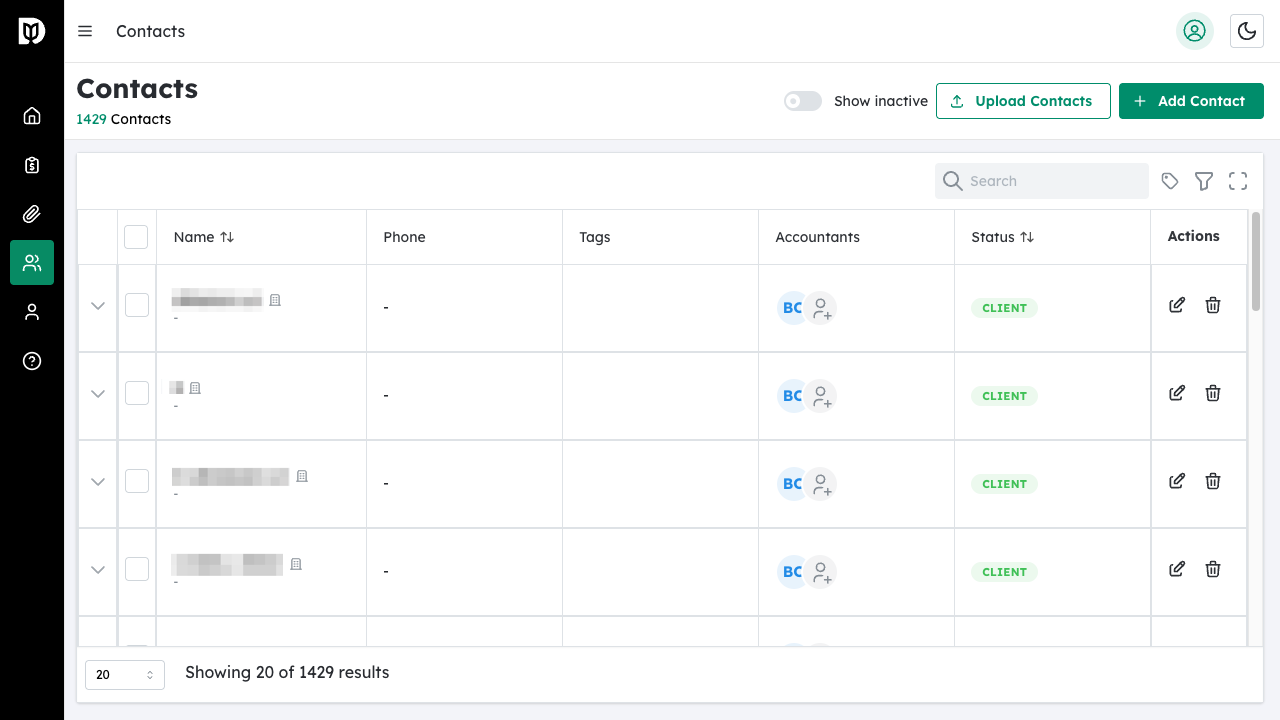
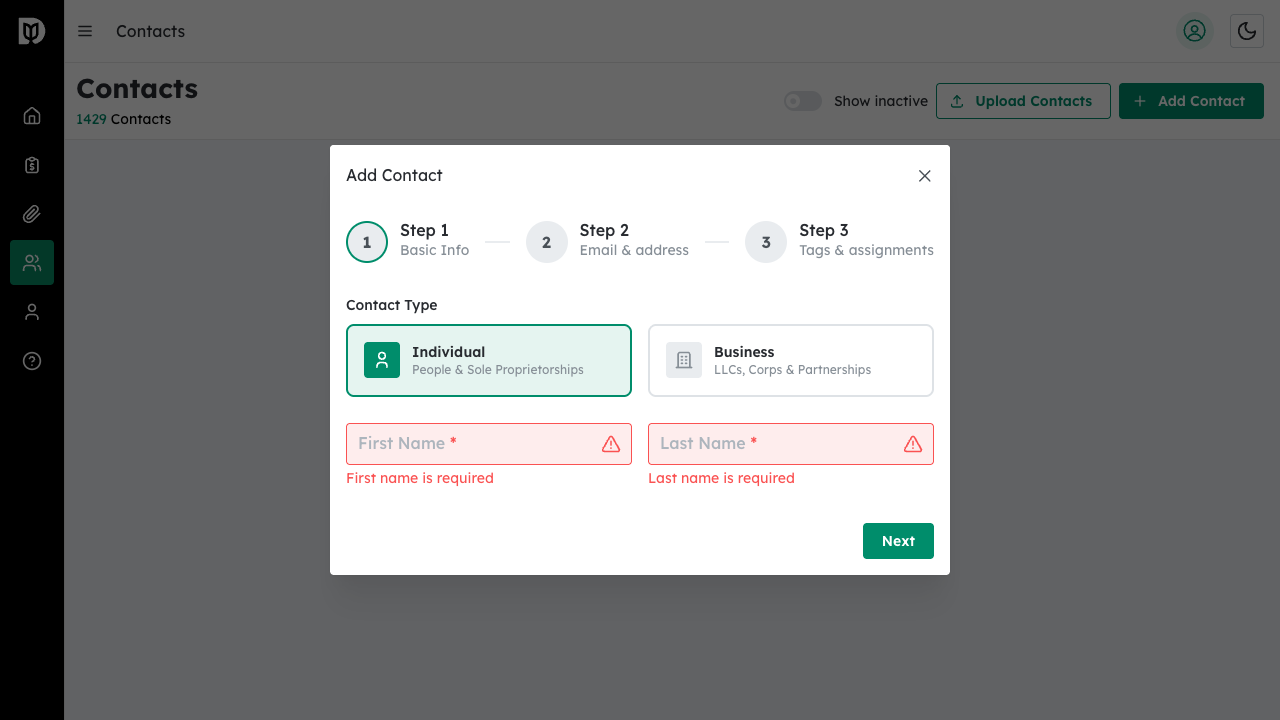
Click the Add Contact button in the top right corner of the page to open the contact creation wizard.
Step 3: Select Contact Type #
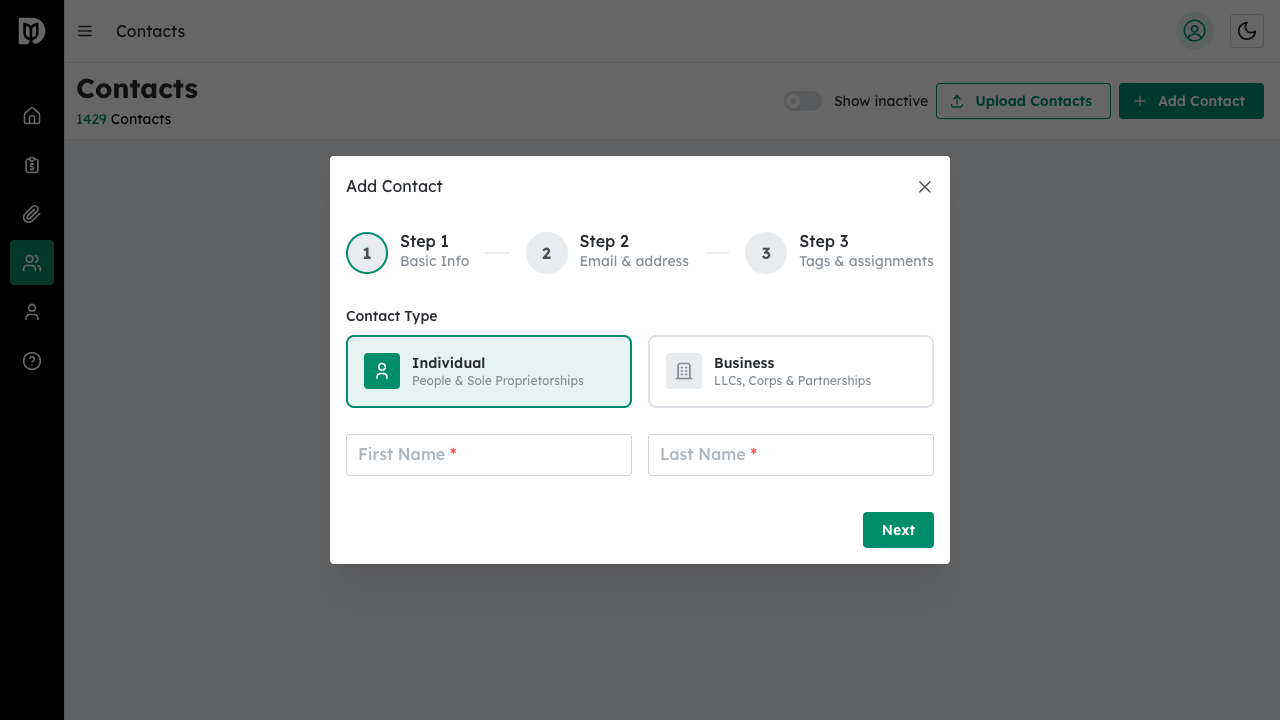
Choose between two contact types:
- Individual – For people and sole proprietorships
- Business – For LLCs, Corporations, and Partnerships
Step 4: Enter Basic Information #
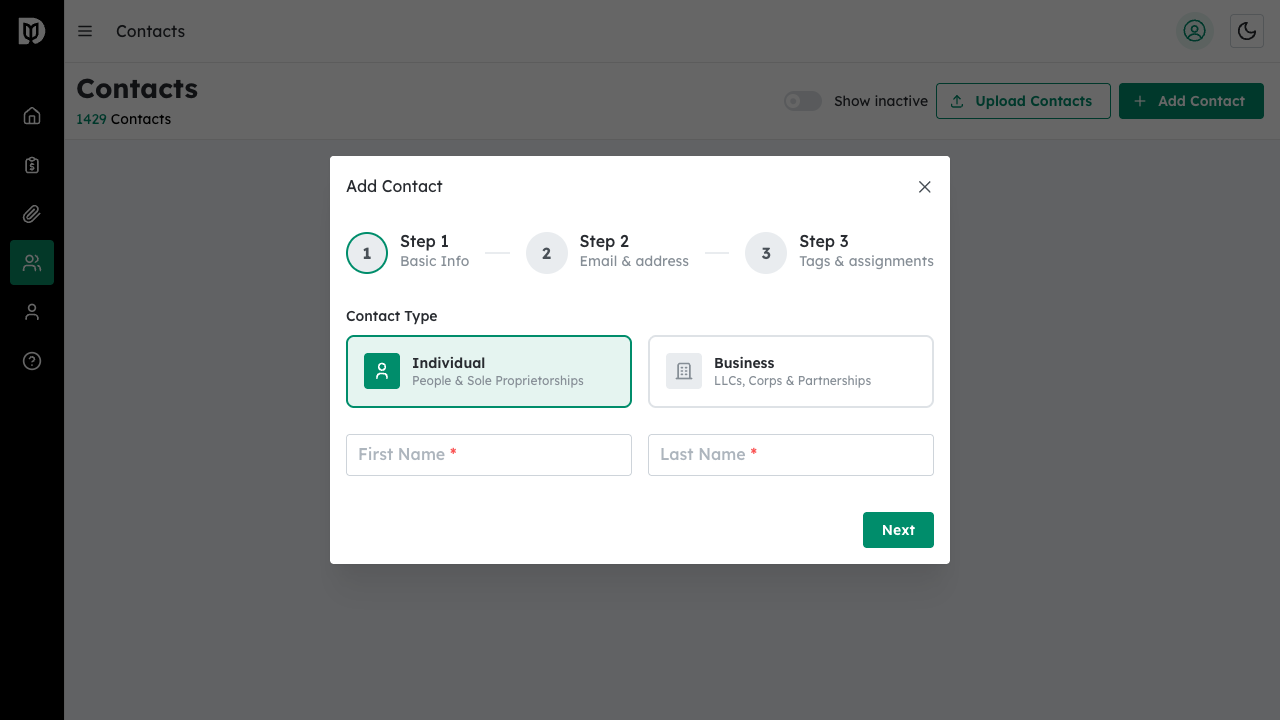
For Individual contacts, enter the First Name and Last Name (both required).
For Business contacts, enter:
- Business Name (required)
- Entity Type (C Corporation, S Corporation, Partnership, LLC, Trust/Estate, or Other)
- EIN (Employer Identification Number)
- Primary Contact Person – either create a new contact or link an existing individual contact
Click Next to continue.
Step 5: Add Contact Details #
Enter the contact’s email, phone number, and address information:
- Phone
- Street Address
- City, State, ZIP
- Country
Click Next to continue.
Step 6: Set Tags and Assignments #
Configure organizational settings:
- Assigned Accountants – Select which staff members should have access to this contact
- Tags – Add tags for organization and filtering
- Status – Set as Client, Prospect, Other, or Inactive
Click Create Contact to save.
What happens next #
Your new contact appears in the Contacts list. You can click on any contact to view their full profile, add notes, manage reminders, and link related contacts or businesses.
Editing an Existing Contact #
To edit a contact:
- Click on the contact name to open their profile
- Click the Edit icon (pencil) next to the contact information
- Make your changes in the edit form that appears
- Click Save Changes to update the contact
Troubleshooting #
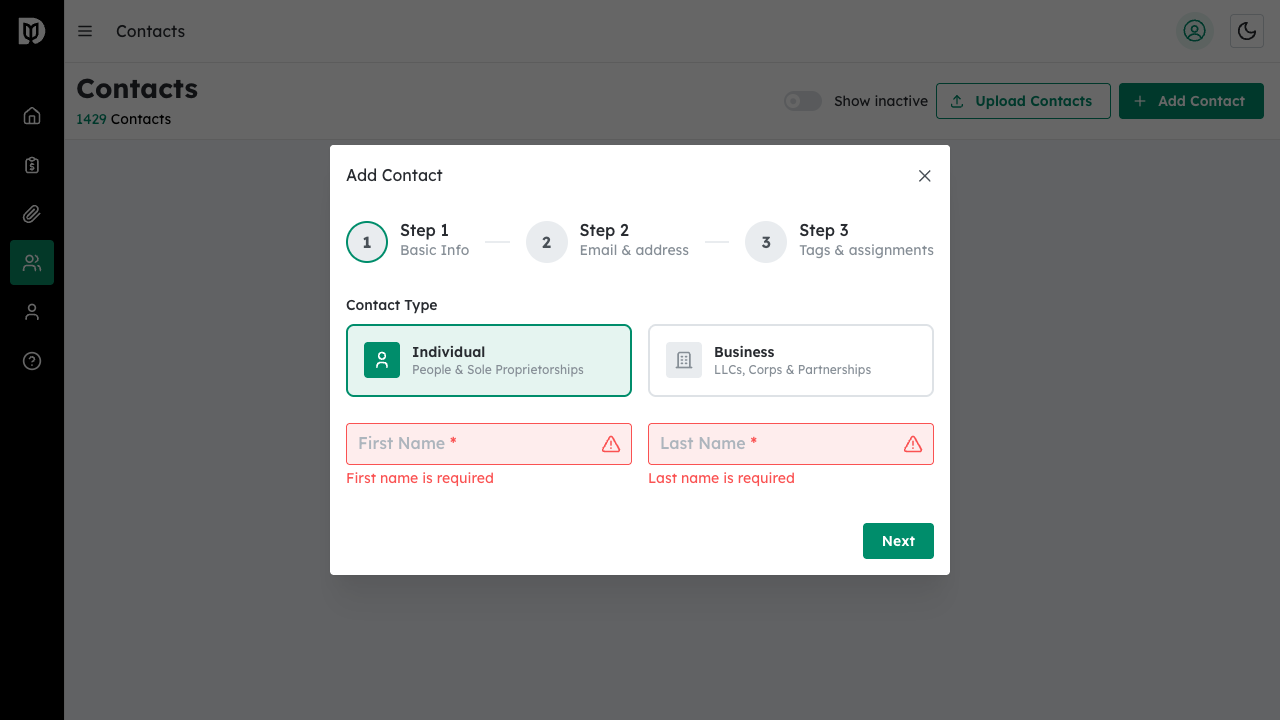
- Contact not saving: Ensure all required fields (First Name and Last Name for individuals, Business Name for businesses) are filled in.
- Cannot find a contact: Use the search bar at the top of the Contacts page, or check your filters to ensure you’re viewing all contact types and statuses.
- Cannot delete a contact: Only administrators can delete contacts. Contact your firm administrator if you need to remove a contact.


