Client users are the people at your client’s business who answer transactions in Debits. You can invite as many as you like per company, and you can limit what each one sees.
The two client roles
- Admin — sees every account that syncs for that company.
- Staff — only sees transactions from the payment accounts you assign to them. Payment Accounts is required for this role.
That is how you give, say, one manager the company card and another the operating account, without either seeing the other’s spending.
Add the client user
-
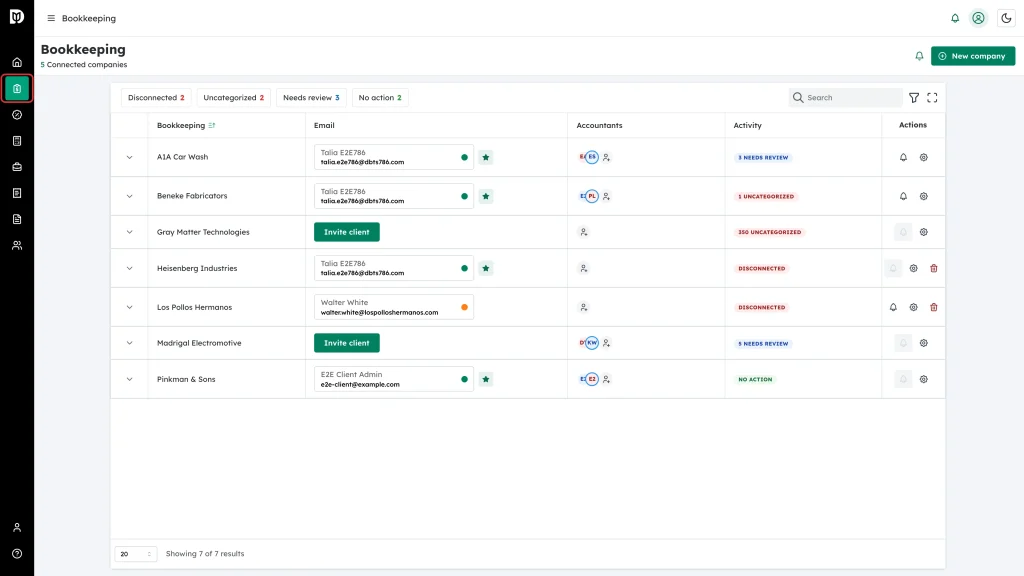
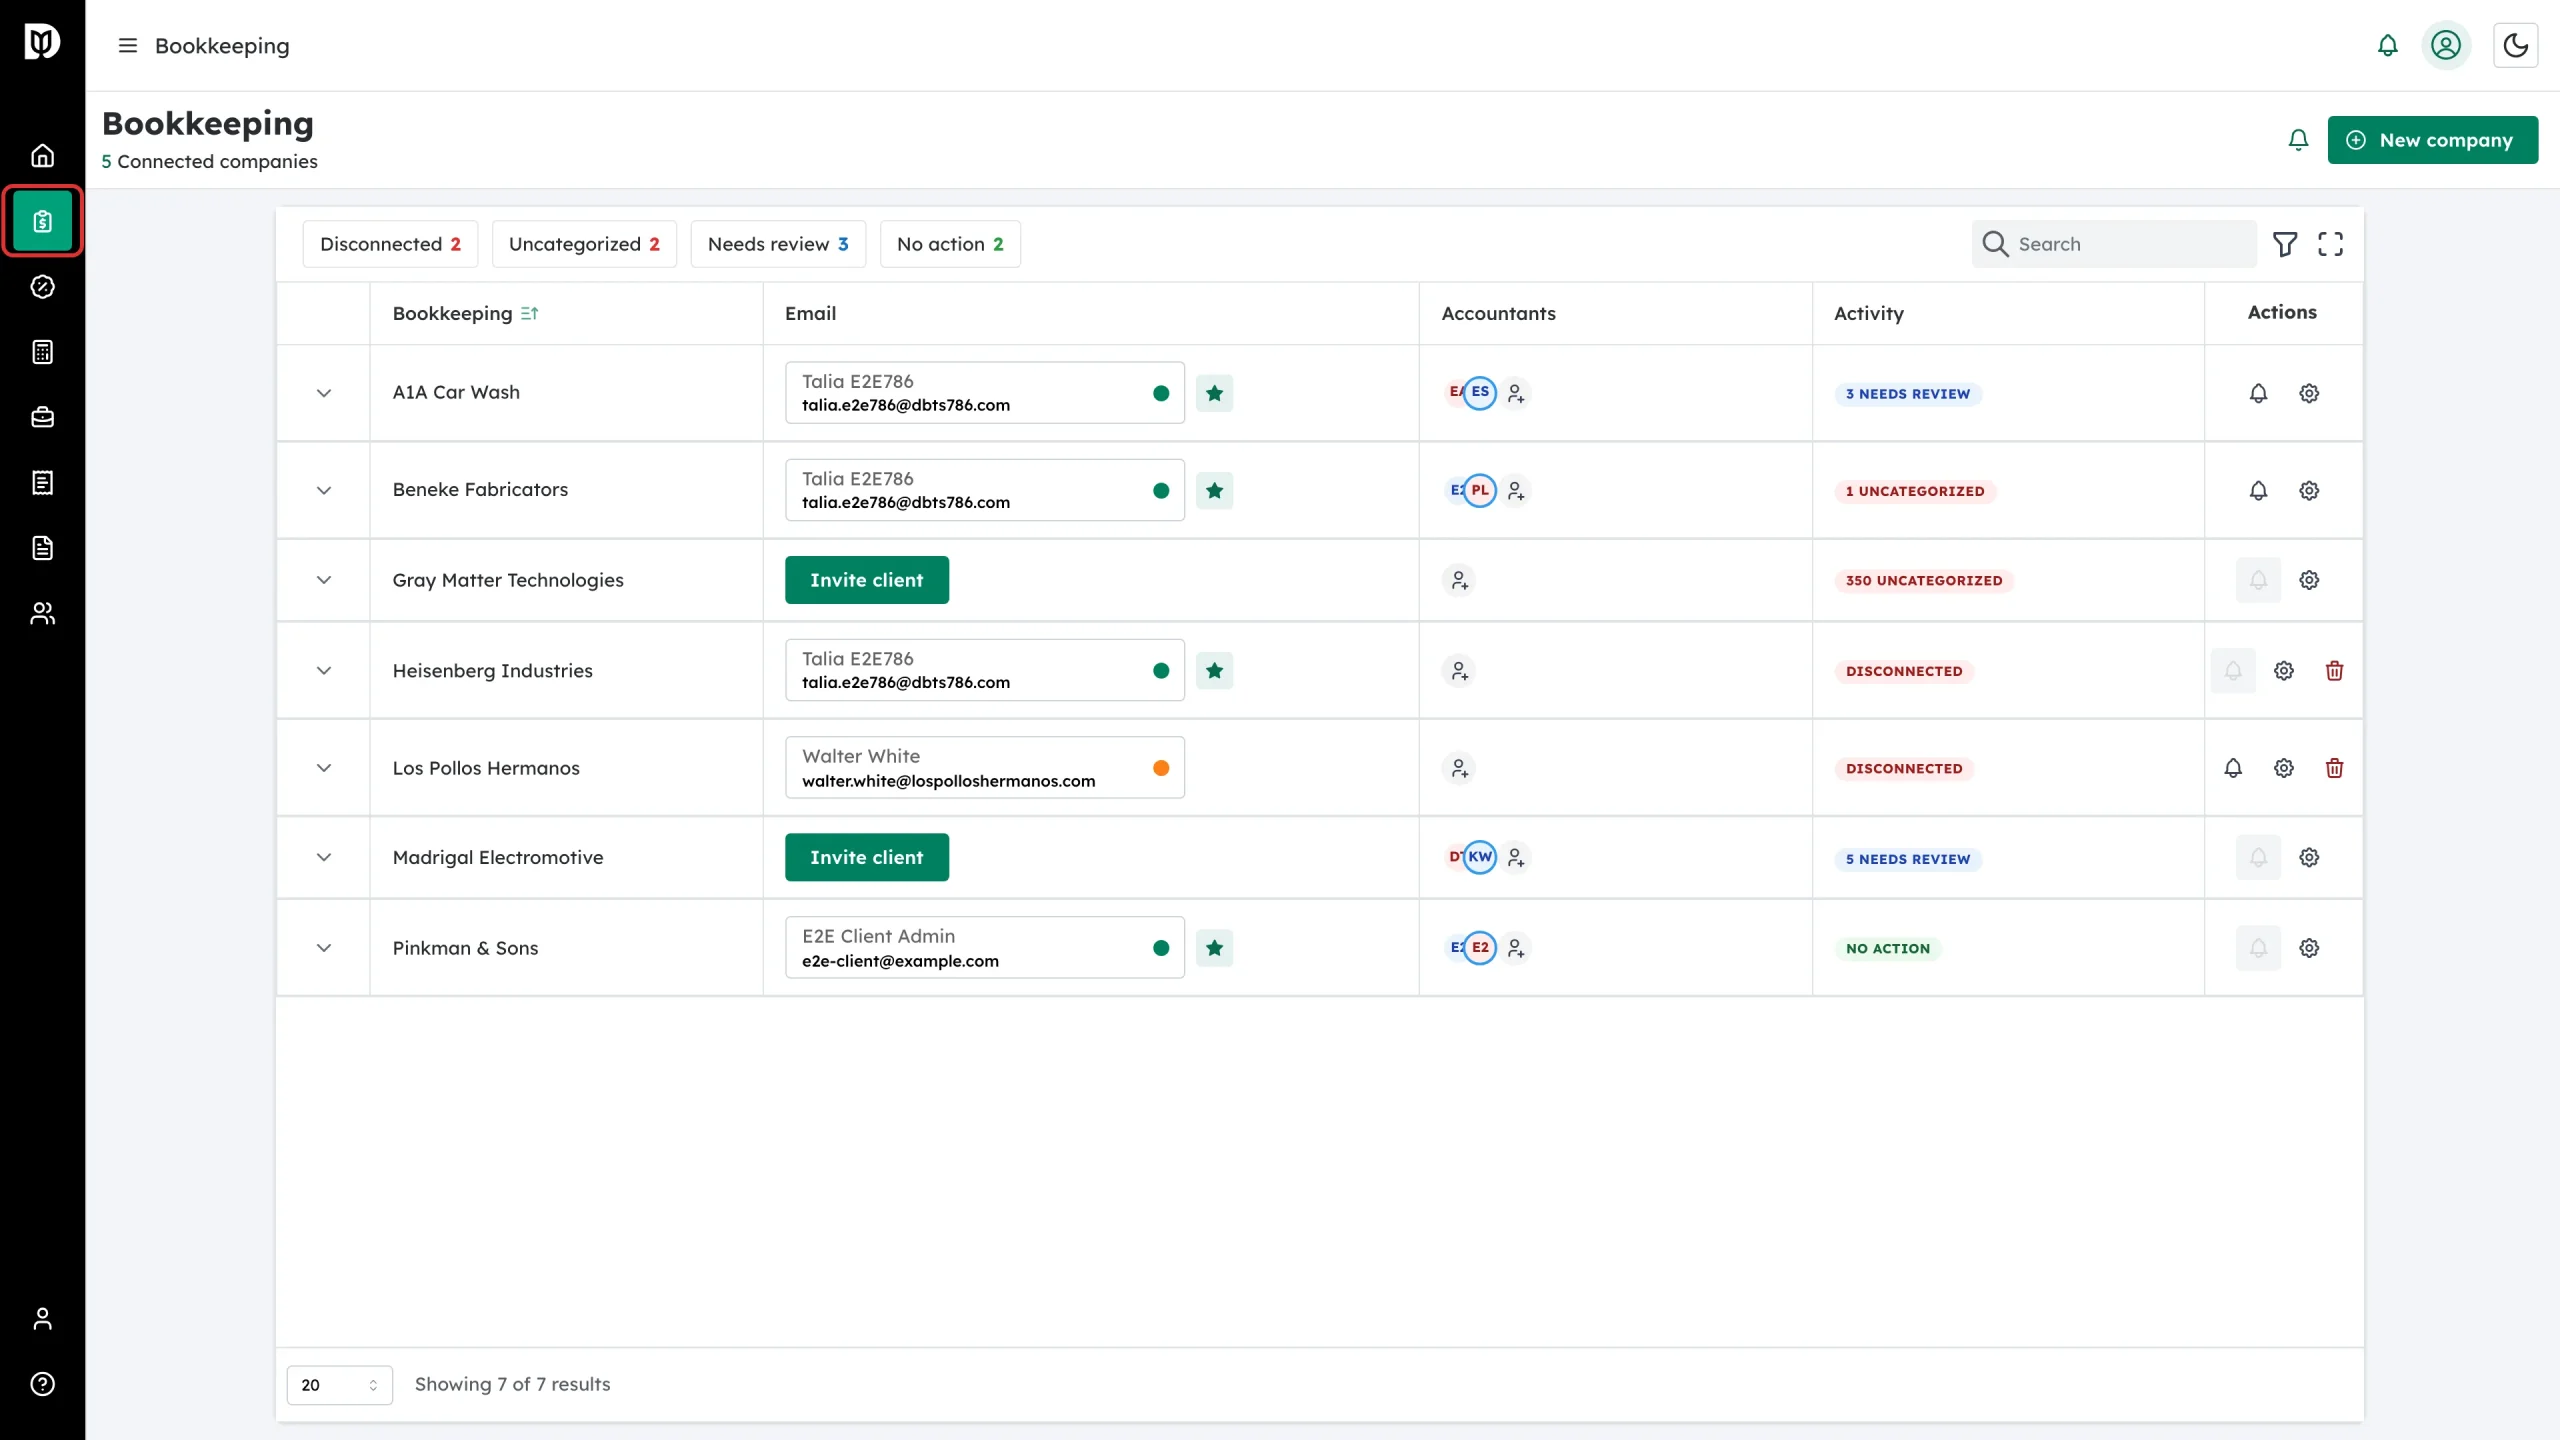
Click Bookkeeping in the left sidebar.
-
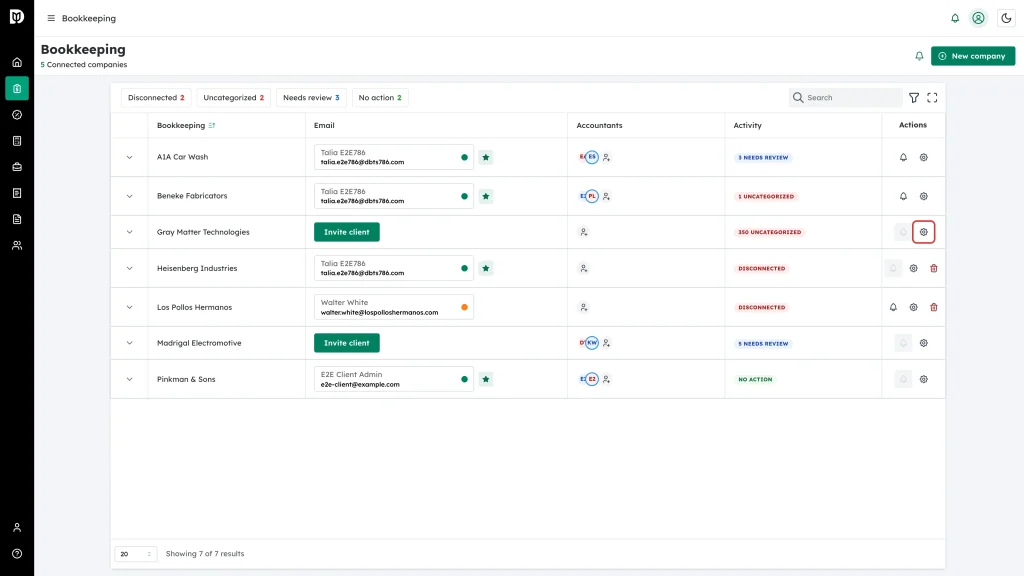
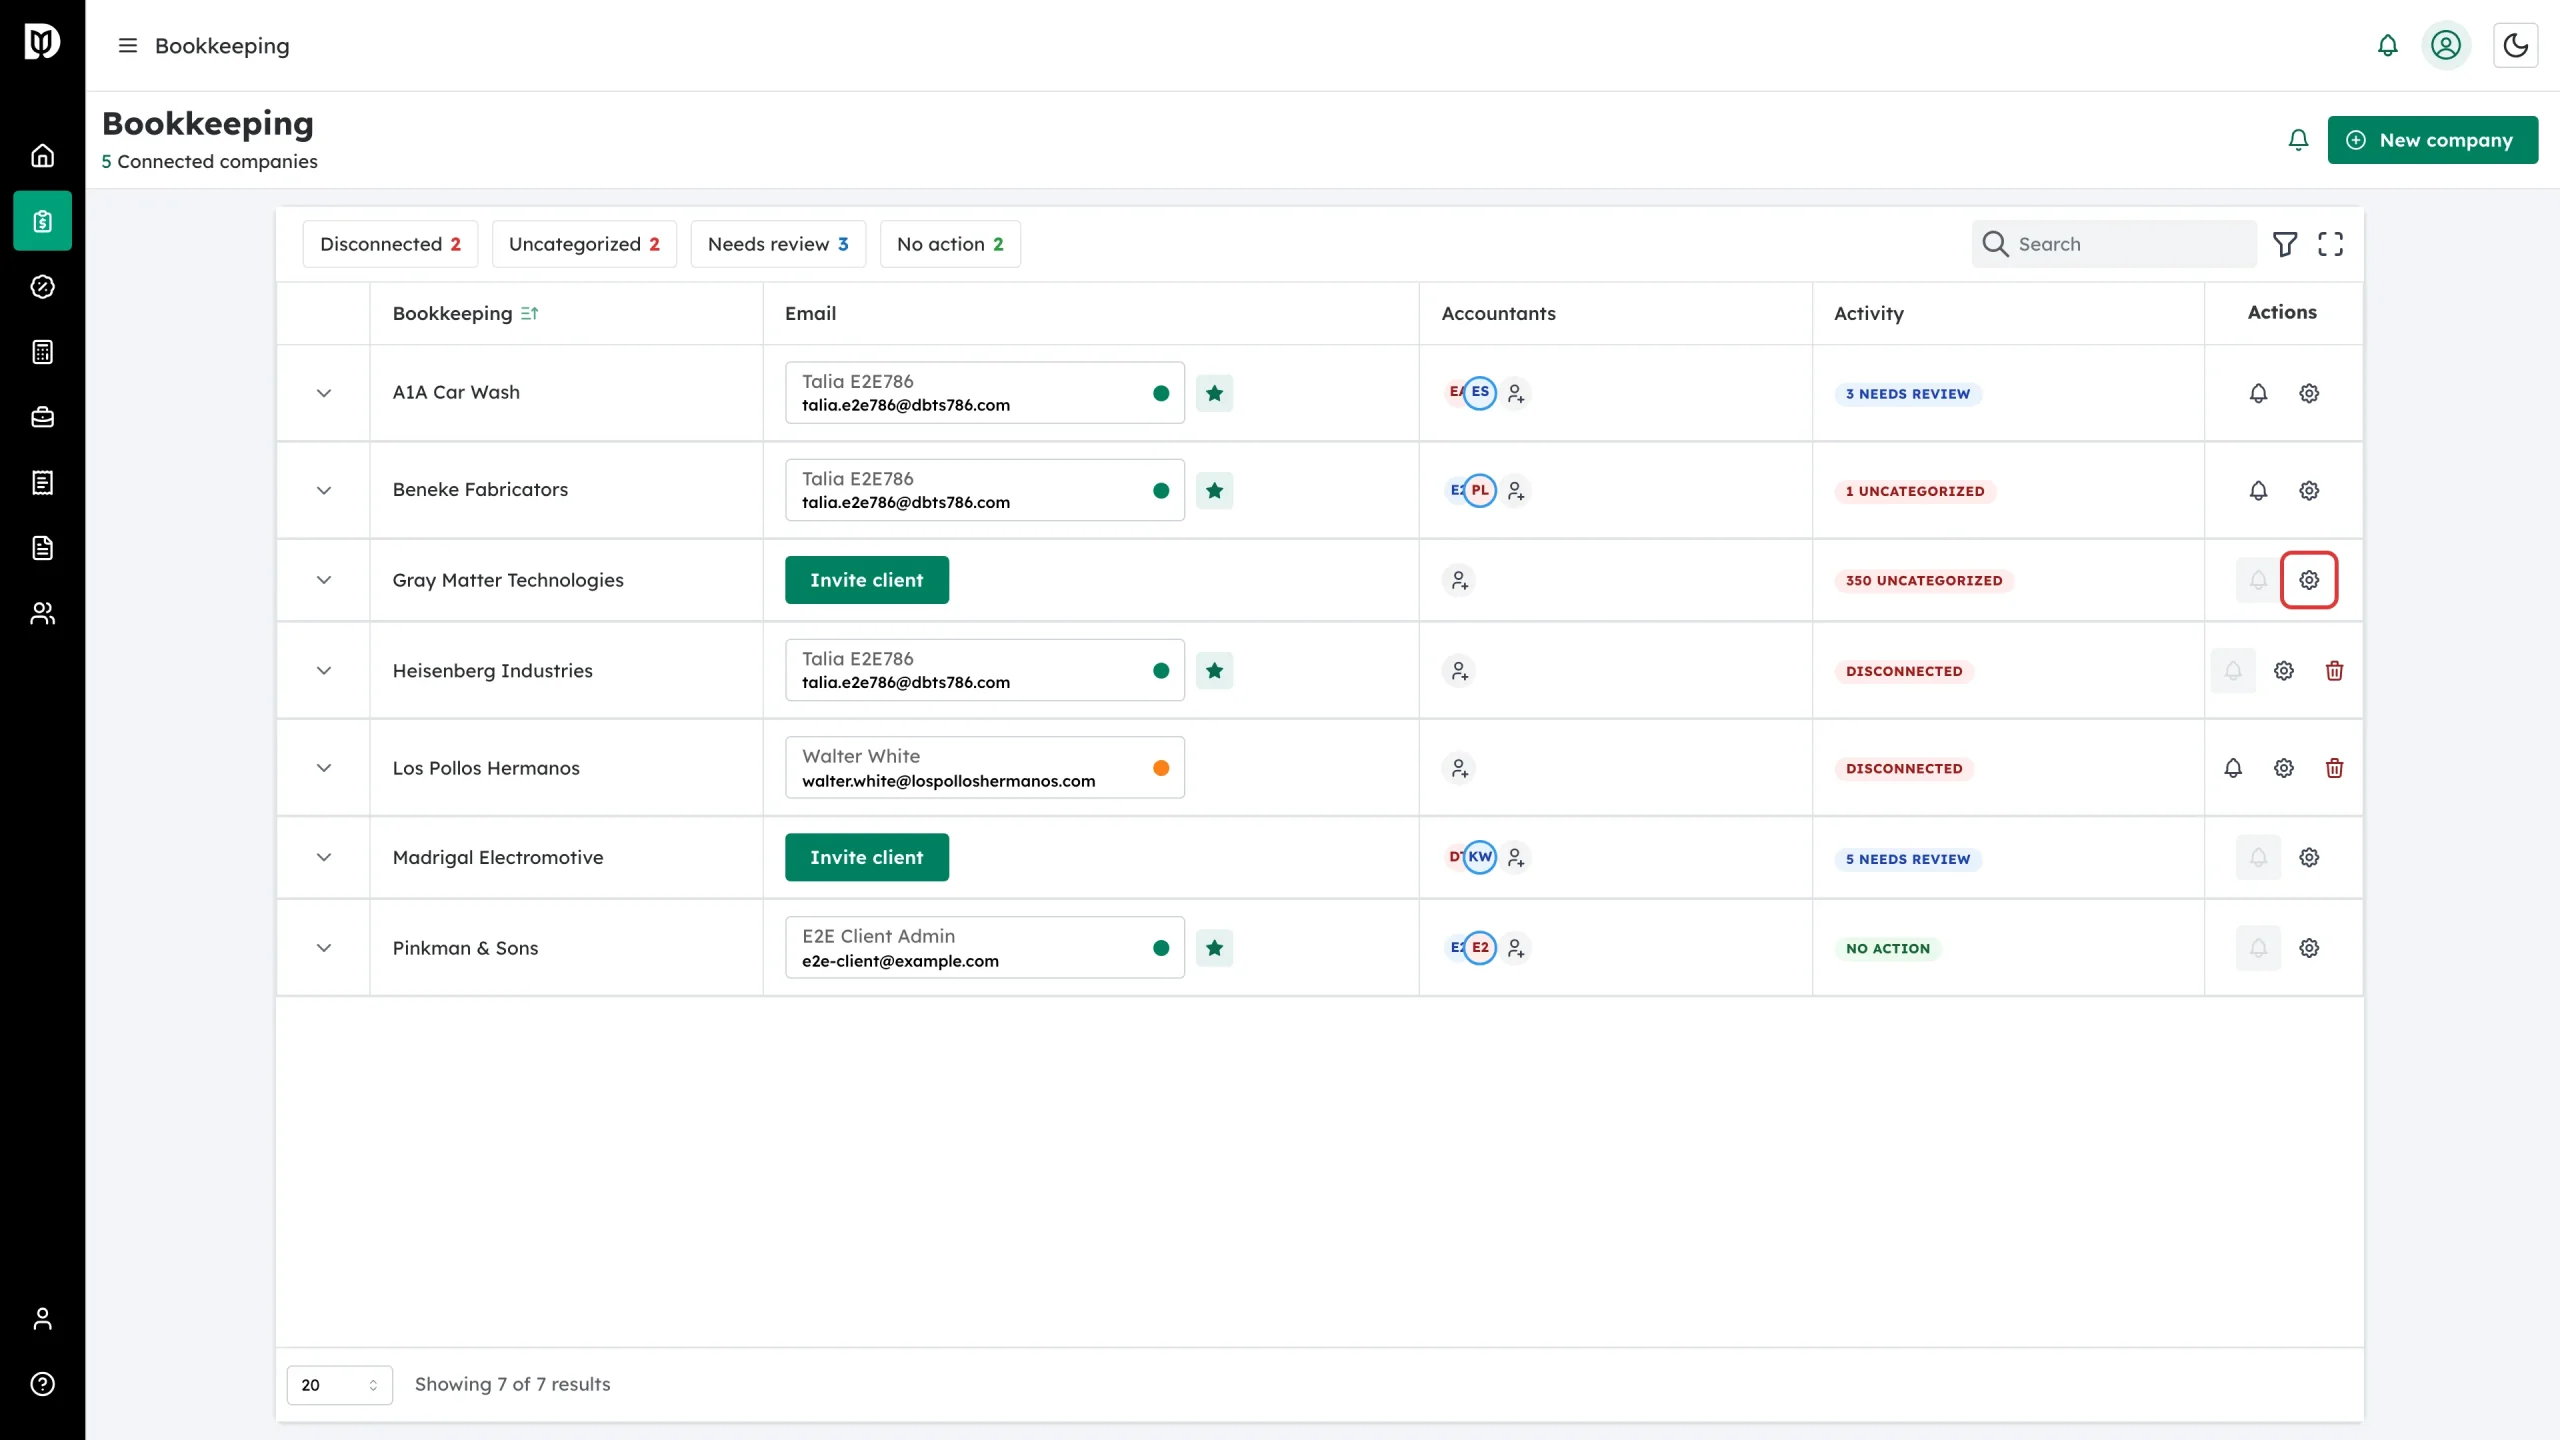
Find the company and click the gear icon in its Actions column.
-
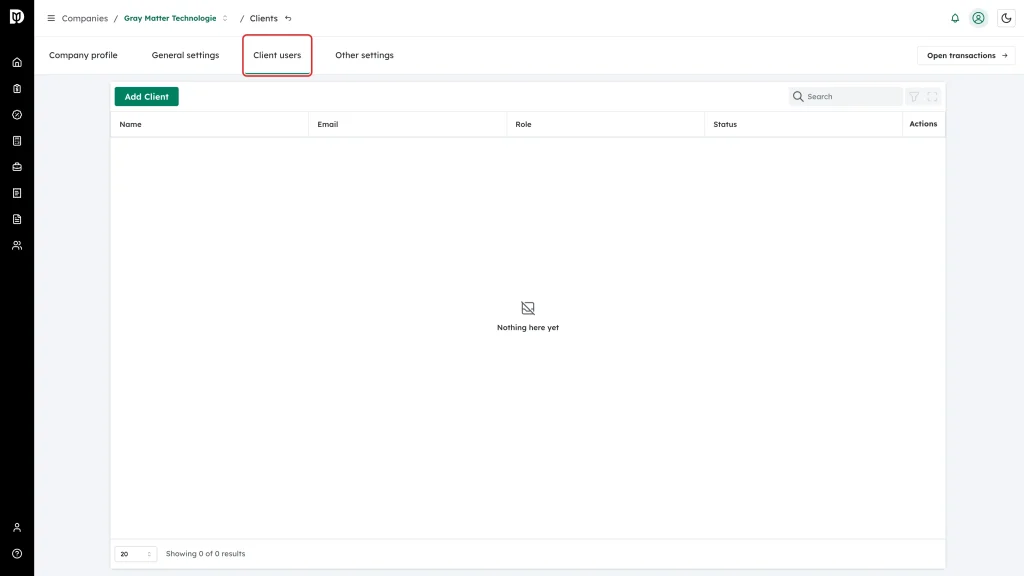
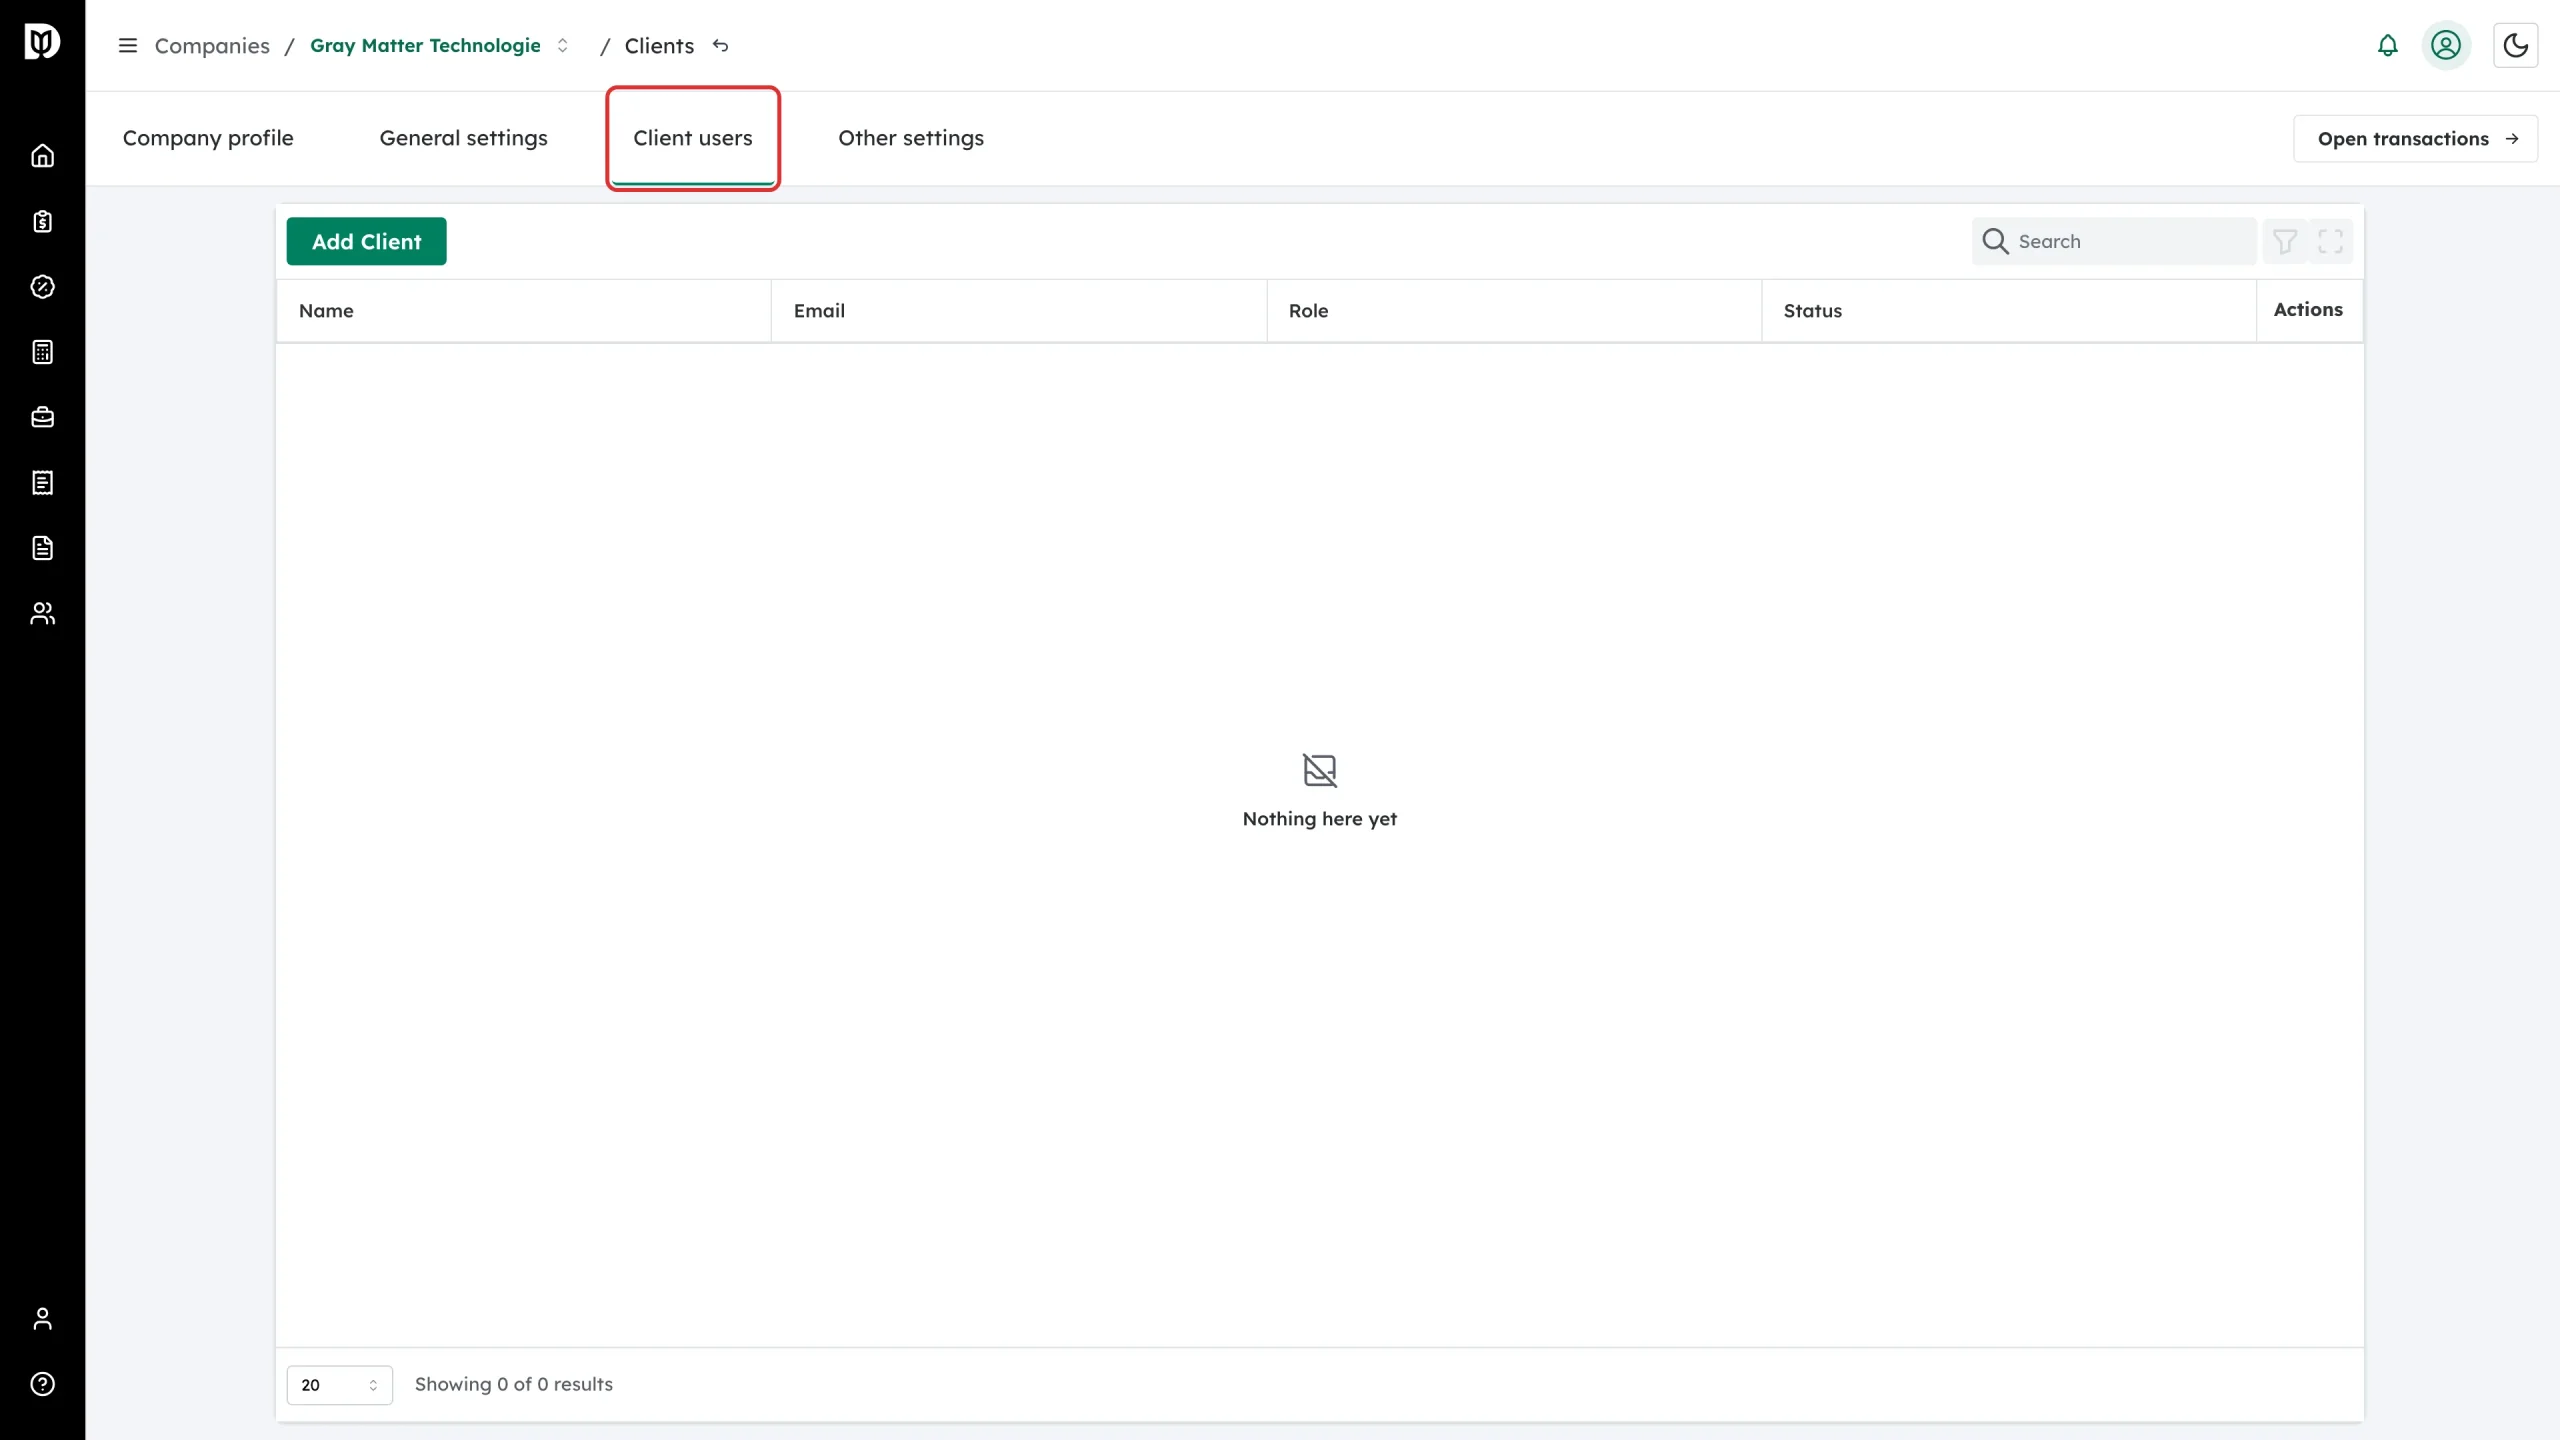
Open the Client users tab. It lists everyone who already has access to this company.
-
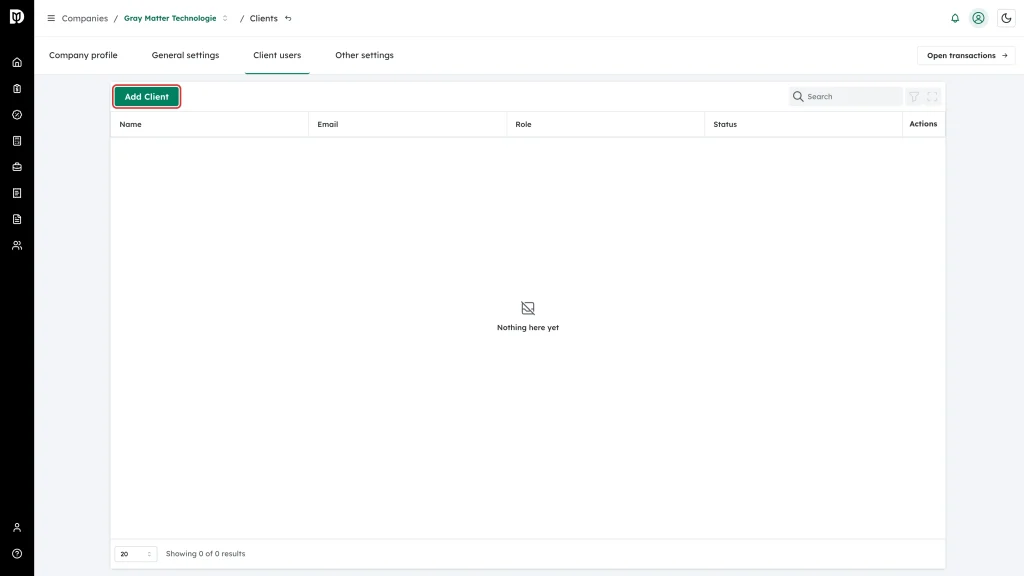
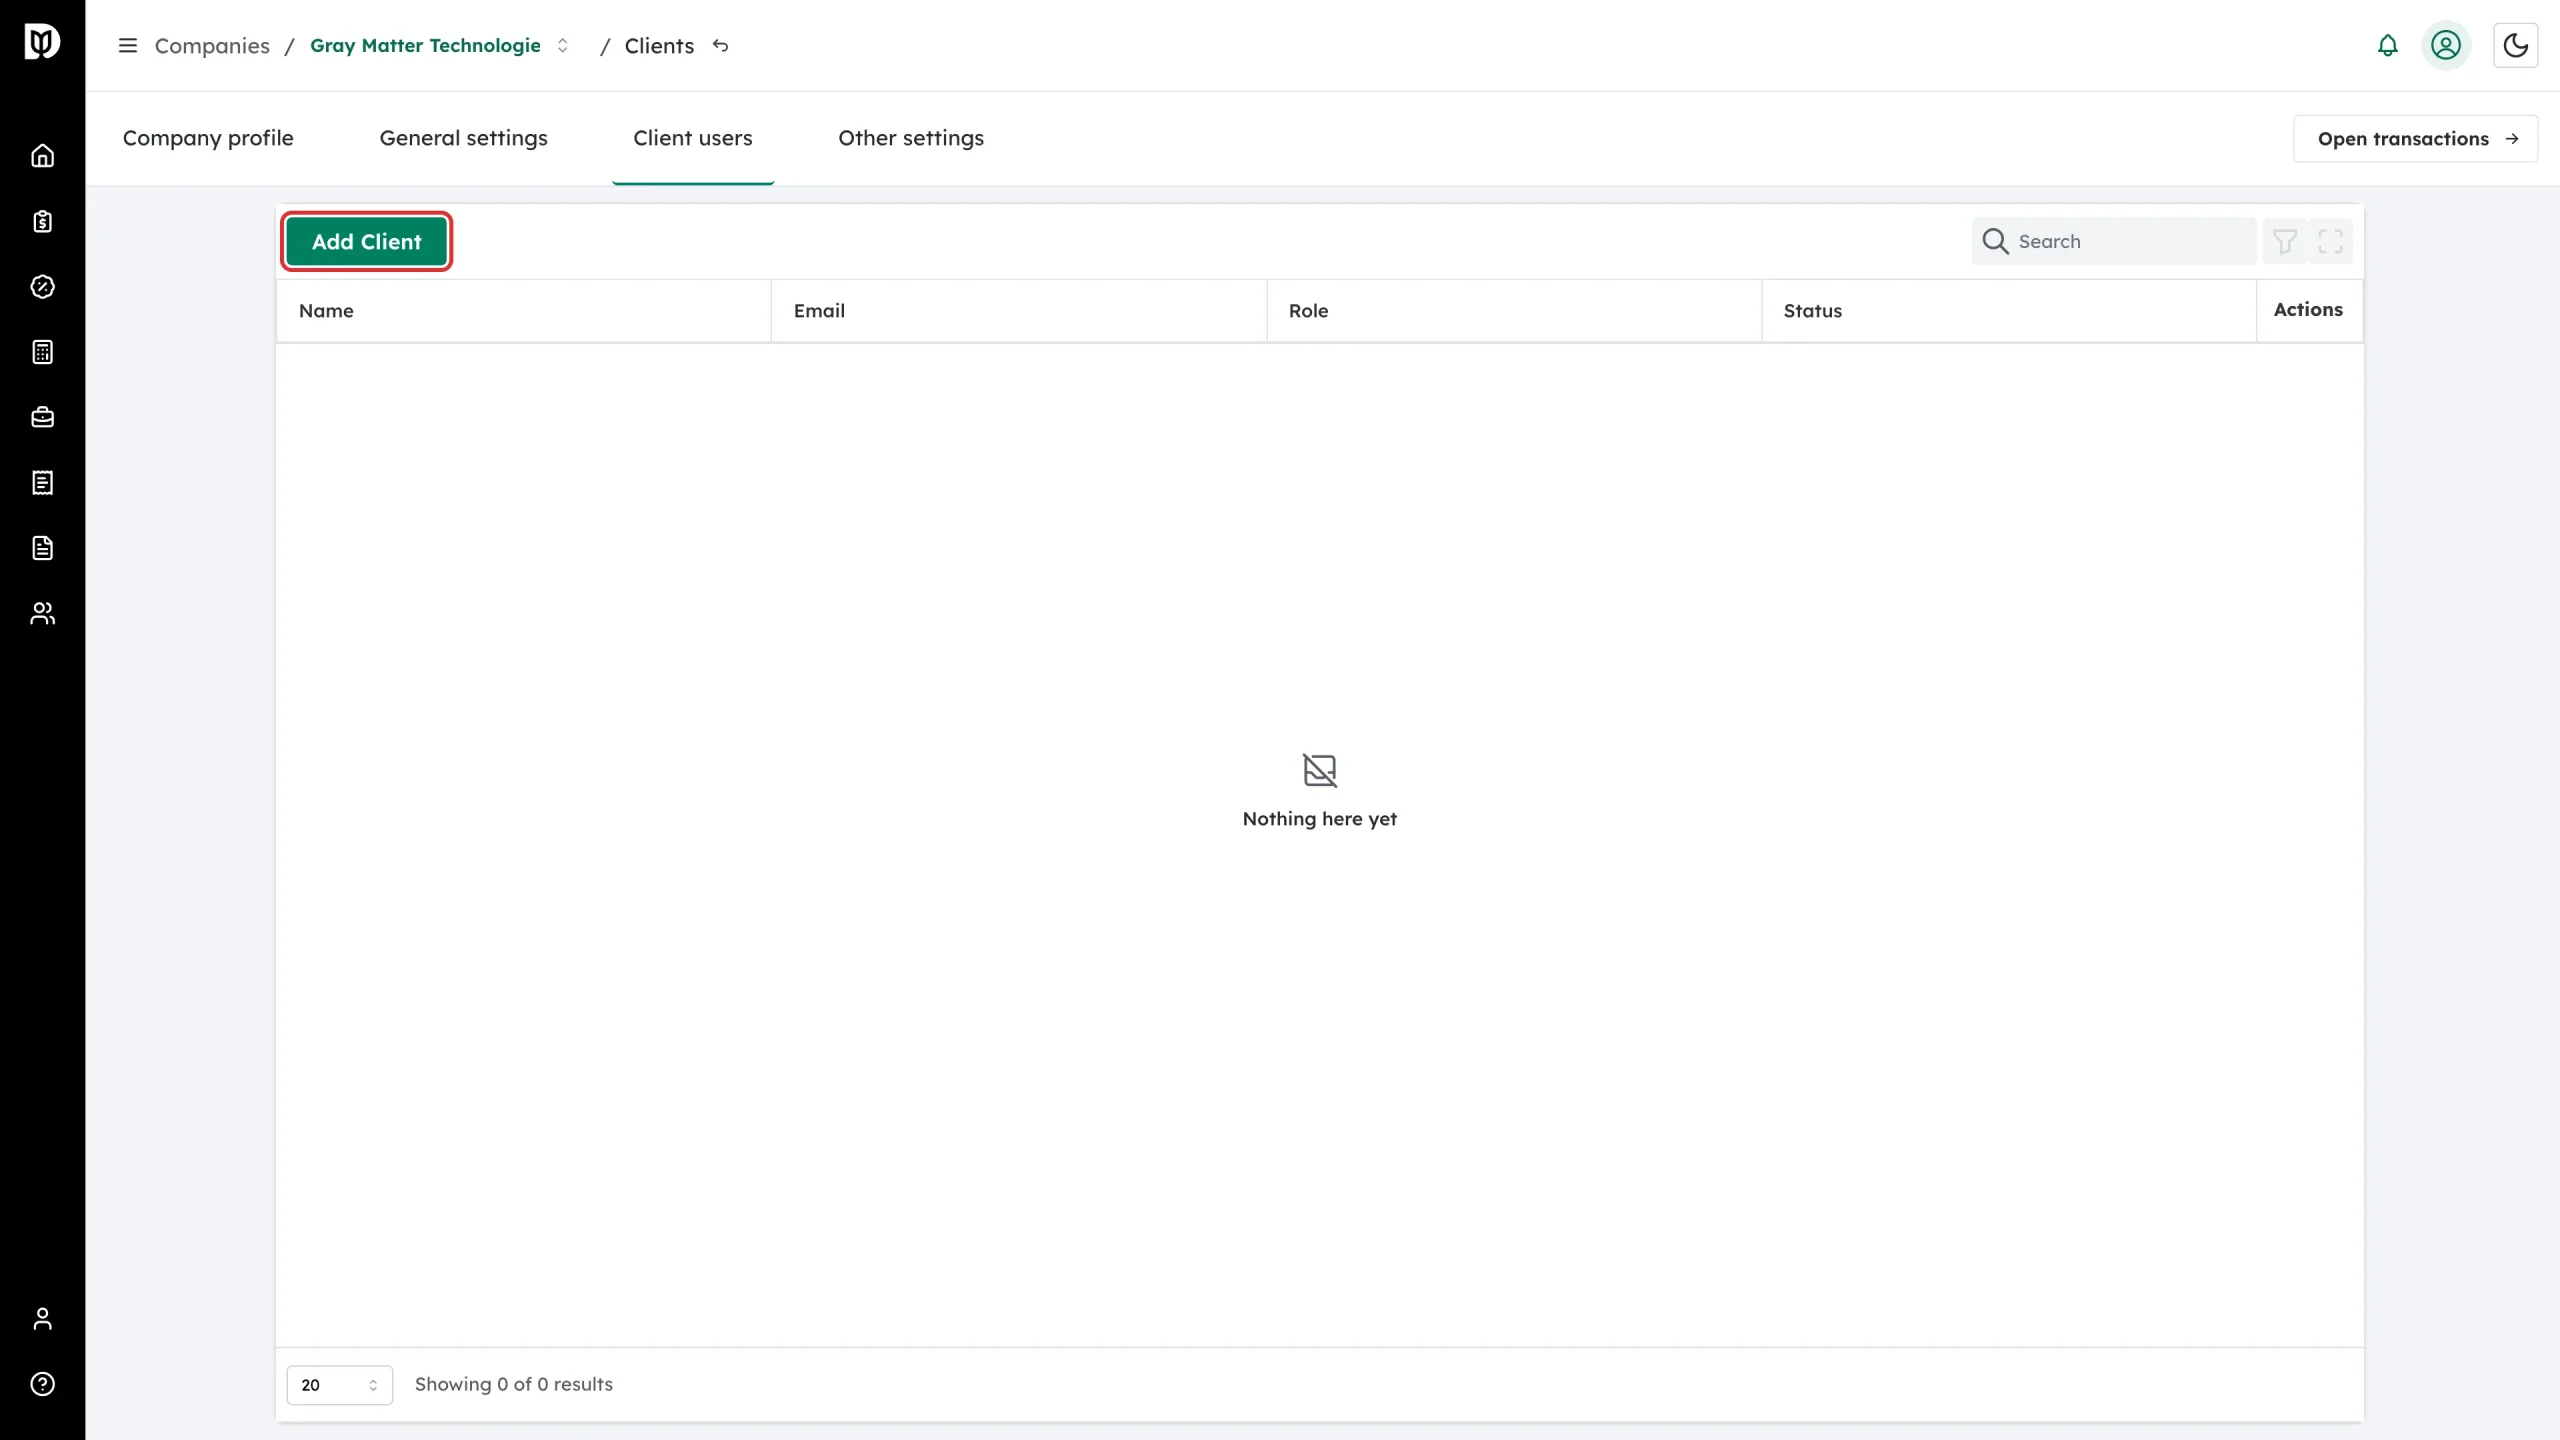
Click Add Client.
-
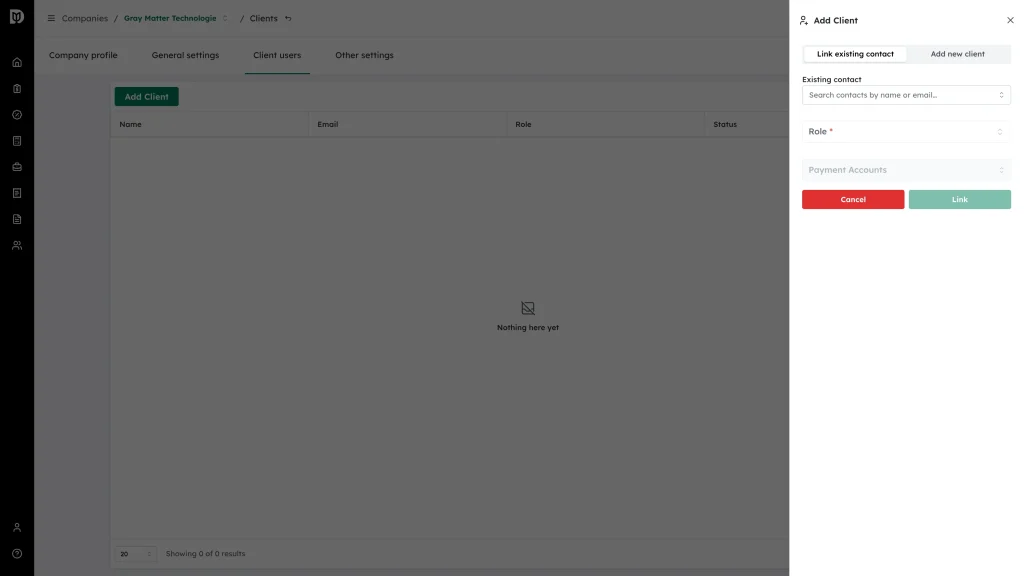
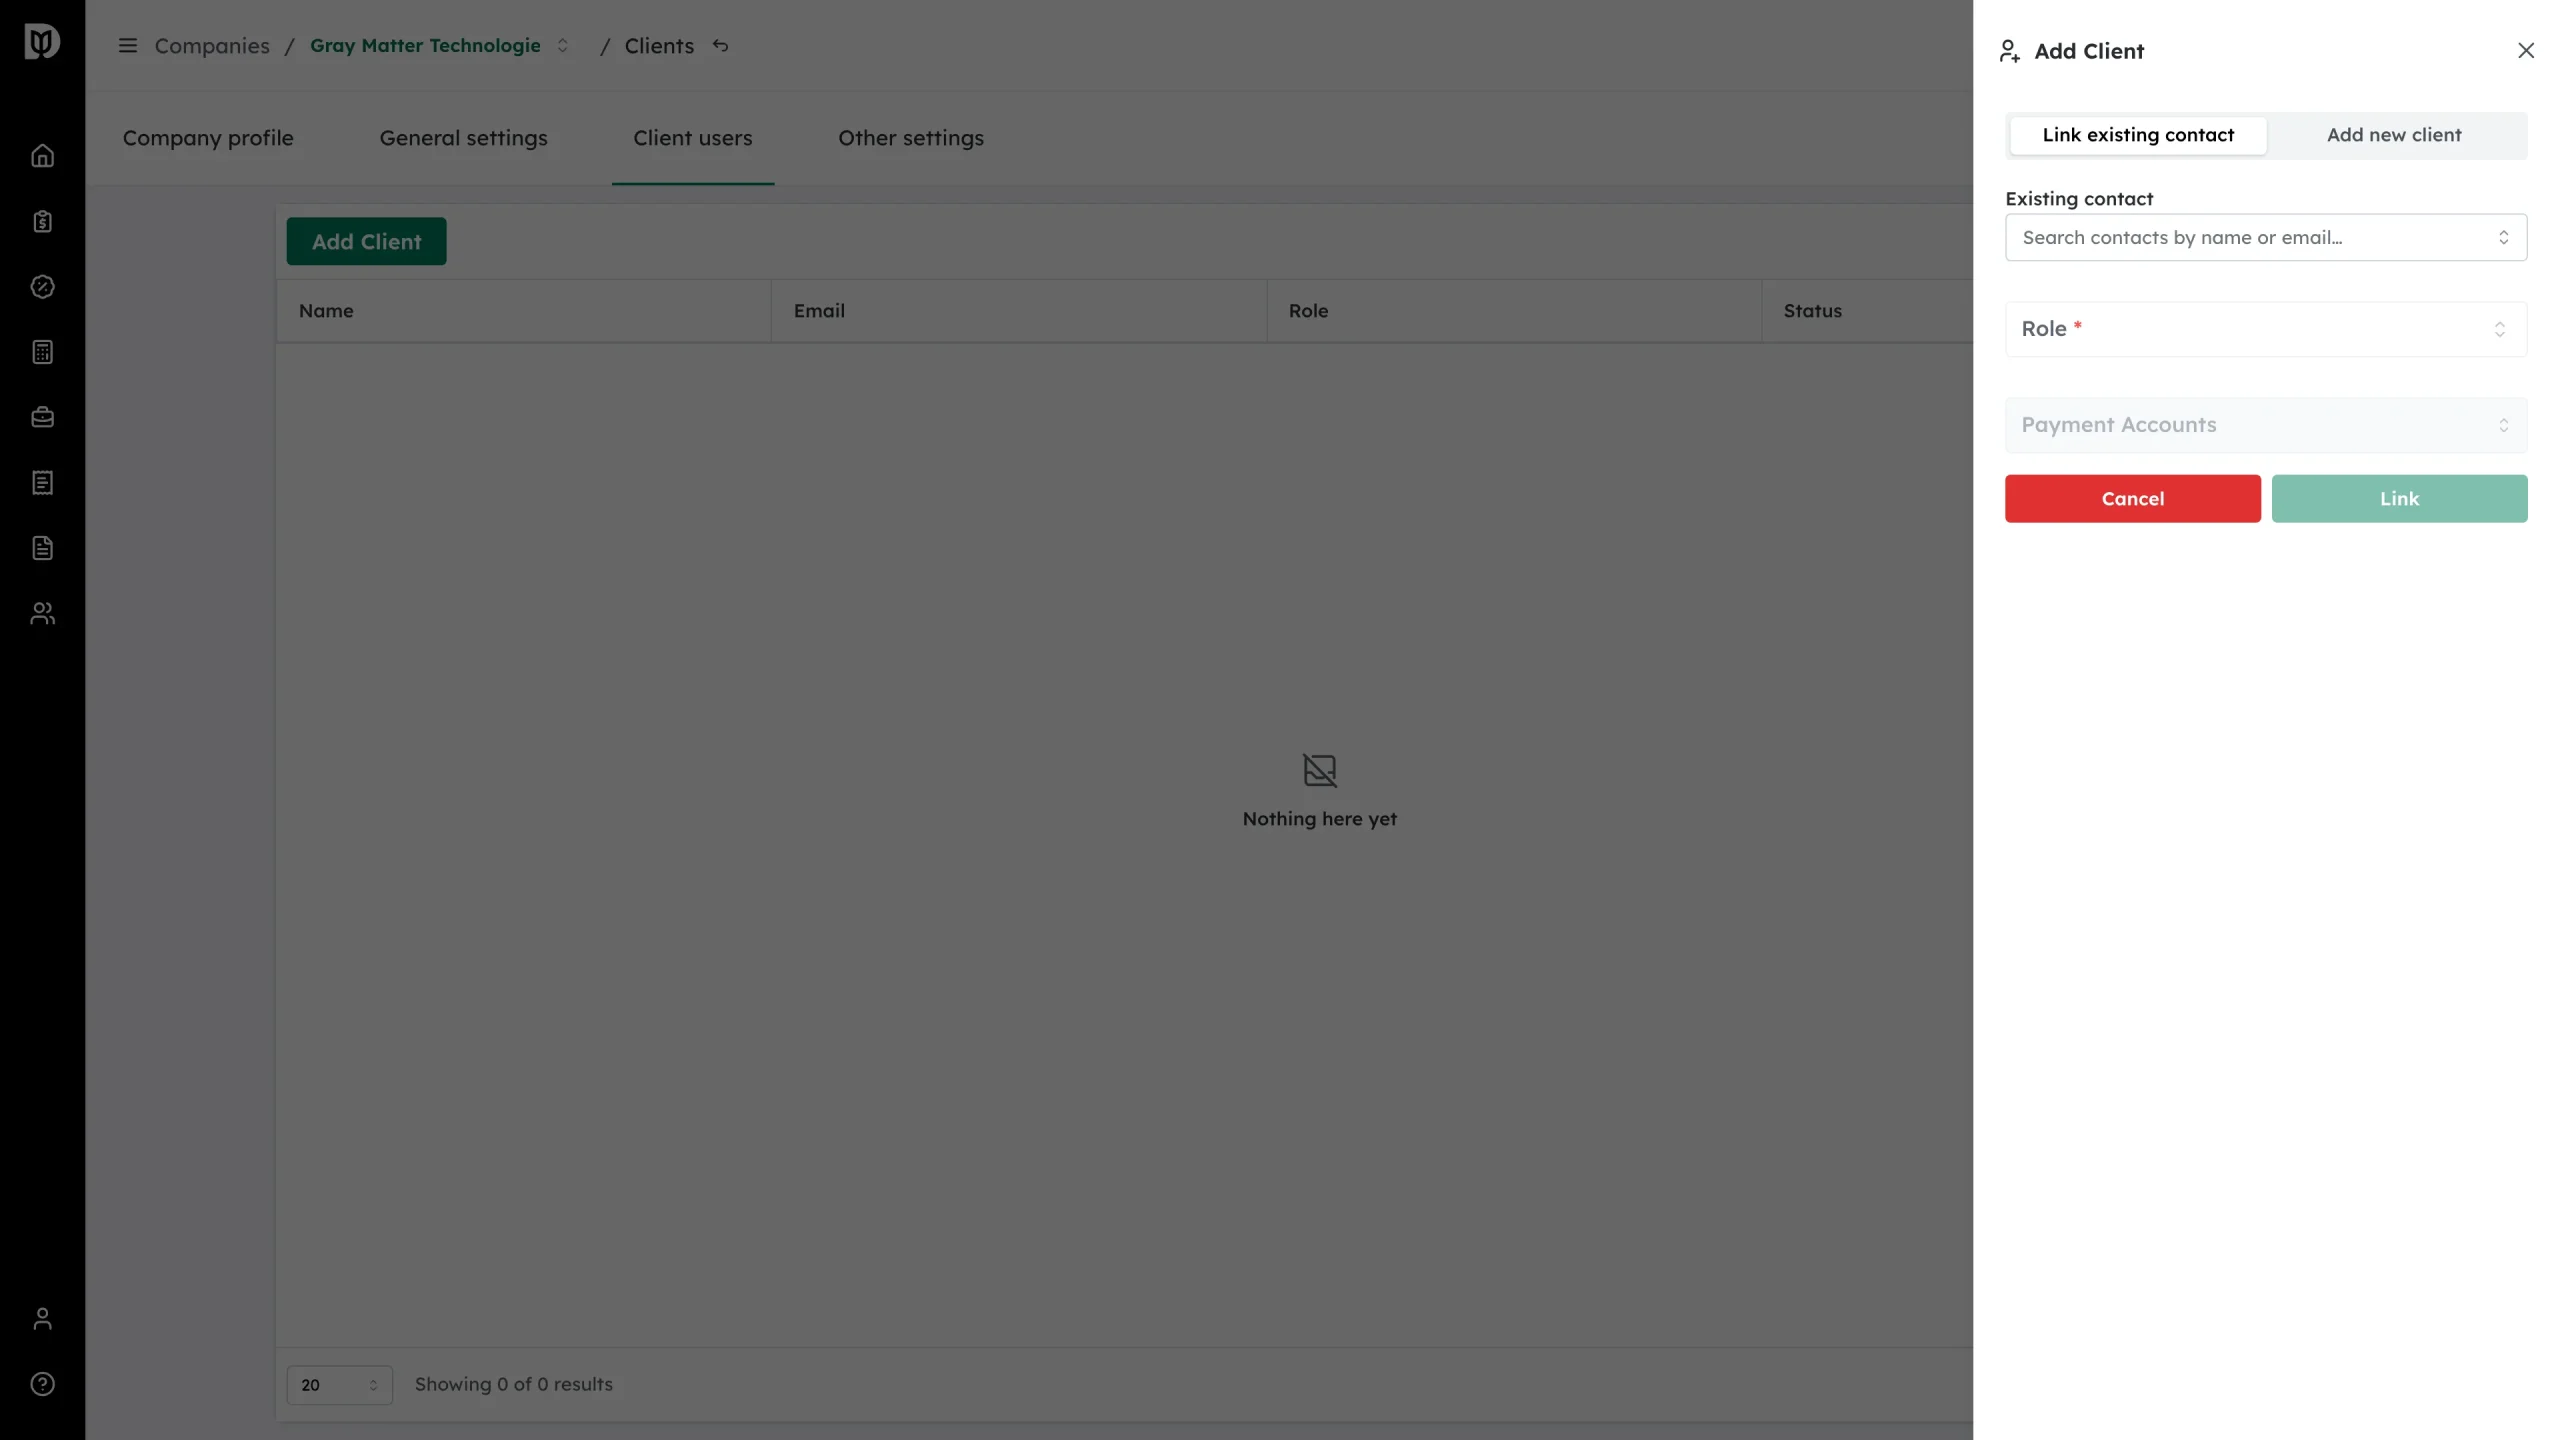
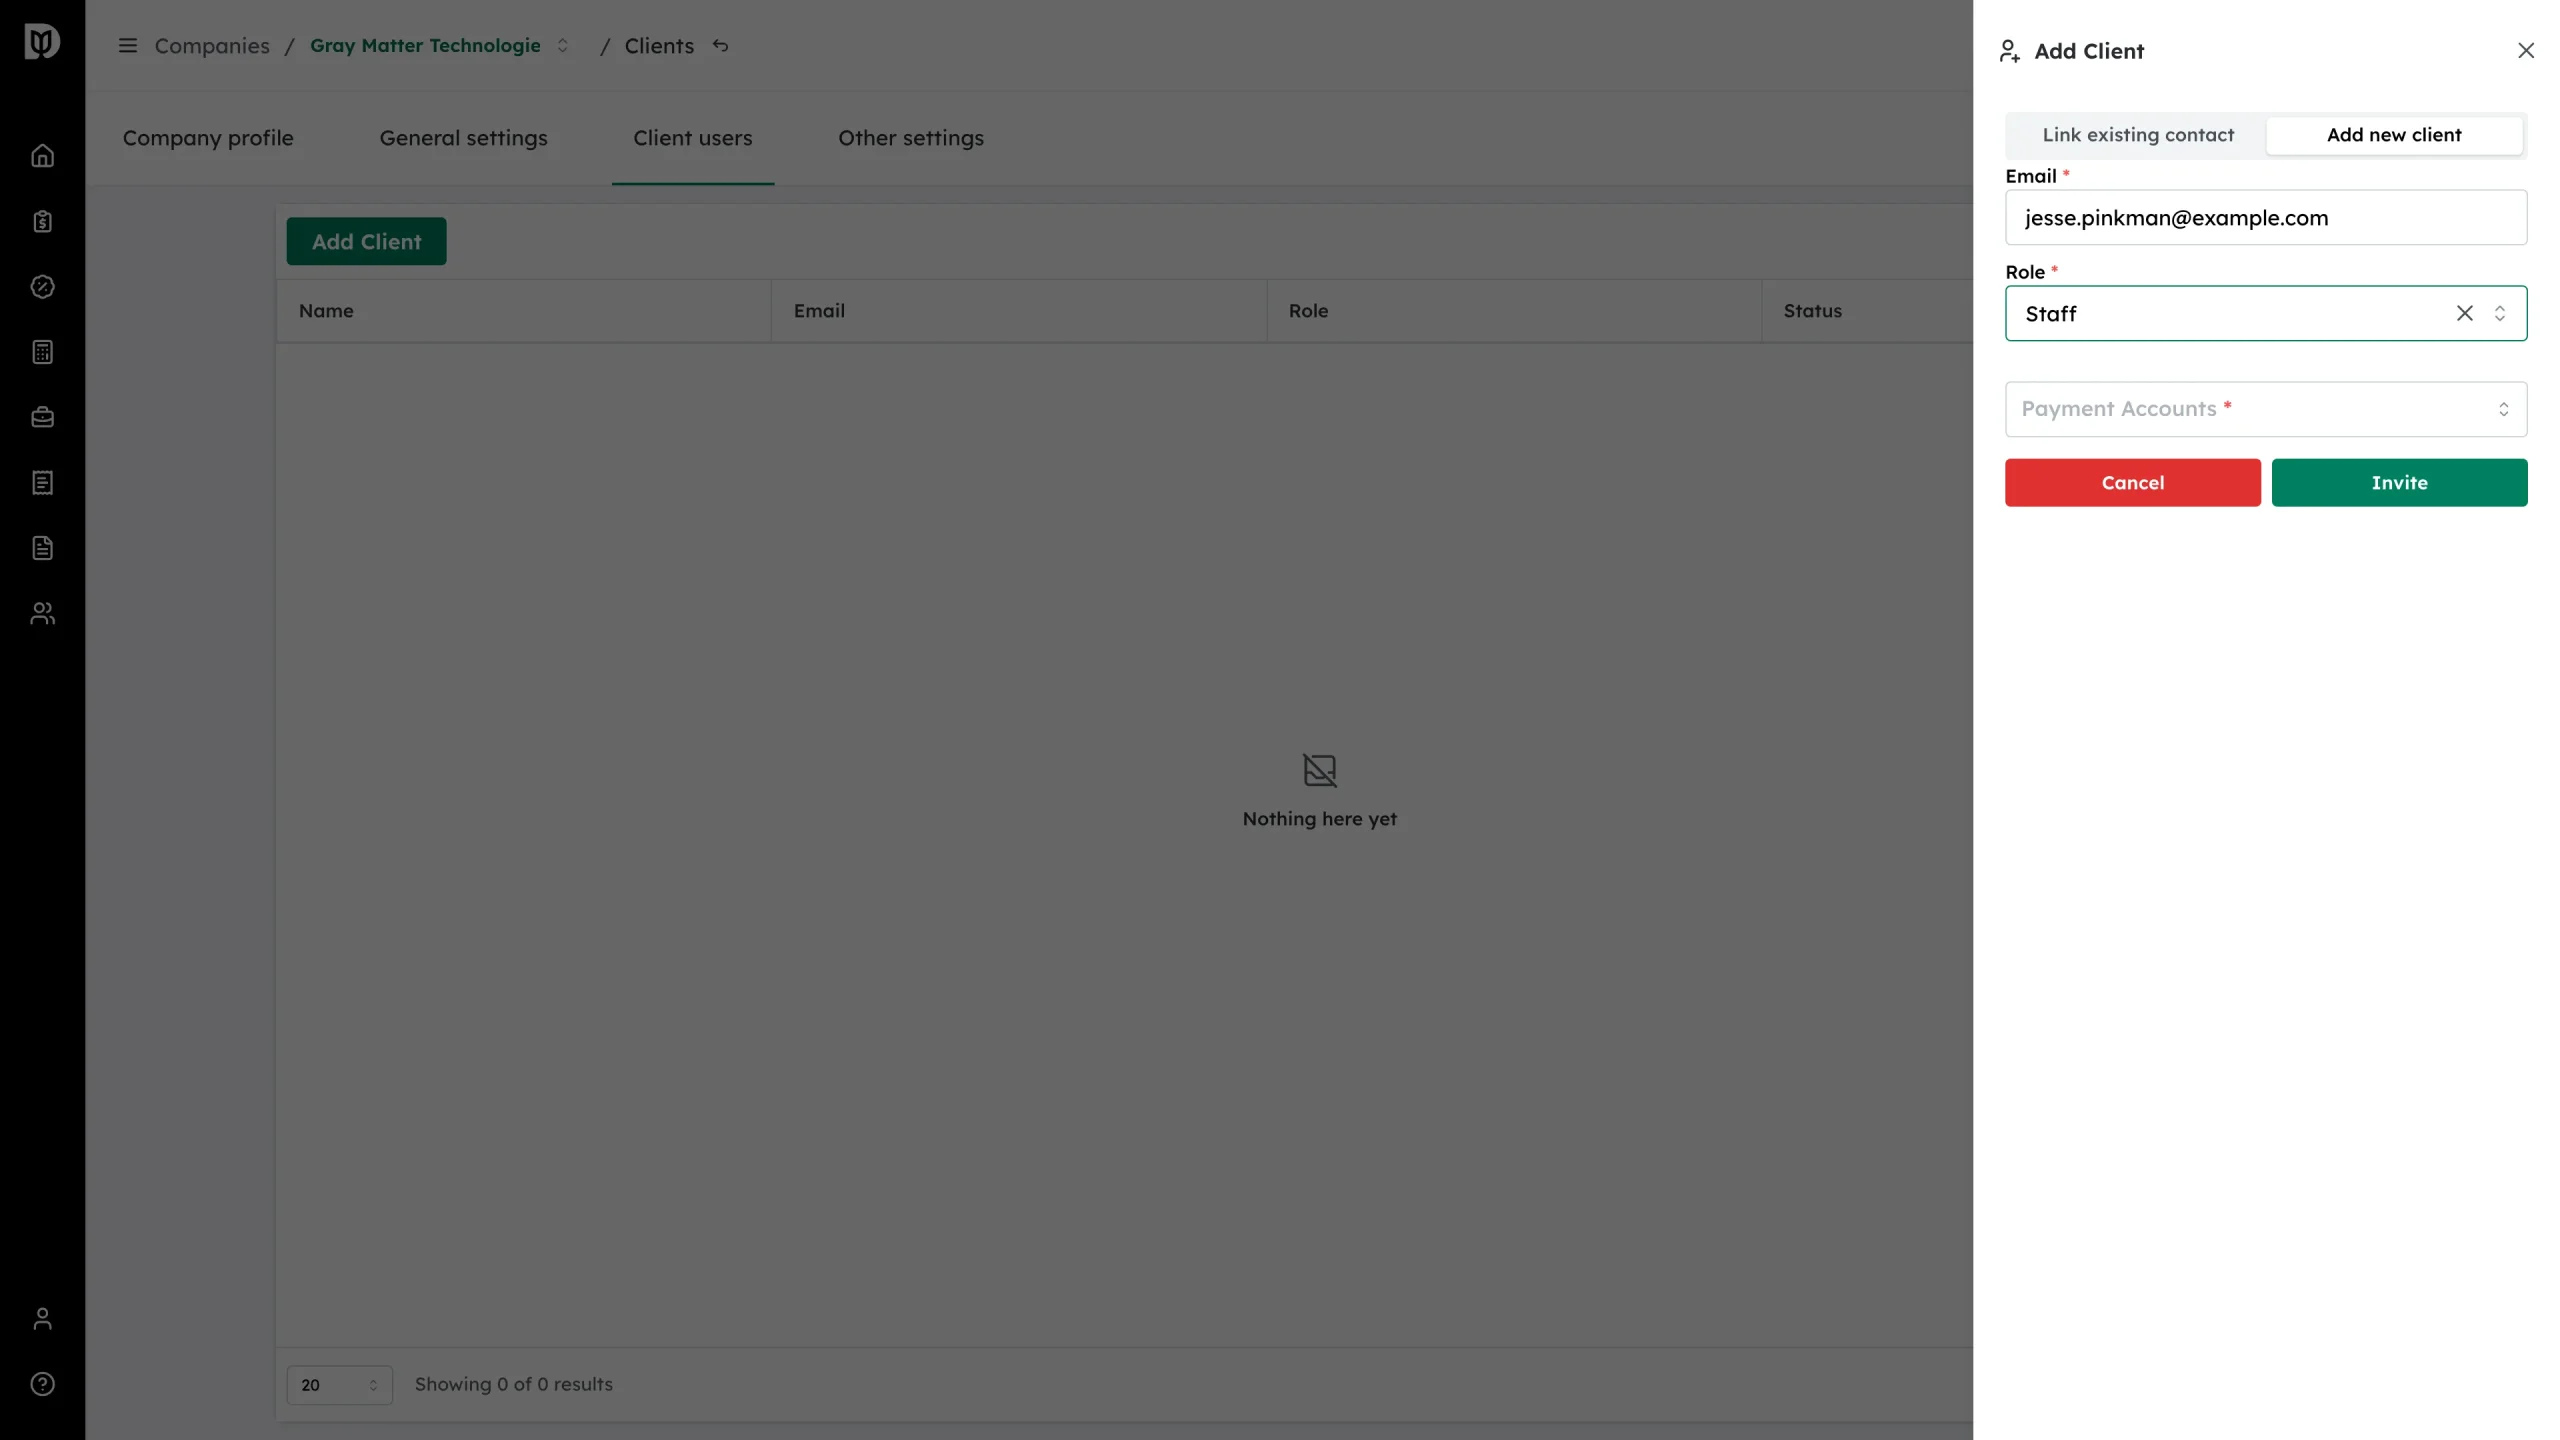
The Add Client drawer opens on the right.
-
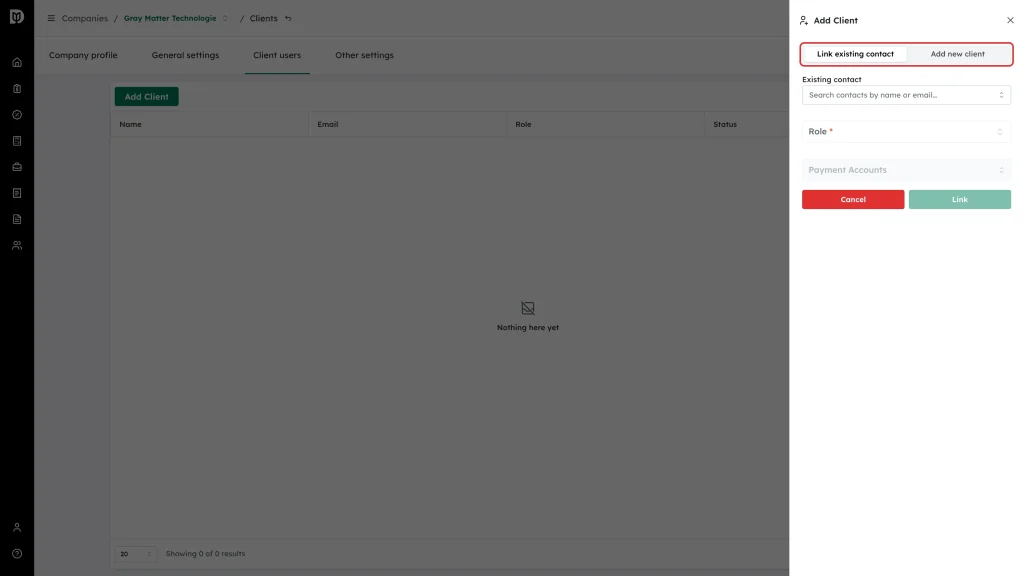
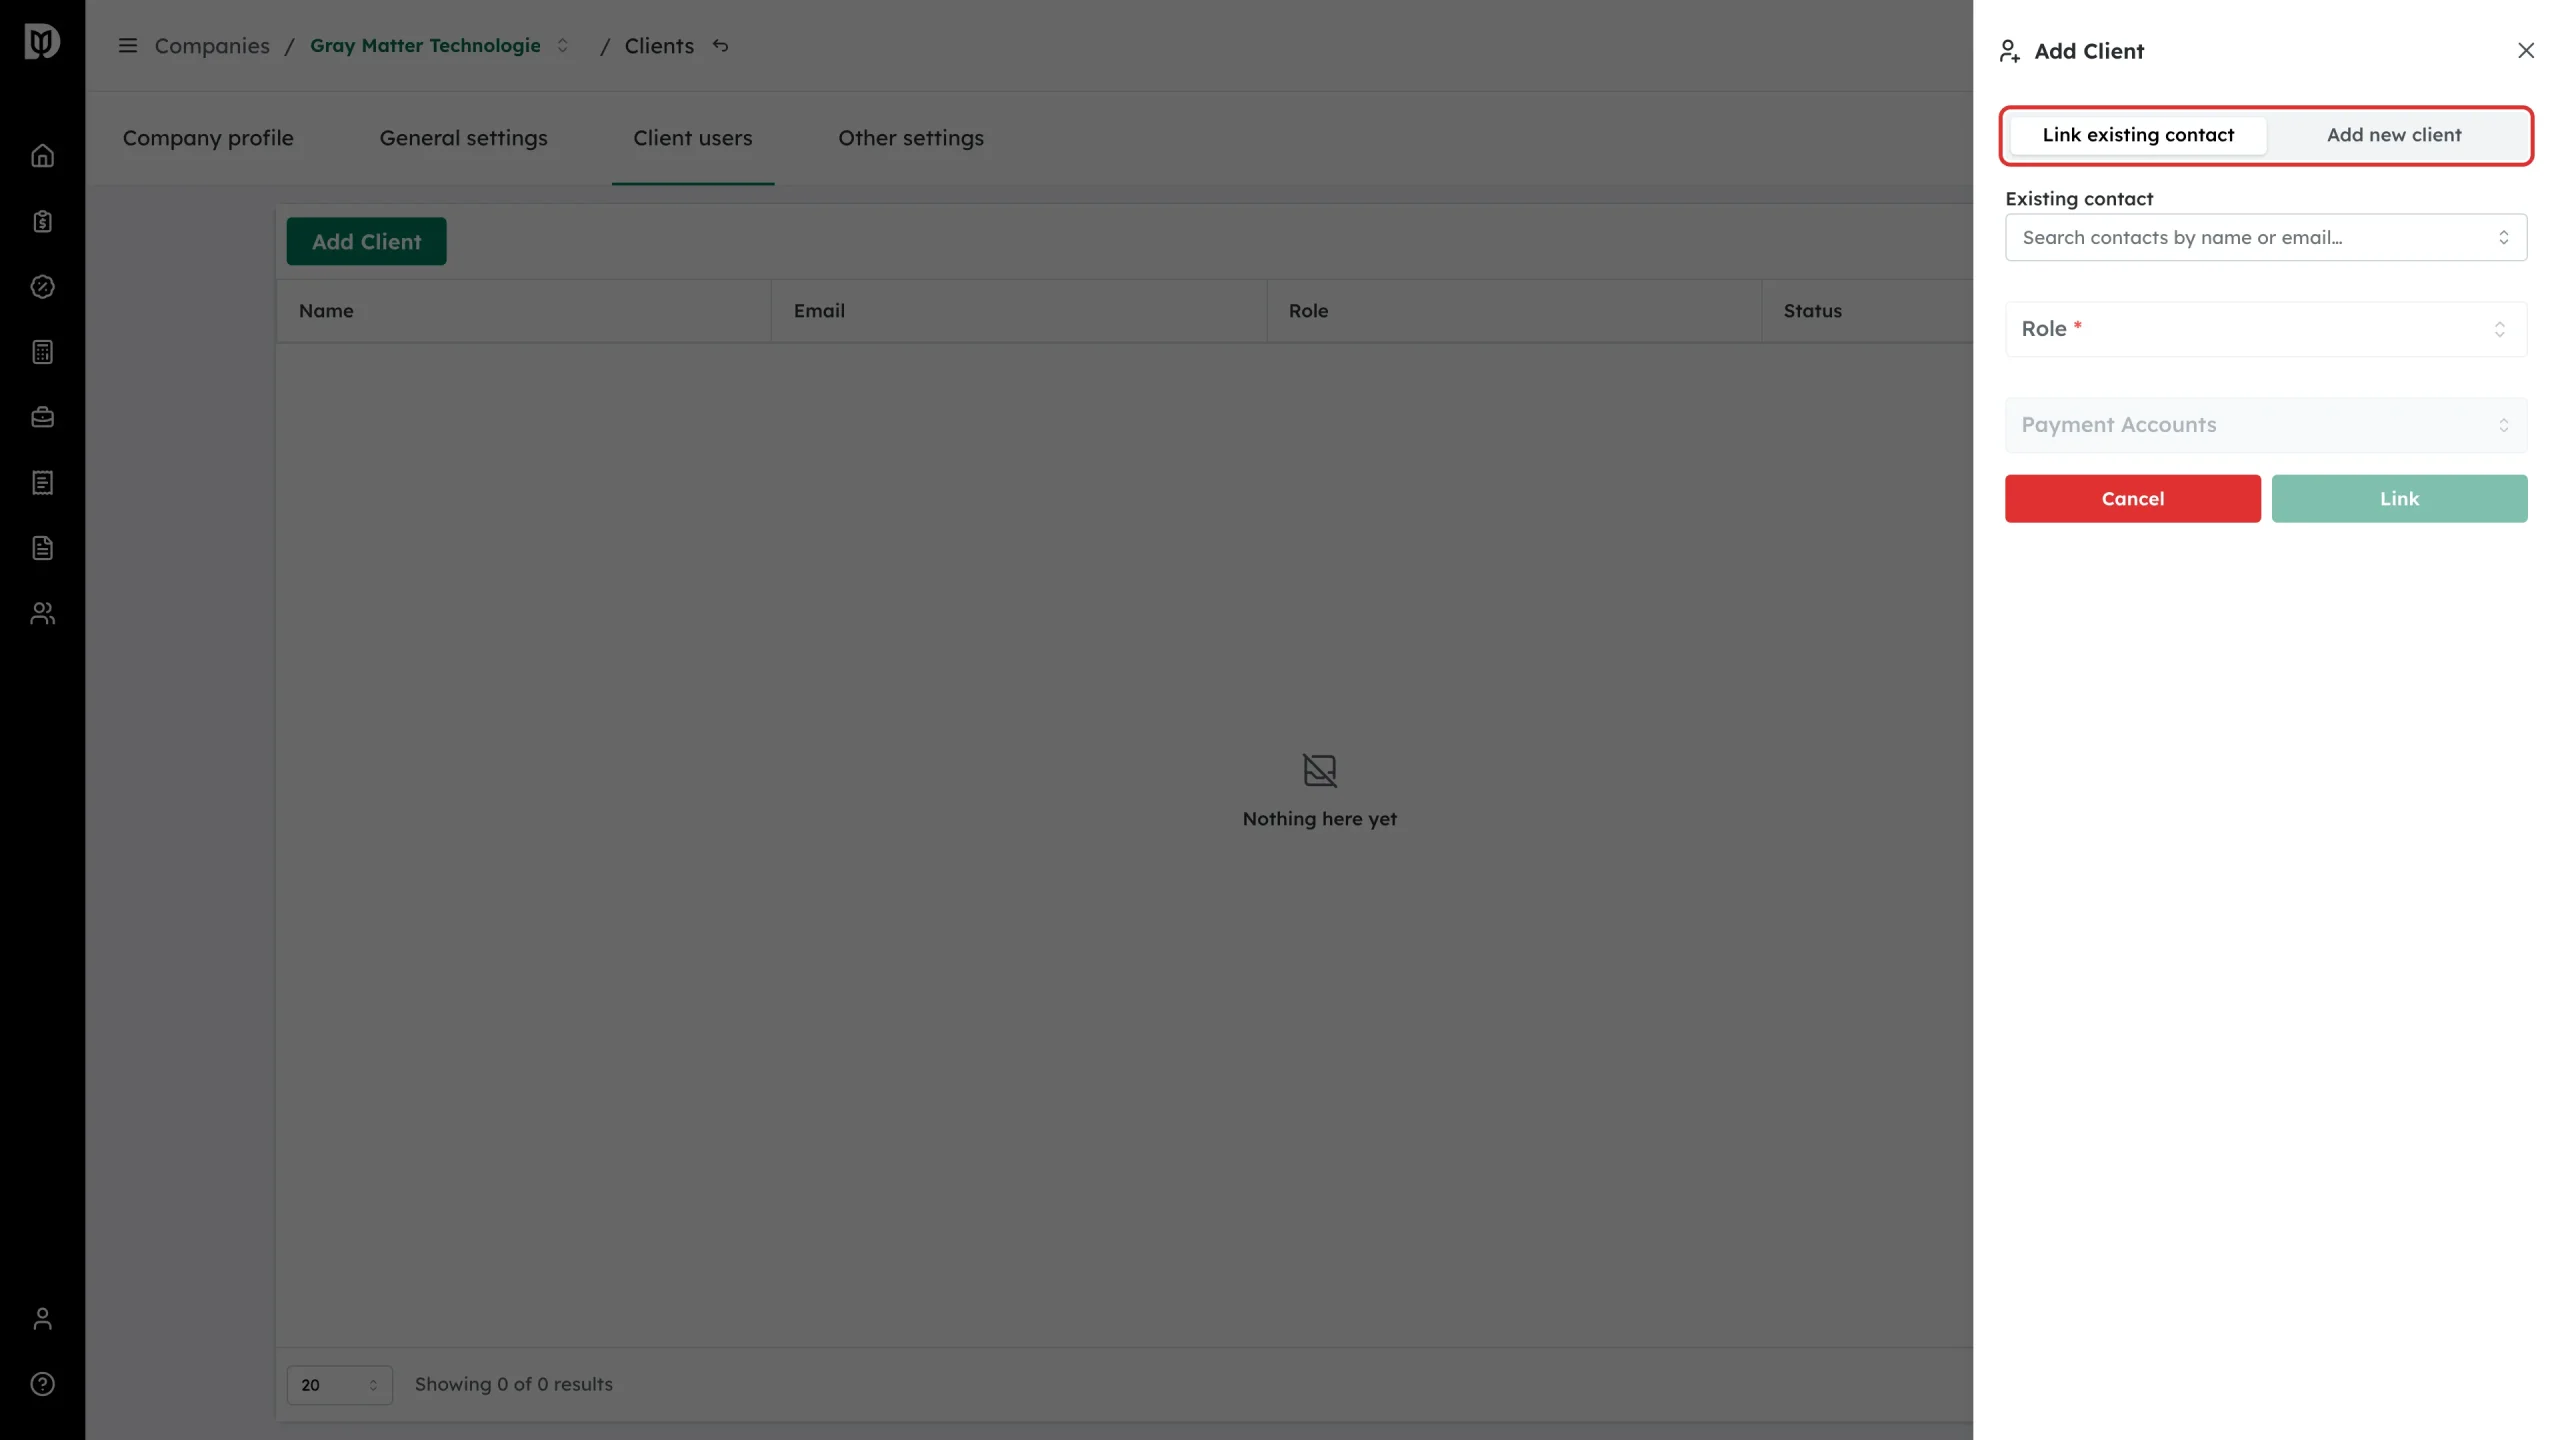
Choose how to add them. Pick Link existing contact if your firm already has this person in Contacts — this avoids creating a duplicate record. Pick Add new client if they are new to your firm.
-
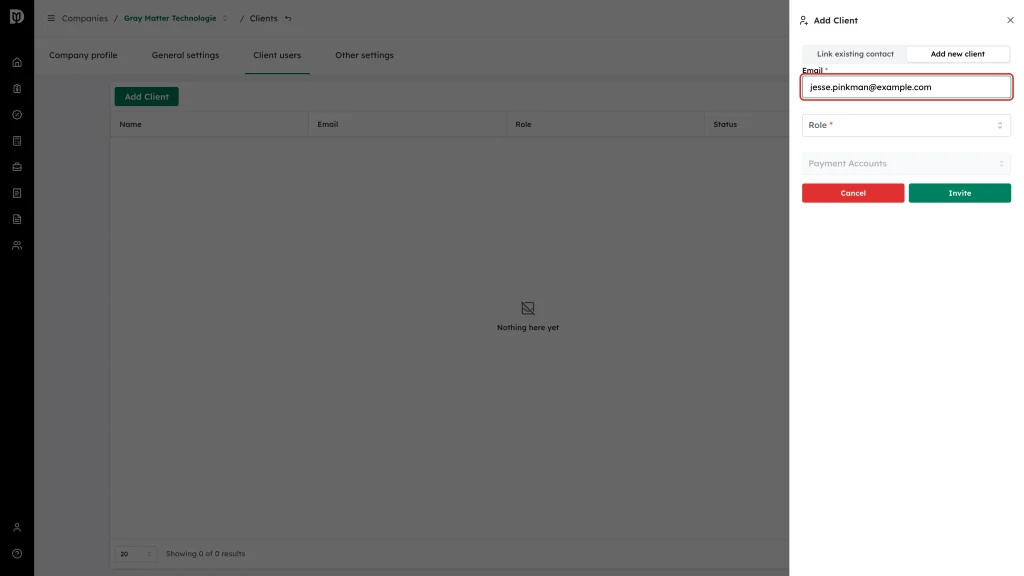
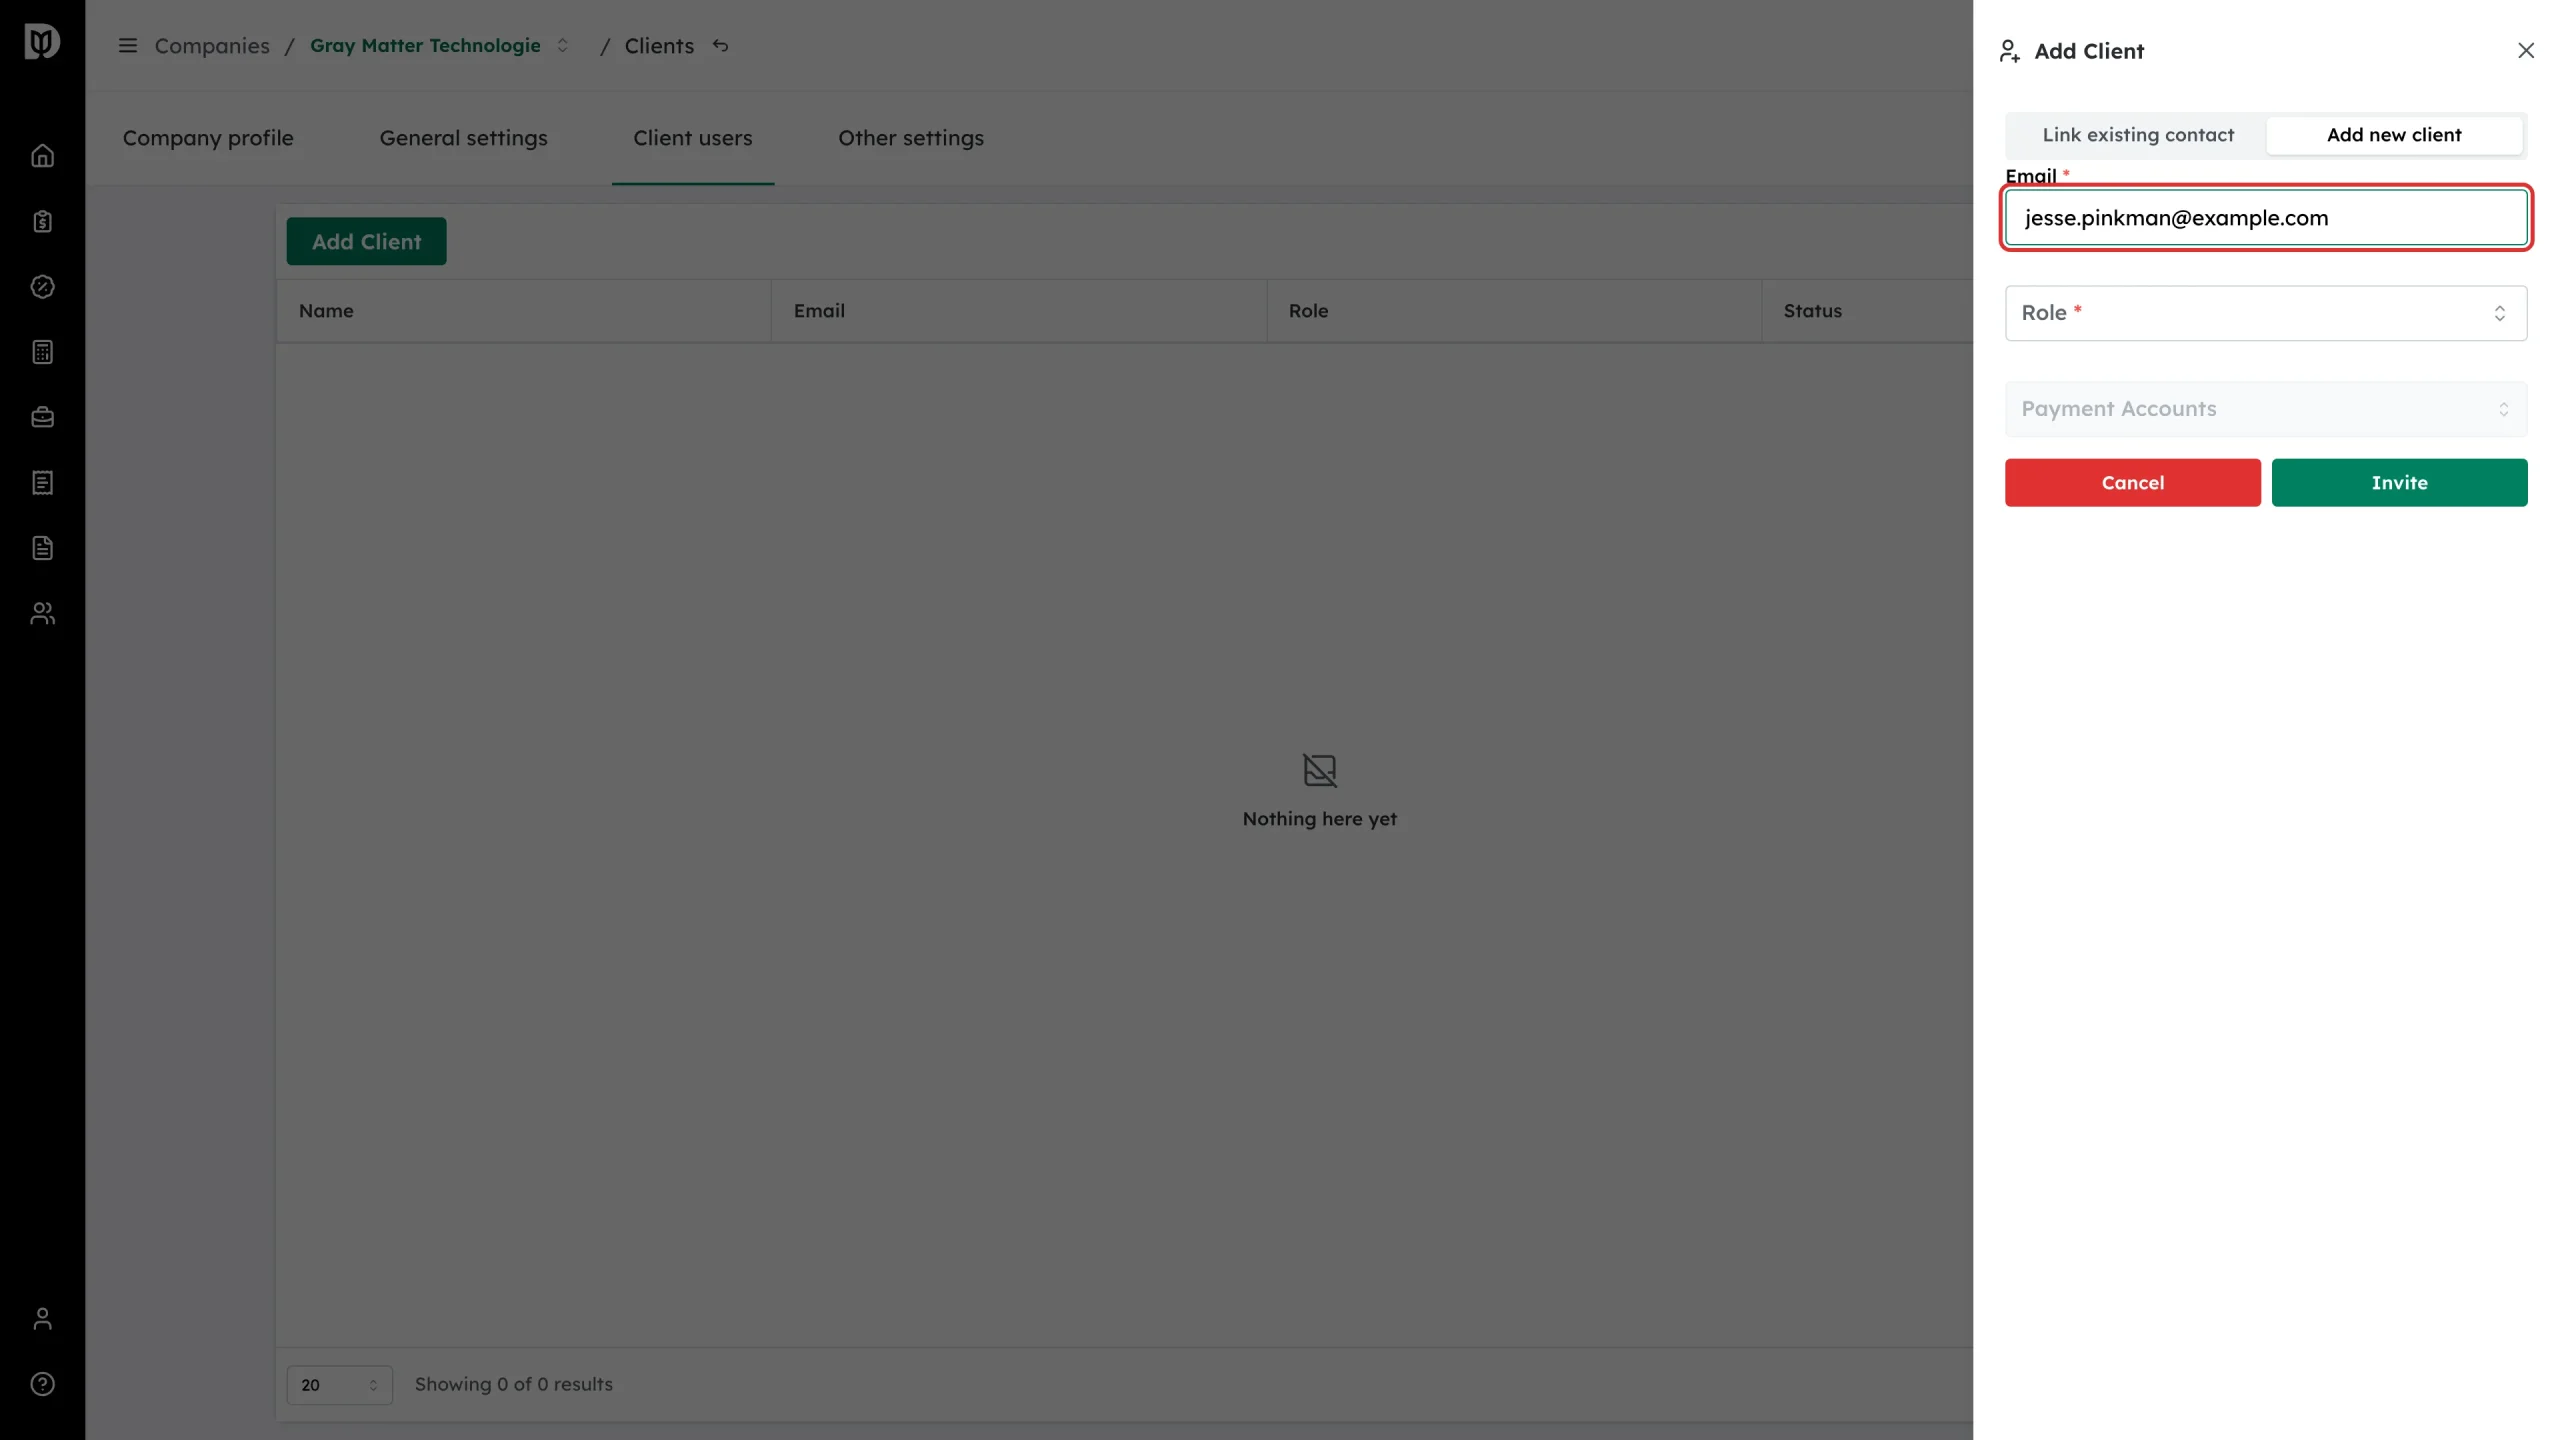
For a new client, type their Email. Debits checks it as you type and tells you if the address already belongs to a Debits user.
-
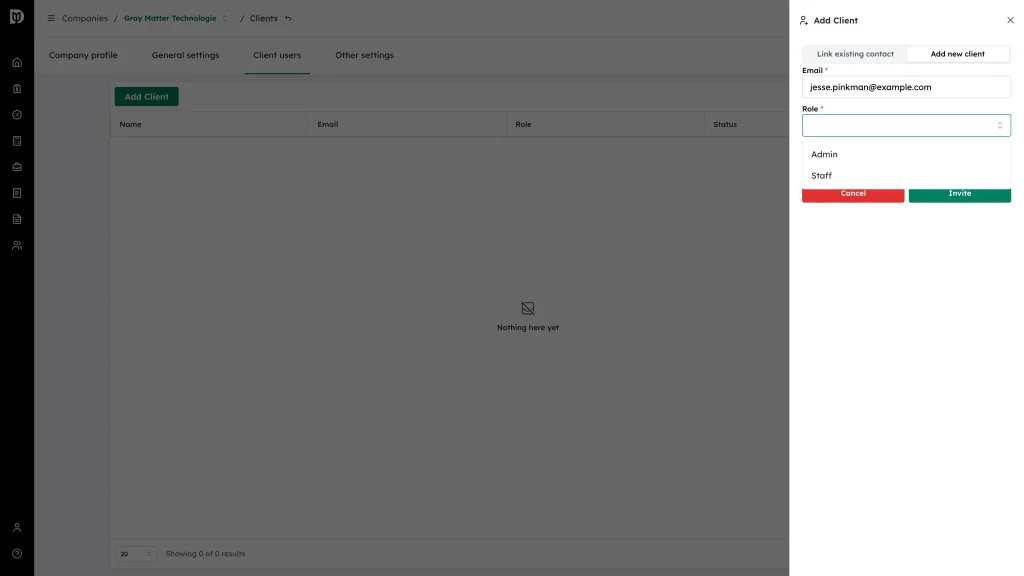
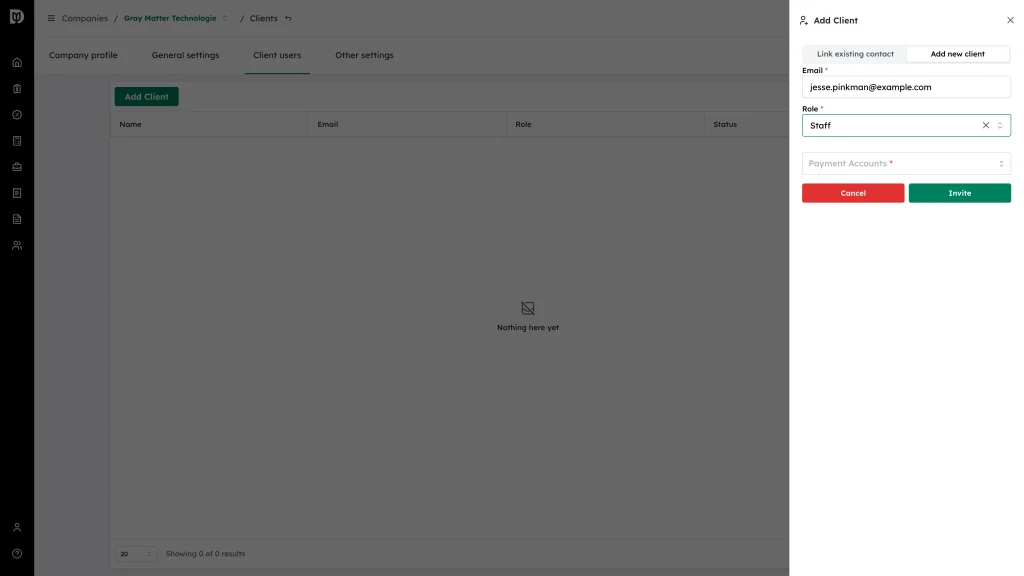
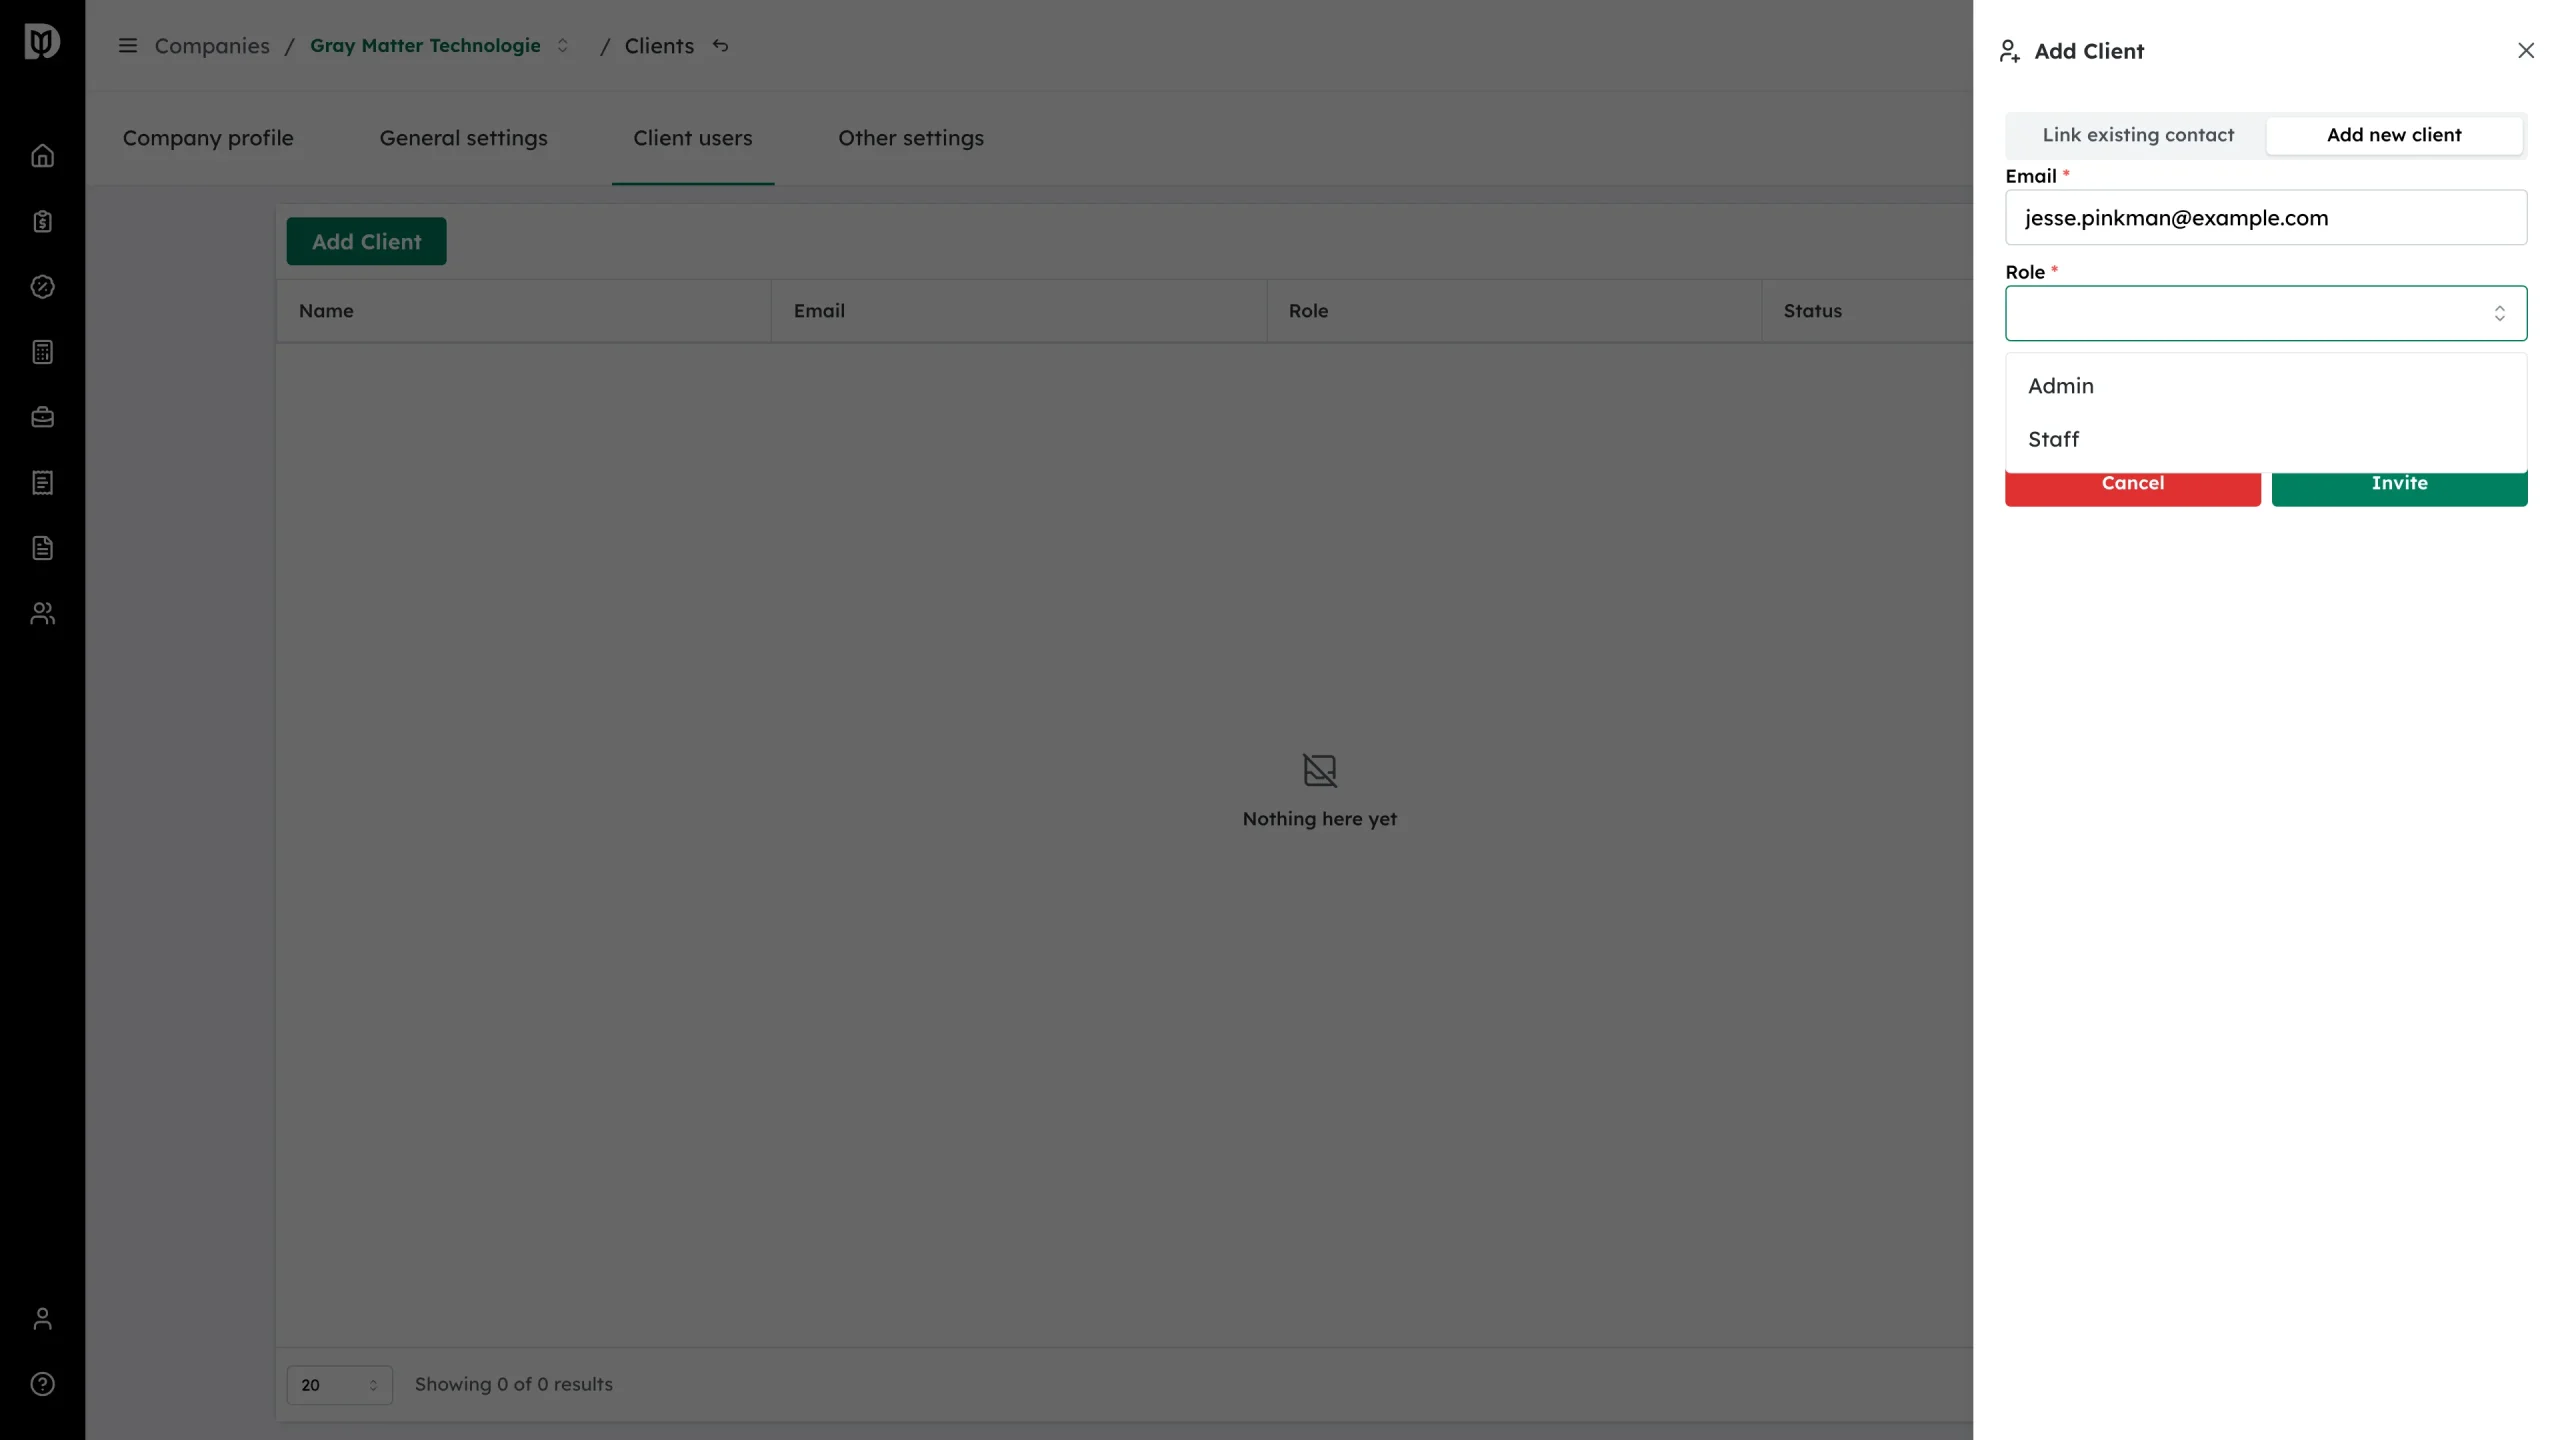
Open Role and pick Admin or Staff.
-
With Staff selected, a required Payment Accounts field appears.
-
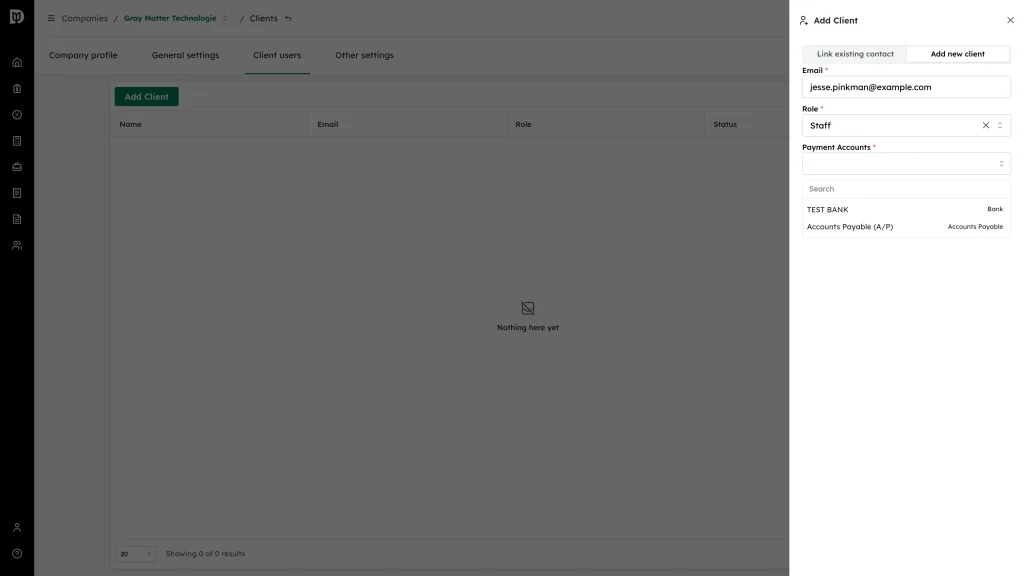
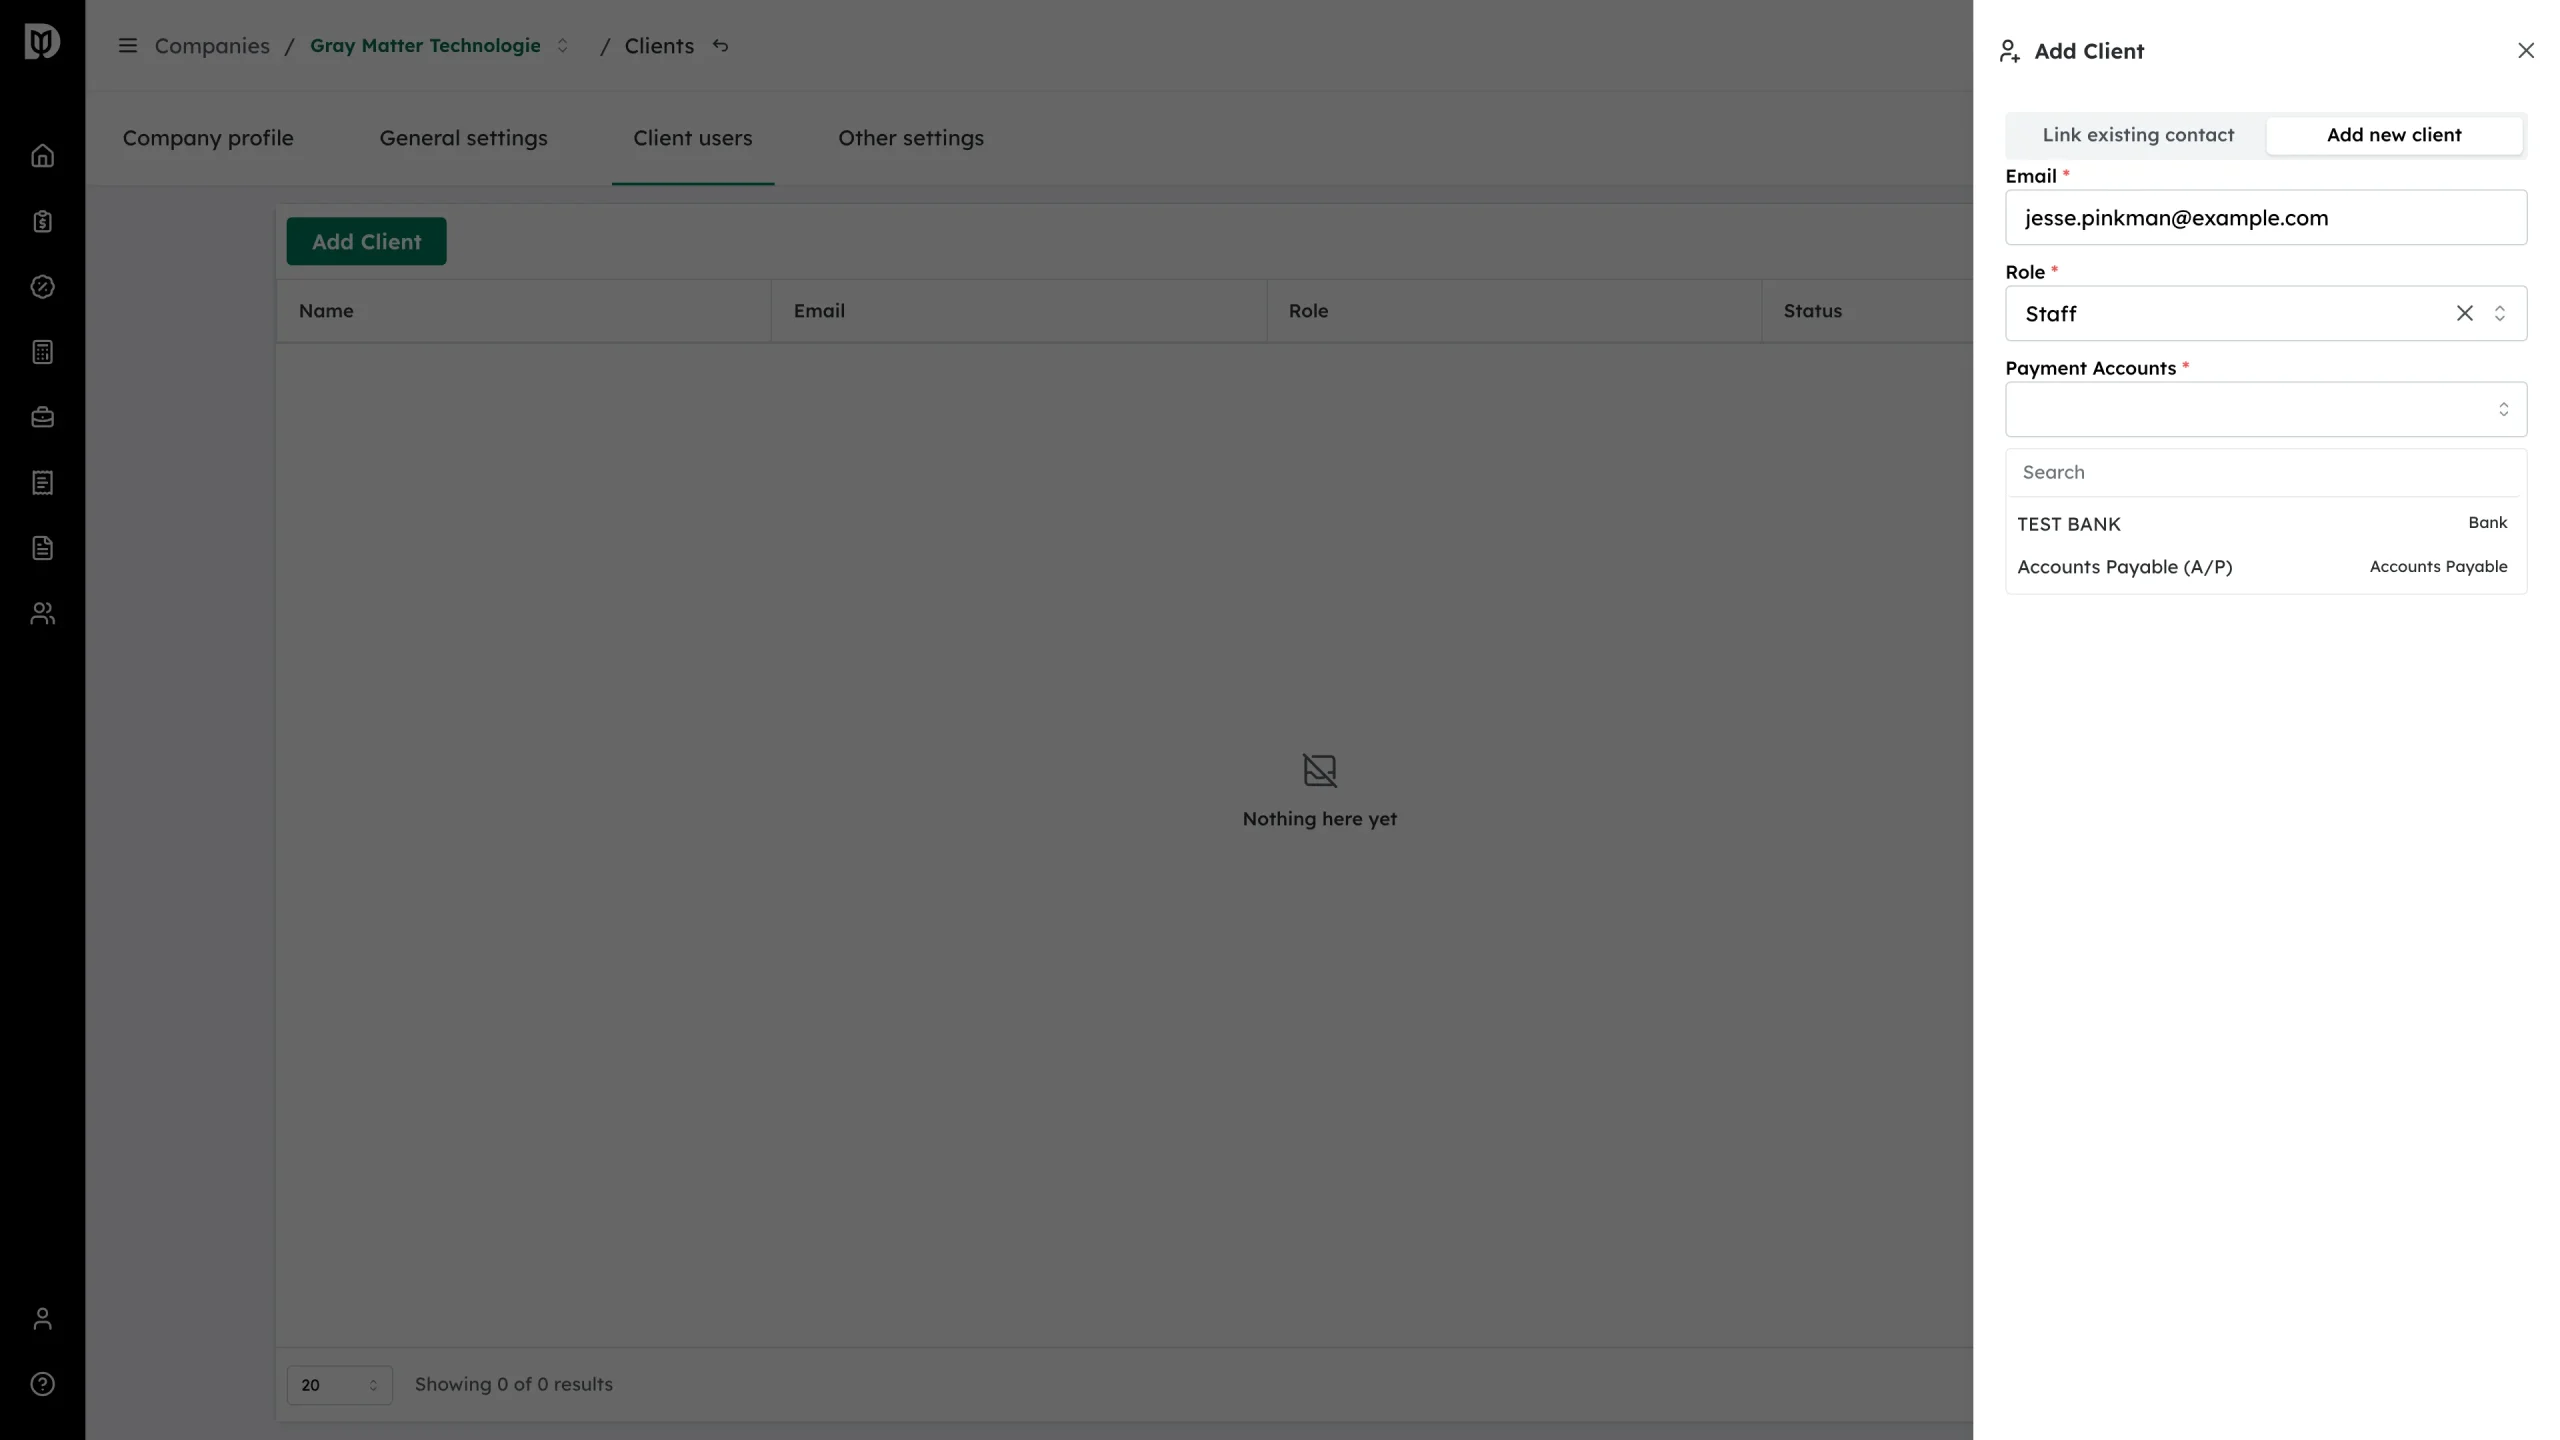
Open Payment Accounts and tick the accounts this person should see. Each option shows the account name and its type.
-
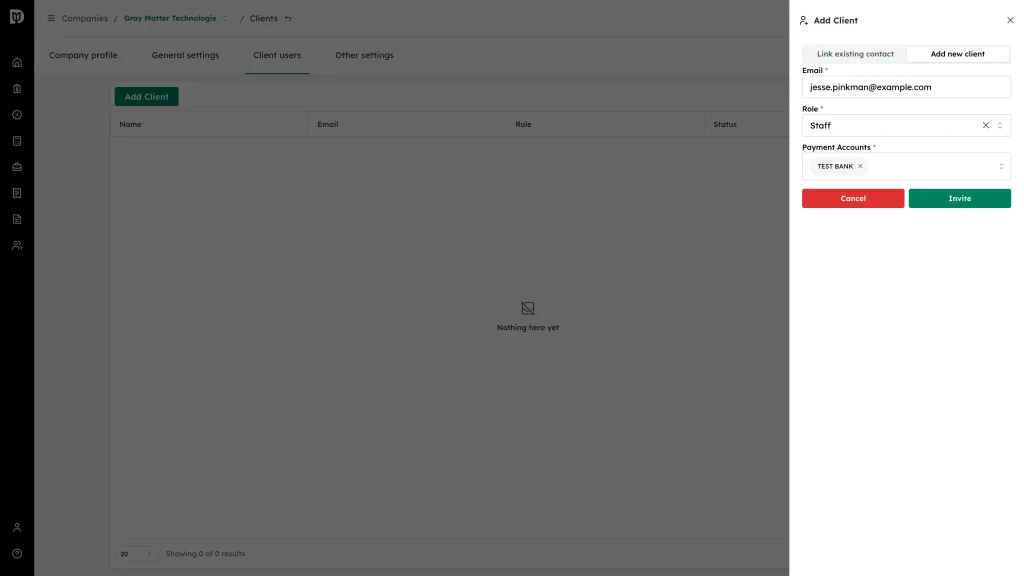
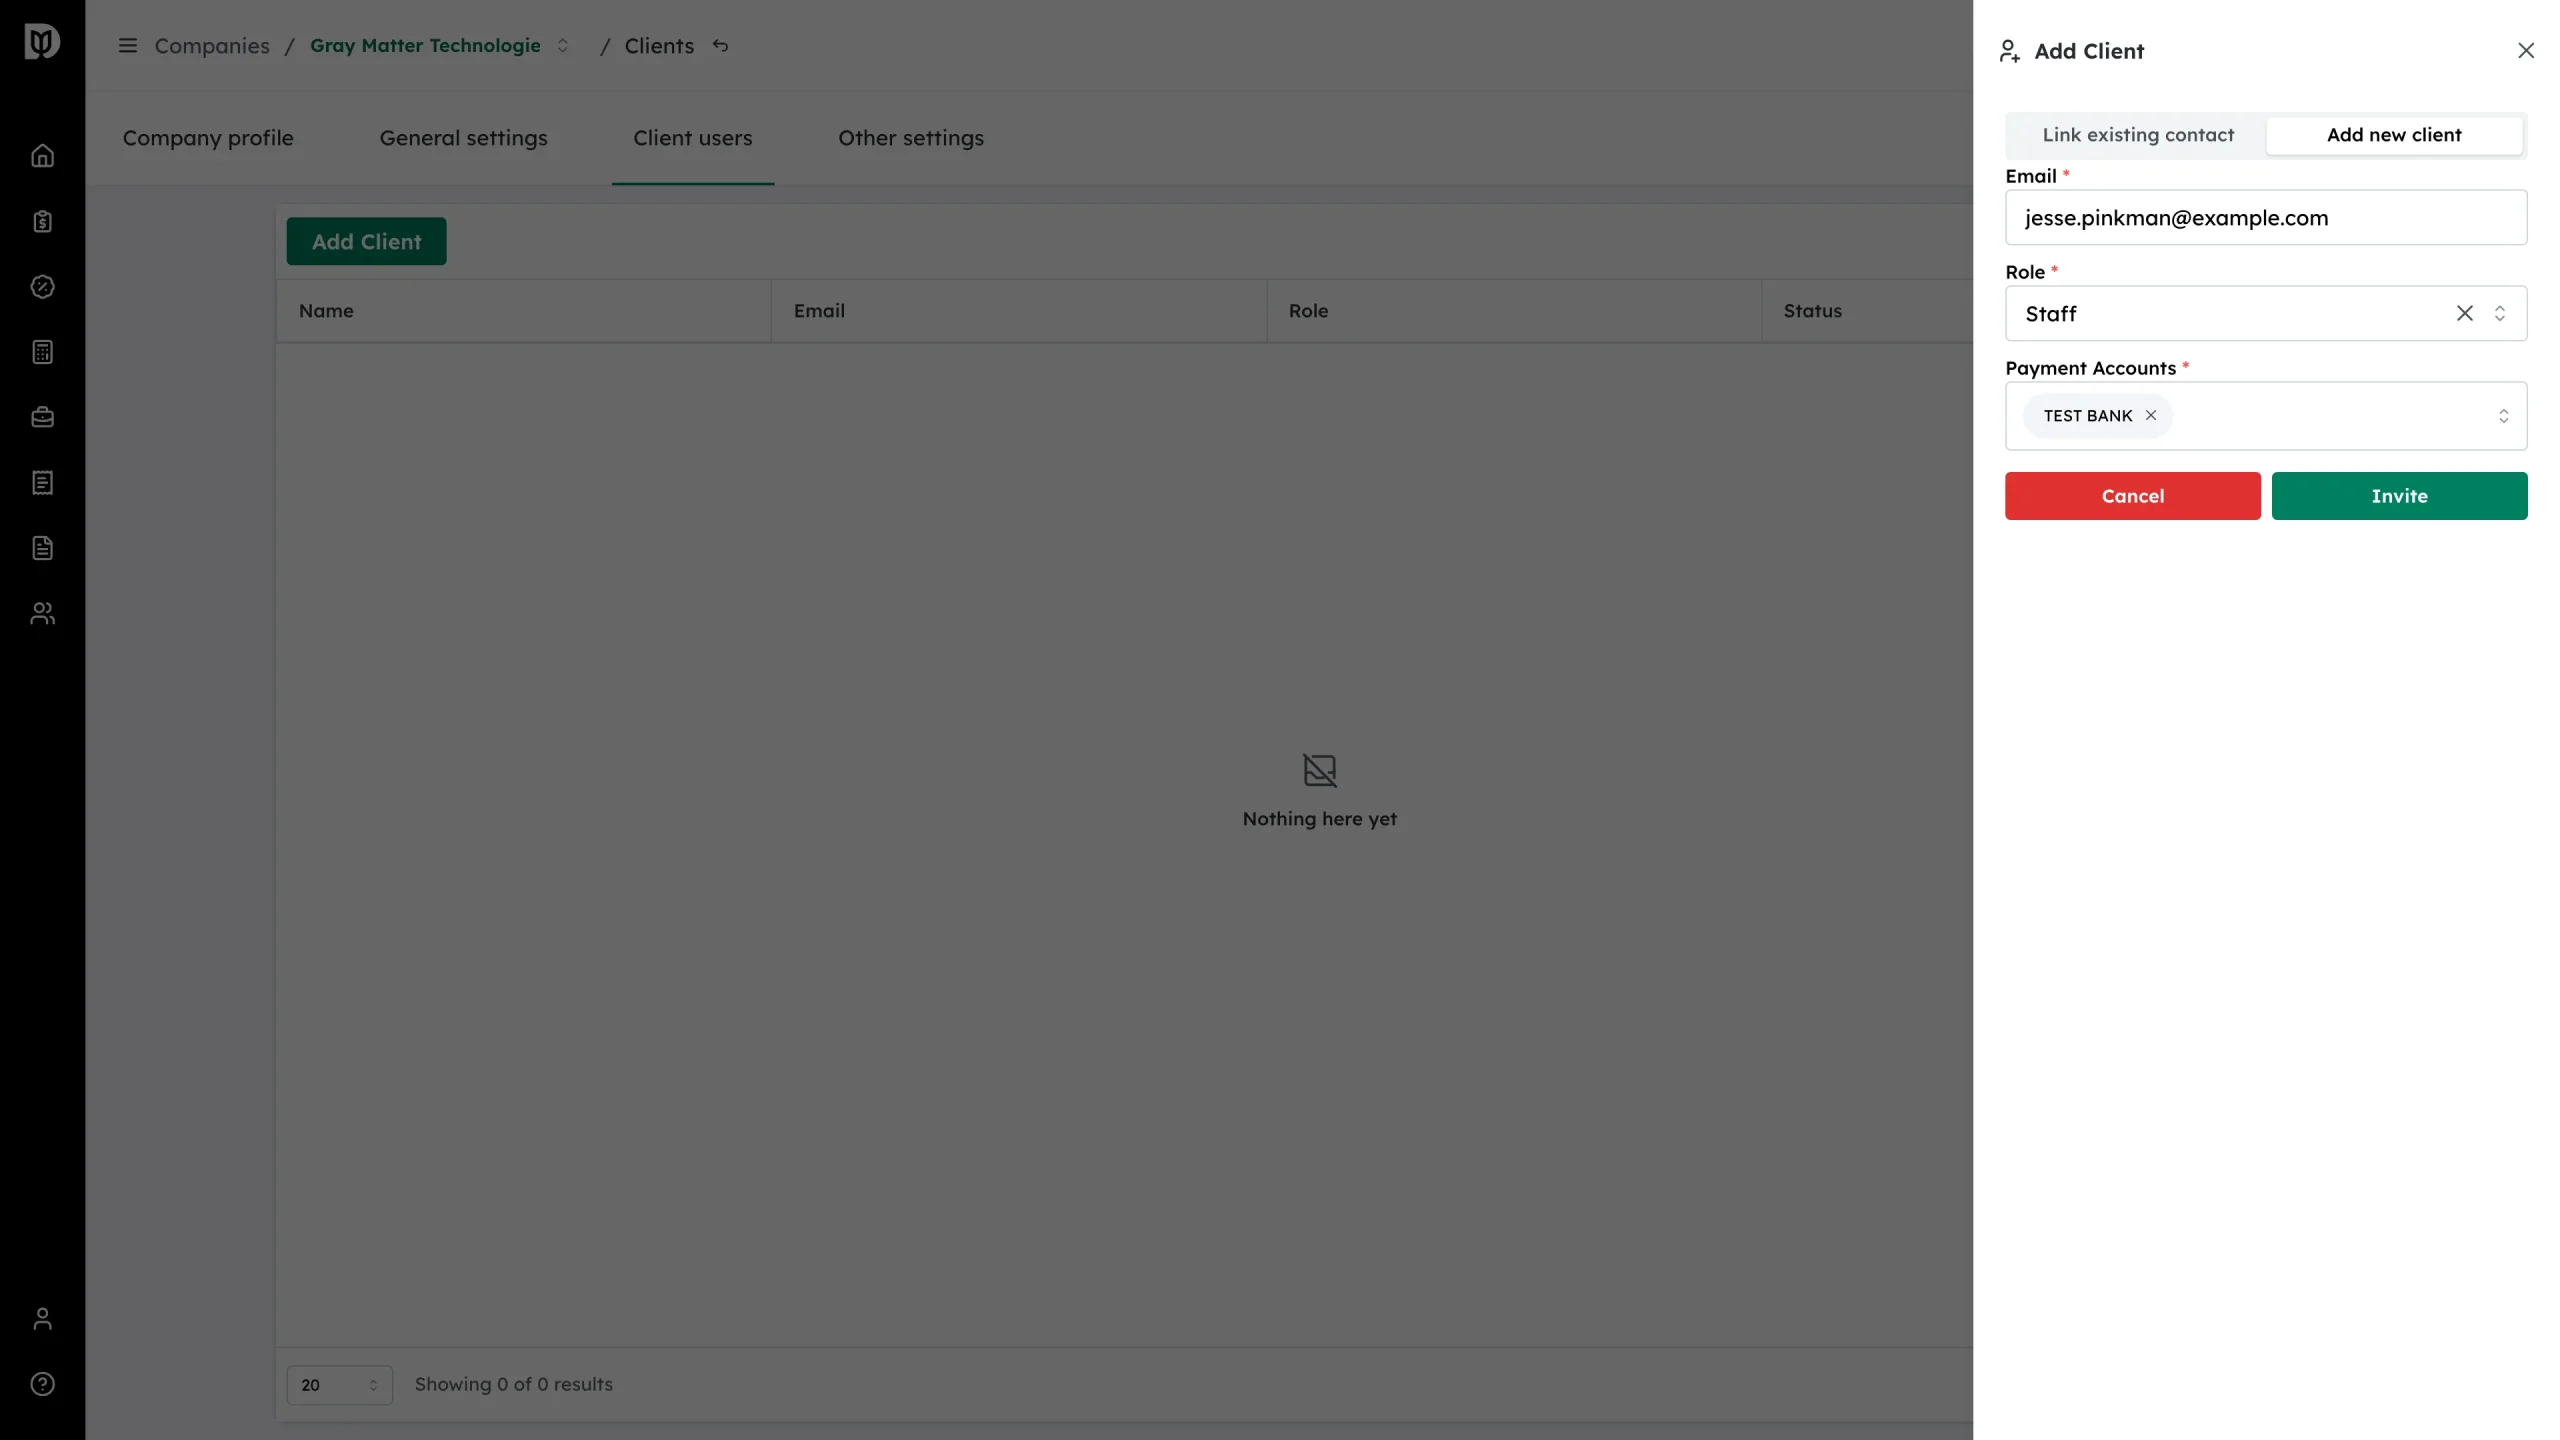
Your choices appear as tags in the field.
-
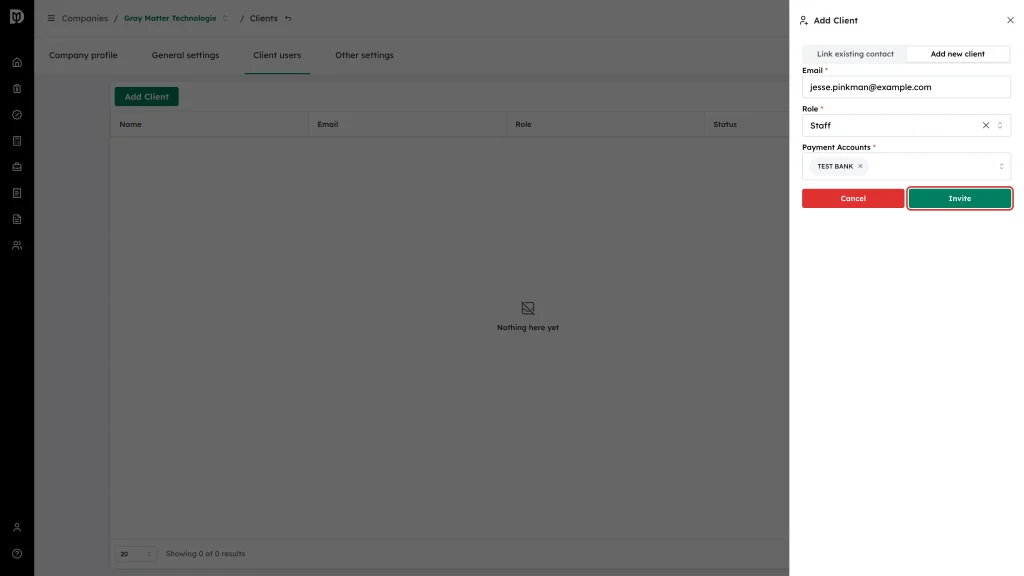
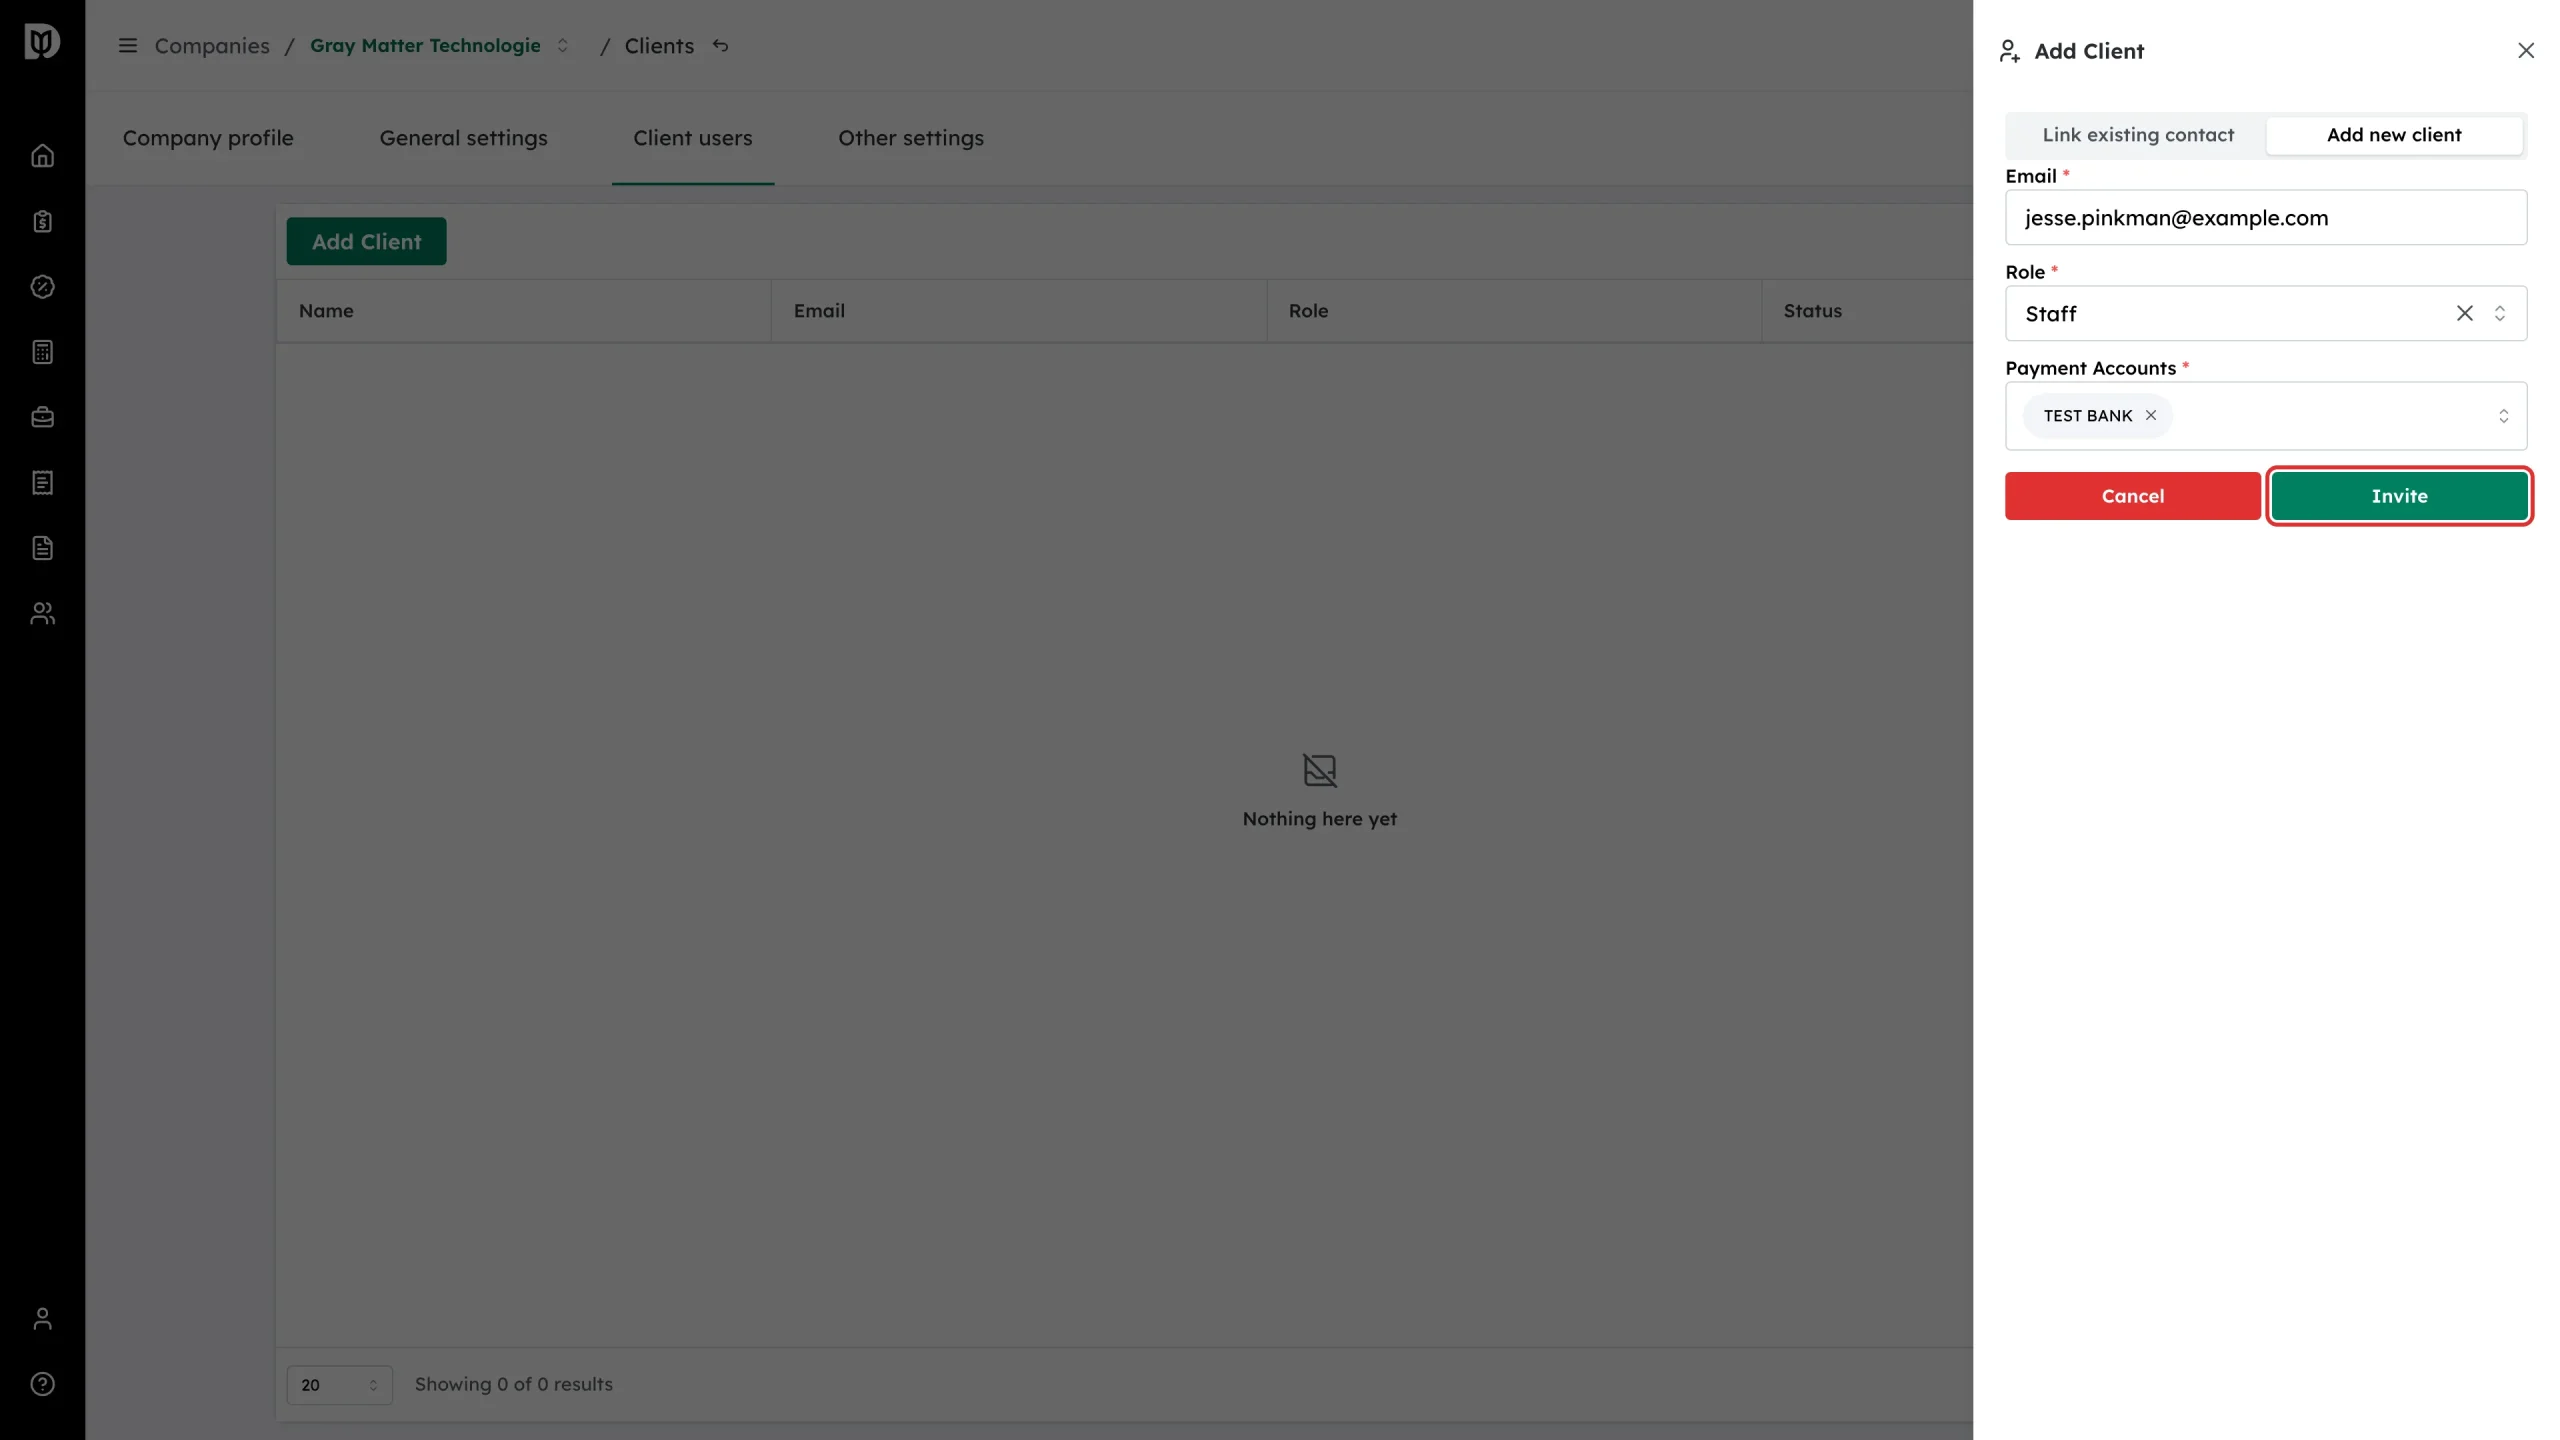
Click Invite. (If you chose Link existing contact, the button reads Link.)
What happens next
The person is added to the Client users table with an INVITED badge, and Debits emails them a link to set a password and sign in. The badge changes to ACTIVE once they finish setting up.
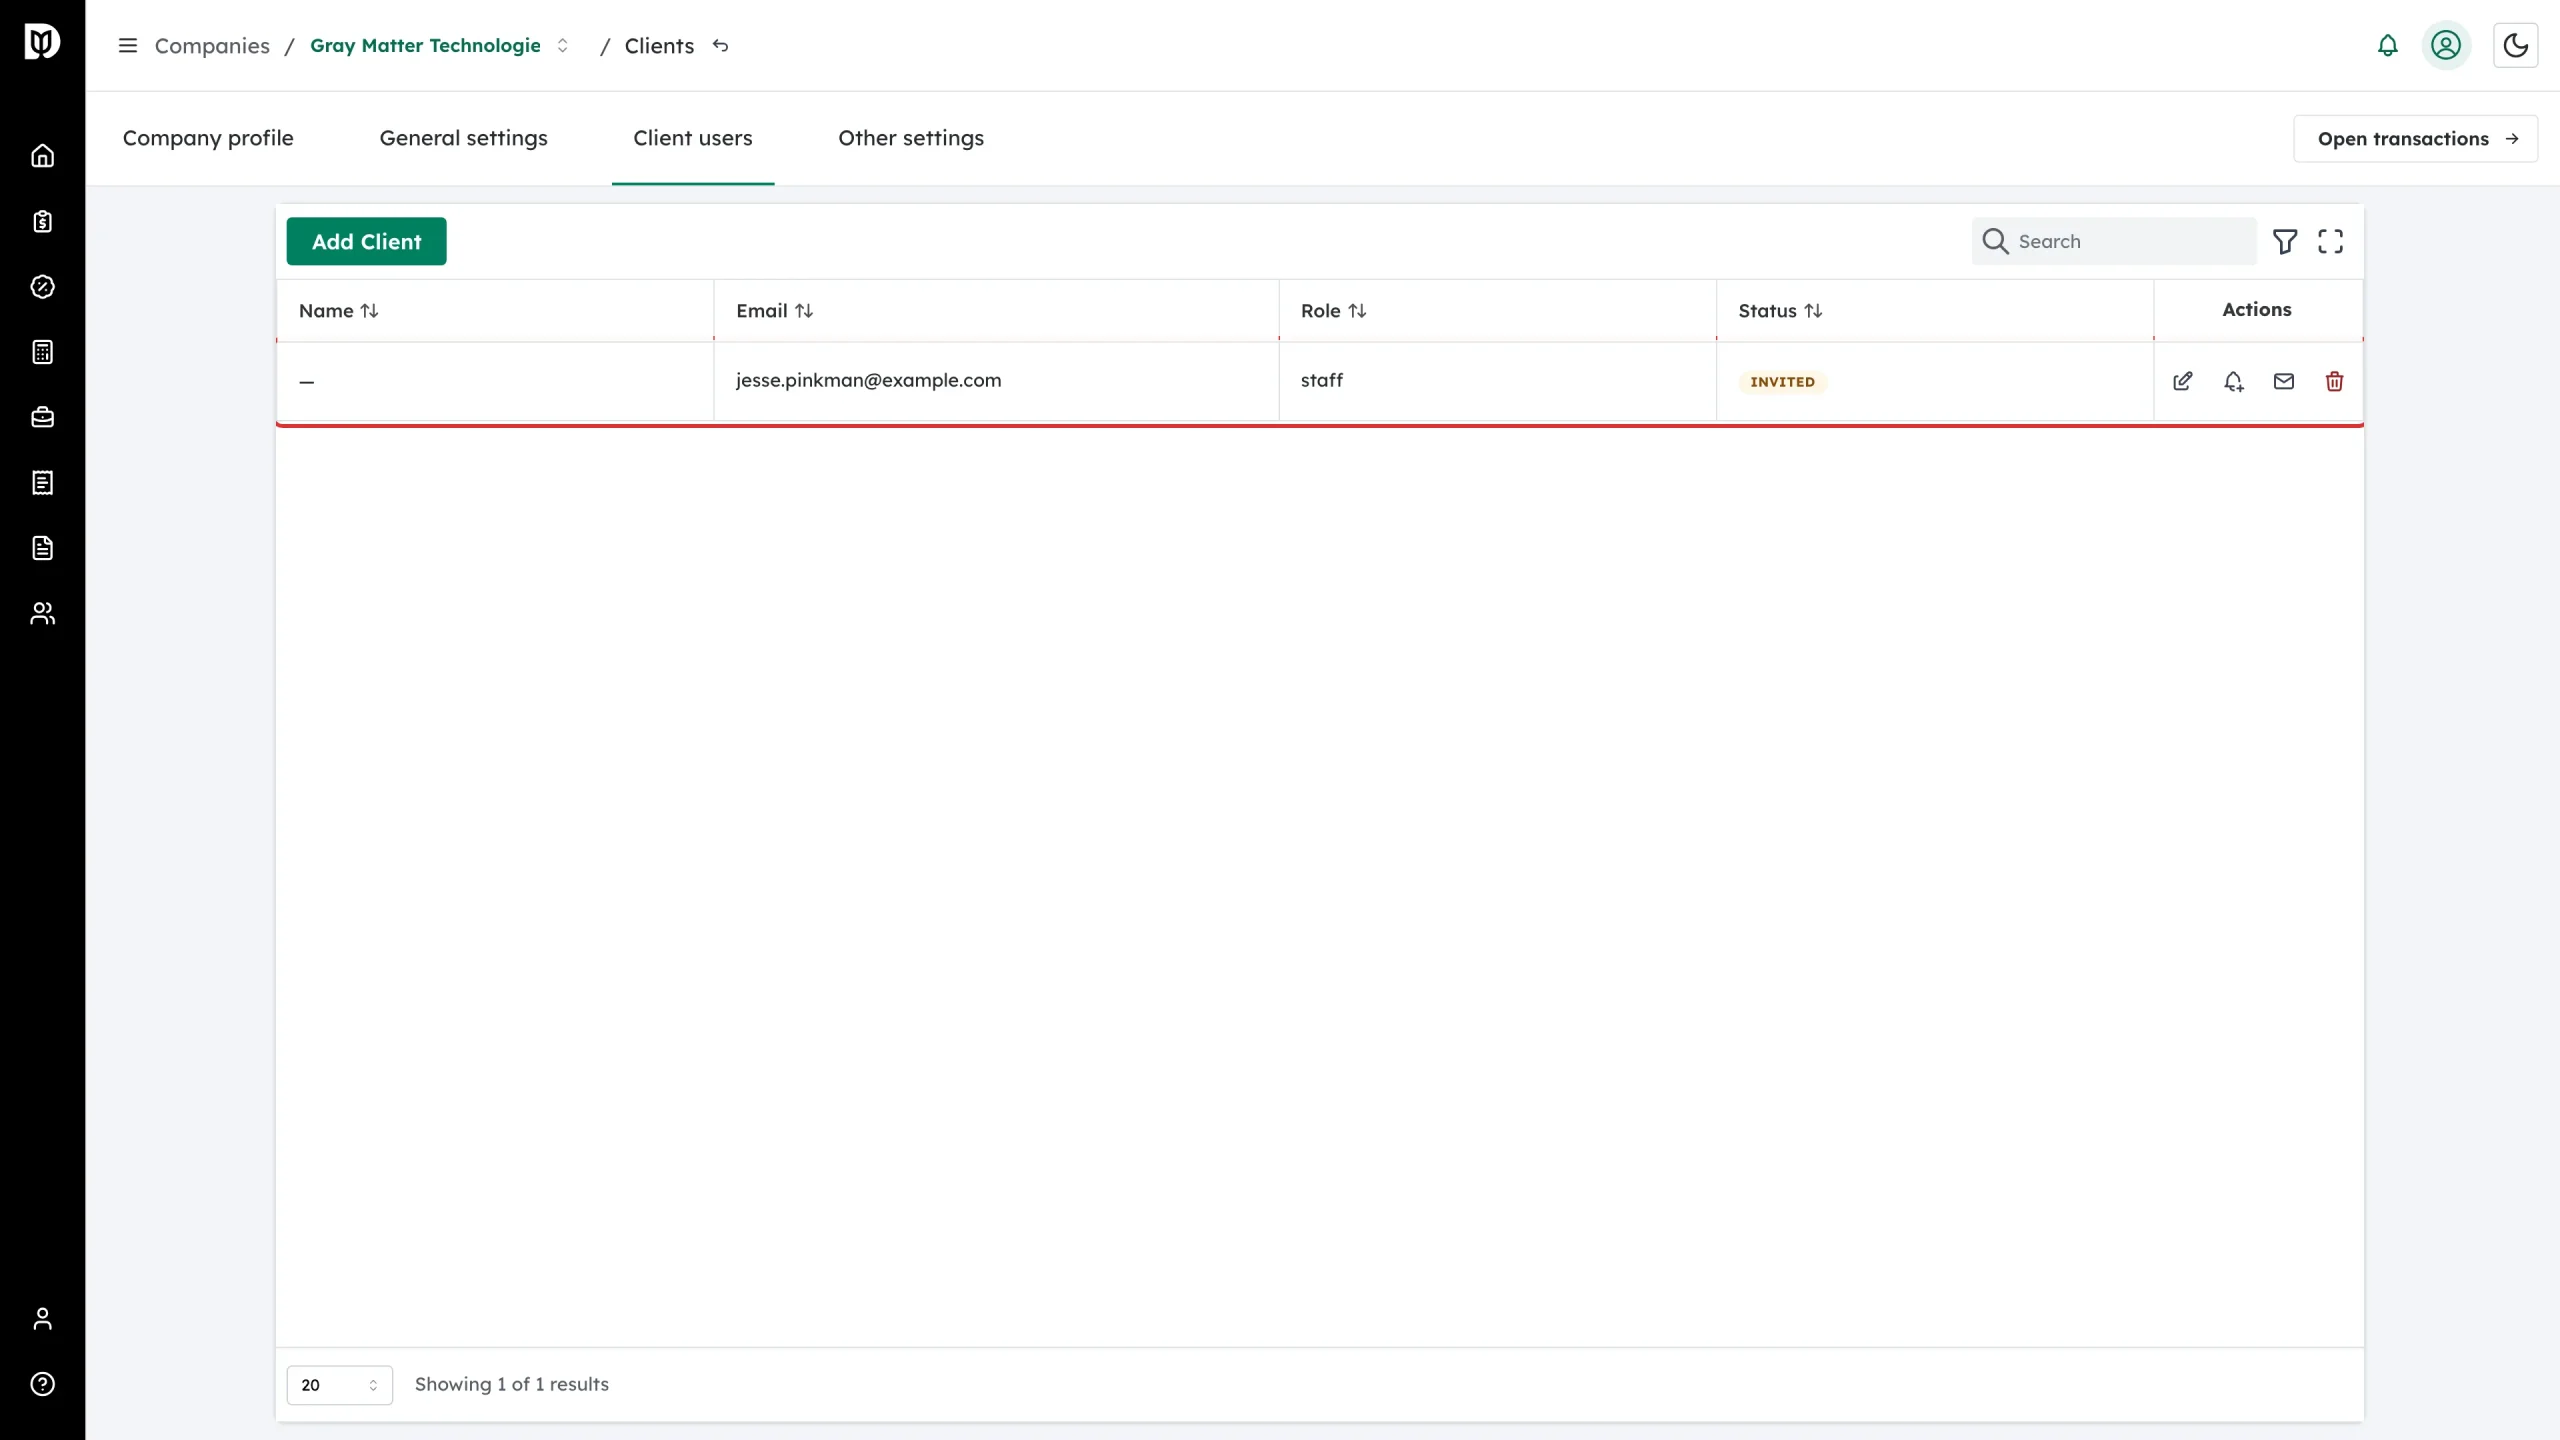
The row’s Actions icons let you edit the user, notify them, resend the invitation email, or remove their access.
Changing what a client user can see later
Come back to this Client users tab and use the edit (pencil) icon on their row to change their role or their payment accounts. There is no separate access screen.