Debits reads transactions from QuickBooks Online. The Choose which accounts to sync setting decides which accounts in the client’s chart of accounts Debits pulls those transactions from.
Picking the right accounts keeps the transaction list focused on the work that actually needs a client answer, instead of every posting in the file.
Before you start
- The company must be connected to QuickBooks Online. If it is disconnected, Save is greyed out and no accounts are listed.
- You need the Adjust a client company’s general settings permission. Without it the General settings tab is hidden.
- If the account list is empty, sync the chart of accounts first: open Other settings, choose Categories and click Sync.
Change the accounts that sync
-
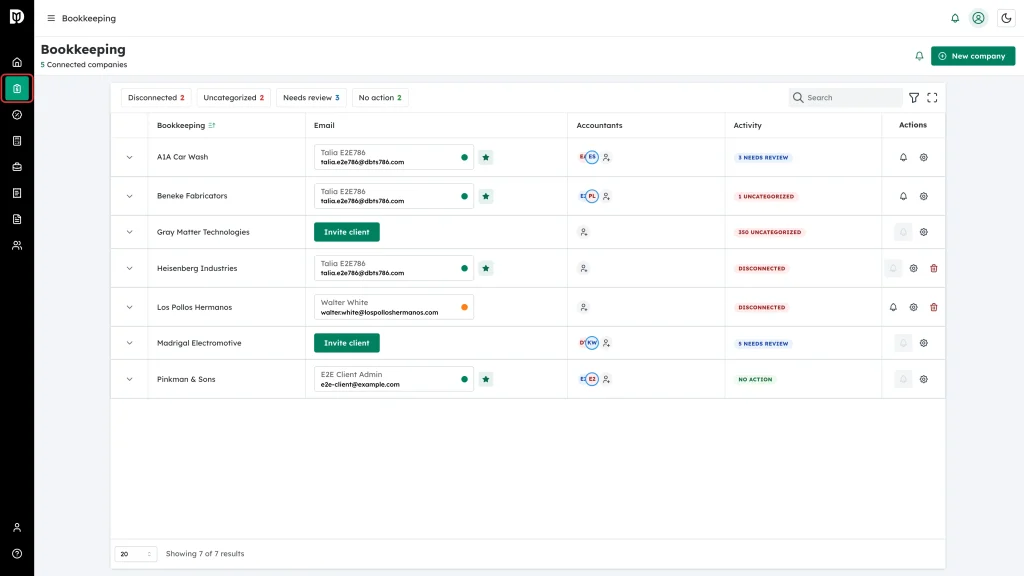
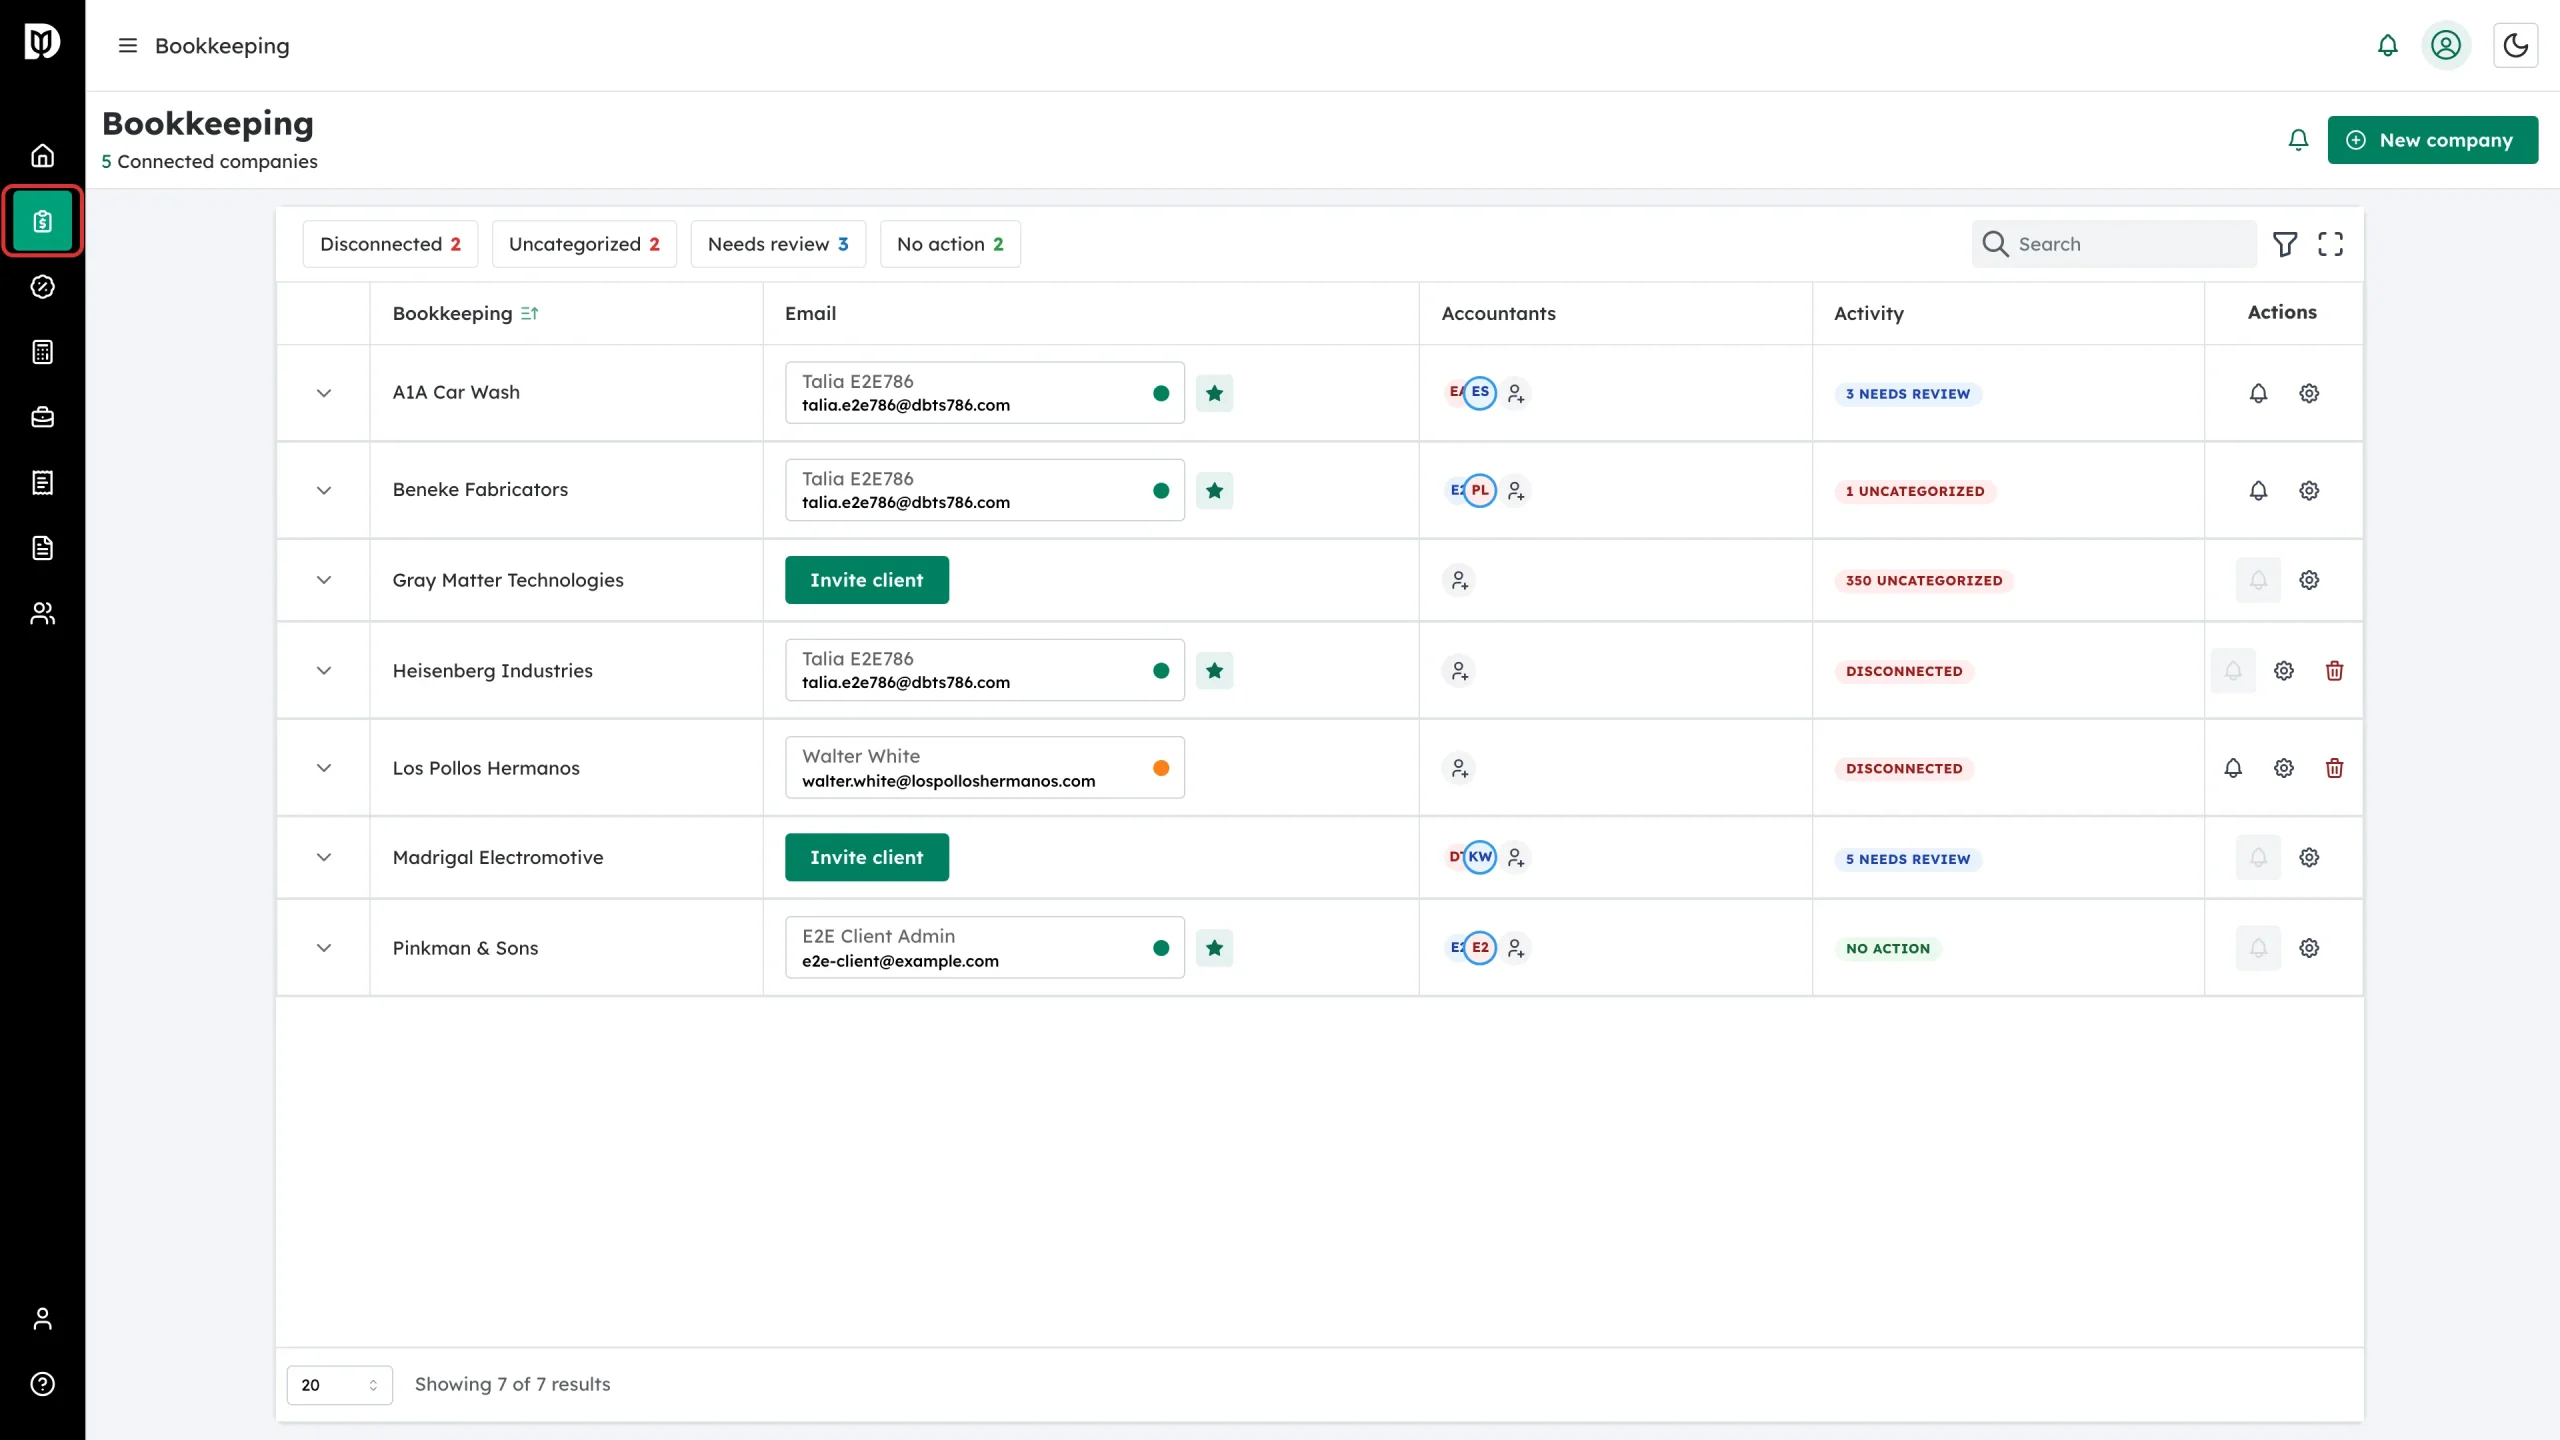
Click Bookkeeping in the left sidebar.
-
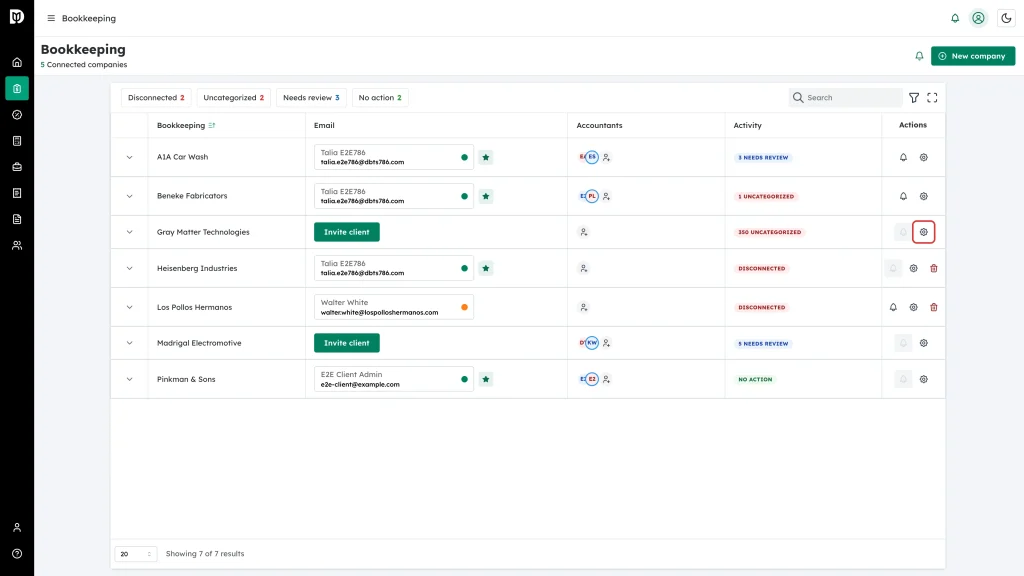
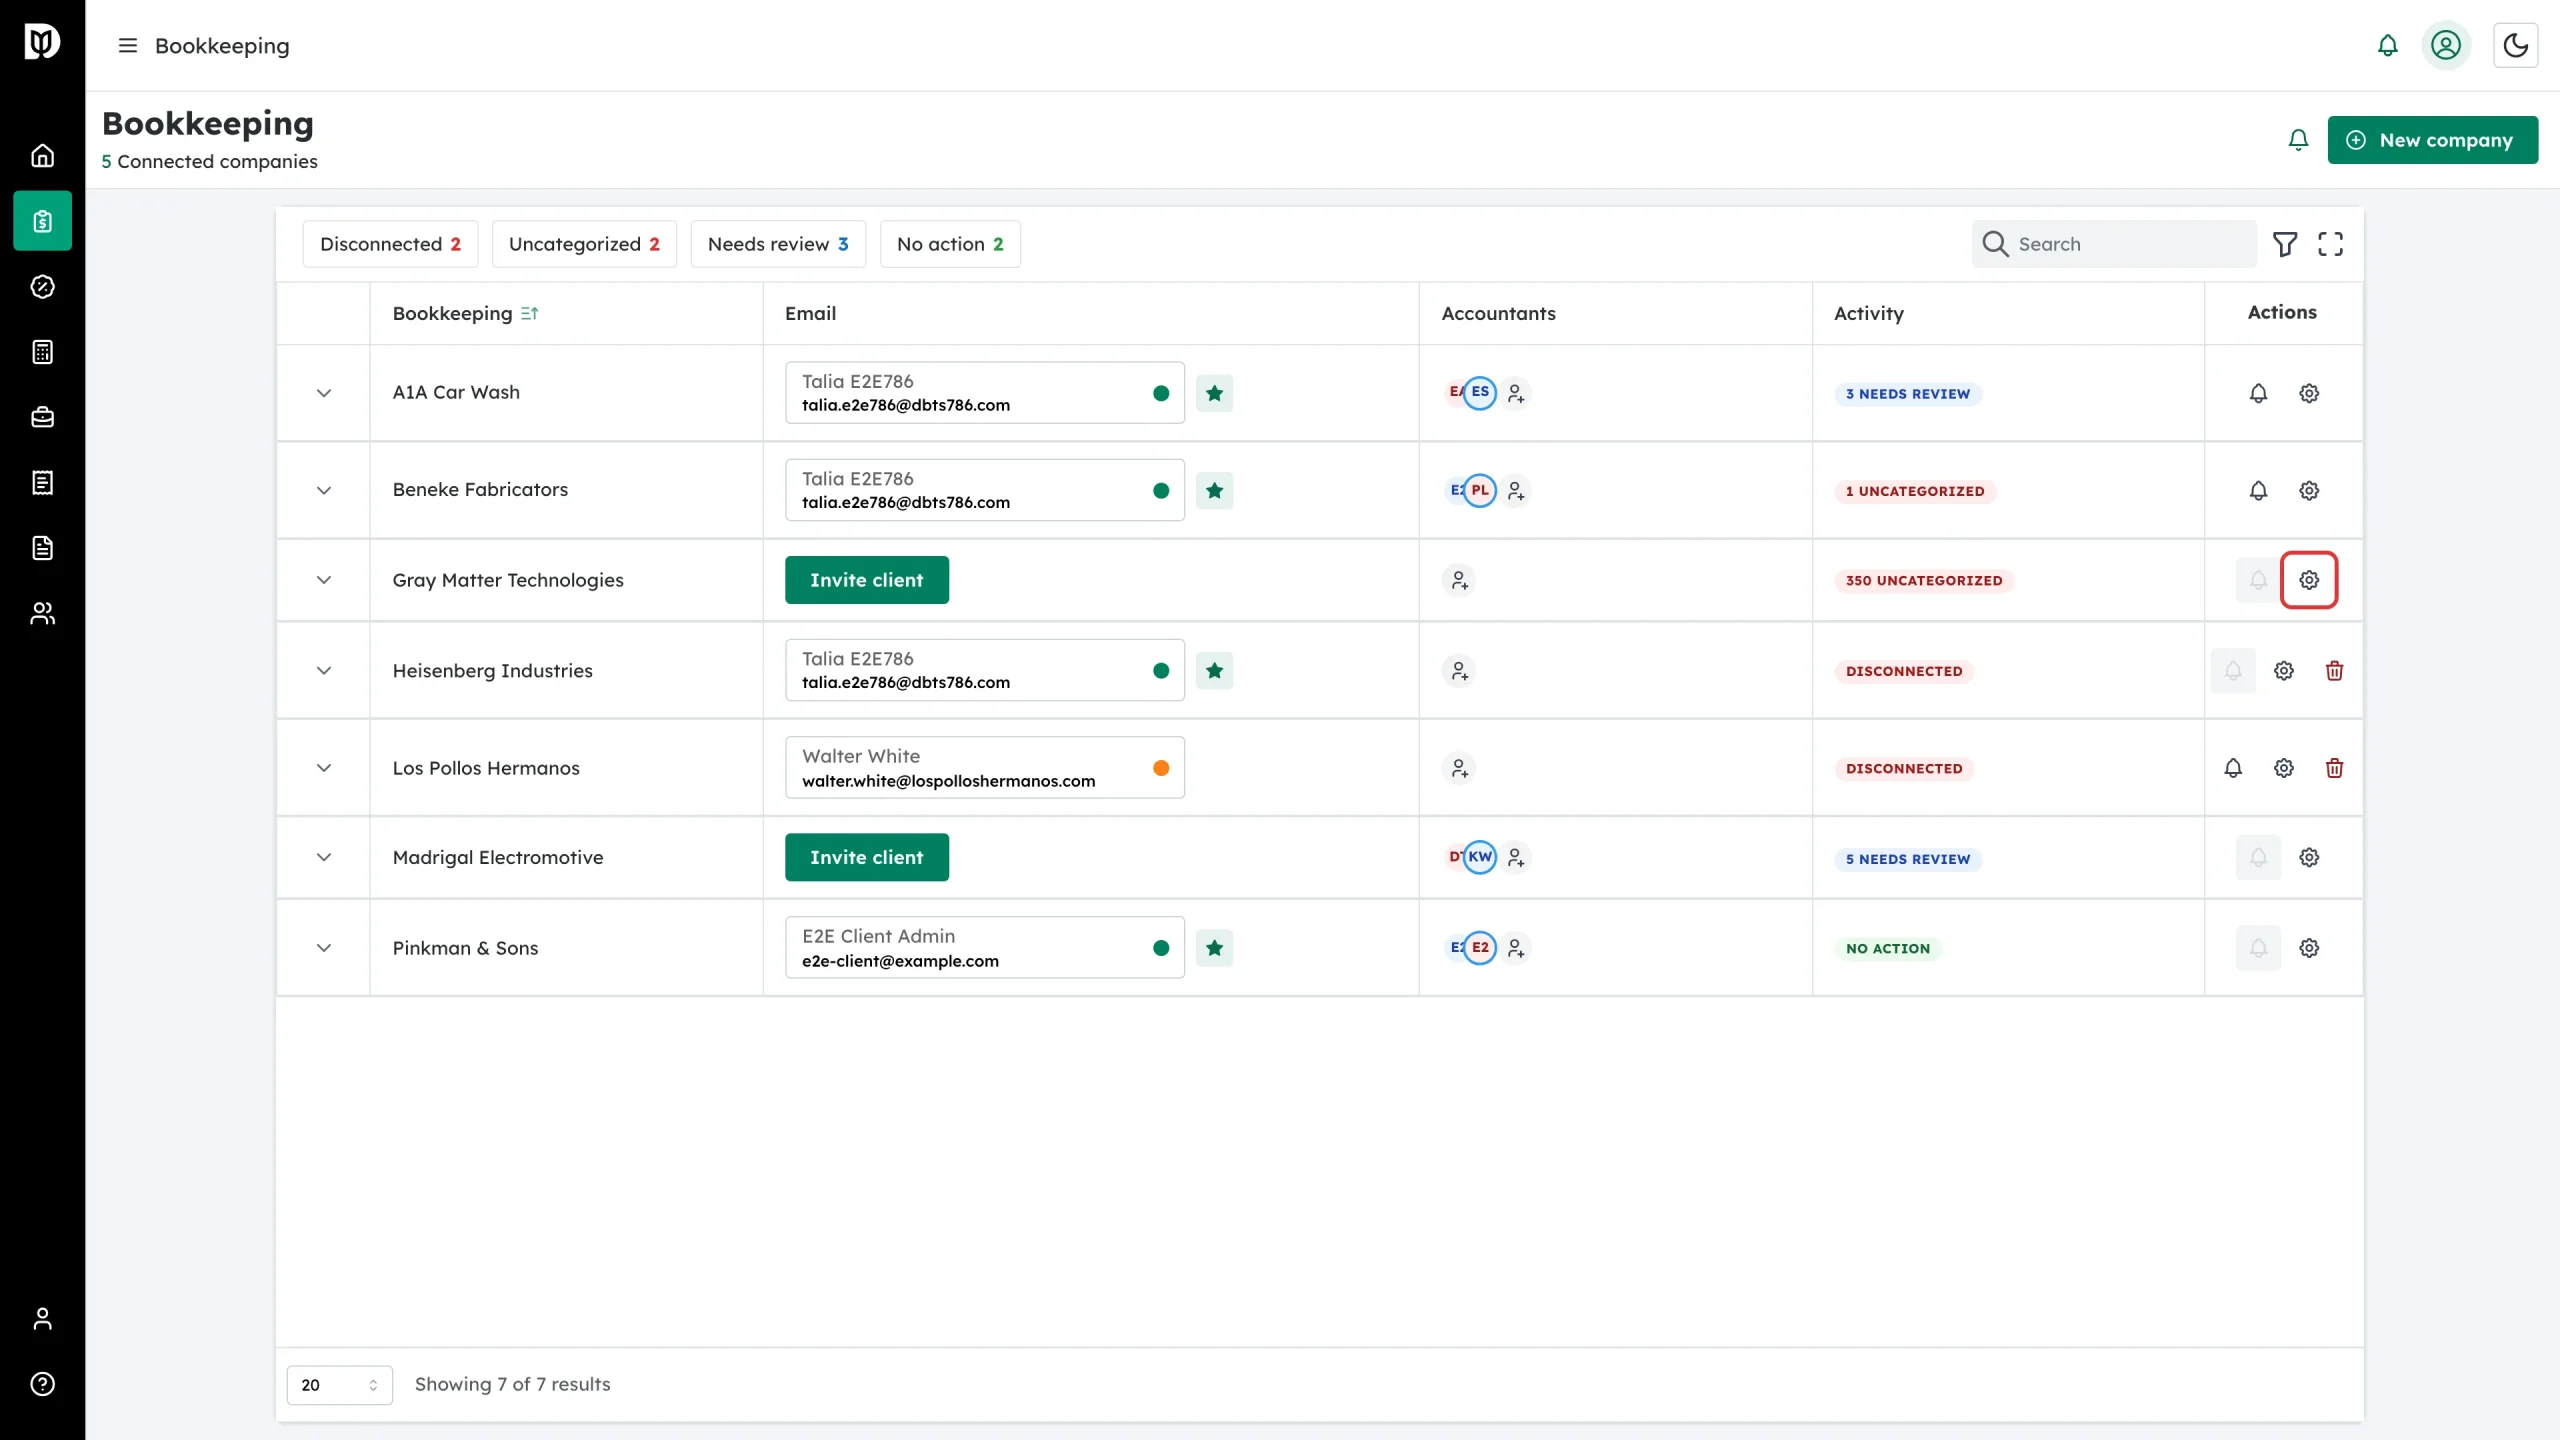
Find the company and click the gear icon in its Actions column.
-
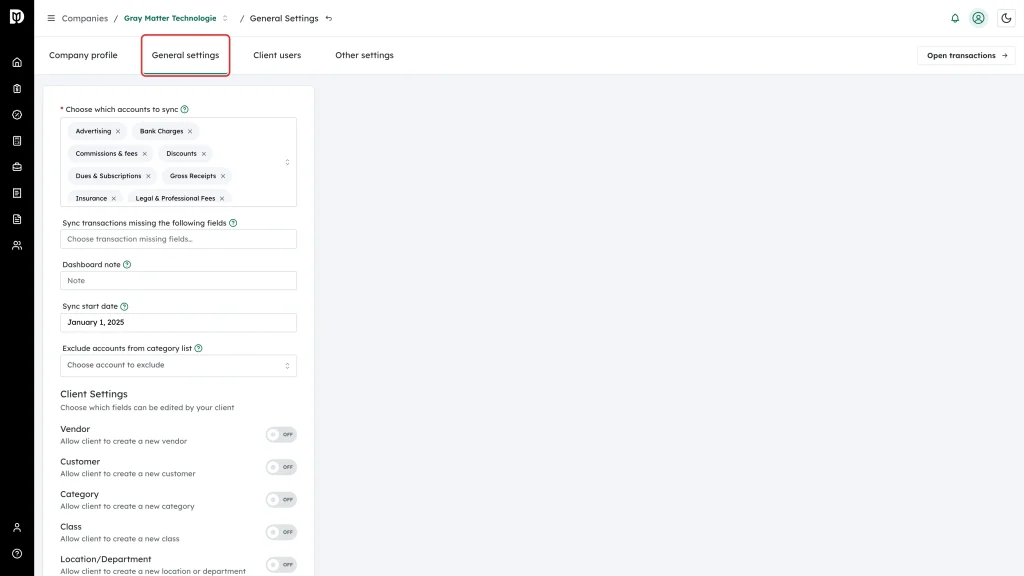
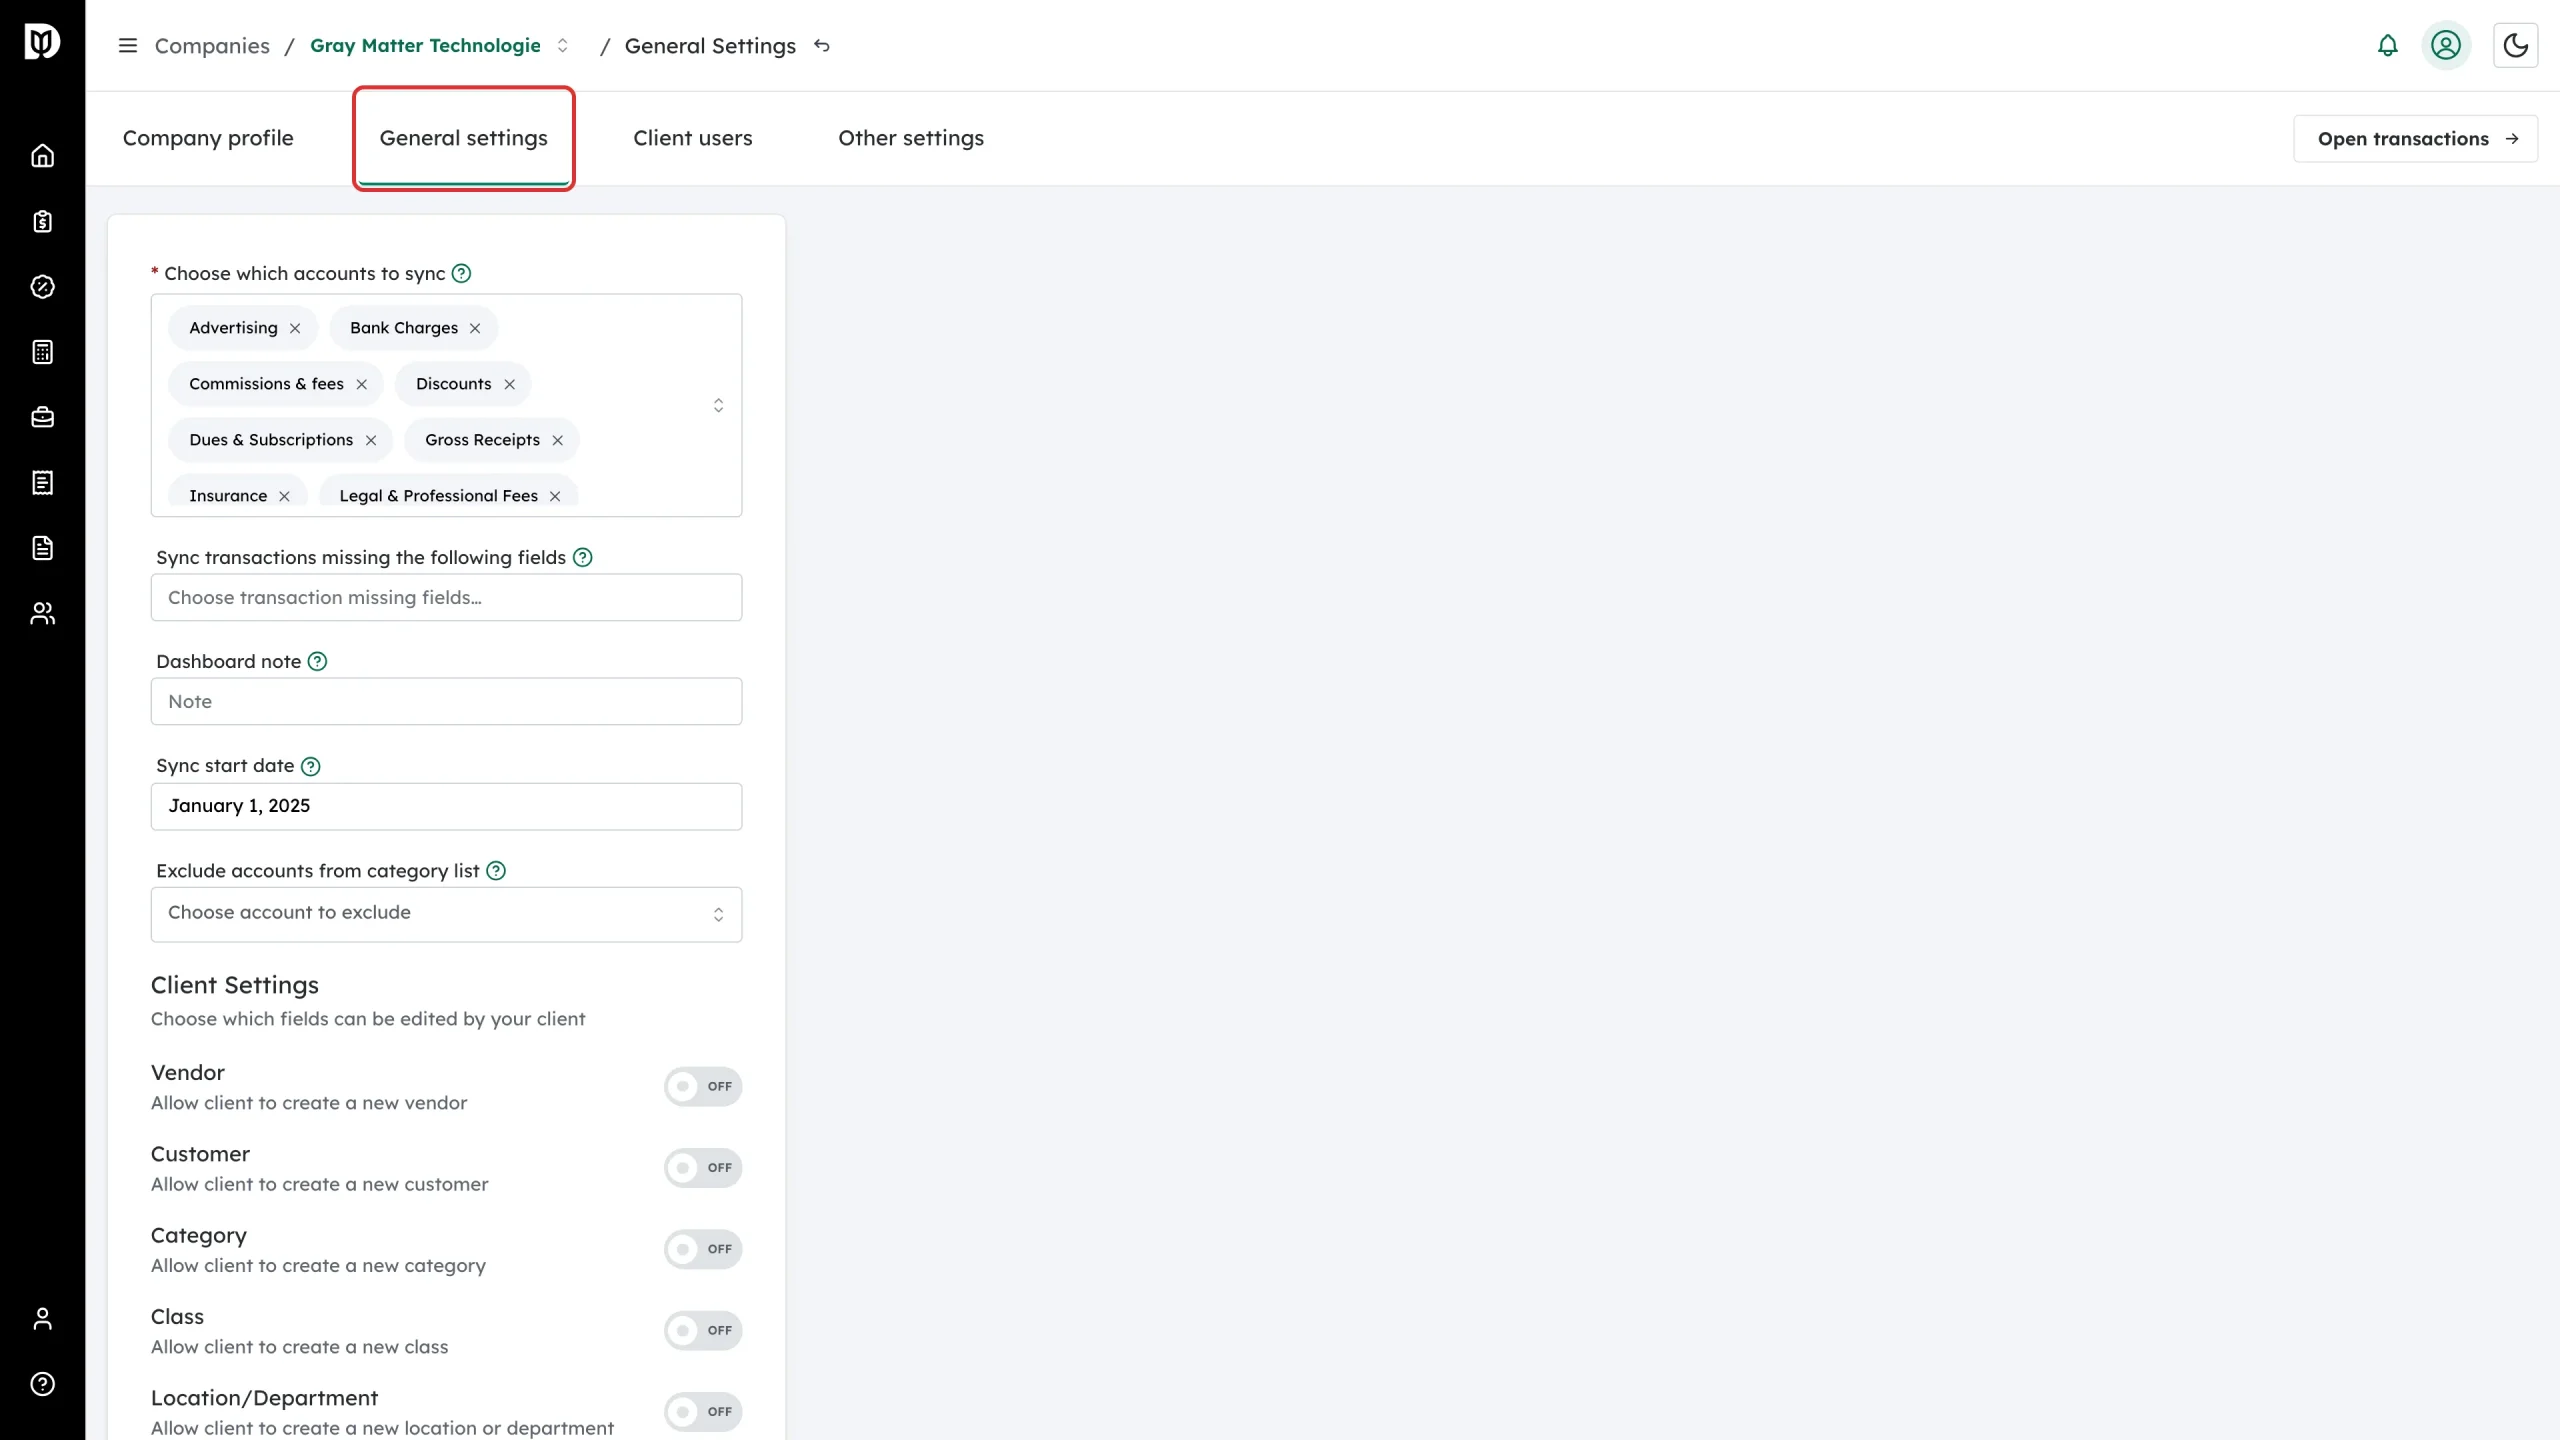
Open the General settings tab.
-
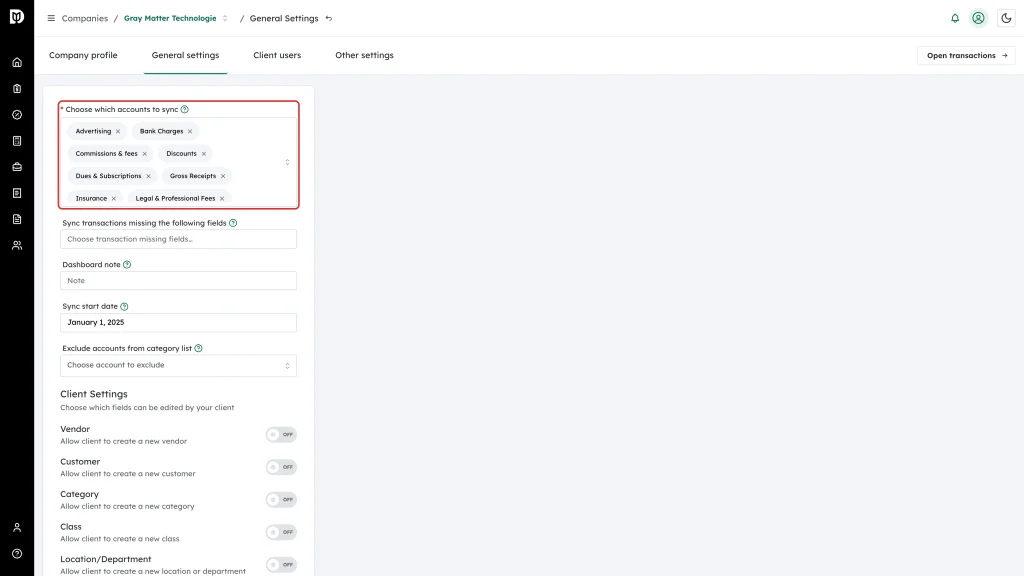
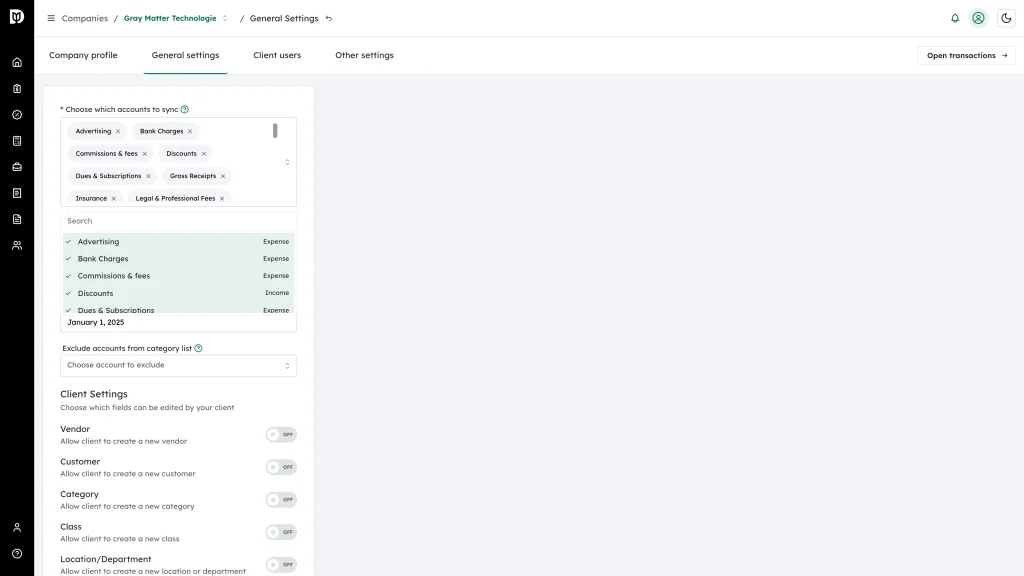
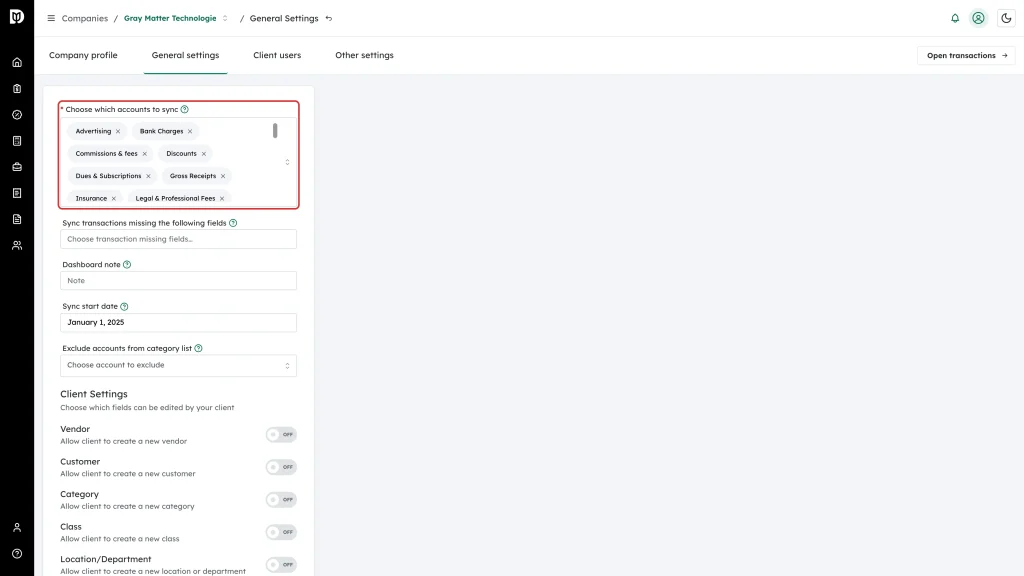
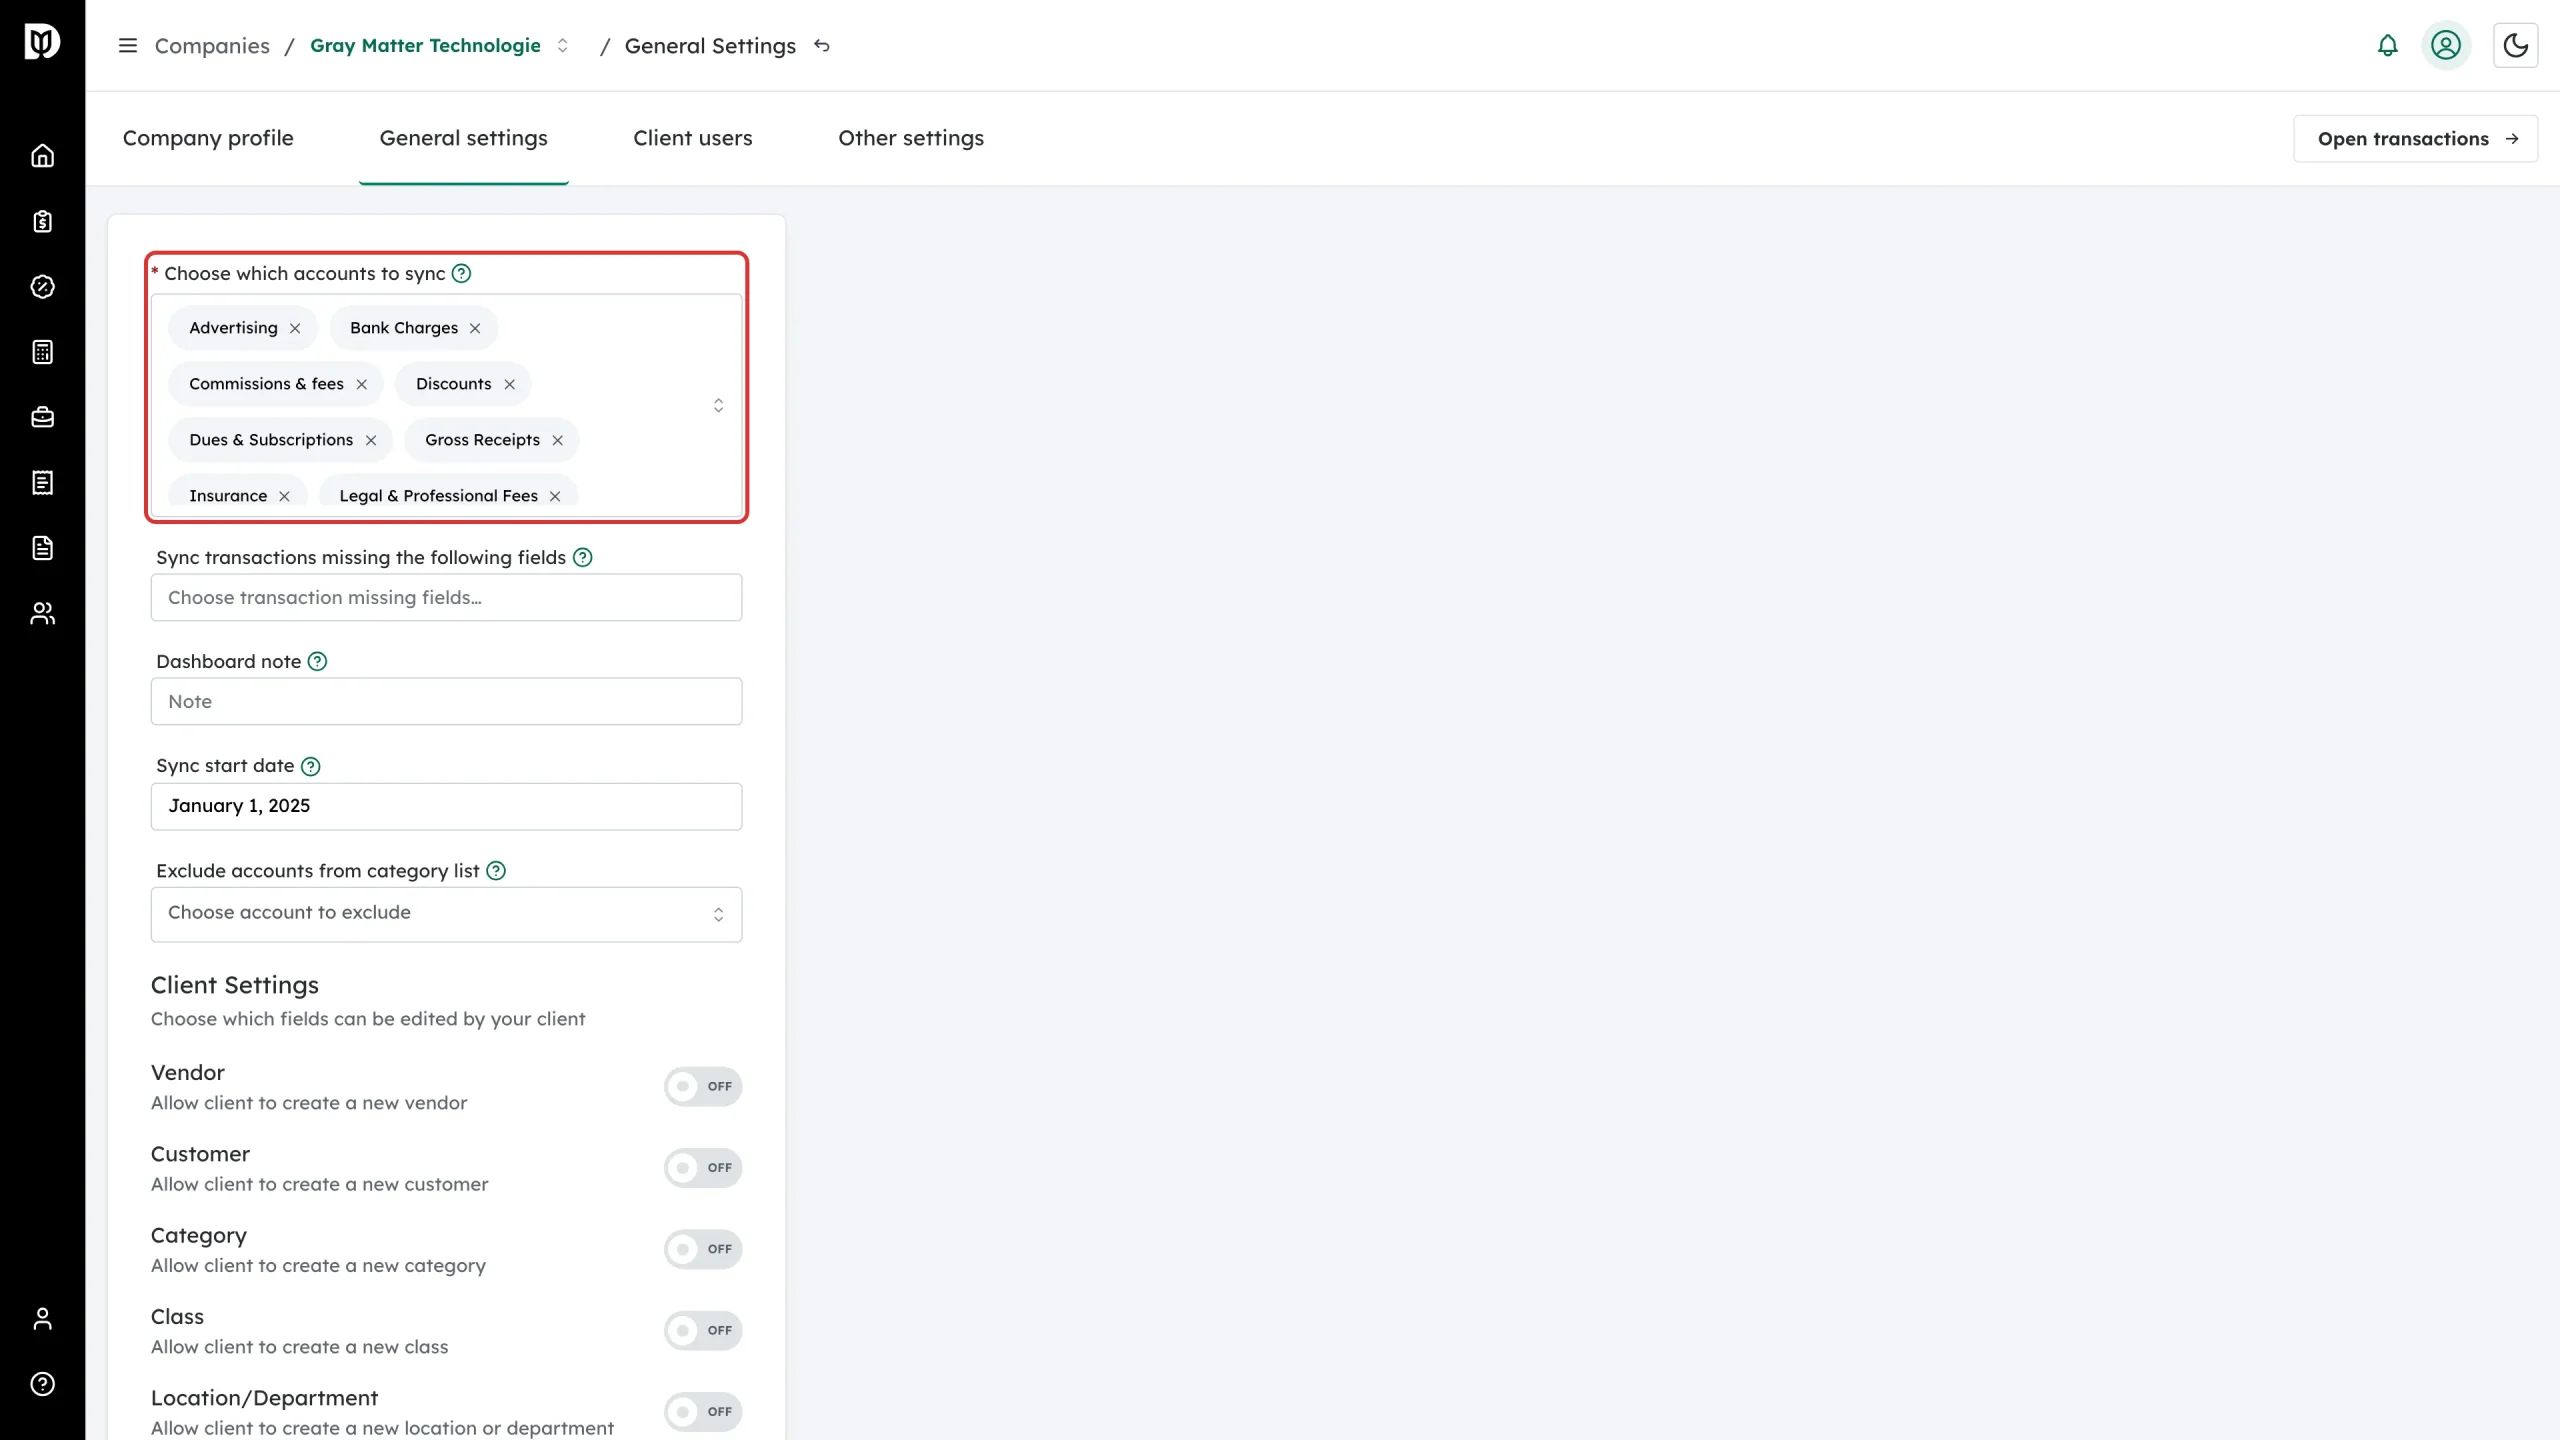
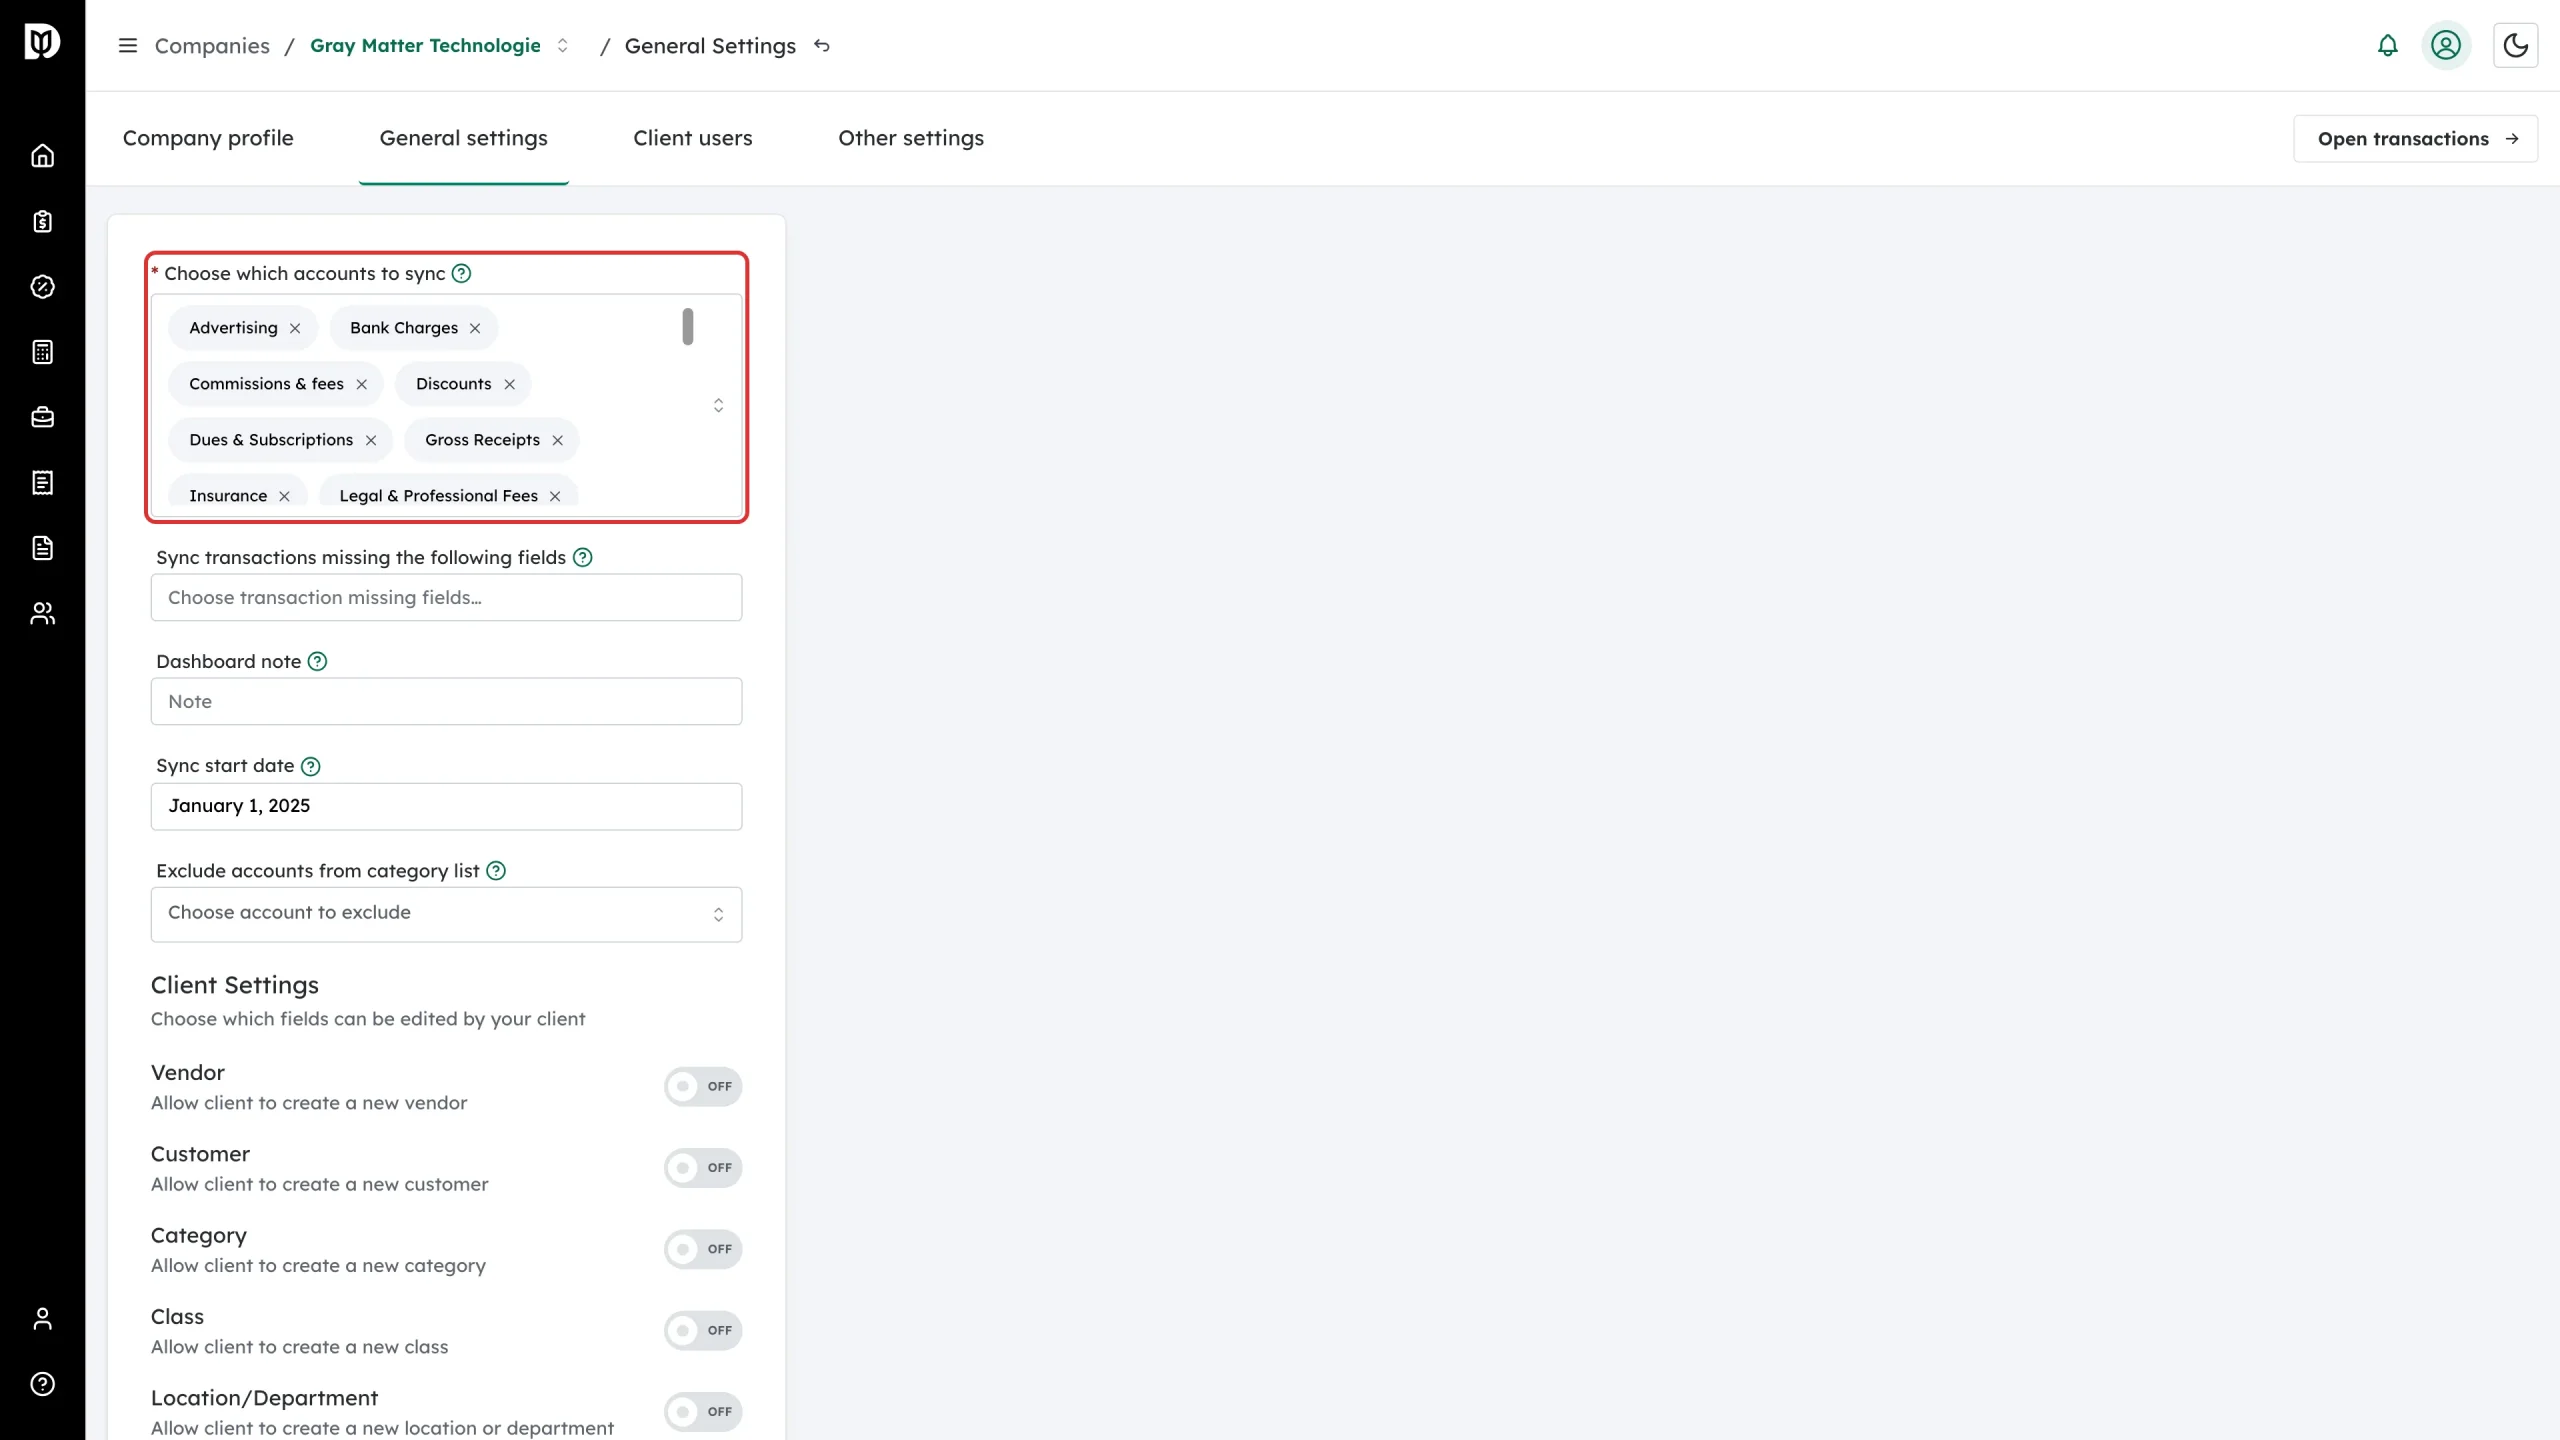
The first field is Choose which accounts to sync. The accounts already in use appear as tags inside the box.
-
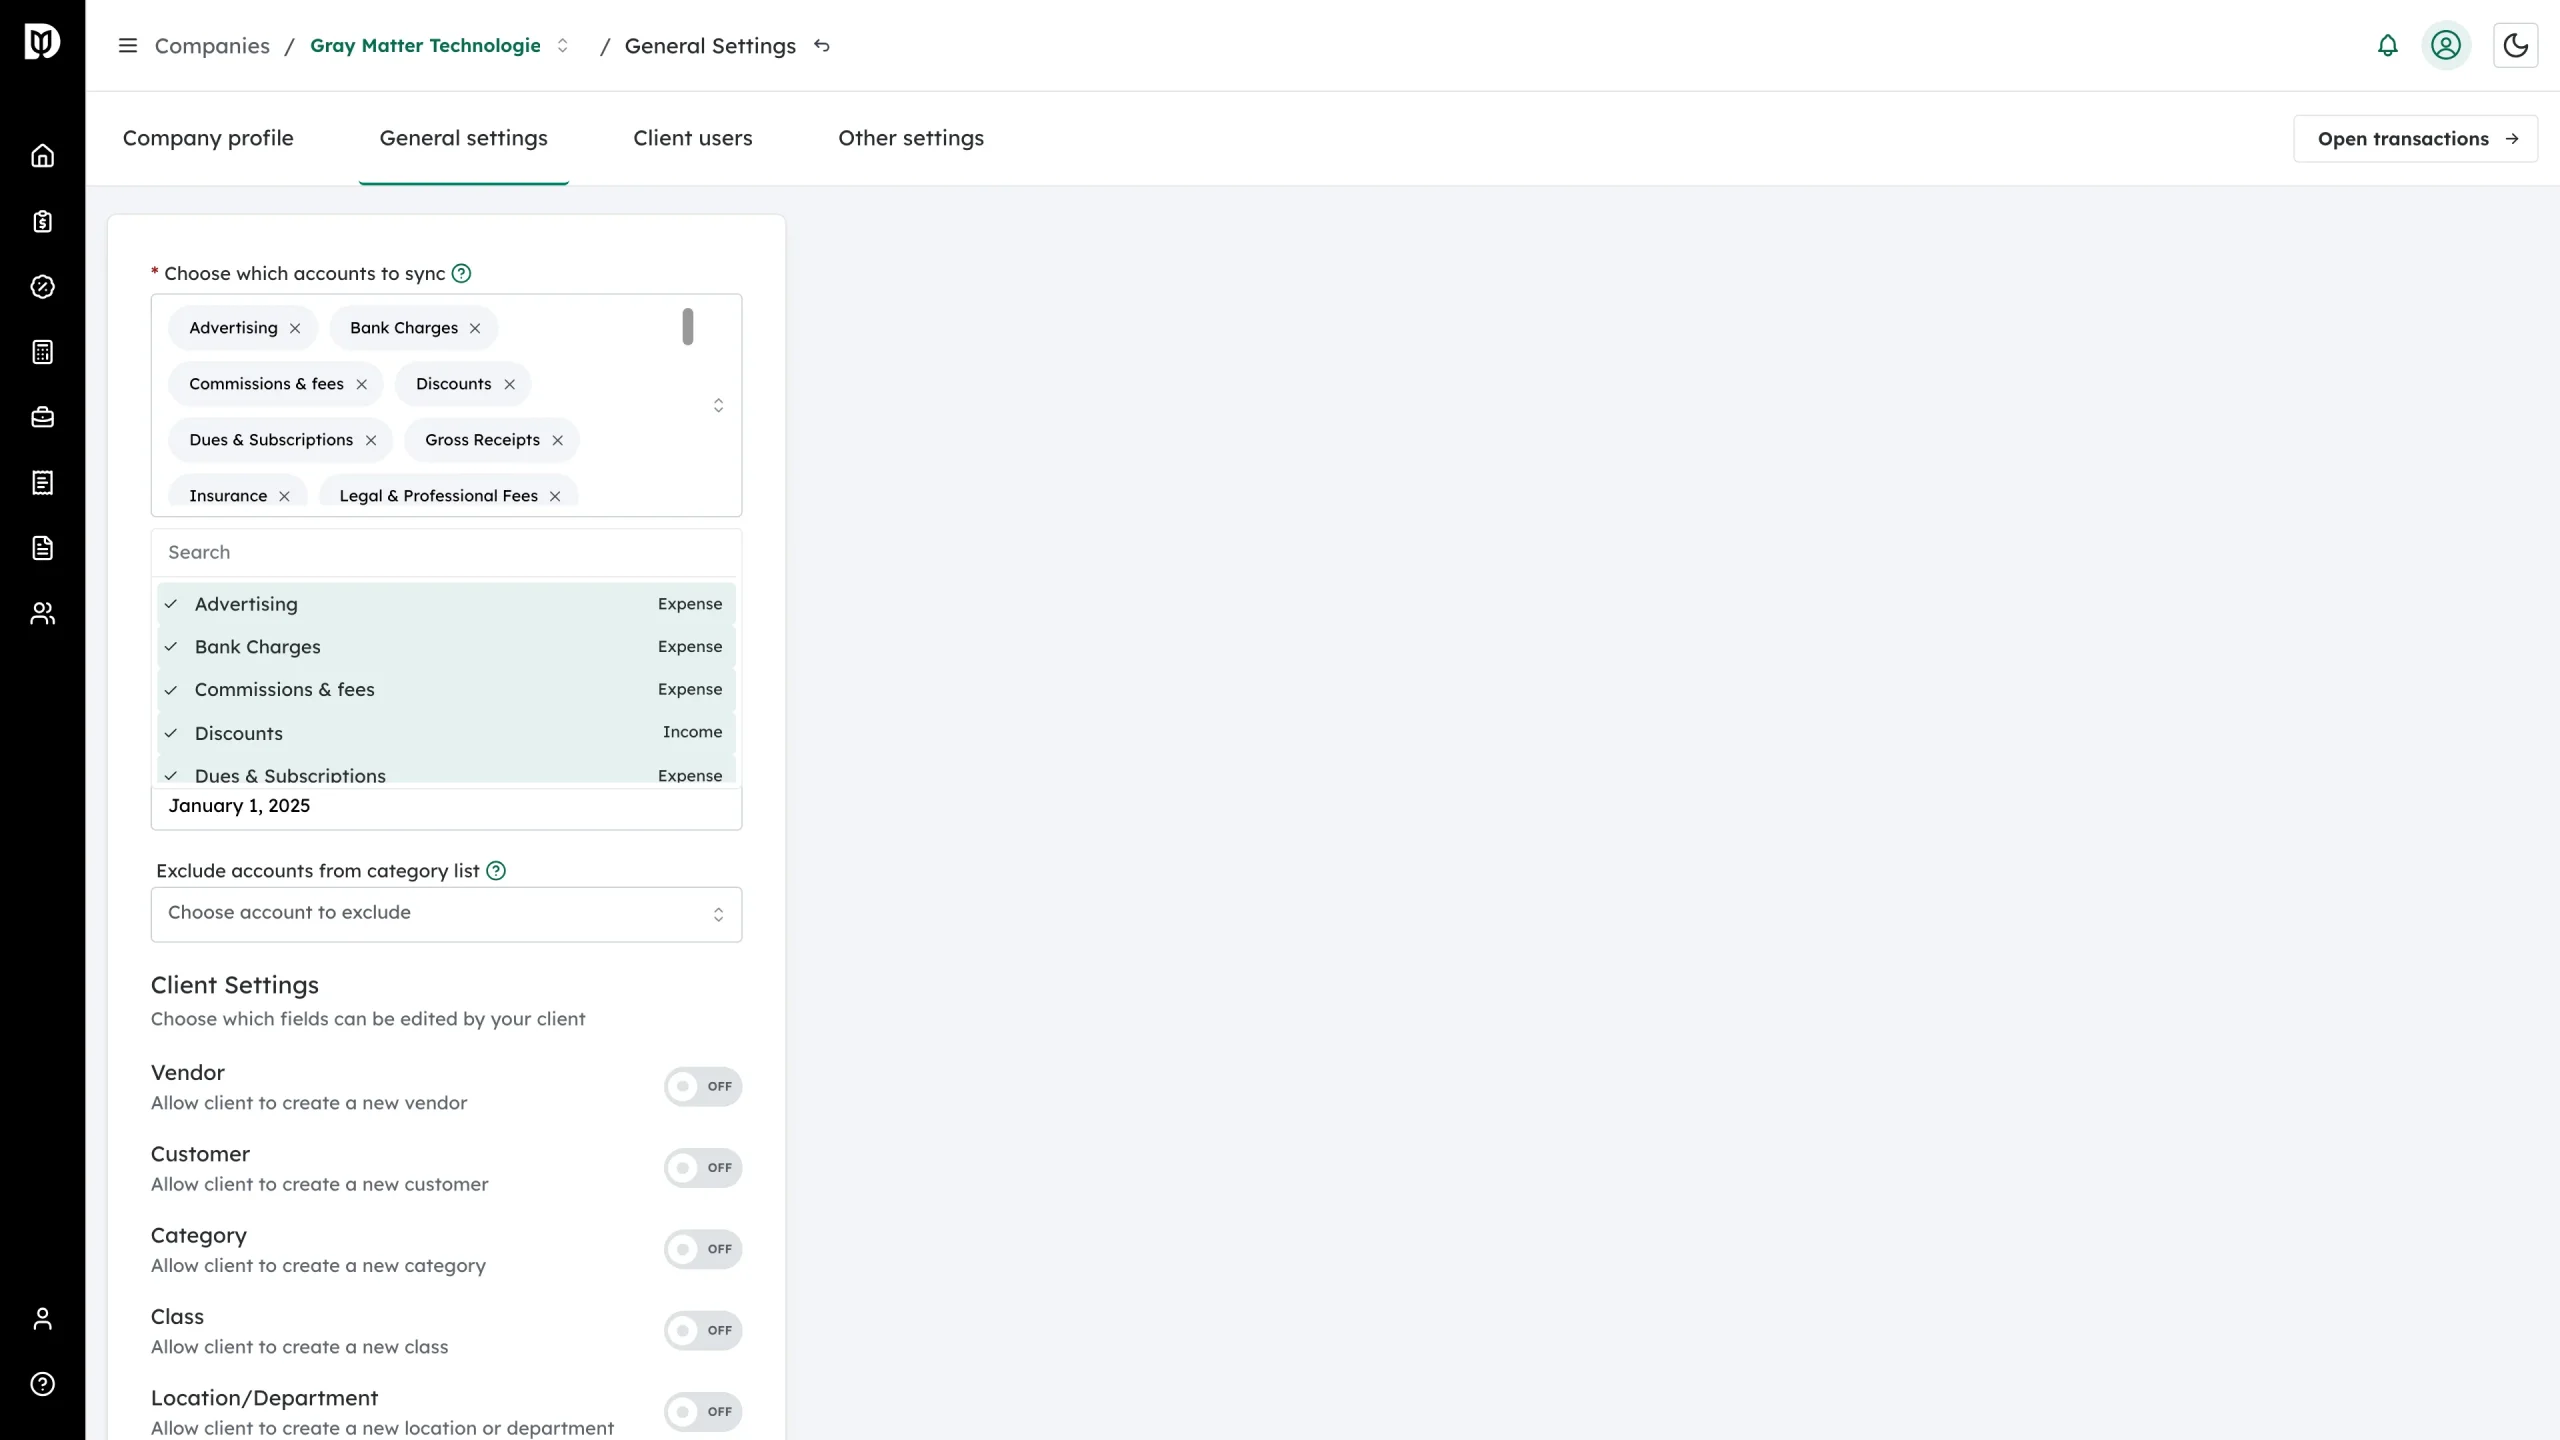
Click the field to open the list. Use the Search box to jump to an account by name. Each row shows the account name on the left and its QuickBooks account type on the right. A tick means the account is already selected.
-
Click an account to add it, or click a ticked account to remove it. Your selections show up as tags in the field. You can also remove one by clicking the × on its tag.
-
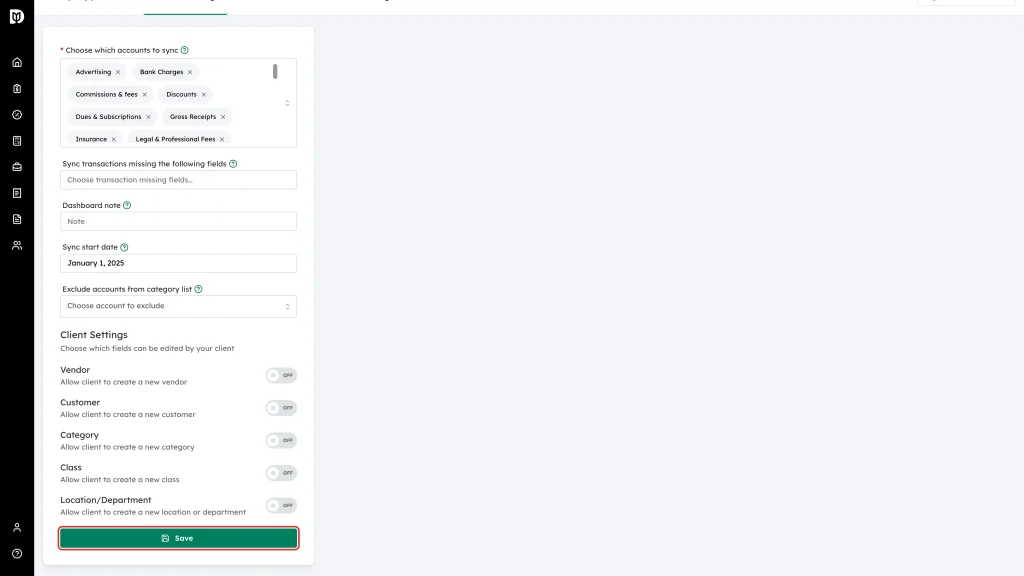
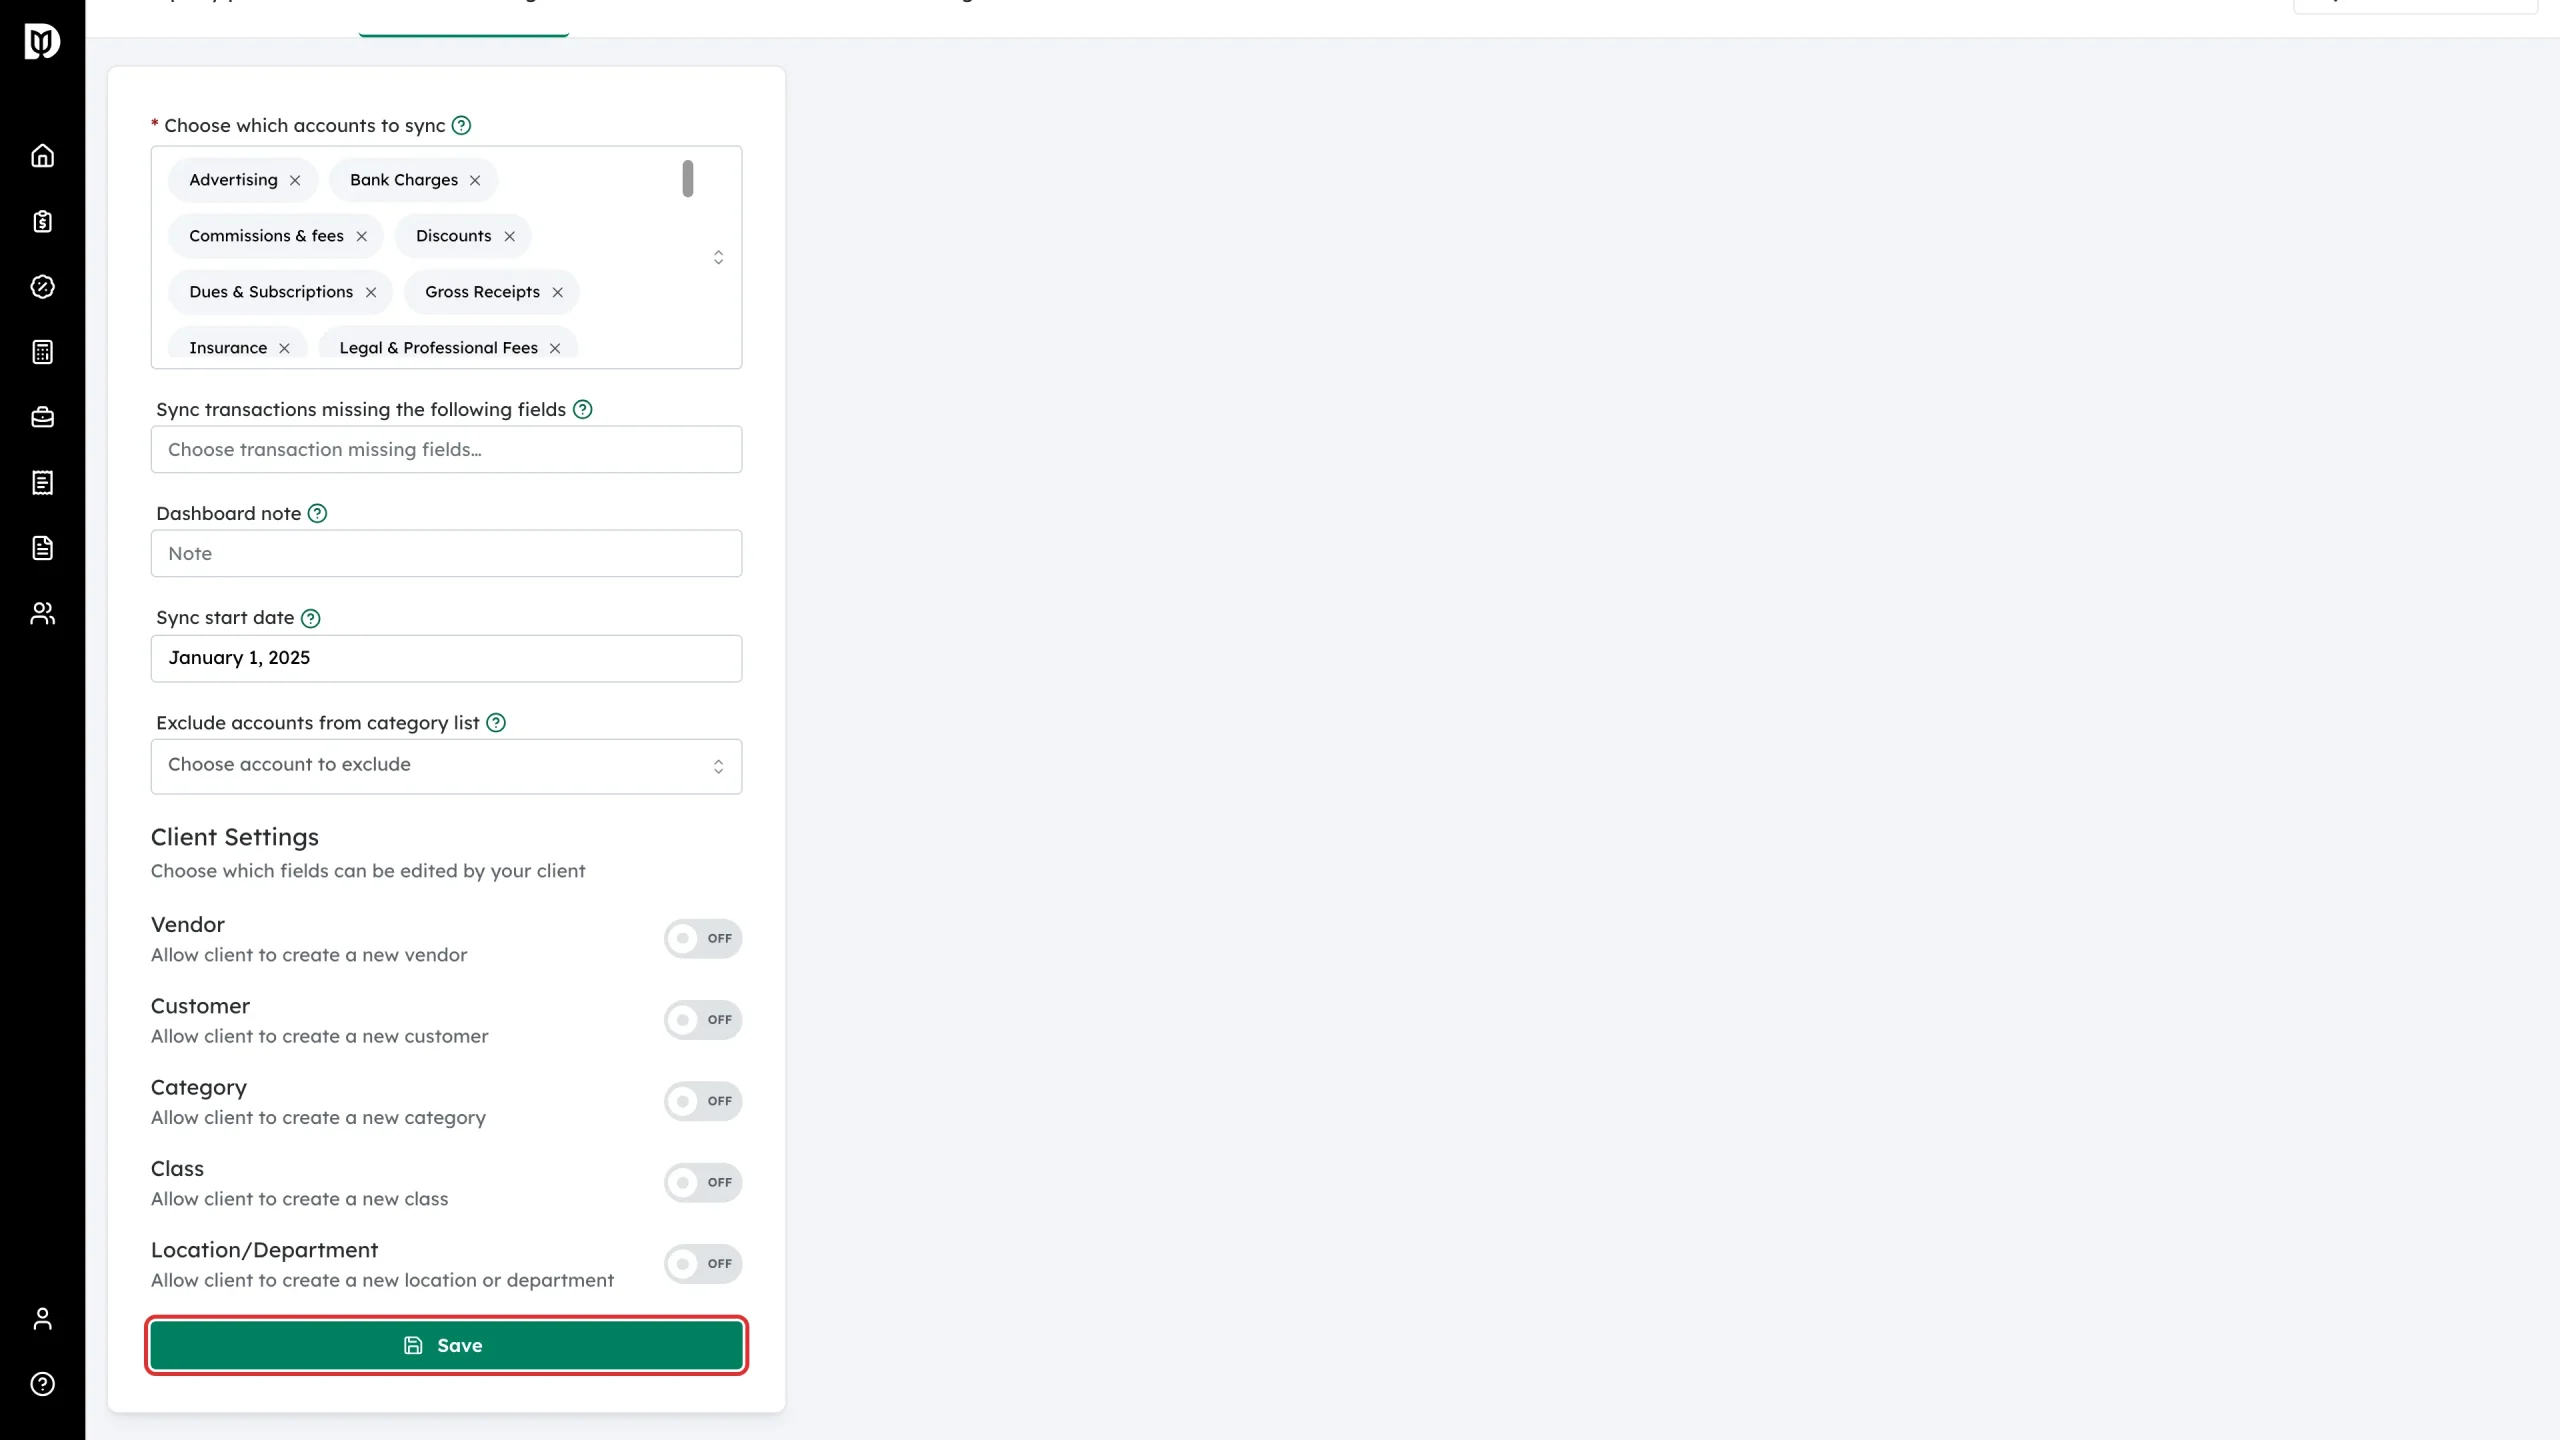
Click Save at the bottom of the page.
What happens next
From now on Debits pulls transactions from the accounts you selected. Existing transactions are not deleted, but new syncs follow the new list.
You must keep at least one account selected. If you clear the field, Debits shows At least one account is required and will not save.
A different setting: Exclude accounts from category list
Further down the same page is Exclude accounts from category list. That controls which accounts your client can pick when coding a transaction — it does not change what syncs. Use it to hide accounts you never want a client to choose.