Before you export anything, check the details Debits will file with. The Vendor Details window holds everything a 1099 needs and writes your changes back to QuickBooks.
Open a vendor
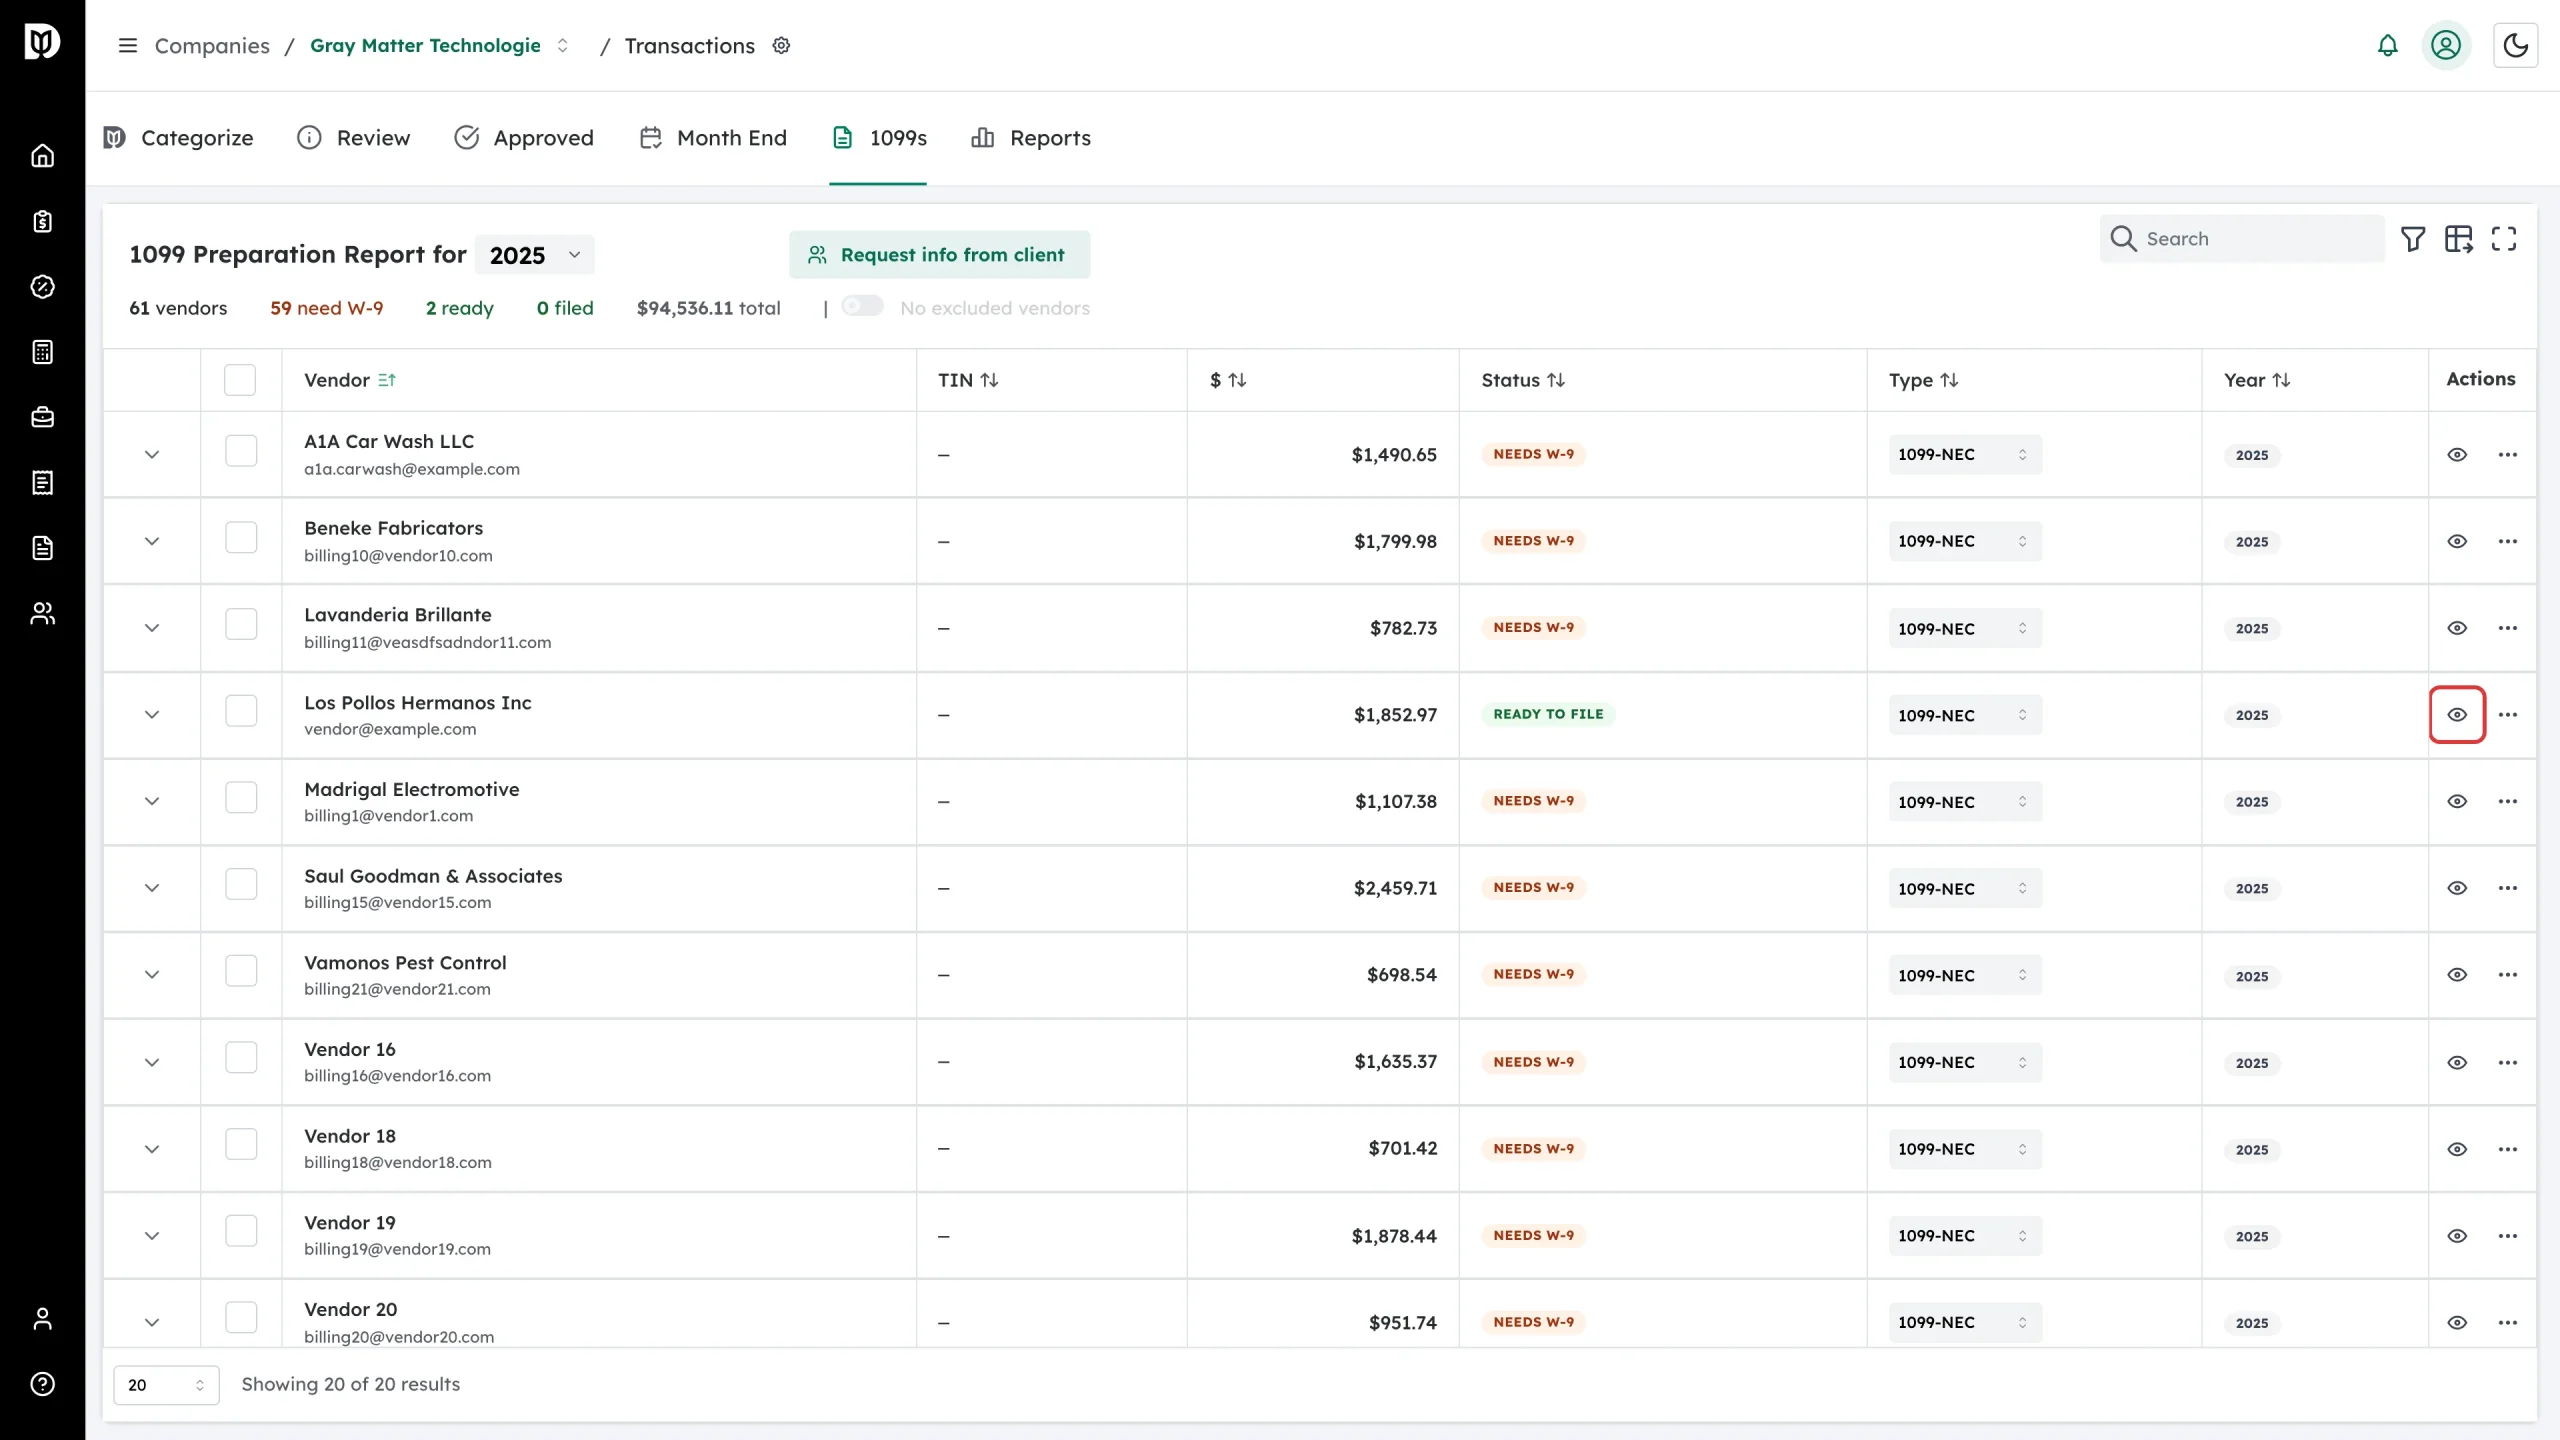
On the 1099s tab, click the eye icon in the vendor’s Actions column.
What is on each tab
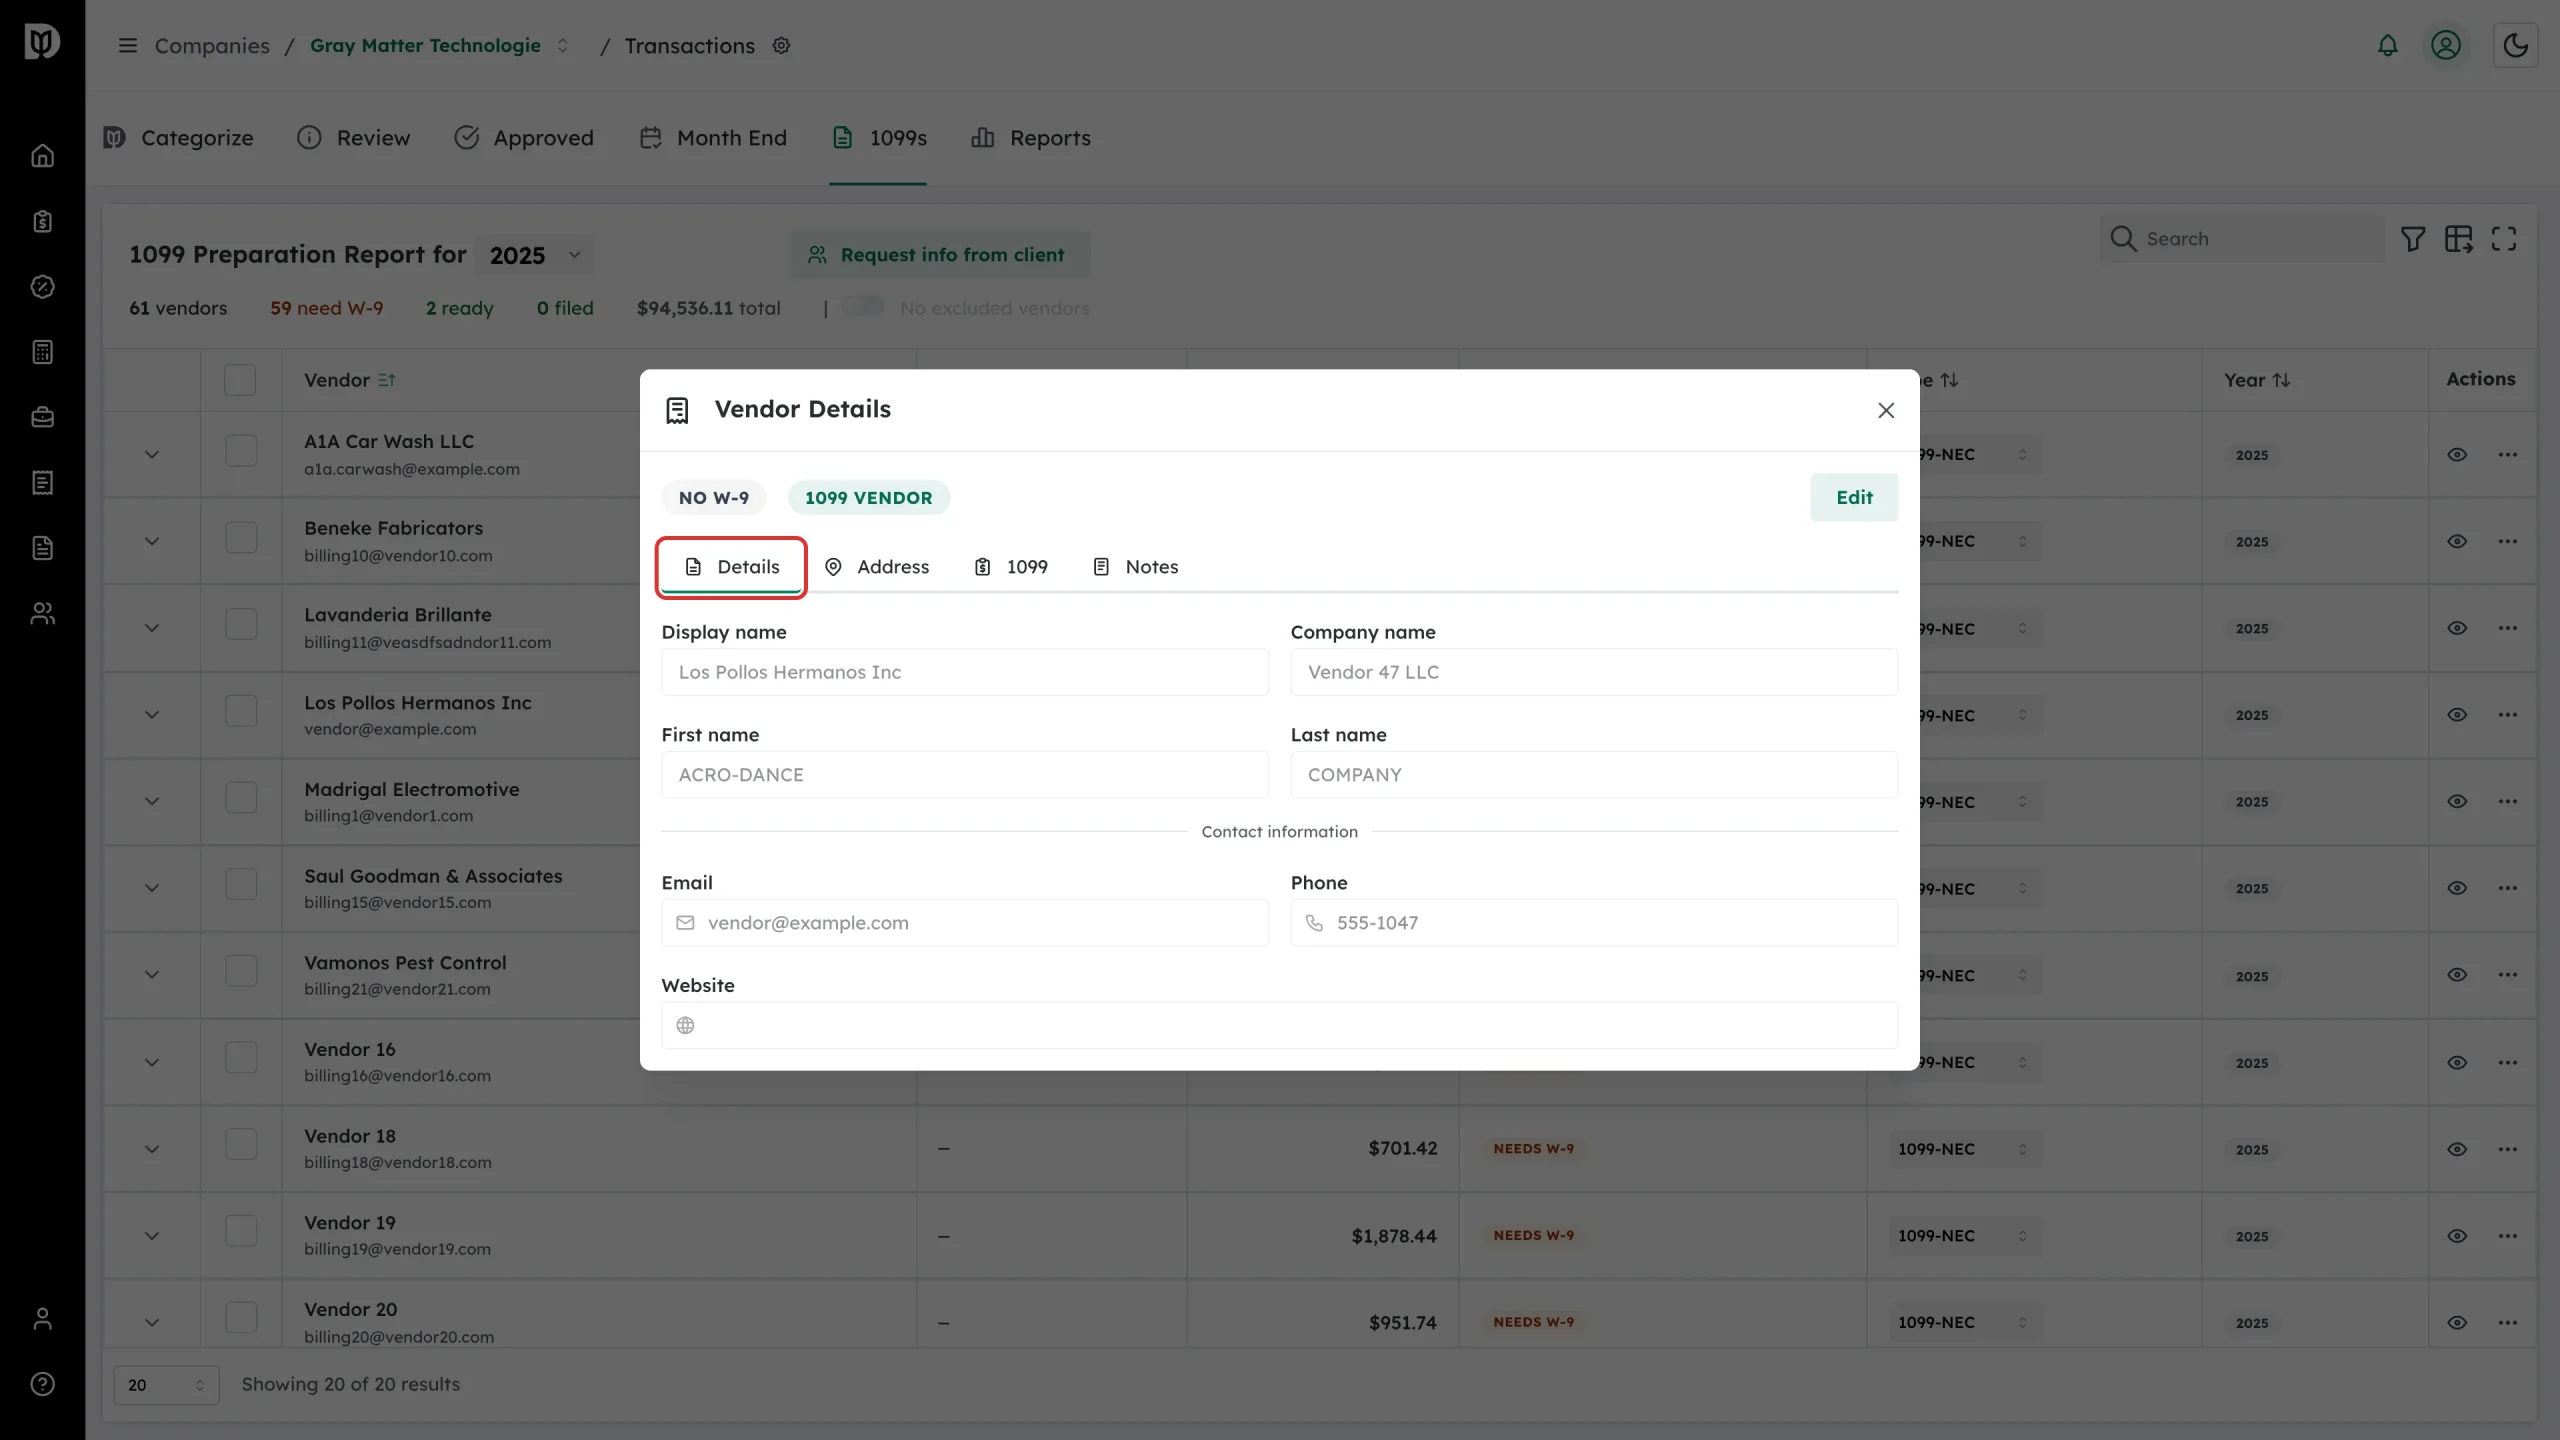
Details
Display name, company name, first and last name, email, phone and website.
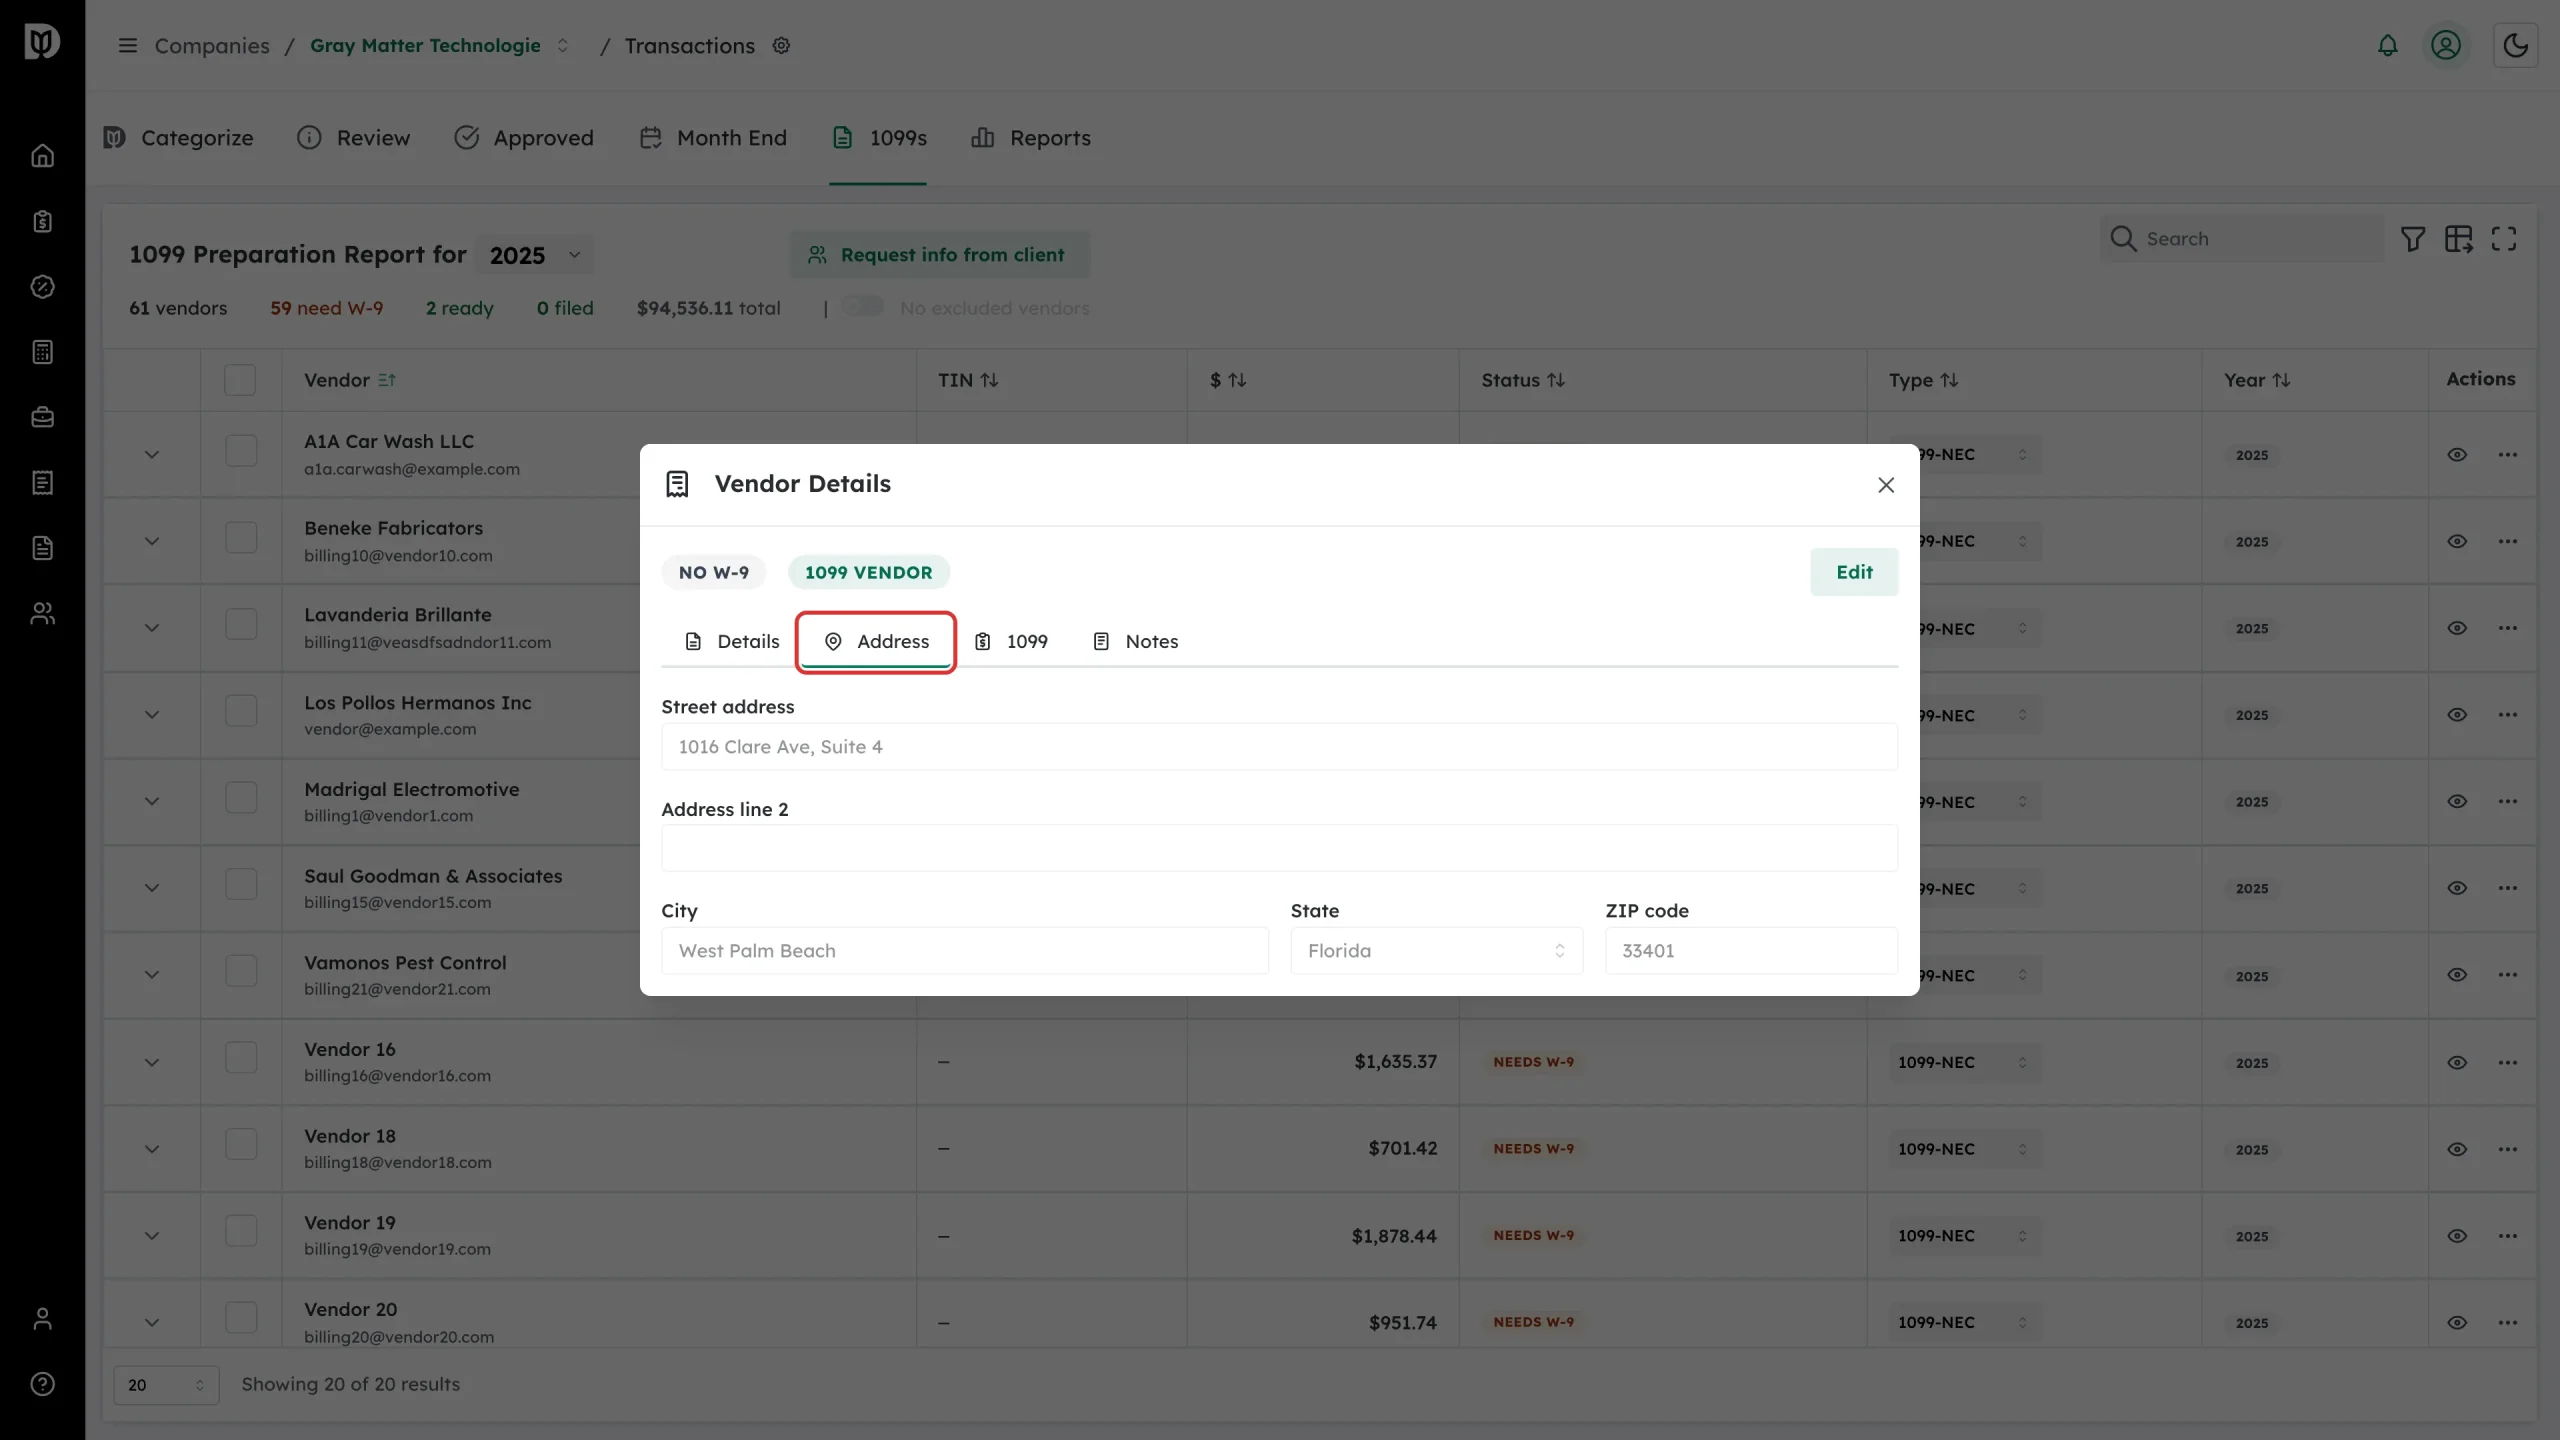
Address
The mailing address the 1099 will be sent to. A missing address is one of the things that keeps a vendor out of an export.
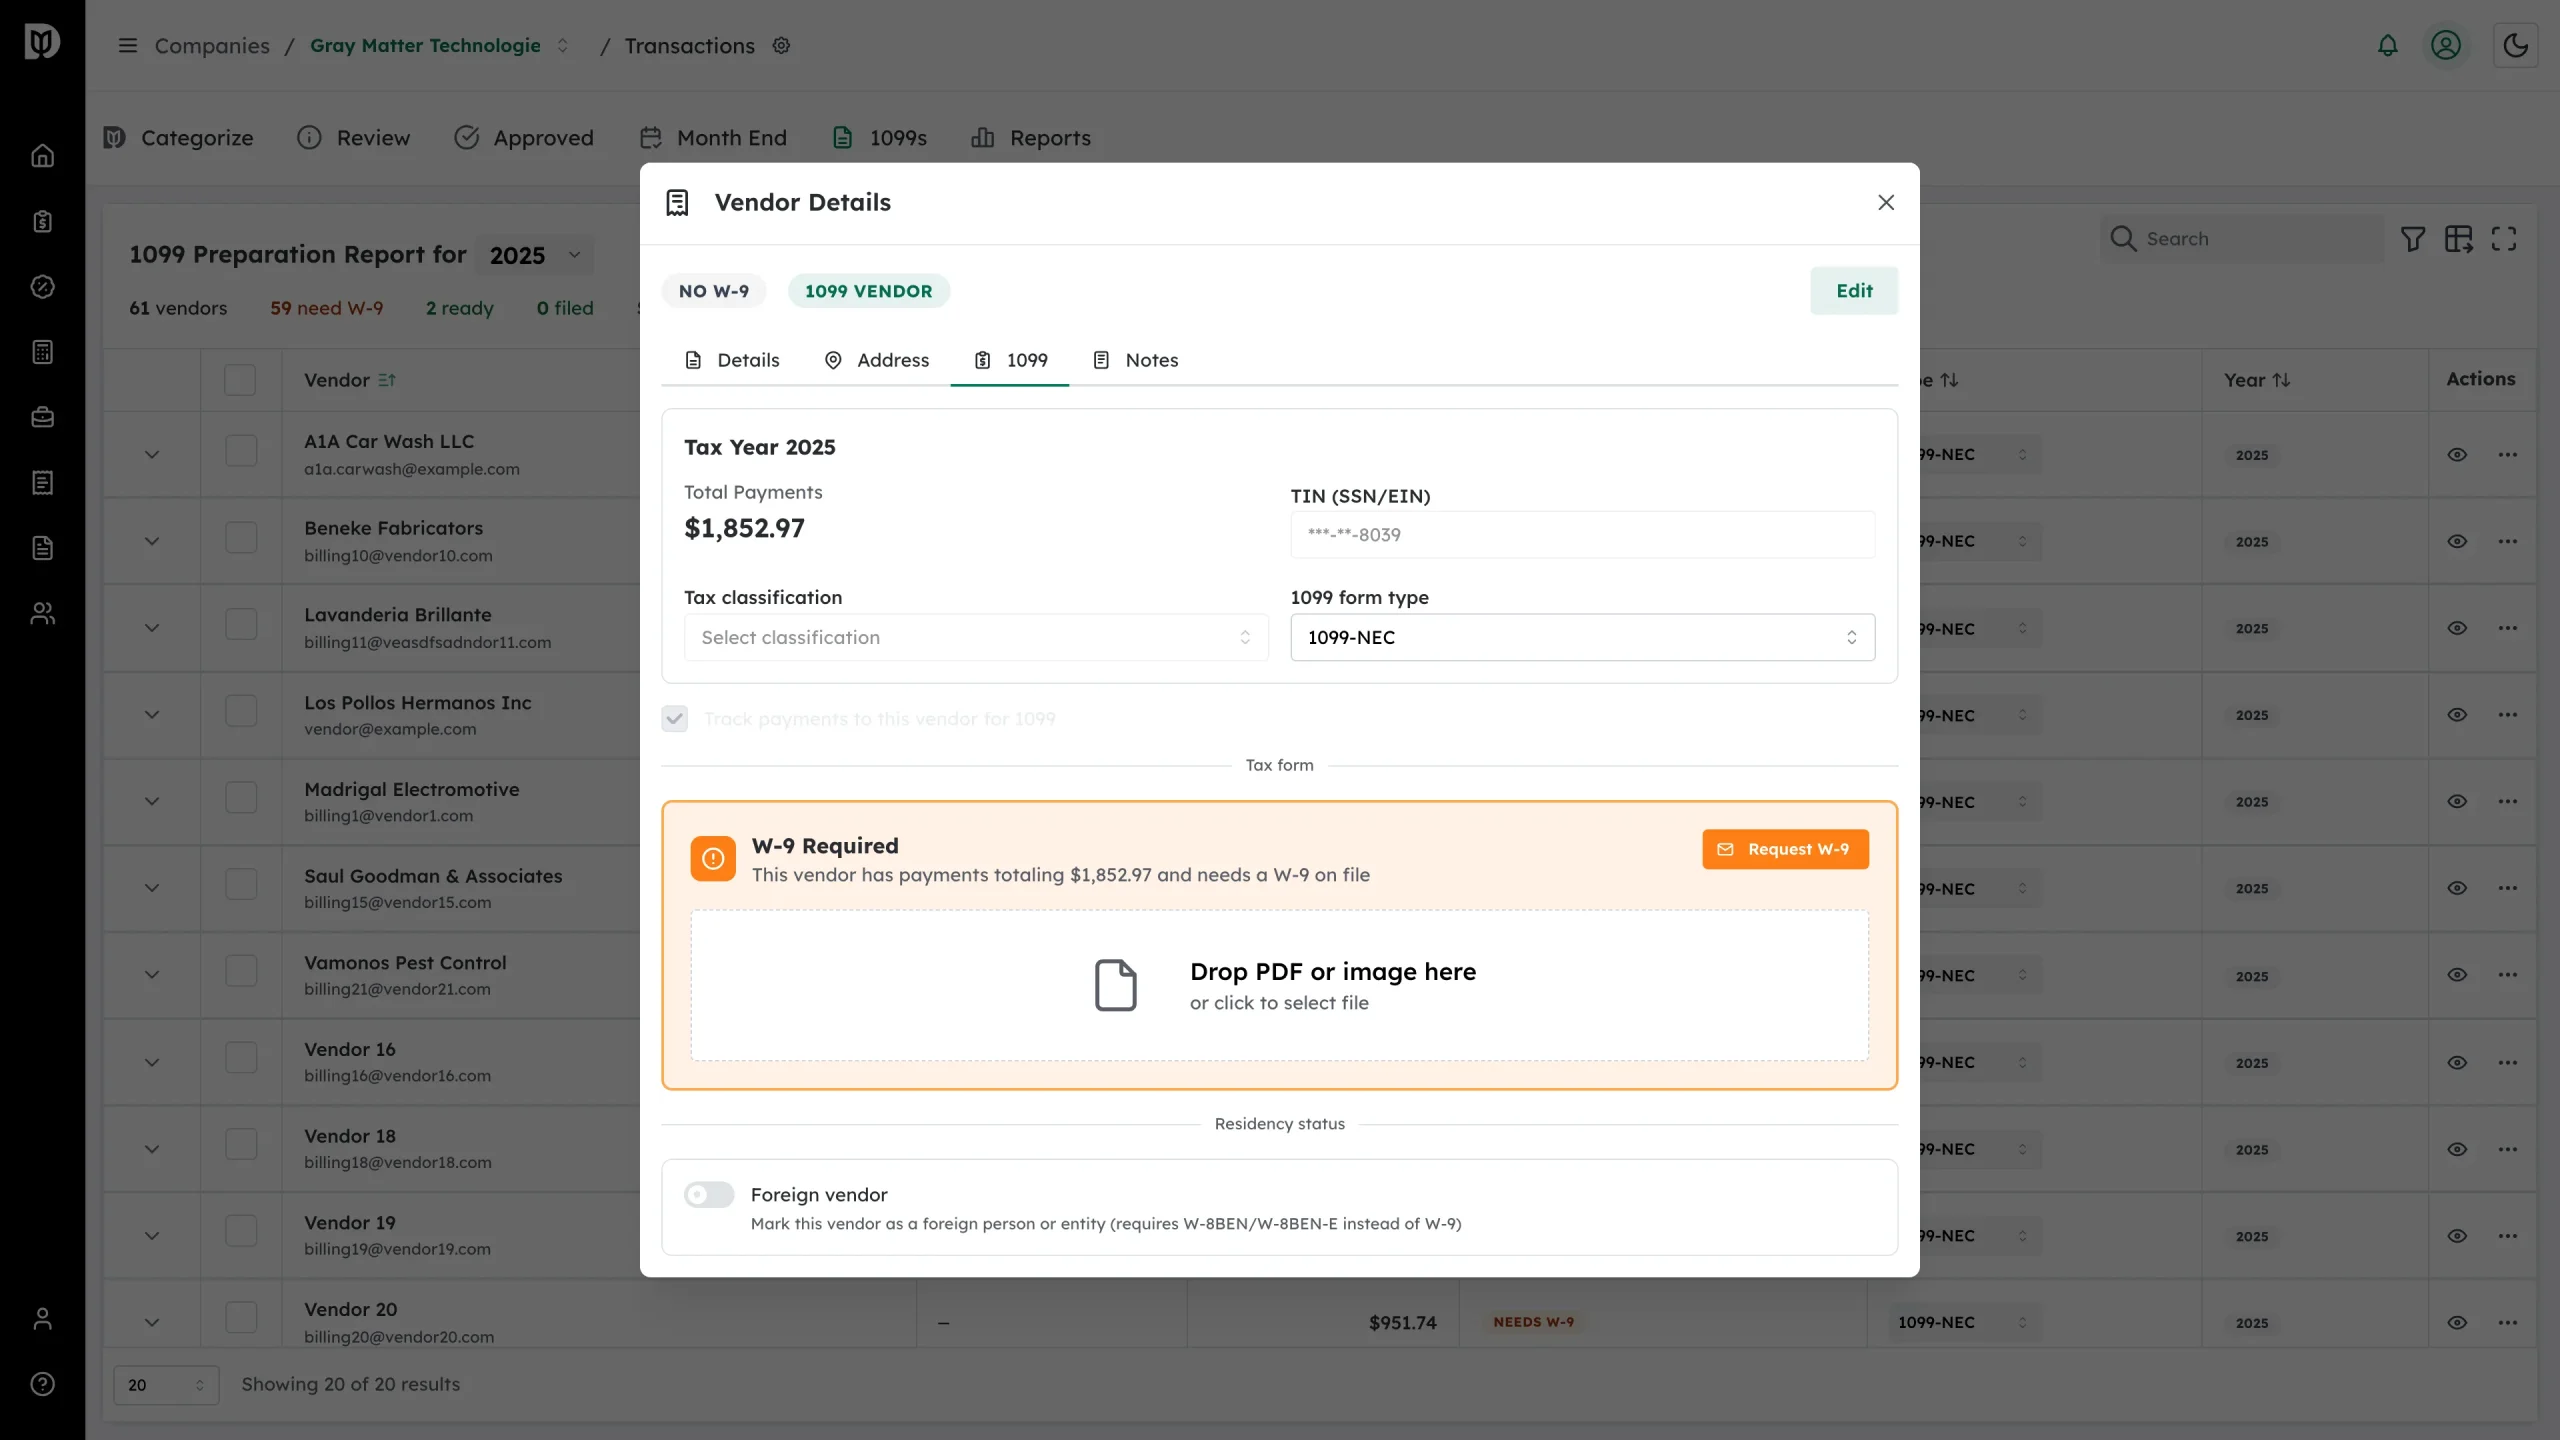
1099
Everything tax-related for the selected year: total payments and any excluded amount, the TIN, the tax classification, the 1099 form type, the tax form card, and the residency and corporation settings.
Notes
Internal notes for your team — why a vendor was excluded, who to chase for the W-9. Vendors with notes show a note icon beside their name in the table.
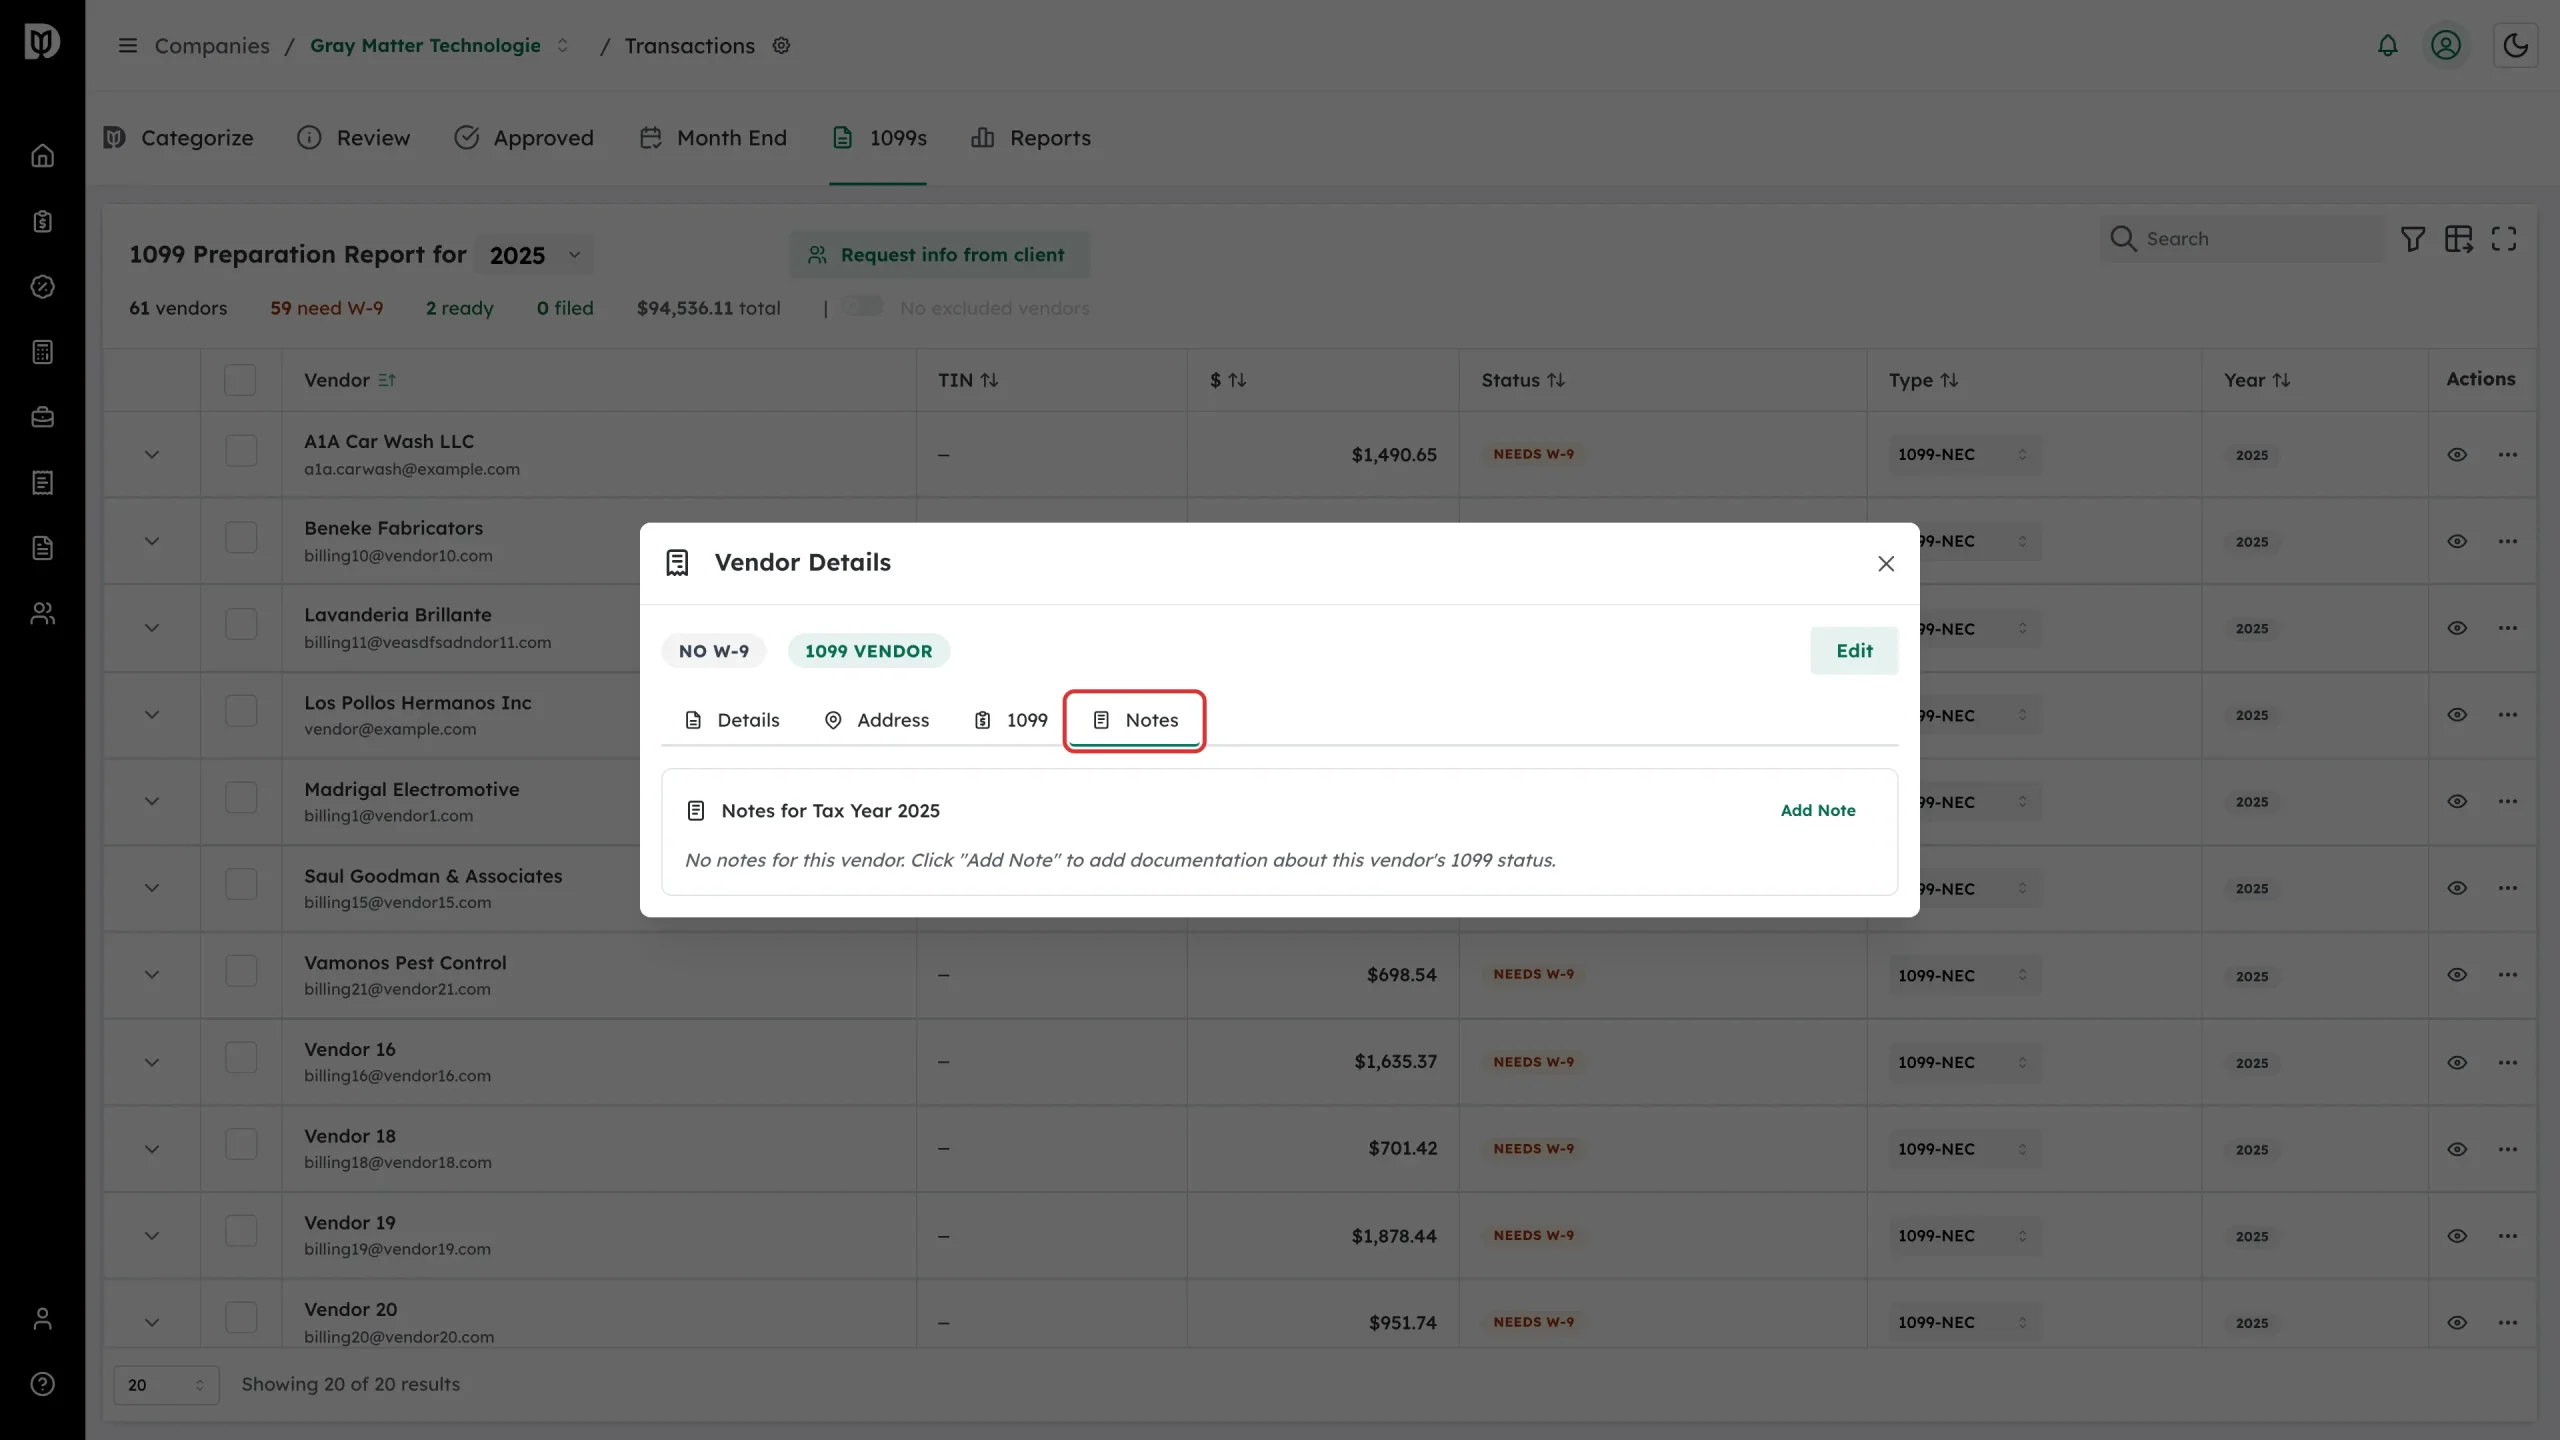
Edit the tax details
-
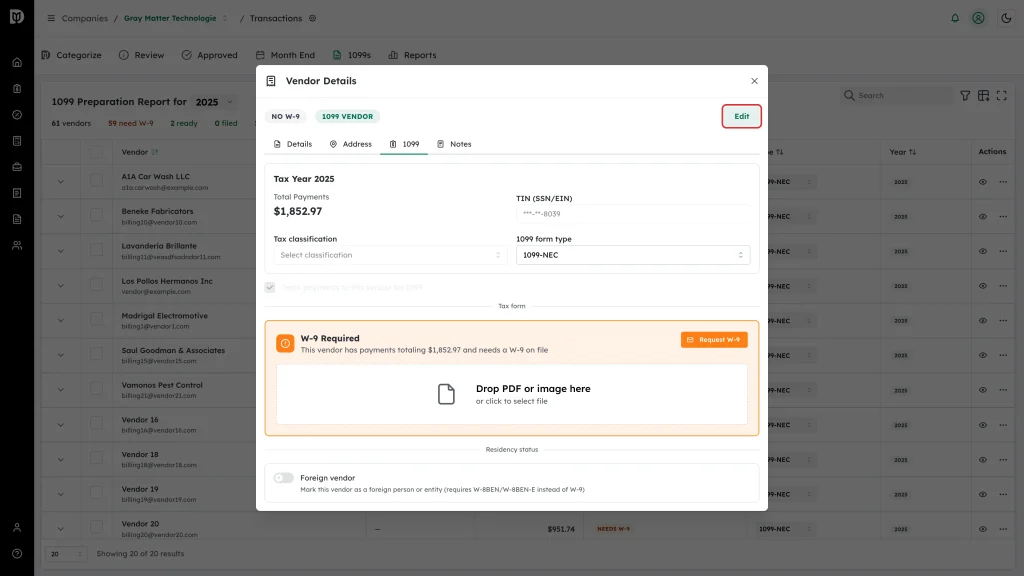
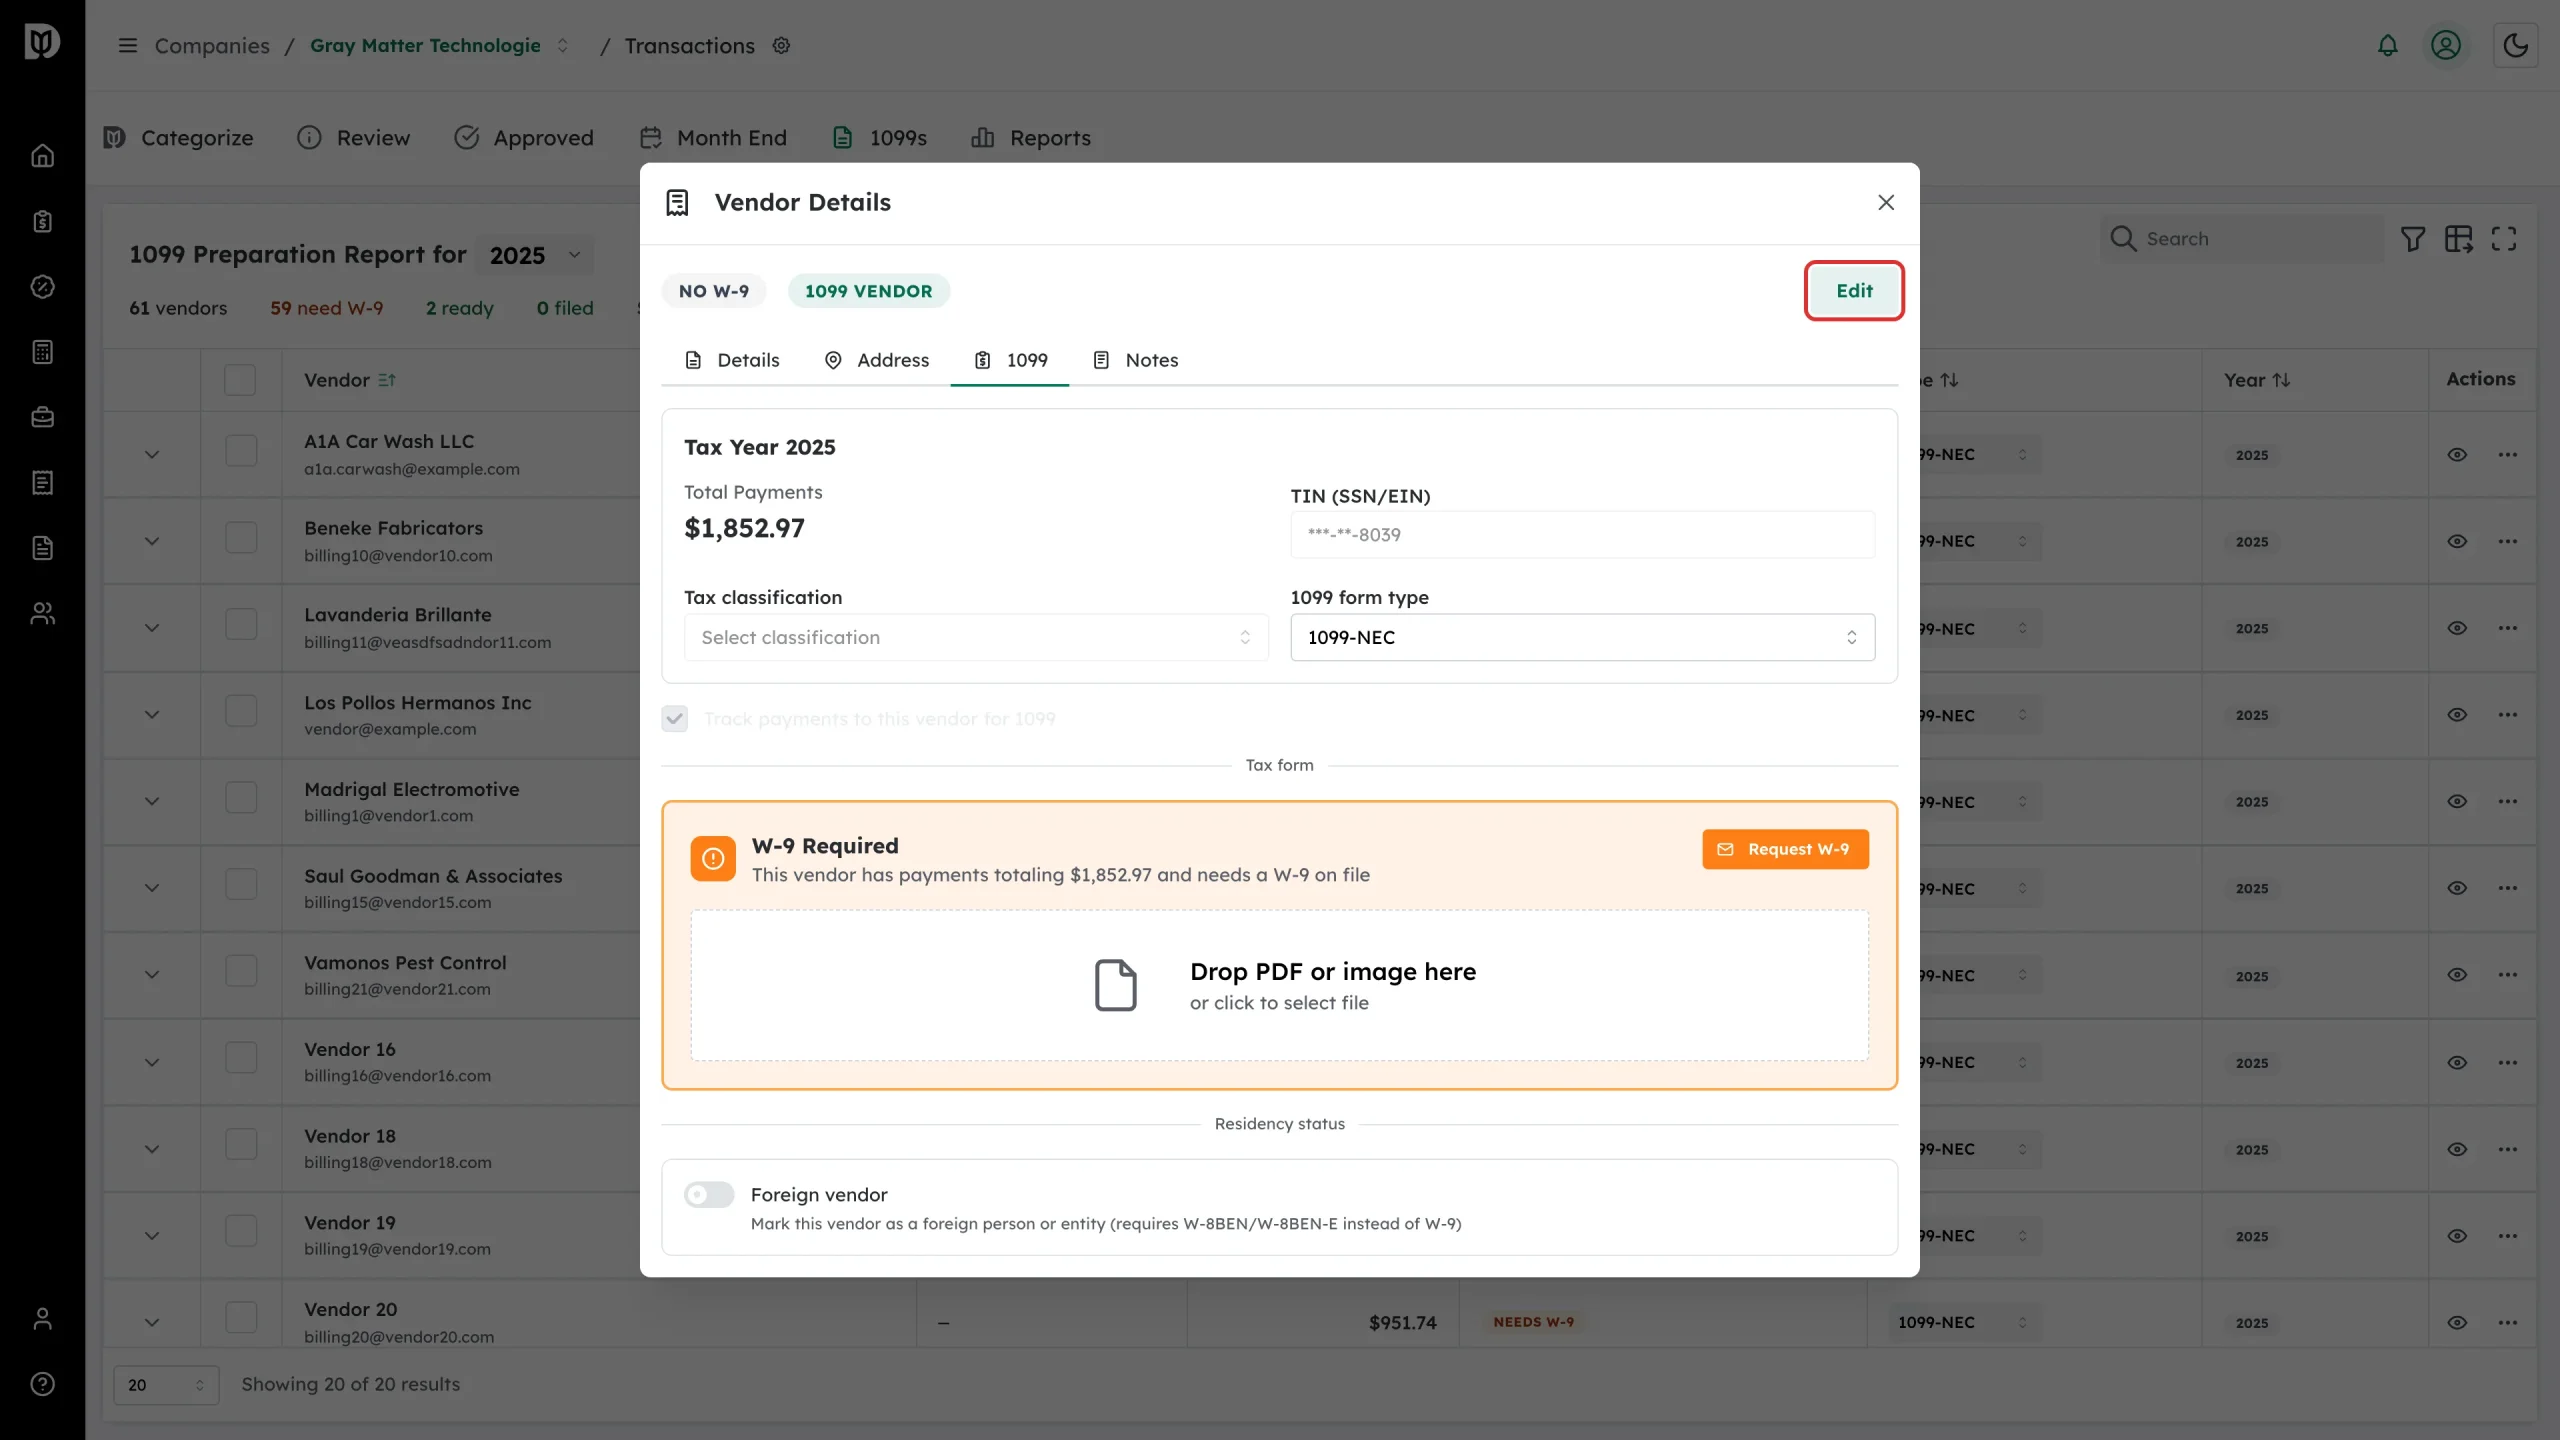
On the 1099 tab, click Edit.
-
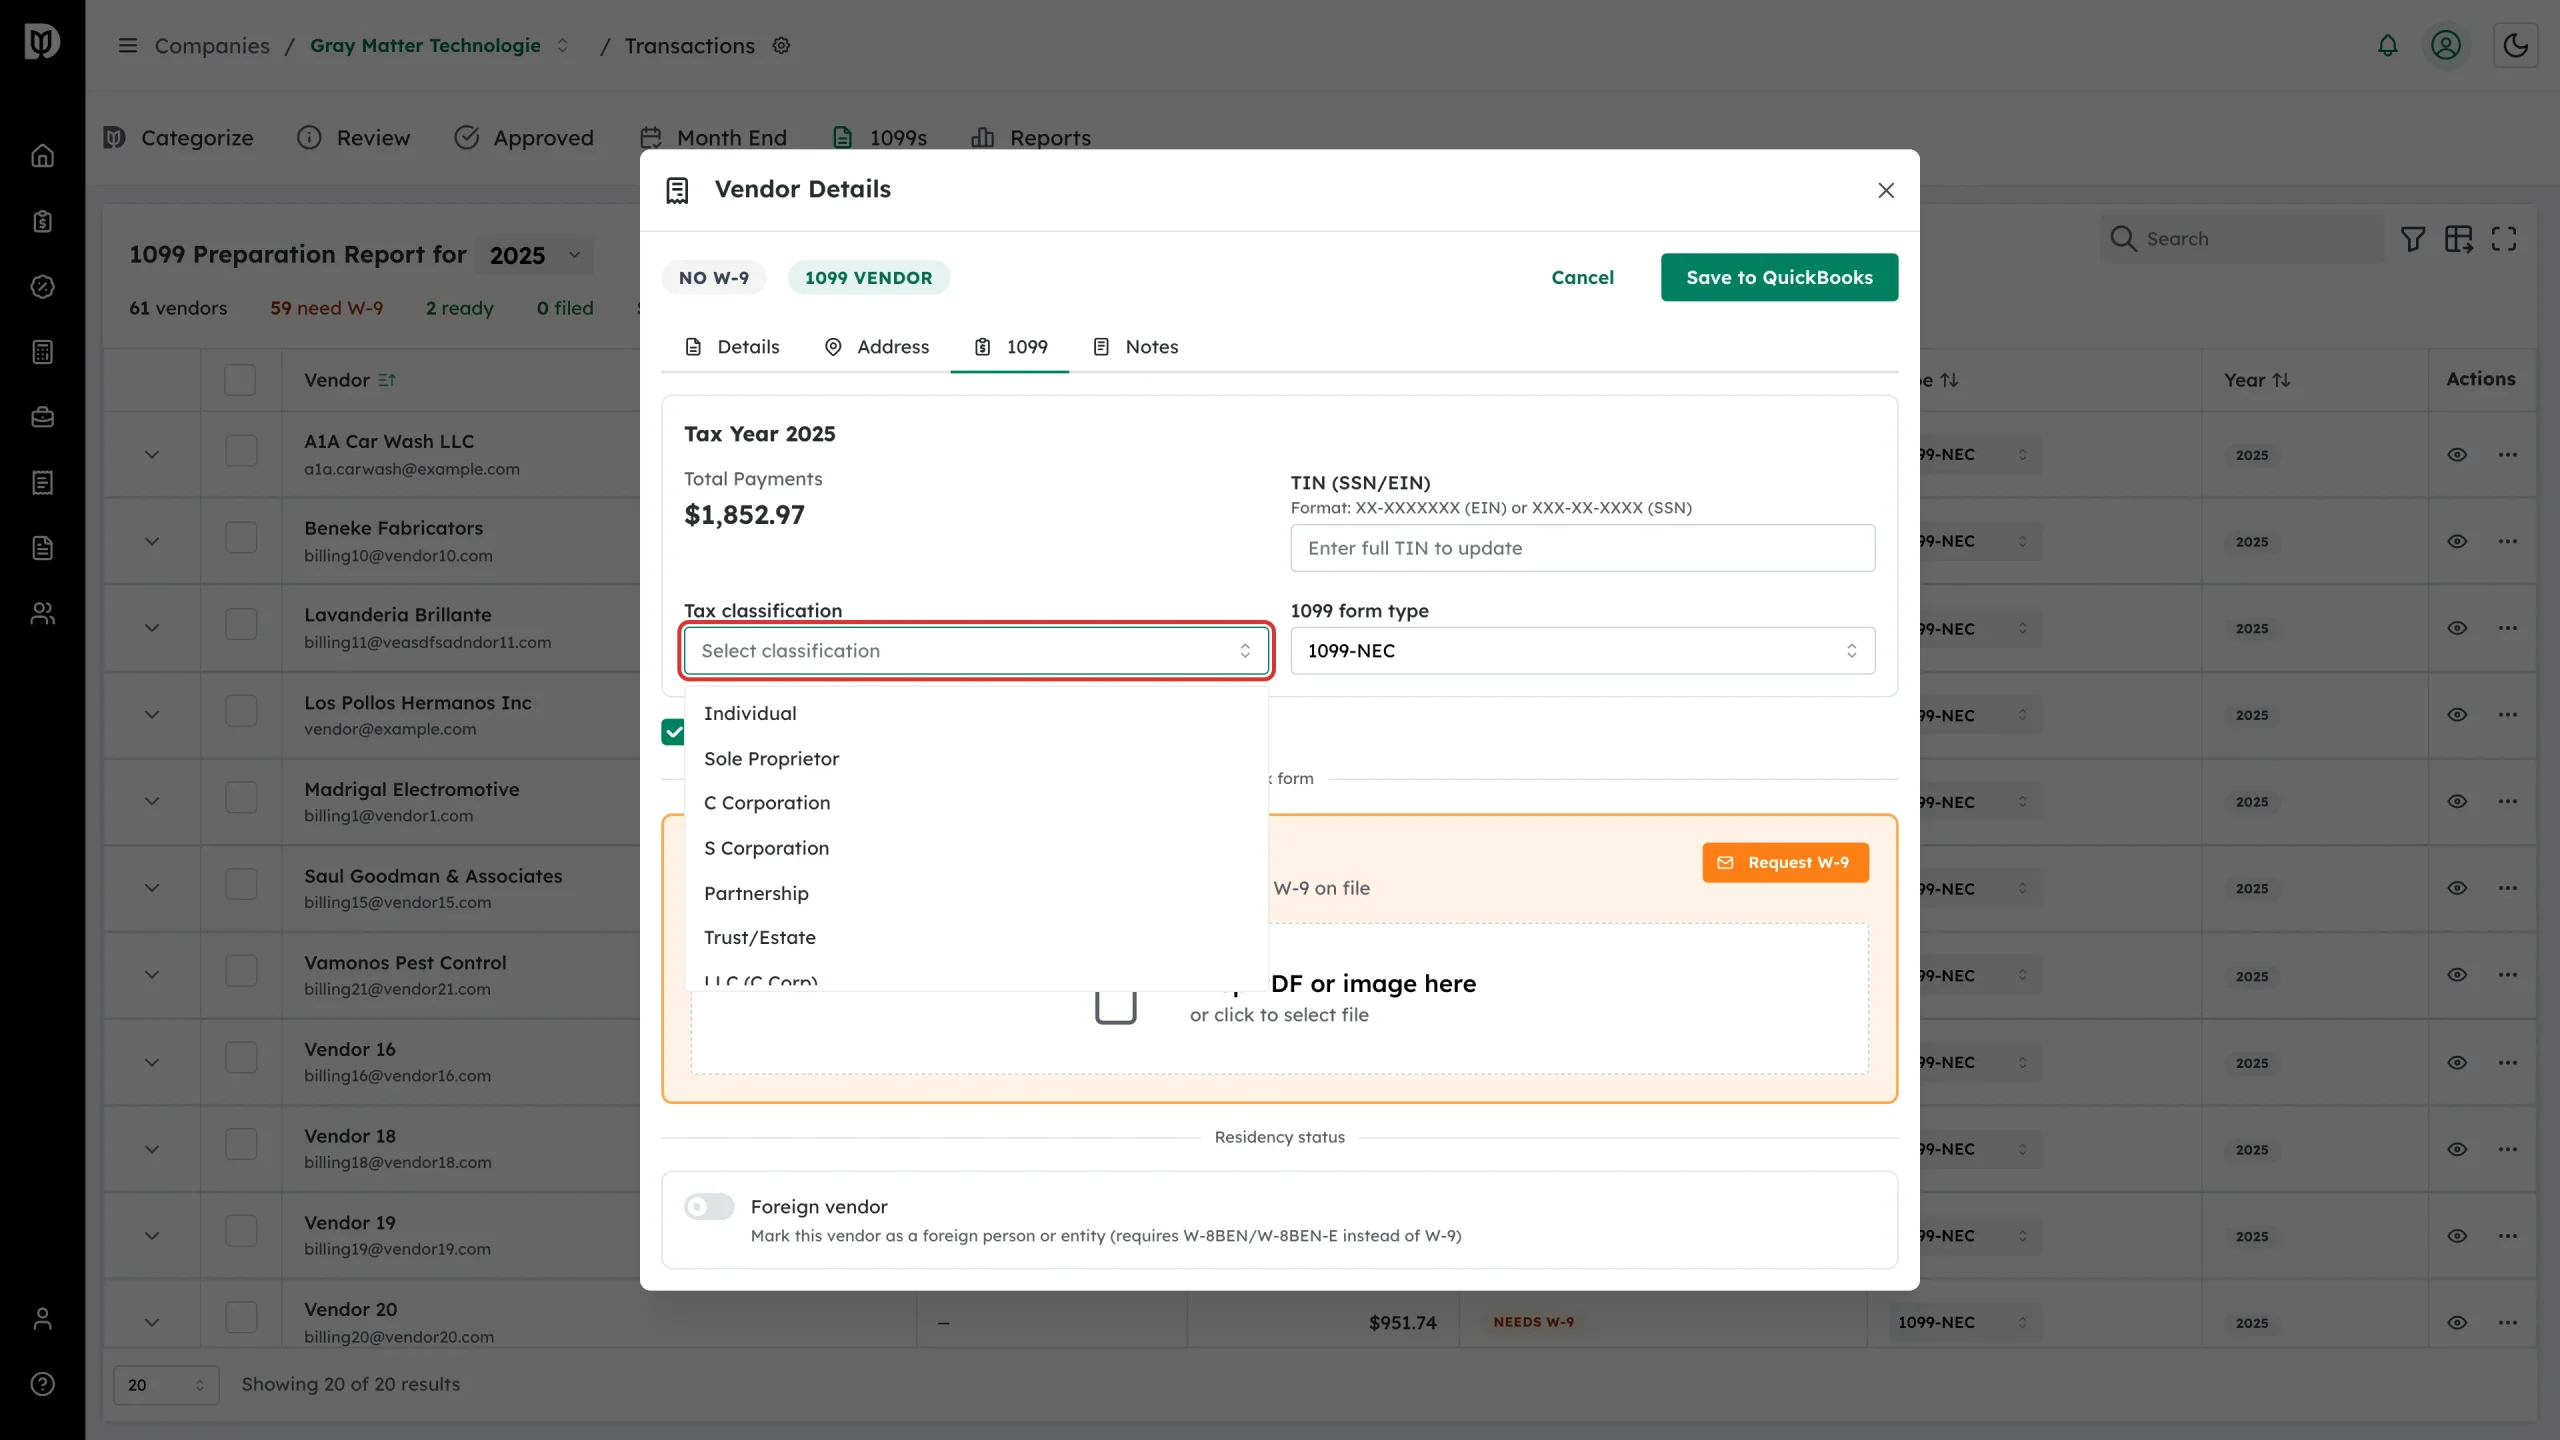
Set the Tax classification. The options are Individual, Sole Proprietor, C Corporation, S Corporation, Partnership, Trust/Estate, LLC (C Corp), LLC (S Corp), LLC (Partnership) and Other.
-
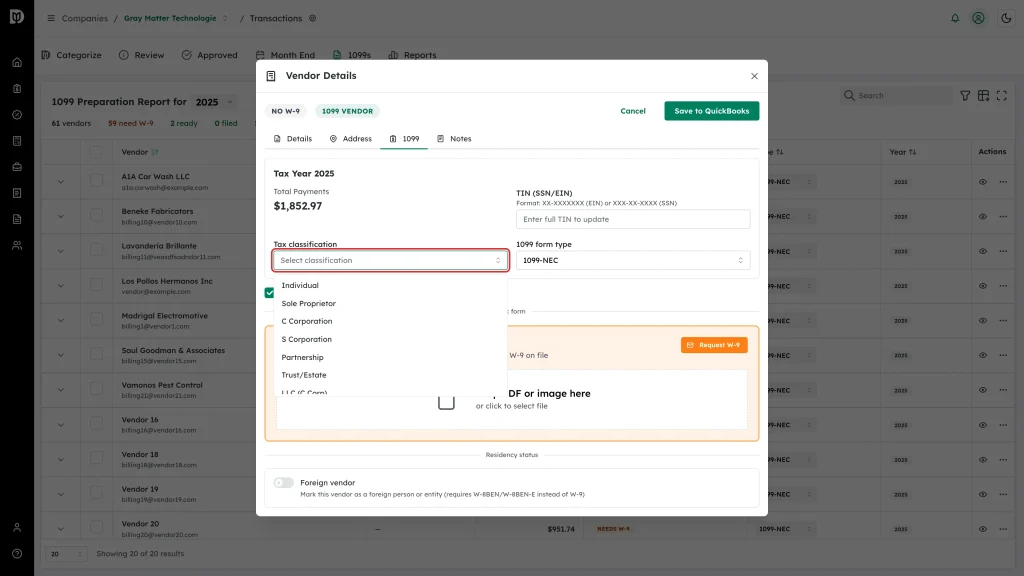
Fill in the TIN (SSN/EIN) if you have it. Outside edit mode the field shows only the last four digits; to change it, type the whole number as XX-XXXXXXX for an EIN or XXX-XX-XXXX for an SSN.
-
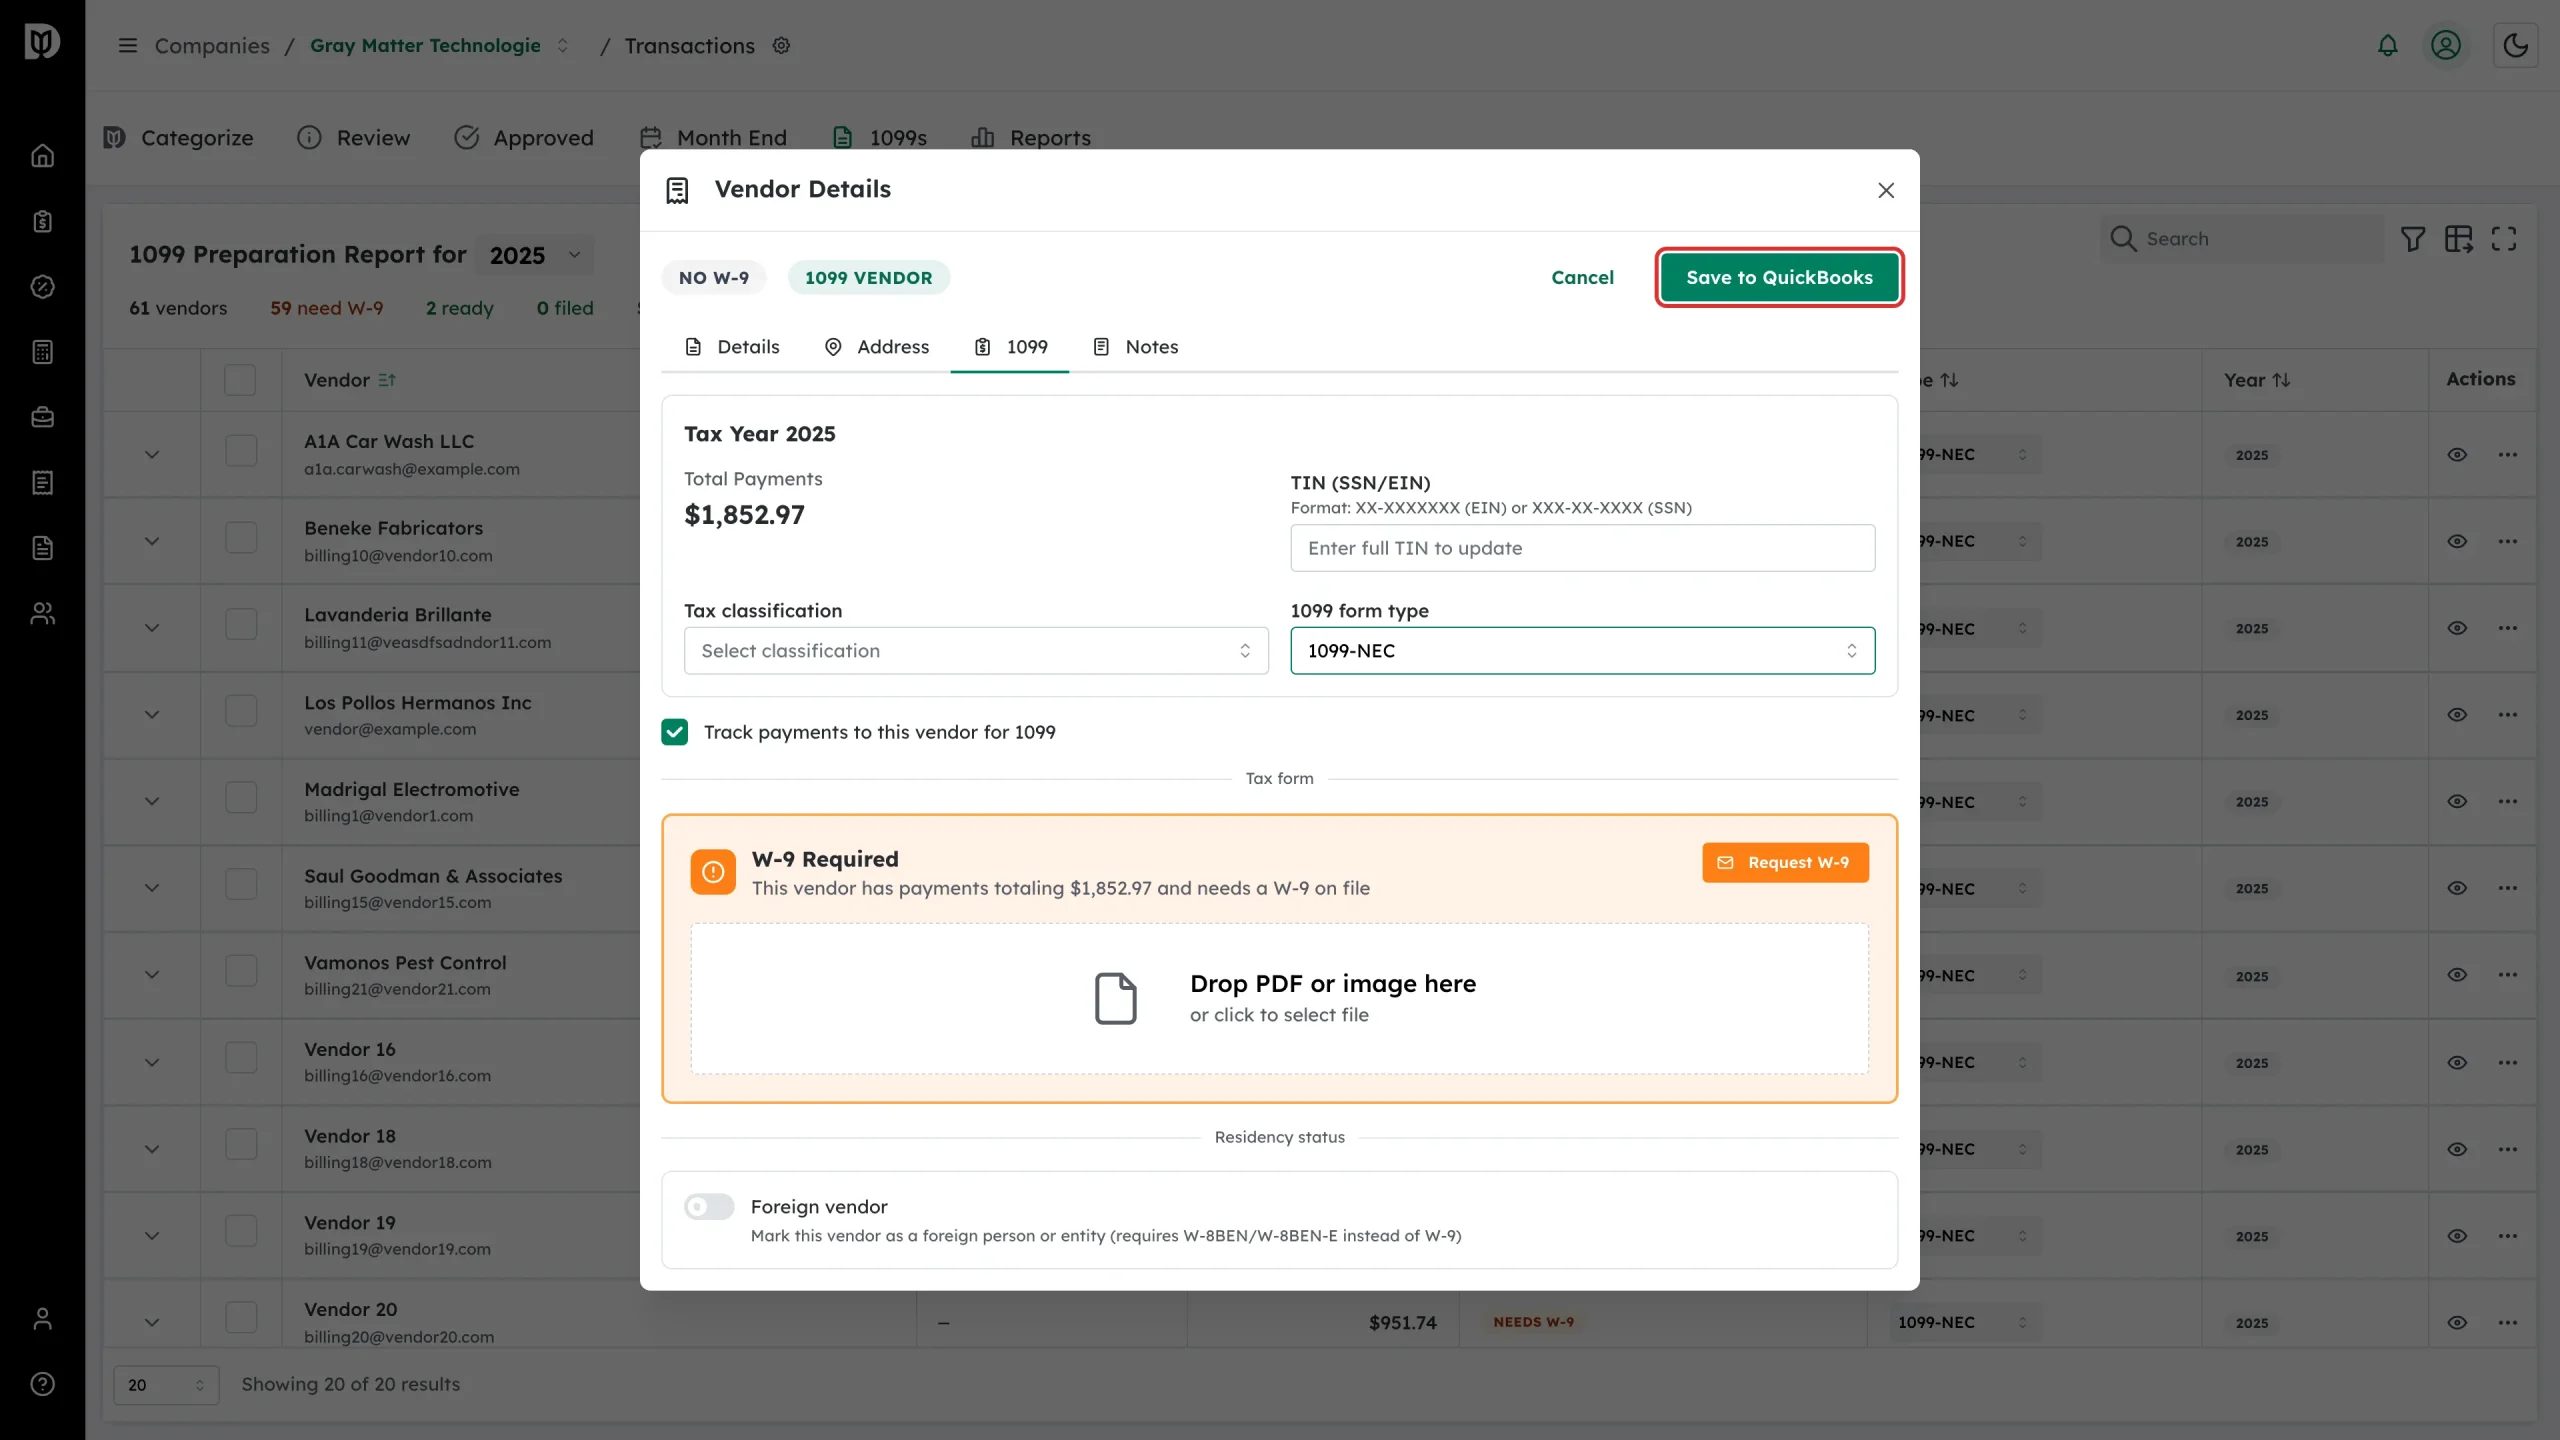
Click Save to QuickBooks. The changes go back to QuickBooks as well as to Debits.
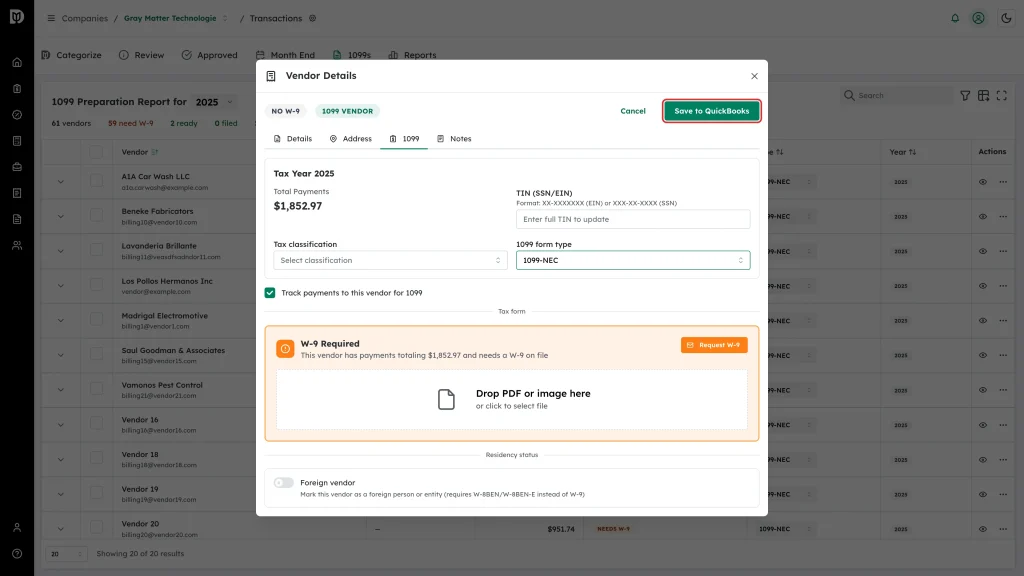
Set the form type
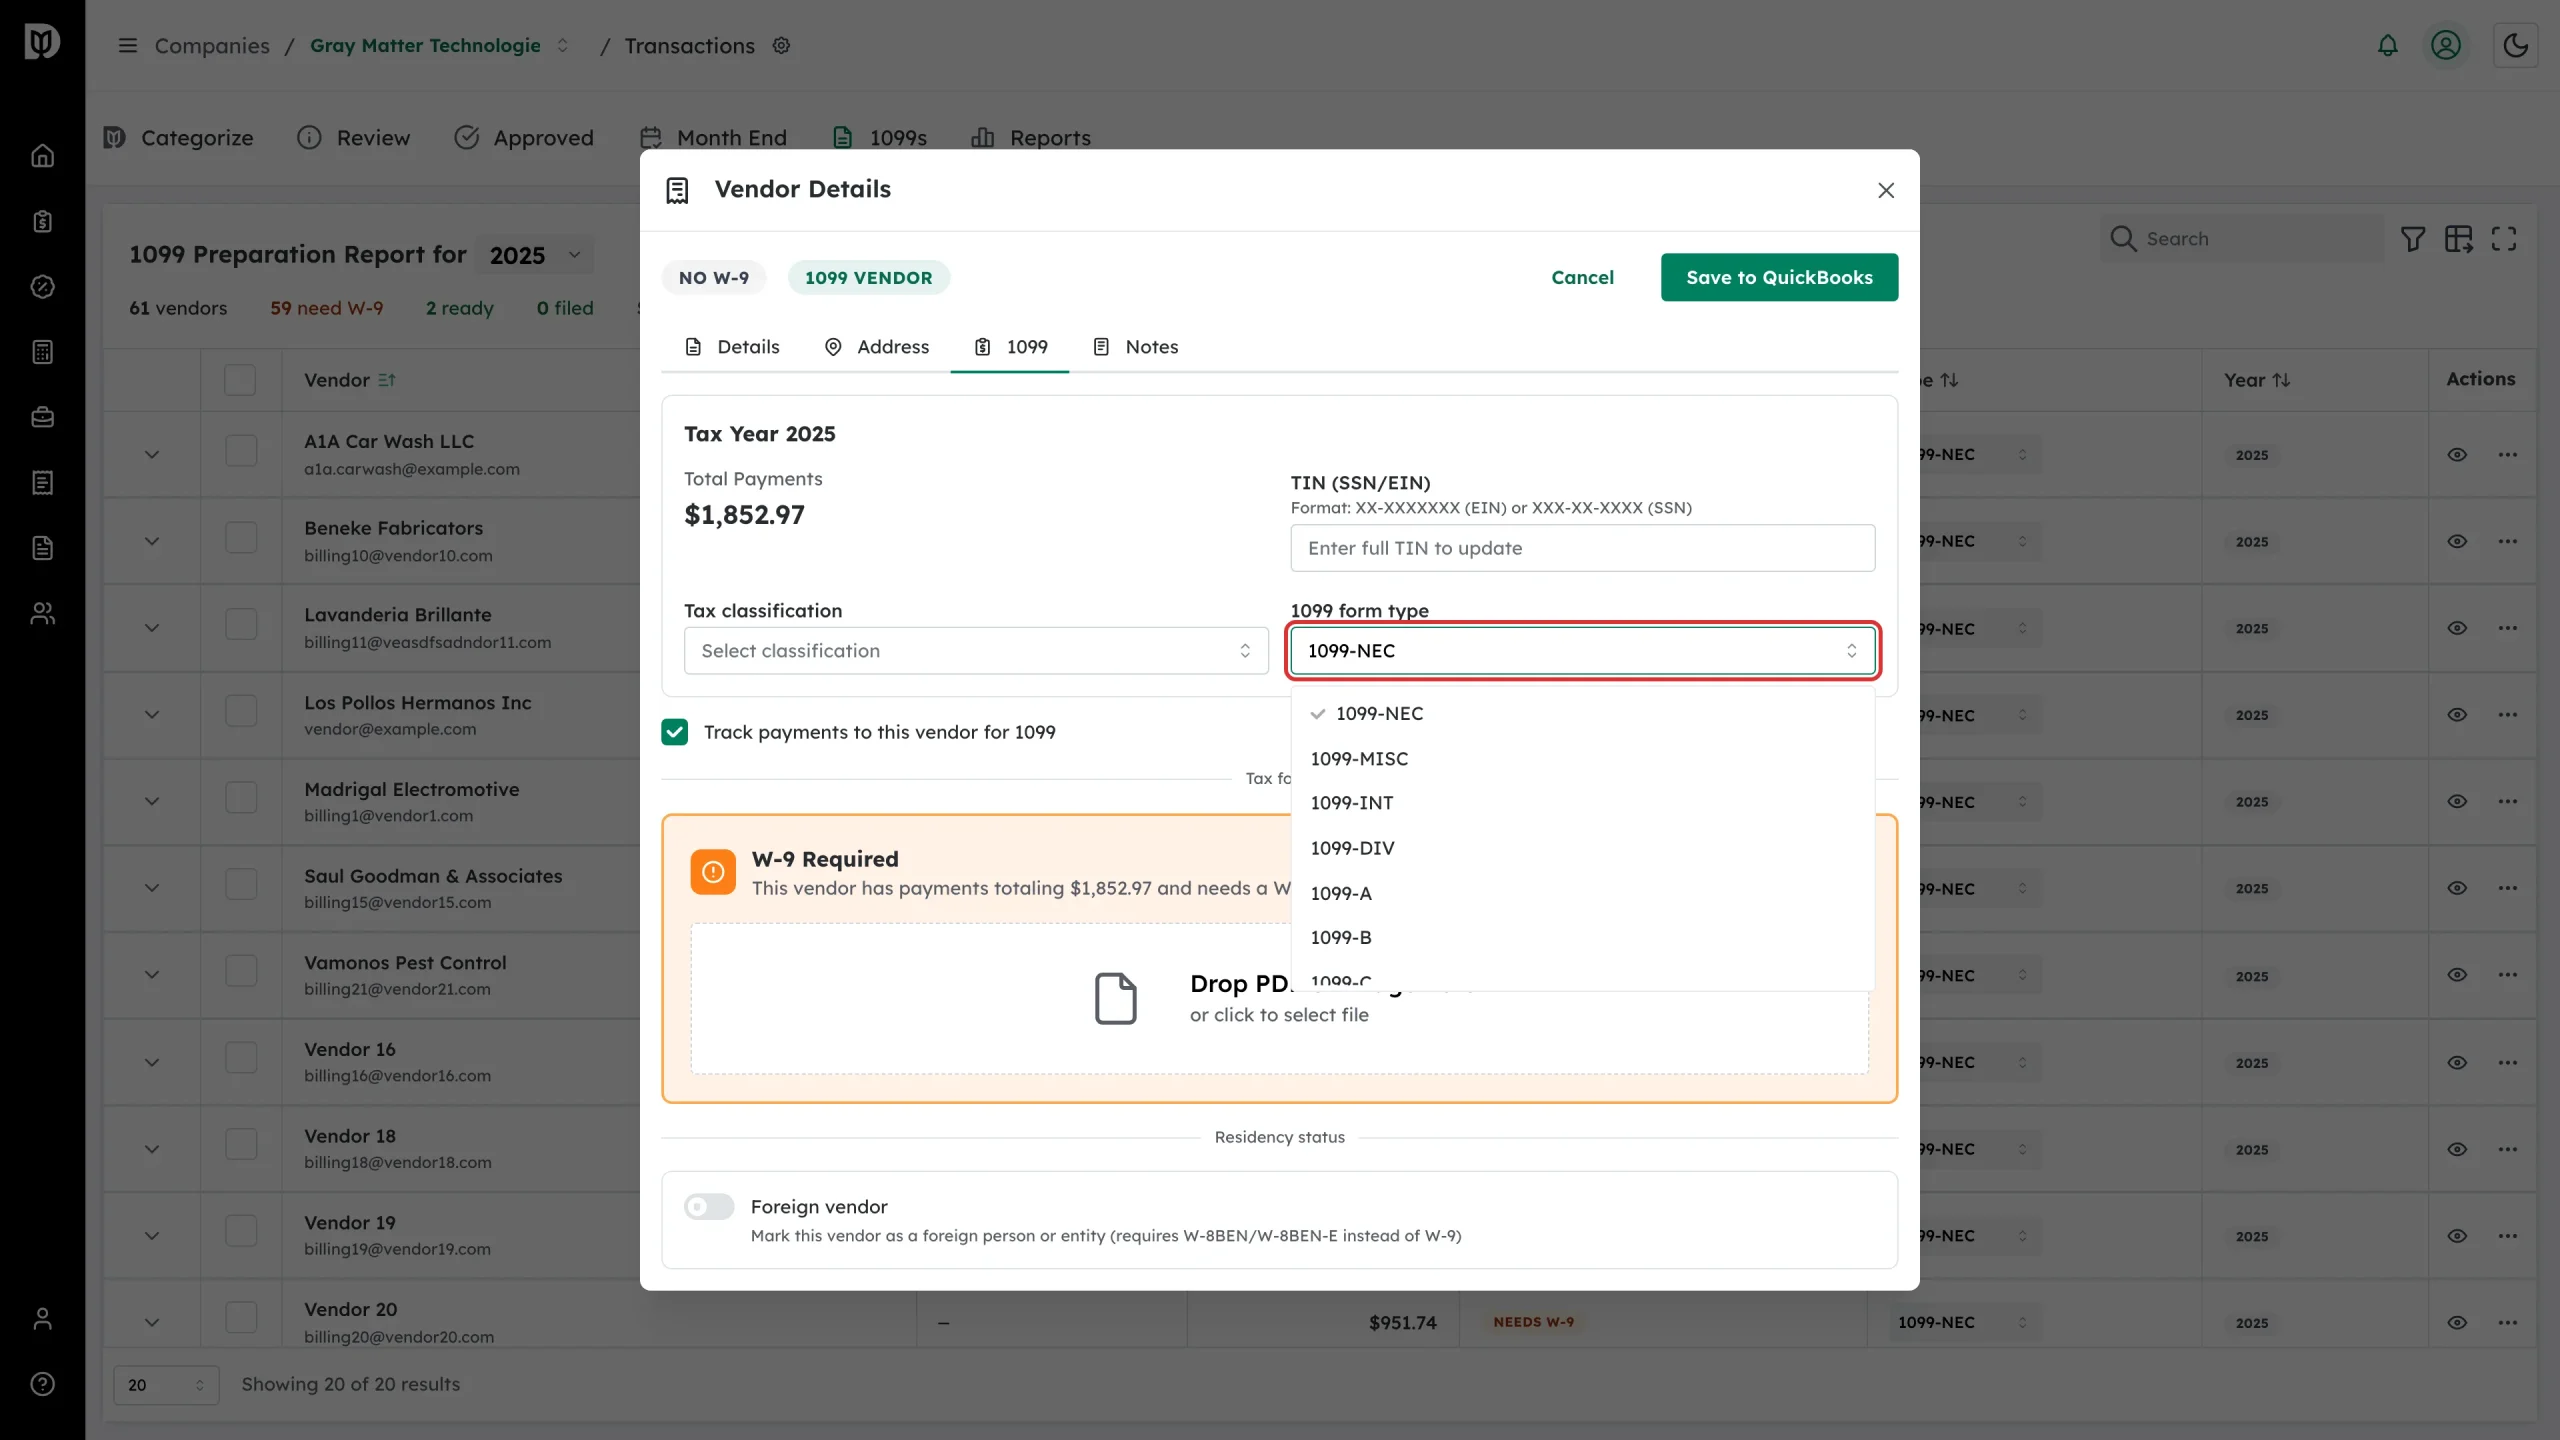
The 1099 form type decides which form the vendor is exported on — 1099-NEC for contractor work, 1099-MISC for rent and similar payments, and a long list of others. It saves the moment you pick it, whether or not you are in edit mode, and you can also change it straight from the Type column in the table.
Corporations
When the tax classification is a corporation or a corporate LLC, a Corporation 1099 exceptions block appears with two checkboxes: Attorney/Legal services and Medical/Healthcare provider. Corporations are normally exempt, so with neither box ticked Debits treats the vendor as exempt and leaves it out of the filing. Tick one and the vendor is filed like any other. These checkboxes save immediately.
A W-9 that arrived some other way
If a vendor emailed or posted you a completed W-9 or W-8, drop the PDF or a photo of it on the tax form card on the 1099 tab. Debits reads the name, classification, address and TIN off the form so you can check them rather than type them.